
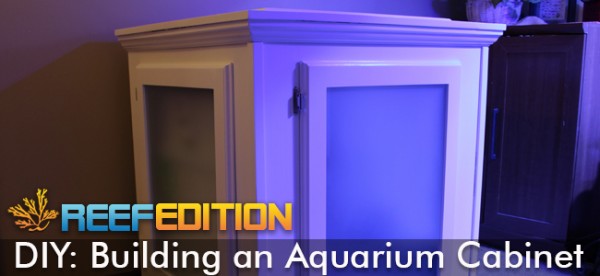
DIY: Building An Aquarium Cabinet
By: Kevan Mensch
Building an aquarium cabinet may seem like a daunting task if you have never done so before. Just the thought of turning a pile of wood into something that looks halfway decent, while at the same time withstanding hundreds or thousands of pounds of weight pushing down on it may be enough to drive you insane. I am definitely no carpenter, but have built a few decent cabinets through my time in this hobby. I have found that with the use of a few simple techniques, building a strong, good looking cabinet is not all that hard. I decided to document my most recent build in as much detail as possible to hopefully encourage those who have not built one to give it a shot themselves, as well as to spur new ideas for those who have. If any of this sounds like it interests you then follow along with me as I build a cabinet!
Materials used
- SPF 2×4’s (Frame)
- 1×6 Poplar lumber (Cabinet face)
- 1×3 poplar lumber (Doors)
- ¾” plywood (oak used here but most ¾” ply will do. Ideally marine grade if money is not an issue)
- 1” Poplar corner moulding
- Pine base moulding
- Pine crown moulding
- Poplar trim moulding
- Zinzer 123 primer
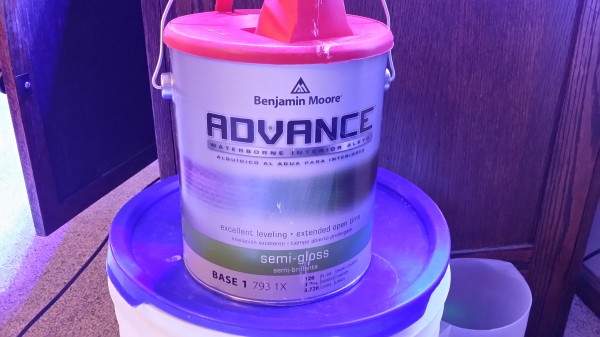
- Benjamin Moore Advanced paint (natural ivory)
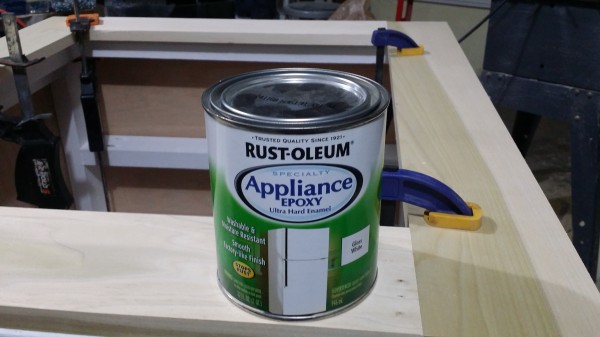
- Rust-oleum Appliance Epoxy (gloss white)
- 1/8” glass panels
- Rust-oleum Frosted Glass spray
Tools used
- Kreg pocket hole jig
- Mitre saw
- Table saw
- Drill
- Jigsaw (for cutting out hole for plumbing)
- Brad nail gun
- Router (For profiling doors)
- Orbital sander
- Lots of 120 and 150 grit sand paper
- Various clamps
- Wood glue
- 2 ½” course threaded kreg screws (For 2×4’s)
- 1 ¼” fine threaded kreg screws (For 1x hardwood)
- 1 ½” deck screws (For fastening plywood)
- Lots of caulk and wood filler
- 6″ High density foam paint rollers
- Decent quality paint brush for moulding
Building the frame
The frame should be the simplest part of the entire cabinet build, yet it never ends up being that way for me. Getting the frame as square as possible is crucial for stability; it also makes the rest of the build go much smoother when it comes to fitting everything, and I mean EVERYTHING.
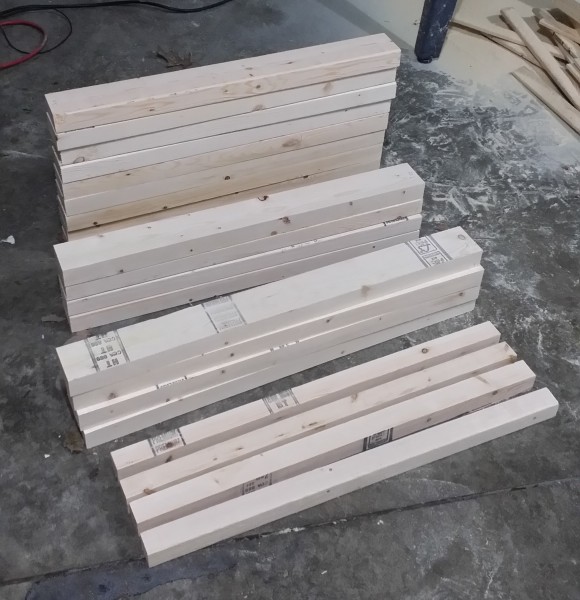
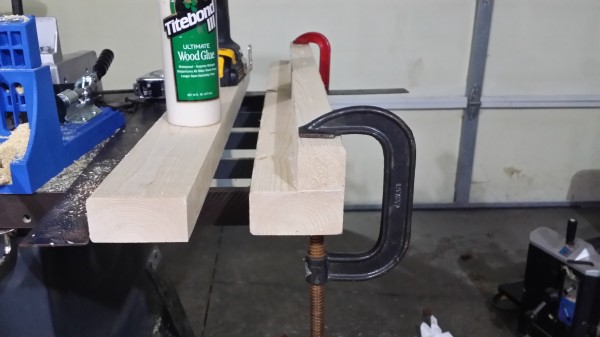
I started this build by cutting all the framing 2×4’s to size using a Miter saw. Cutting all the boards prior to assembly allowed me to ensure they were all the exact same length to help ensure the frame would be square. I then ripped all 2×4’s down to exactly 3″ wide on the table saw. This wasn’t necessary but I find them easier to work with when they are square instead of having the rounded corners. Ripping ¼” off each side of the 2×4’s gives a nice square 3″x1 ½” board. I also ripped four 2×4’s to 1 ½” wide to be used as half of the “L” shaped legs making the legs exactly 3″x3”.
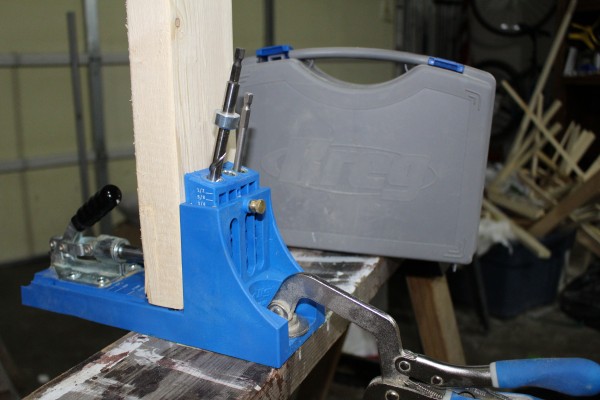
Next I assembled the top and bottom frames. Building the frames by clamping two of the boards to the corner edge of a table saw or other right angle surface helps to keep them square. I found it easier than using a carpenter’s square. I used a Kreg pocket hole jig and 2 ½” course thread Kreg screws to assemble the entire frame. I cannot say enough about how much time and effort using the Kreg jig for a project like this will save you. Using pocket holes almost makes it like putting together legos. When adding the middle braces be mindful of where your drain and return plumbing need to go or you will end up having to move them later on (like I did).

Next I assembled the legs that I previously cut to length. I used plenty of wood glue as well as counter sunk 1 ½” deck screws every couple inches.
I then attached the legs to one of the frames again using pocket screws and wood glue. I used a carpenters square to ensure the legs were at a right angle with the frame.
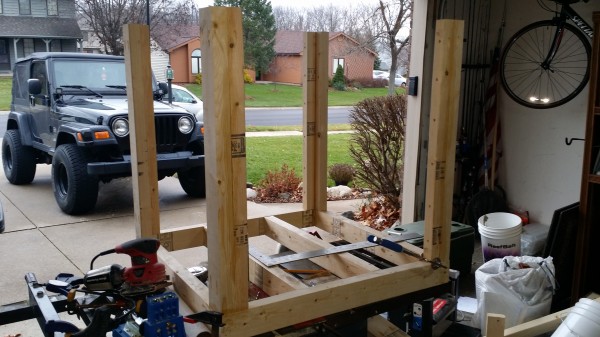
I then attached the other end of the legs to the top frame in the same way.
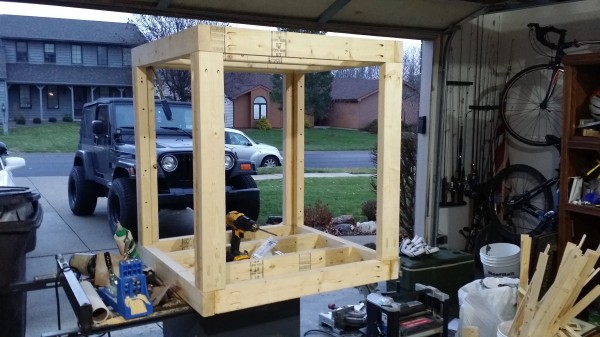
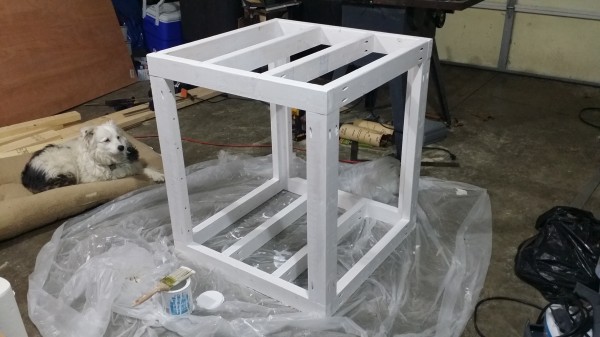
Next I primed the entire frame with 2 coats of Zinzer 1,2,3. I only used this because I already had it. From what I’ve read Kilz oil based primer seems to be preferred.
Installing the shelves
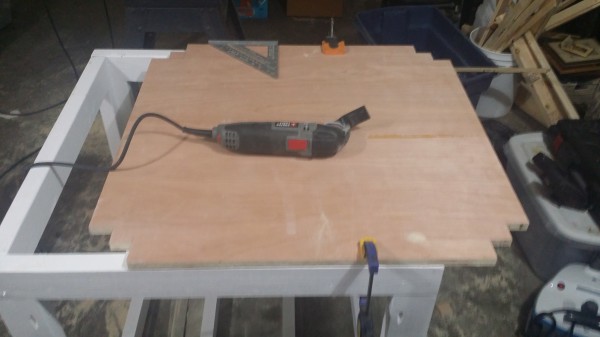
Next I cut and installed ¾” plywood on the top and bottom platforms of the cabinet using 1 ½” wood screws. I used a quick square to mark where the legs would be on the bottom shelf and cut them out using an orbital saw.
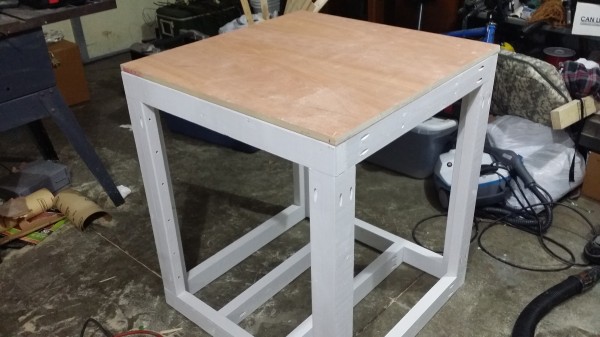
I then filled all of the screw holes with wood filler and sanded both pieces of plywood with an orbital sander.
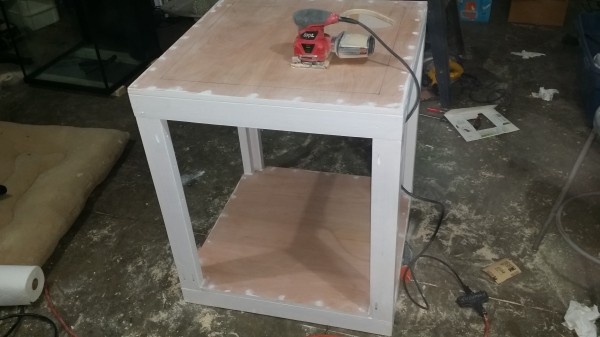
I cut another Piece of 3/4″ plywood for the back of the cabinet since this cabinet is going against a wall. I also cut a hole in the top piece of plywood where my plumbing needed to come through the stand.
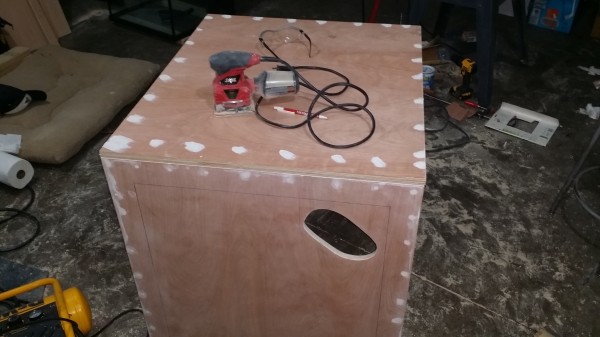
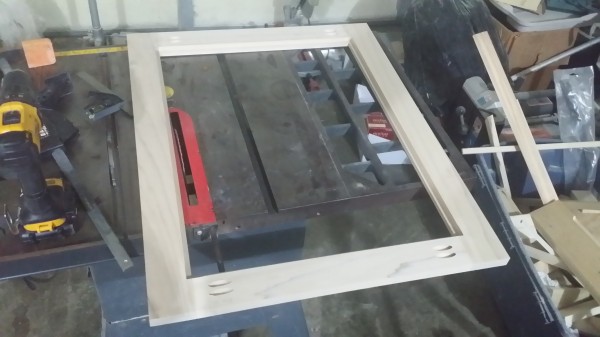
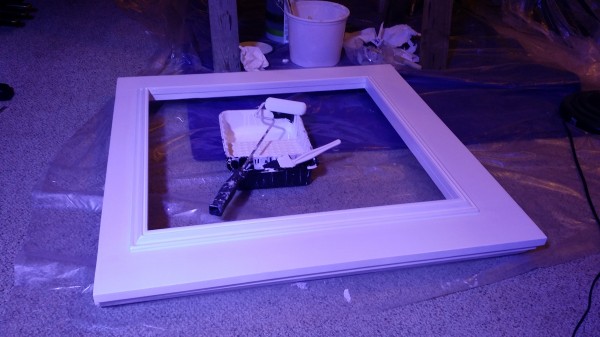
Skinning the frame
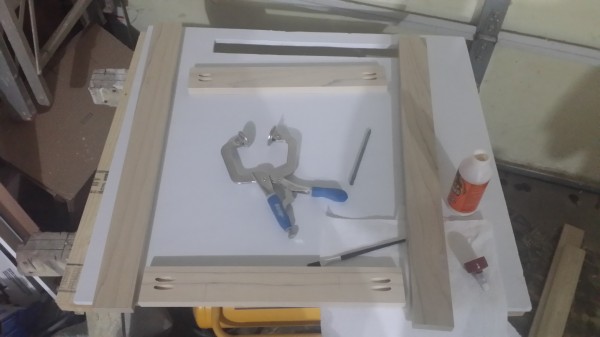
The majority of the people I see building stands use plywood to skin their frame, cutting a hole out in the middle where the doors should go. Using that method is fine, and probably makes a slightly stronger cabinet, however I find it much easier and better looking to use 1x lumber, especially if the stand is going to be stained and not painted. For this cabinet I used 1×6 poplar lumber. Poplar is a good hardwood for painting because it has fine grain and requires little sanding. I simply cut two vertical boards the height of the frame, and two horizontal boards the width of the frame minus the width of the vertical boards. I quickly drilled pocket holes using the kreg jig, clamped them together and glued and screwed them with 1 ¼”” fine threaded kreg screws. After the first frame is together and you know what you’re doing it goes quick.
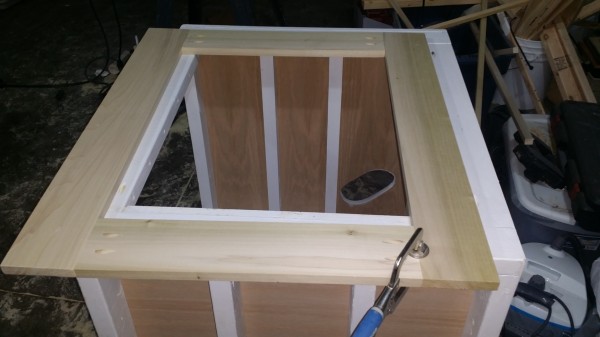
I find that the easiest way to attach the faces to the frame is by using wood screws where the molding will be so that none of them show. I also use plenty of wood glue and clamp them till dried.
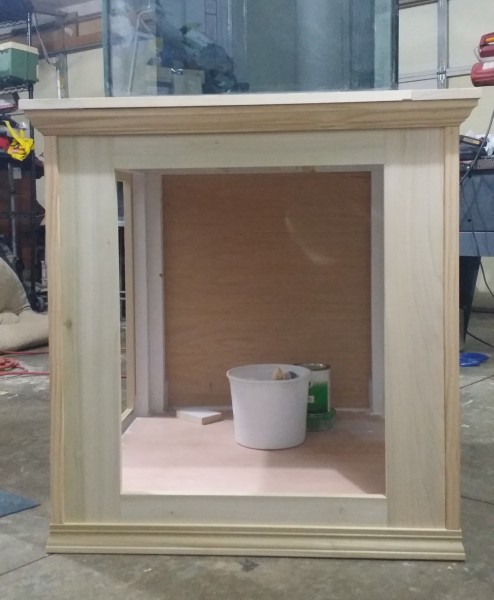
All 4 faces attached.
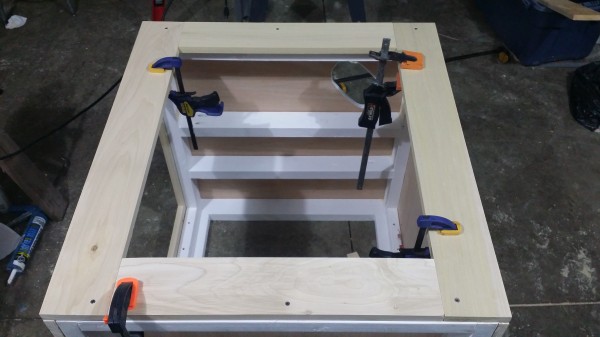
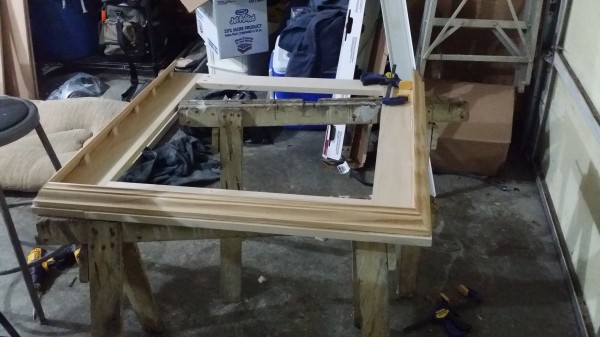
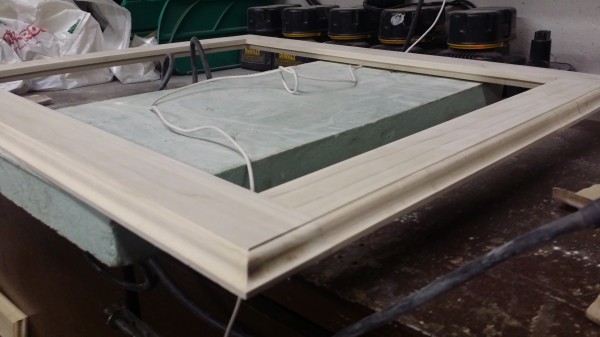
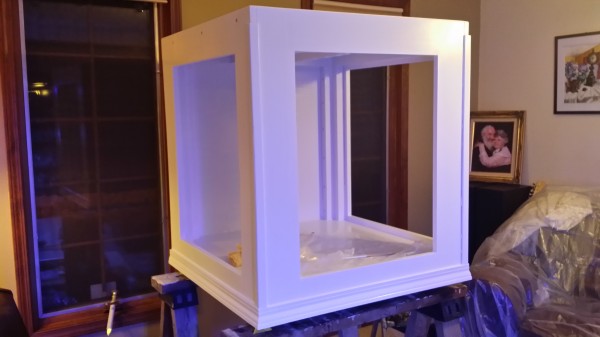
Next I built a top frame to go around the aquarium. I did build this the exact same way as I did for the face frames.
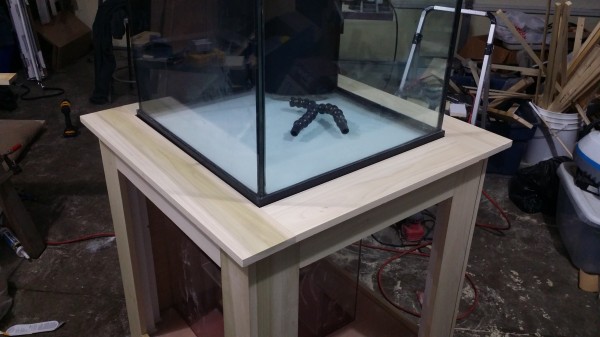
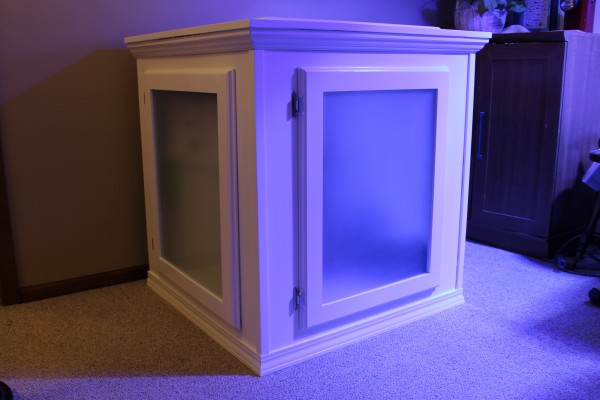
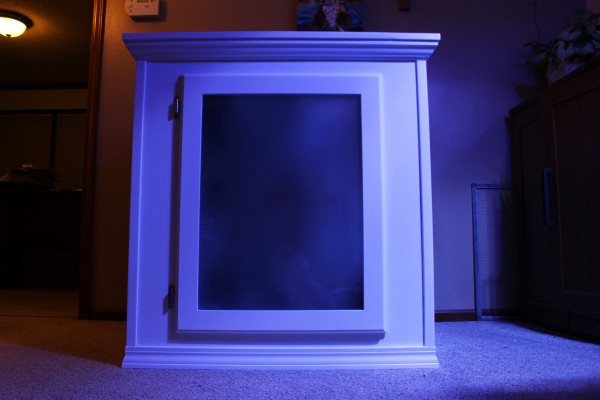
Normally I would just screw the top face down to the top of the stand and then brad nail crown molding around it permanently attaching it to the cabinet. However, Being that this is a cube stand and already measured 30″x30″ I needed to be able to remove the top face and molding in order to fit through standard doorways. Do overcome this I attached the crown molding directly to the top cabinet face using brad nails and wood glue. The whole assembly just slips right over the aquarium and fits snug around the cabinet so that it can be removed at any time. I also added trim molding around where the tank will sit which you can’t see in this photo but is clearly seen in the finished product photos.
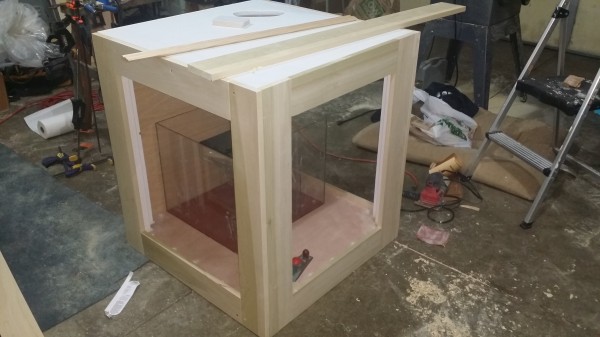
Next I attached 1×1 pine corner molding and pine base molding around the cabinet.
Next I build the doors using 1×3 poplar. I simply cut two vertical boards and two horizontal boards the correct length to give me a 1/2″ overlap around the hole in the face frame. I then attached them again using wood glue and 1 1/4″ fine thread pocket screws.
Once together I used a router and the proper bit to cut a ledge into the back of the door where my glass panels will sit.
I then used a router and profiling bit to make a pattern around the edges of the door.
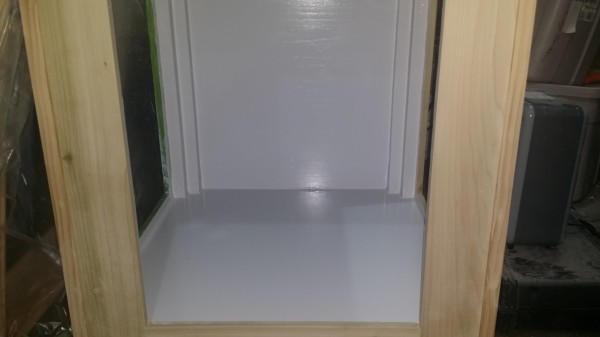
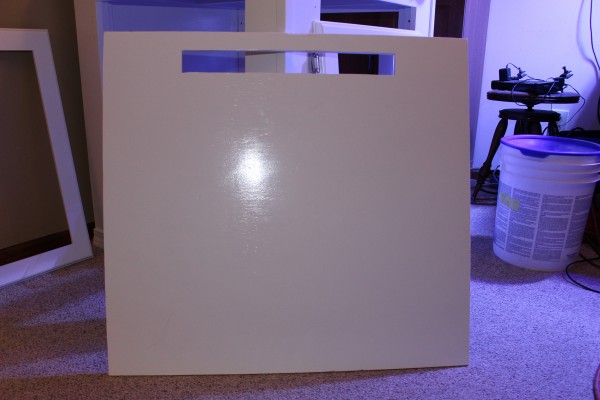
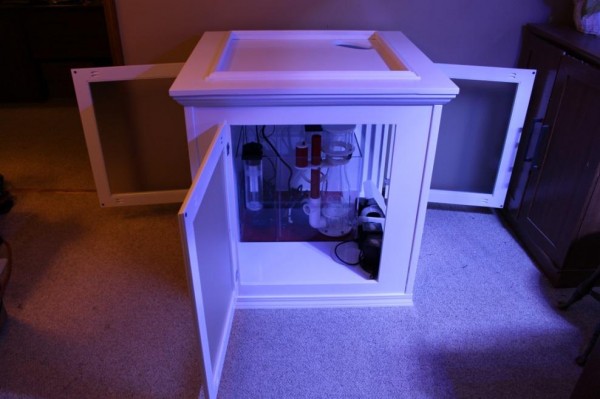
Next I caulked around the inside of the cabinet, primed it with two coats of Zinzer 123, and painted with 2 coats of gloss white appliance epoxy. this gives a very hard smooth finish similar to a dry erase board.
Finally I primed the entire cabinet with two coats of Zinzer using a high density foam roller and sanding with 150 grit after each coat.
I then painted the cabinet using Benjamin Moore Advanced semi-gloss in “Natural ivory”. This paint is fairly expensive but worth it in my opinion. It is a waterborne alkyd paint which lays out smooth like an oil paint and dries very hard, while at the same time has low VOC levels and cleans up with water. I sanded with 220 grit after the first coat of paint.
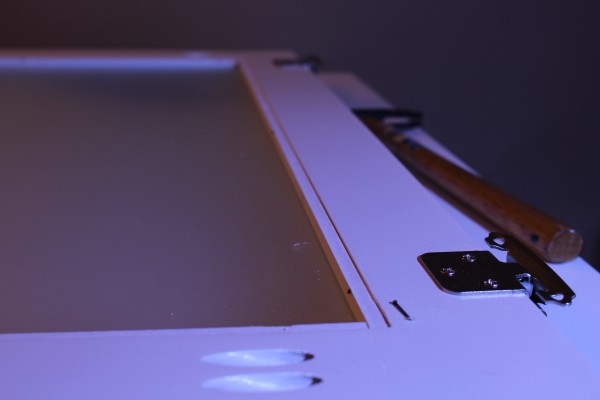
I attached the doors to the cabinet using flush mount self-closing hinges. I tried using euro hinges however with a profile on the door it is almost impossible to do so. You must drill a hole very close to the edge of the door for the hinge to sit down flush. Doing this without busting out the profile wasn’t possible for me.
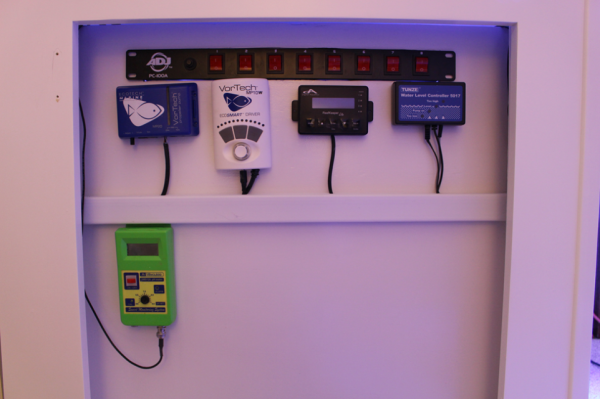
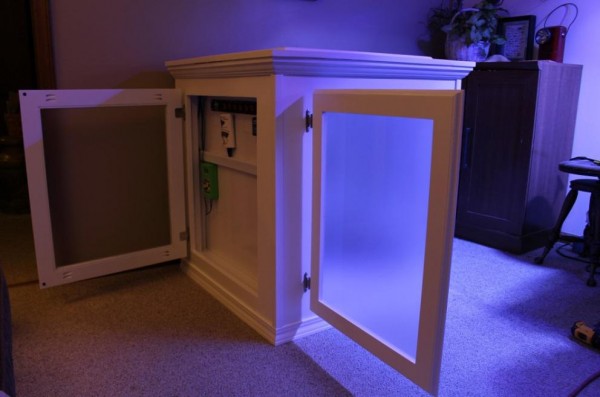
Electrical panel
At this point I decided to enclose a small section inside one of my doors in order to keep electrical components organized and dry. To do this I cut a ½” sheet to fit the full width of the stand. I then used a Jigsaw to cut out an opening for my DJ power strip. The plywood was then screwed directly into the legs, and everything was attached to the panel using Velcro.
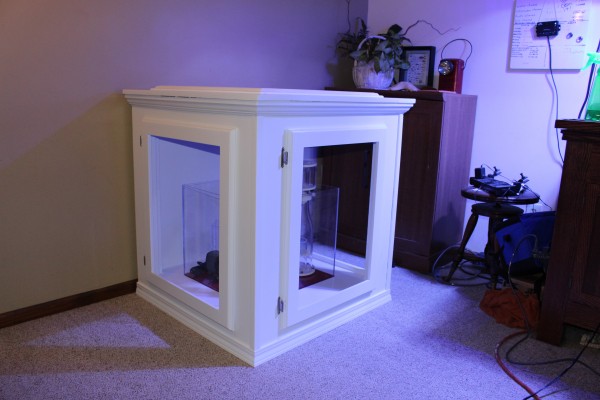
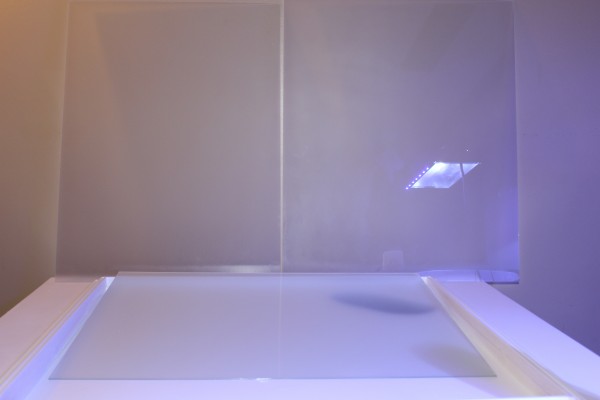
All that was left at this point was to install inserts into the door panels. For this build I decided to go with frosted glass panels. To do this I simply bought 1/8” clear glass which I had cut to size. I then sprayed the glass with 4 coats of Rustoleum Frosted Glass. The panels came out okay; however a better alternative would have been to just buy etched glass panels. All three panels with paint totaled less than $25 so it was a much cheaper option.

To attach the glass panels to the door I used ¼” poplar trim pieces that I purchased at Home Depot for about a quarter a piece, along with small finishing nails. I primed and painted them to match as well.
If you have any questions for Kevan about this build then you can ask him here in this thread:
Check here for more DIY topics or to share your own DIY project!
Leave a Reply
You must be logged in to post a comment.