


Hi all,
Last night and a chunk of today I embarked on adding 0-10v dimming to my Aquamanna LEDs. I also needed to quieten the fans down.
These lights are very simple to add dimming to. I made a mistake or three that caused the first unit to take about 4 hours total, but the second one was probably only an hour and a half for both the fans and the dimming.
Having said that, before you start, please make sure you are comfortable working with the tools and with electricity before doing this project. If you are not in any way comfortable or confident, let someone else do it or buy a different light that fits your needs better. When this thing is plugged up, there's all kinds of voltage running through it, including enough to kill you if you let it. Be careful and solder on! Ok, now that that is out of the way, lets continue.
For references, I found all of the information about dimming here: Interested in Apex/RK controlled d120's? - Page 3 - Do It Yourself - WAMAS Forums
Basically, this thread taught me these ballasts are simply using 0-10v dimming internally. All you need to do is jump two of the wires and plug the dimming into the other two!
I also used RussM's Apex cable pinout to determine what I needed to connect where to make the dimming work and not short it out. Basically pin 1 (either green/white or orange/white) is VS2 or VS4's positive, pin 2 (either green or orange) is ground, pin 5 (blue white) is VS 1 or 3's positive, pin 6 (orange or green) is VS 1 or 3's ground.
For making my fans a bit quieter, I had used a 12v fan resistor calculator (that I can't seem to find at the moment) and played around with different values until I found what worked. The fans in my unit are 12v, .12 amps so I ended up using a 50 Ohm 1/2w (the 1/2w is important... I needed at least .35w and had .5w on hand... 1/4w would not have been enough) resistors on the fans to quieten them down. I simply soldered them in series and put heatshrink on them to protect from any shorts.
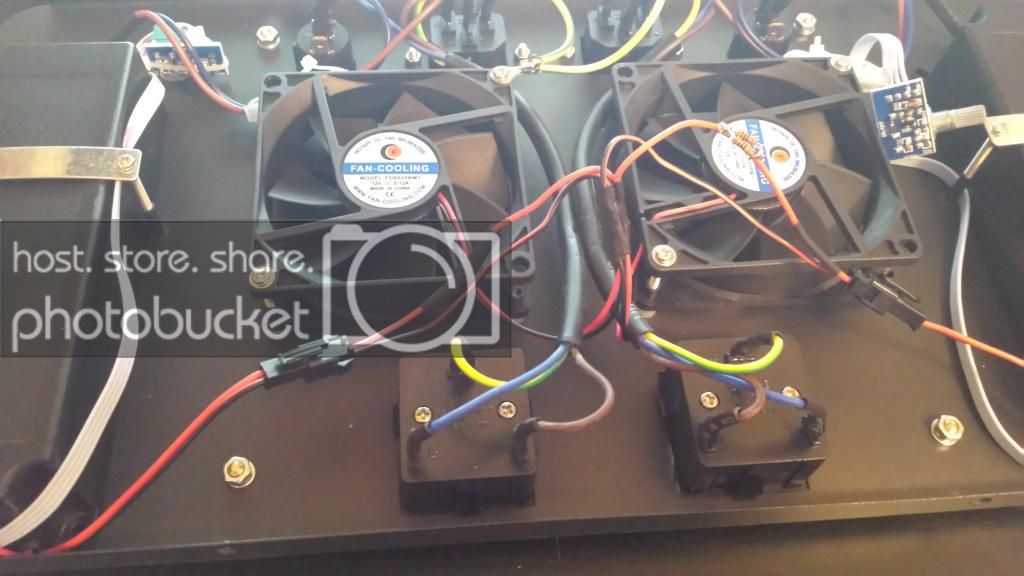
You see two resistors in the pic because I only had 100 Ohm .5w resistors, so I put two in parallel.")
For the dimming, I decided to do Cat 5 Keystone jacks. I went ahead and put two in so I could daisy chain my lights. The Apex's 0-10v ports are good for a max of 20mA of current. Each light pulls 2.5mA, so I am covered for probably up to 6 or so lights comfortably.
20140921_095133_zpsfc6a1b46.jpg Photo by NeveSSL | Photobucket
I checked the keystone jack with a digital caliper to get the size. It was .62 x .75 inches. I then used a Dremel to cut these holes out (nowhere near accurately, but they work with a little hot glue support... haha! The first fixture I cut them too big, the second fixture I cut them too small... go figure). I just used a reinforced cutoff wheel and cut straight down from the inside of the chassis until the line was made (roughly) the size of the keystone jack.
After mounting the keystones and gluing them in, I grabbed some wiring from a cat 5 cable and wired each pair all together. There were three wires total: 2 - from each of the jacks and 1 - that went to the ballast ribbon cable for the dimming. I cut all of these to length so I could just twist them together and solder them in the middle so they'd all be connected. I punched them down into the keystones just before I twisted (with pliers since they were solid copper wires) and soldered them together. They were then, of course, topped off with some heatshrink to prevent shorts. You want to take special care to not short the wires coming from the Apex as doing so may damage the 0-10v port (or at least the FETs that power them).
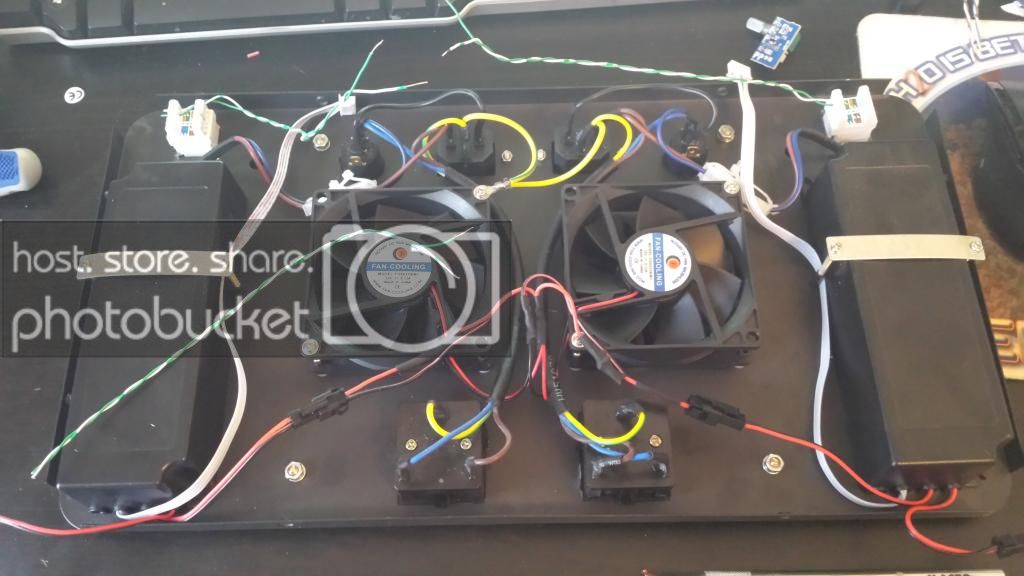
This pic was taken just before I twisted and soldered the wires together.
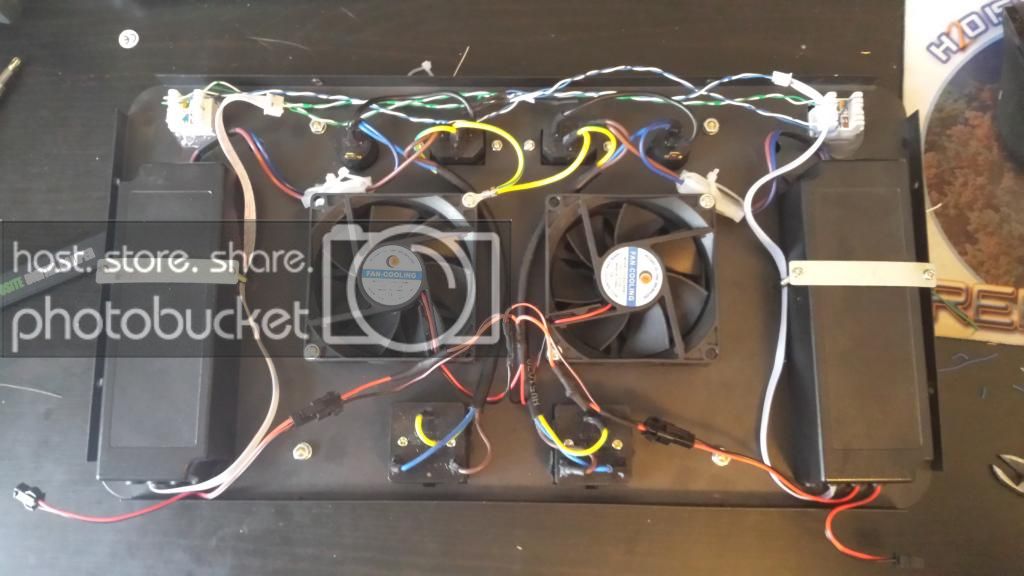
After all was said and done... this is it:
Wasn't too complicated, but it did take me a few minutes to wrap my head around a few things. I am ordering one more light for my tank and then I'll be set. These lights don't dim down super far, but far enough to be less shock to my fish. And also low enough to be fun.
Sorry this isn't a super detailed tutorial, but I thought I'd share what I had. Most of the time I was in too big of a hurry to take too many pics, but for most DIYers and tinkerers, this is enough to get you through the project.
Let me know if you have any questions. Hopefully this will help someone.
Brandon
Last night and a chunk of today I embarked on adding 0-10v dimming to my Aquamanna LEDs. I also needed to quieten the fans down.
These lights are very simple to add dimming to. I made a mistake or three that caused the first unit to take about 4 hours total, but the second one was probably only an hour and a half for both the fans and the dimming.
Having said that, before you start, please make sure you are comfortable working with the tools and with electricity before doing this project. If you are not in any way comfortable or confident, let someone else do it or buy a different light that fits your needs better. When this thing is plugged up, there's all kinds of voltage running through it, including enough to kill you if you let it. Be careful and solder on! Ok, now that that is out of the way, lets continue.
For references, I found all of the information about dimming here: Interested in Apex/RK controlled d120's? - Page 3 - Do It Yourself - WAMAS Forums
Basically, this thread taught me these ballasts are simply using 0-10v dimming internally. All you need to do is jump two of the wires and plug the dimming into the other two!
I also used RussM's Apex cable pinout to determine what I needed to connect where to make the dimming work and not short it out. Basically pin 1 (either green/white or orange/white) is VS2 or VS4's positive, pin 2 (either green or orange) is ground, pin 5 (blue white) is VS 1 or 3's positive, pin 6 (orange or green) is VS 1 or 3's ground.
For making my fans a bit quieter, I had used a 12v fan resistor calculator (that I can't seem to find at the moment) and played around with different values until I found what worked. The fans in my unit are 12v, .12 amps so I ended up using a 50 Ohm 1/2w (the 1/2w is important... I needed at least .35w and had .5w on hand... 1/4w would not have been enough) resistors on the fans to quieten them down. I simply soldered them in series and put heatshrink on them to protect from any shorts.
You see two resistors in the pic because I only had 100 Ohm .5w resistors, so I put two in parallel.
For the dimming, I decided to do Cat 5 Keystone jacks. I went ahead and put two in so I could daisy chain my lights. The Apex's 0-10v ports are good for a max of 20mA of current. Each light pulls 2.5mA, so I am covered for probably up to 6 or so lights comfortably.
20140921_095133_zpsfc6a1b46.jpg Photo by NeveSSL | Photobucket
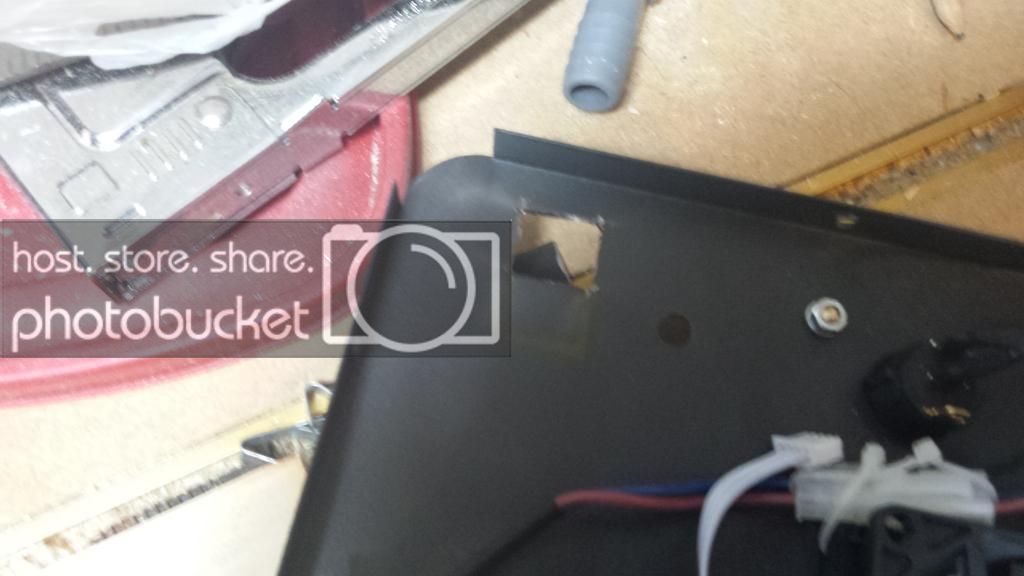
I checked the keystone jack with a digital caliper to get the size. It was .62 x .75 inches. I then used a Dremel to cut these holes out (nowhere near accurately, but they work with a little hot glue support... haha! The first fixture I cut them too big, the second fixture I cut them too small... go figure). I just used a reinforced cutoff wheel and cut straight down from the inside of the chassis until the line was made (roughly) the size of the keystone jack.
After mounting the keystones and gluing them in, I grabbed some wiring from a cat 5 cable and wired each pair all together. There were three wires total: 2 - from each of the jacks and 1 - that went to the ballast ribbon cable for the dimming. I cut all of these to length so I could just twist them together and solder them in the middle so they'd all be connected. I punched them down into the keystones just before I twisted (with pliers since they were solid copper wires) and soldered them together. They were then, of course, topped off with some heatshrink to prevent shorts. You want to take special care to not short the wires coming from the Apex as doing so may damage the 0-10v port (or at least the FETs that power them).
This pic was taken just before I twisted and soldered the wires together.
After all was said and done... this is it:
Wasn't too complicated, but it did take me a few minutes to wrap my head around a few things. I am ordering one more light for my tank and then I'll be set. These lights don't dim down super far, but far enough to be less shock to my fish. And also low enough to be fun.
Sorry this isn't a super detailed tutorial, but I thought I'd share what I had. Most of the time I was in too big of a hurry to take too many pics, but for most DIYers and tinkerers, this is enough to get you through the project.
Let me know if you have any questions. Hopefully this will help someone.
Brandon
Last edited:


