
First of I don't know HOW I haven't started a build thread. I remember starting one a year ago, guess it didn't stick. As an act of shear laziness i'm posting both tank builds in one thread.
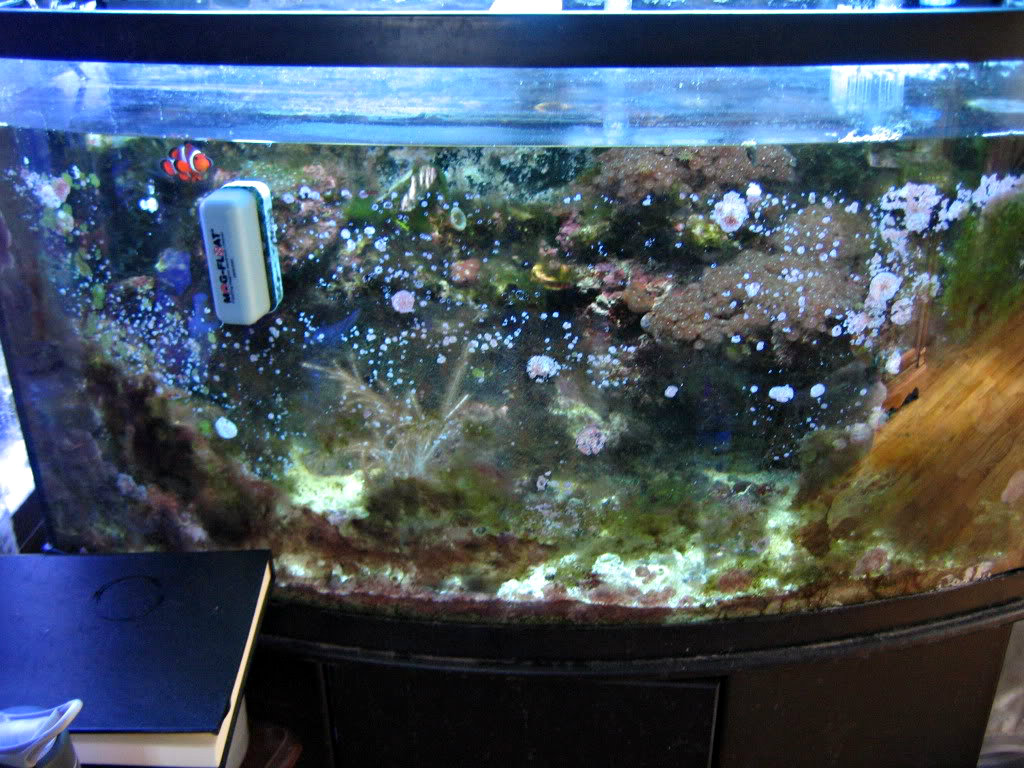
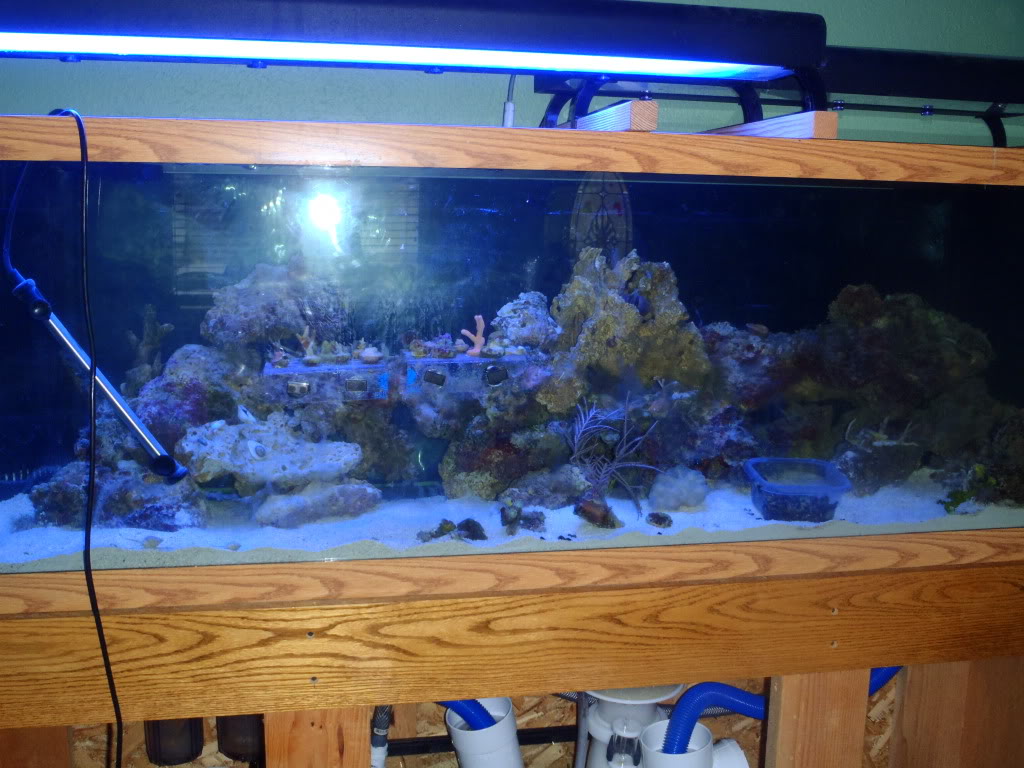
My last decade of saltwater adventuring began with a 46BF with mostly softies lots of live rock and a light fish load. I never did a water changed, not in almost 10 years. This last year in became my LPS tank as I waited to upgrade, and they did GREAT!
In 2005 I picked up a standard 55g to use as a REAL reef tank, you know with like real corals and stuff. After alot of forum reading I decided to try a plenum instead of DSB. My plan went awry when a girl i was dating tricked me into getting a sick moray eel and he became the sole occupier of that tank for a few years. After he died in 2008 I started a reboot to focus on zoas and SPS. So in the beginning of 2010 I cleaned out the tank, put in a sump, and started my journey towards real reefing.
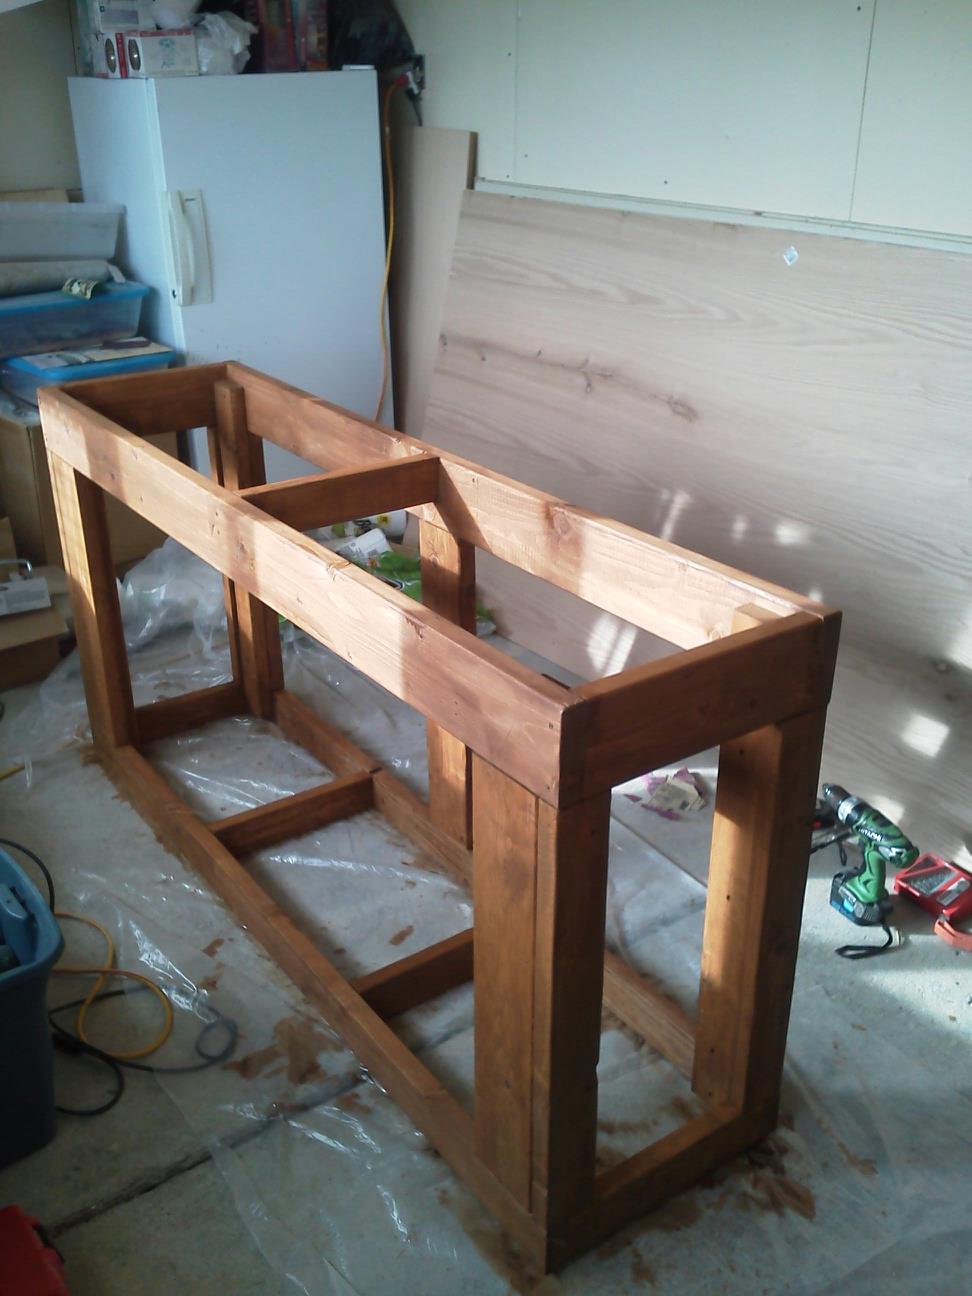
Everything went pretty well until June of 2011 when my wife found me a 125g tank with custom (AWESOME) stand for $150. I slacked pretty hard on tank maintenance due to the combining of my two aquariums, and since it was alot of work, I ignored the new build until now. Suffice it to say calurpa took over and I had some crashes.
So the time came and I began the break downs. Due to the many floods in my 55 due to siphon overflow problems, I worried sliding this tank while full. My wife needed to paint so I slid the 46 away and drain my 55 into a 100 gallon rubber-made stock tank. This job I figured would take 2 hours and ended up being well over 5! I did spend hours pulling hidden frags out of the solid mat of calurpa, finding so many frags it too the edge off losing so many SPS. My kole tang was the last fish out and became stressed from the disturbing of the sand bed and didn't make it :-( Alos could have been the Powder tang.

My fish and coral lived here for a little over a week as painting commenced. The powder murdered all the tang and went back to the store
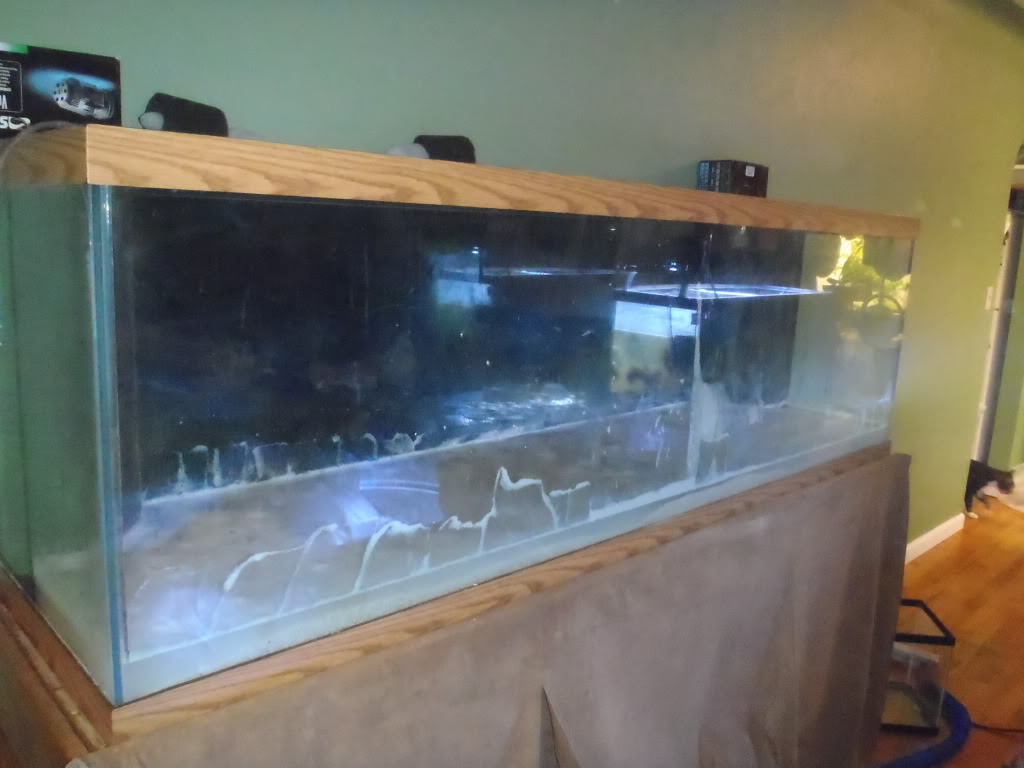
 I finished breaking down my 46 and started on the 125!
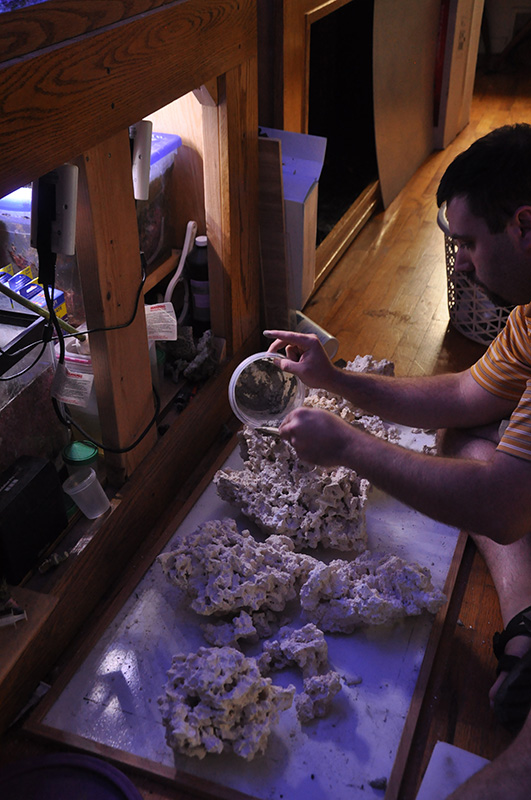
For this project I decided to go with a light sand bed of sugar sand and seafloor grade sand at about a 1:1 ratio and made up as much water as I could. My plan was to use as much of the tank water from my other two systems as I could so that stress would be minimized.
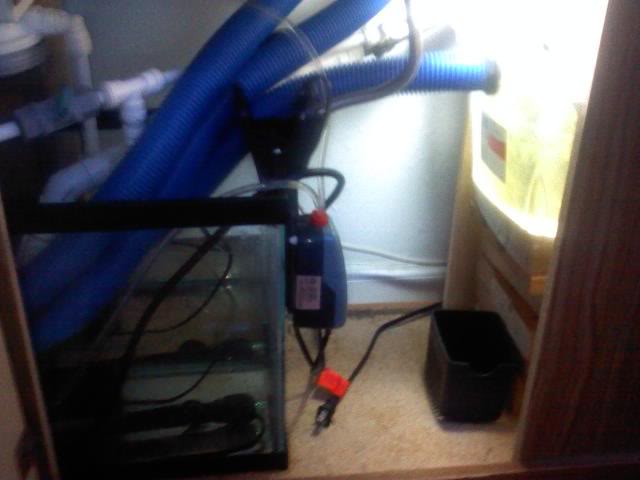
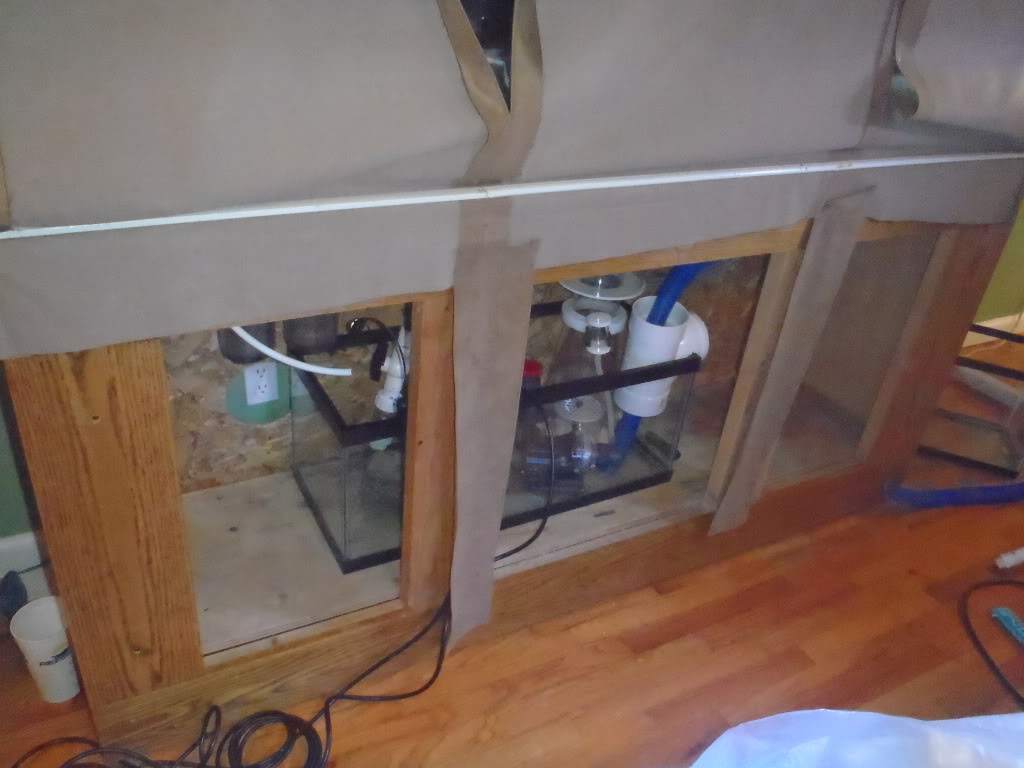
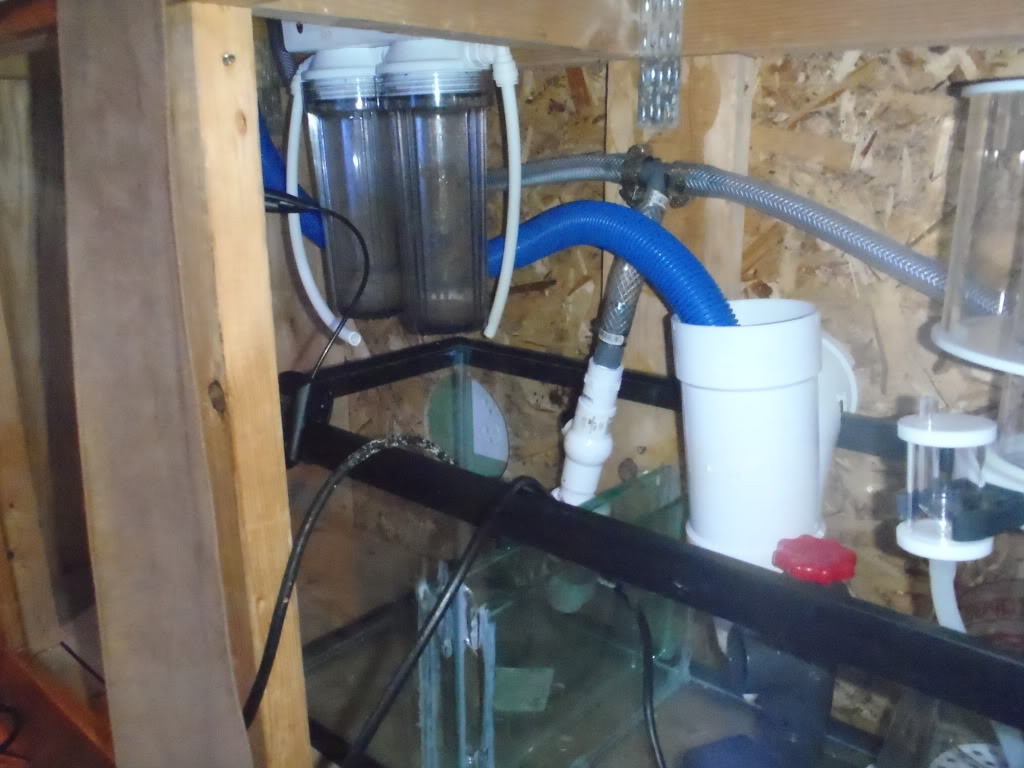
Before breaking down the 46 I finished the new sump plumbing:
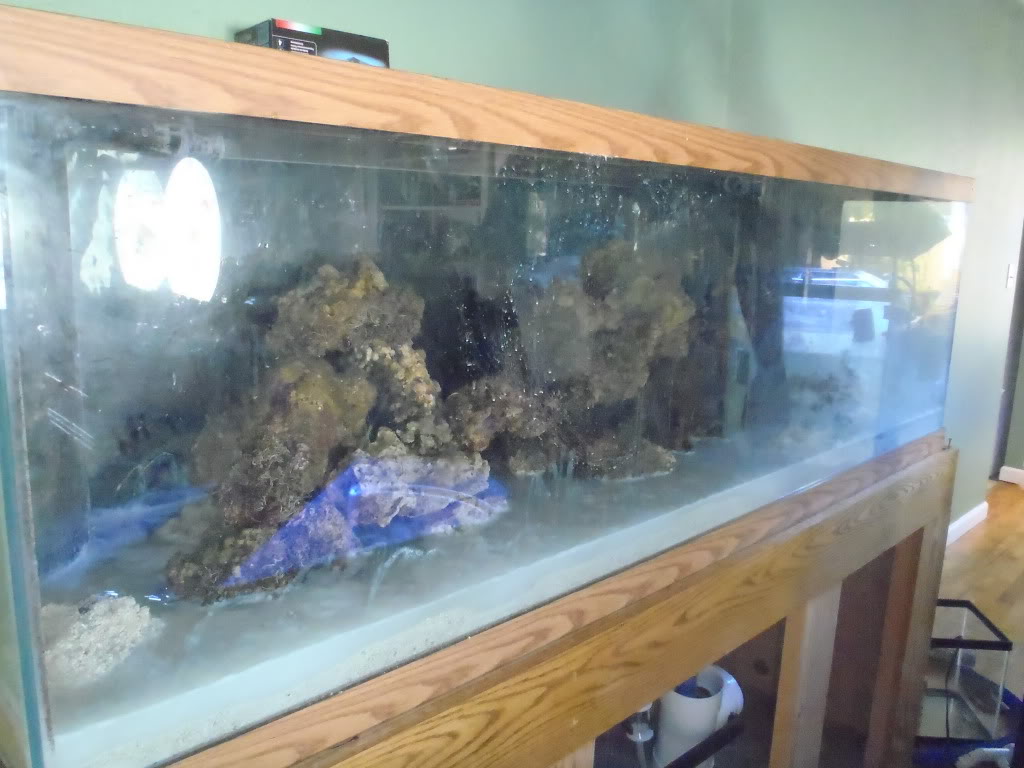
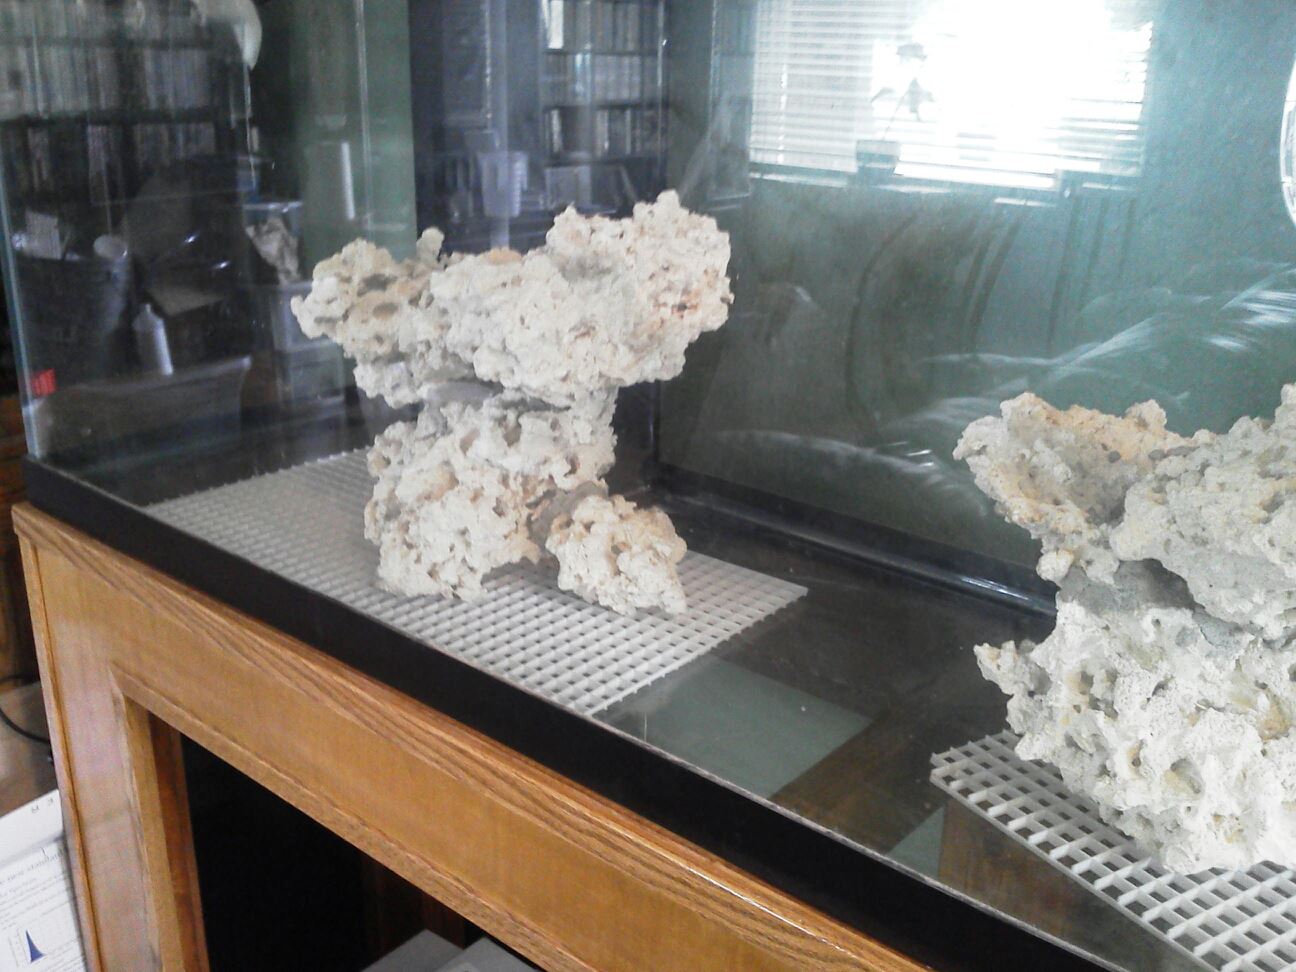
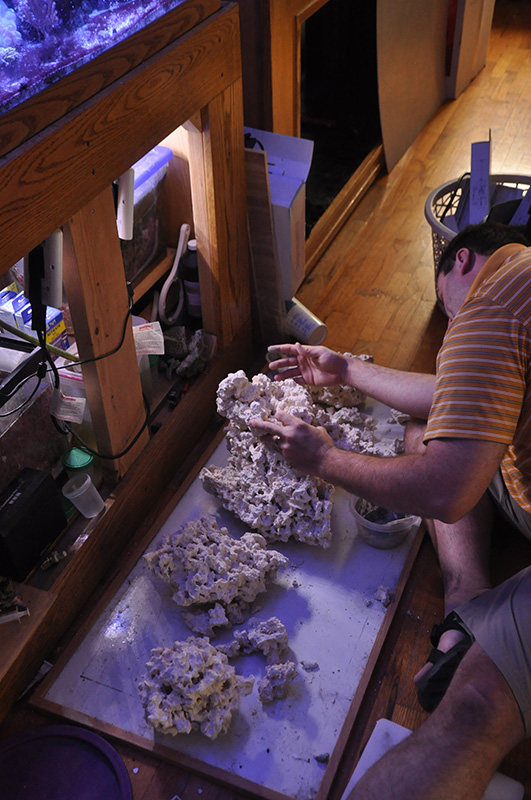
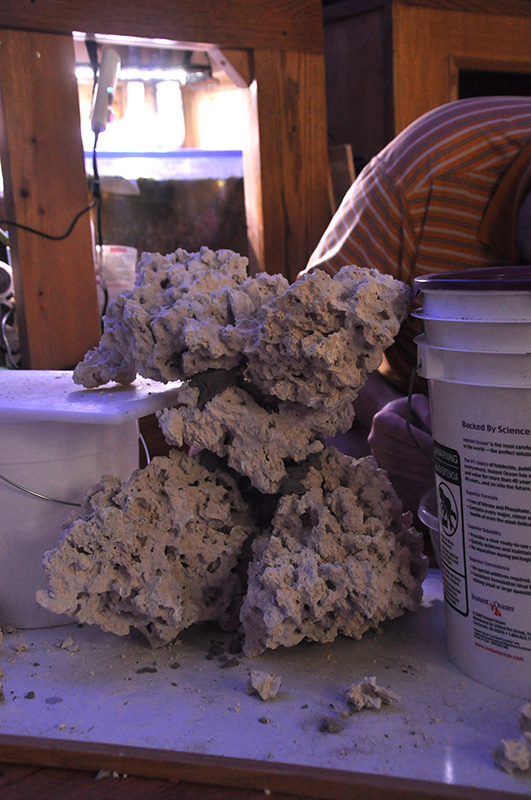
Then the breakdown and rebuild began. I was worried about having enough rock to fill the 125 but apparently it wasn't an issue!!! I planned on building my formations with a few small rocks on the egg-crate then large rock to assure I have TONS of flow under my rocks to help combat nitrate and phosphate buildup from detritus. I like low maintenance systems!
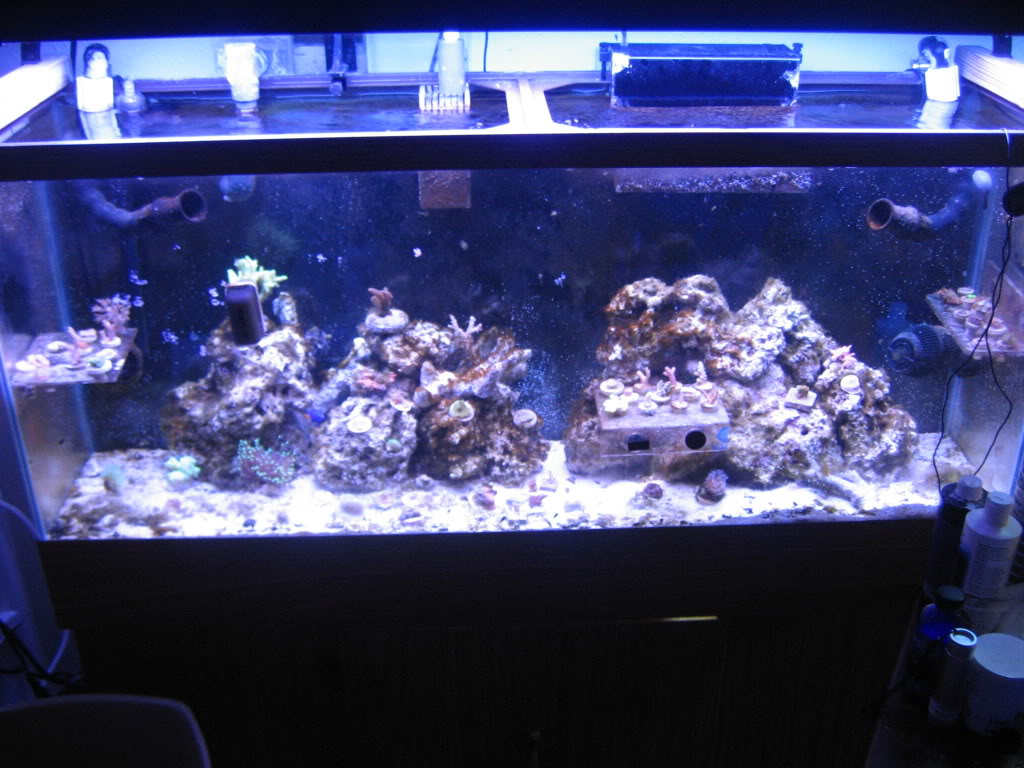
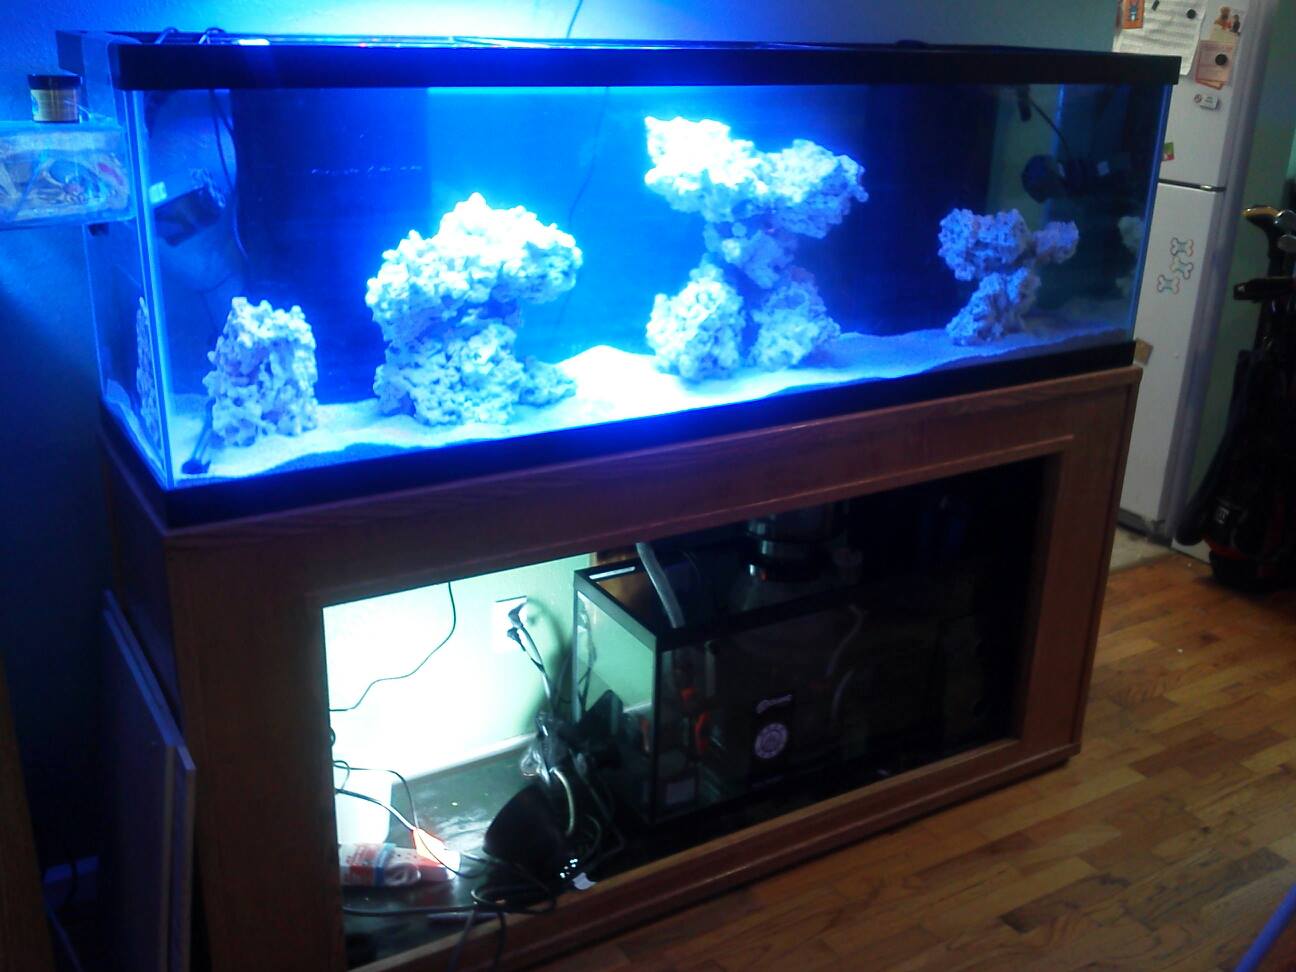
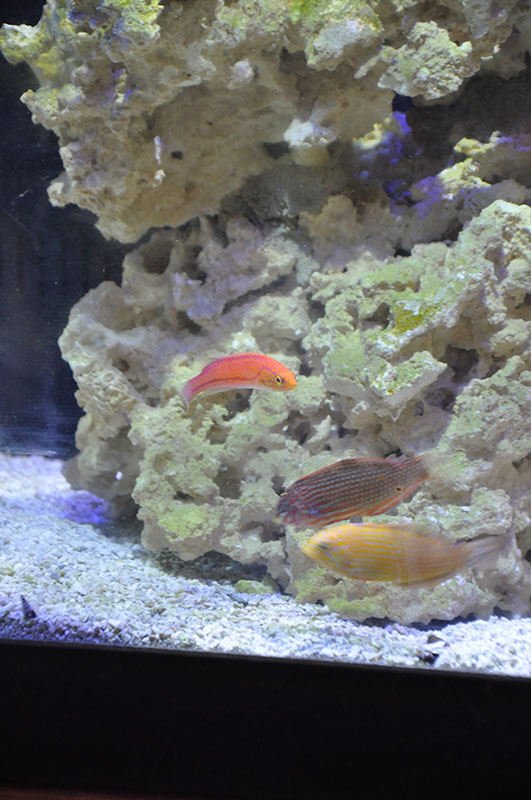
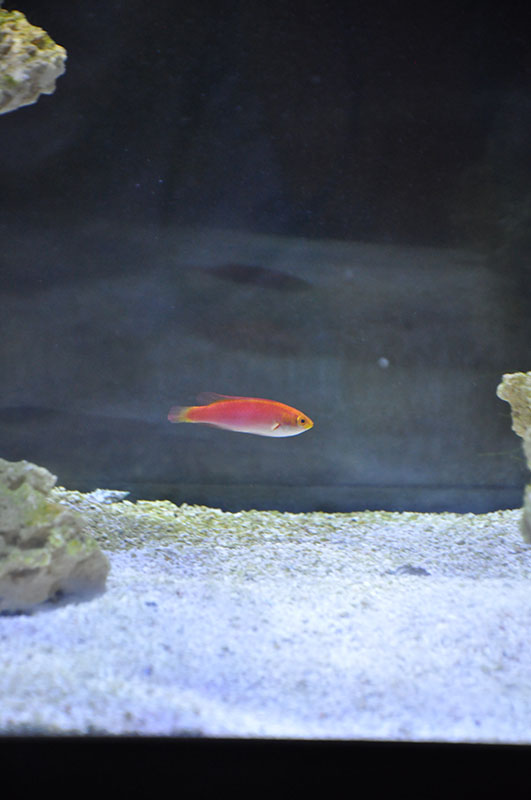
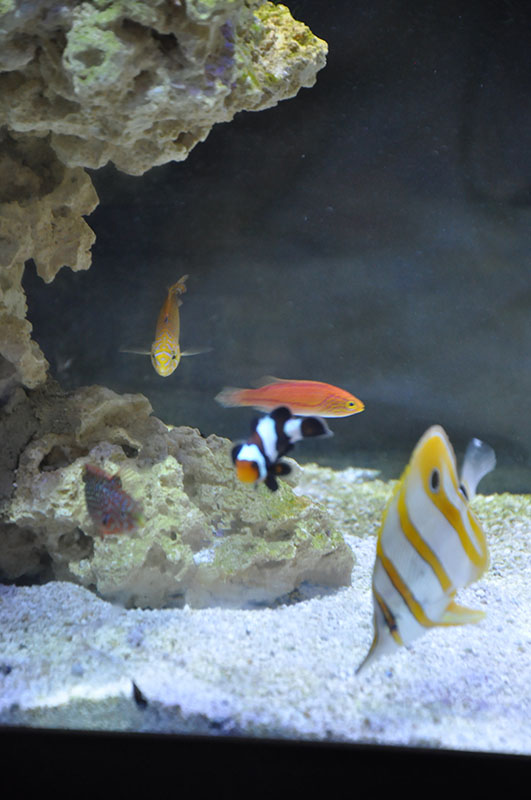
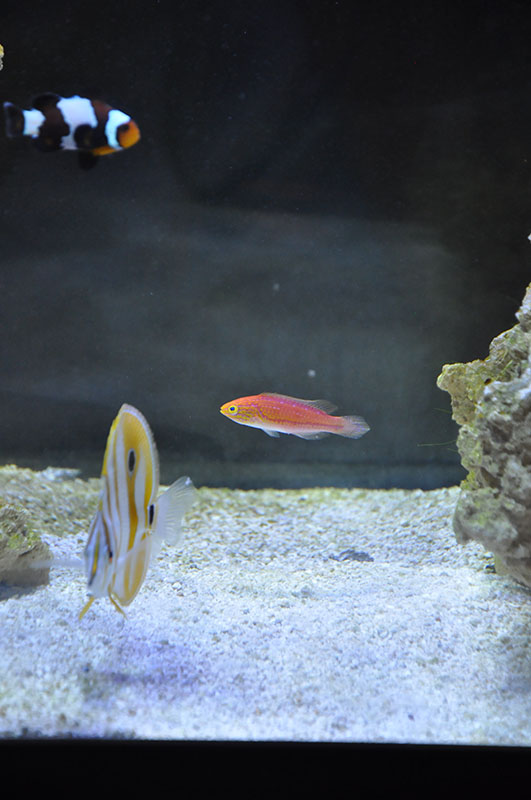
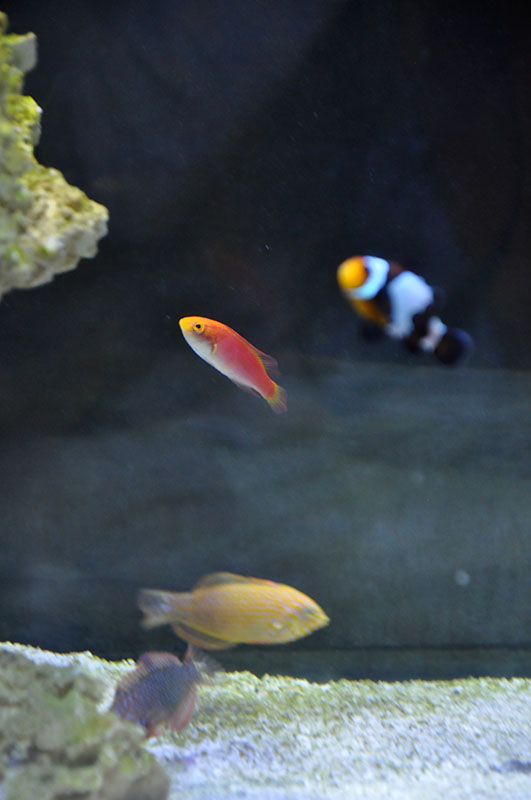
After getting my fish and corals moved across and the water filled up towards the top, I really like how it turned out. This is a great aquascape IMO the best I've done so far. My pygmy wrasse is happy, everyone is eating, and its onto the final stages.
You can see on the right my clean up crew from John Maloney at reefcleaners. Really great shipment for Montana in December the snails woke up fast and climbed out of the tupperware. I am still using my Sundial 4 bulb T5 lights from my 48" tank and my 36" tank but I have Jonathan from ReefWerks building me a LED system. The last few parts of the puzzle will be hooking up my BRS Dual reactor (Looking back I wish I had bought 2reactors instead of a dual) when I can get my dang 3/8" plugs. Im excited about this since alot of my 55g trouble were that to change GFO or add carbon I had to completely dissemble my return plumbing to get to my reactor. It took 15-20 minutes before, and now MAYBE 5 minutes.
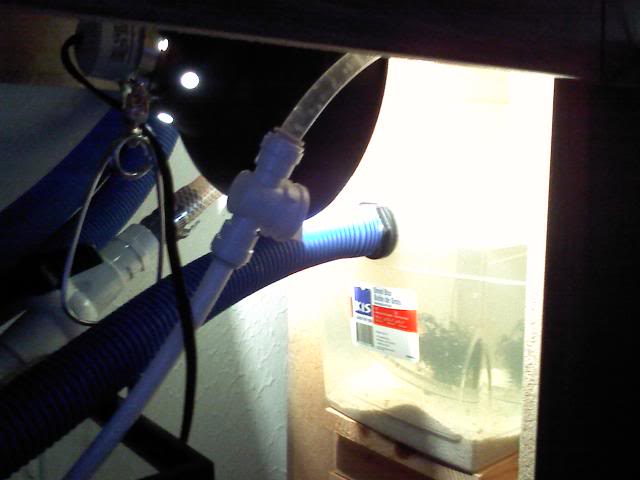
Finally I have to put in my 10g Fuge. I had a glass place drill a hole and it was the wrong size, so i took it back. This time the glass crack and the replaced to but with new silicon I can't press gang it into service for another day or so!
Lastly I'm tring to figure how to use an Aqua Controler Jr to run my system. I can't dim my LED with it but out well, on/off will have to be ok. It also seems that the wavemaker system will have to be 1 minute minimum switches. It will be a good primer though until I can afford a Reef Angel, which since I want a bunch of chalices will be a while.
Extra Equipment: I have a high end dosing pump to install. A uv system if I want to, and a ton of crap to sell on craiglist/ebay if I can!
My last decade of saltwater adventuring began with a 46BF with mostly softies lots of live rock and a light fish load. I never did a water changed, not in almost 10 years. This last year in became my LPS tank as I waited to upgrade, and they did GREAT!
In 2005 I picked up a standard 55g to use as a REAL reef tank, you know with like real corals and stuff. After alot of forum reading I decided to try a plenum instead of DSB. My plan went awry when a girl i was dating tricked me into getting a sick moray eel and he became the sole occupier of that tank for a few years. After he died in 2008 I started a reboot to focus on zoas and SPS. So in the beginning of 2010 I cleaned out the tank, put in a sump, and started my journey towards real reefing.
Everything went pretty well until June of 2011 when my wife found me a 125g tank with custom (AWESOME) stand for $150. I slacked pretty hard on tank maintenance due to the combining of my two aquariums, and since it was alot of work, I ignored the new build until now. Suffice it to say calurpa took over and I had some crashes.
So the time came and I began the break downs. Due to the many floods in my 55 due to siphon overflow problems, I worried sliding this tank while full. My wife needed to paint so I slid the 46 away and drain my 55 into a 100 gallon rubber-made stock tank. This job I figured would take 2 hours and ended up being well over 5! I did spend hours pulling hidden frags out of the solid mat of calurpa, finding so many frags it too the edge off losing so many SPS. My kole tang was the last fish out and became stressed from the disturbing of the sand bed and didn't make it :-( Alos could have been the Powder tang.
My fish and coral lived here for a little over a week as painting commenced. The powder murdered all the tang and went back to the store
For this project I decided to go with a light sand bed of sugar sand and seafloor grade sand at about a 1:1 ratio and made up as much water as I could. My plan was to use as much of the tank water from my other two systems as I could so that stress would be minimized.
Before breaking down the 46 I finished the new sump plumbing:
Then the breakdown and rebuild began. I was worried about having enough rock to fill the 125 but apparently it wasn't an issue!!! I planned on building my formations with a few small rocks on the egg-crate then large rock to assure I have TONS of flow under my rocks to help combat nitrate and phosphate buildup from detritus. I like low maintenance systems!
After getting my fish and corals moved across and the water filled up towards the top, I really like how it turned out. This is a great aquascape IMO the best I've done so far. My pygmy wrasse is happy, everyone is eating, and its onto the final stages.
You can see on the right my clean up crew from John Maloney at reefcleaners. Really great shipment for Montana in December the snails woke up fast and climbed out of the tupperware. I am still using my Sundial 4 bulb T5 lights from my 48" tank and my 36" tank but I have Jonathan from ReefWerks building me a LED system. The last few parts of the puzzle will be hooking up my BRS Dual reactor (Looking back I wish I had bought 2reactors instead of a dual) when I can get my dang 3/8" plugs. Im excited about this since alot of my 55g trouble were that to change GFO or add carbon I had to completely dissemble my return plumbing to get to my reactor. It took 15-20 minutes before, and now MAYBE 5 minutes.
Finally I have to put in my 10g Fuge. I had a glass place drill a hole and it was the wrong size, so i took it back. This time the glass crack and the replaced to but with new silicon I can't press gang it into service for another day or so!
Lastly I'm tring to figure how to use an Aqua Controler Jr to run my system. I can't dim my LED with it but out well, on/off will have to be ok. It also seems that the wavemaker system will have to be 1 minute minimum switches. It will be a good primer though until I can afford a Reef Angel, which since I want a bunch of chalices will be a while.
Extra Equipment: I have a high end dosing pump to install. A uv system if I want to, and a ton of crap to sell on craiglist/ebay if I can!


")


