Let it Snow, Let it Flow, Let it Grow

Pepcrylic

Active Member
View Badges
Joined
Apr 2, 2014
Messages
361
Reaction score
167
Location
Utopia
Rating - 0%
0   0   0
Now that you are here to see what the title is all about.

Let it Snow
I will be documenting a 120 acrylic tank 40 X 30 X 24 tall, Also will build a sump 36 X 20 X 16 tall. The tank will be 3/4'', and the sump will be 1/2''
If you have ever ran a router along the edge of a piece of acrylic yo will understand the Snow.
These 2 builds will be very detaild on the procceses I use to construct a water tight vessel.

Let it Flow
This system will have a closed loop. The pump will be a Sequence 4200.It will be plumbed into an Ocean Motions 4 way, with a 1,3-2,4 barrel.
That means the flow willchange from corner to corner out of the 4 ports.

Let it Grow
I will try to run this reef as a mixed reef with 2 170 watt CLT led lights. The rock work will not be your typical pile of rocks.

This will not happen over nite. My last documented build filled aprox. 20+ pages on another forum.
If you are into details and pics stay tuned :evil:
 
OP
OP
Pepcrylic

Pepcrylic

Active Member
View Badges
Joined
Apr 2, 2014
Messages
361
Reaction score
167
Location
Utopia
Rating - 0%
0   0   0
This is a test, to see if I still know how to post up some pics from Photobucket
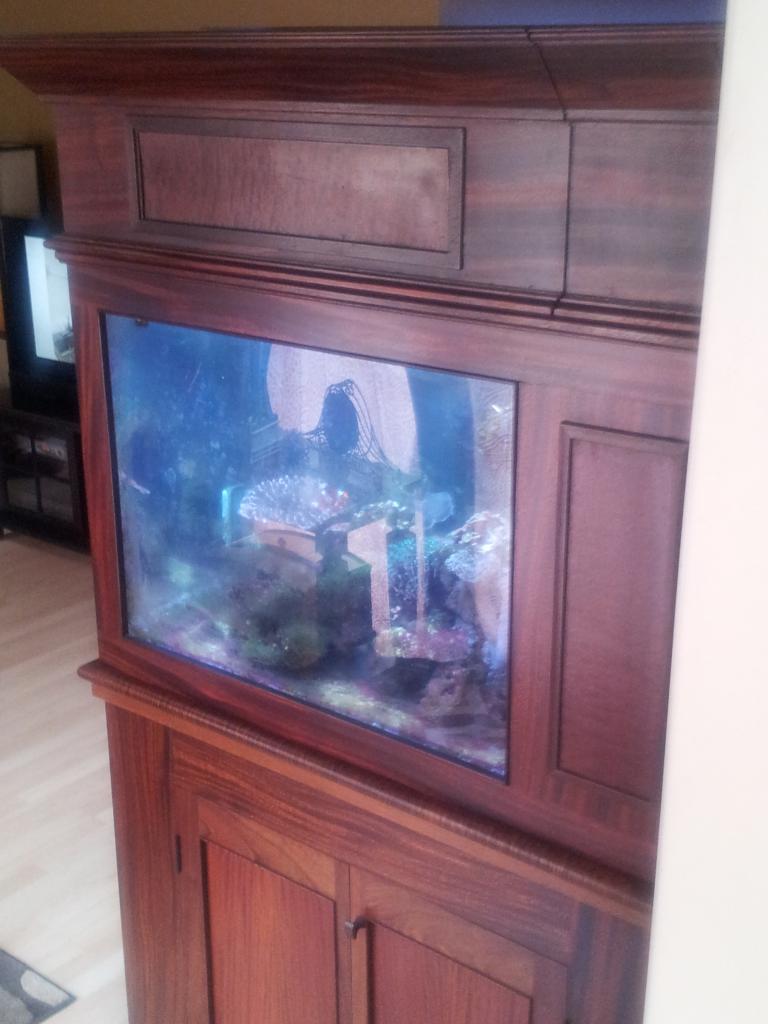
This is the stand that the new 120 is going to fit into.
 
OP
OP
Pepcrylic

Pepcrylic

Active Member
View Badges
Joined
Apr 2, 2014
Messages
361
Reaction score
167
Location
Utopia
Rating - 0%
0   0   0
Wow that is a monster pic. LOL
I built the tank that is housed in this stand. It is a 90gal All In One. I have had it running for 2 years. Doing mait. on it is a pain in the.....
The new 120 will be plumbed to have water changes done with the turn of a valve and a flip of a switch. Old water out!! Fresh saltwater in. 25 -30 gal at a time.
I will also cover the mixing station in this build.
 

reefaddictionrx

Active Member
View Badges
Joined
Feb 22, 2010
Messages
232
Reaction score
2
Location
KY
Rating - 0%
0   0   0
Nice start! That is a beautiful stand. I'm a big fan of the 120g tanks, although that is a unique set of dimensions! Sounds great...I like the added width compared to the normal 24".
 
OP
OP
Pepcrylic

Pepcrylic

Active Member
View Badges
Joined
Apr 2, 2014
Messages
361
Reaction score
167
Location
Utopia
Rating - 0%
0   0   0
Nice start! That is a beautiful stand. I'm a big fan of the 120g tanks, although that is a unique set of dimensions! Sounds great...I like the added width compared to the normal 24".

Yes the added 6'' is a result of the 90 AIO needed room behind the tank for a hang on back skimmer. Now that I will be running a sump I can use the extra space for MORE water.
 

mfinn

likes zoanthids
View Badges
Joined
Jul 22, 2006
Messages
11,746
Reaction score
8,366
Location
Olympia, WA.
Rating - 100%
5   0   0
I think the picture size was fine. When you have to scroll sideways, now that's a little excessive.
Shows nice detail.
 
OP
OP
Pepcrylic

Pepcrylic

Active Member
View Badges
Joined
Apr 2, 2014
Messages
361
Reaction score
167
Location
Utopia
Rating - 0%
0   0   0
More pics to come soon. Need to deal with a problem with Potobucket.
Acrylic is sitting in the garage 1 sheet of 3/4'' and a sheet of 1/2''
 
OP
OP
Pepcrylic

Pepcrylic

Active Member
View Badges
Joined
Apr 2, 2014
Messages
361
Reaction score
167
Location
Utopia
Rating - 0%
0   0   0
OK I think I have my Photobucket issue cleared up.
Here a of couple pics to get things started.
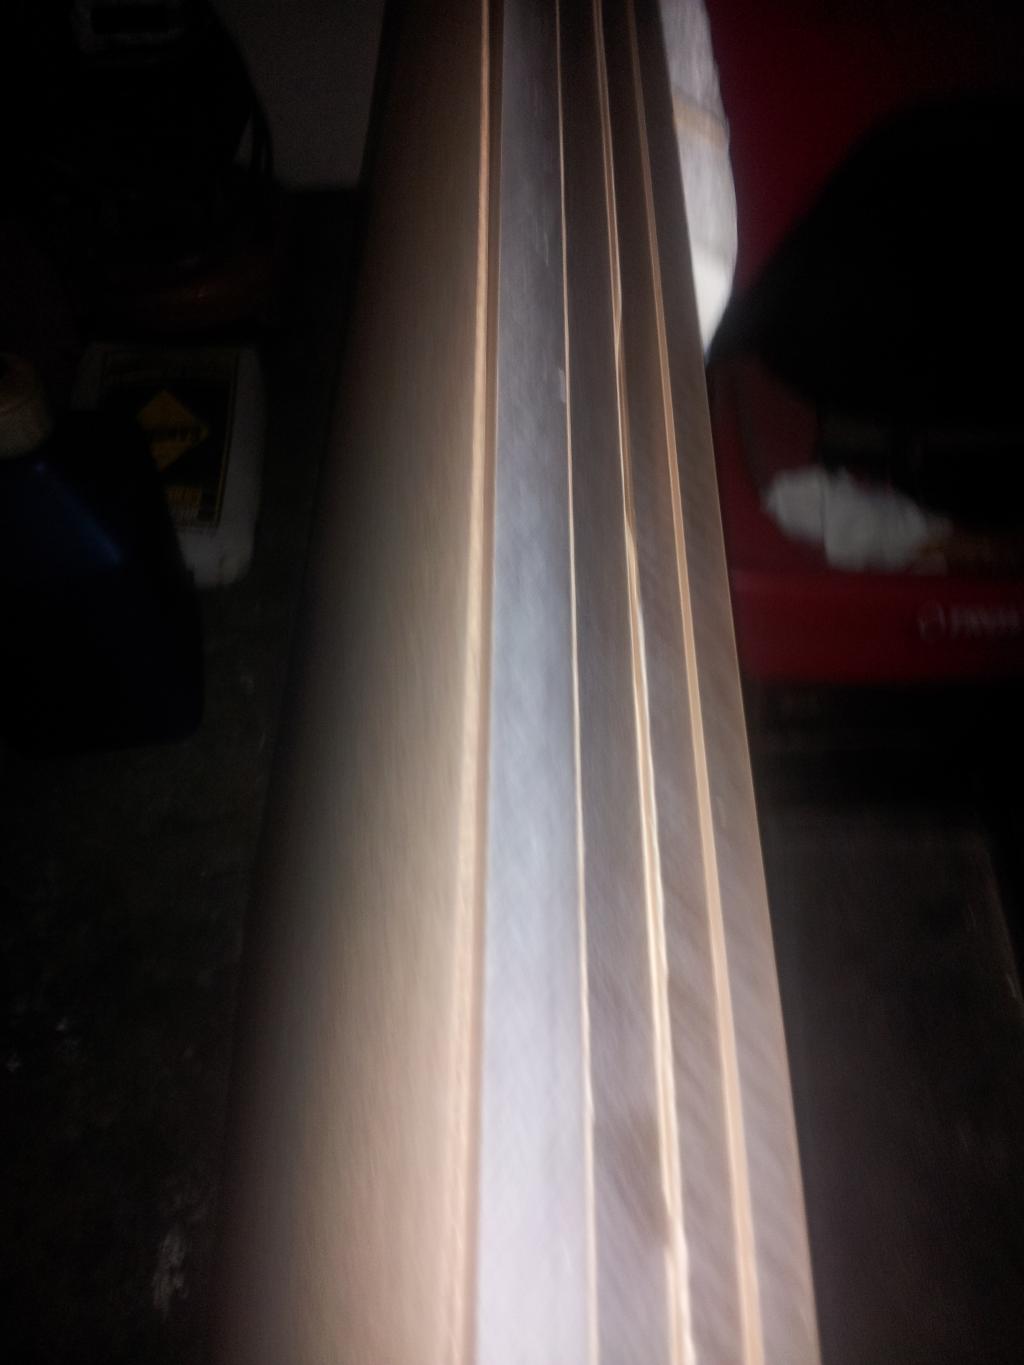
The first is the acrylic in the garage. The 3/4'' and the 1/2'' are for my tank. The 2 other 3/8'' pieces are for a buddy of mine who needs a couple of freshwater holding tanks built.

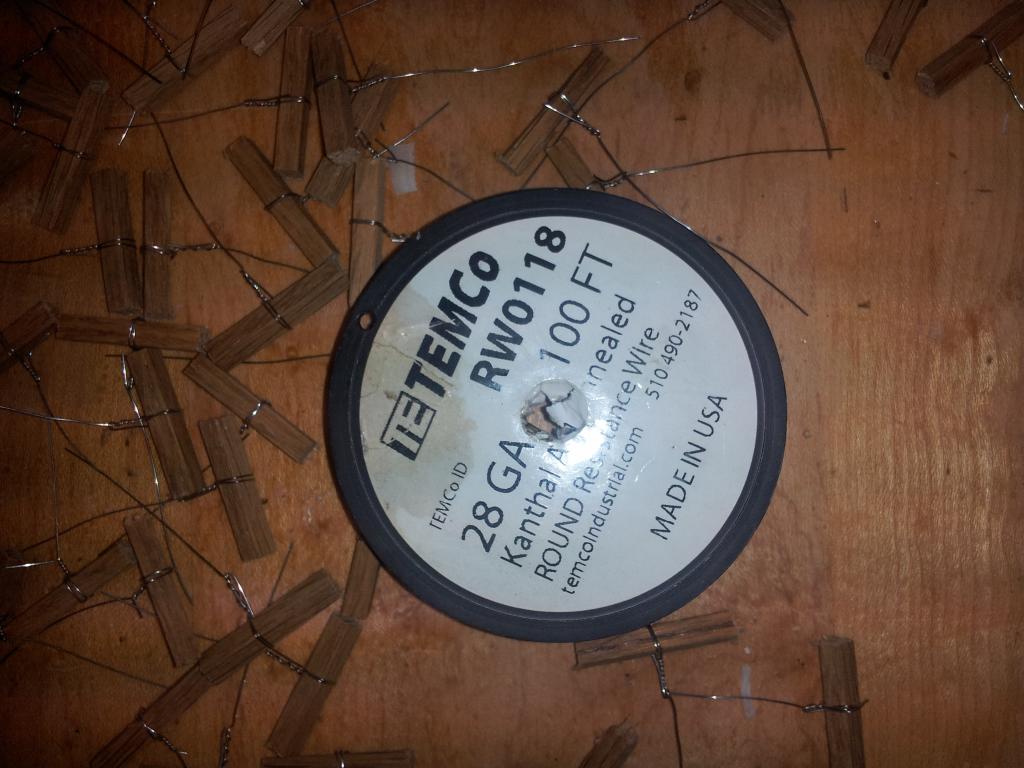
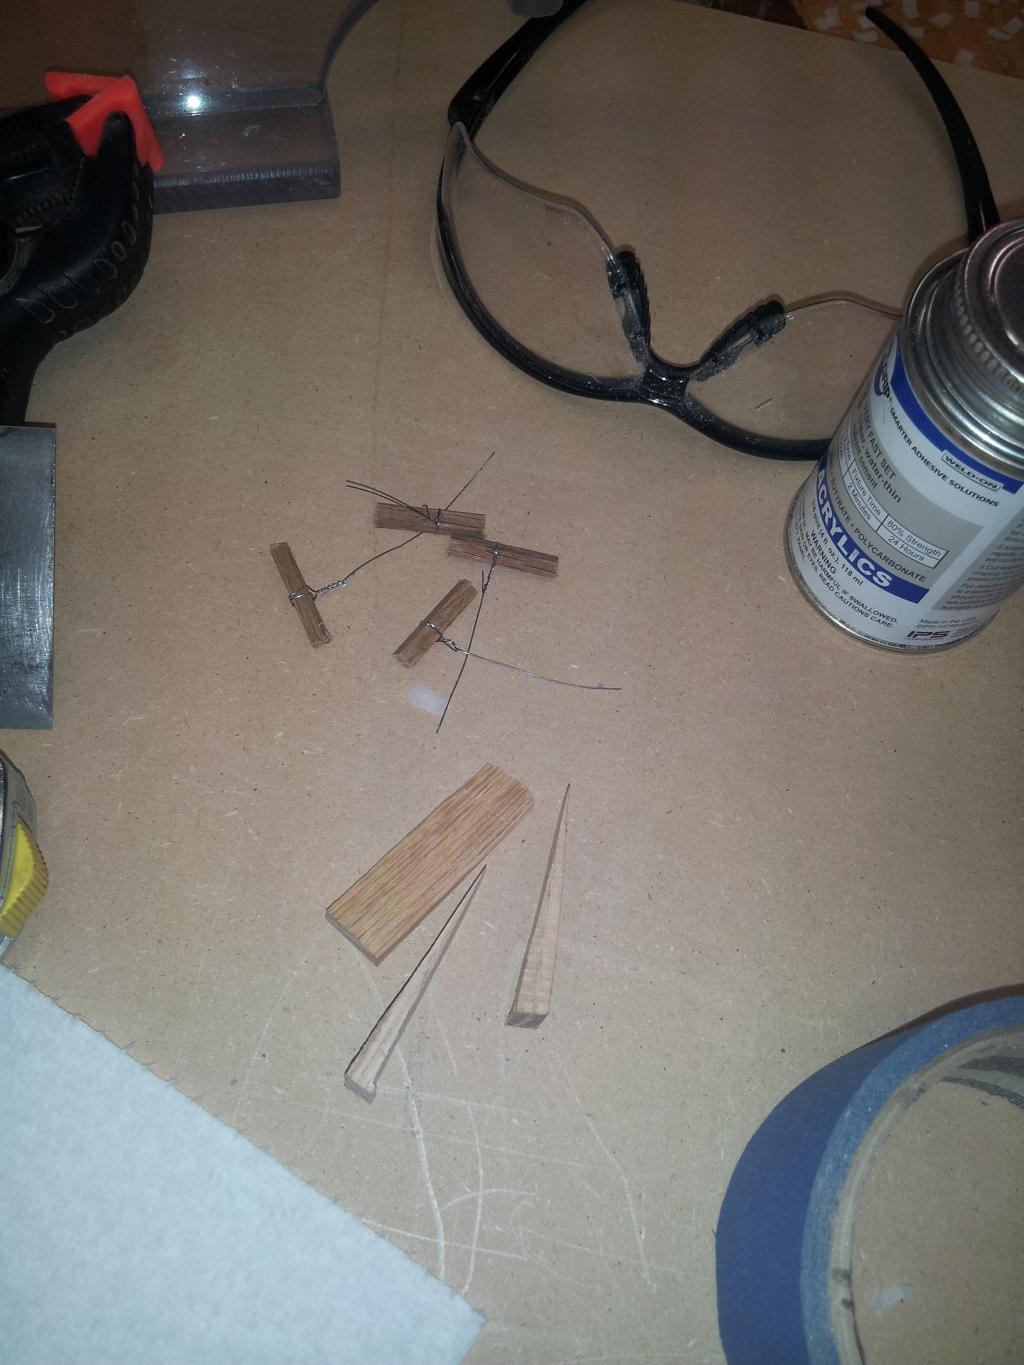
I will be useing the pin method to weld the acrylic joints. I use 28ga. wire wrapped around small wooden pegs. The peg gives me a better grip to pull the wire out of the joint when welding the seams
 
OP
OP
Pepcrylic

Pepcrylic

Active Member
View Badges
Joined
Apr 2, 2014
Messages
361
Reaction score
167
Location
Utopia
Rating - 0%
0   0   0
Quick short update
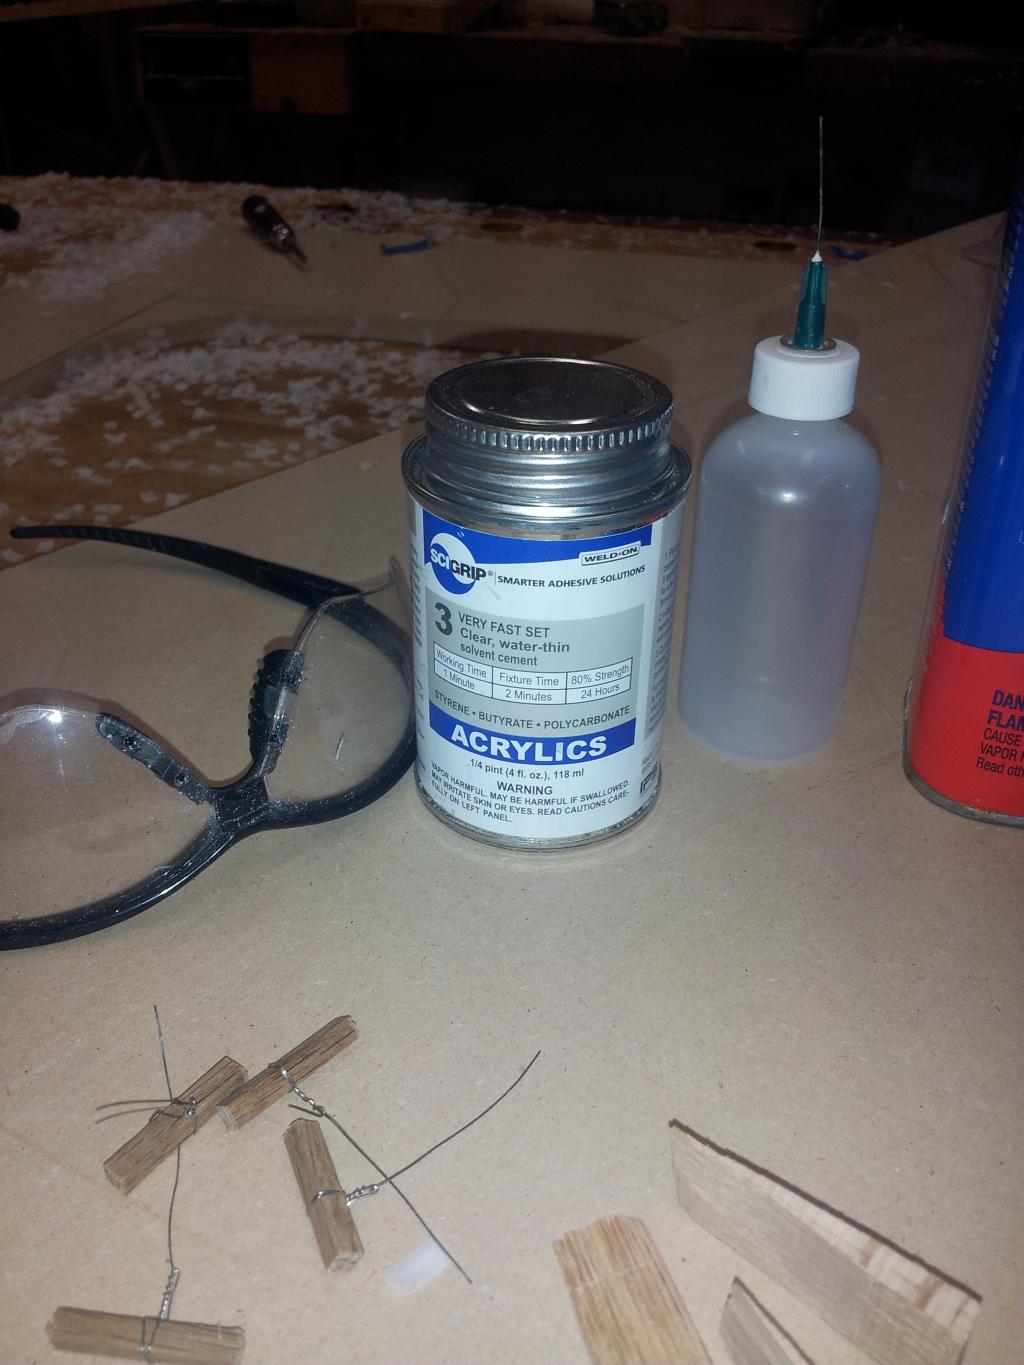
Here are a few of the tools and supplies that I use to build an acrylic tank


ReeferEric

Resident Reef Junky
View Badges
Joined
Jan 27, 2012
Messages
1,490
Reaction score
357
Location
Miramar, FL
Rating - 0%
0   0   0
Good start, always nice to see a build from the start including the tank.
 
OP
OP
Pepcrylic

Pepcrylic

Active Member
View Badges
Joined
Apr 2, 2014
Messages
361
Reaction score
167
Location
Utopia
Rating - 0%
0   0   0
I am fortunate enough to have the space, tools, and ablity to build my own tank. Many of the titles you see on these forums should read "My Reef Assembly" LOL
 
OP
OP
Pepcrylic

Pepcrylic

Active Member
View Badges
Joined
Apr 2, 2014
Messages
361
Reaction score
167
Location
Utopia
Rating - 0%
0   0   0
Mall update
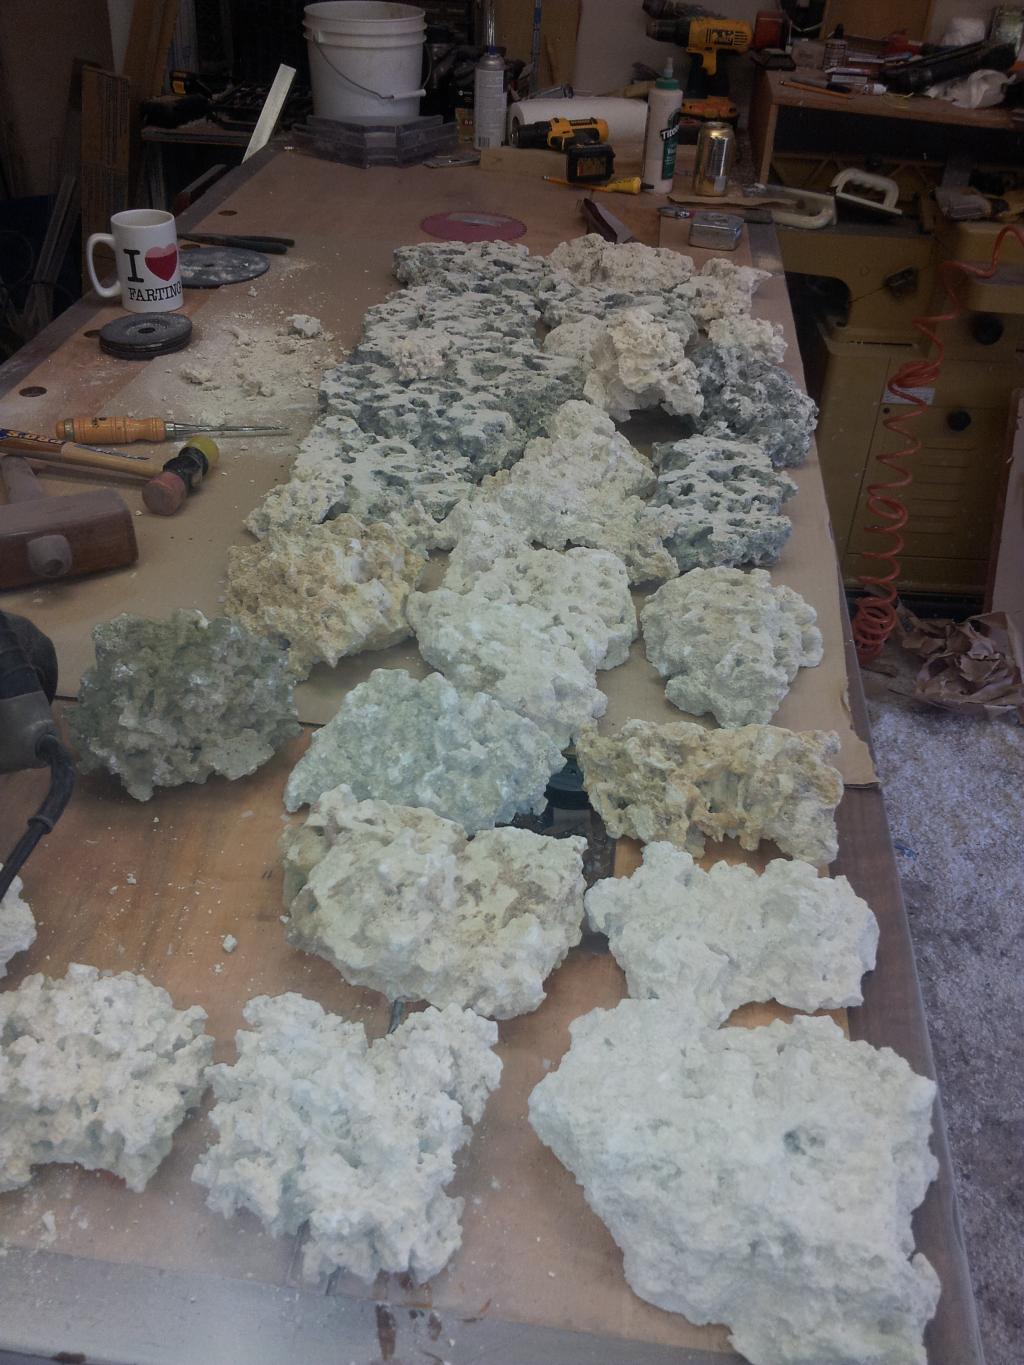
I will be adding a rock wall to this build
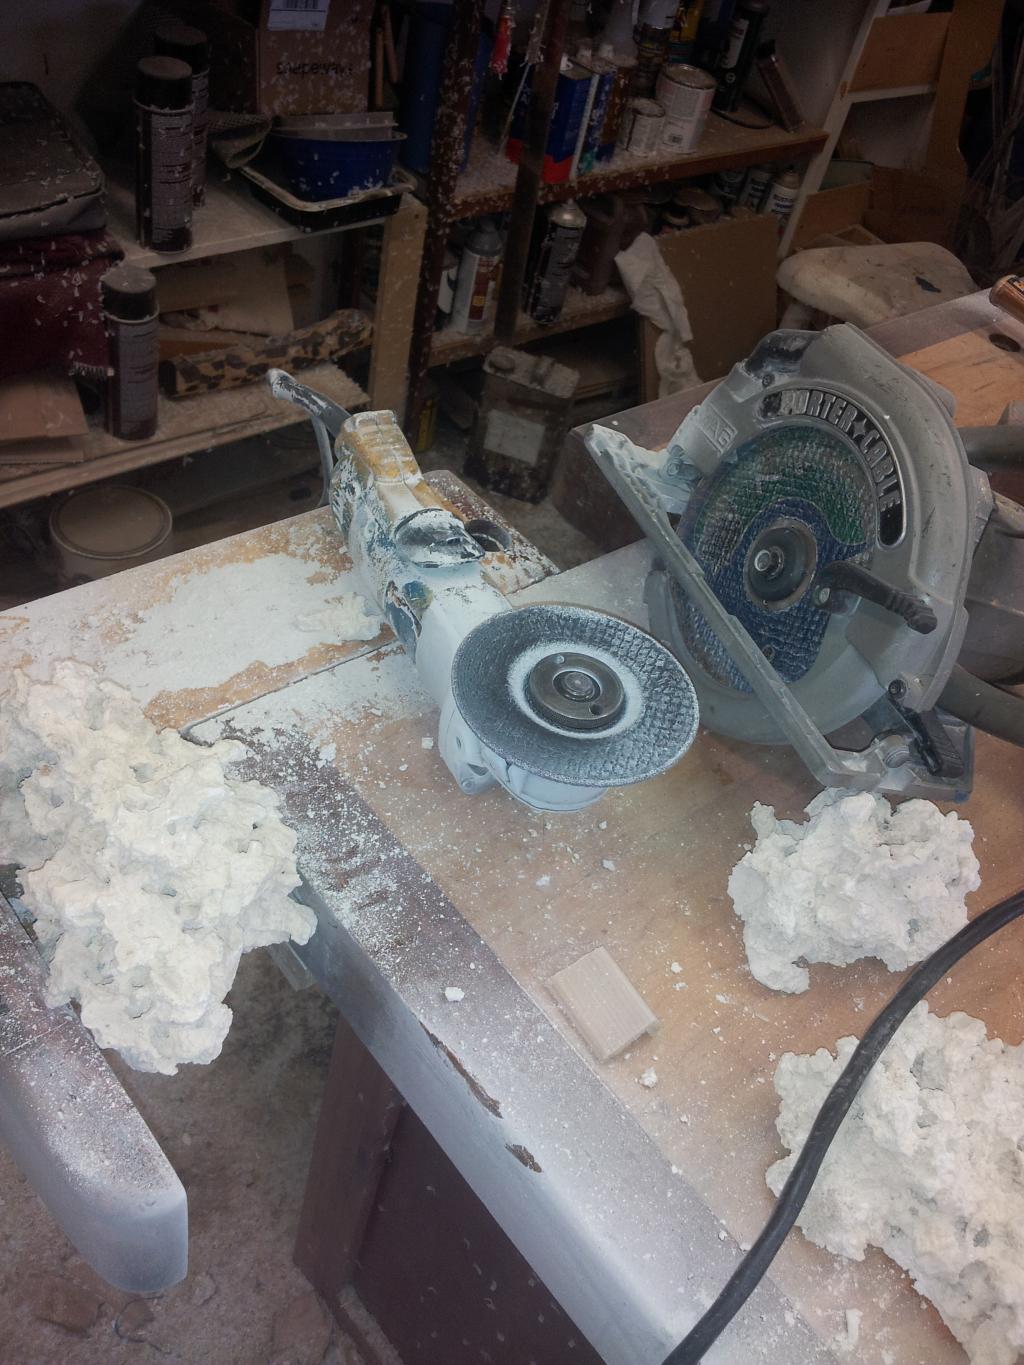
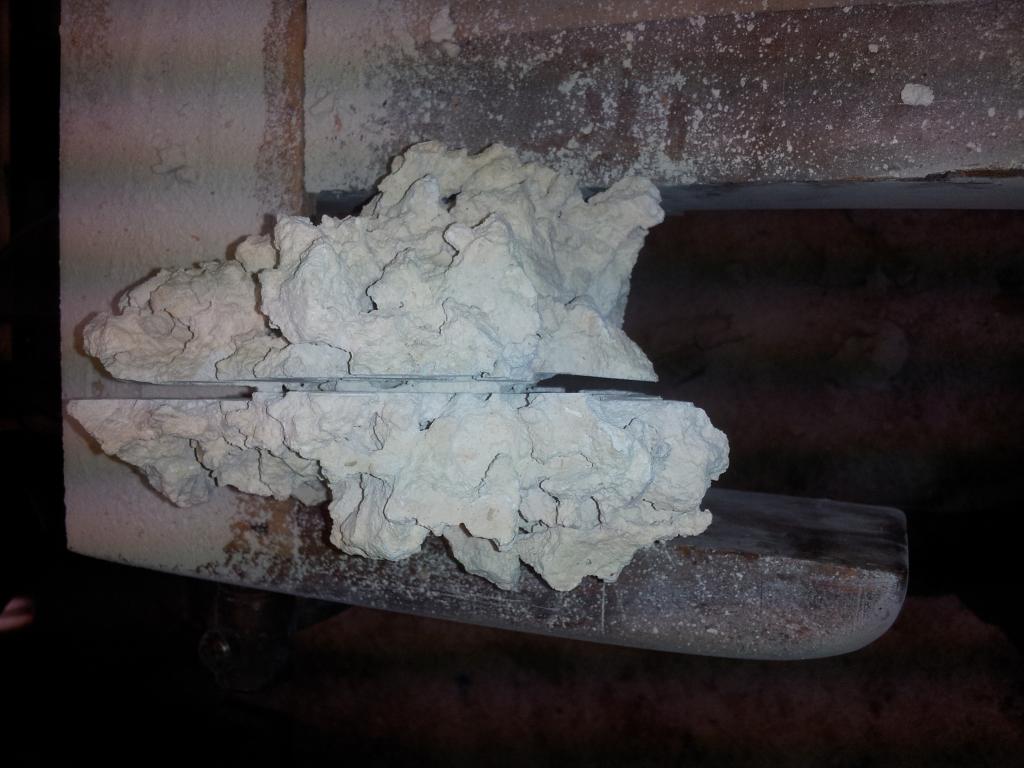
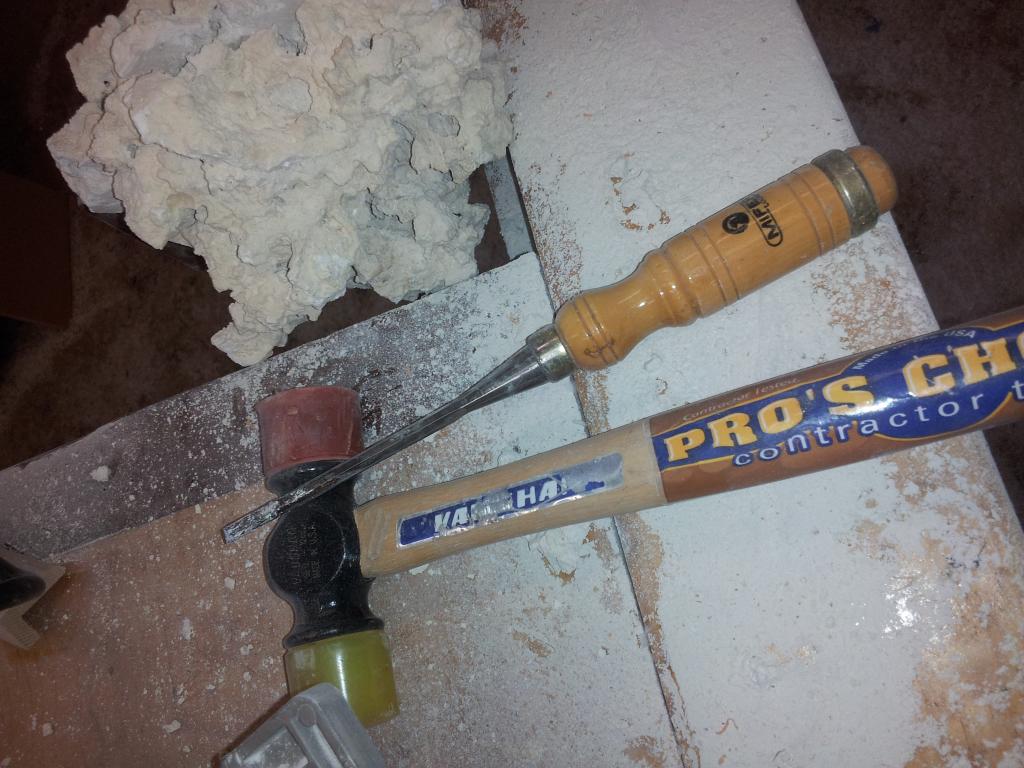
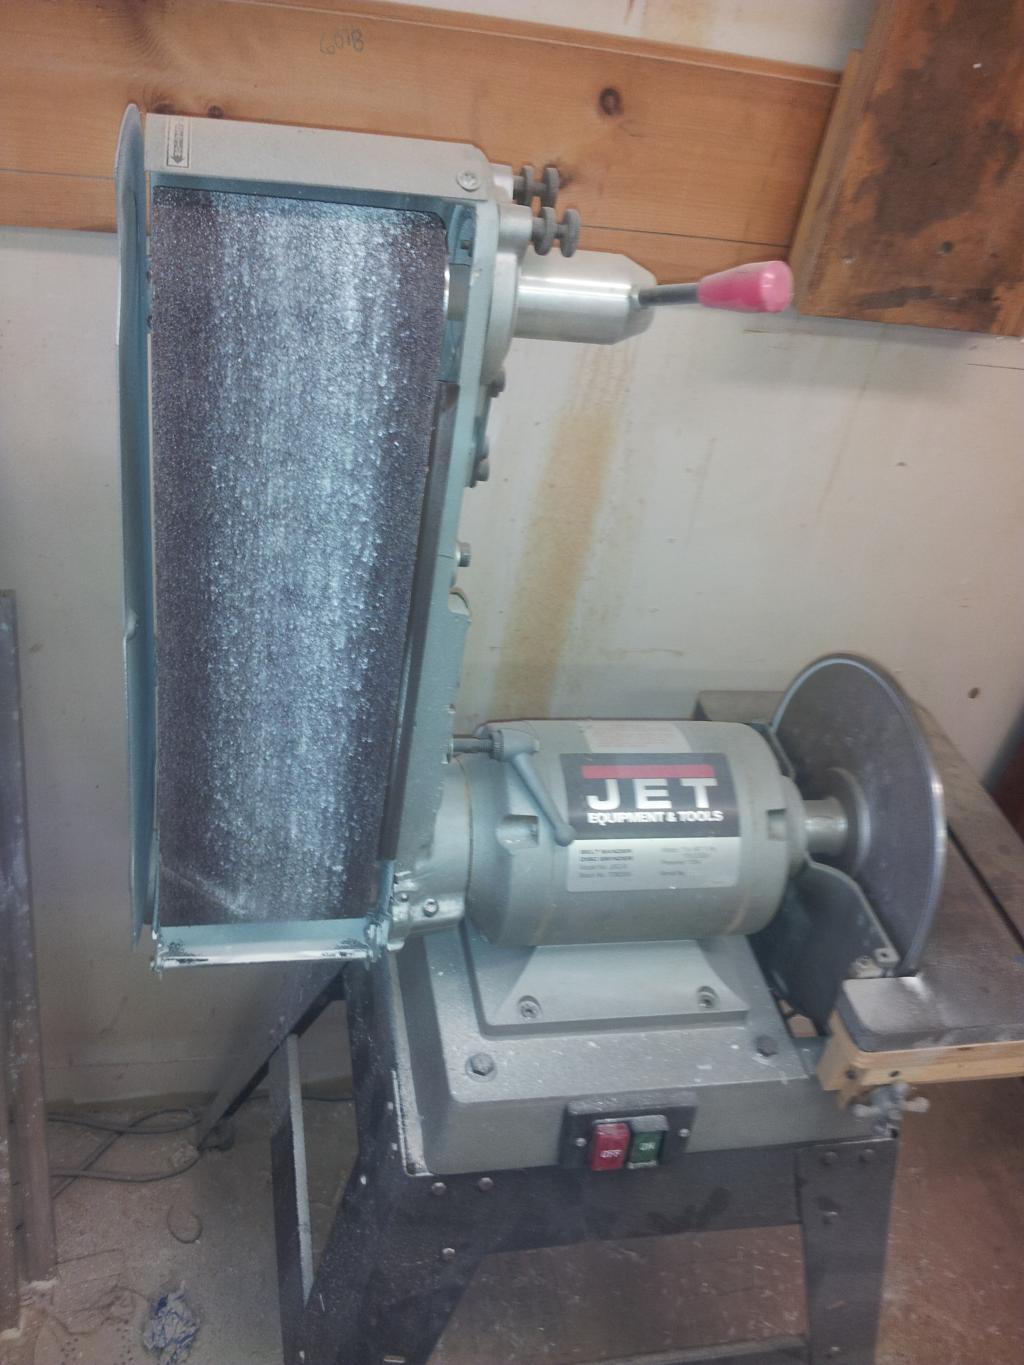
This is how I flattened the backof some of my rock (was able to purchace most of it already flat on one, or both sides)
The 4'' grinder didnt cut deep enough on most of the rock. So I mounted a masonary blade in the skill saw. It cut much deeper. I just kept rotating the rock until it was scored(cut) al the way around.
Once all the way around I used the hammer and chisle to split the rock. I have a 36 grit belt on the beltsander to flatten the nub that was left.


TJ's Reef

Valuable Member
View Badges
Joined
Oct 26, 2013
Messages
2,454
Reaction score
289
Location
Everett, WA
Rating - 0%
0   0   0
Nice of you to finally share some of your 'Mad Skills' my friend, and for you DIY guys out there this AIO Stand is a 'Masterpiece' of woodwork and Dave/Peppie has some much nicer shop cabinetry than most do in there Formal Living Rooms...lol

Very much looking forward to your reintroduction into the Reefkeeping scene Dave and hope that many here will gain at least a little knowledge in fine craftsmanship. I'll give you a shout when closer to putting my new tank together as well.


Cheers, Todd
 
OP
OP
Pepcrylic

Pepcrylic

Active Member
View Badges
Joined
Apr 2, 2014
Messages
361
Reaction score
167
Location
Utopia
Rating - 0%
0   0   0
Wow, thank you for sharing these pictures! I never see the modifying process of live rocks. This is cool. :thumb:

-Y

Thanks SantaM
The rock we use in our reef tanks is very soft and somewhat easy to work with. I will be revisting the rock a little later in the build.
 
OP
OP
Pepcrylic

Pepcrylic

Active Member
View Badges
Joined
Apr 2, 2014
Messages
361
Reaction score
167
Location
Utopia
Rating - 0%
0   0   0
Nice of you to finally share some of your 'Mad Skills' my friend, and for you DIY guys out there this AIO Stand is a 'Masterpiece' of woodwork and Dave/Peppie has some much nicer shop cabinetry than most do in there Formal Living Rooms...lol

Very much looking forward to your reintroduction into the Reefkeeping scene Dave and hope that many here will gain at least a little knowledge in fine craftsmanship. I'll give you a shout when closer to putting my new tank together as well.


Cheers, Todd

Thanks Todd,
As you well know this build will be a bit "Outside of the Box" Hope it will get some others to think the same.
 
OP
OP
Pepcrylic

Pepcrylic

Active Member
View Badges
Joined
Apr 2, 2014
Messages
361
Reaction score
167
Location
Utopia
Rating - 0%
0   0   0
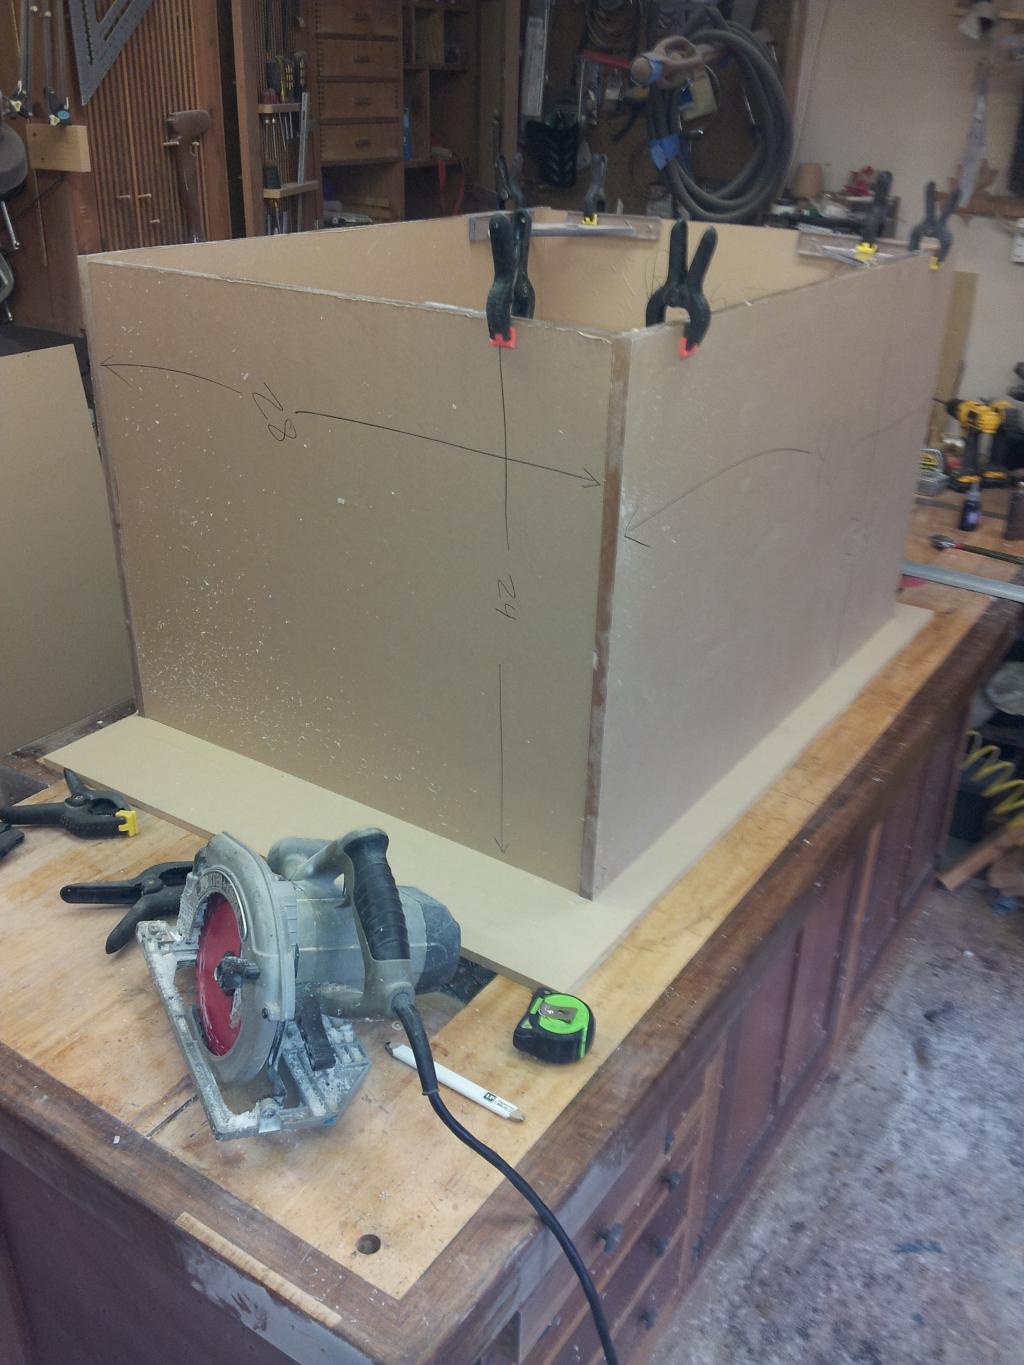
OK Lets get to it. I would like to have this tank built by the end of the week. (Fingers crossed)
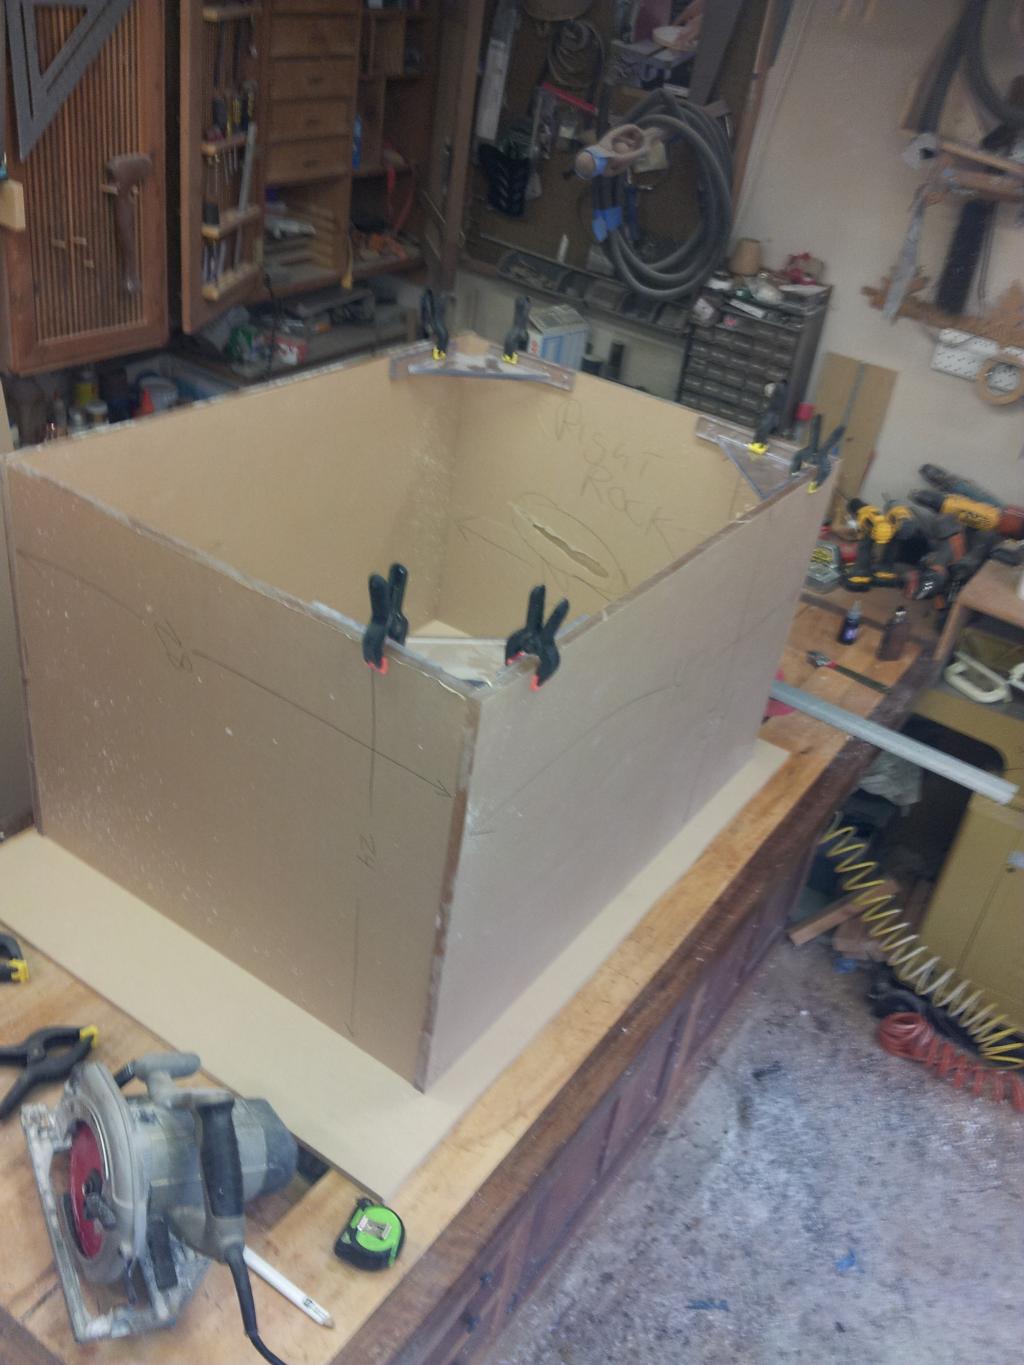
I rough cut the 3/4 with a skillsaw and the tablesaw. Couldnt help but to clamp them together just to get an idea of the size

Hope this is a pic of the tank and not a rock. (flippin Photobucket)
 
OP
OP
Pepcrylic

Pepcrylic

Active Member
View Badges
Joined
Apr 2, 2014
Messages
361
Reaction score
167
Location
Utopia
Rating - 0%
0   0   0
Glad that worked. I got more


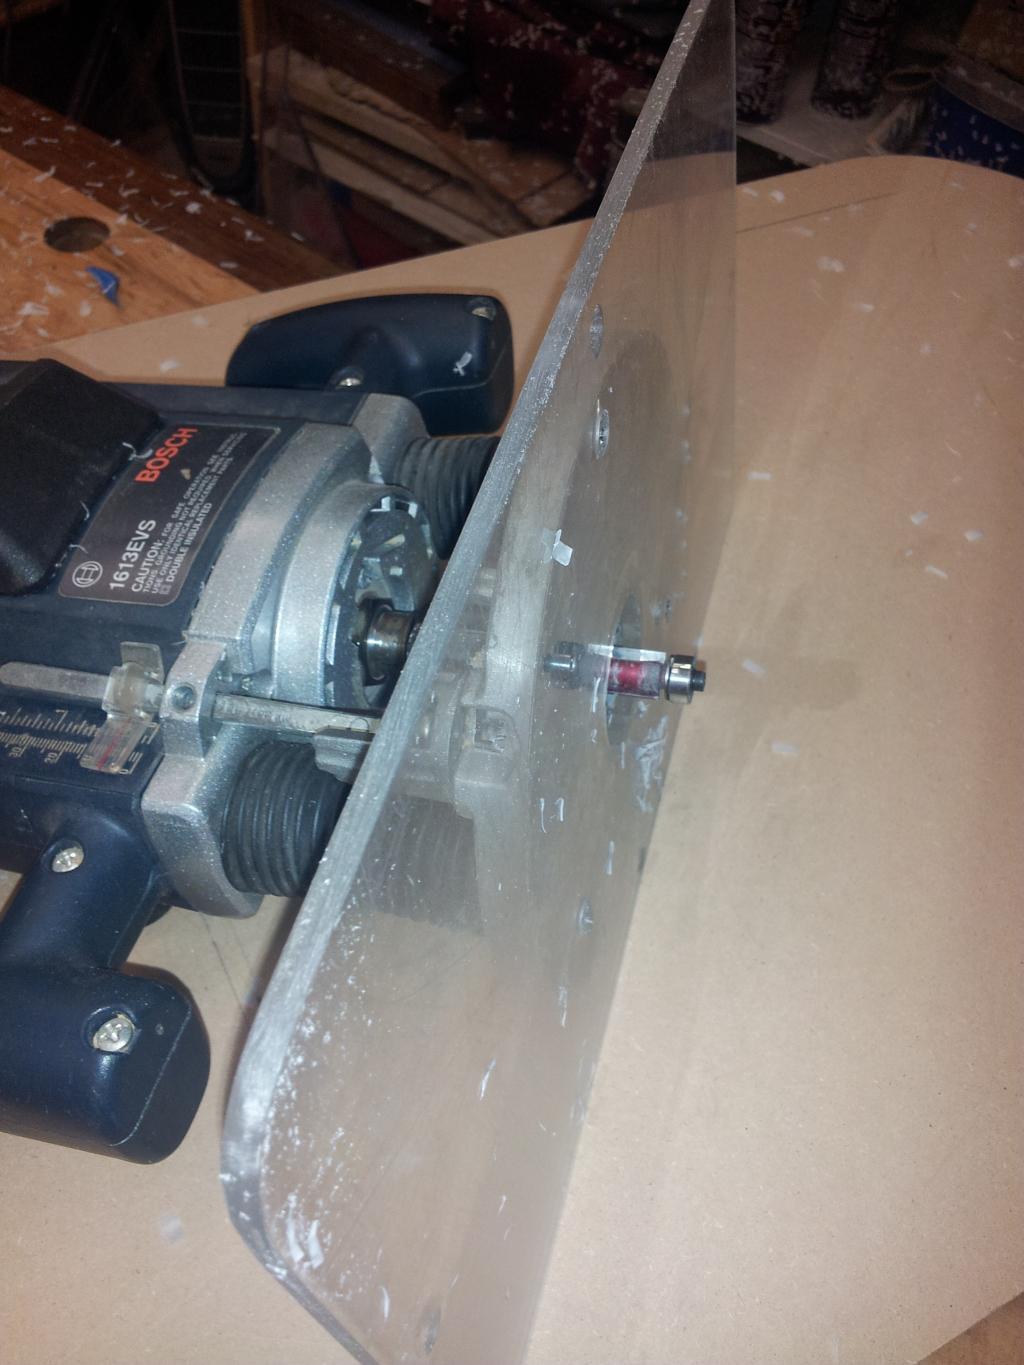
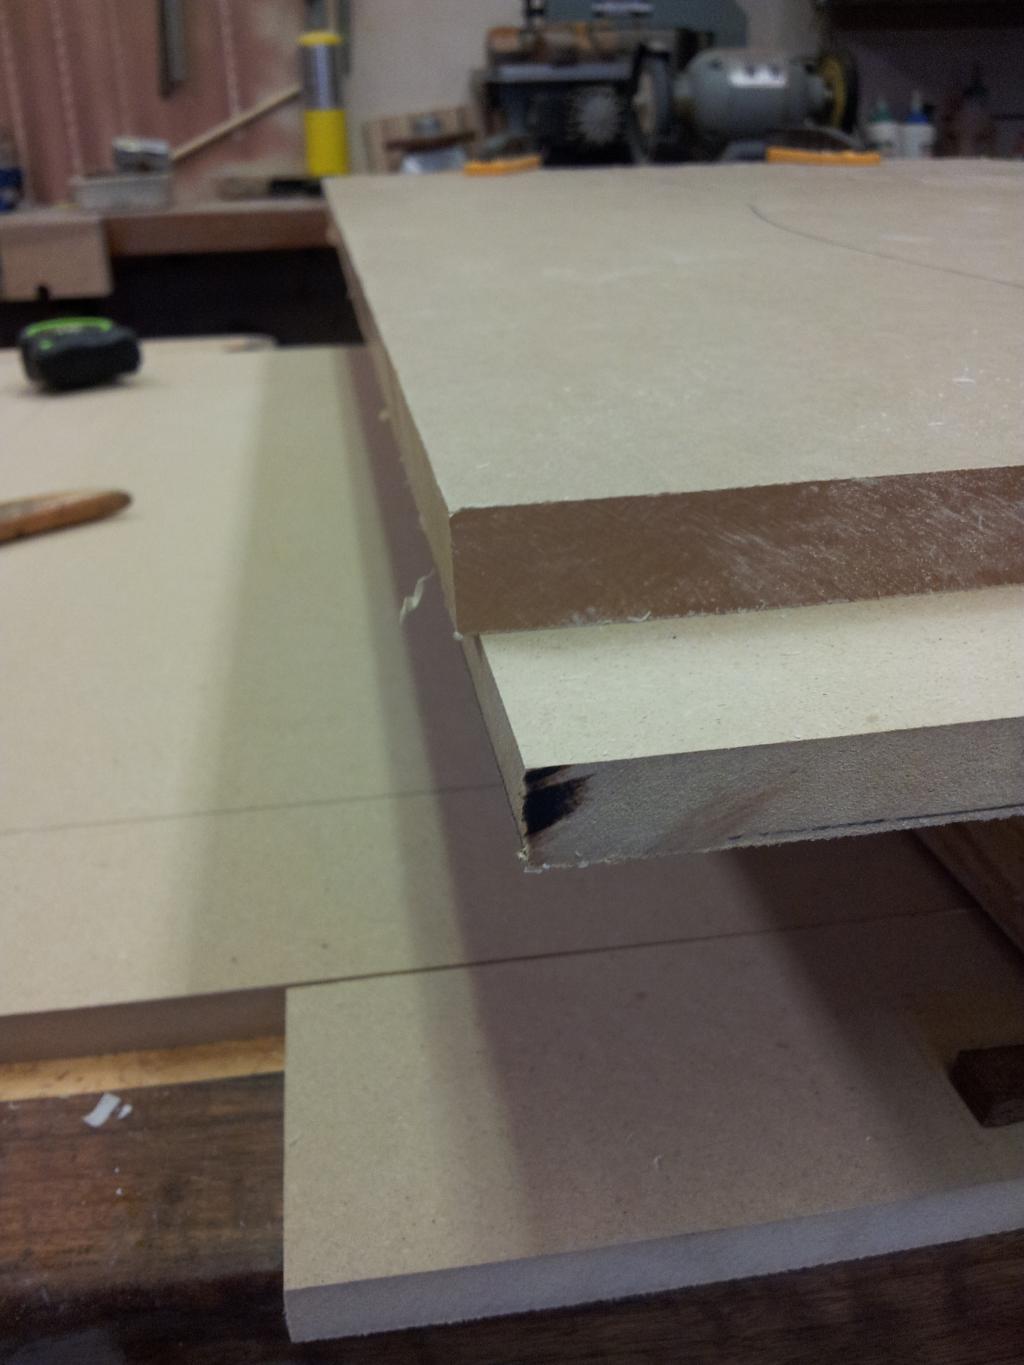
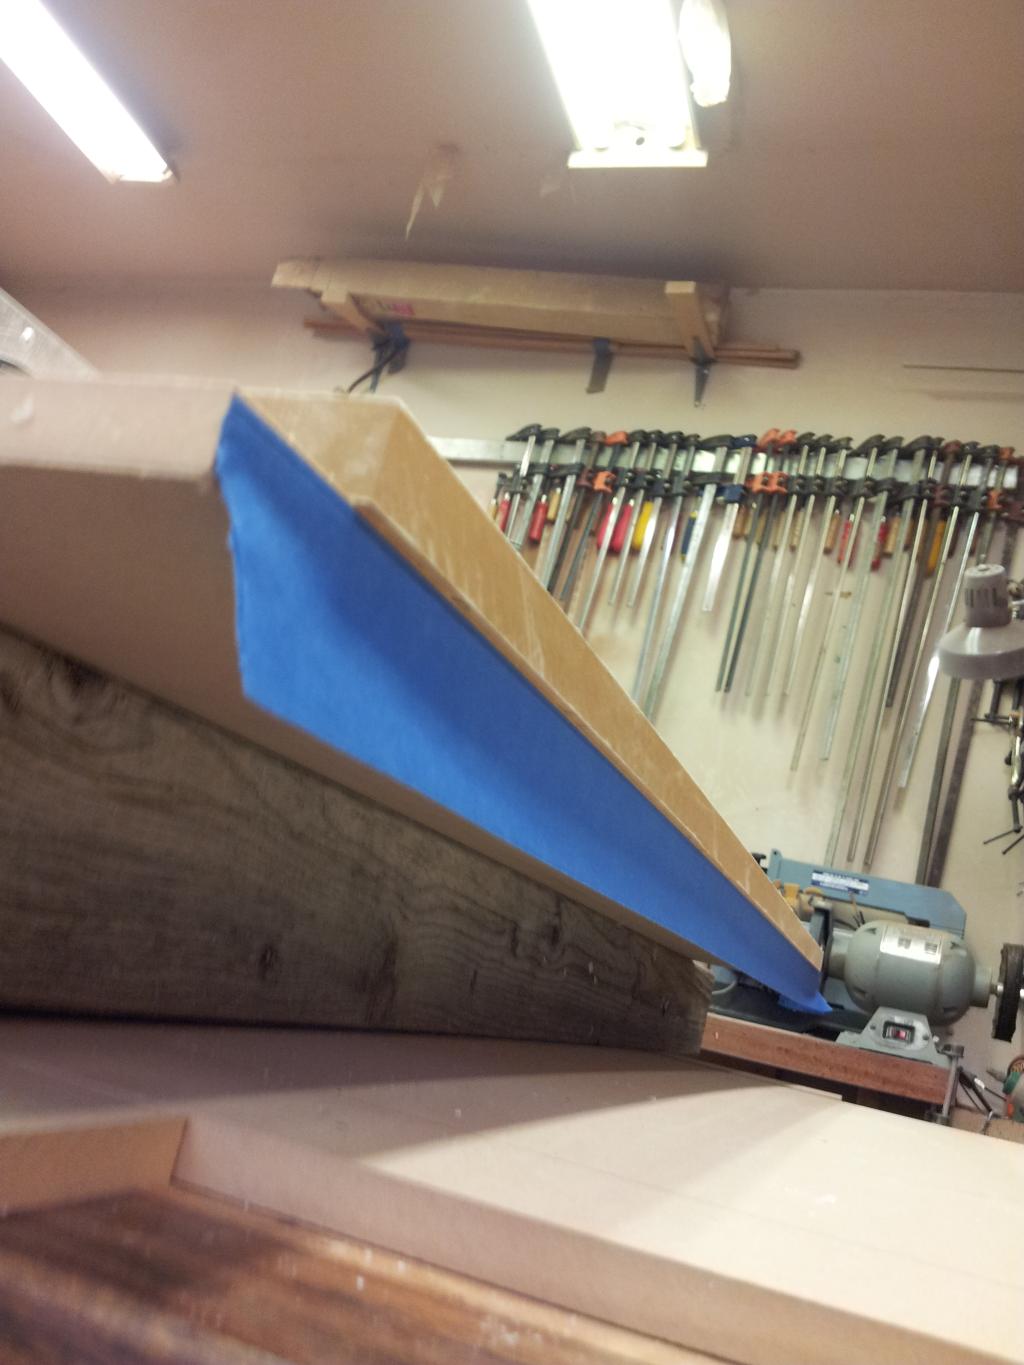
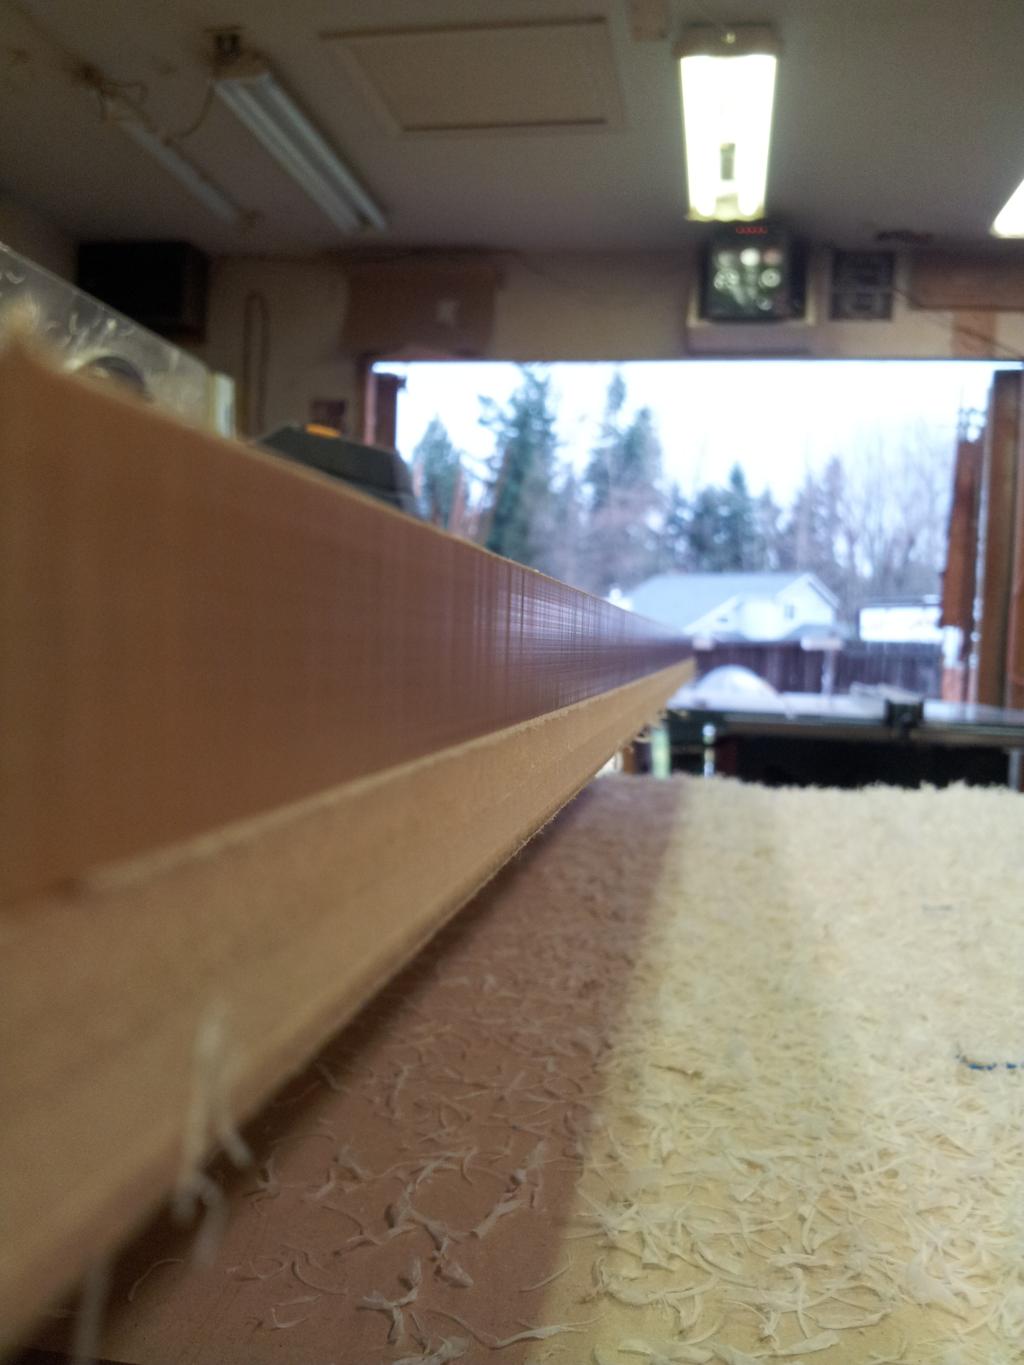
For the next step "Edge Prep" I buy a sheet of 1/2'' MDF , I ripped it to the finished height of the tank, 23 7/8'' X 40'' long. Then I place the acrylic panel on top of the MDF, and clamp it to the MDF. Using a pattern cutting bit in the router, I just run the router down the edges. (top& bottom) the ends dont get prep.
Before I rout the edges I place 3 layers of tape on the MDF, make a pass with the router, then remove the tape and make the final pass for a smooth, weldable edge.


Caring for your picky eaters: What do you feed your finicky fish?

  • Live foods

    Votes: 17 28.3%
  • Frozen meaty foods

    Votes: 50 83.3%
  • Soft pellets

    Votes: 9 15.0%
  • Masstick (or comparable)

    Votes: 6 10.0%
  • Other

    Votes: 3 5.0%
Back
Top