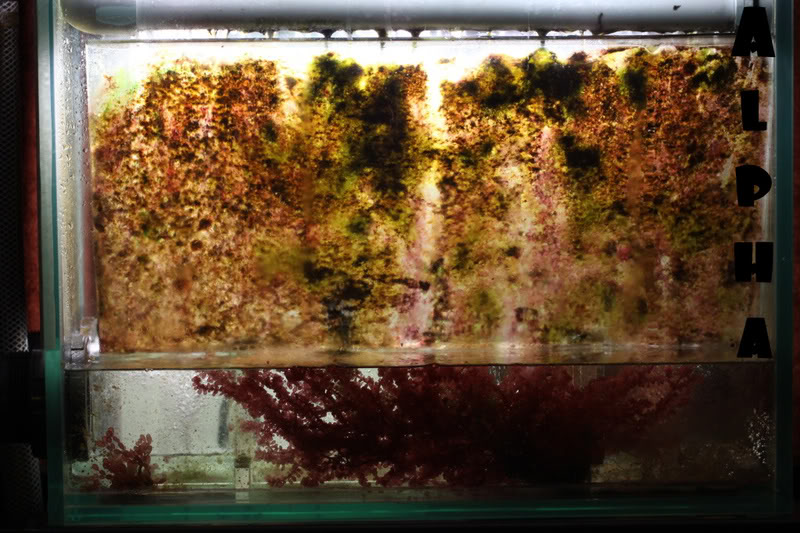
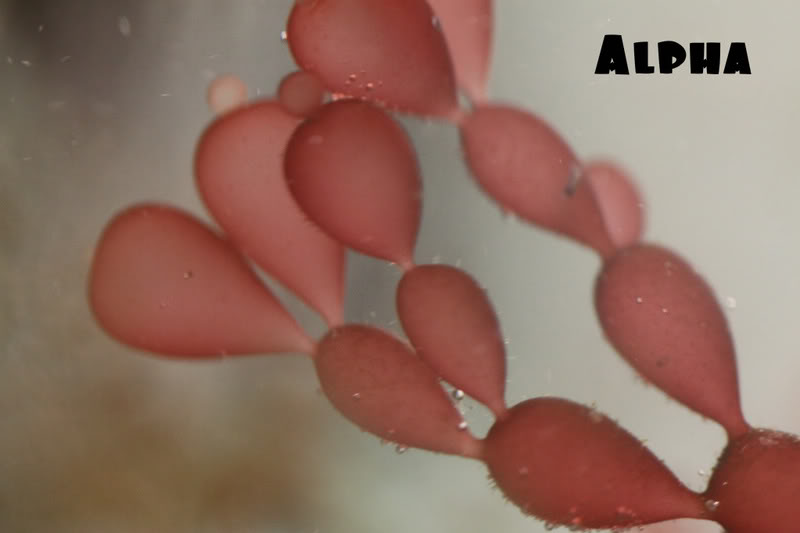
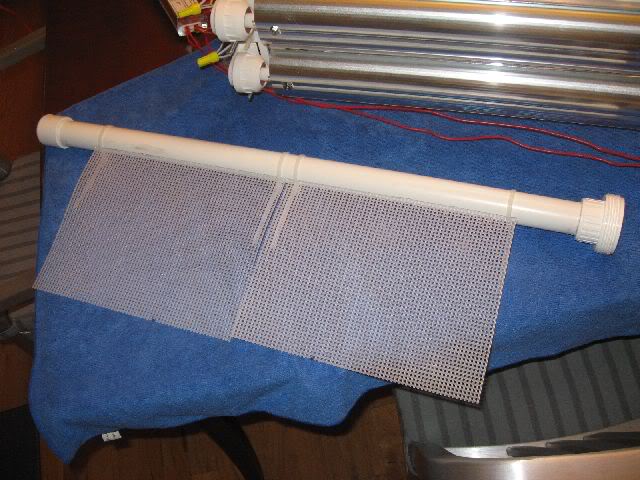
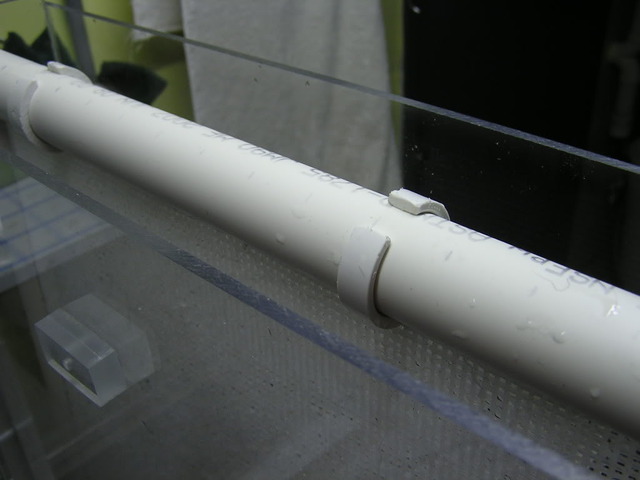
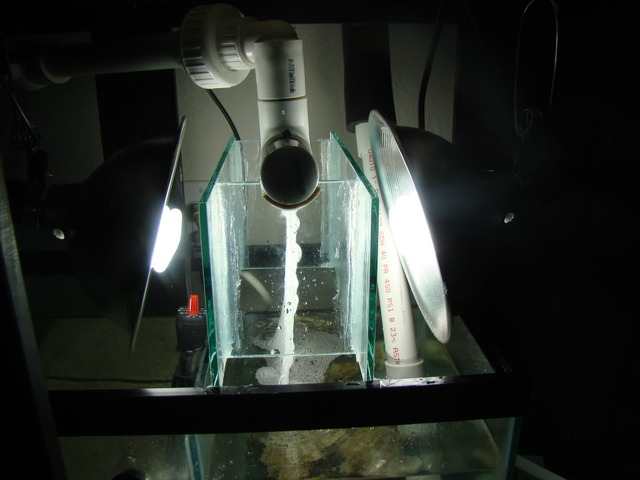
I have been thinking about setting one up on my tank for a while, and have seen many successfull systems using them on other boards.
So who here is using them and please share all pics and info.
Bob
So who here is using them and please share all pics and info.
Bob


")