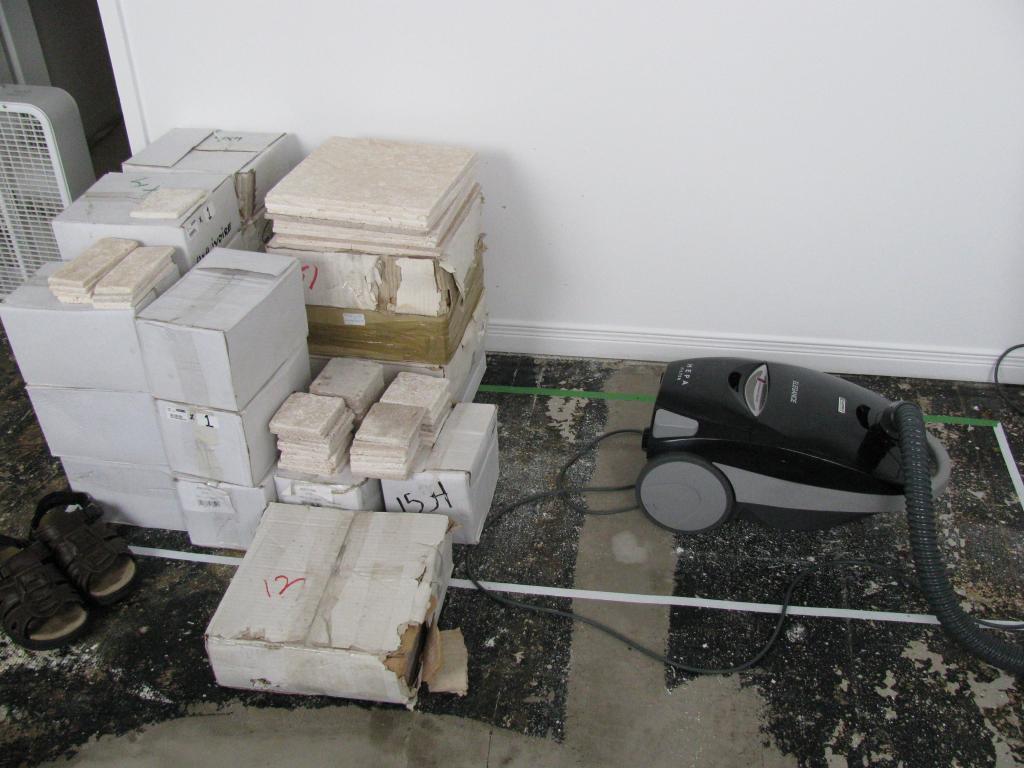
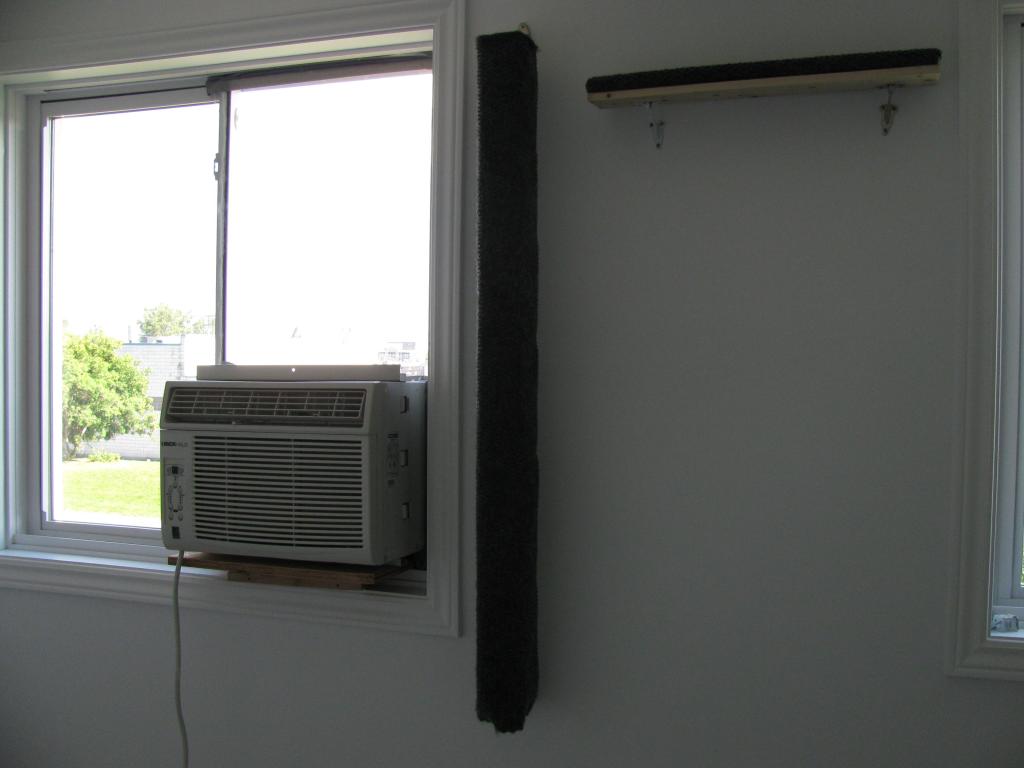
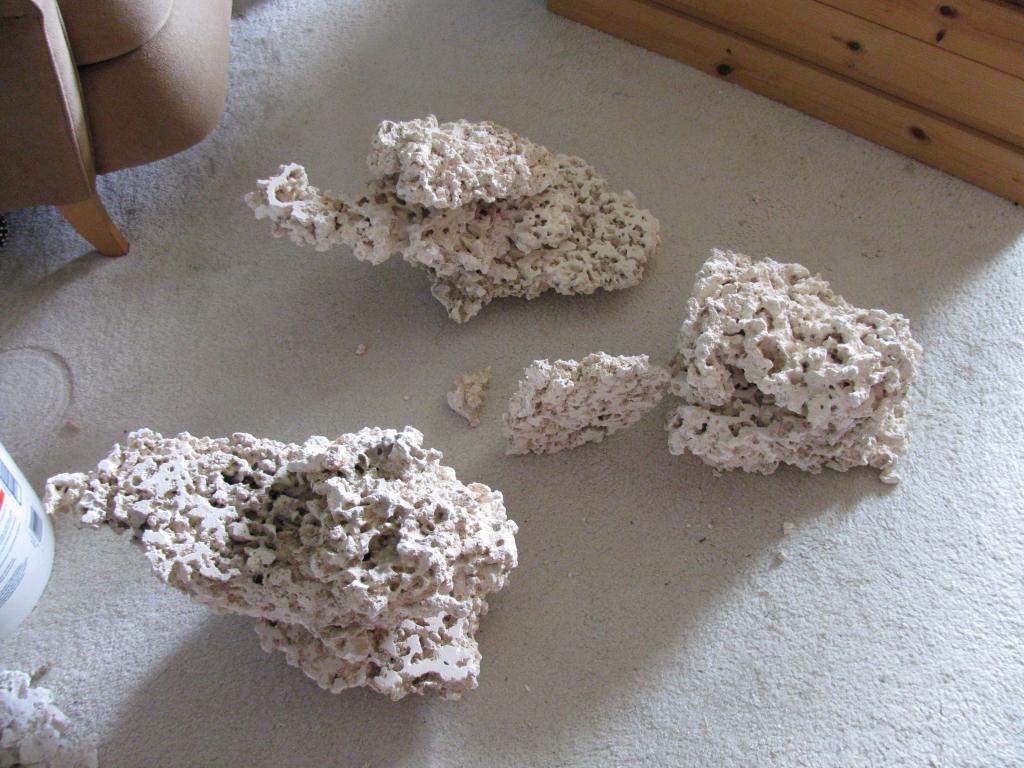
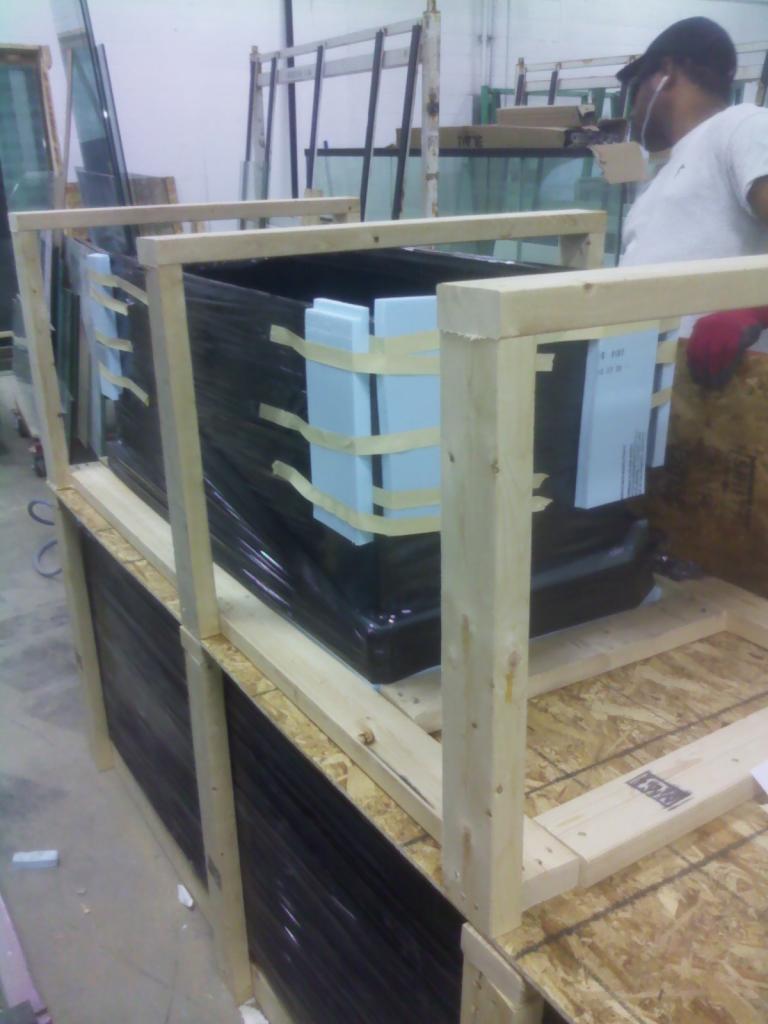
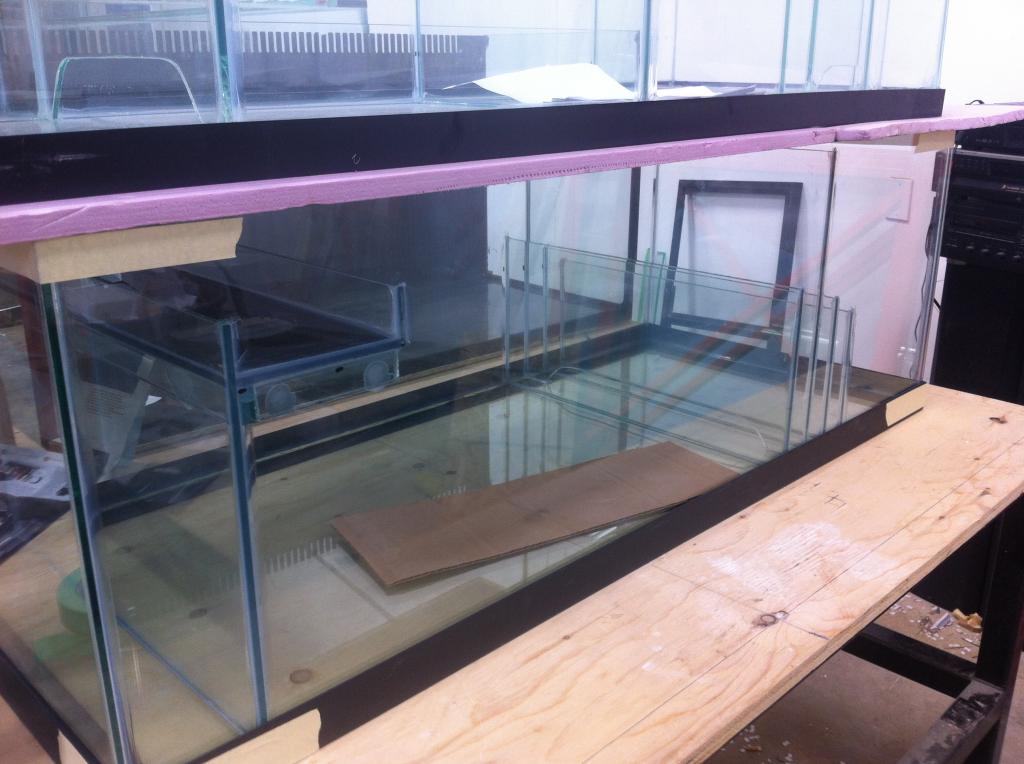
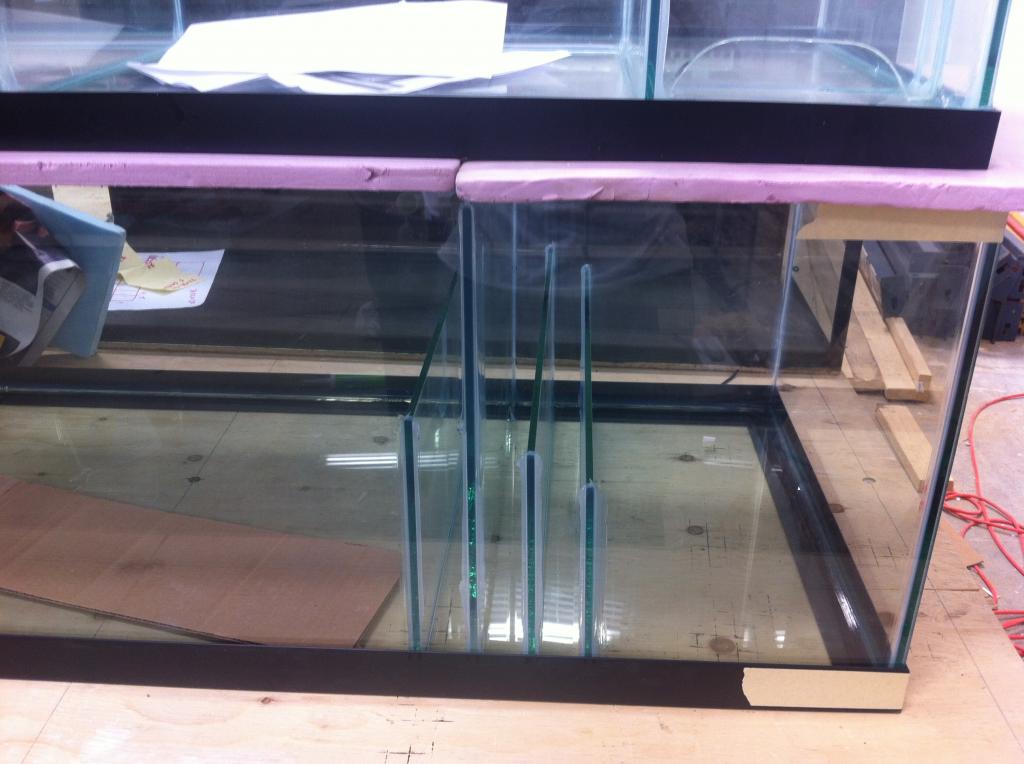
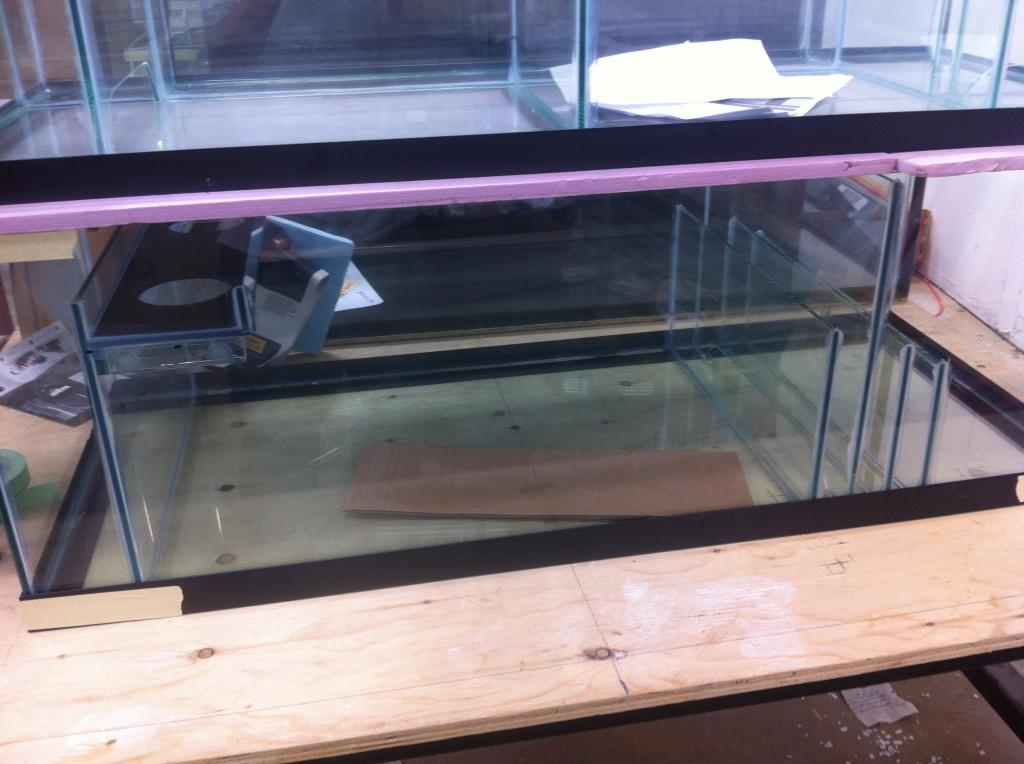
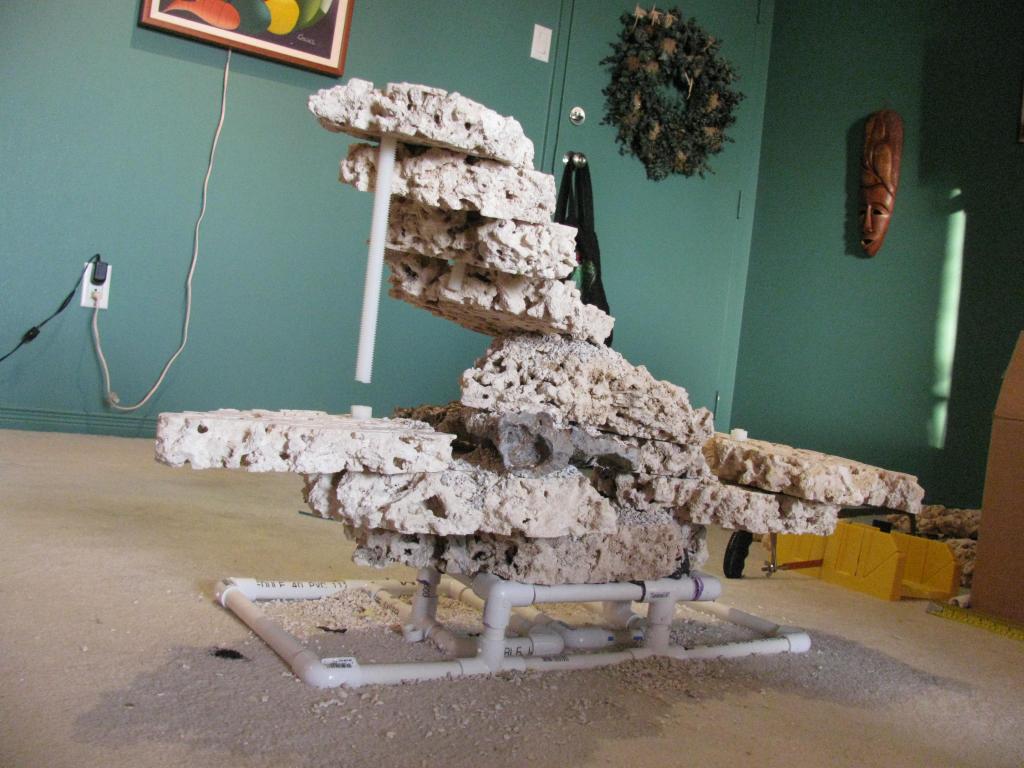
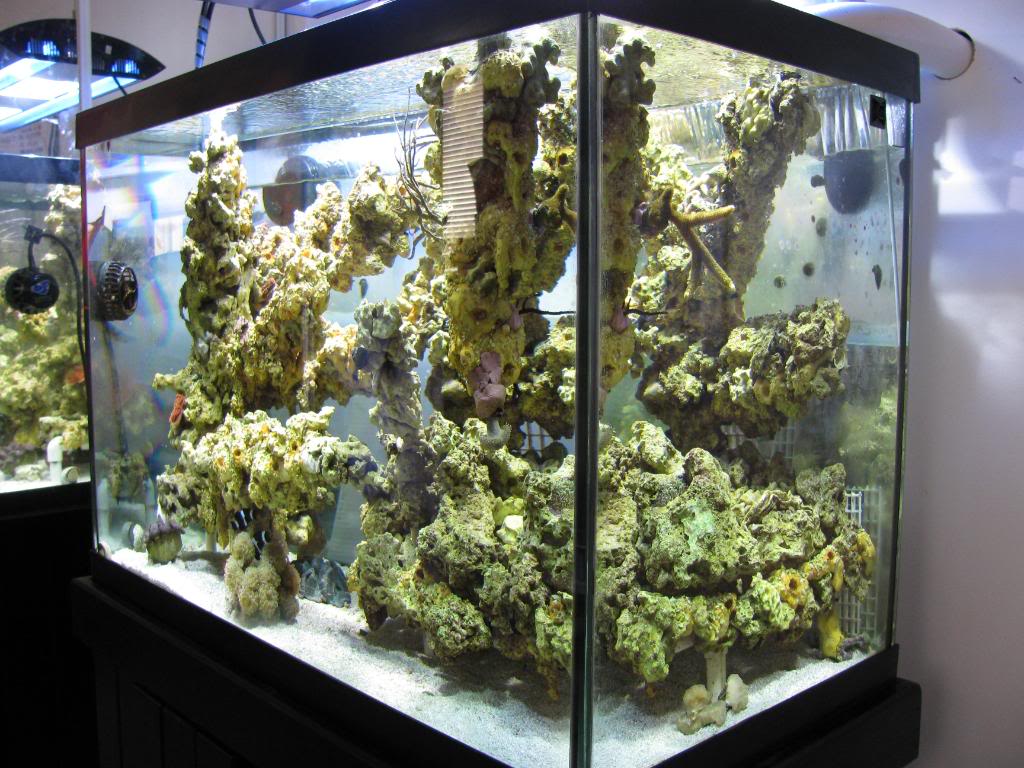
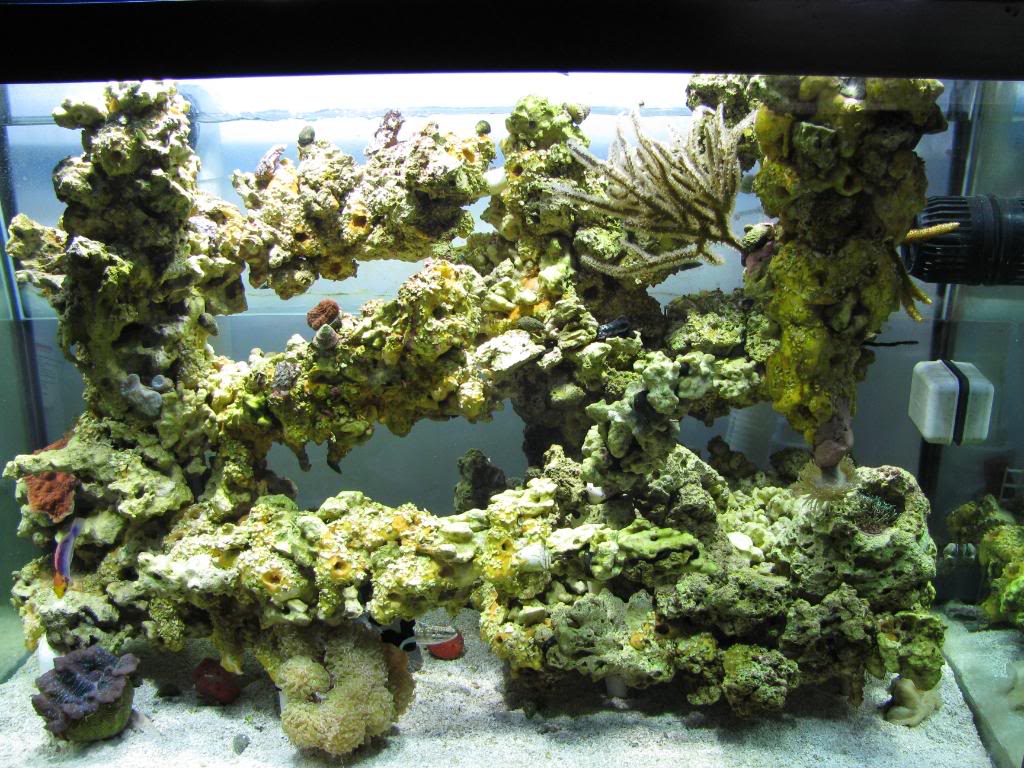
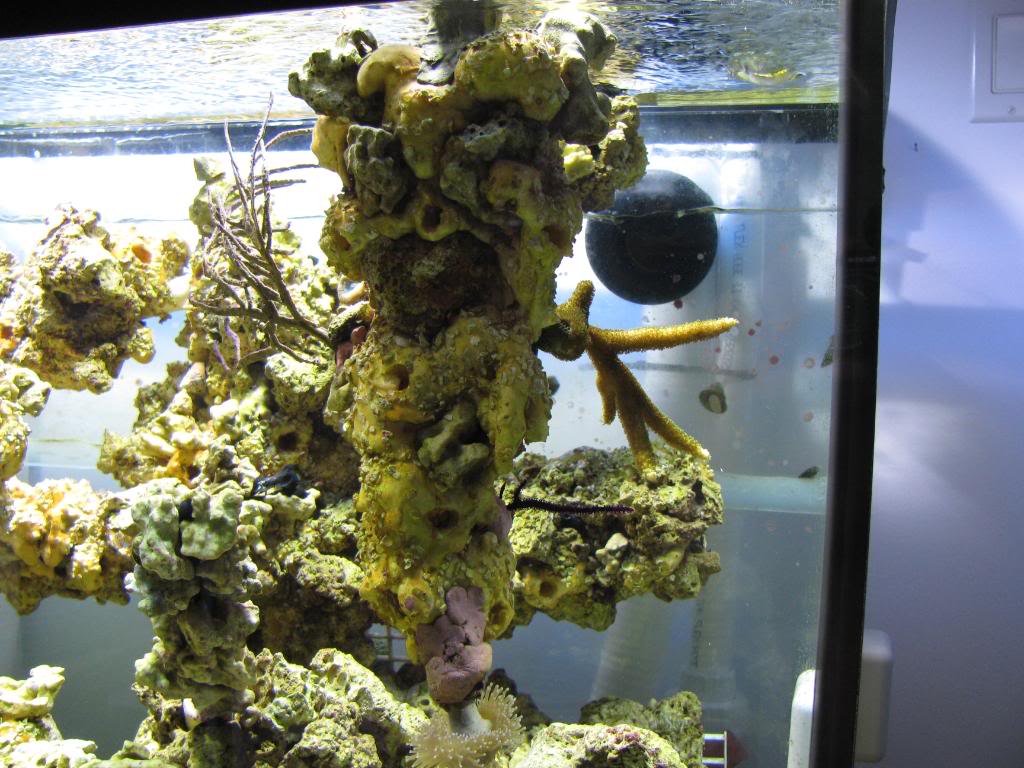
A bit about me , just retired at 51 i had enough!! My doctor said i was stressed out so i'm taking the year OFF. Semi retired i should say because i don't think i can stay put. Because my trade, Chef onships; i couldn't have a permanent saltwater tank . This time i gave myself a retirement gift. I'm having a custom made system from Concept Aquariums from Calgary. A starfire 150 G reef tank and a 75 G display refugium . This next picture was my old 65 G tank the one i lost in a blow out because of the stand a few years ago.
Now going semi retired, staying home i'll do catering for the elderly. Cooking home and delivering for sceniors. I'll have plenty of time to care for those tanks and those living in it. And I have care takers with me.
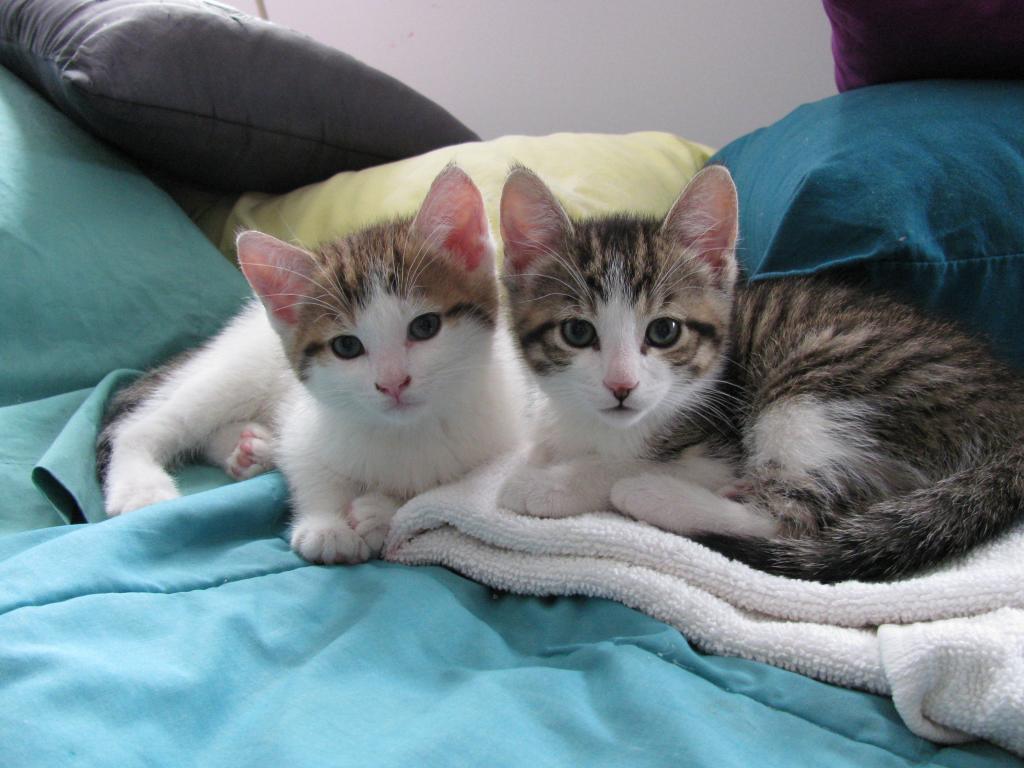
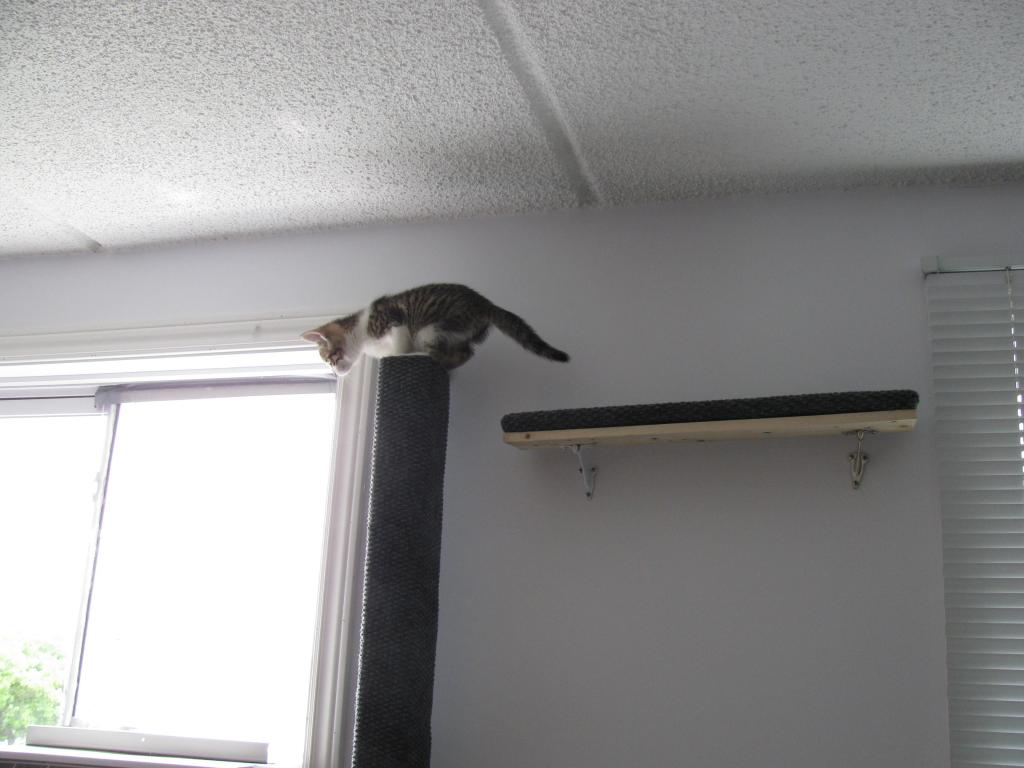
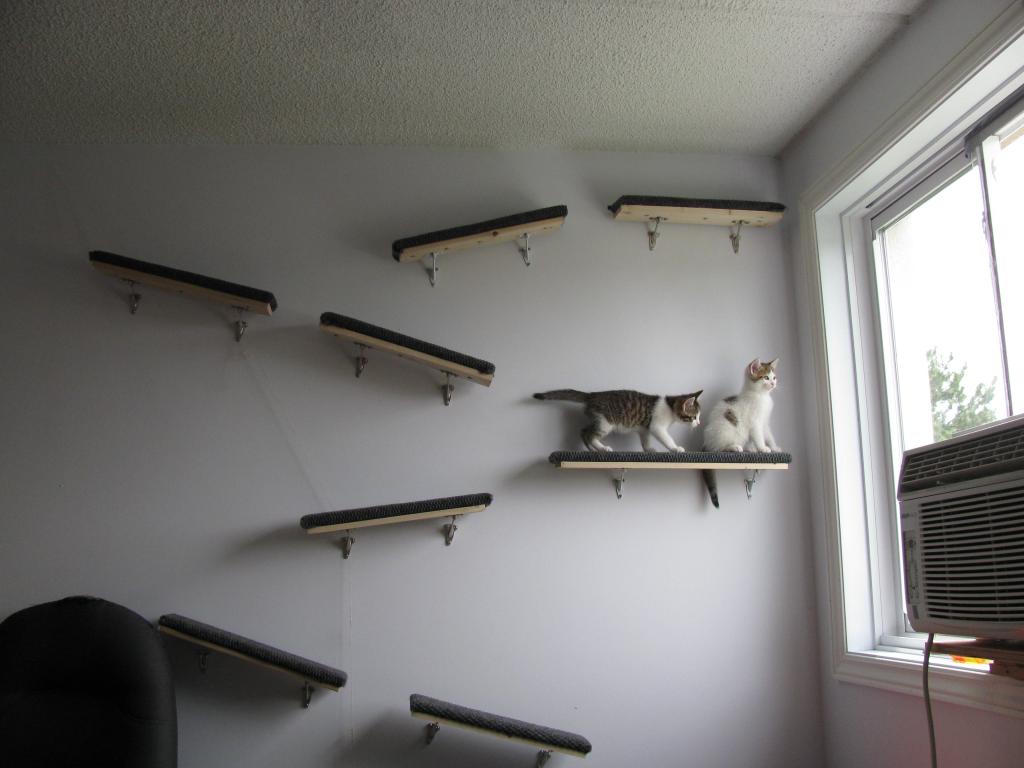
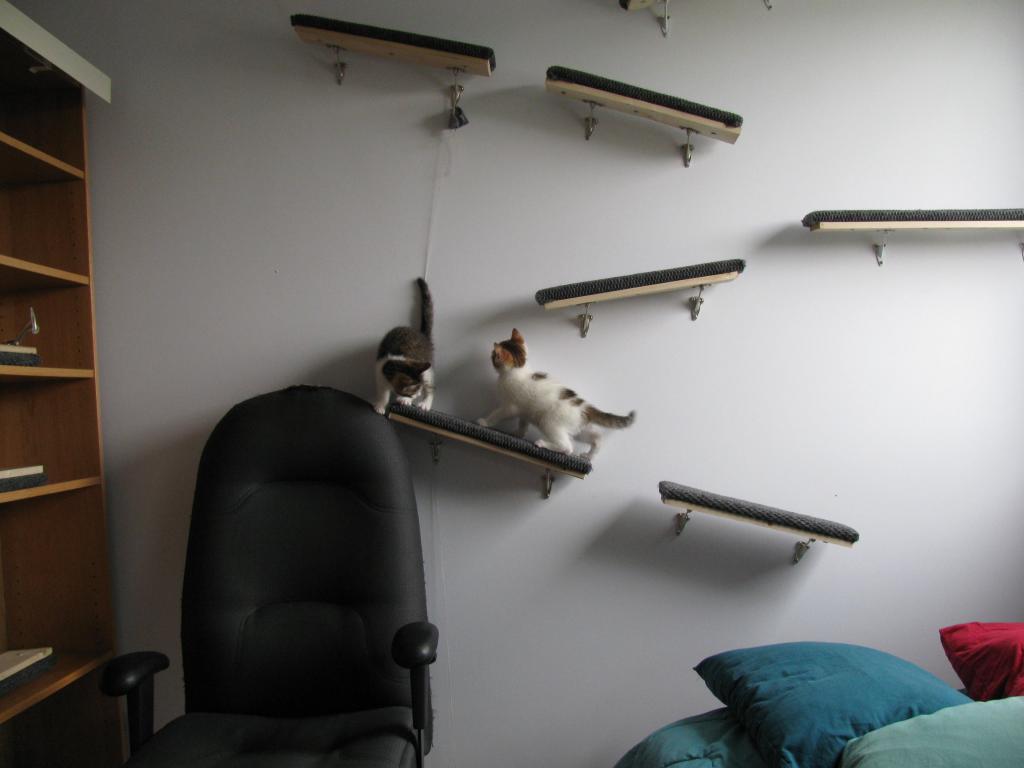
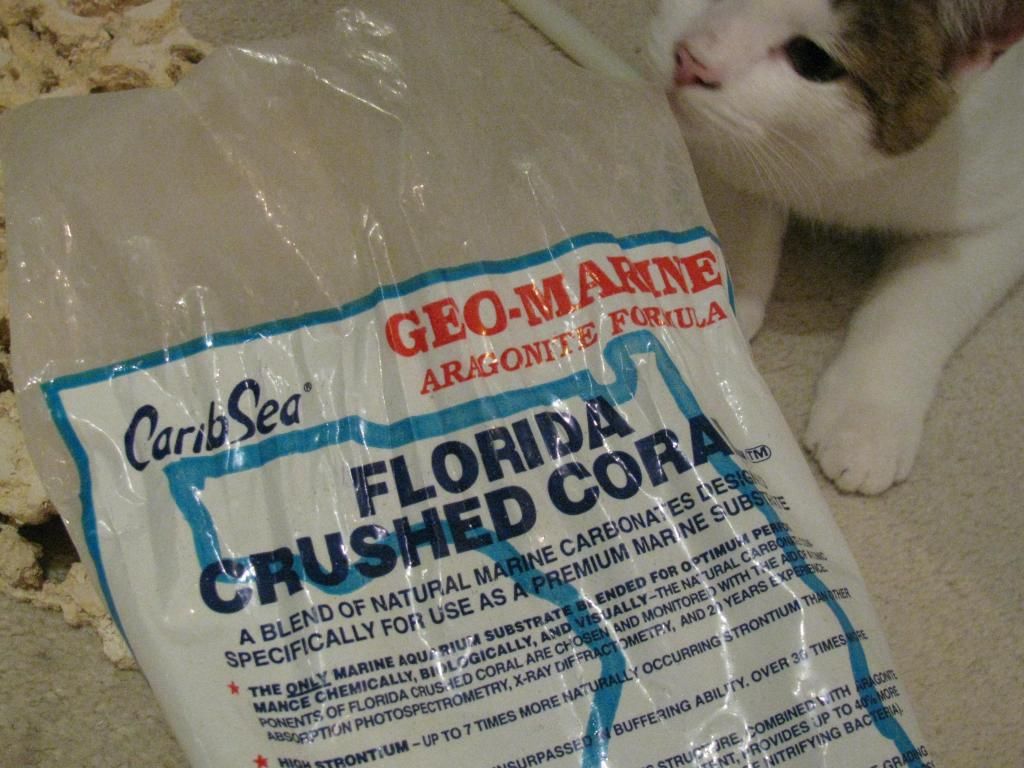
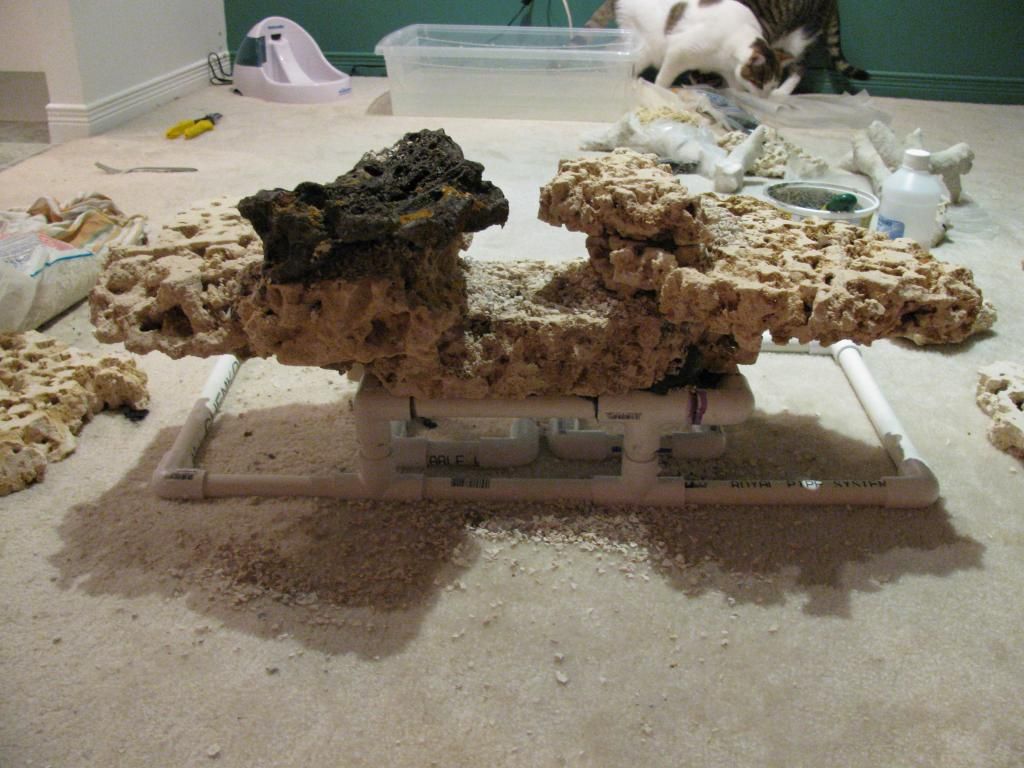
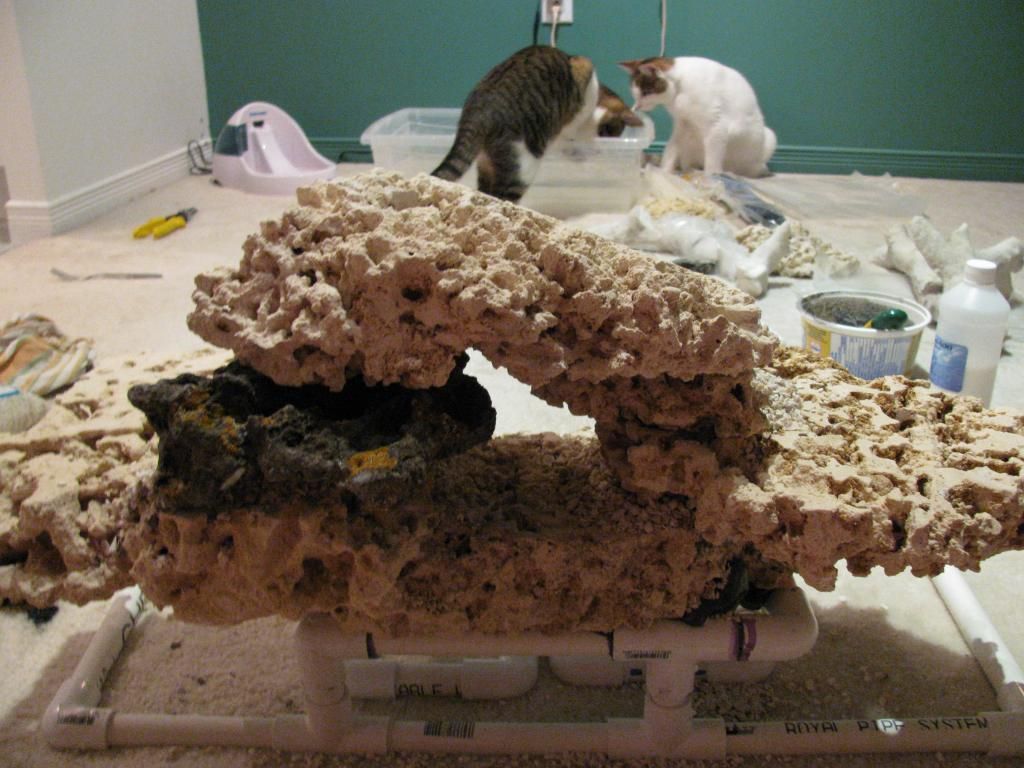
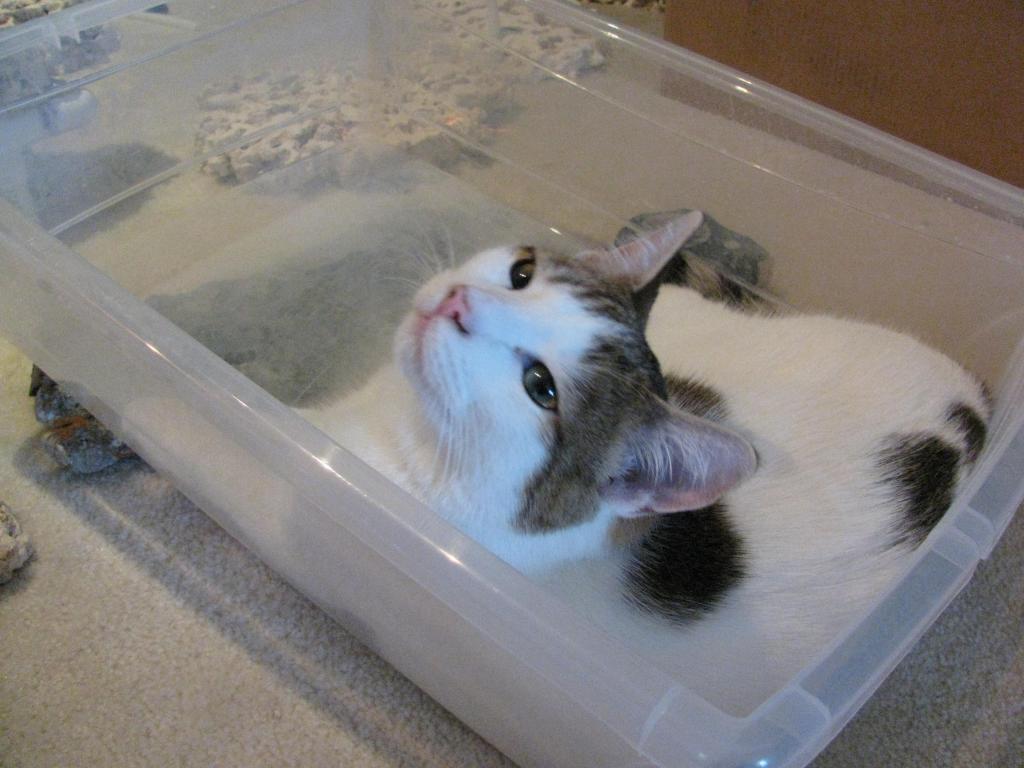
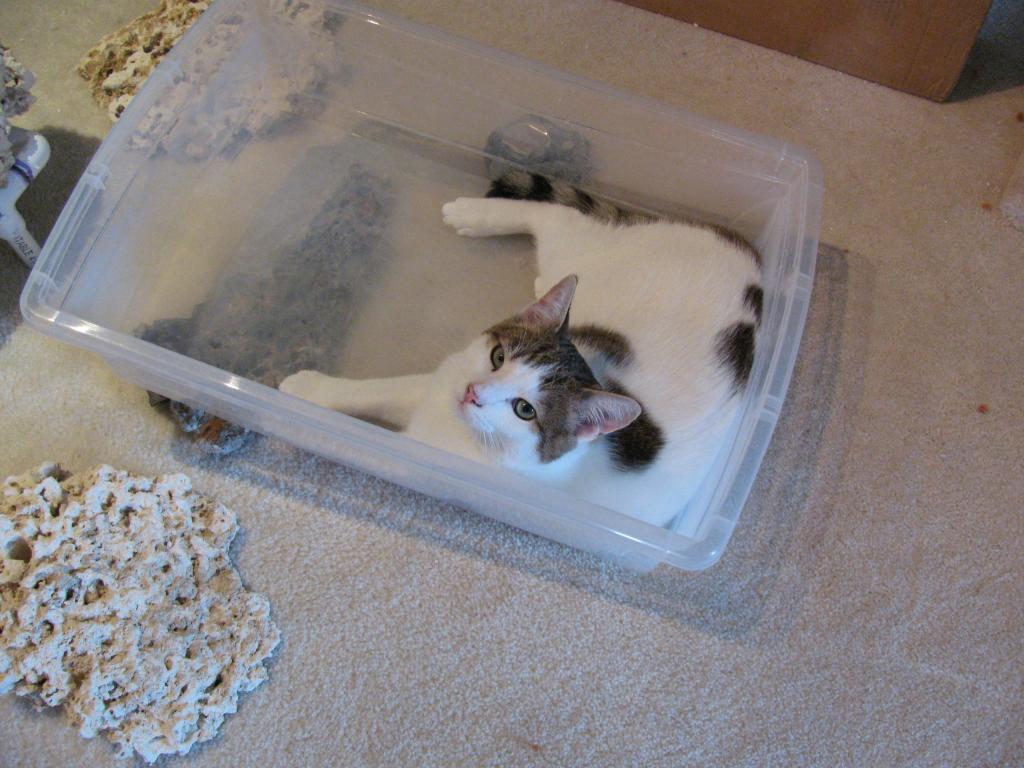
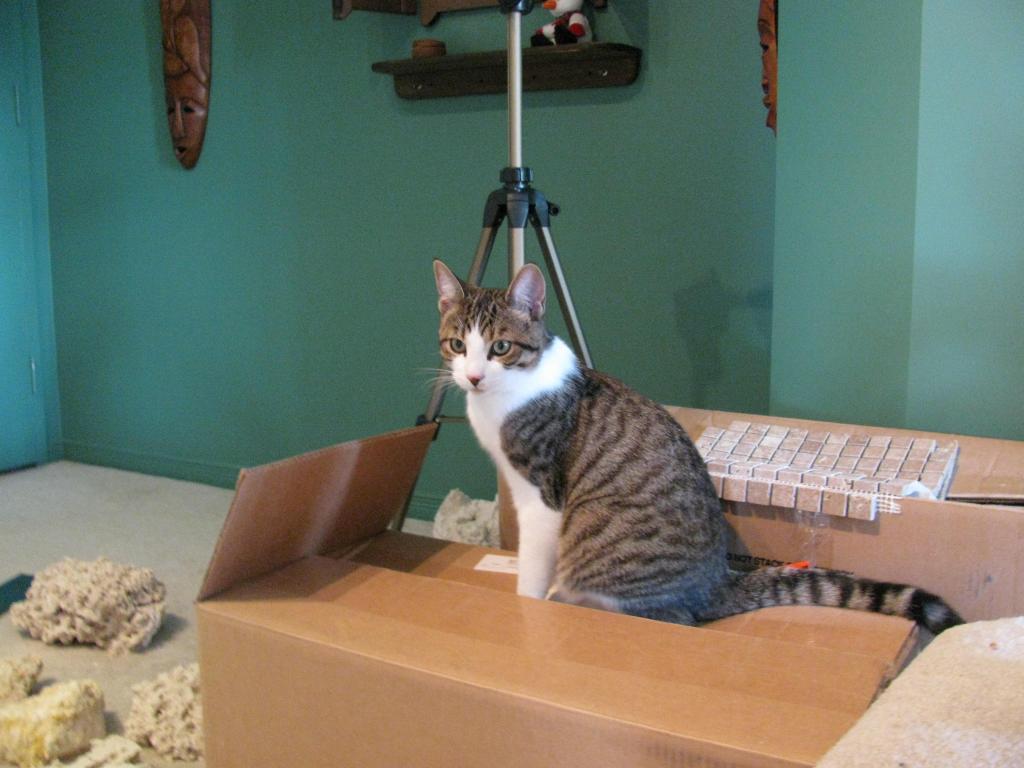
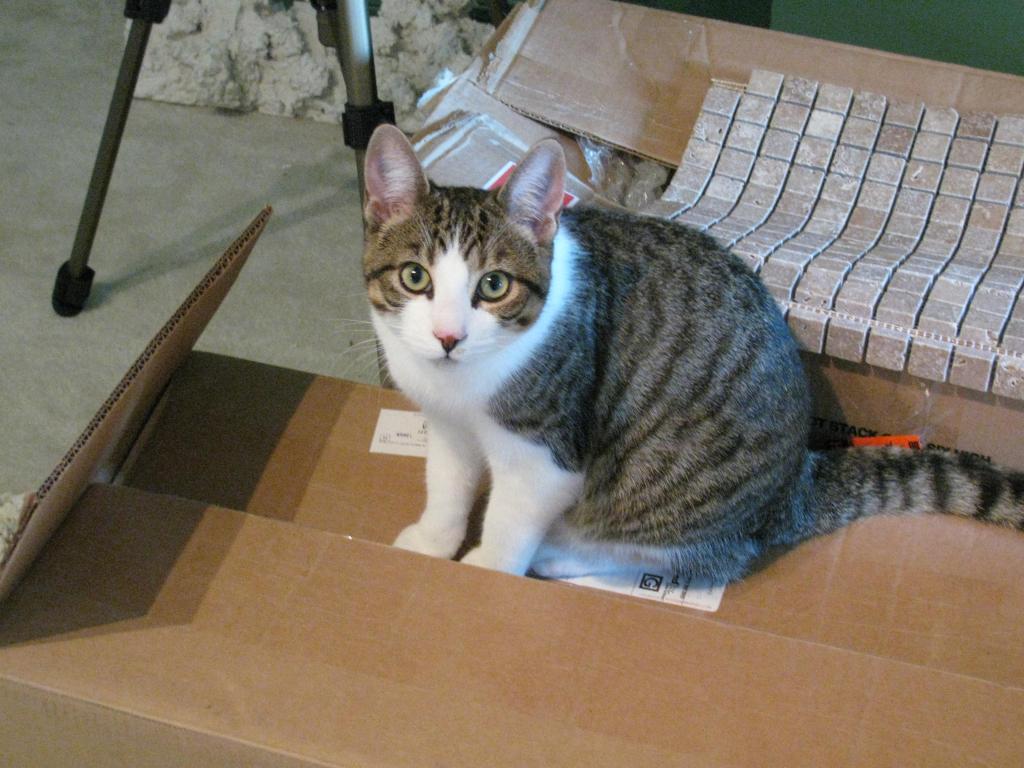
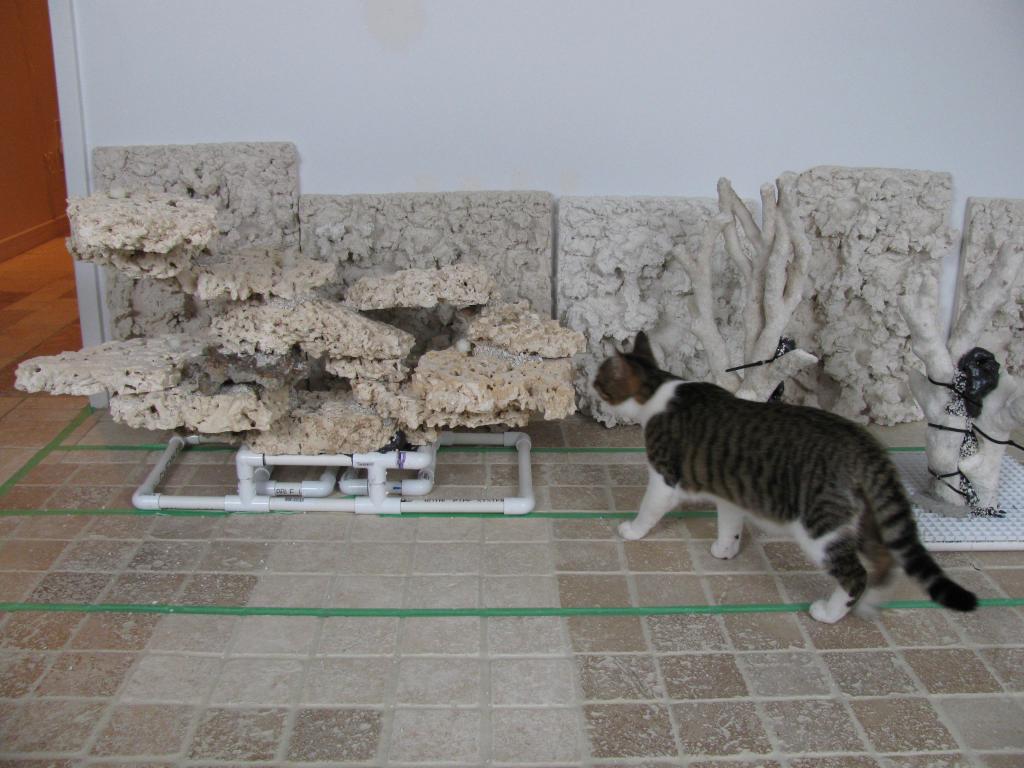
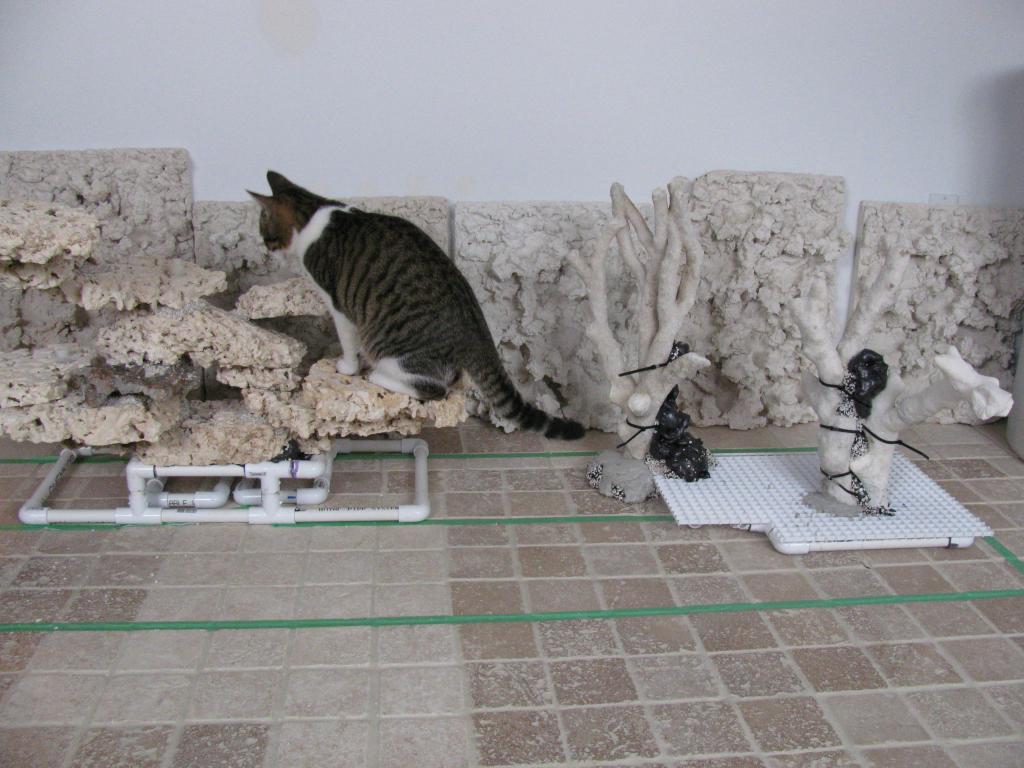
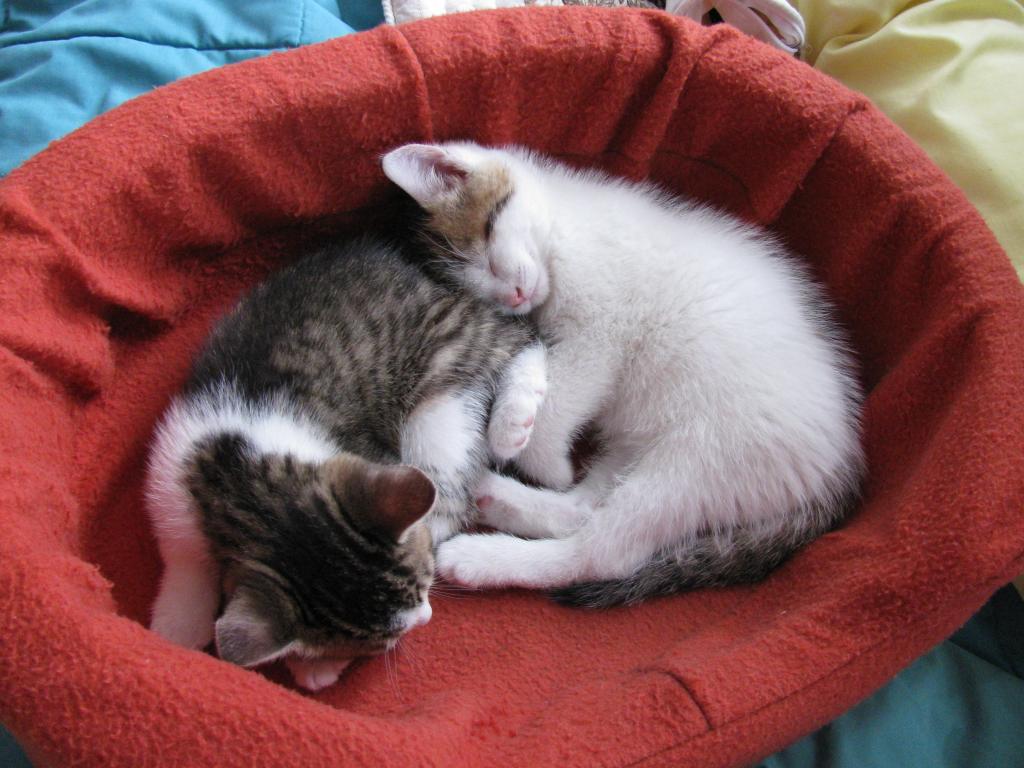
Lulu and Theo on the right and the tank is going to be in their play room, Meow!
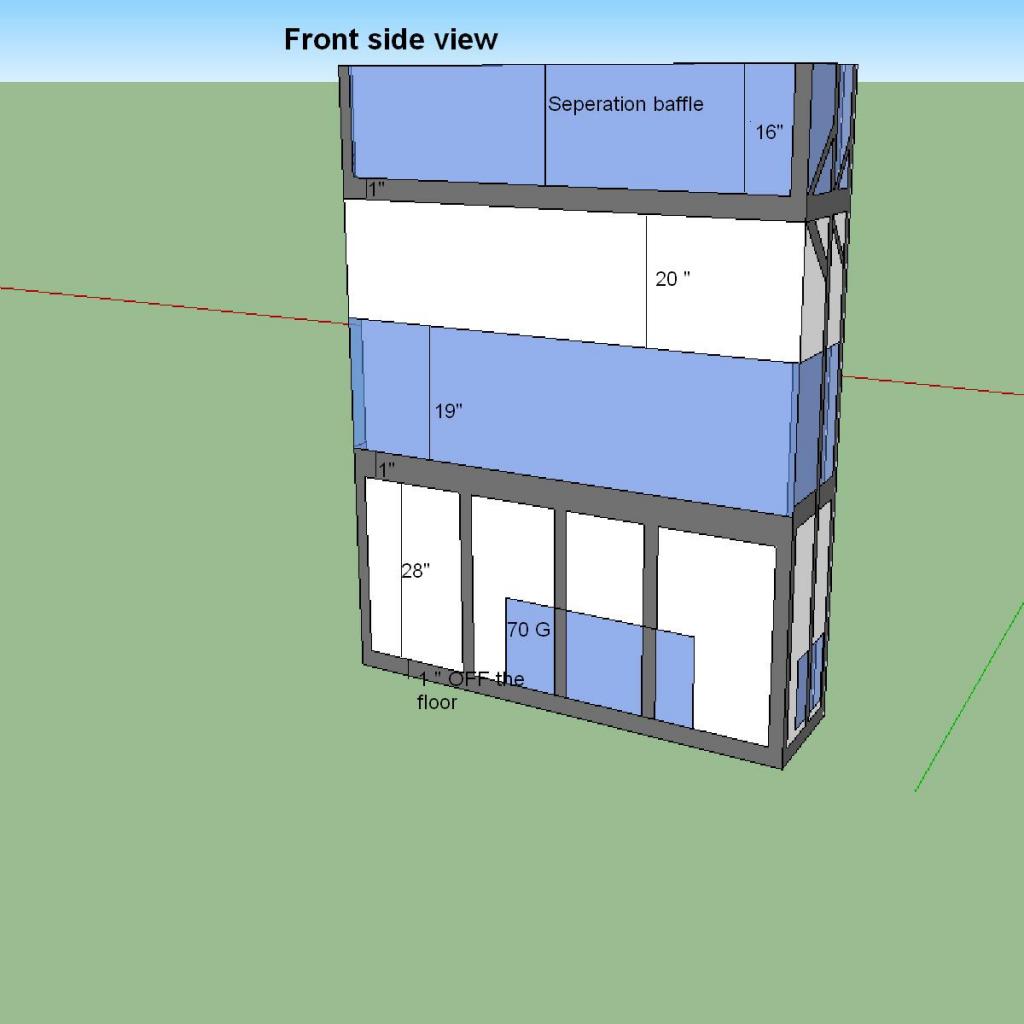
I started with a concept of two tank on top of each other like so
But then i discovered that the floor where i live, in a condo ; second floor couldn't take the load. I had a civil engineer survey the building plans and we came up with a new configuration. Sorry for the rough sketch, i can't draw well with sketch up so i used a simpler program.
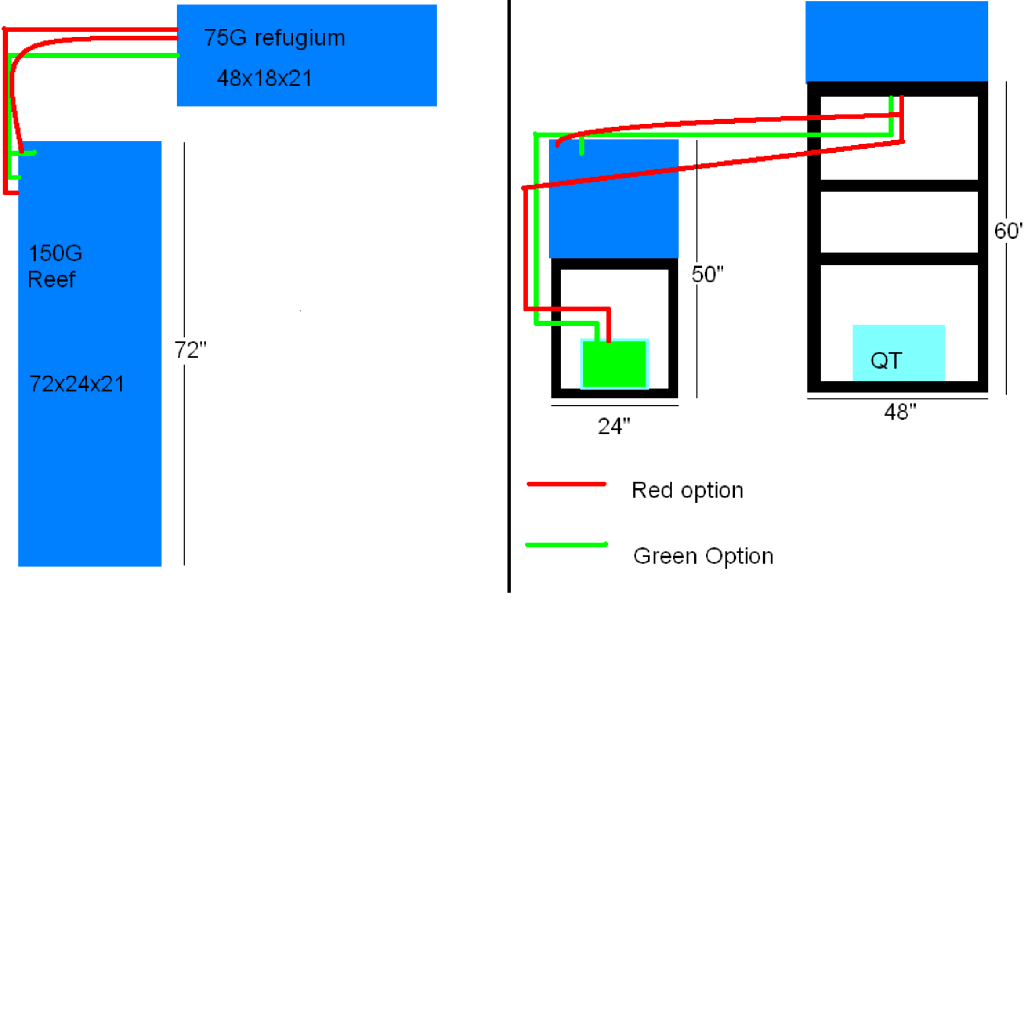
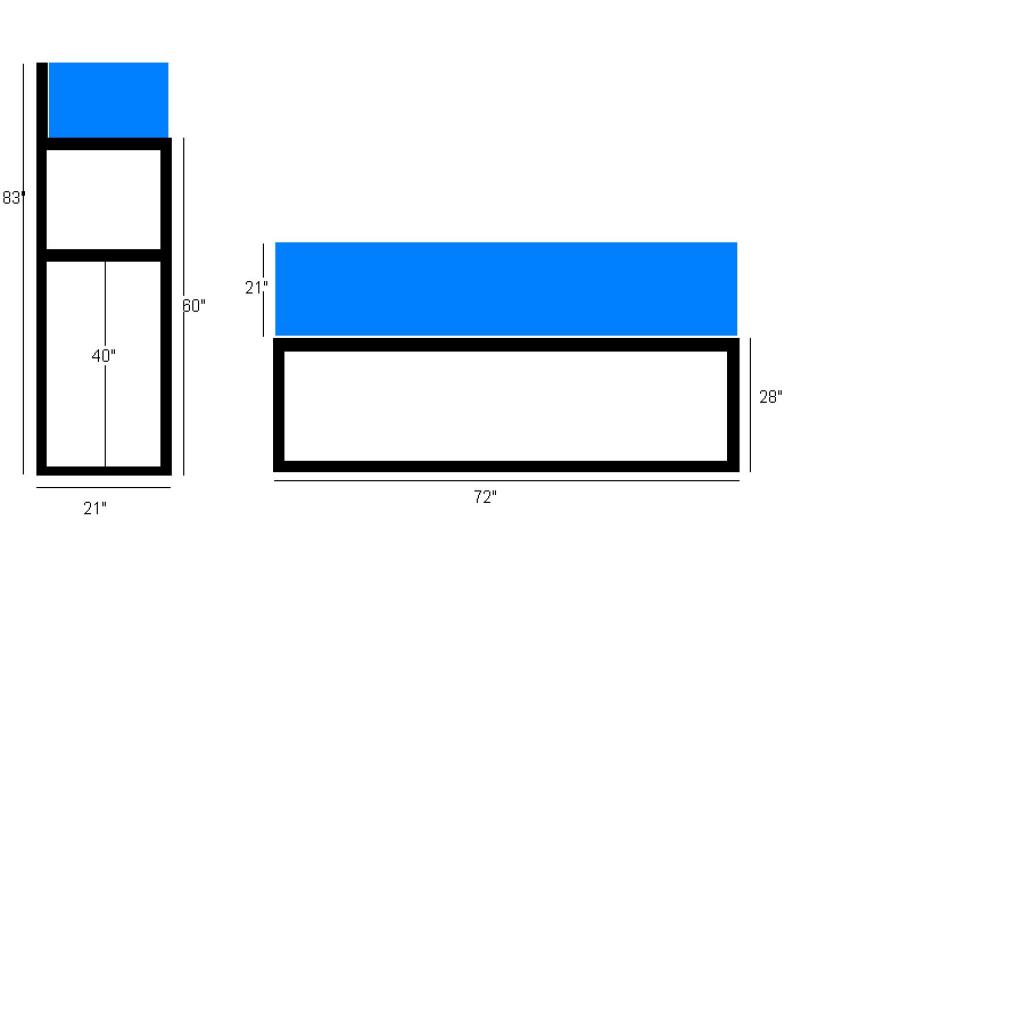
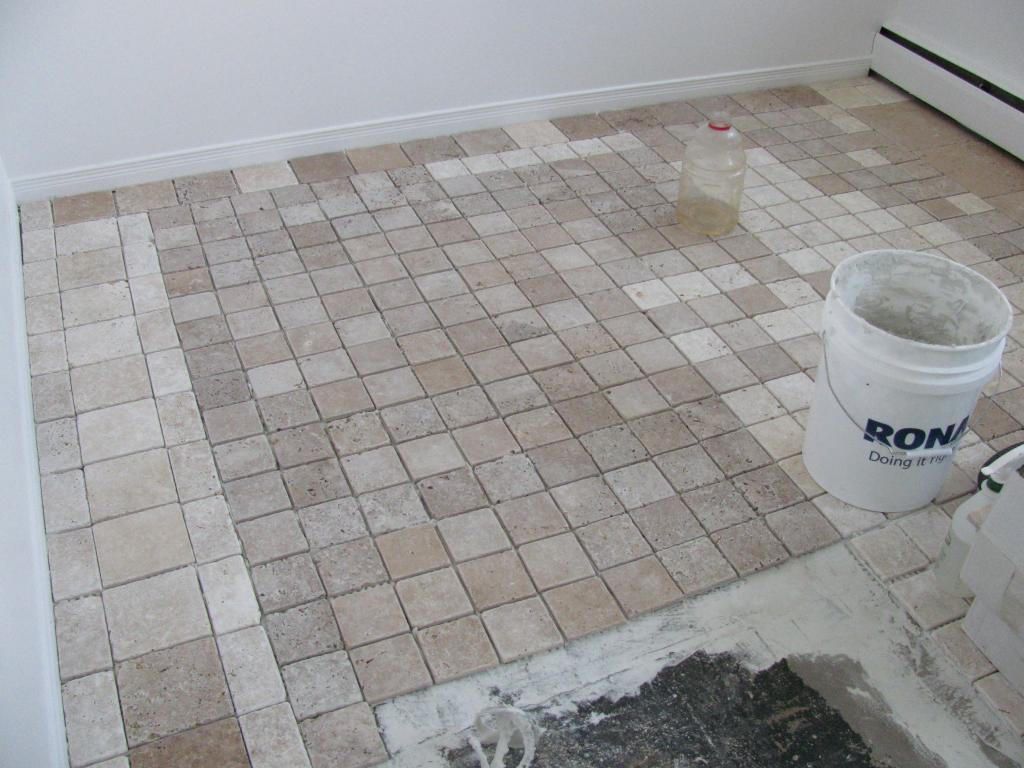
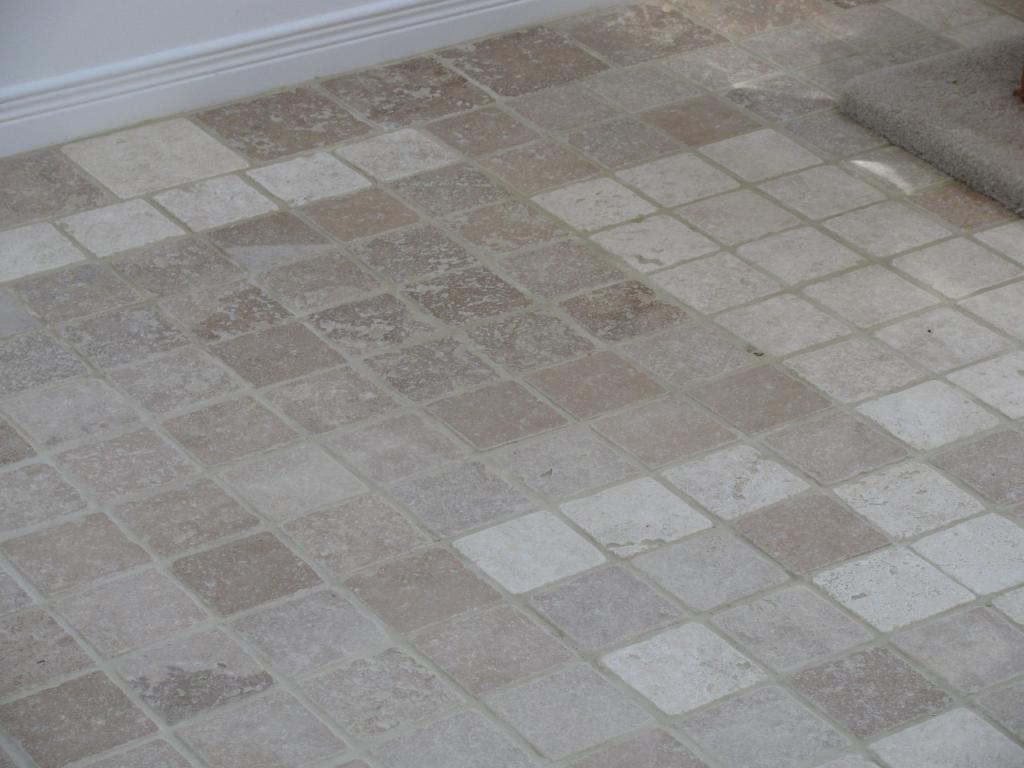
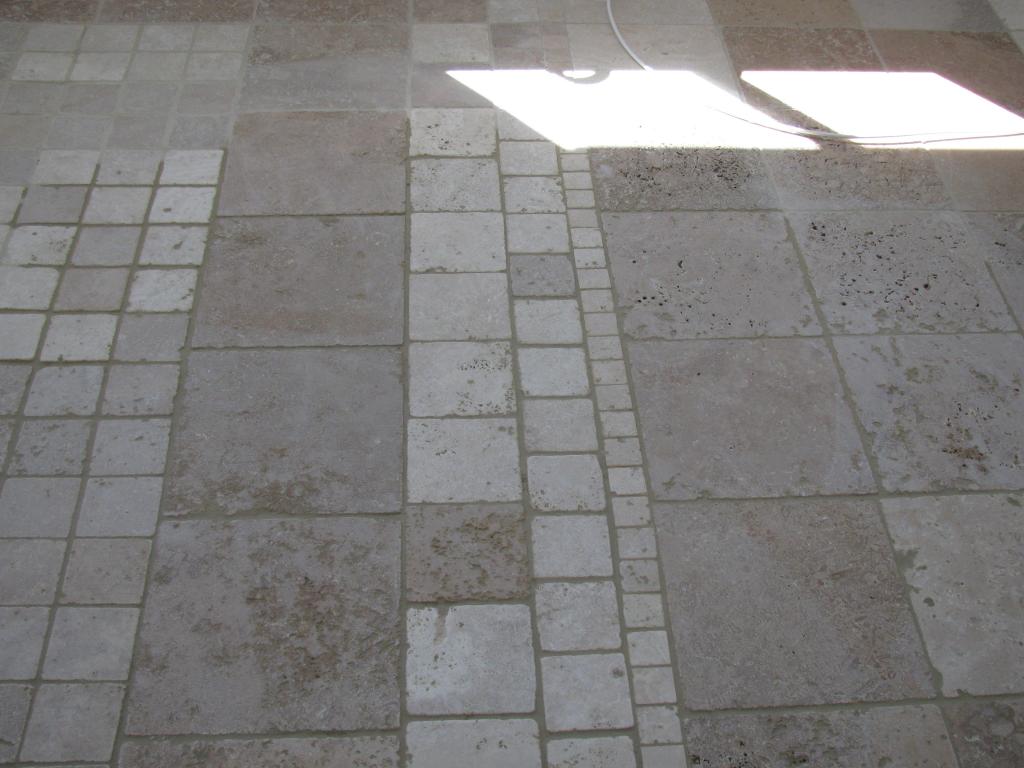
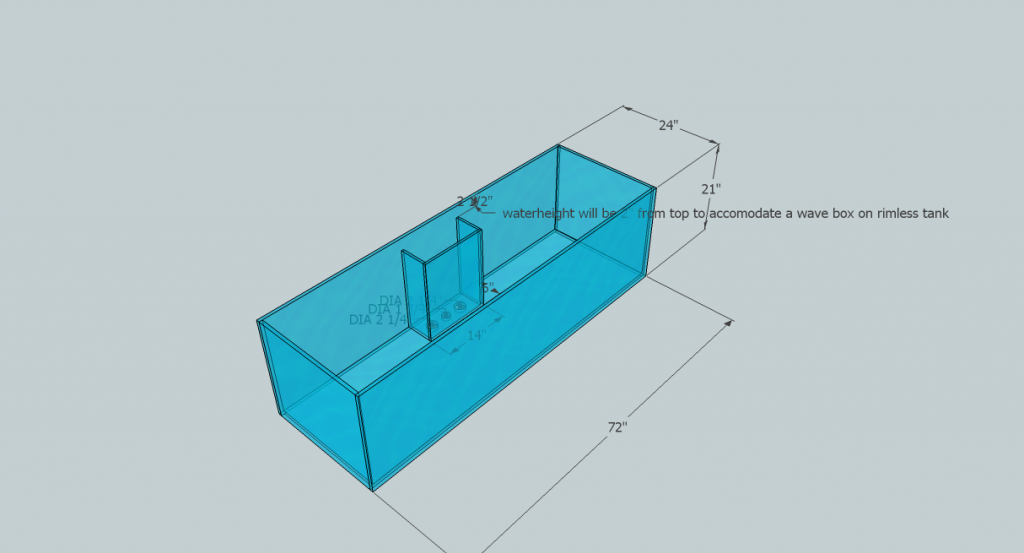
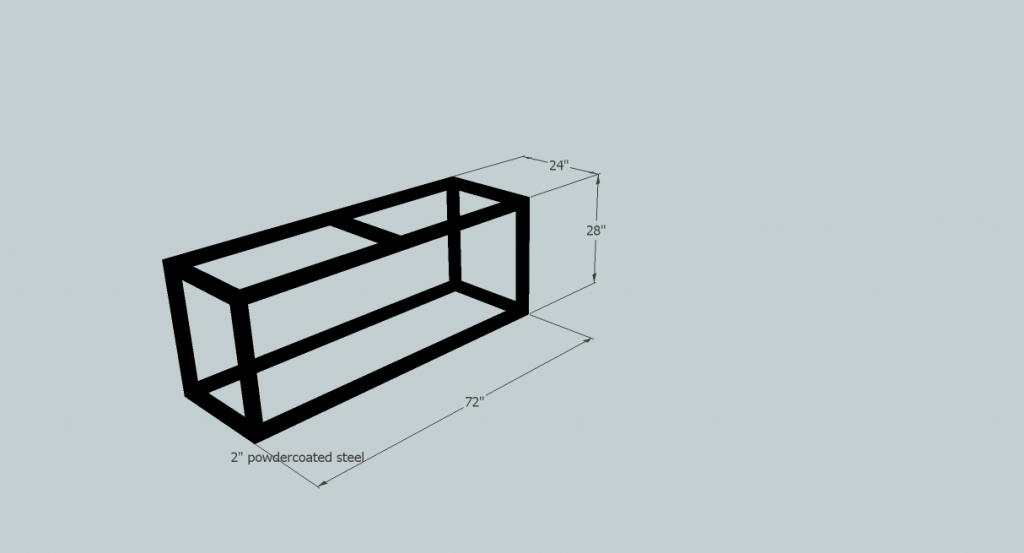
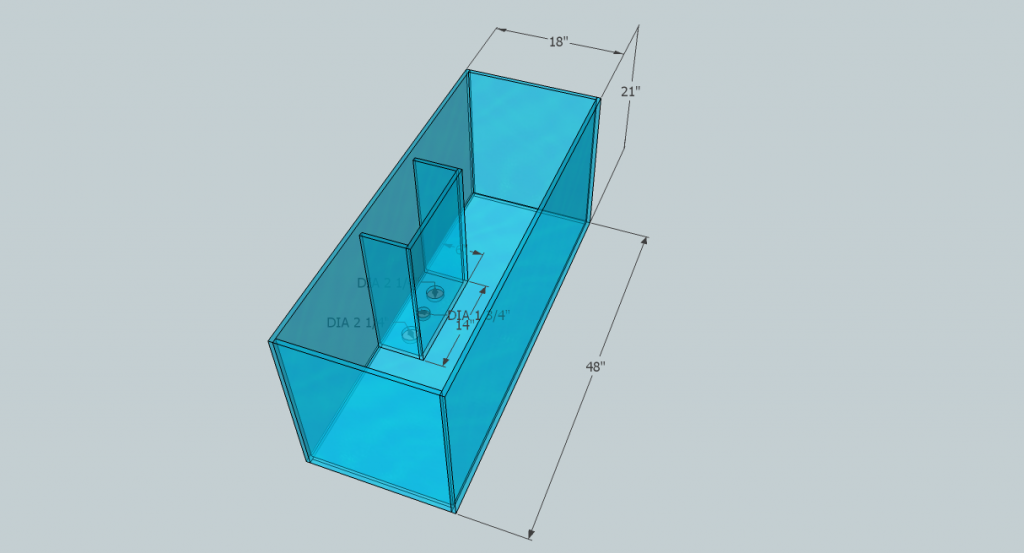
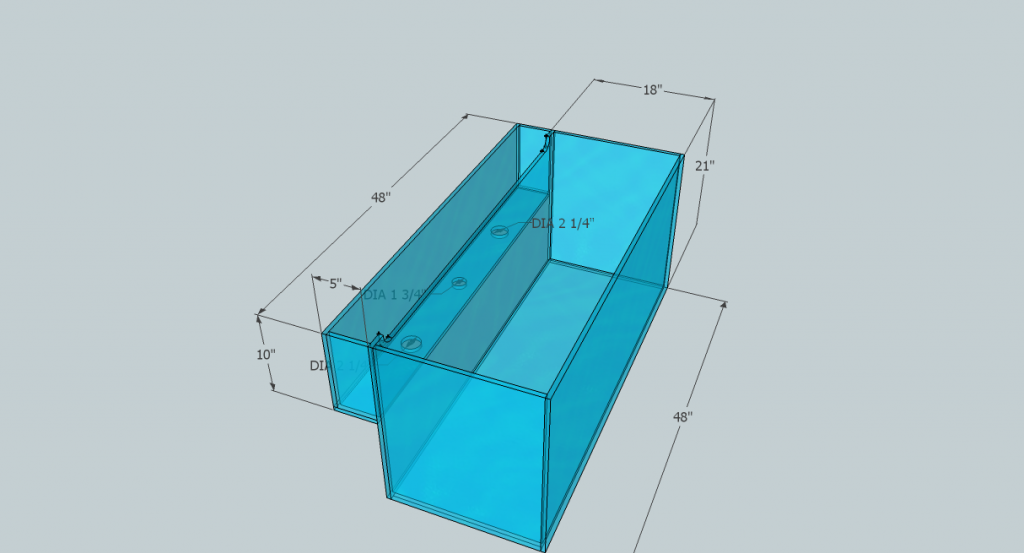
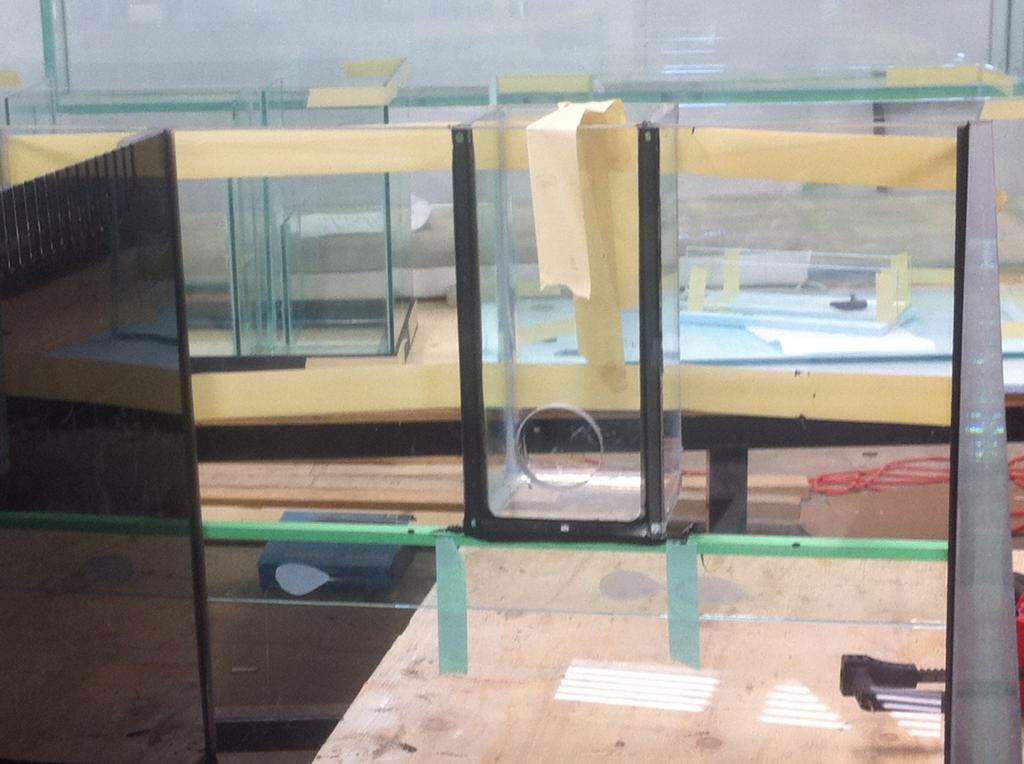
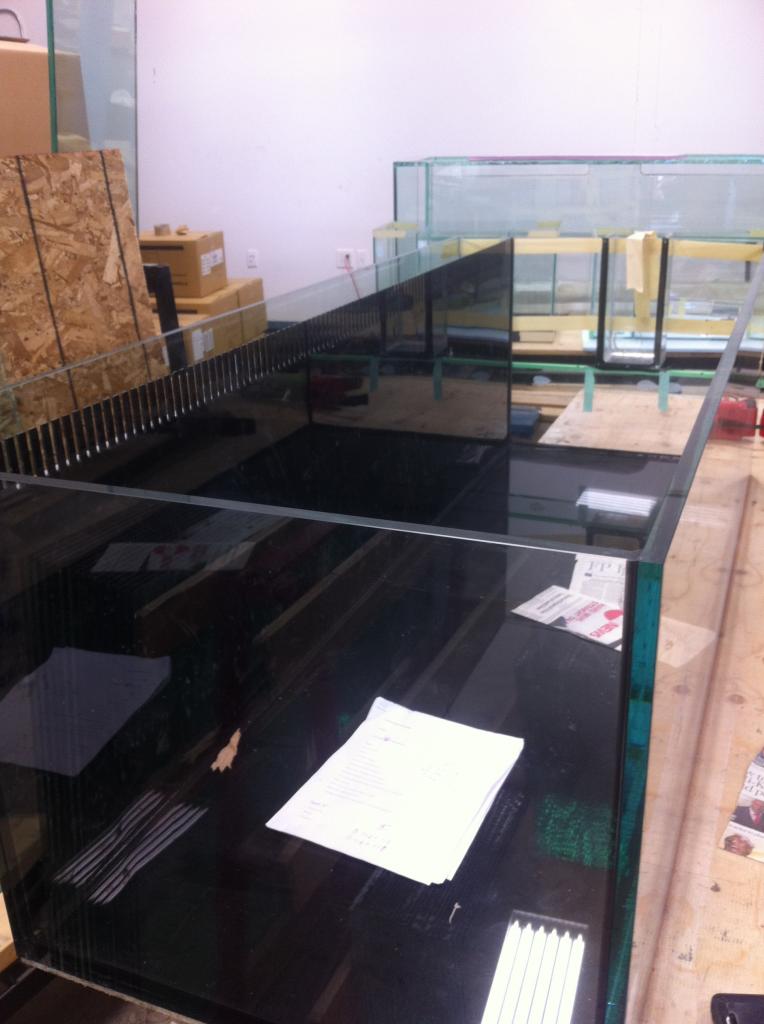
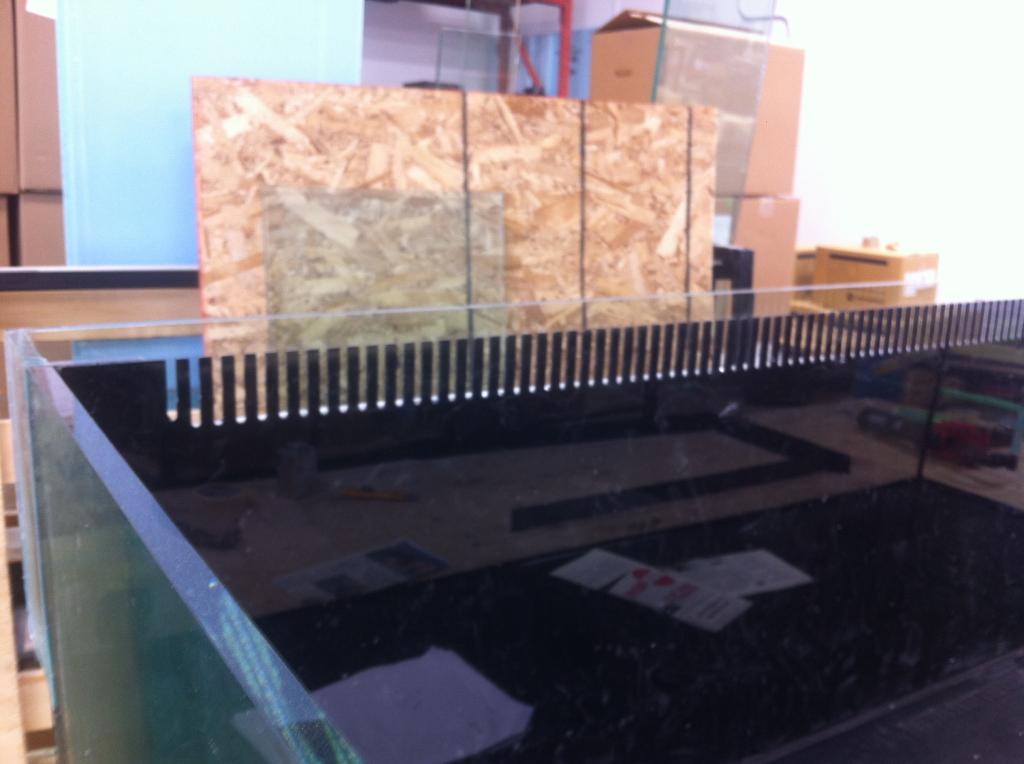
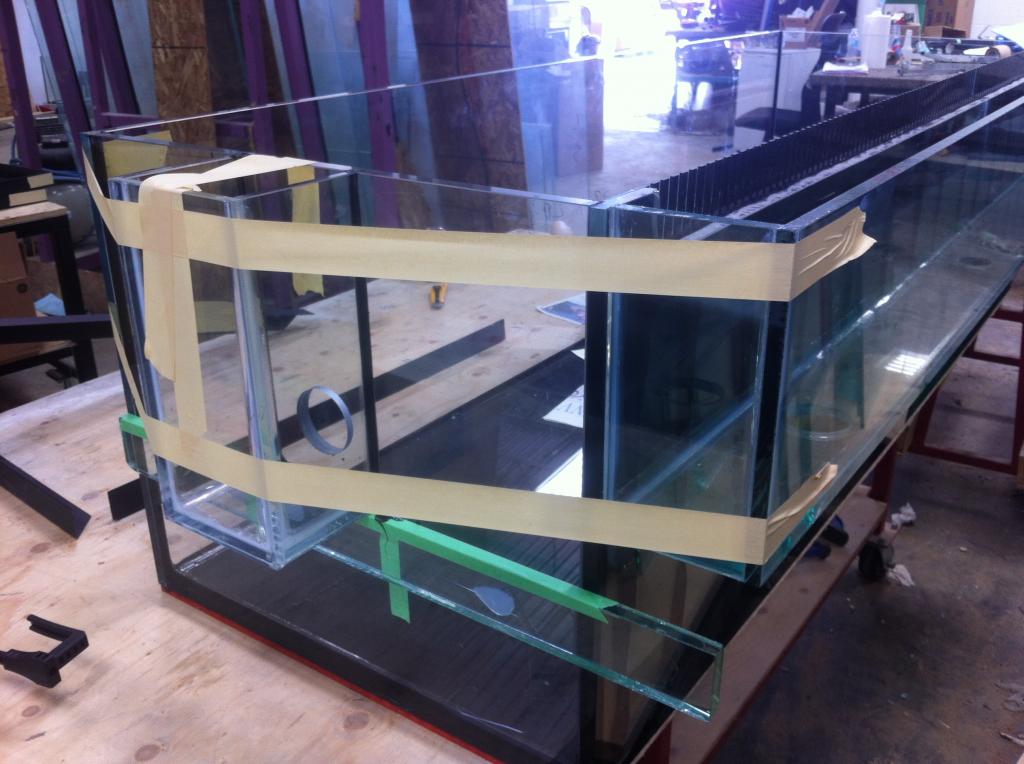
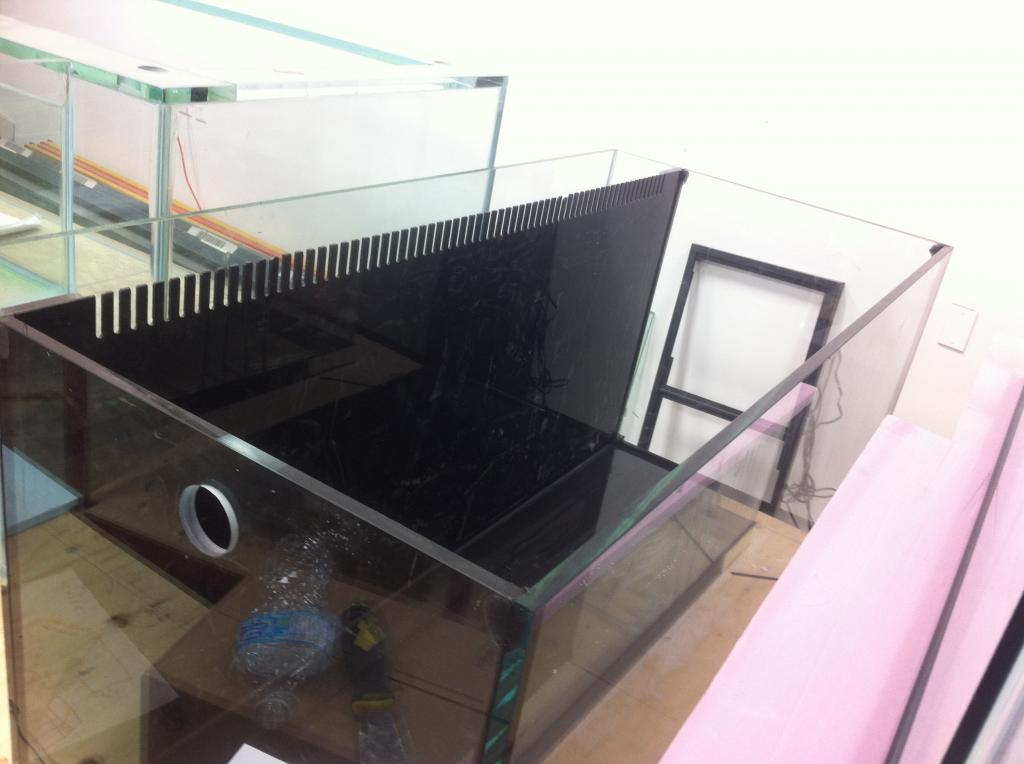
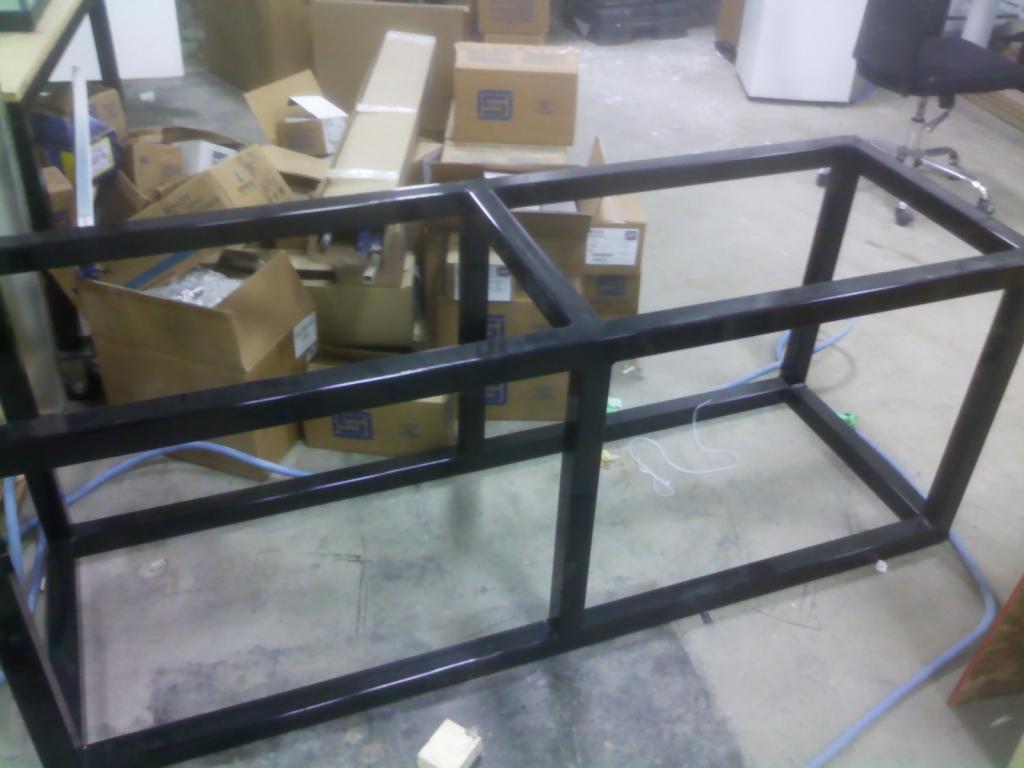
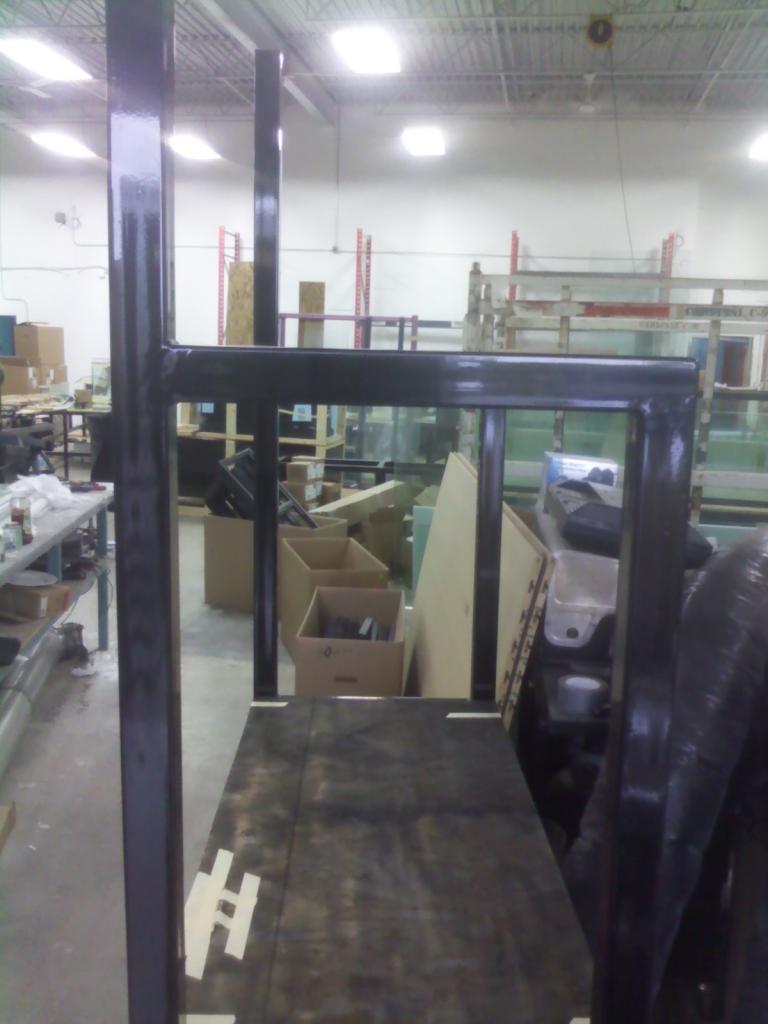
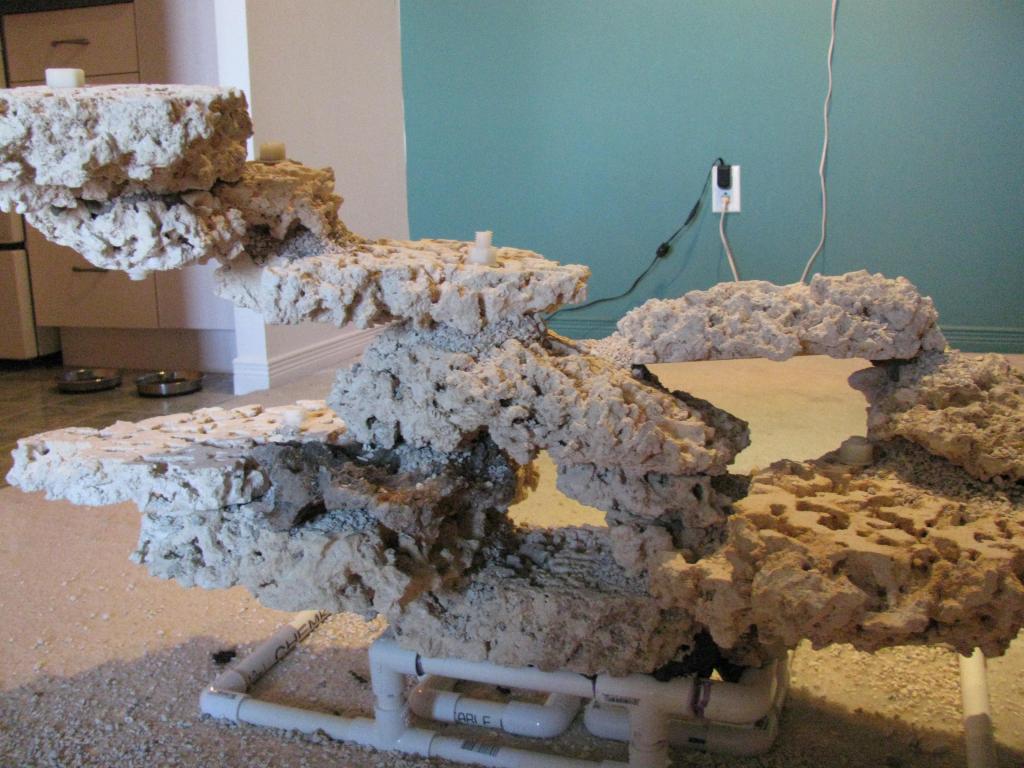
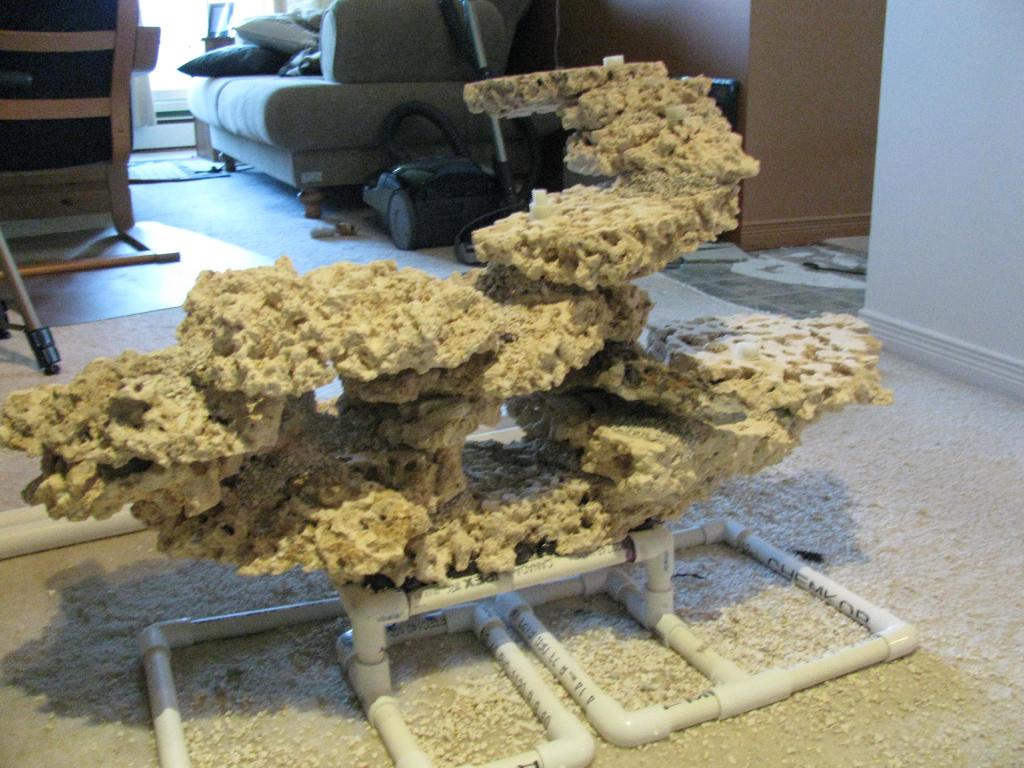
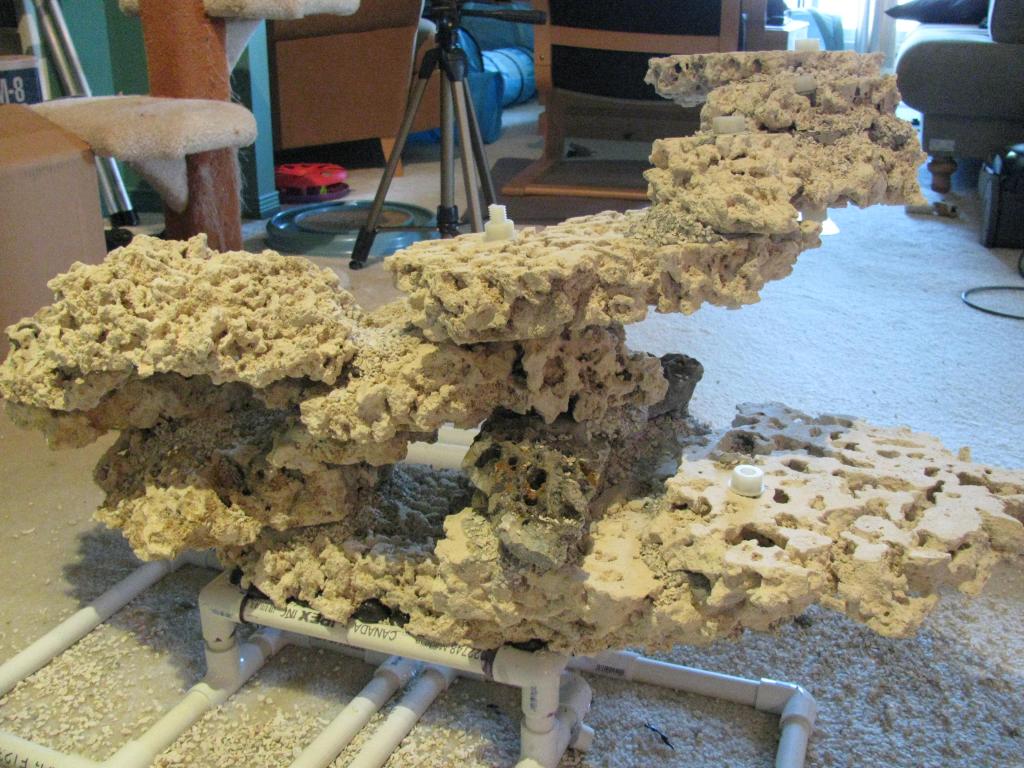
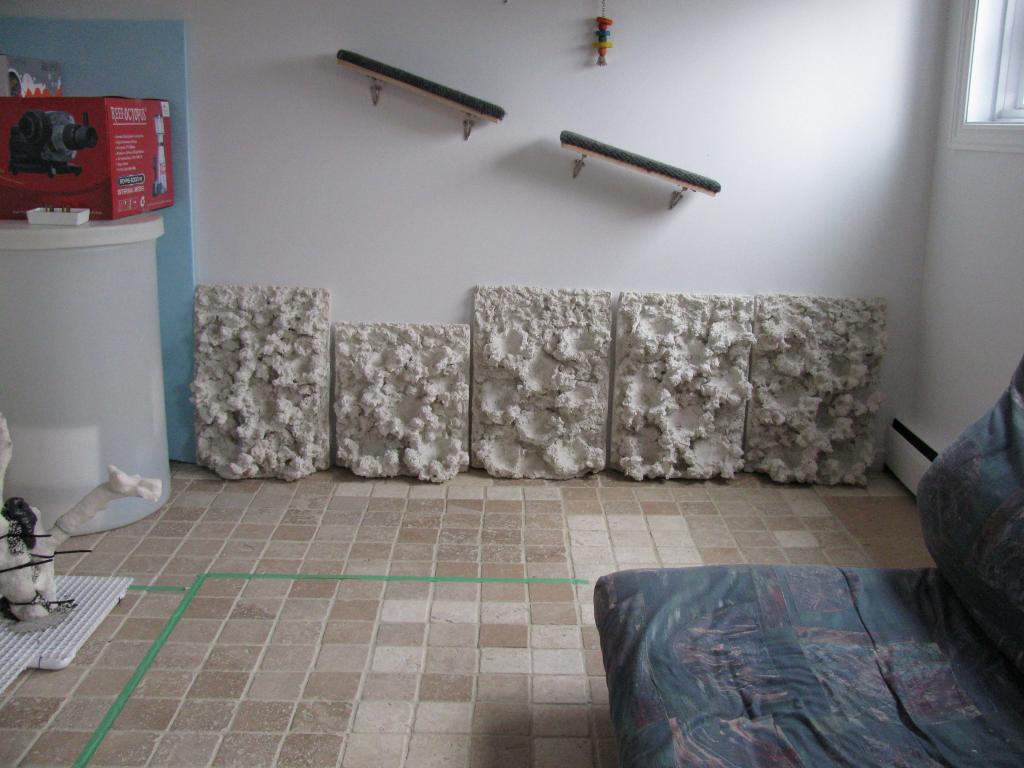
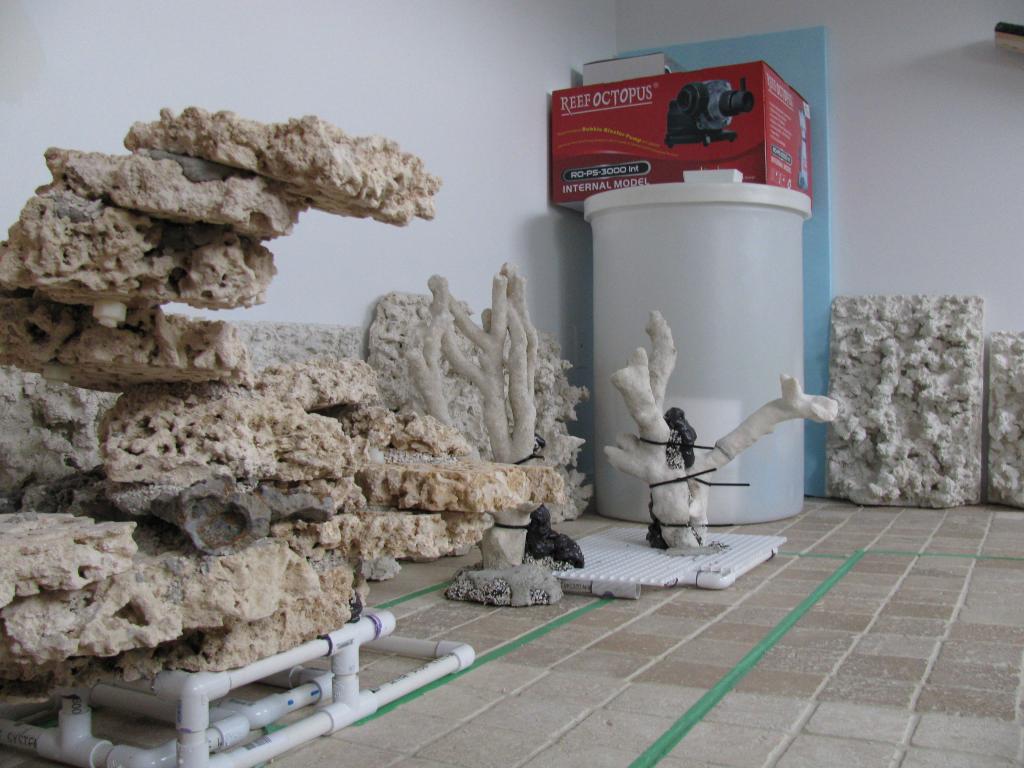
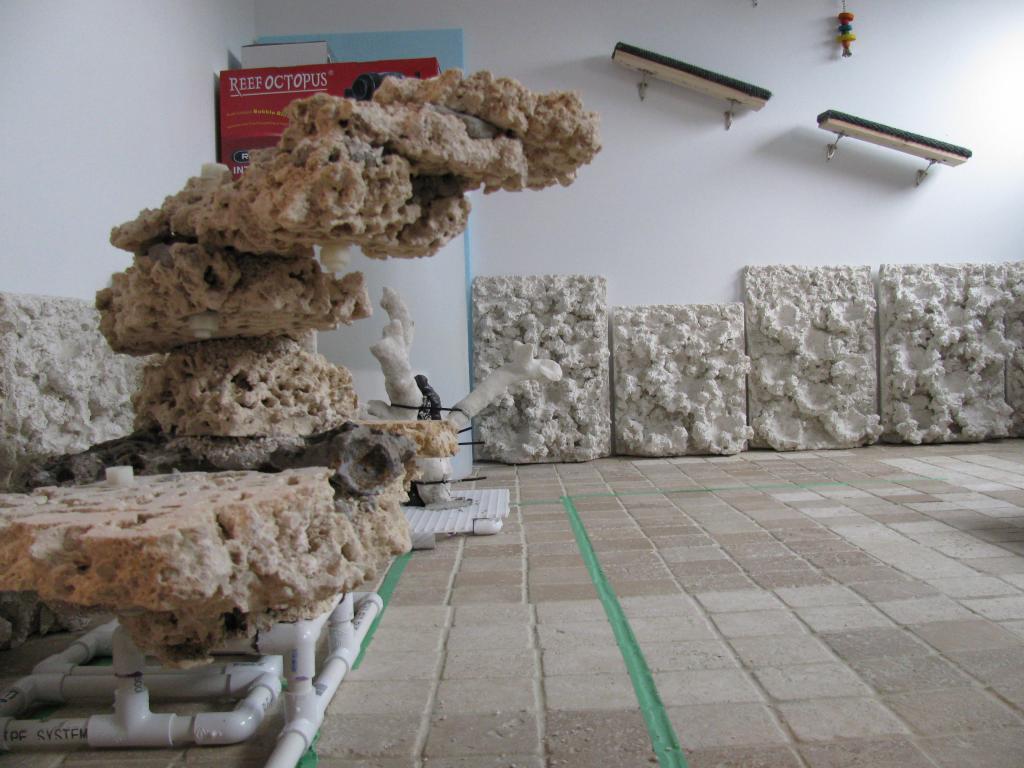
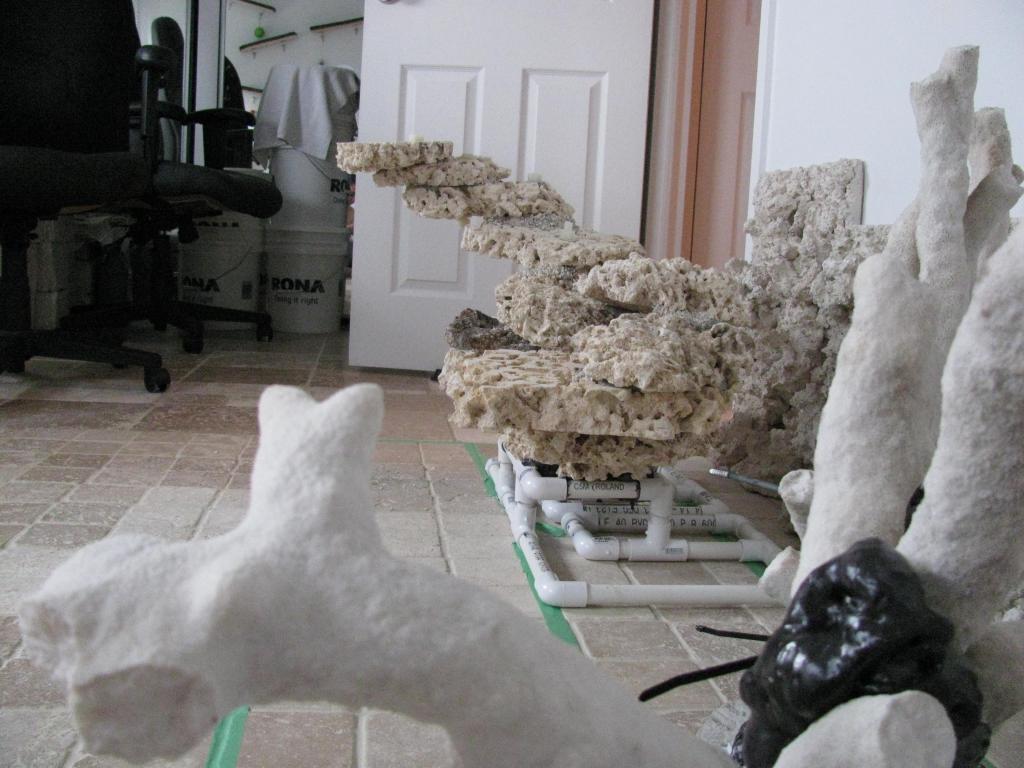
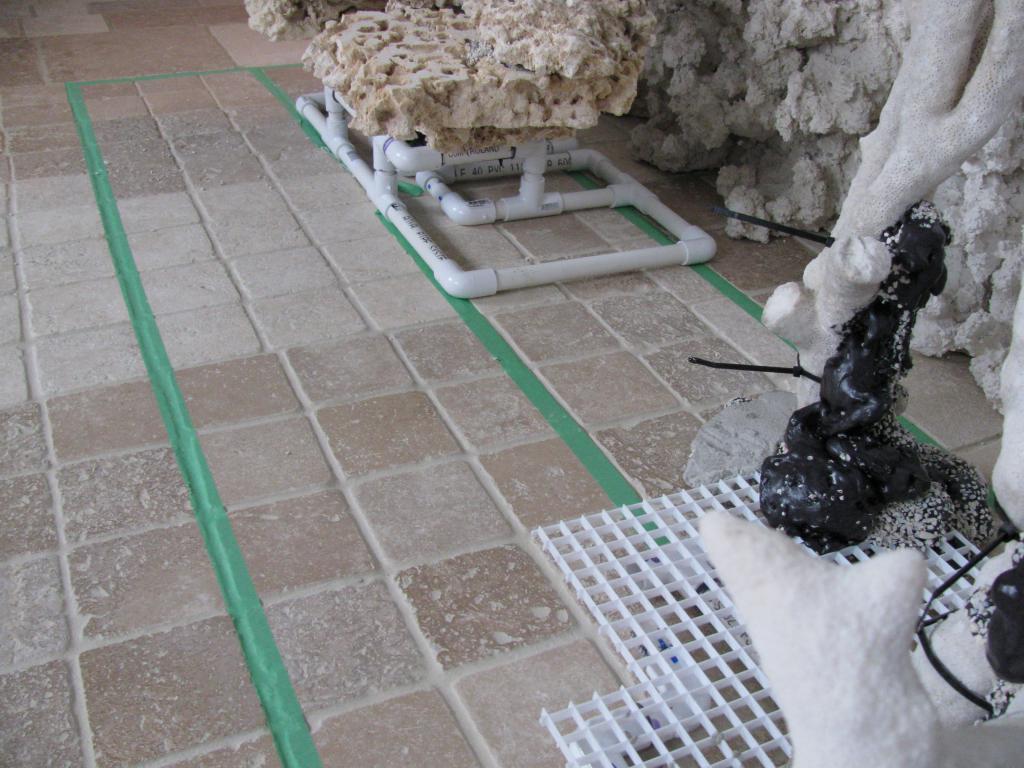
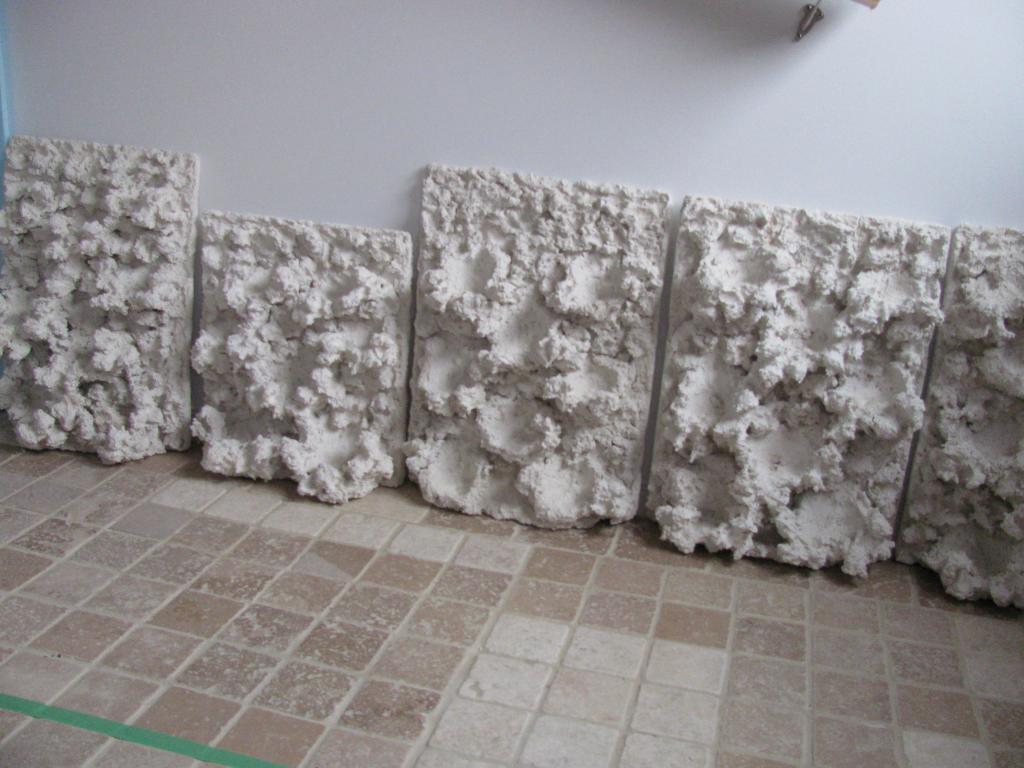
The floor plan that I've obtain from the city archives shows the floors to be reinforced concrete 6 inches thick, OUFFF. That's a relief!! My tanks are now side by sides in a reverse "L" shape position with the 72 inch long 6 feet 21" high Rimless , 28" from the floor on one side and the display refugium , Rimless on a custom steel stand 6 feet high on the other side dumping by gravity into the reef tank. The sump will be under the reef. Now since the fuge is no longer on top of the main reef tank I've scale down to a 48x18x21 =75G starphire display tank and the stand being that high i'll have a shelf with my QT on it and my controllers. In the corner will be the RO tank and mixing tank.
Now going semi retired, staying home i'll do catering for the elderly. Cooking home and delivering for sceniors. I'll have plenty of time to care for those tanks and those living in it. And I have care takers with me.
Lulu and Theo on the right and the tank is going to be in their play room, Meow!
I started with a concept of two tank on top of each other like so
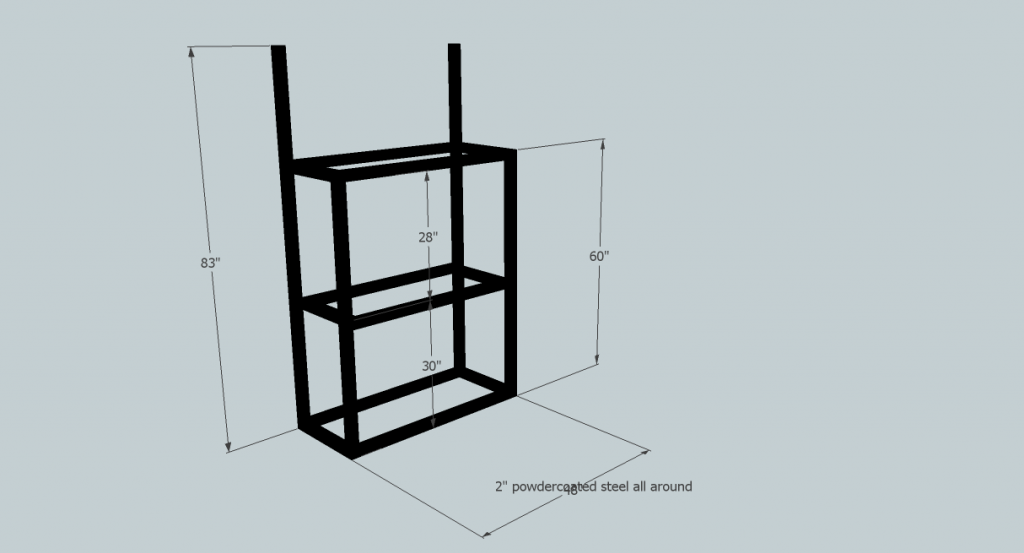
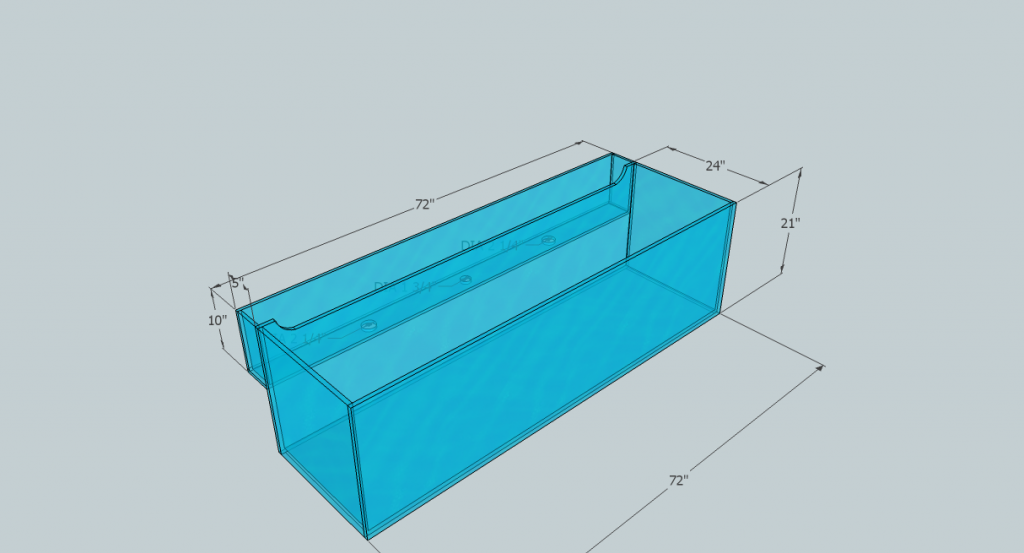
But then i discovered that the floor where i live, in a condo ; second floor couldn't take the load. I had a civil engineer survey the building plans and we came up with a new configuration. Sorry for the rough sketch, i can't draw well with sketch up so i used a simpler program.
The floor plan that I've obtain from the city archives shows the floors to be reinforced concrete 6 inches thick, OUFFF. That's a relief!! My tanks are now side by sides in a reverse "L" shape position with the 72 inch long 6 feet 21" high Rimless , 28" from the floor on one side and the display refugium , Rimless on a custom steel stand 6 feet high on the other side dumping by gravity into the reef tank. The sump will be under the reef. Now since the fuge is no longer on top of the main reef tank I've scale down to a 48x18x21 =75G starphire display tank and the stand being that high i'll have a shelf with my QT on it and my controllers. In the corner will be the RO tank and mixing tank.