My interest in the aquarium hobby started around 2006 with a fresh water tank which ended up with several fresh water tanks, followed by a brackish tank with some green spot puffers, and then a 20 gallon salt water tank. I knew absolutley nothing about the salt water hobby. I started out with a Korean Anglefish because it looked cool. Well about a week later it was dead do to my dumbness. It consisted of no research, small tank and a used tiny powerfilter. Threw some water in there, mixed in the salt with a unreliable hydrometer and tap water, and threw the fish in. Poor angelfish.
After that I did some research and got a 75 gallon tank and a large canister filter as well as a seaclone skimmer. It consisted of just a florescent strip light from Wal-Mart, some crushed coral substrate, and maybe 15 - 20 pounds of live rock. I actually had pretty good luck this time around and everything was doing great, except for anemones getting sucked up into the canister filter inlet and getting torn apart.

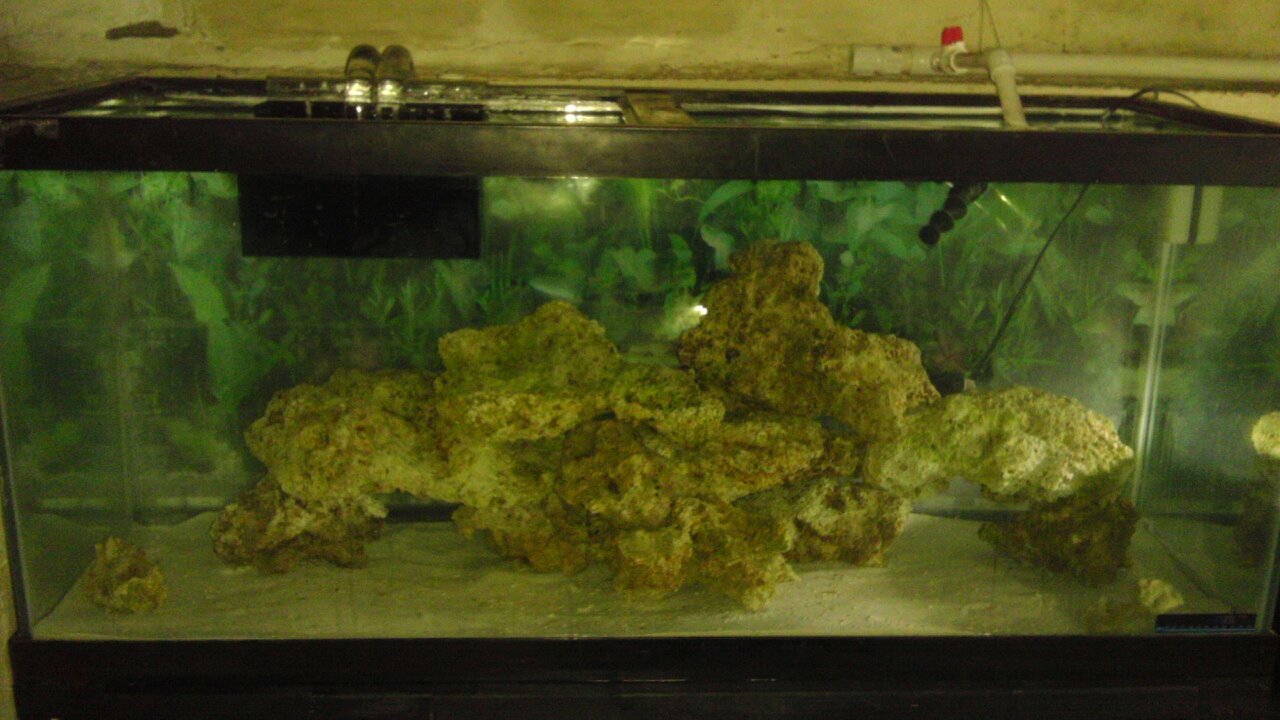
In 2010 I had started to set up a 125 gallon. I had the tank from a few years back as a fresh water planted aquarium. This tank consisted of another Wal-Mart strip lite, and the same XP3 canister filter and seaclone skimmer I had used on the 75. I decided to go with a sump system from eshops and a mag 9.5 for a return pump. As well as a hang on the back overflow box. It was nothing fancy but my first sump I had used. This setup just sat and ran for about 6 months and I had added nothing to it besides 2 damsels. I just mainly set it up to re populate my dead rock from the 75 gallon I had before. There was about 77 pounds of dead rock put in the tank. After that I had added a couple of other fish such as a yellow tang.


After that I had started to do research for hours and hours each day, becoming obsessed with it lol. And I wanted to go bigger once more lol. I had an old 180 gallon outside in the storage shed and decided to bring that in and set it up in place of the 125. I did not have a stand for this tank, but I made a stand around 40 inches high to accomidate for a lot of room underneath to work with. I started to see all the equipment I could purchase and knew I wanted to have a lot of room. Well a lot of the water from the 125 was drained into a 29 and 20 gallon long on a double stand, and I put all the critters and rock in there so I could take the 125 down. After the small tanks ran for a couple days I moved everything into them and the 125 was out of the house.

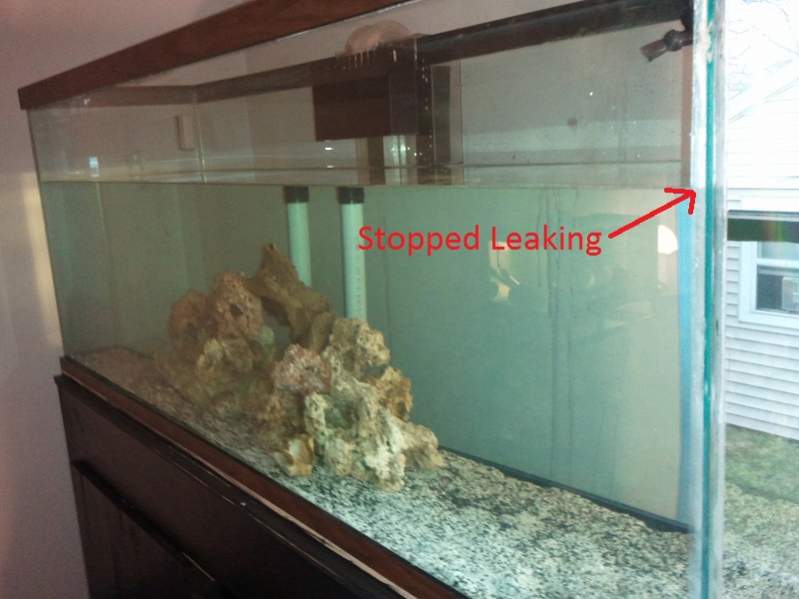
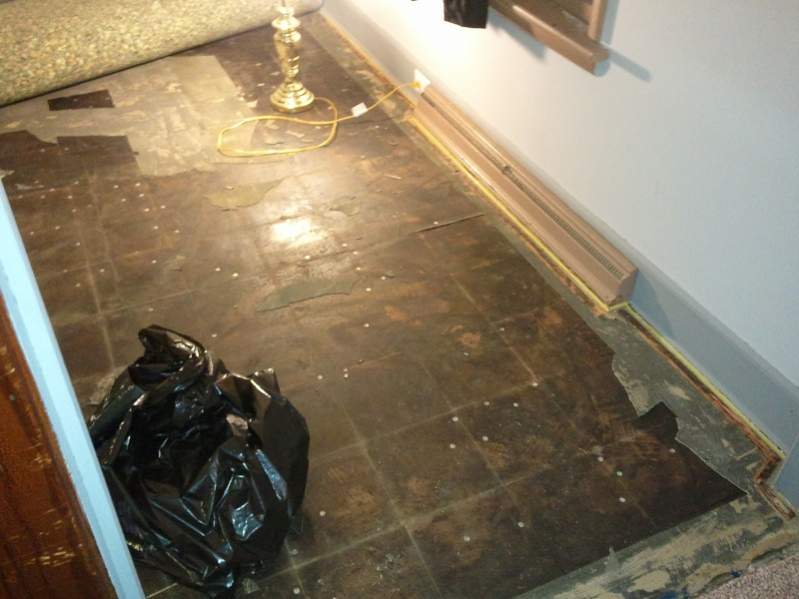
The stand was built and the 180 gallon was carried into the house and put on the stand. This is a very old tank that had a 1983 sticker on the bottom of it lol (I didn't notice at the time). I had used it previously in 2006-2007 with some oscars and pacus, and other various fish in it. After setting up the sump underneath and overflow box, I began to fill it and started everything up once it was filled. Everything looked good and I was just gona let it run for the weekend since this was on a Friday. The girlfriend and I went to the cottege and came back on sunday night to find that tank had leaked about a third of the water out on the floor and emptied they sump since the pump kept pumping water back up. The mag 9.5 had burnt out and did nothing after that. Here the back right seam had split open and the trim split apart at the top of the tank. It was a lot of water and had to do some work with the floor and the bubbling carpet. The carpet felt like a spring when walking over it. Luckly it wasnt the entire tank on the floor. The cool thing is there was a drain in the basement floor directly underneath so the water made its way down there and drained. Pulled the carpet up and let it all dry out and used roofing nails on the flooring underneath to flatten it back out since it was all bubbled up.
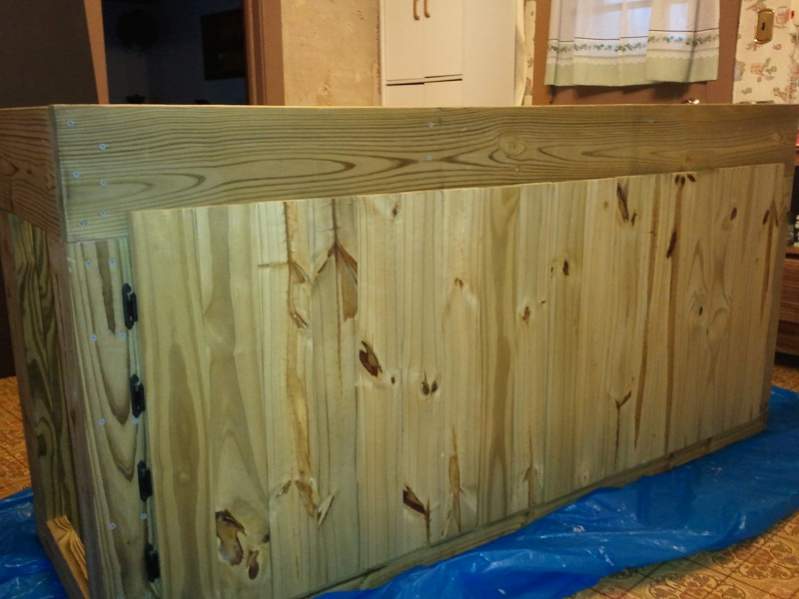
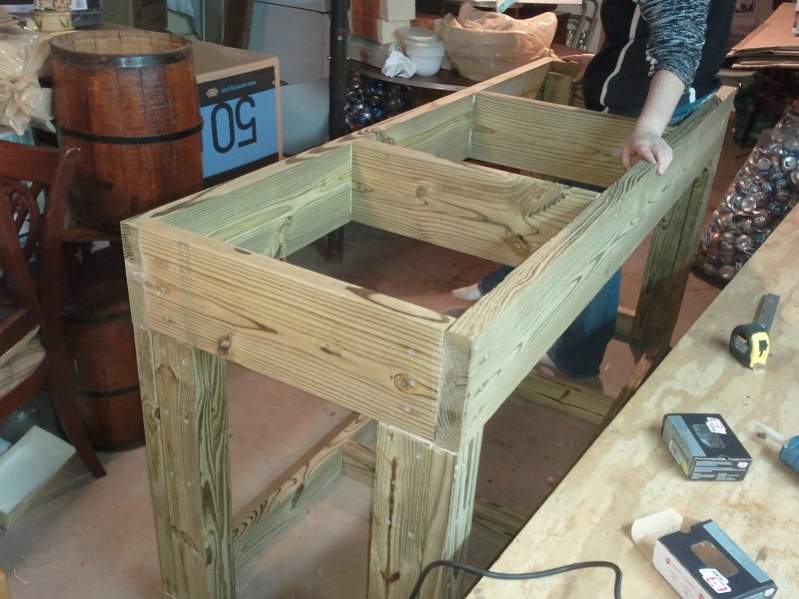
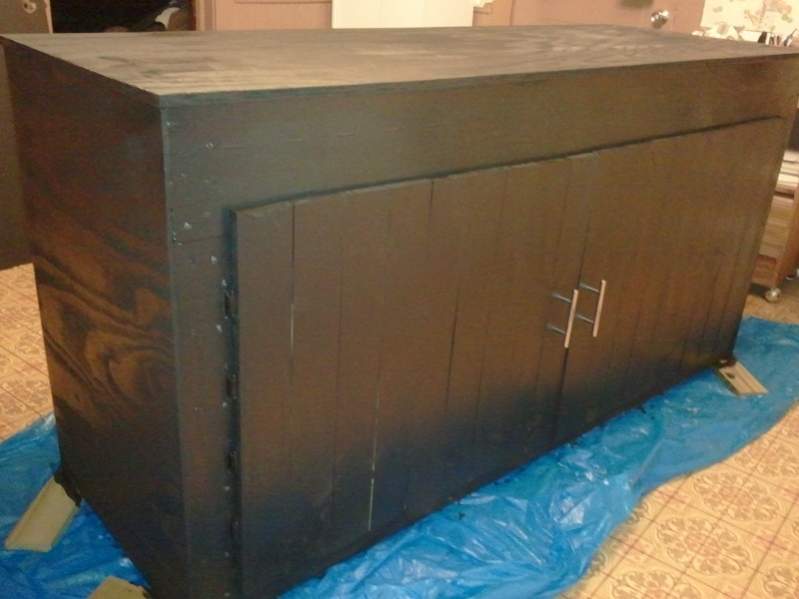
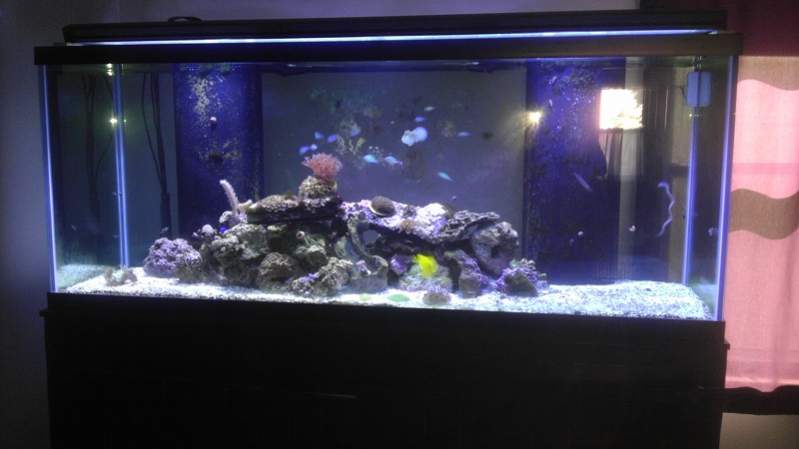
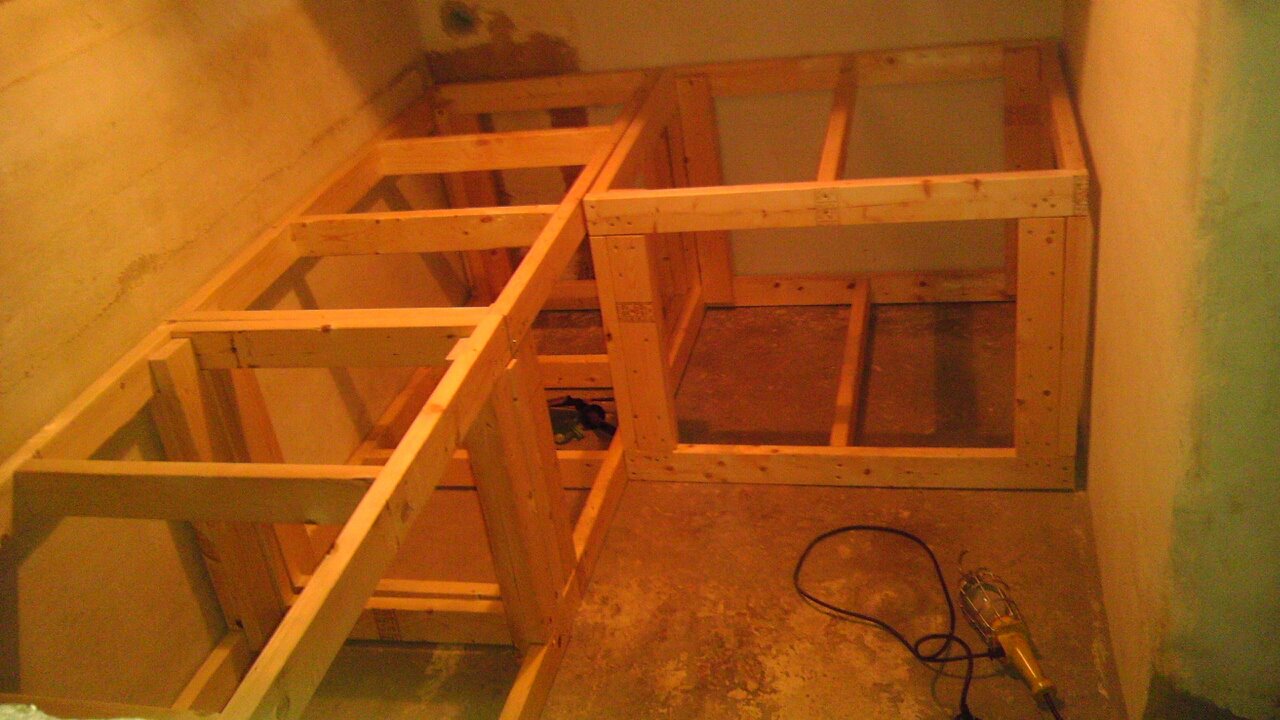
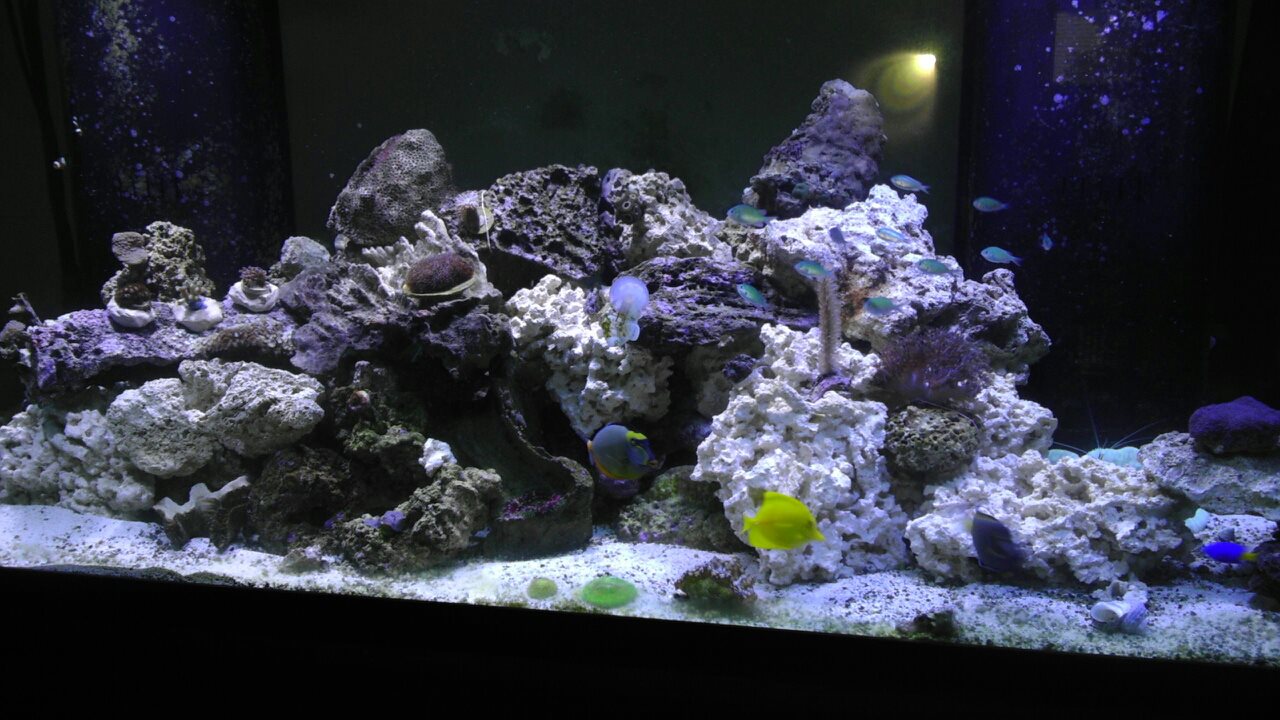
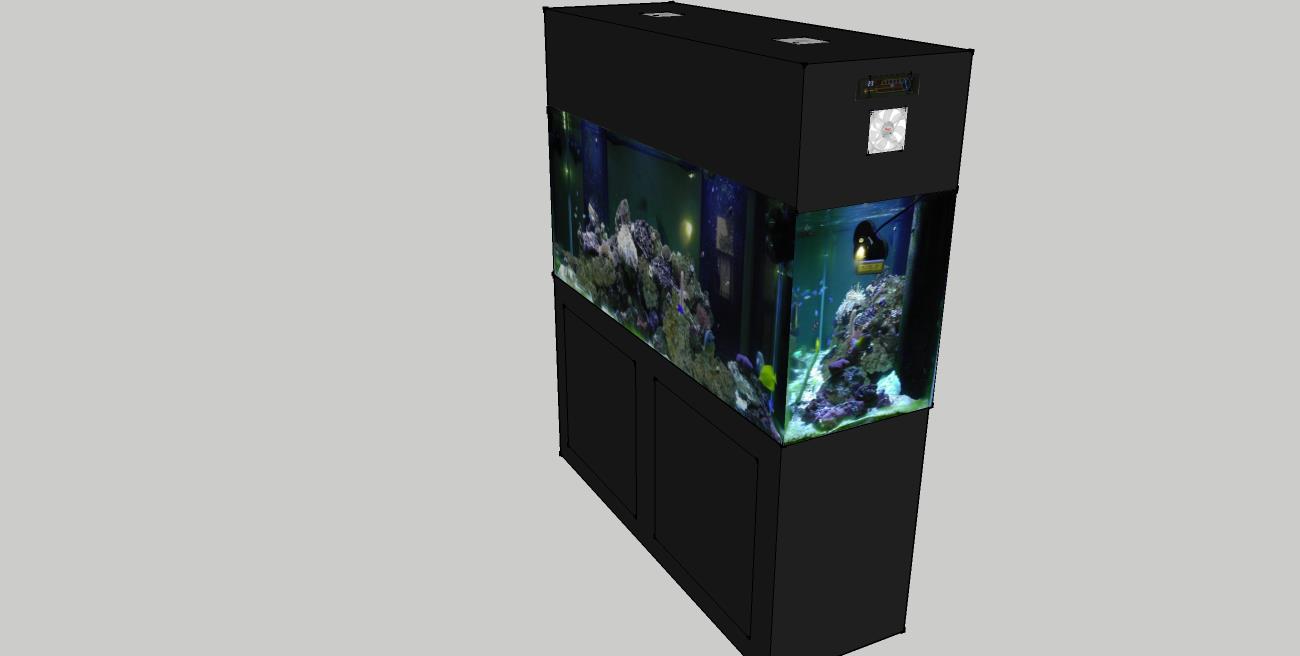
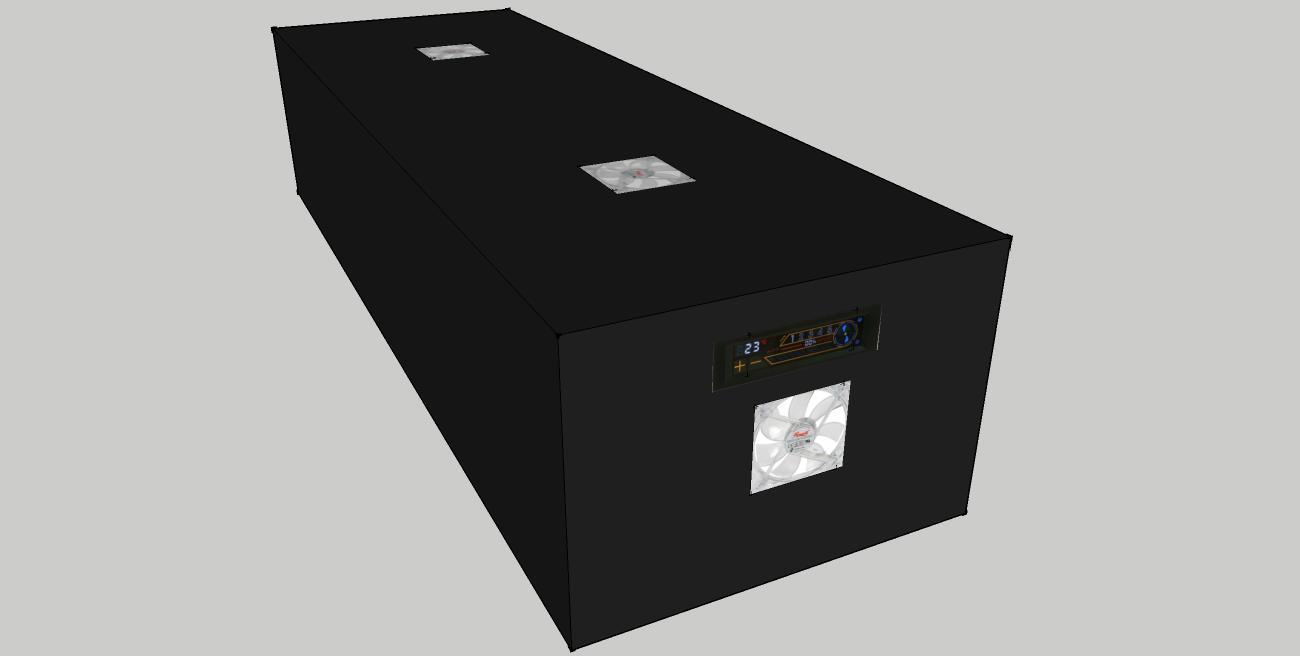
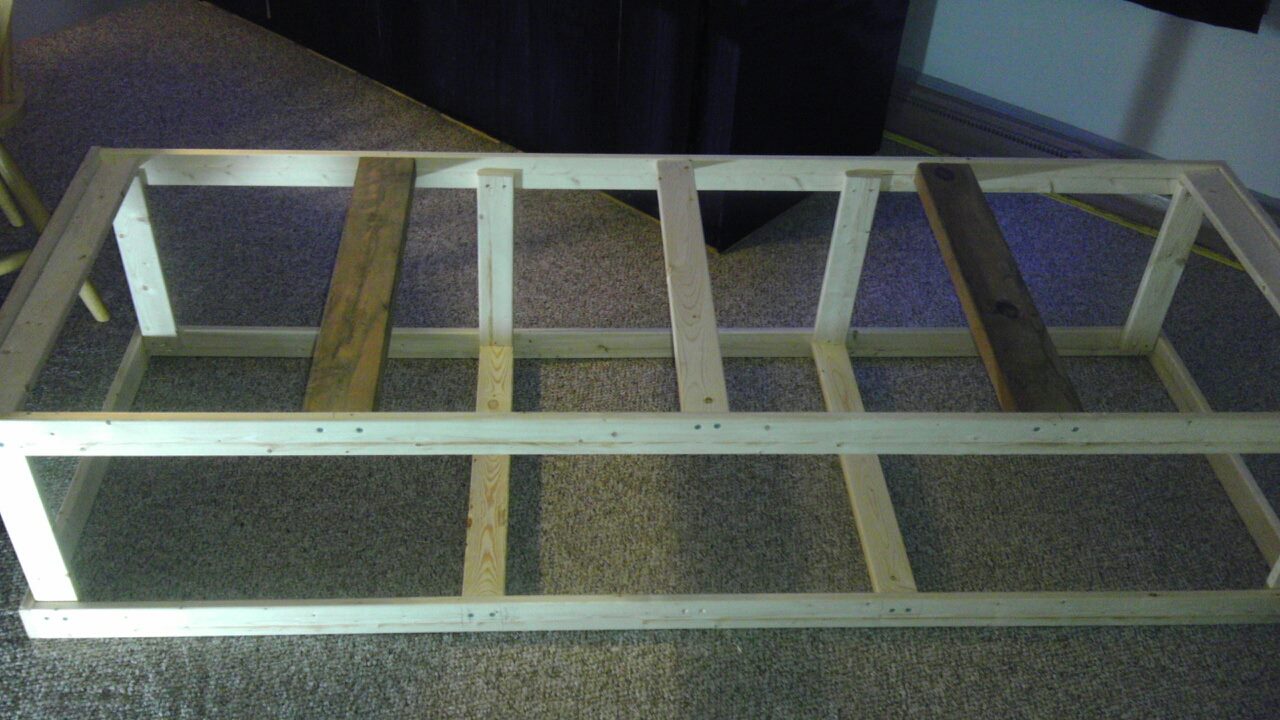
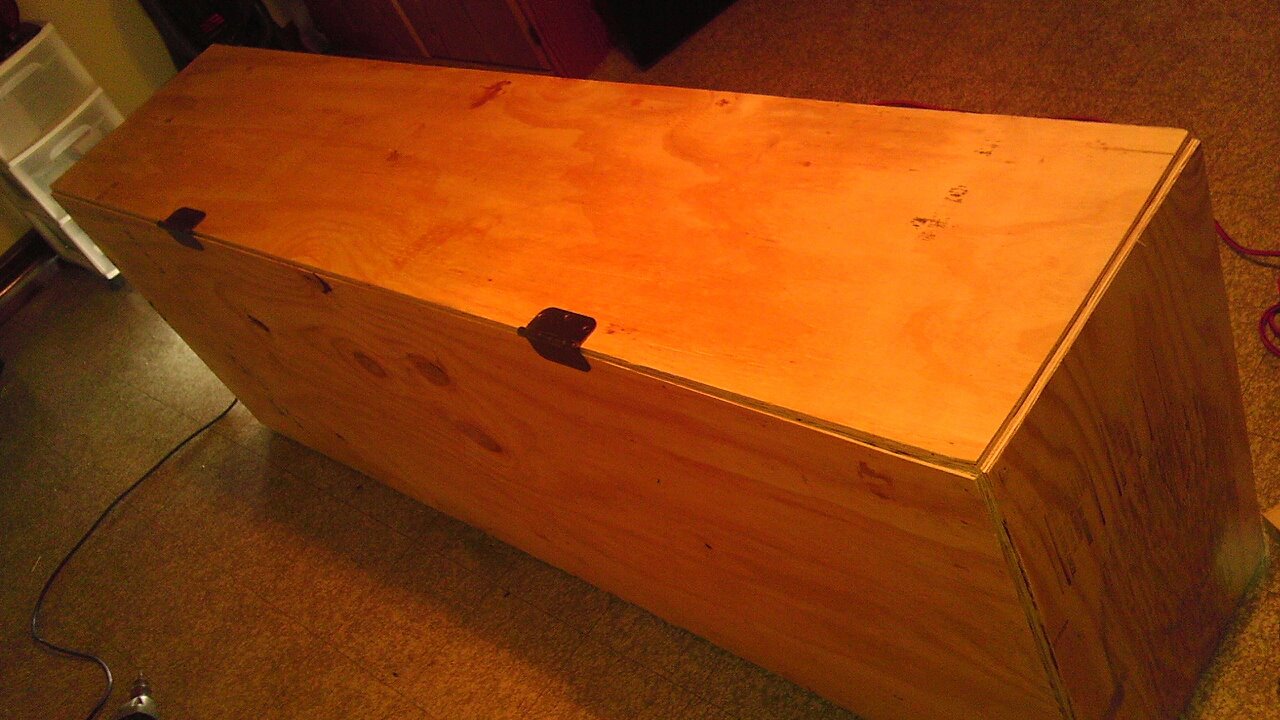
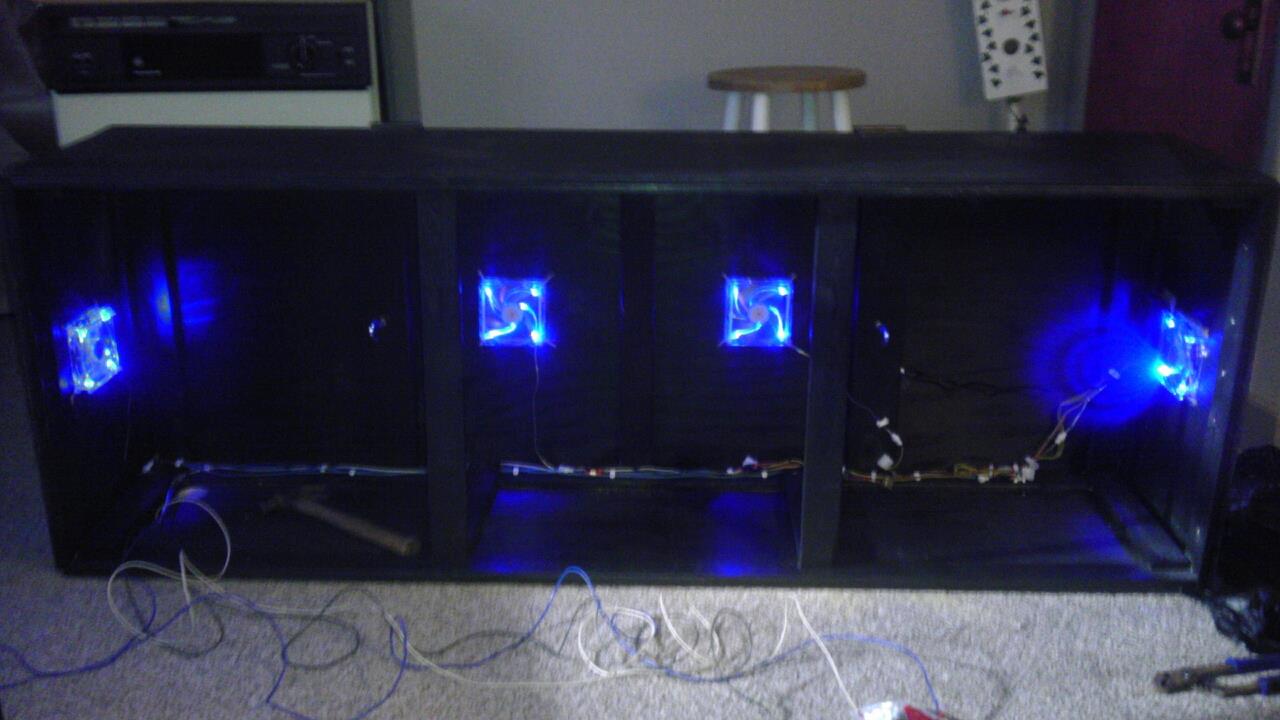
After the little fludding incident I decided to buy my first brand-spanking-new tank. It was an AGA 210 gallon with overflows. I started on this in May and is still a work in progress as I keep adding to it. This is also my first time using reverse osmosis water as I purchased a 150gpd dual membrane unite from BRS. I made a tall stand for this tank as well as my intentions were to install filtration in the stand. Used a design I found online which didnt require any center braces for the most room underneath. It weighed a ton when carying it into the house. Made doors out of 1X4s and painted it black with some pretty heavy duty paint to stand up to the wet conditions. I still want to redo these doors with a different route as the left side warped and is crooked now. I am not a woodworker at all so it is pretty basic looking. I was just happy to get it built and all squared, and most of all supported the tanks weight.
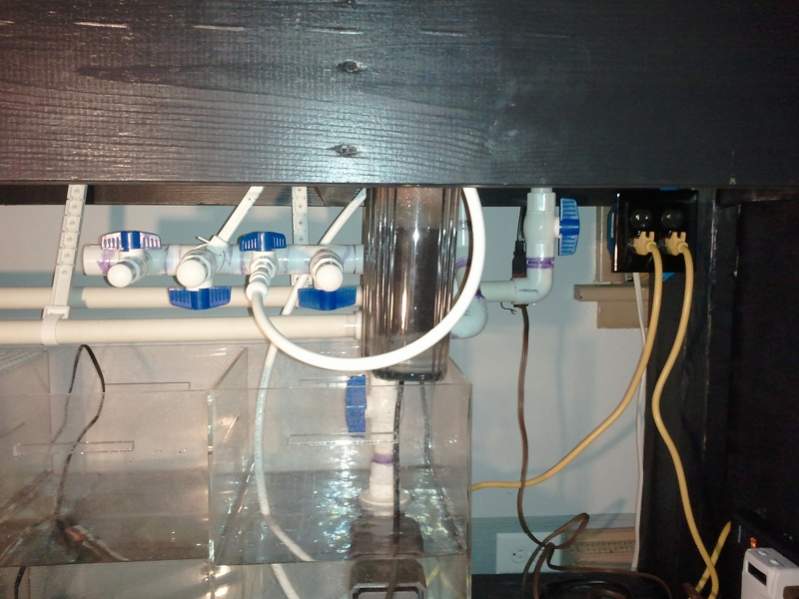
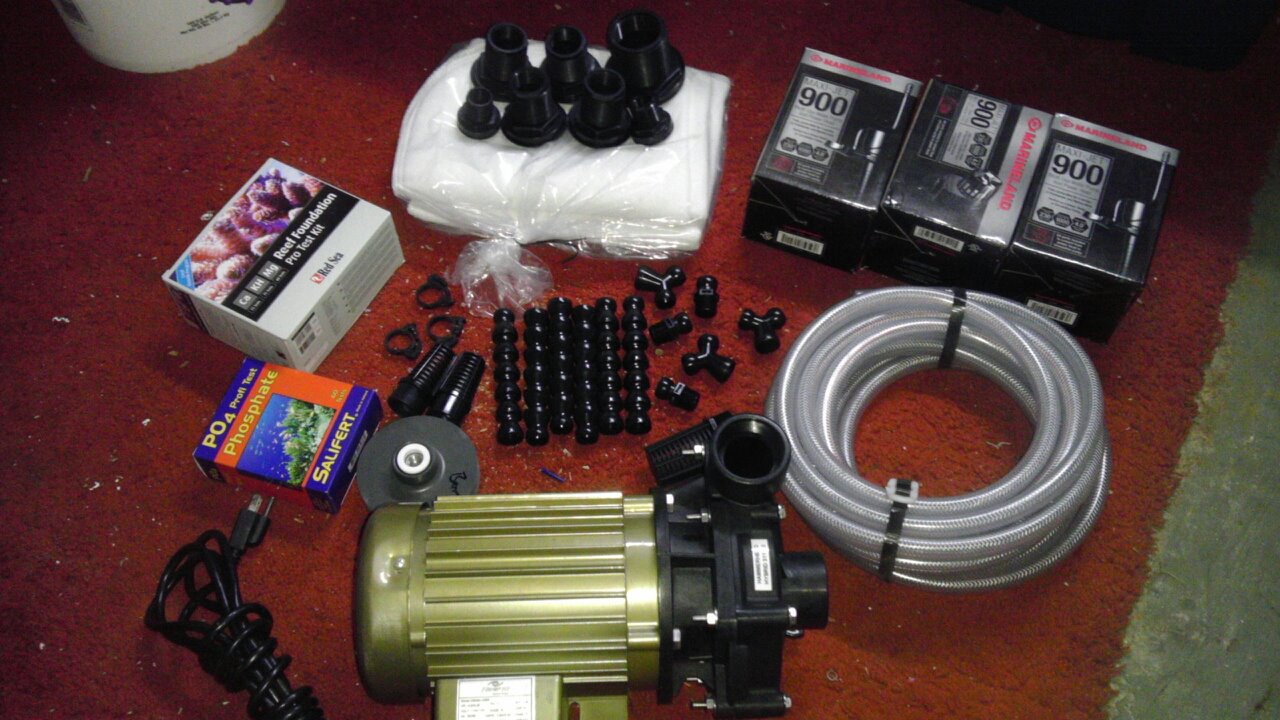
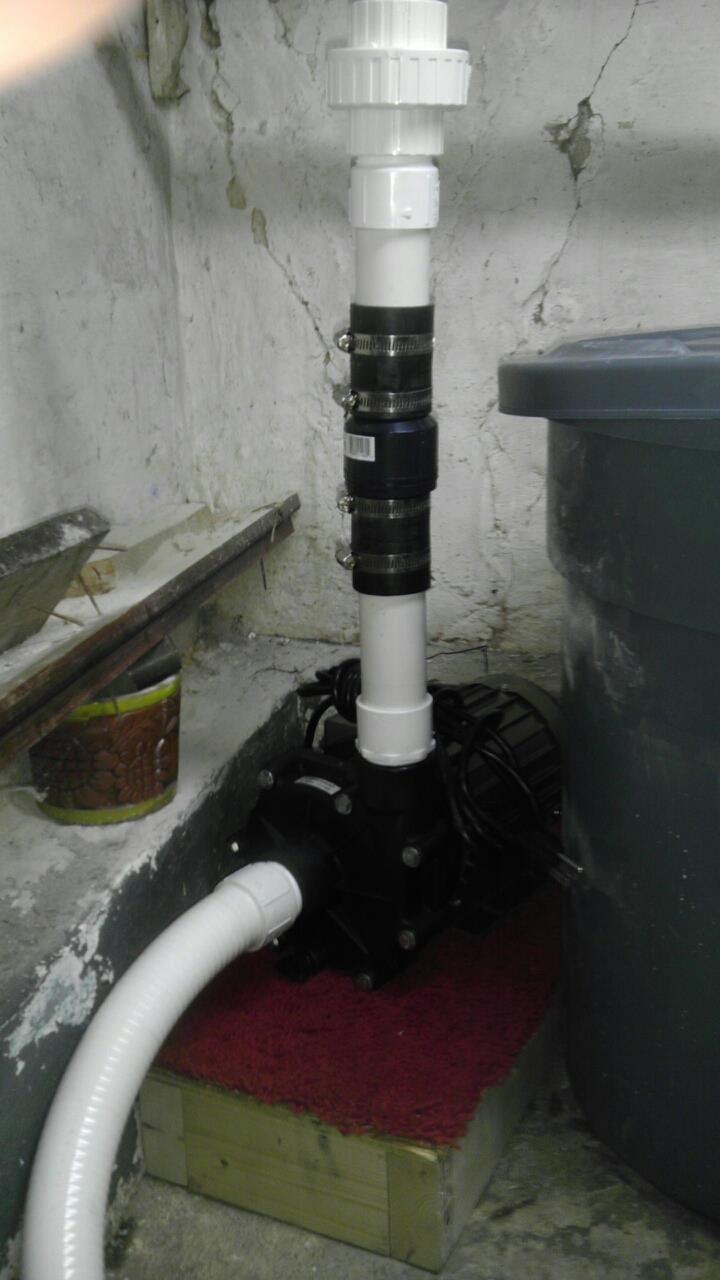
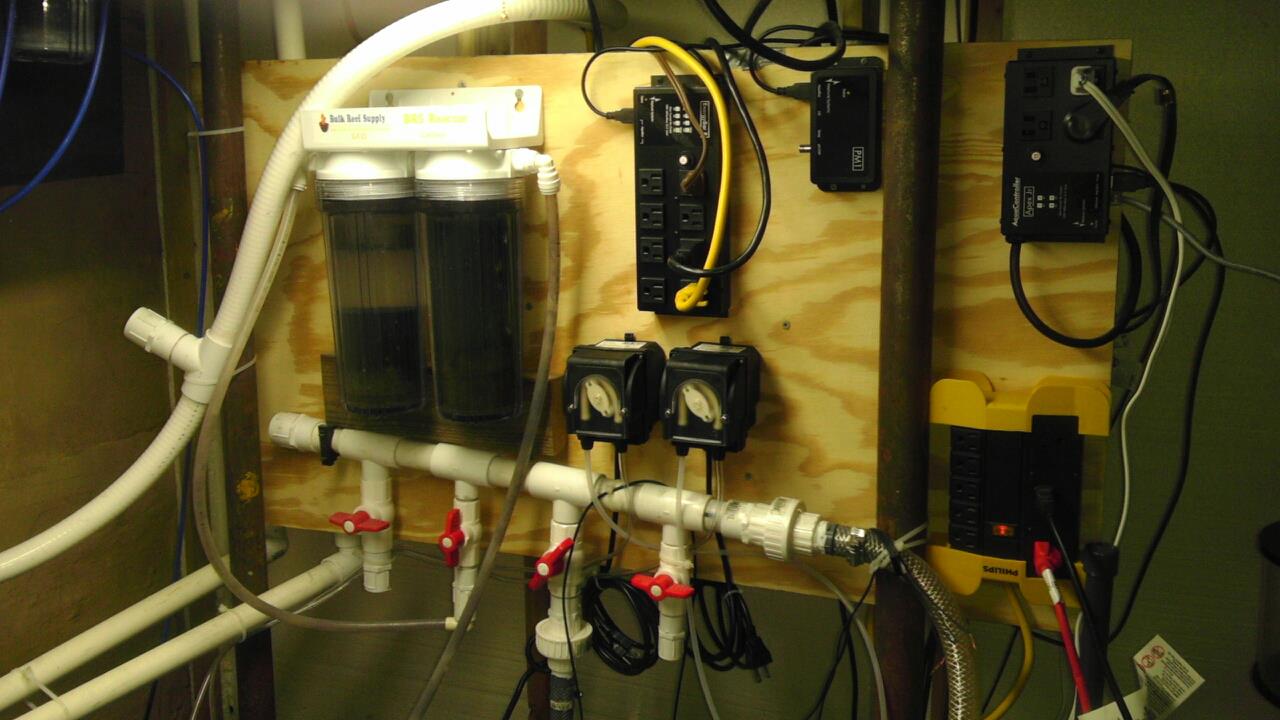
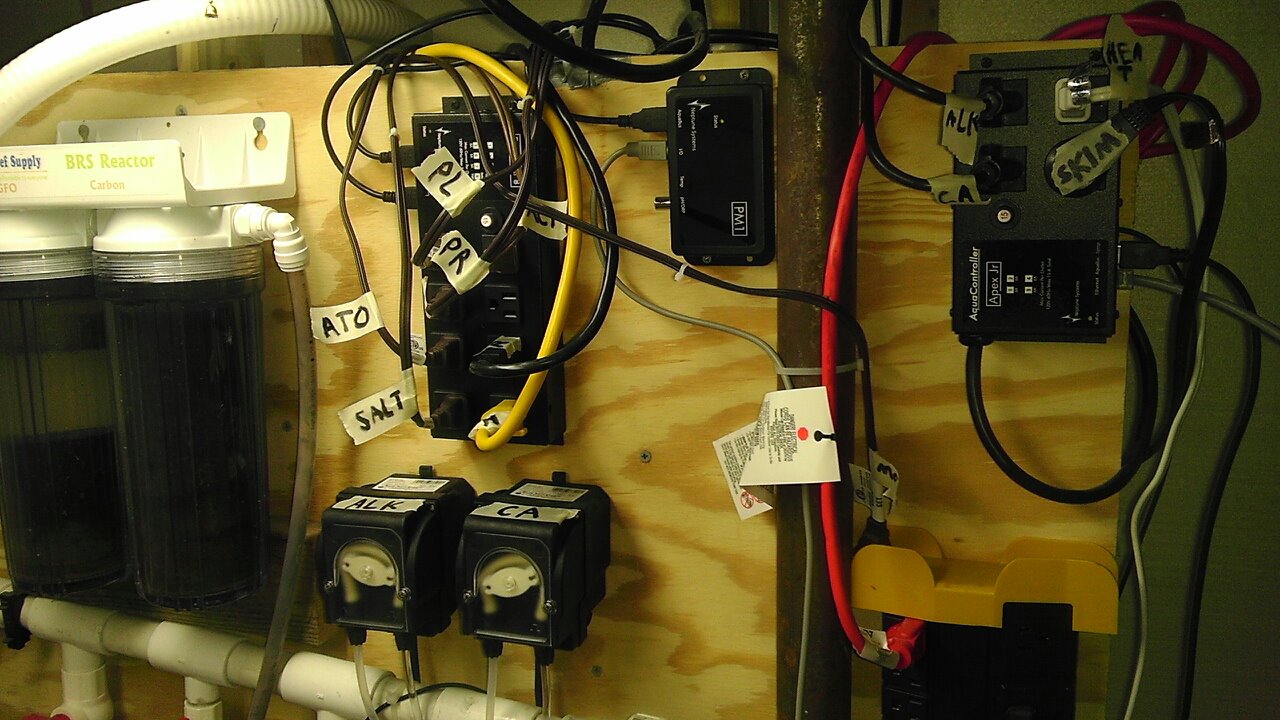
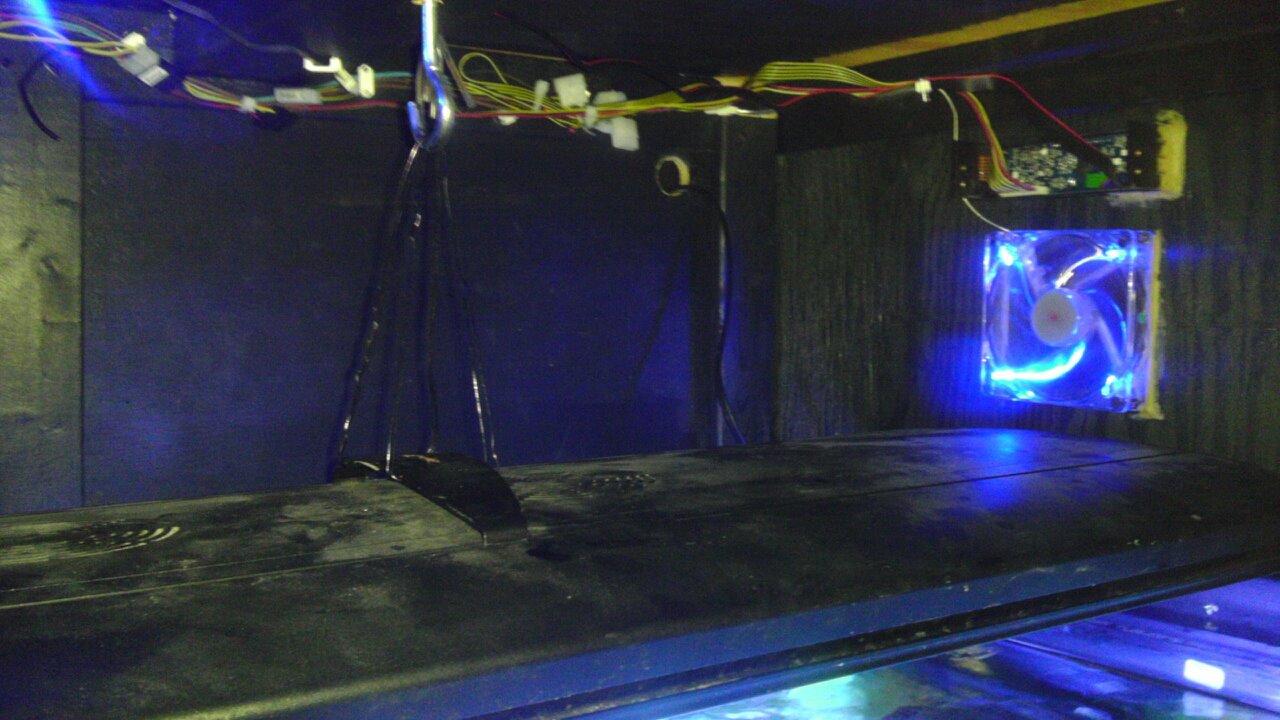
After that was to work on the filtration. I still had the eshops sump to put inderneath and had picked up a Mag 24 on craigslist for the return pump. I chose to make a manilfold in order to feed all the future equipment with just one single pump instead of multiples. Chose to make my own durso standpipes as I did not purchase the AGA overflow kit. Also purchased a BRS dual reactor to run carbon and GFO. I also added a 20 amp breaker downstairs and made the tank on its on circuit. Once everything was up and running I was very unhappy with the Mag 24. It was incredibly loud and even with padding underneath it, I could feel the vibration in the dining room floor. This was not at all what I wanted to hear. I thought of going the external pump route, but I like to make myself busy lol and decided to make a basement sump.
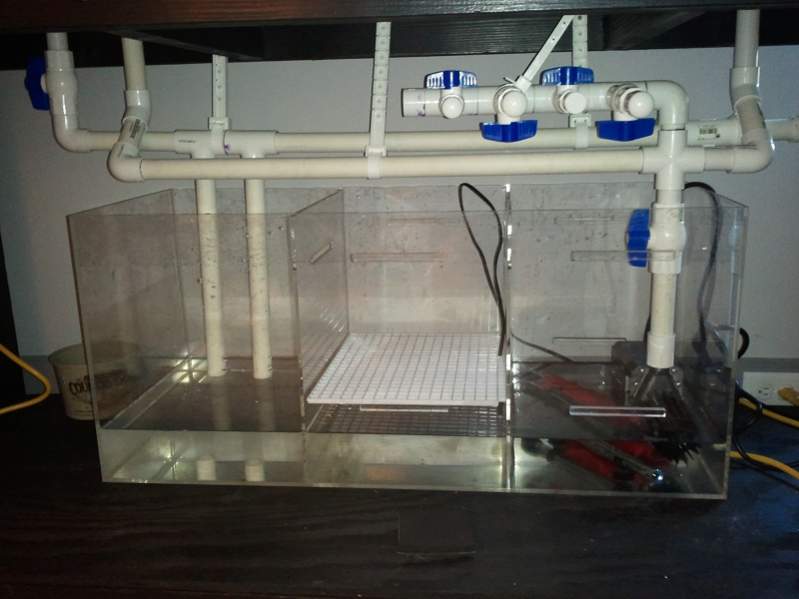
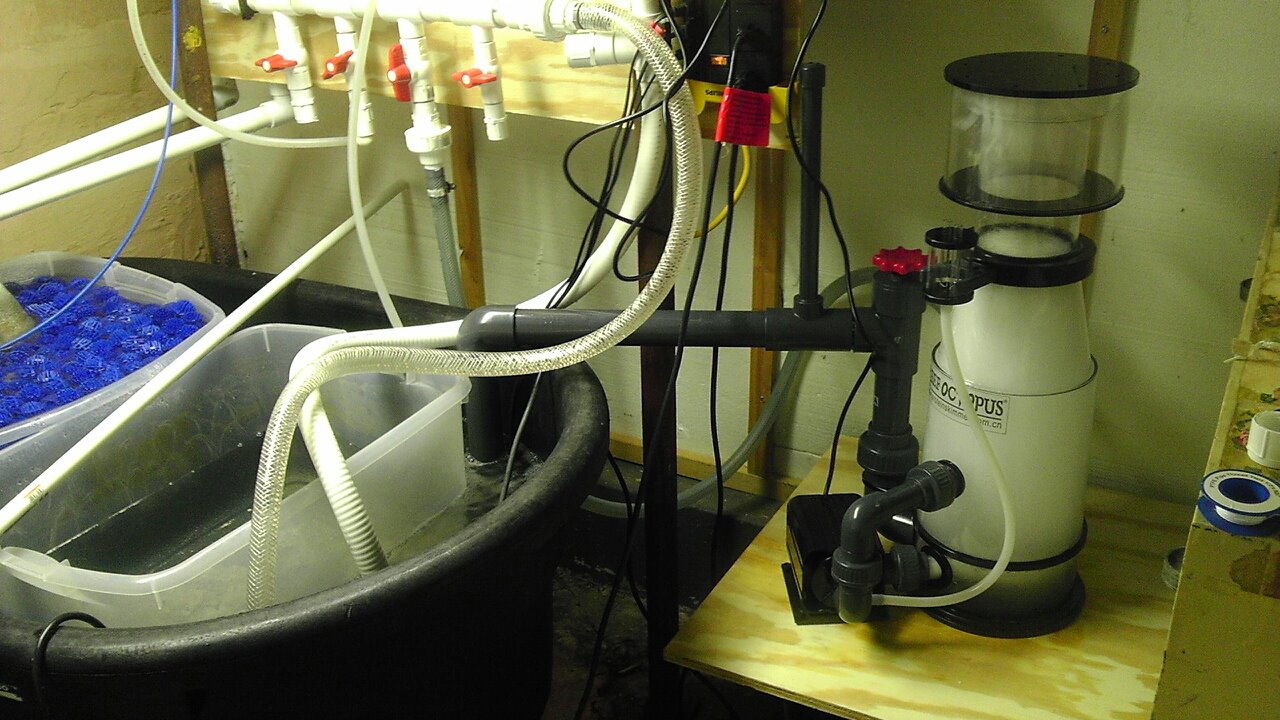
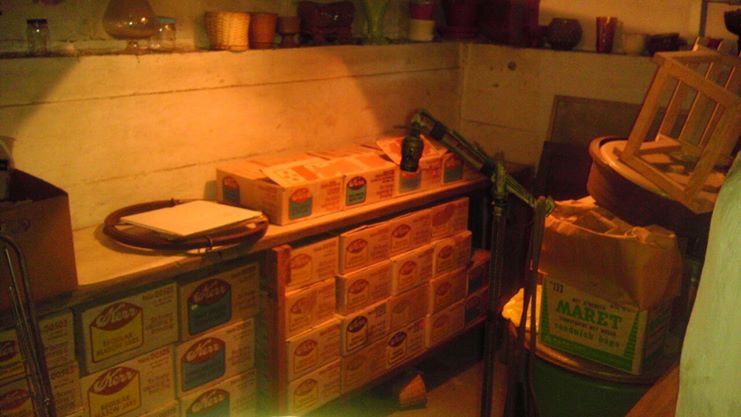
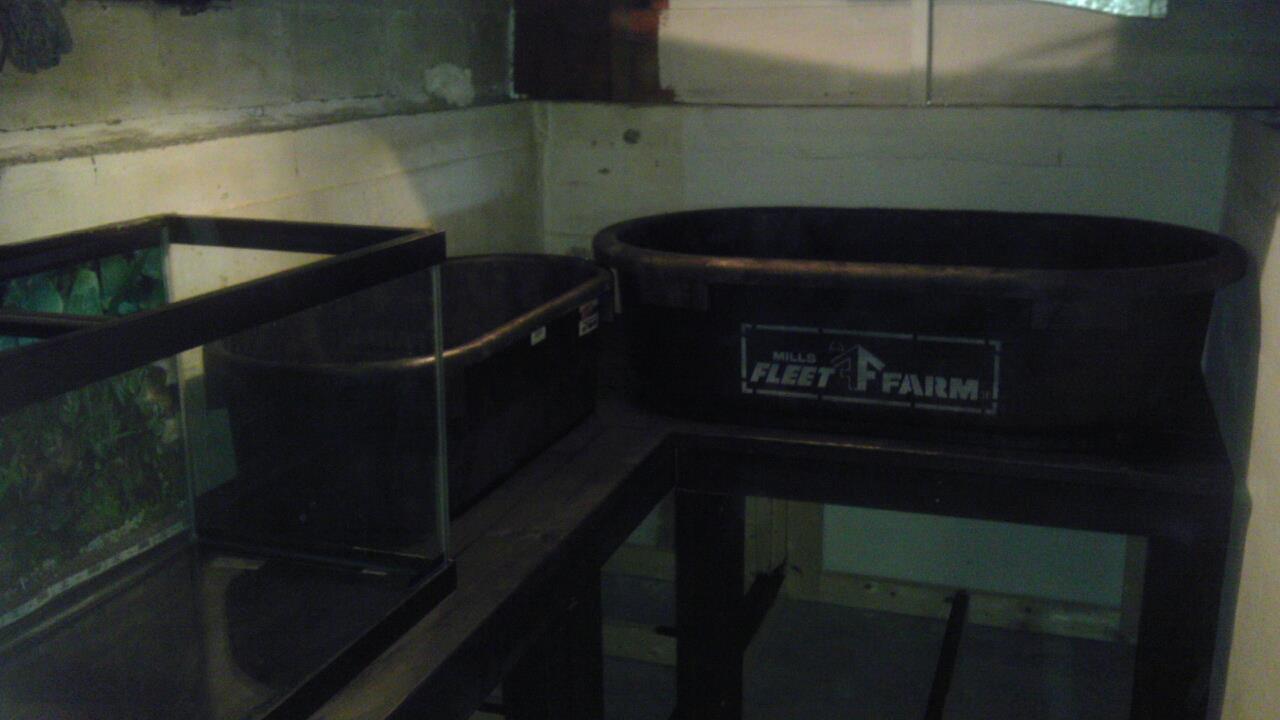
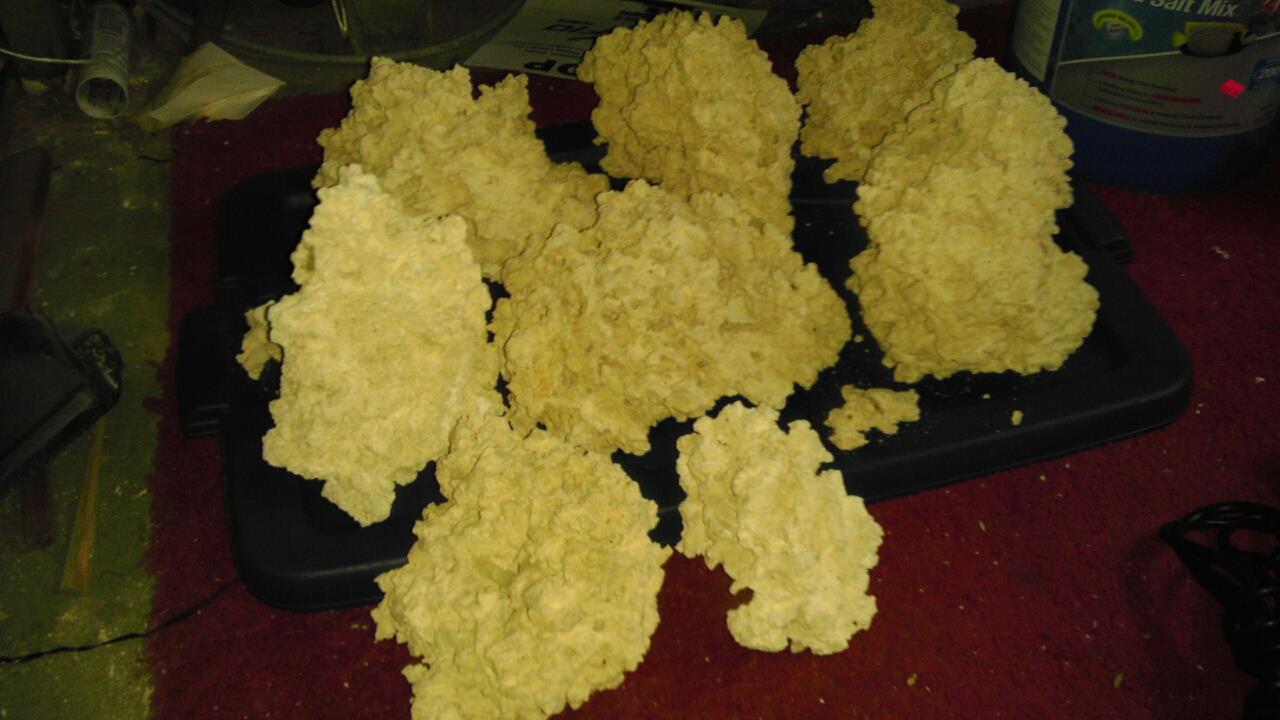
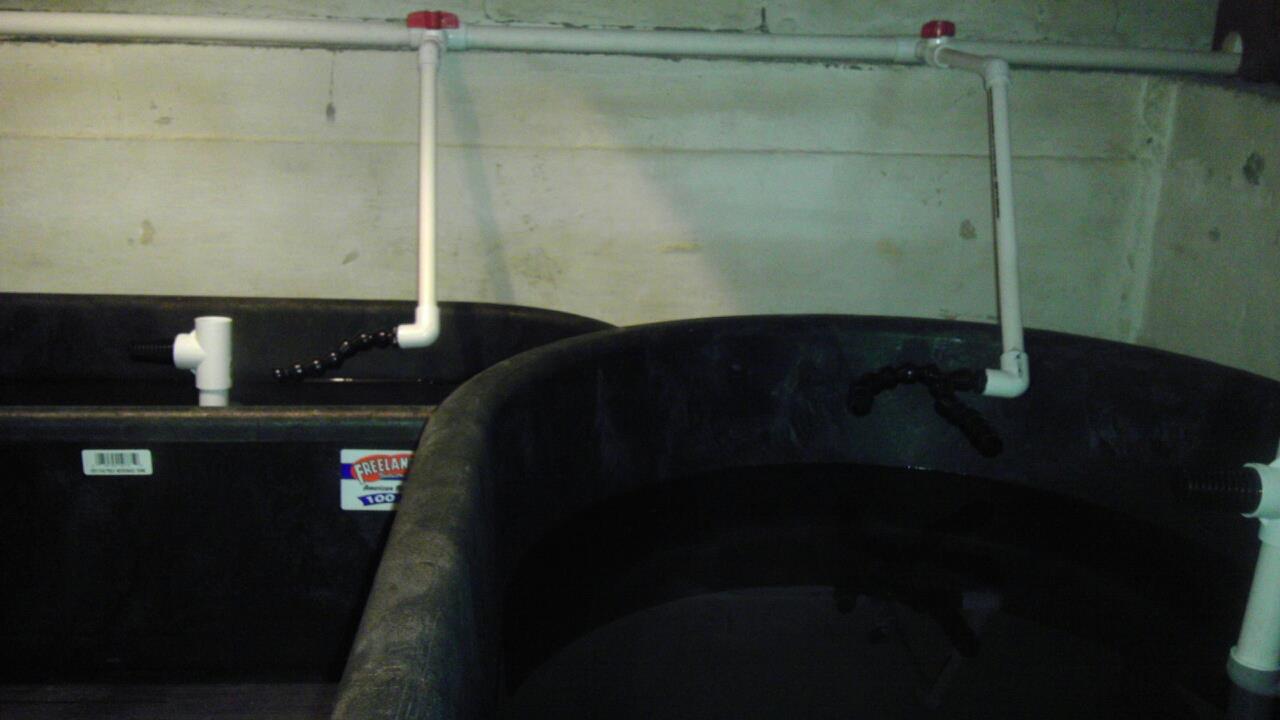
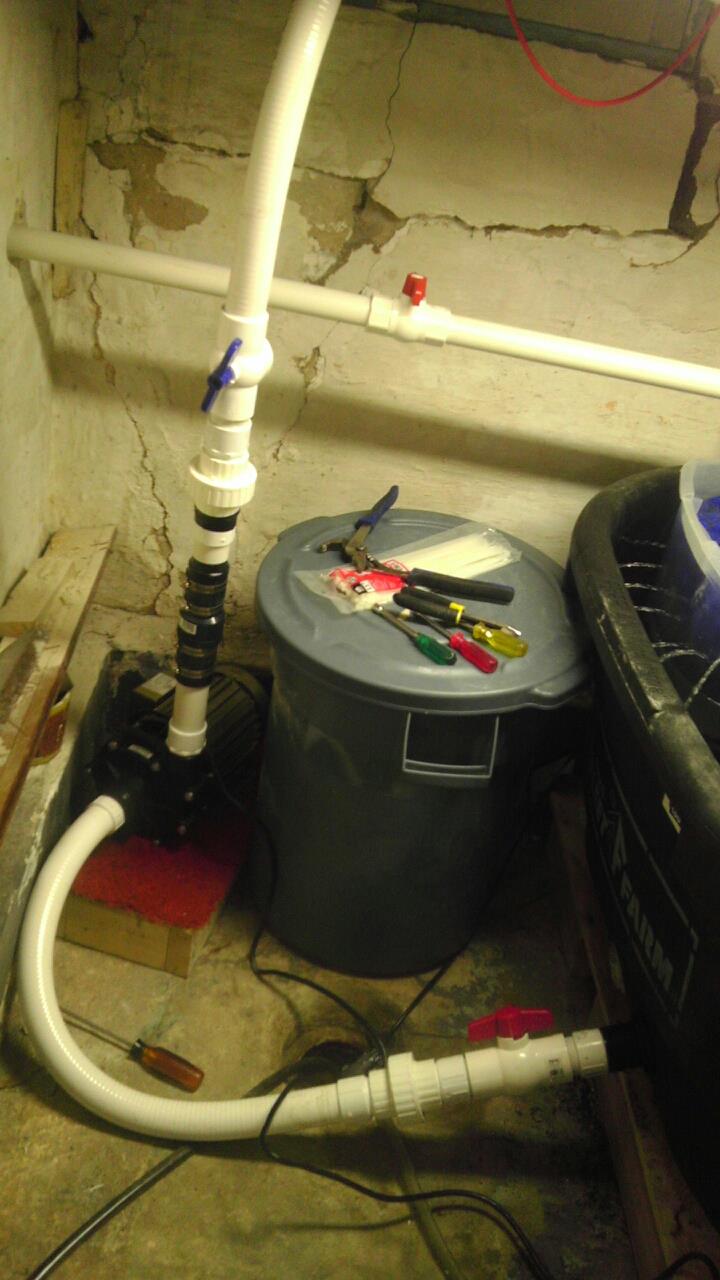
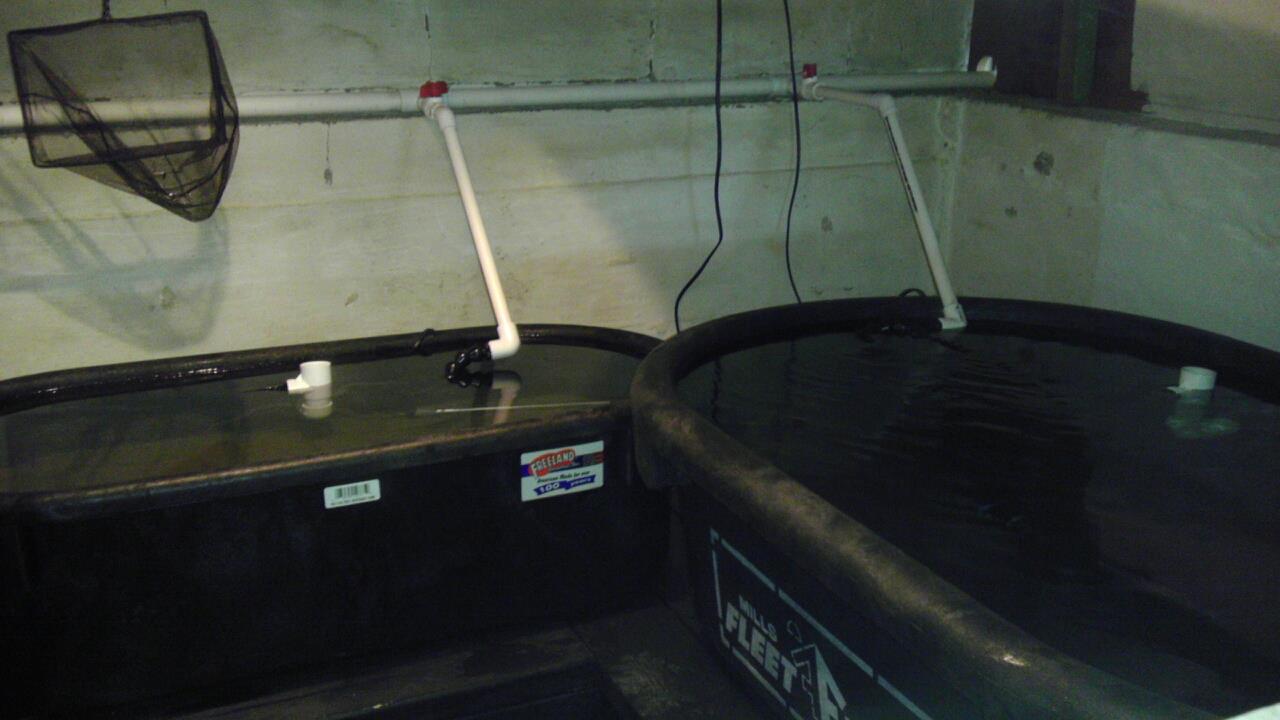
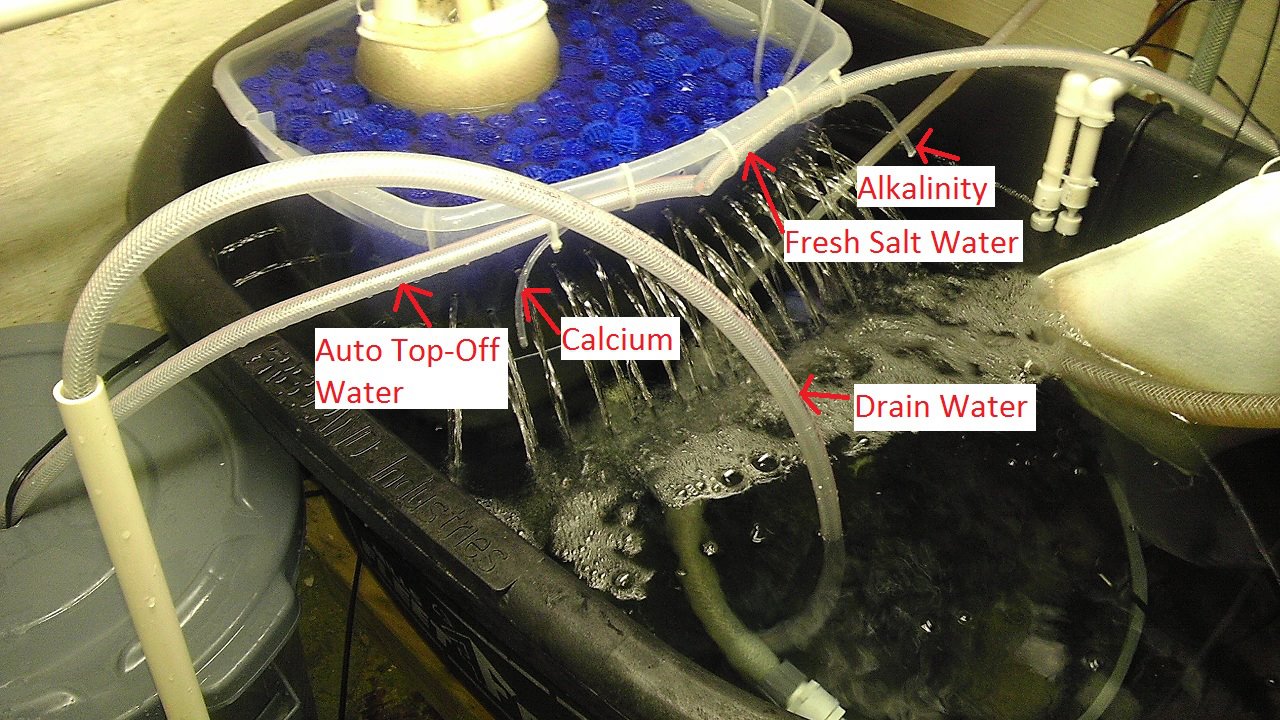
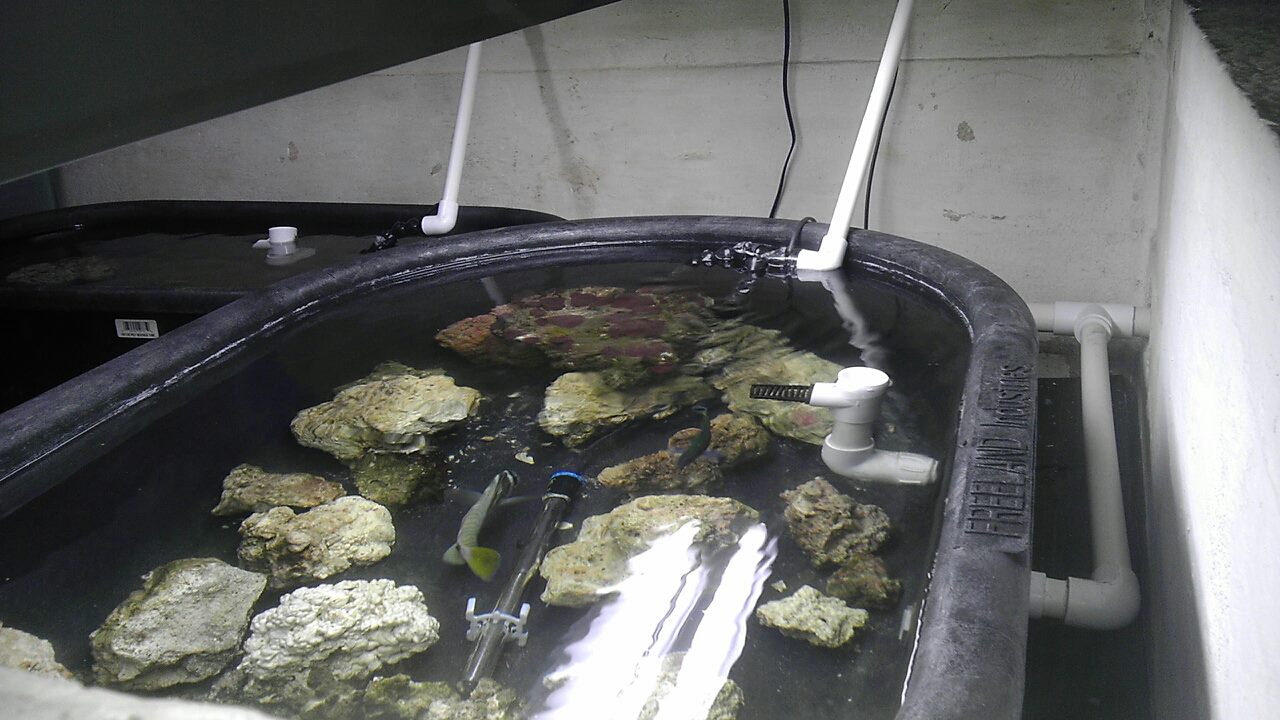
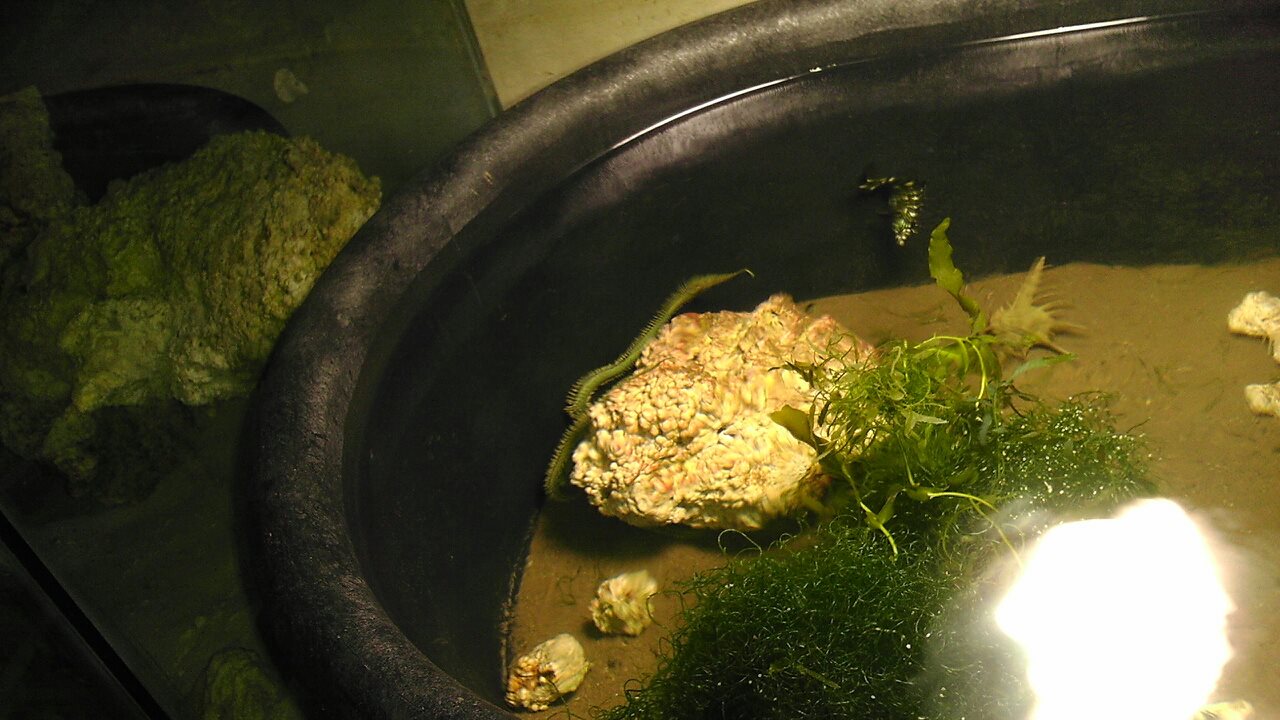
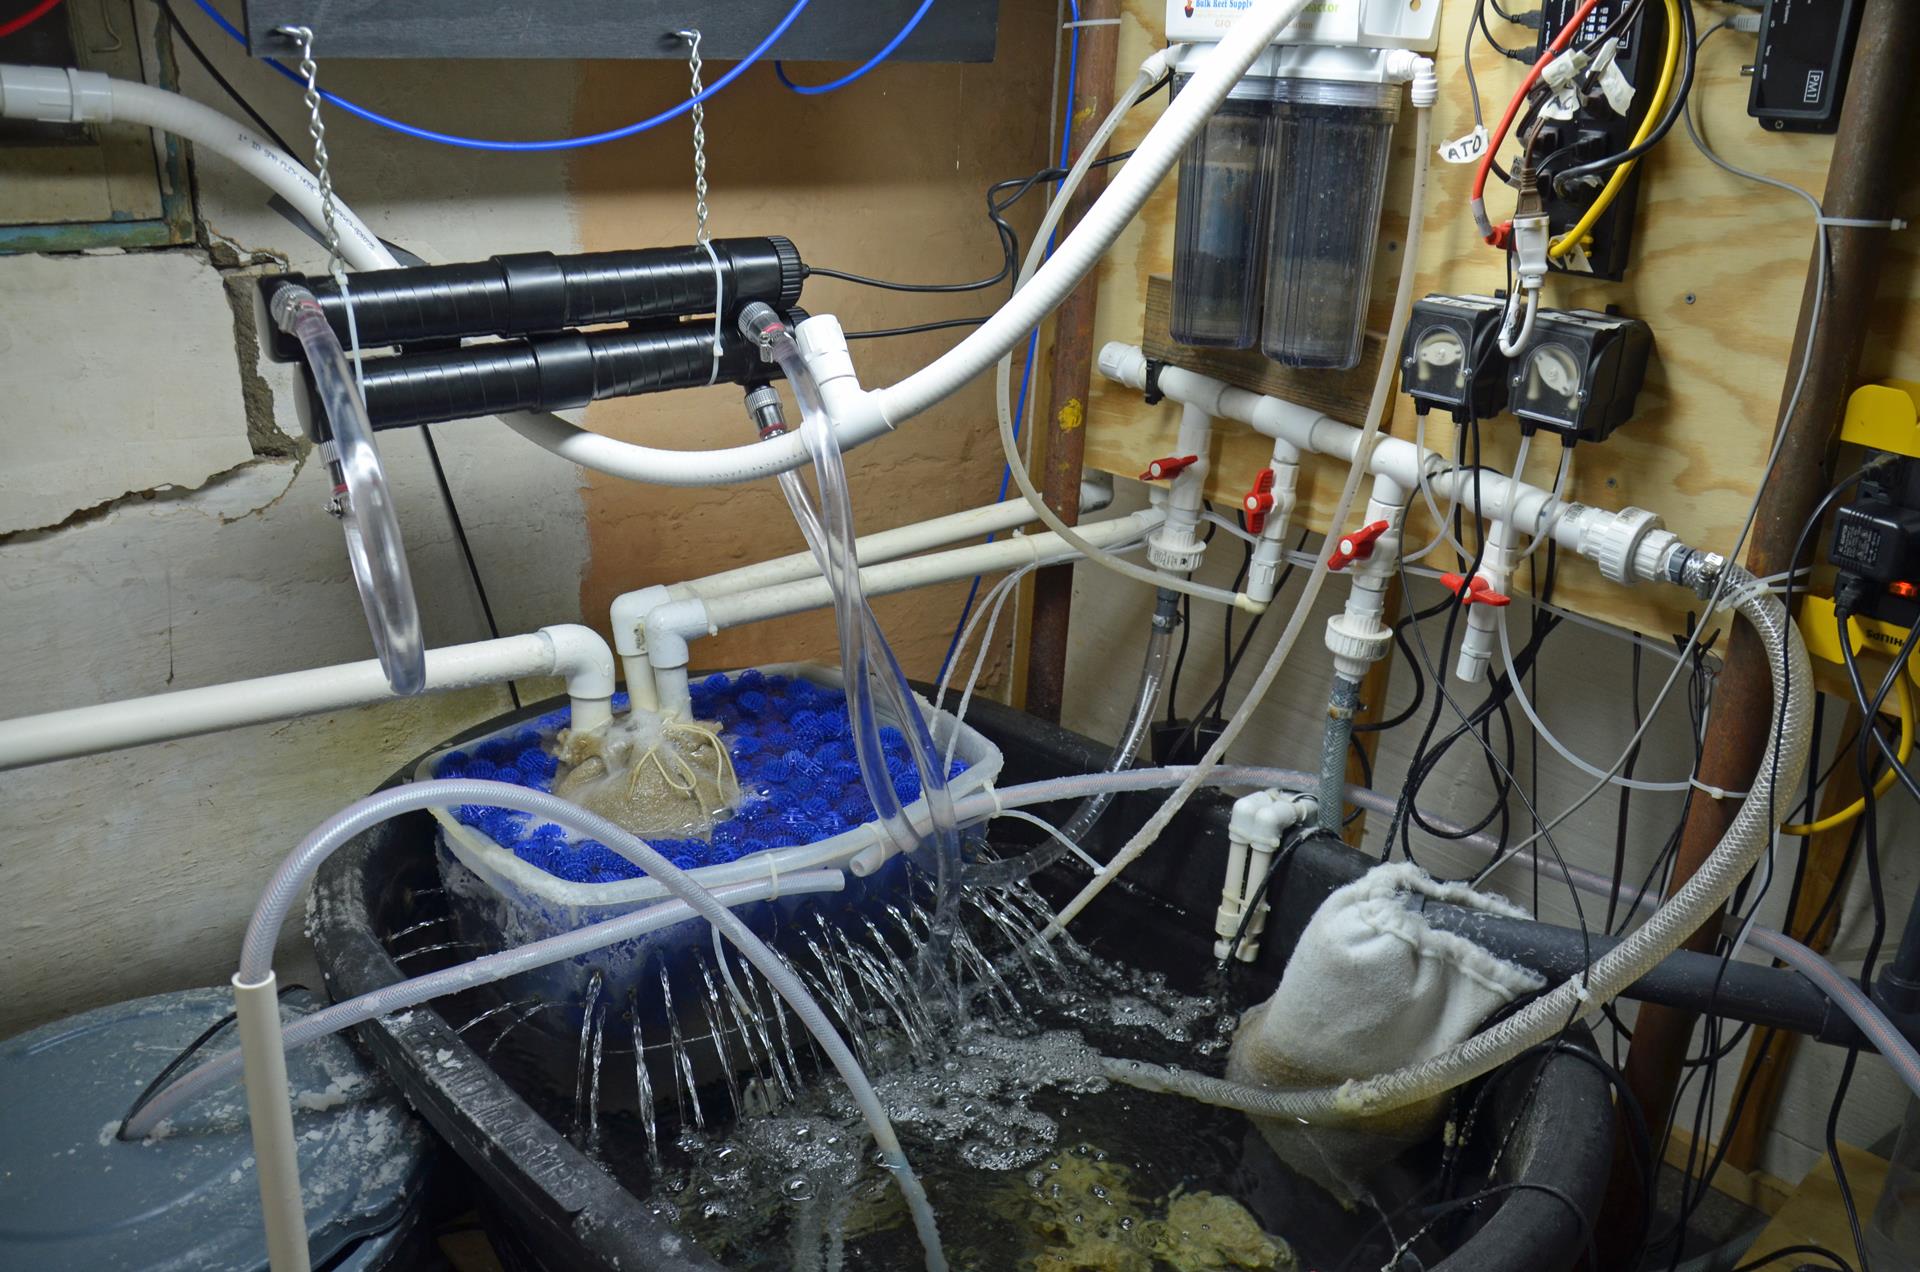
For the basement sump I purchased a 100g stock tank from Fleet Farm. Drilled 3 holes through the floor behind the tank and ran the plumbing directly below the tank. It is in a perfect spot since there is a room down there that used to be shower room with a drain in the floor. I used 2 smaller rubbermaid containers to make sections inside of the stock tank. One for a drain section with submerged bioballs since I know i need more live rock, and another section to become a refugium. Im was still sitting at 0 Nitrates according to 2 different tests so the bioballs do not seem to be a problem. All i did was purchase 2 milk crate stile fileing boxes which are placed under the rubbermaid containers to keep them affloat, and drilled many holes into the containers to allow water to pass through. The drain one is setup like a trickle filter as the drained water flows out and receives air contanct.
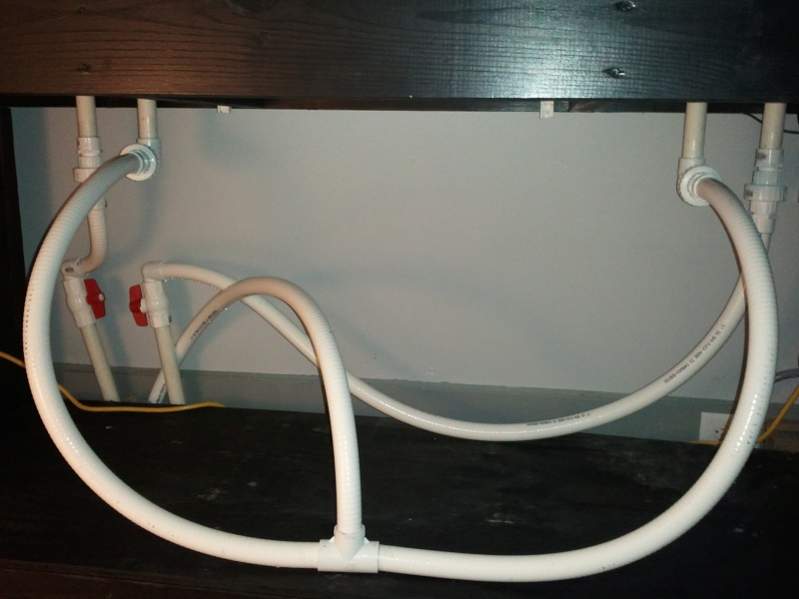
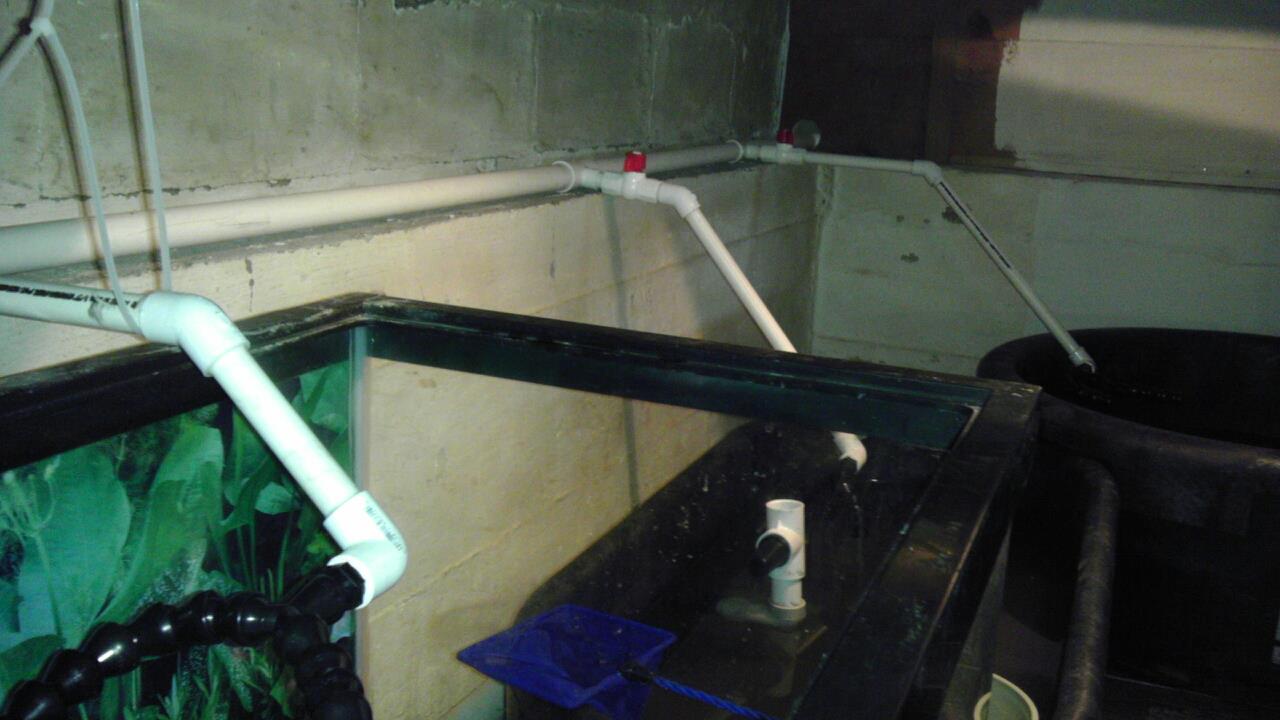
The plumping was completely redone from the tank down including a larger manifold and spa flex for the return line, which then splits into 2 seperate lines in the display stand above for the returns. It was a Mag 24 for a return which I know is bad choice for all this head hight now but it still seemed to do pretty good flow. I looked at the Reeflo Baracuda for this in the future. The manifold was being fed by a Mag 18.
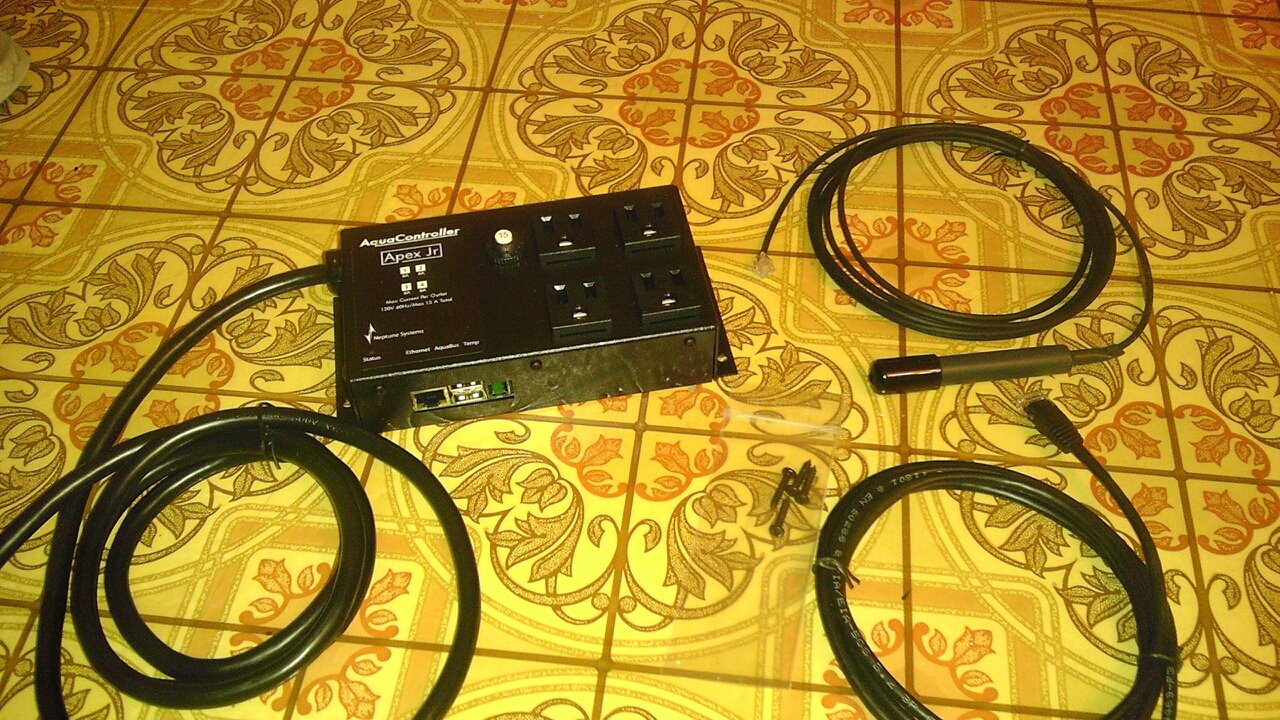
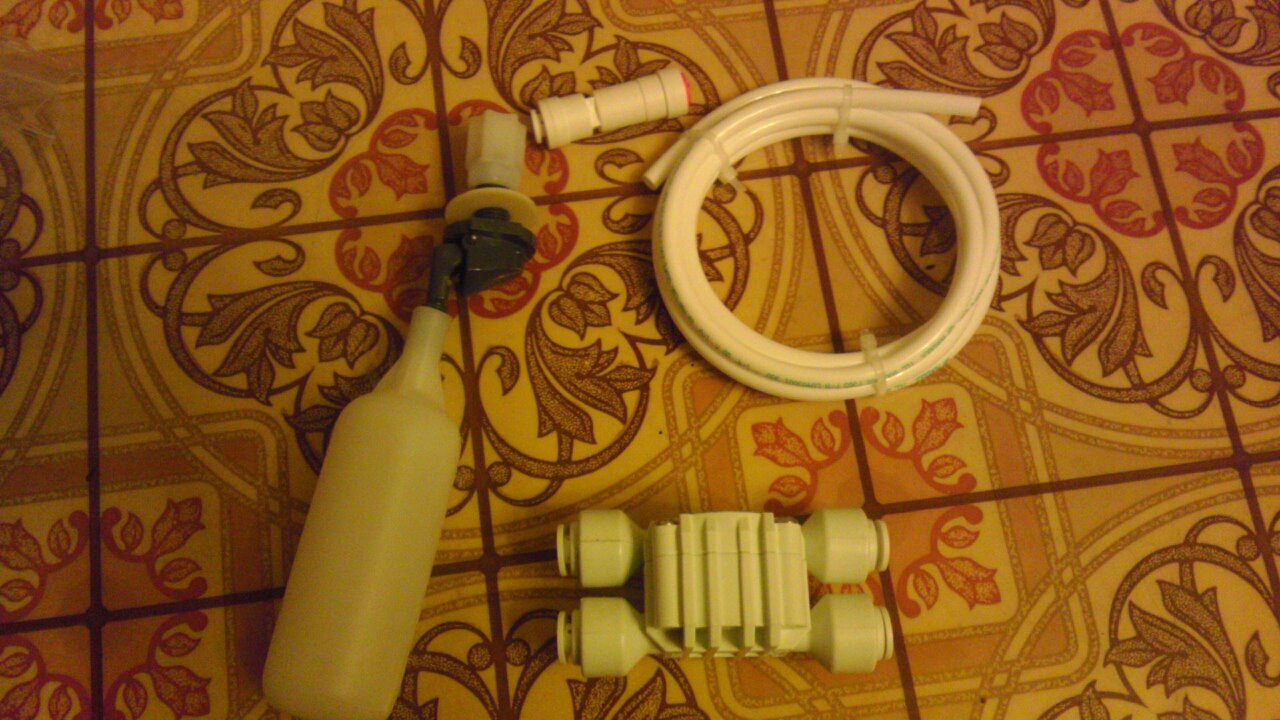
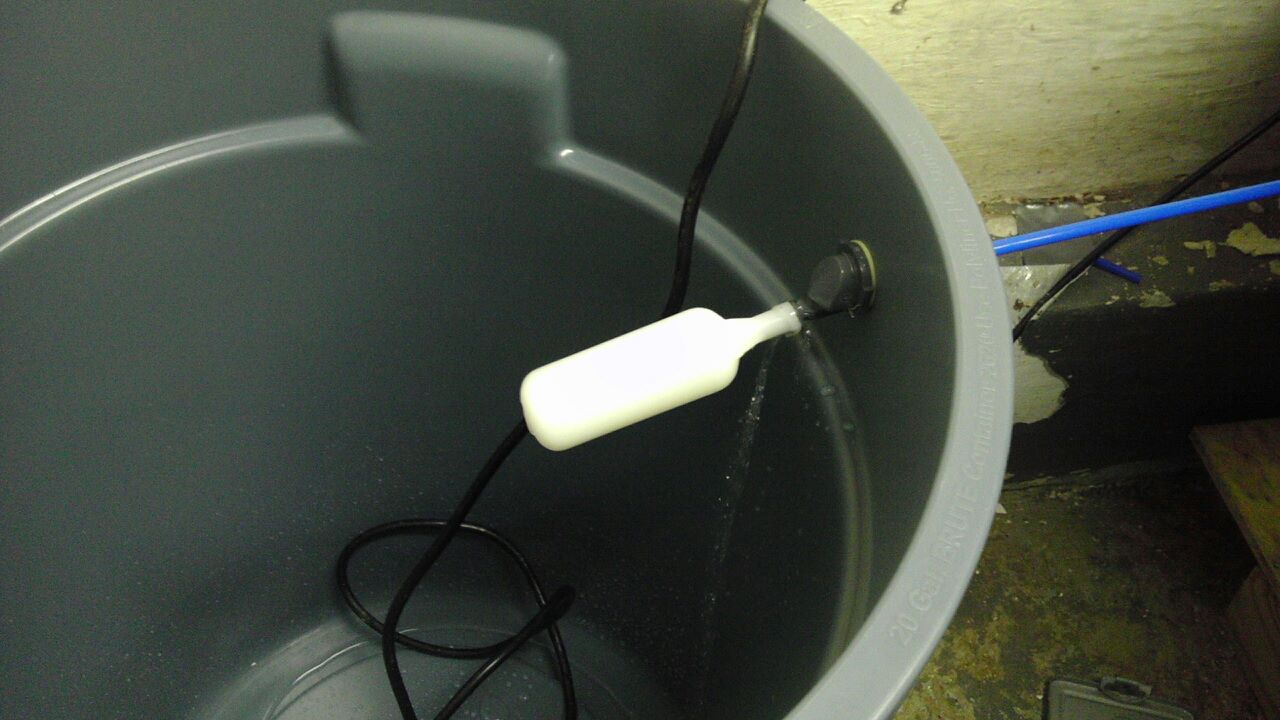
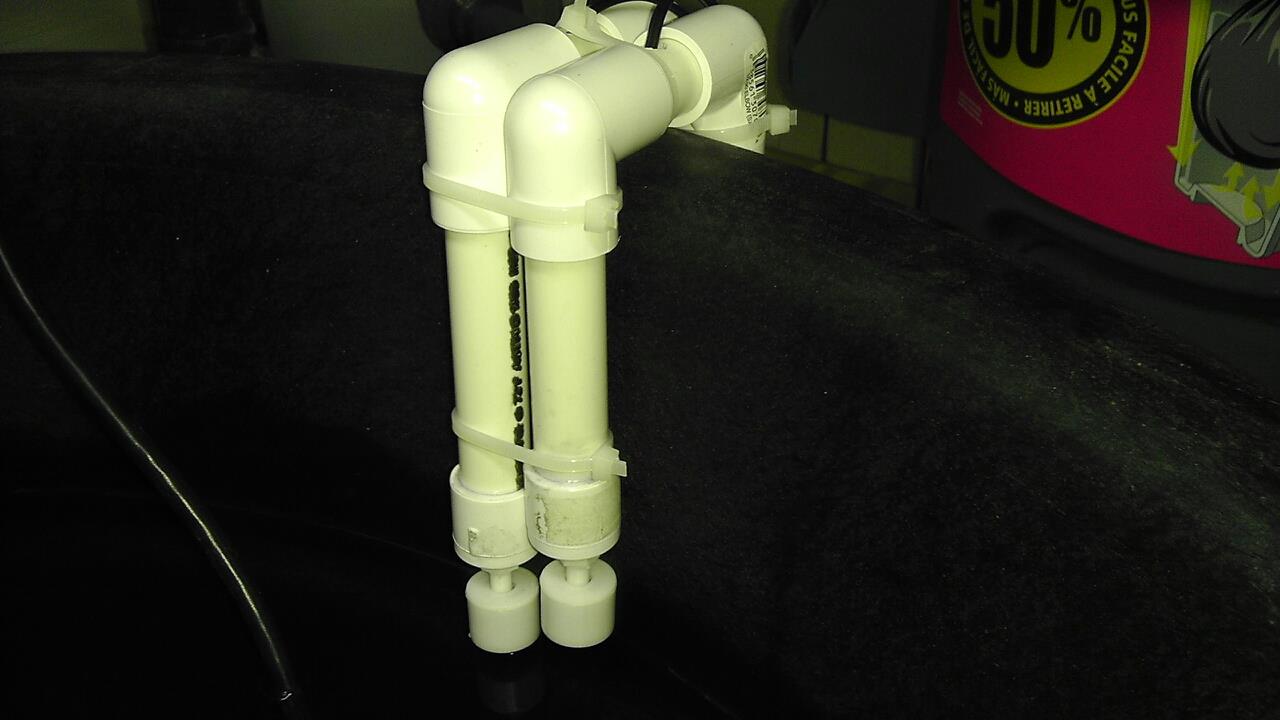
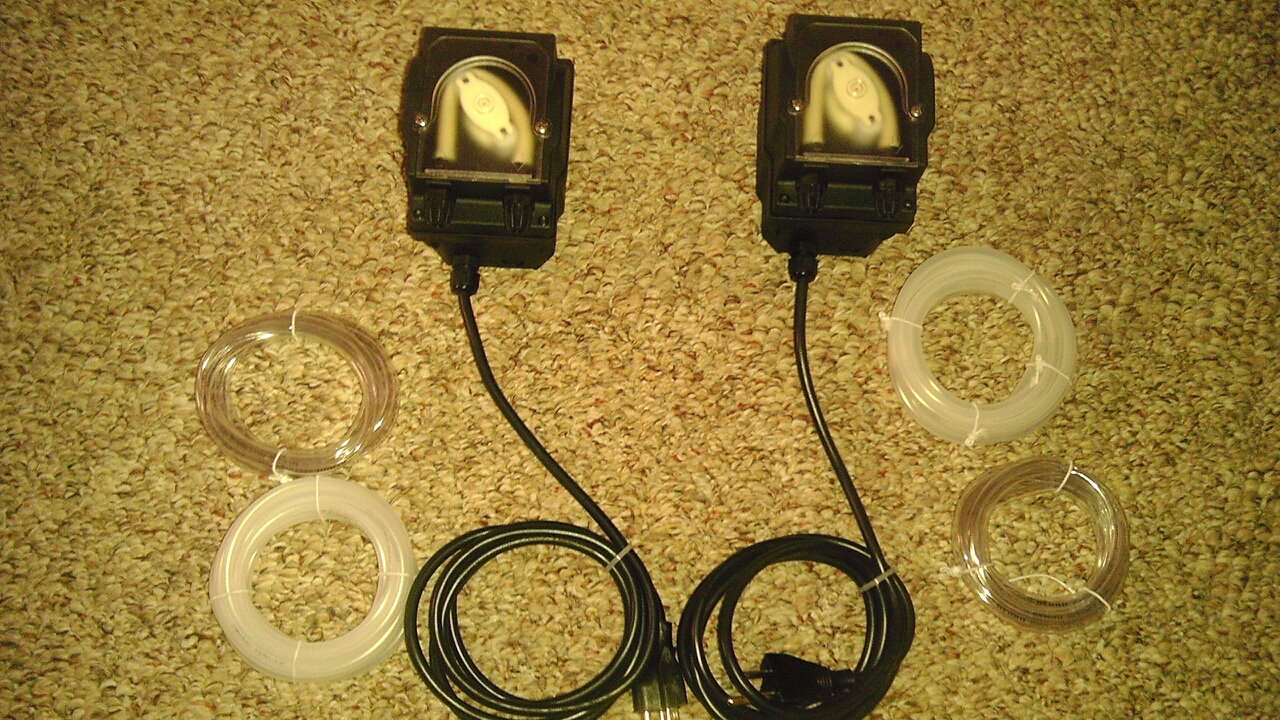
After that an Apex JR was added to the system as well as float valve on the reverse osmosis reservoir. I purchased the PM1 module and had 2 float switches hooked up in the sump for high and low water level. These were currently doing nothing as I had to add an auto top off pump and purchase an 8 outlet module to add on more outlets to the apex, since there were only 4 at the moment.
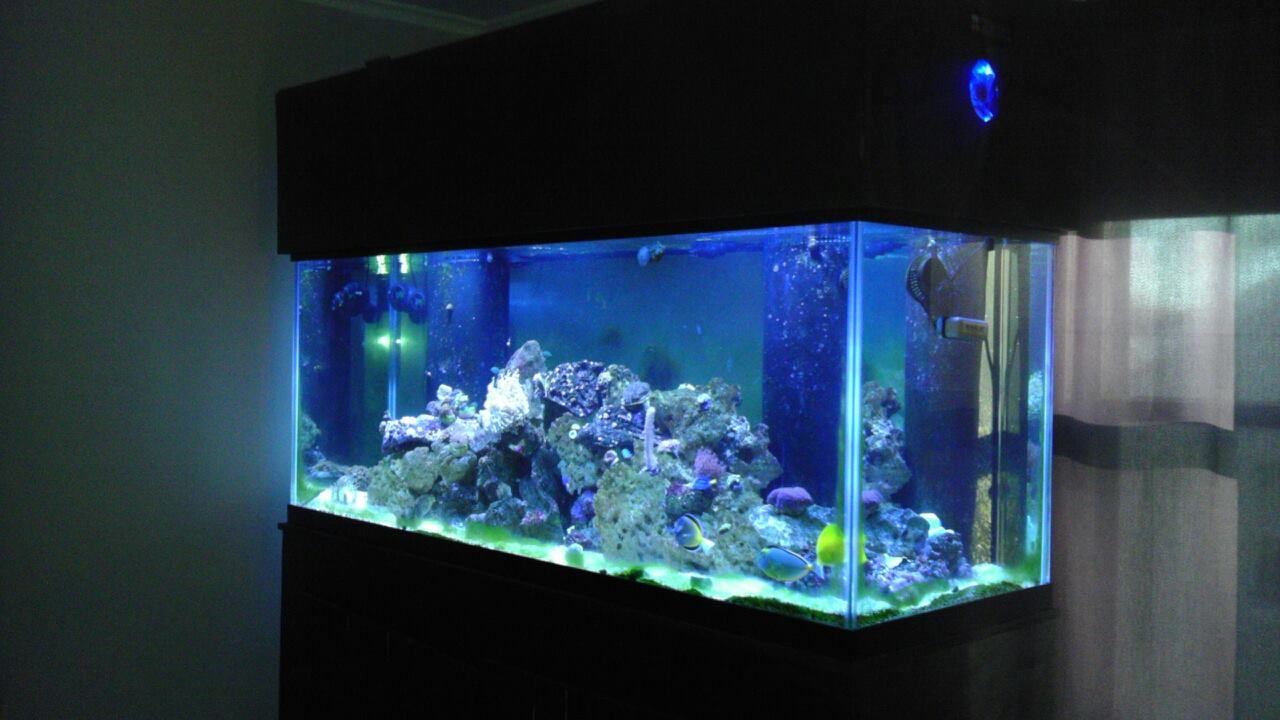
I then purchased a used halide fixture with 3X250 watt 20k halides and 4x96 watt compacts from a local fish store. I turned out to not be a fan of the 20K purple look but it was much better then the florescent strip from Wal-Mart.

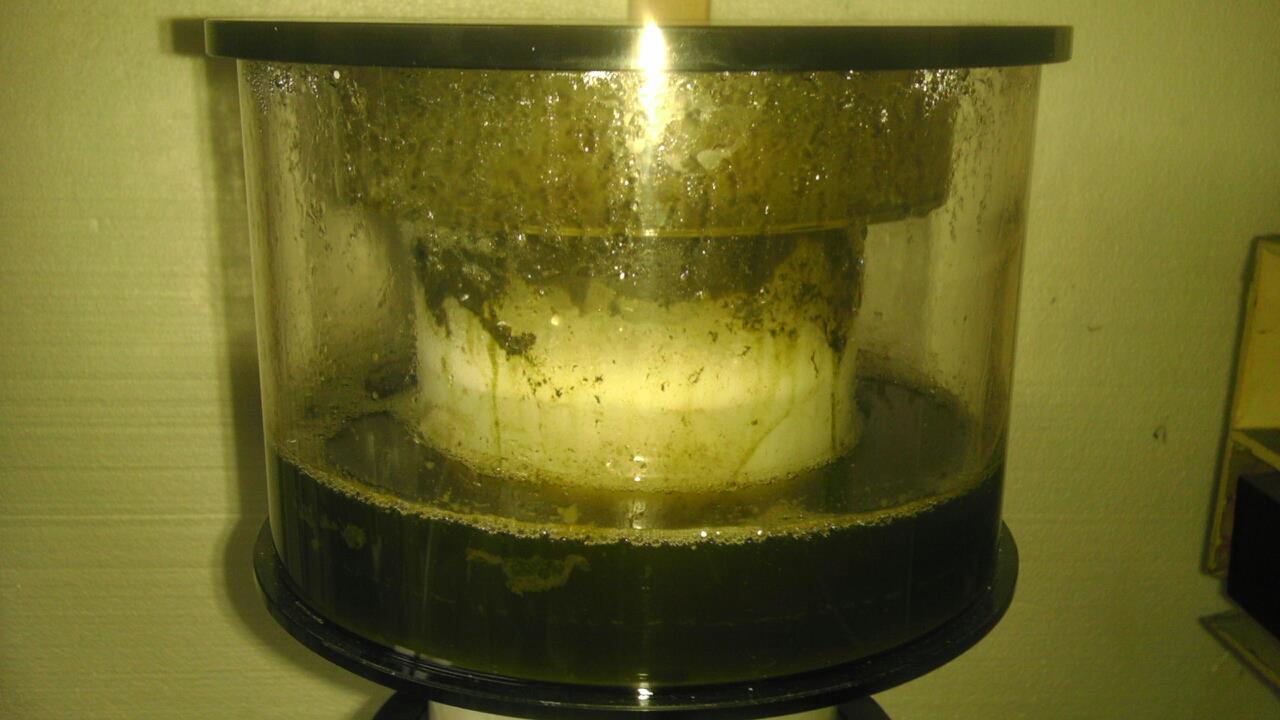
Eventually I got my skimmer and hooked that up as well as 8 more outlets to go along with the Apex. Then I could hook up a pump and get the float switches operational to perform top offs, and I also had it doing water changes on its own. A pump would turn on draining a small amount of water into the floor draing (with a siphon break). And then another pump drawing in mixed up saltwater from a large brute trash can.
To be continued:
After that I did some research and got a 75 gallon tank and a large canister filter as well as a seaclone skimmer. It consisted of just a florescent strip light from Wal-Mart, some crushed coral substrate, and maybe 15 - 20 pounds of live rock. I actually had pretty good luck this time around and everything was doing great, except for anemones getting sucked up into the canister filter inlet and getting torn apart.
In 2010 I had started to set up a 125 gallon. I had the tank from a few years back as a fresh water planted aquarium. This tank consisted of another Wal-Mart strip lite, and the same XP3 canister filter and seaclone skimmer I had used on the 75. I decided to go with a sump system from eshops and a mag 9.5 for a return pump. As well as a hang on the back overflow box. It was nothing fancy but my first sump I had used. This setup just sat and ran for about 6 months and I had added nothing to it besides 2 damsels. I just mainly set it up to re populate my dead rock from the 75 gallon I had before. There was about 77 pounds of dead rock put in the tank. After that I had added a couple of other fish such as a yellow tang.
After that I had started to do research for hours and hours each day, becoming obsessed with it lol. And I wanted to go bigger once more lol. I had an old 180 gallon outside in the storage shed and decided to bring that in and set it up in place of the 125. I did not have a stand for this tank, but I made a stand around 40 inches high to accomidate for a lot of room underneath to work with. I started to see all the equipment I could purchase and knew I wanted to have a lot of room. Well a lot of the water from the 125 was drained into a 29 and 20 gallon long on a double stand, and I put all the critters and rock in there so I could take the 125 down. After the small tanks ran for a couple days I moved everything into them and the 125 was out of the house.
The stand was built and the 180 gallon was carried into the house and put on the stand. This is a very old tank that had a 1983 sticker on the bottom of it lol (I didn't notice at the time). I had used it previously in 2006-2007 with some oscars and pacus, and other various fish in it. After setting up the sump underneath and overflow box, I began to fill it and started everything up once it was filled. Everything looked good and I was just gona let it run for the weekend since this was on a Friday. The girlfriend and I went to the cottege and came back on sunday night to find that tank had leaked about a third of the water out on the floor and emptied they sump since the pump kept pumping water back up. The mag 9.5 had burnt out and did nothing after that. Here the back right seam had split open and the trim split apart at the top of the tank. It was a lot of water and had to do some work with the floor and the bubbling carpet. The carpet felt like a spring when walking over it. Luckly it wasnt the entire tank on the floor. The cool thing is there was a drain in the basement floor directly underneath so the water made its way down there and drained. Pulled the carpet up and let it all dry out and used roofing nails on the flooring underneath to flatten it back out since it was all bubbled up.
After the little fludding incident I decided to buy my first brand-spanking-new tank. It was an AGA 210 gallon with overflows. I started on this in May and is still a work in progress as I keep adding to it. This is also my first time using reverse osmosis water as I purchased a 150gpd dual membrane unite from BRS. I made a tall stand for this tank as well as my intentions were to install filtration in the stand. Used a design I found online which didnt require any center braces for the most room underneath. It weighed a ton when carying it into the house. Made doors out of 1X4s and painted it black with some pretty heavy duty paint to stand up to the wet conditions. I still want to redo these doors with a different route as the left side warped and is crooked now. I am not a woodworker at all so it is pretty basic looking. I was just happy to get it built and all squared, and most of all supported the tanks weight.
After that was to work on the filtration. I still had the eshops sump to put inderneath and had picked up a Mag 24 on craigslist for the return pump. I chose to make a manilfold in order to feed all the future equipment with just one single pump instead of multiples. Chose to make my own durso standpipes as I did not purchase the AGA overflow kit. Also purchased a BRS dual reactor to run carbon and GFO. I also added a 20 amp breaker downstairs and made the tank on its on circuit. Once everything was up and running I was very unhappy with the Mag 24. It was incredibly loud and even with padding underneath it, I could feel the vibration in the dining room floor. This was not at all what I wanted to hear. I thought of going the external pump route, but I like to make myself busy lol and decided to make a basement sump.
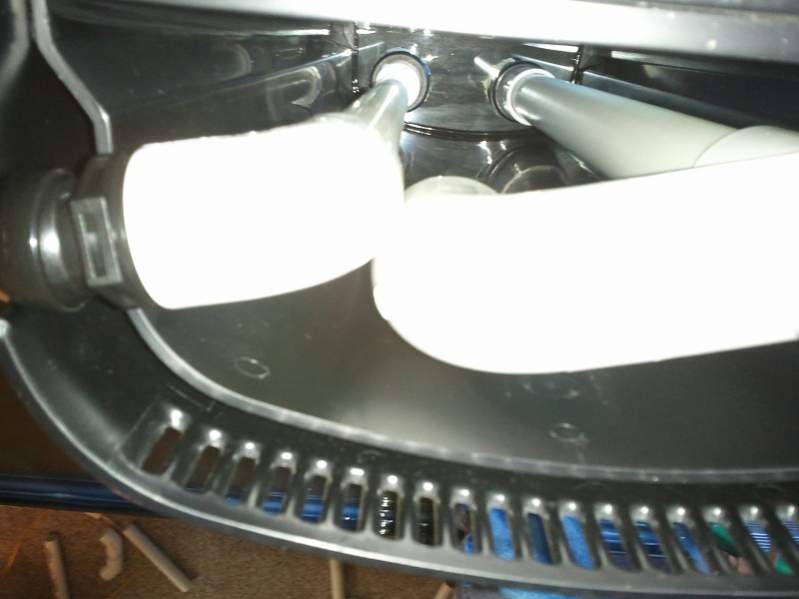
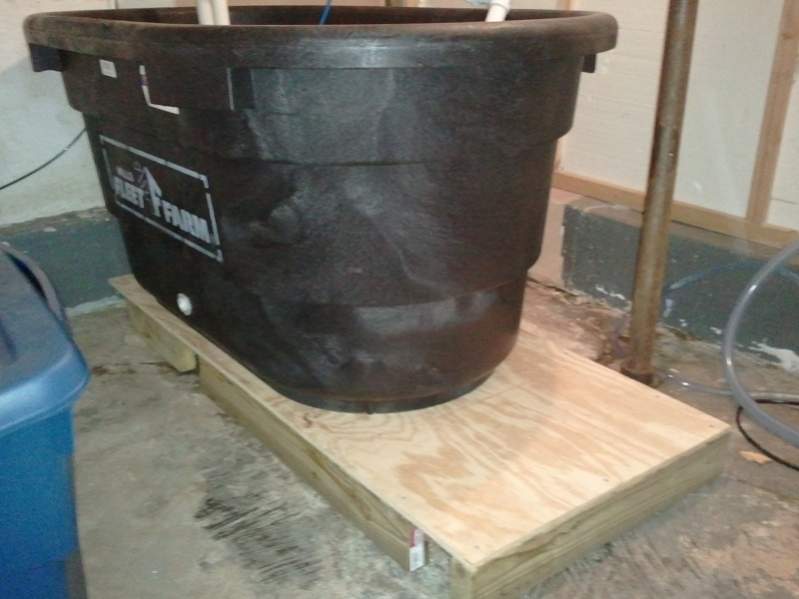
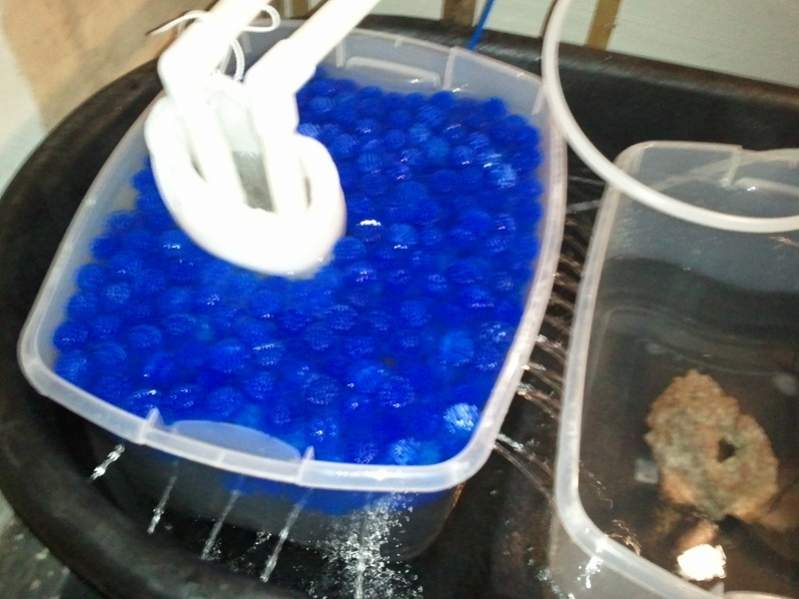
For the basement sump I purchased a 100g stock tank from Fleet Farm. Drilled 3 holes through the floor behind the tank and ran the plumbing directly below the tank. It is in a perfect spot since there is a room down there that used to be shower room with a drain in the floor. I used 2 smaller rubbermaid containers to make sections inside of the stock tank. One for a drain section with submerged bioballs since I know i need more live rock, and another section to become a refugium. Im was still sitting at 0 Nitrates according to 2 different tests so the bioballs do not seem to be a problem. All i did was purchase 2 milk crate stile fileing boxes which are placed under the rubbermaid containers to keep them affloat, and drilled many holes into the containers to allow water to pass through. The drain one is setup like a trickle filter as the drained water flows out and receives air contanct.
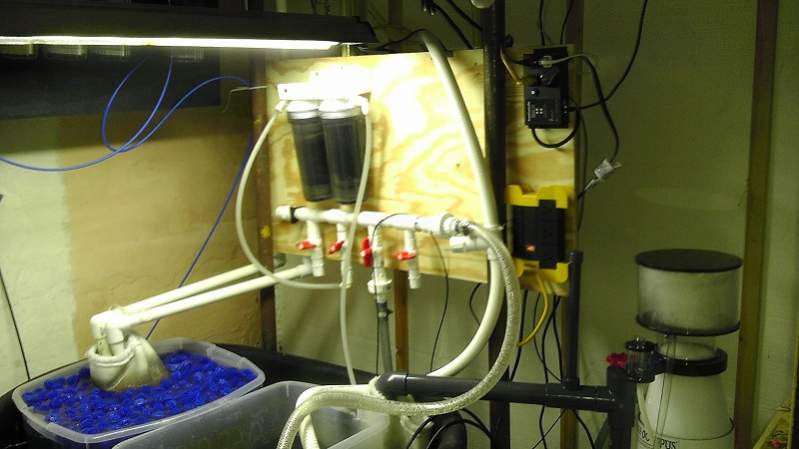
The plumping was completely redone from the tank down including a larger manifold and spa flex for the return line, which then splits into 2 seperate lines in the display stand above for the returns. It was a Mag 24 for a return which I know is bad choice for all this head hight now but it still seemed to do pretty good flow. I looked at the Reeflo Baracuda for this in the future. The manifold was being fed by a Mag 18.
After that an Apex JR was added to the system as well as float valve on the reverse osmosis reservoir. I purchased the PM1 module and had 2 float switches hooked up in the sump for high and low water level. These were currently doing nothing as I had to add an auto top off pump and purchase an 8 outlet module to add on more outlets to the apex, since there were only 4 at the moment.
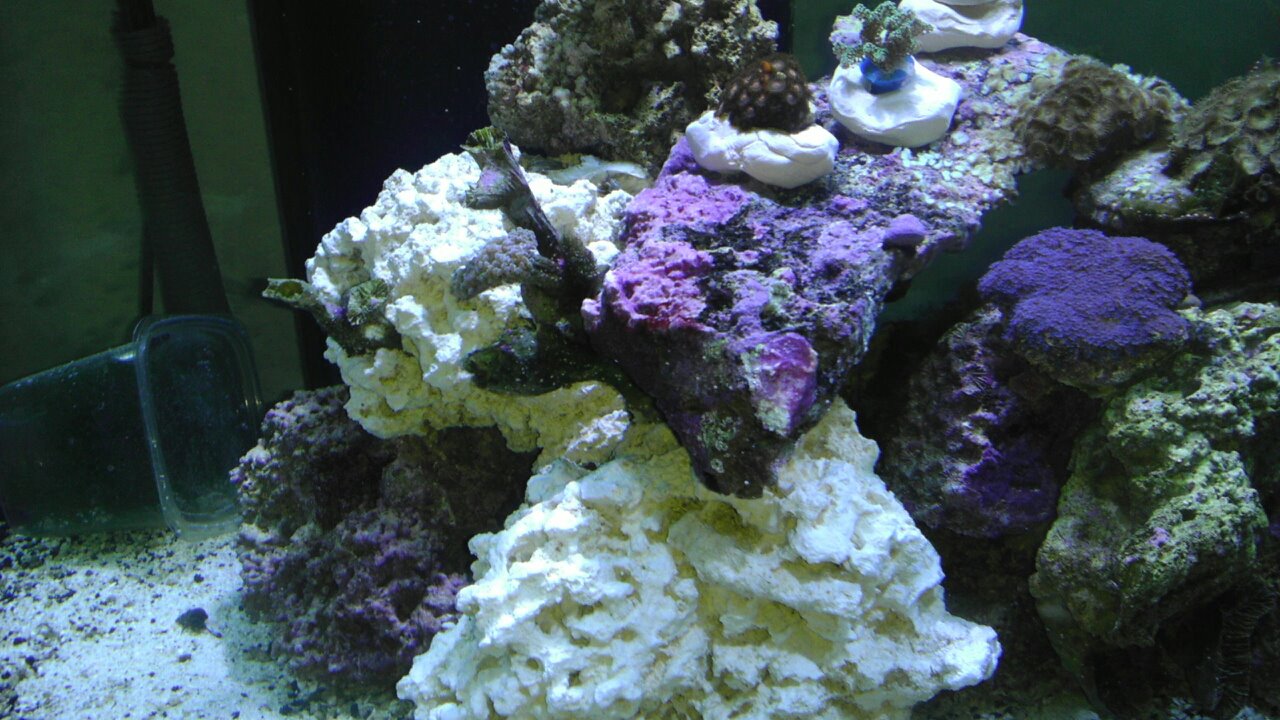
I then purchased a used halide fixture with 3X250 watt 20k halides and 4x96 watt compacts from a local fish store. I turned out to not be a fan of the 20K purple look but it was much better then the florescent strip from Wal-Mart.
Eventually I got my skimmer and hooked that up as well as 8 more outlets to go along with the Apex. Then I could hook up a pump and get the float switches operational to perform top offs, and I also had it doing water changes on its own. A pump would turn on draining a small amount of water into the floor draing (with a siphon break). And then another pump drawing in mixed up saltwater from a large brute trash can.
To be continued:


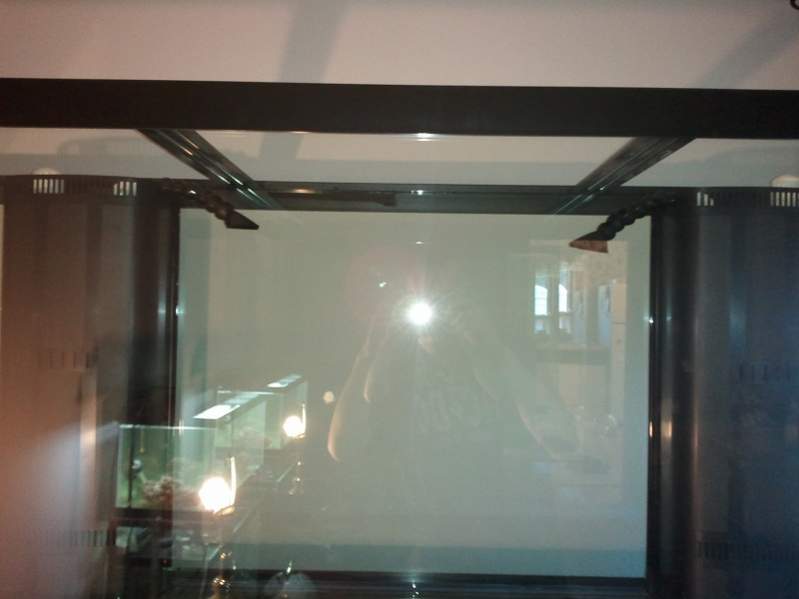
 I was not a fan of the 29.7" (pretty much 30") tall tank and would love to be at 24". So much easier to get in there.