SeahorseKeeper
Where's the mysis?
View BadgesStaff member
Super Moderator
Excellence Award
Article Contributor
NJRC Member
Hospitality Award
INTRODUCTION:
Howdy Fellow Reefers!! Let me just start by saying Thank You & Kudos to R2R for the spotlighting my little Nano-Reef.
My name is Paul and I’ve had this BioCube up and running just over 2 years now. The first drop of water went in July 16, 2012 and boy oh boy has it been a ride ever since! It all started back in the late 70’s and early 80’s when my dad went from having 3 or 4 freshwater setups running to the first saltwater tank. We were awestruck with the colorful tropical fish and various shrimp. We even had some type of long tentacle anemone. I loved helping dad with the feeding and maintenance. Over the years, I thought back to those days. I wished I had the time and money to start up a fish tank.
Fast forward 30 or so years, and I’m sitting in a doctor’s office watching some guy clean the tank in the waiting room and I strike up a conversation with him. He informed me of something even greater than a fish tank, it was called a Reef Tank! What was this madness he was speaking of? Live corals? Shoot, back in the day we used to bleach the “coral” to keep it nice and white! I start doing some research. It sure looked terribly complicated and expensive. Then, one night I ran across this show called “Tanked”. They made it look like I could build a reef tank in a weekend! I was so excited I ran the very next day to the local fish store….. Yeah, that was a crushing discussion. Talk about killing a man’s dreams when I found out what it really takes to build my dream tank. I was still determined, so I started reading everything I could. Finally, I made the decision to go ahead and buy all the toys and gadgets I knew I wanted. This way I wouldn't have to go through all the upgrades as I replaced items. It took almost a year to buy everything I wanted, but I still feel that was the best way.
So without further ado, the specs.
SYSTEM PROFILE:
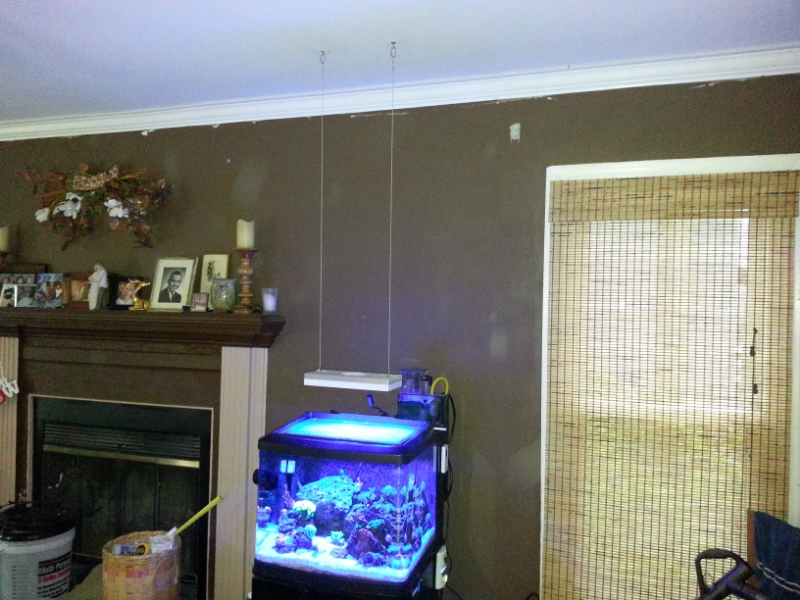
- Tank
- 29 gallon HQI BioCube with matching stock stand.
- InTank Media rack and water director
- Polyfloss Top Shelf
- Bag of Rowaphos Middle shelf
- Bag of Nuclear Grade Carbon – Bottom Shelf
- Bag of Purigen – Bottom Shelf
- InTank Fuge kit
- Ball of Chaeto
- Hydor Theo 100w Heater
- Controlled by the ReefKeeper and set at a rock solid 78 deg.
- ATO - Tunze Osomolater
- Controls
- ReefKeeper Lite (L3)
- Flow
- Upgraded pump to the MJ1200
- (2) VorTech Wireless MP-10’s – One on each side of the tank.
- I alternate between Reef Crest and Nutrient Transport set at roughly 40%
- Filtration
- Skimmer – Aquamaxx HOB-1 – This thing is a beast in a biocube, thick nasty skimmate.
- 30 lbs of live rock
- 20#’s of Tropic of Eden’s Reef Flakes
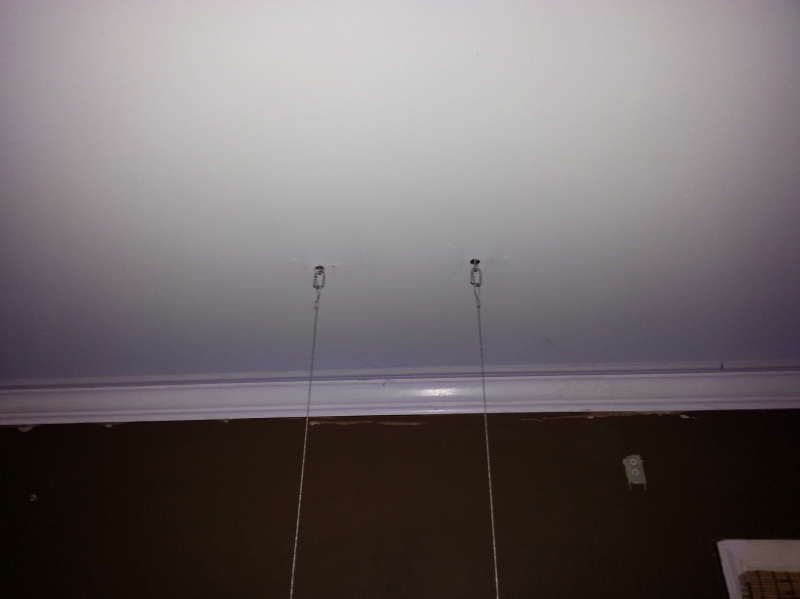
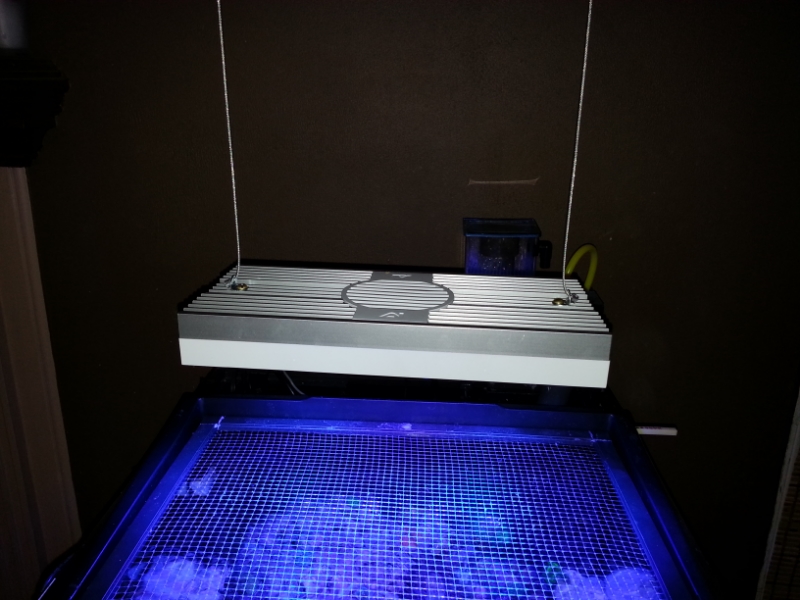
- Lighting
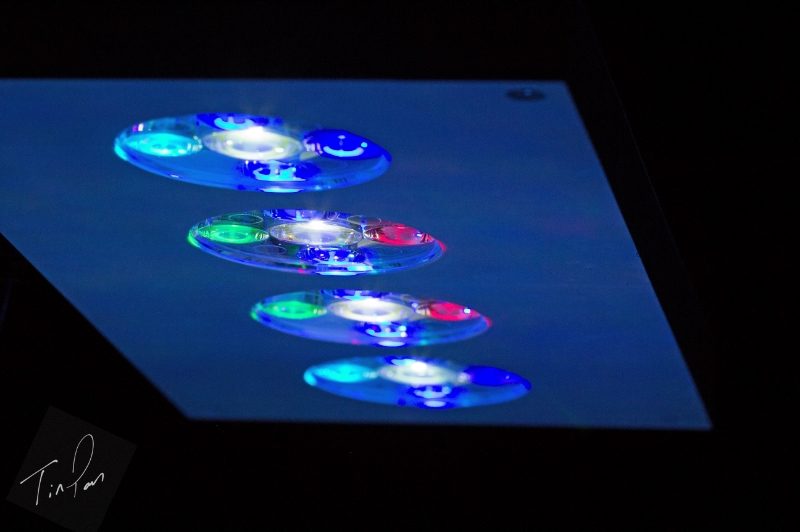
- AI Vega LEDs (color)
- AI Director – You can download my custom light profile here
- Sun Rise set at 7:10am – Lights set to simulate a 20K Bulb
- Deep Blues come on at 7:10am and ramp up 4 hours to 50%
- Royal Blues come on at 8:30am and ramp up 160mins to 48%
- Blues come on at 8:30am and ramp up 160mins to 48%
- Greens on at 9:50am and ramp up 80mins to 17%
- Red on at 9:50am and ramp up 80mins to 7%
- Cool White on at 9:50am and ramp up 80mins to 17%
- Sunset Starts at 6:30pm
- Deep Blues ramp down 3 hours to 8% (8% for the lunar settings)
- From 9:30pm to 9:50 I ramp down to 0% because I like lights out completely before the lunar settings start.
- Royal Blues ramp down 160mins to 0%
- Blues ramp down 160mins to 0%
- Green ramps down 80mins to 0%
- Red ramps down 80mins to 0%
- Cool White ramps down 80mins to 0%
- Lunar Setting
- Deep Blues set at 8% and run from 10pm to 3am.
- 1) Lunar Cycle reduces (never increases) intensities of all LED colors for the programmed hours of the day. It is a rough approximation of the 8 phases of the moon that occur throughout the month.
- 2) Intensities are reduced in 8 steps by multiplying the current intensity by a fractional number. The calculation is done every night at midnight, and one of the 8 multipliers are then applied to the current intensities based on which phase of the moon.
- Intensity Reduction
- New Moon
- .10
- Waxing Crescent
- .20
- First Quarter
- .40
- Waxing Gibbous
- .60
- Full Moon
- 1.0
- Waning Gibbous
- .60
- Third Quarter
- .40
- Waning Crescent
- .20
- New Moon
- Intensity Reduction
Take the example of setting ROYAL as your moonlight with an intensity setting of 5%. You would wind up with the following intensities:
Actual Results
New Moon
5% x .10 0%
Waxing Crescent
5% x .20 1%
First Quarter
5% x .40 2%
Waxing Gibbous
5% x .60 3%
Full Moon
5% x 1.0 5%
Waning Gibbous
5% x .60 3%
Third Quarter
5% x .40 2%
Waning Crescent
5% x .20 1%
Important Notes:
- Results are rounded to a whole percent. Be careful when setting the "full moon" intensity less than 5%, or you will have 0% intensity for most of the month. The absolute minimum nighttime intensity to use Lunar Cycle should be no less than 5%.
- A full moon only lasts 4-5 days for the entire month, so the intensity setting of 5% won't be seen for 3 weeks.
- The year, month, and date must be correct for all of this to work.
- There are no intermediate steps or graduations beyond the 8 steps listed. The intensity reduction simply changes 8 times a month at the midnight hour.
- Clouds are set to run 20% of the time at 60% intensity
- Lightning is set to run 2% of the time at 50% intensity
- Fuge Light
- JBJ Nano-Glow LEDs
- Dosing – Controlled by the ReefKeeper
- (2) BRS 1.1ml dosing pumps – One for Calc & one for Alk
- Calk Dose – 2 timers –
- Timer 1 – Starts at 8am runs for 0:5:00 mins and off for 3:55:00 hours repeats 2 times. Gives me 3 doses for the first 12 hours.
- Timer 2 – Starts at 8pm and duplicated timer 1 for run times.
- Alk Dose – 2 timers –
- Timer 1 – Starts at 6am runs for 0:5:30 mins and off for 3:54:30
- Timer 2 – Starts at 6pm and duplicates timer 1 for run times.
- Water Changes
- Red Sea Coral Pro Salt – 5 gallons weekly – weighed out at 675 grams of salt per bucket of water.
- Feeding
- Daily – LRS Reef Freenzy Nano Packs – I just cut up a weeks’ worth of ‘chunks’ at a time.
- Wednesdays – Reef Chilli Mixed with 7ml Seachems Reef Plus & tank water
- Sundays – Reef Freenzy with 7ml Seachems Reef Plus & tank water
- Battery Backup
- APC 1000XL (x3) for the MP-10’s and an APC Pro 1000 Backup for the Lights.
WATER PARAMETERS
I tend to enjoy my weekly water testing and keep an online log/diary located here. I use Red Sea Pro test kits for NO3, Ca, & Mg. I use a Hanna Checker for KH. Seachem for PO4. Temperature and pH are monitored by the Reef Keeper and salinity is checked by a D&D Refractometer.
- Temperature – 78 deg
- Salinity – 1.026
- pH – 7.95 to 8.1
- NO3 – Around 10ppm
- NH3 – 0 ppm
- Ca – 450 ppm
- KH – 11.25 dkh
- PO4 – 0 ppm
- Mg – 1620 ppm (Elevated - Fighting Bryopsis)
- BRS 5 Stage System – 30 gallon storage with automatic float switch
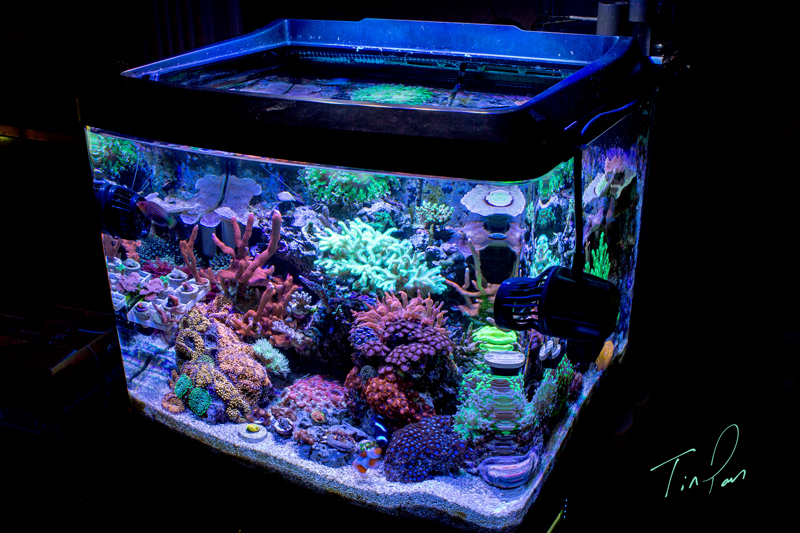
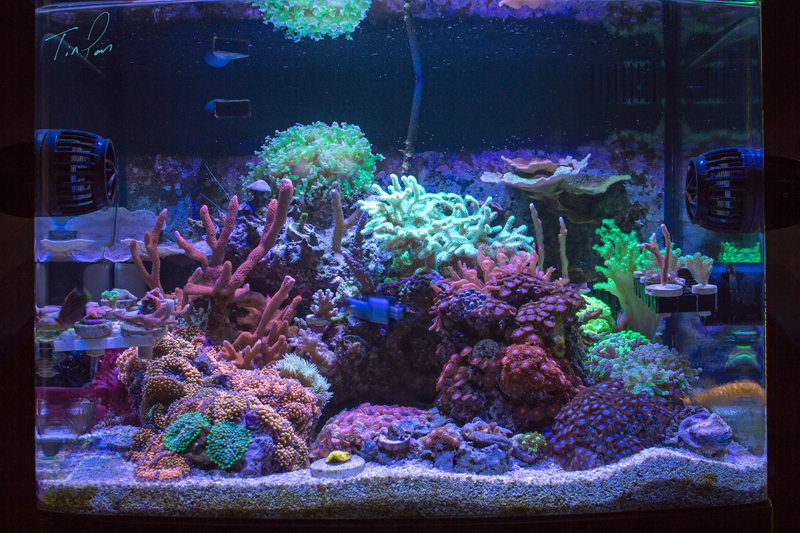
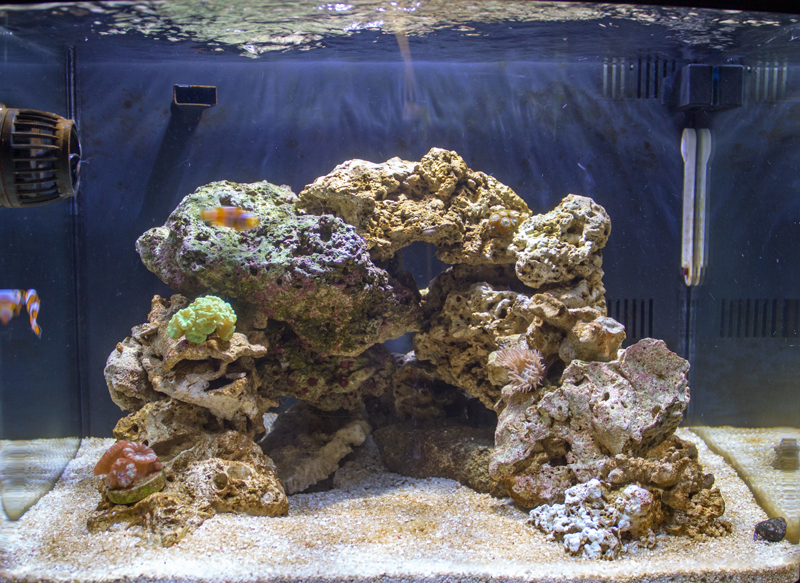
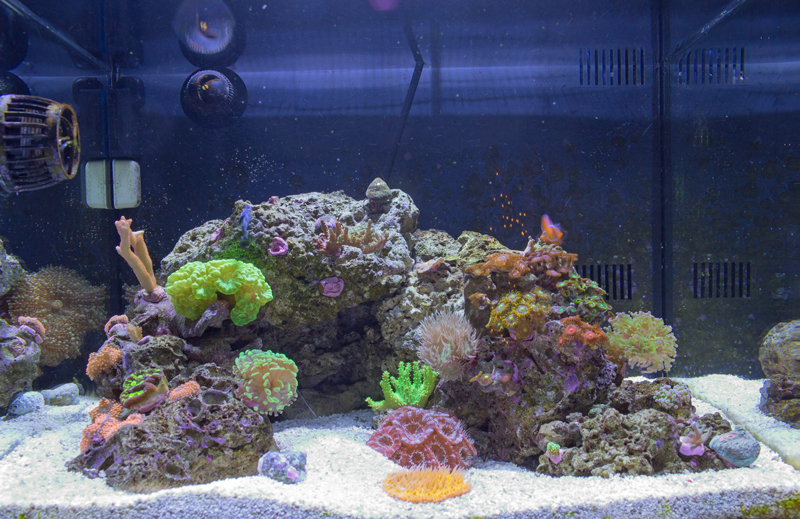
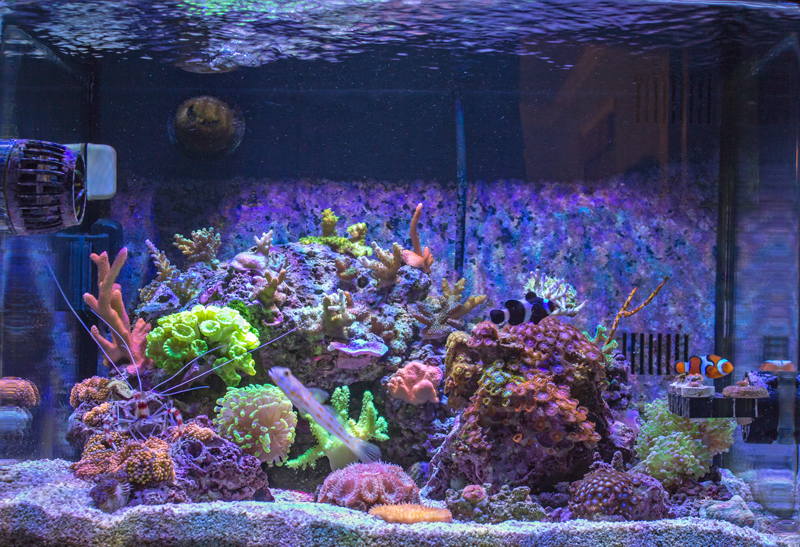
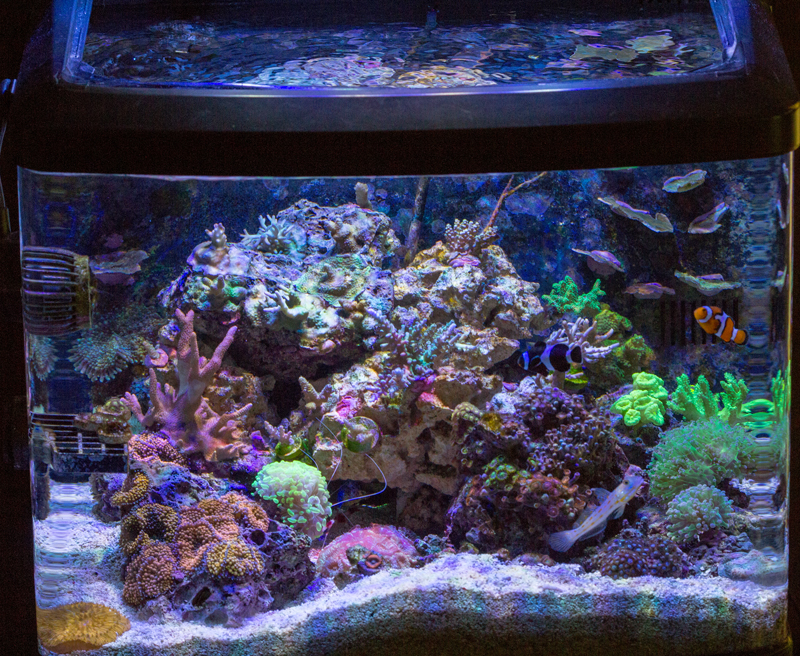
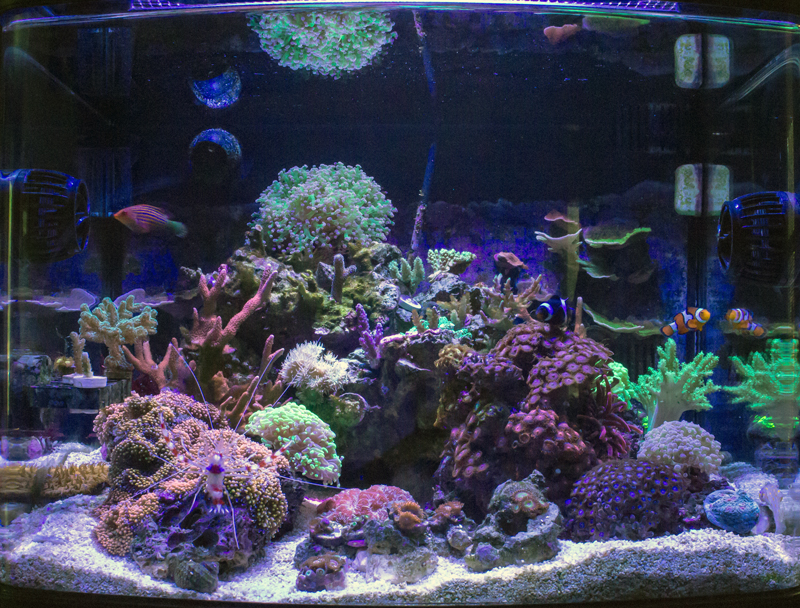
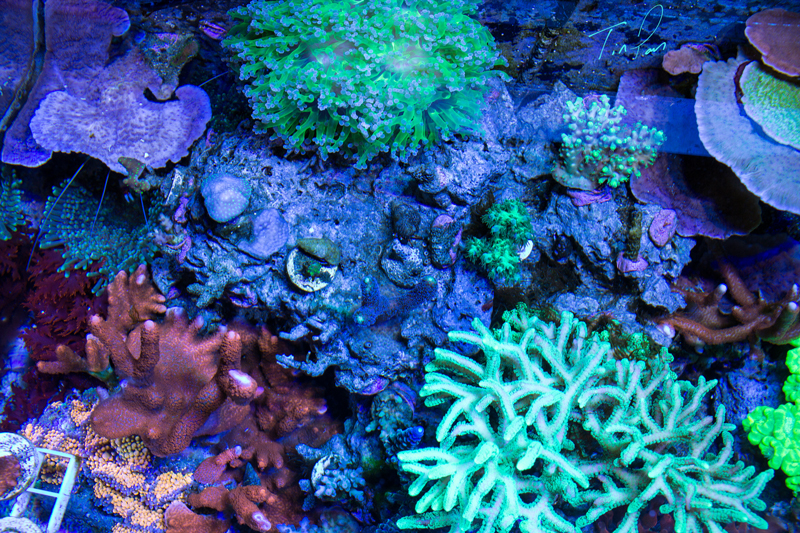
Progression Pics:
1 Month:
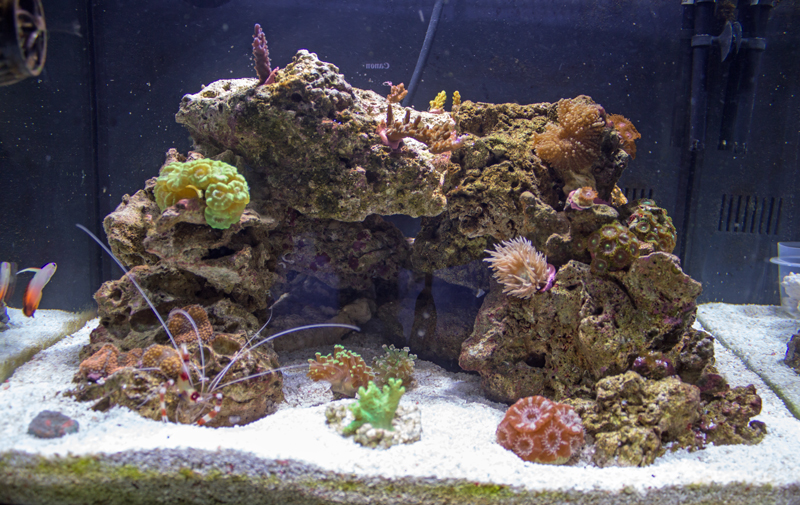
3 Months
6 Months
12 Months
15 Months
20 Months
3 Months
6 Months
12 Months
15 Months
20 Months
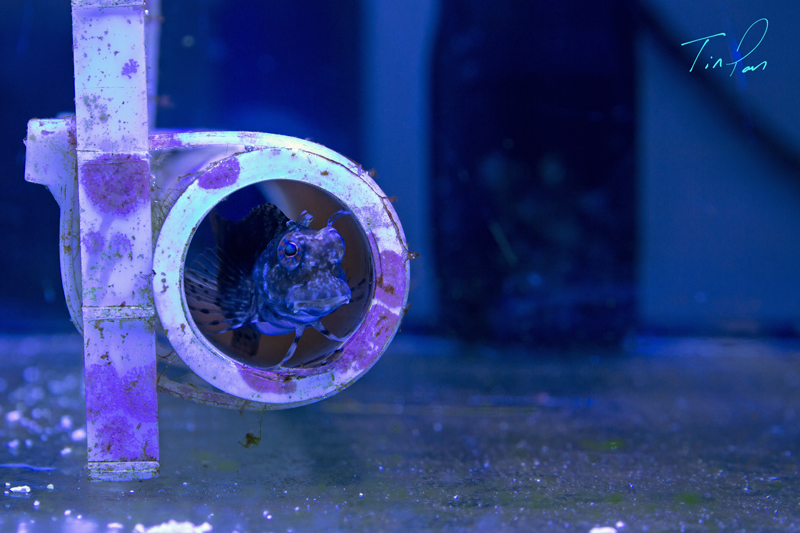
INHABITANTS:
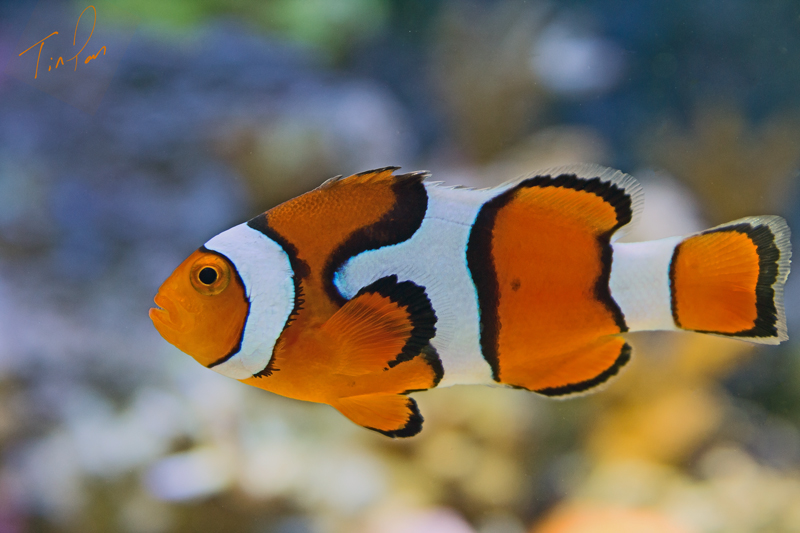
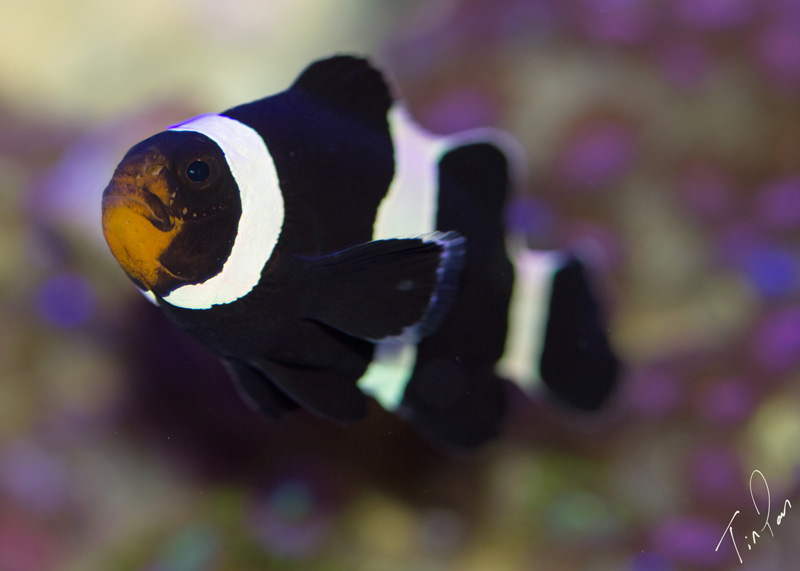
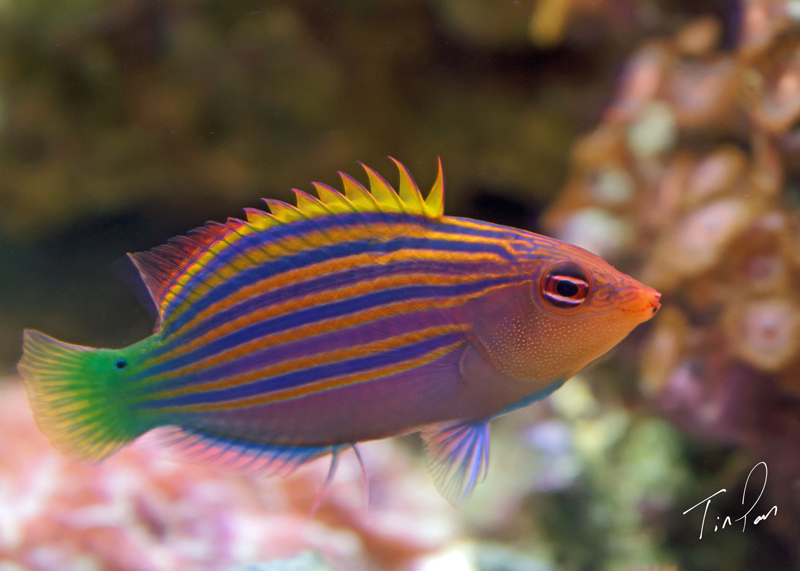
Fish:
- Ocellaris Clownfish (Black/White) – (Amphiprion ocellaris)
- Ocellaris Clownfish – (Amphiprion ocellaris)
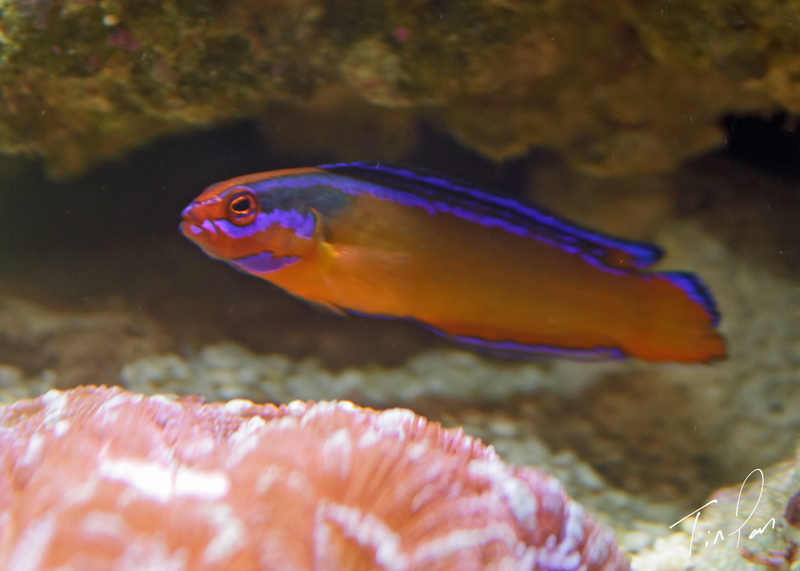
- Neon Dottyback – (Pseudochromis aldabraensis)
- Six Line Wrasse – (Pseudocheilinus hexataenia)
- Flame Hawkfish – (Neocirrhites armatus)

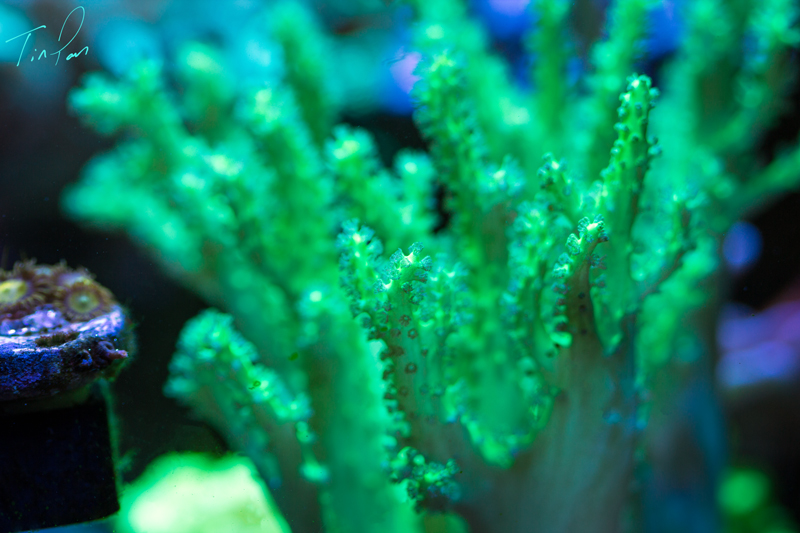
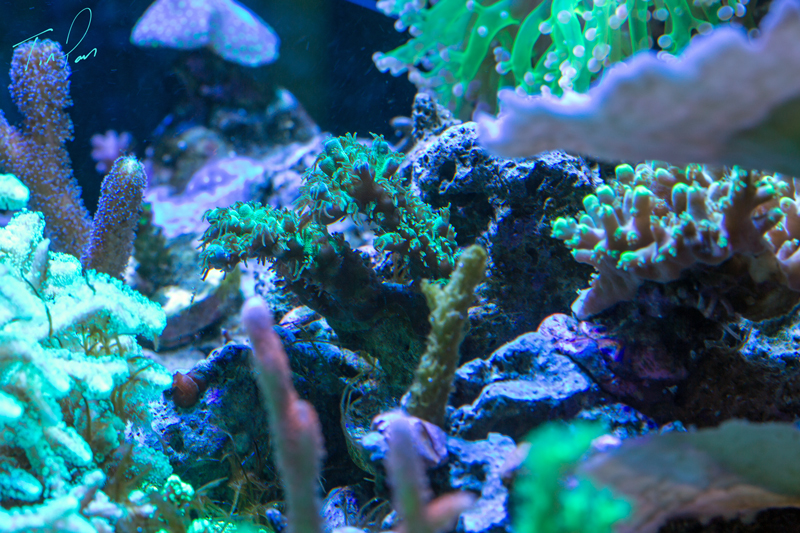
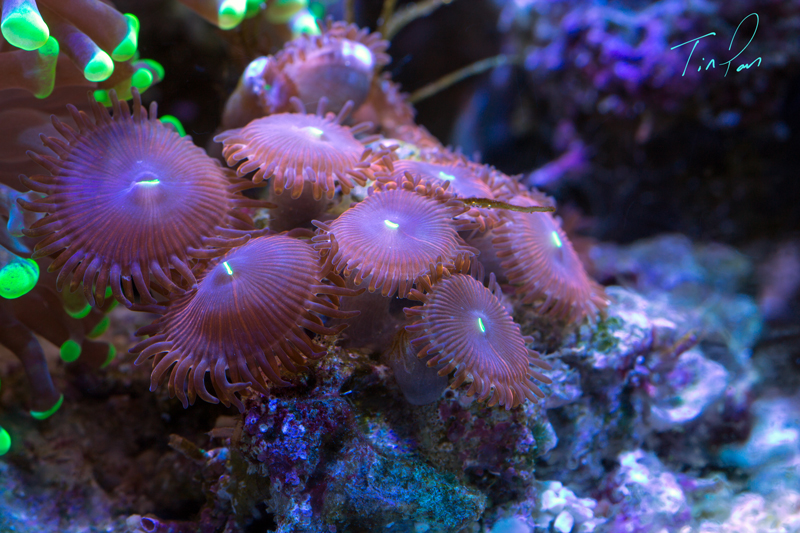
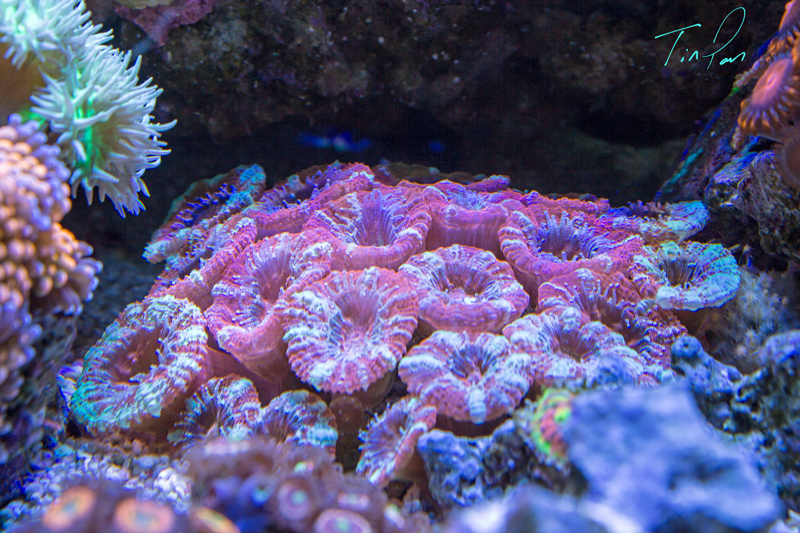
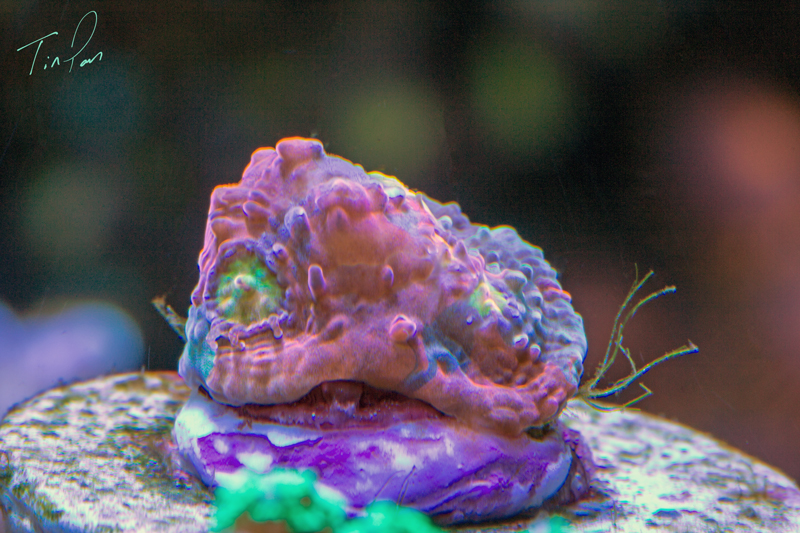
Corals:
LPS
- Neon Green Candy Cane
- FrogSpawn
- Red/White Acan Lord
- Duncan
- Torch Coral
- Hammer
- Orange Plate Coral
- Predator Blood Favia
- Bubble Gum Monster Chalice
- Tyree Red Watermelon Chalice
- Mummy Eye Chalice
- Cornbred Aces Wild Chalice
- WWC Ignition Chalice
- Cornbred Flaming Bugatti
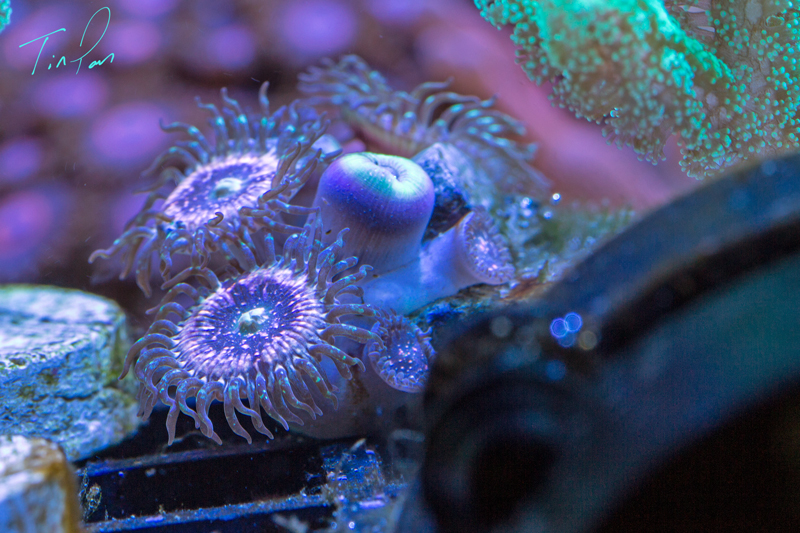
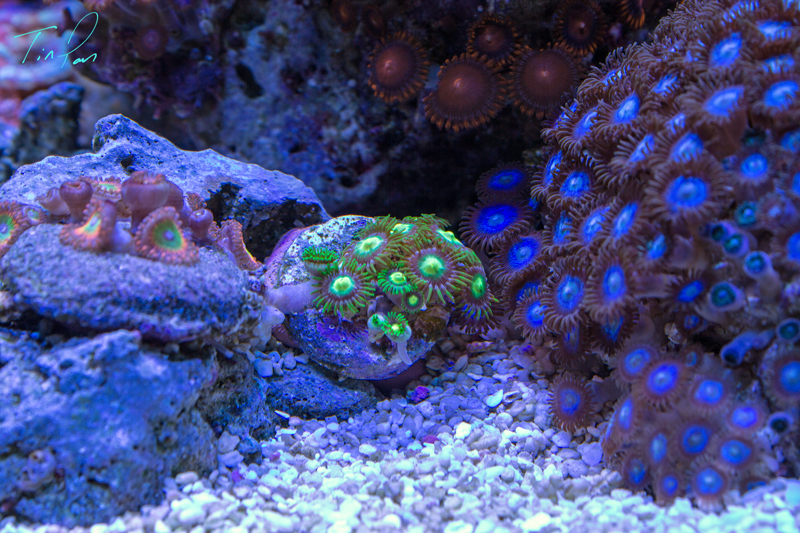
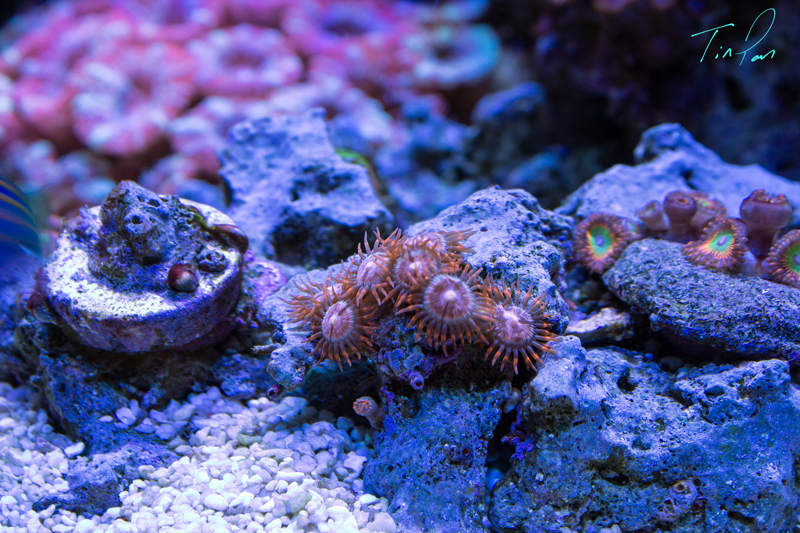
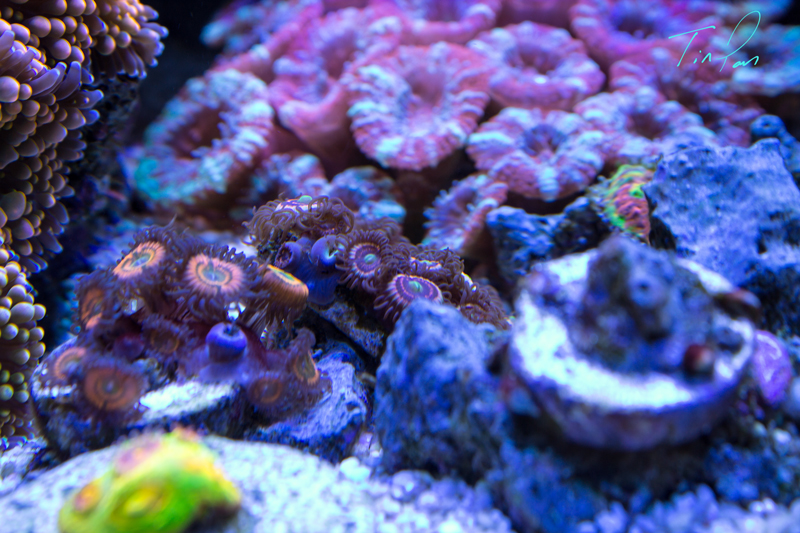
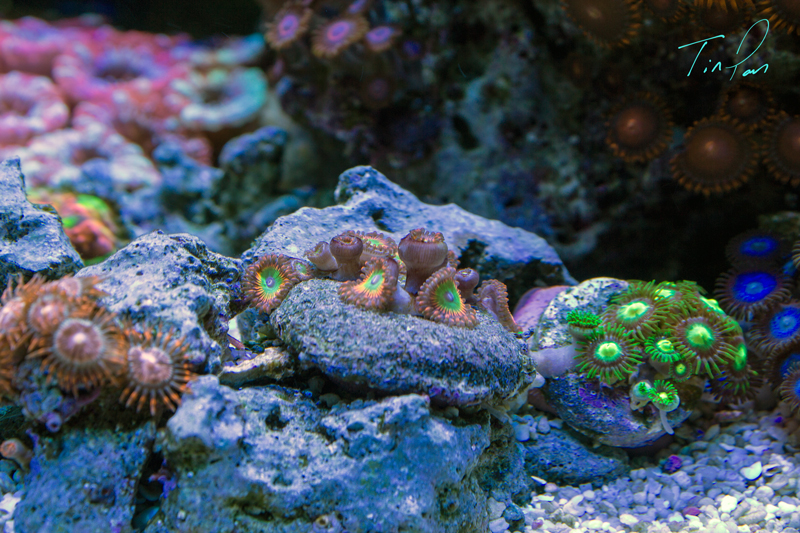
- Radioactive Green Dragon Eye Zoa
- Pink Panthers
- Hells Flare
- Orange Bam Bams
- Jason Fox Sunflowers
- Jason Fox Daisy Dukes
- Sunny D's
- Candy Apple Reds
- Solar Eclipse
- Googlie Eyes
- Eagle Eyes
- Tubbs Blue
- Eagle Eyes
- Pink Zippers
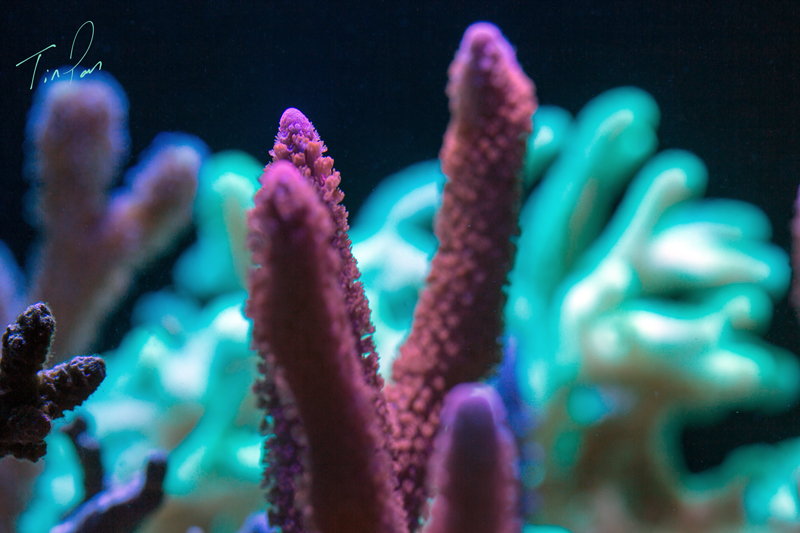
- ORA Green Birds Nest
- Neon Green Birds Nest
- Cali Tort
- Richmond Tri-Color
- Bonsai Tri-Color
- GARF Bonsai
- Nectar of the Gods
- Unknown Neon Yellow Acro
- Forest Fire Digi
- Shades of Fall
- Blue Bottle Brush Acro
- Miyagi Acro
- Purple Stylo
- Upscales
- ORA Borealis
- Orange Monti
- Green Apple Monti
- Blue Flower Petal Monti
- Purple Monti
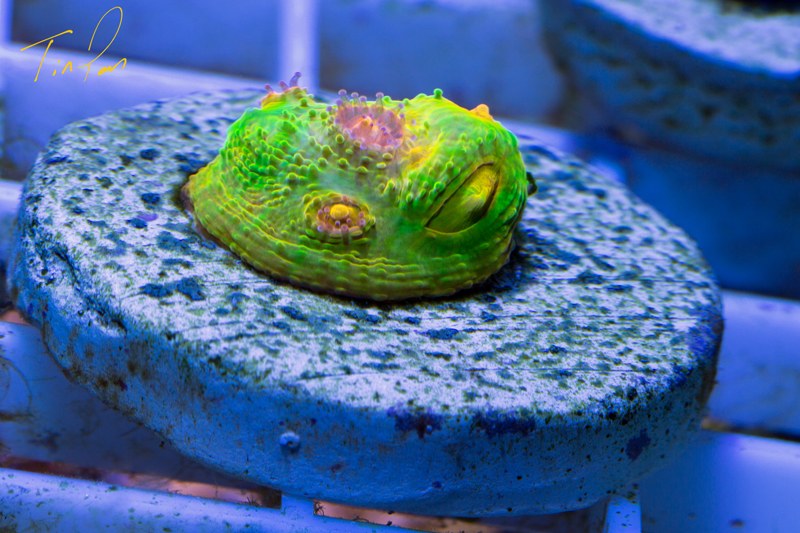
- Gold Florida Ricordea
- Orange Flordia Ricordea
- Rainbow Flordia Ricordea
- Green Flordia Ricordea
- Green Yuma Ricordea
- Neon Green Sinularia
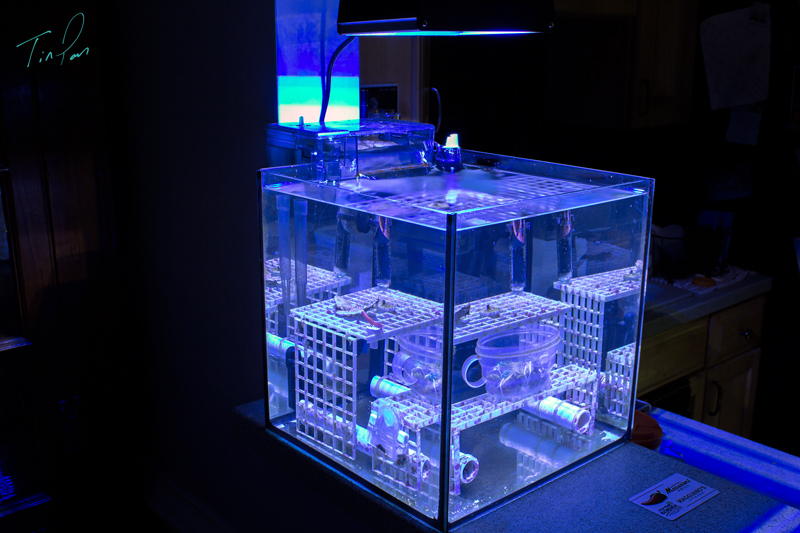
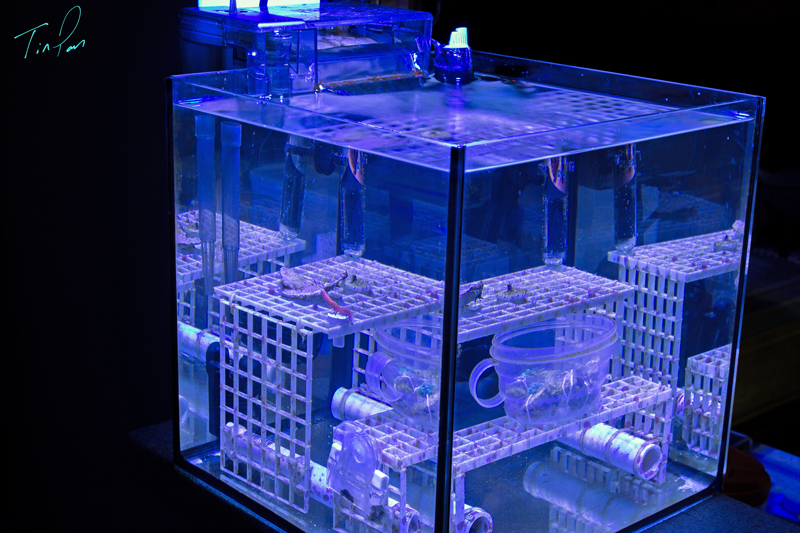
When I first started out I was buying all kinds of corals and trading like crazy. One thing I learned the hard way was that’s also a great way to catch all kinds of tank pests and diseases. I had issues with red bugs, flat worms, some kind of green slime that came in with 3 frags and exploded within my tank. After a few of those, I set up a quarantine tank. It's a nice little 12x12x12 rimless. Now, everything goes into that tank for at least 4 or 5 weeks before it goes into the BioCube. Even though I dipped everything in Bayer Advanced, it did little to kill eggs.
QUARANTINE SPECS
- Deep Blue Rimless 7 gallon glass tank
- AC 50 HOB filter
- Small bag of carbon
- One VorTech MP-10
- A DIY Rapid LED Fixture with Blue, Cool White, UV, & Moon Lights
- A DIY Egg Crate Rack
- Hydor Theo 50w Heater
IN CONCLUSION:
I want to say again, thanks to R2R for spotlighting my tank, but more importantly, I have to say thanks and give a shout out to my local club, The Richmond Reefers, and all the great folks that have put up with all my endless questions over the last 2 years. Not only have we been there for each other when situations arise, when there’s an emergency, or just to hang out. You’re not just fellow reefers, forum members, hobbyists, you’re my friends.
I receive a lot of email and IM’s from people asking for advice, I’m no expert, but I can say this, take your time, nothing good comes from rushing in this hobby. Take the time to setup and quarantine your corals. Lastly, find some way to make husbandry fun, nothing sucks as bad as feeling you have to do chores on your tank, eventually you’ll start putting it off. For us nano reefers it’s even more important, things go south fast with our tanks, that’s no joke. Something as simple as your dosing container running dry for a few days causing something to drop too fast could cause ill-effects with your corals. Been there, done that. Oh, and one other thing, it’s always handy to keep a red ink pen handy, that way if/when you spend way too much on something, you can just write ‘sale’ on the receipt with a marked down price, wives don’t need to know everything right?
So far the hobby is just as exciting as it was to me two years ago, I still spend at least an hour a day sitting in front of the tank with my handy magnifying glass, just watching everything. It’s the perfect ending to any type of stressful day.
Like most of us, I’ve decided to work on an upgrade. I’ve been picking up a few items at a time, including a new 40b that’s going to become my new sump for the 93 cube I plan to build next. The big question is to tear down this successful mature tank, or just start from scratch. Guess we’ll have to wait and see.
Last edited by a moderator:

")