
OP
OP
- Joined
- Feb 15, 2009
- Messages
- 313
- Reaction score
- 322
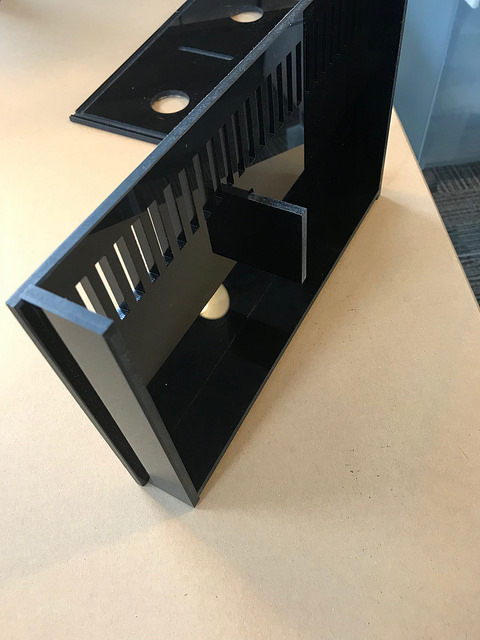
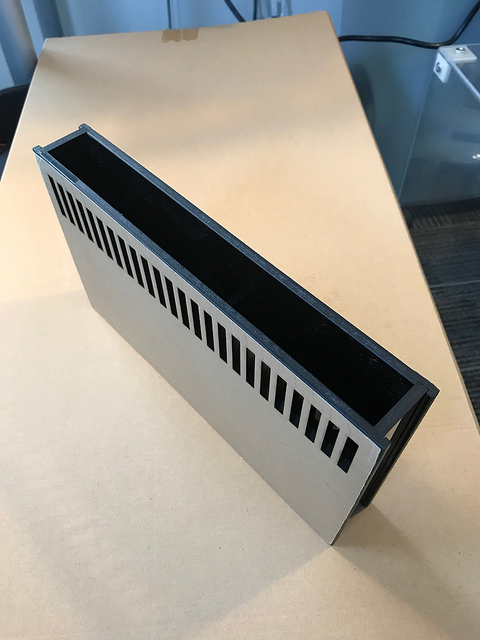
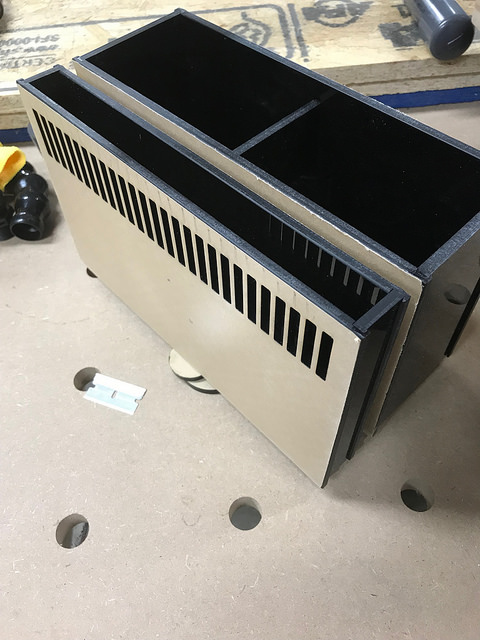
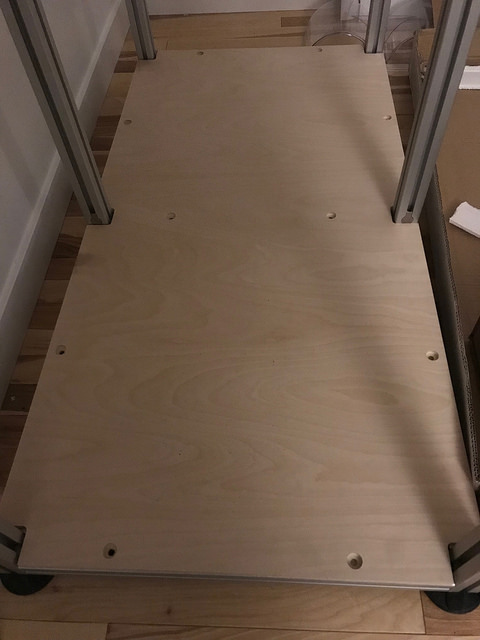
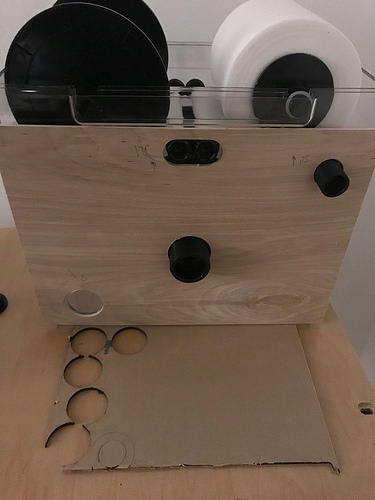
messin around in the workshop and got the inner box finished for the most part..
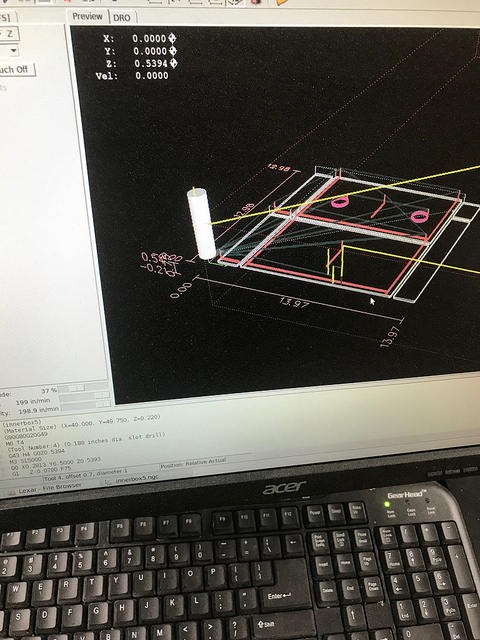 Untitled by shaun s., on Flickr
 Untitled by shaun s., on Flickr
 Untitled by shaun s., on Flickr
 Untitled by shaun s., on Flickr
box is only 1.5" i think it will work.. but i may try and go thinner maybe 1" any drawbacks to that idea?
Untitled by shaun s., on FlickrUntitled by shaun s., on FlickrUntitled by shaun s., on FlickrUntitled by shaun s., on Flickrbox is only 1.5" i think it will work.. but i may try and go thinner maybe 1" any drawbacks to that idea?


 Untitled
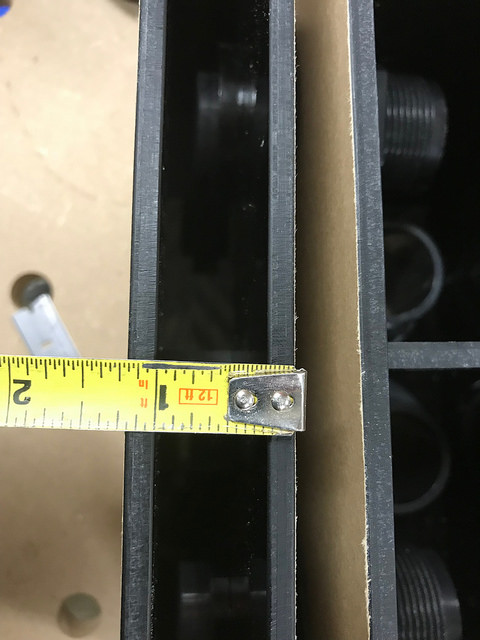 Untitled
 Untitled
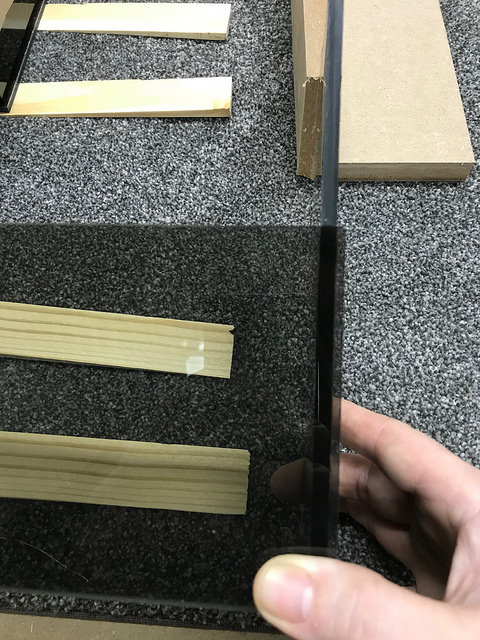 Untitled
 Untitled
 Untitled
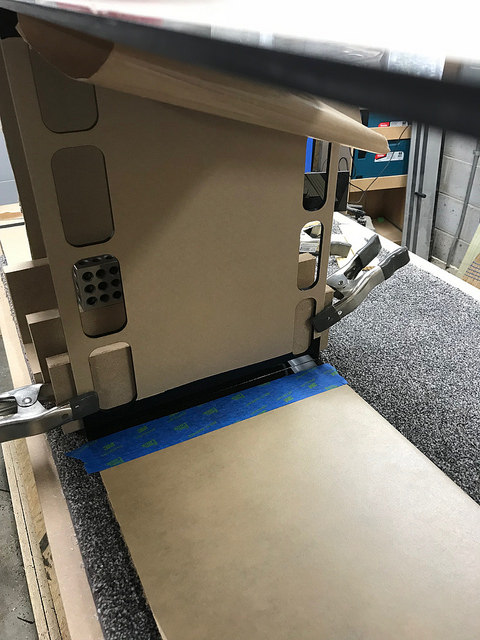 Untitled
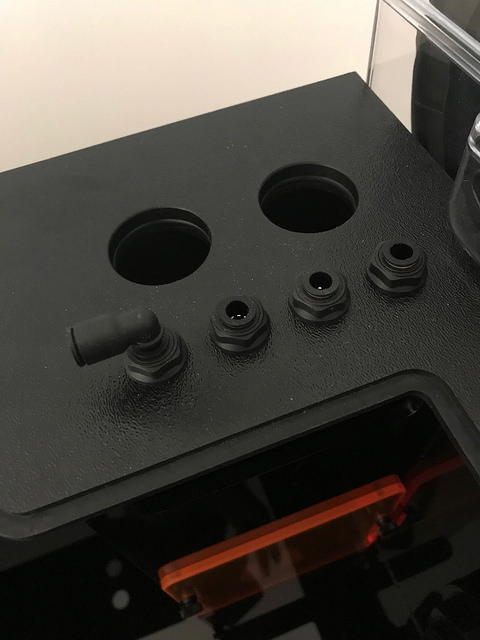 Untitled
 Untitled
 Untitled
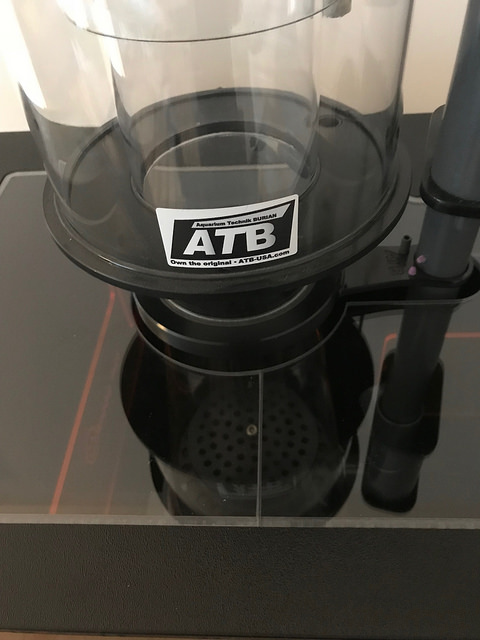 Untitled
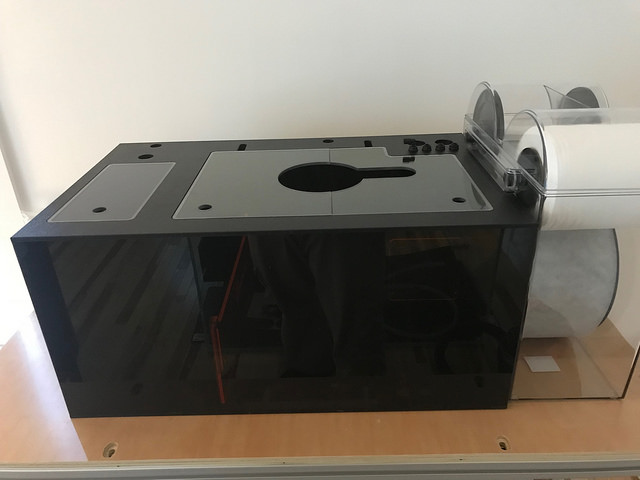 Untitled
 Untitled
 Untitled


 Untitled
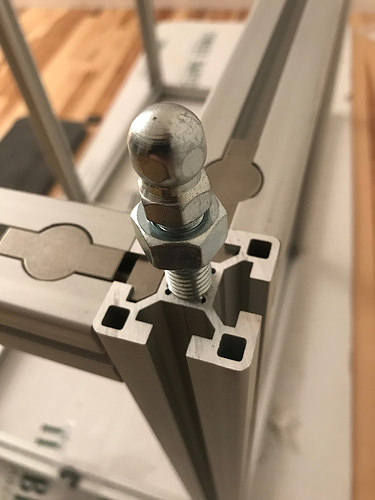 Untitled
 Untitled
 Untitled
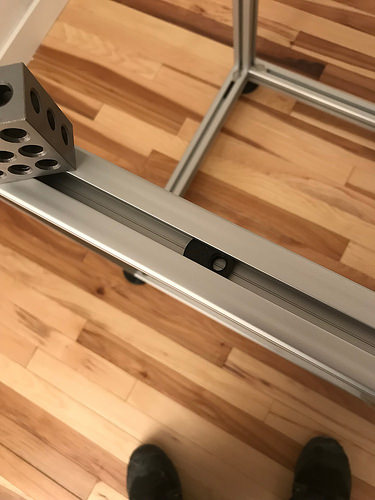 Untitled
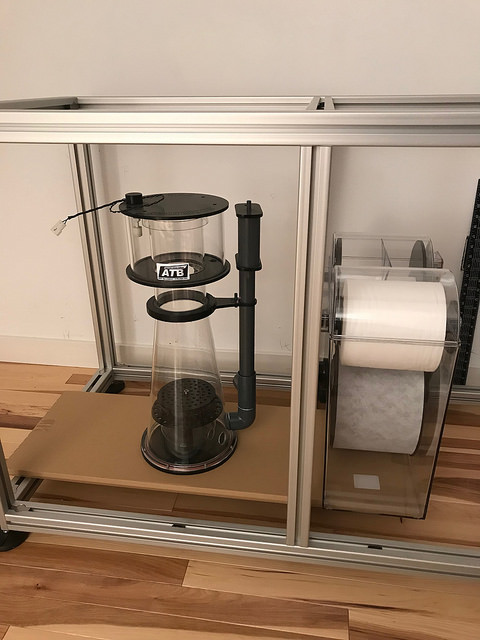 Untitled


