230 gallon in-wall, room divider, reef build

OP
OP
MarsRover

MarsRover

Well-Known Member
View Badges
Joined
Dec 18, 2015
Messages
660
Reaction score
513
Location
Los Angeles
Rating - 0%
0   0   0
It's been a crazy two weeks. Worked all weekend last weekend at the special public event where we open the gates and people can come and visit JPL!

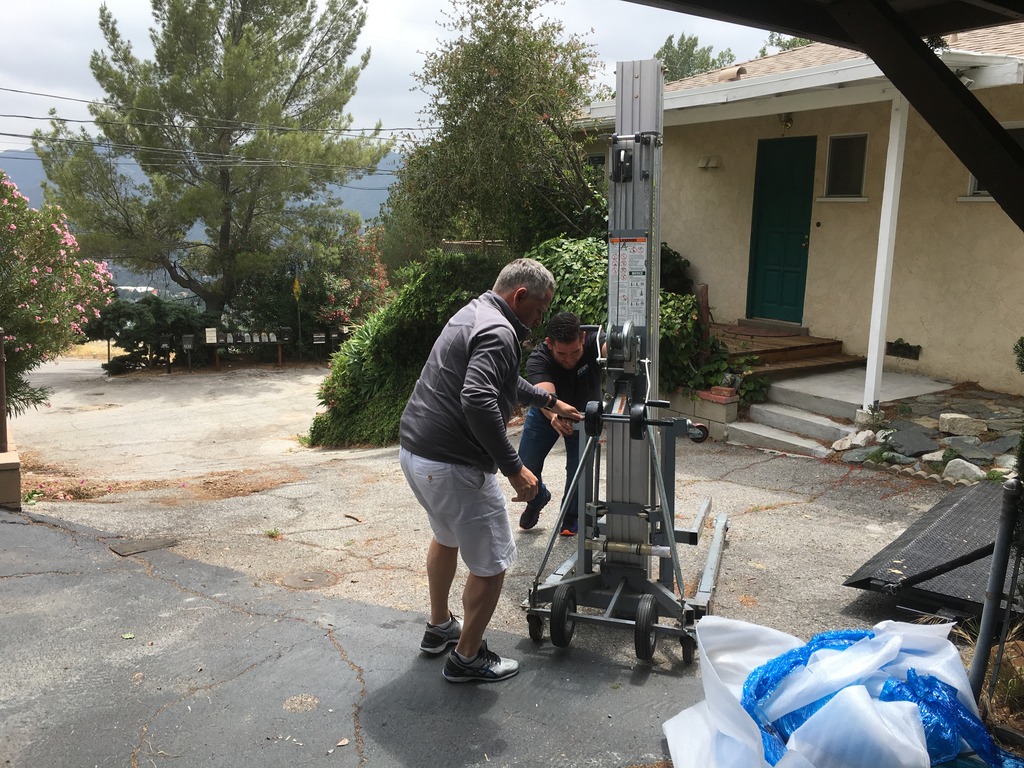
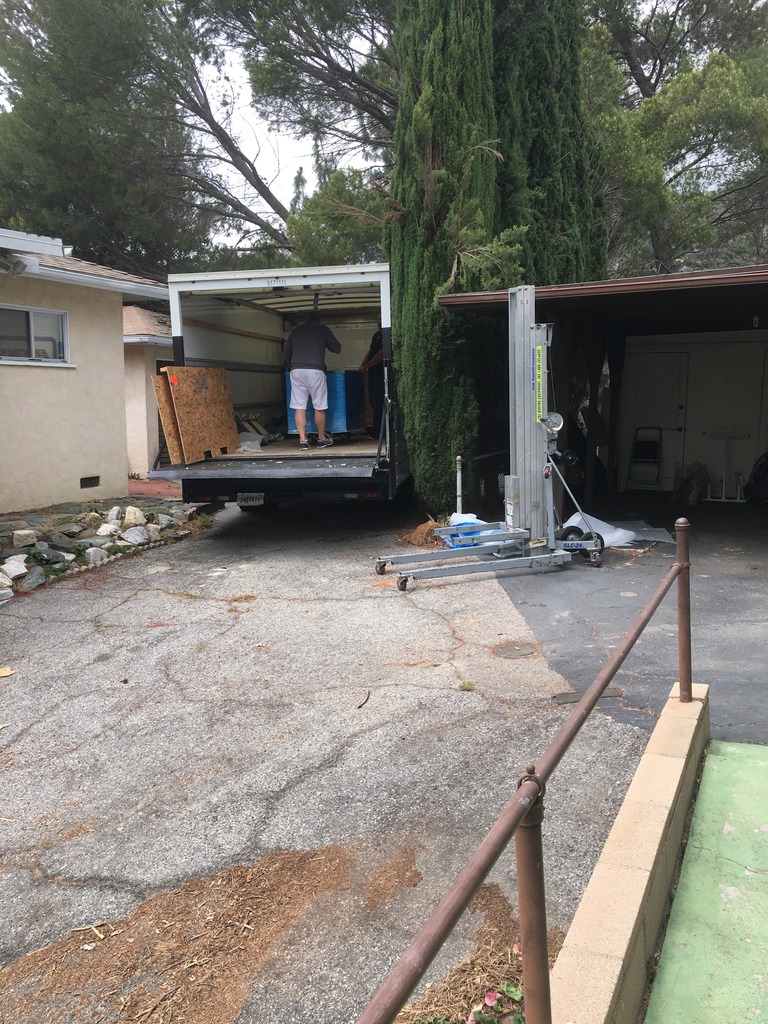
This week has been a hard week, but it was worth it. The tank is in LA!! @KingJason and my's tanks are being delivered in the next hours!!
Resized_20170525_091837.jpg
 
OP
OP
MarsRover

MarsRover

Well-Known Member
View Badges
Joined
Dec 18, 2015
Messages
660
Reaction score
513
Location
Los Angeles
Rating - 0%
0   0   0
its here.......


Steep driveway made just using the dolly a chore!


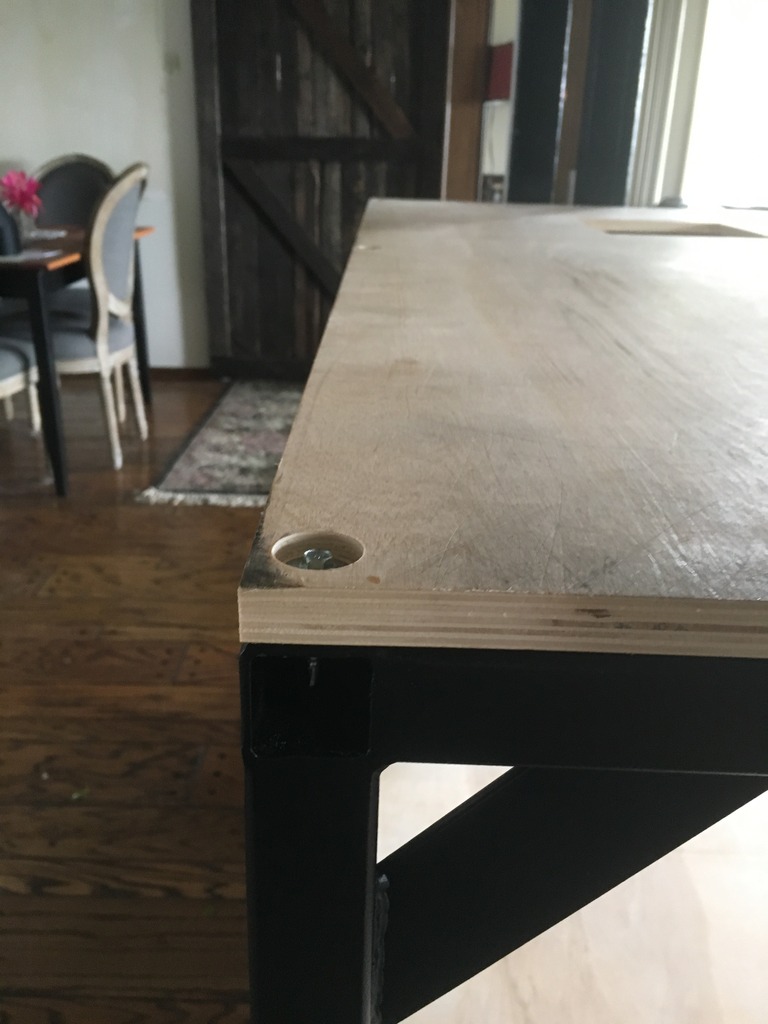
Close ups of construction:


Final:

 
Last edited:
OP
OP
MarsRover

MarsRover

Well-Known Member
View Badges
Joined
Dec 18, 2015
Messages
660
Reaction score
513
Location
Los Angeles
Rating - 0%
0   0   0
Did your holes all match up?

Ahh! with all the excitement i totally forgot about the casted PVC pipes i have!

I have to break off all the concrete because after casing that concrete, i decided to just 3D print the overflow boxes.

i'm going to go see!
 
OP
OP
MarsRover

MarsRover

Well-Known Member
View Badges
Joined
Dec 18, 2015
Messages
660
Reaction score
513
Location
Los Angeles
Rating - 0%
0   0   0
So last night I coated the plywood under the tank in waterseal. Wanted a little protection on the raw plywood for future inevitable spills.

Toying around with some concepts in my head for auto fill and drain capability from my water station just outside the sliding glass door behind the couch and my tank. Definitely thinking about routing pipes through the attic....

That said, my third overflow box piece is done printing. Going to start ABS welding the overflow box together. The cap to the top of the overflow box is printing right now. Should be done tomorrow.

Once I have the main overflow tower built, I'll be able to concrete around it. I'm thinking I want to concrete coat the tower, and then maybe buy dry rock from Marco and mortar the structure together. I think it's just too hard to build the structure and visualize it all at the same time while it is not in the tank and getting buried by sand as I cast the concrete.....
 
OP
OP
MarsRover

MarsRover

Well-Known Member
View Badges
Joined
Dec 18, 2015
Messages
660
Reaction score
513
Location
Los Angeles
Rating - 0%
0   0   0
Okay!!!

This morning was expensive....

Ordered:
50lbs Marco largo rocks with mortar
3lbs Marco largo rubble
140lbs Marco bahama dry aragonite
40 lbs Florida crushed coral for making the rocks to coat my overflow and to beef up the substrate depth
Pvc gate valves are on order (expensive!)

Also going to lowes later today to pick up the remainder of my pvc order.

ABS cemented the overflow top and bottom together this morning too. They're drying and solidifying now. Will be cutting and cementing it to the vertical 4" abs pipe I got too after I cut it to size this afternoon.

The water sealant coating finally dried for the wood base in the sump that came with the tank. Not sure why A.G.E just provides dry birch plywood...wasn't about to let it stay that way.

Rinsed out the inside of the tank.

Waiting for the bulkhead holes to dry. Going to lowes to pick up pvc and will be also getting plumbers sealant. Even though ideally the bulkheads won't see water, I'd still like them to be able to hold water in the event that the dry overflow support pipe seal leaks. Two fault tolerance everywhere possible.

My plumbing buddy/neighbor is getting some promo items in the mail soon. One of them is a wifi leak detector watchdog he's going to share one of his two freebies with me!

I'm thinking about building little 2" walls for my plywood sump platform. That way I can water proof proof it as a water catch pan. Then I could install a pump that would be triggered by the watchdog and pump water from the pan outside in the event of a leak. Would eventally drain the tank in that event if I for some reason didn't respond to my watchdog text message to rush home and help, but limiting the Catastrophe in that event to just my tank and not adding the horror of flooding the main whole of my house....would be a plus...I guess....

Thoughts?

IMG_3030.JPG

IMG_3032.JPG
 
OP
OP
MarsRover

MarsRover

Well-Known Member
View Badges
Joined
Dec 18, 2015
Messages
660
Reaction score
513
Location
Los Angeles
Rating - 0%
0   0   0
After some struggles....falling off the ladder trying to climb into the tank...so I could reach the bottom.....cutting and recutting pvc so it fits under the 3D printed overflow base but not interfering with the central return line.....tightening down bulkheads when they are recessed into plywood...all self inflicted woes, I know.....

I finally got the base of the stand pipes set and ready to be built on.

Filled the tank to the top of glued 45's (return line is not glued because I'm waiting for BRS to ship me my replacement bulkhead since they sent me a slip-threaded instead of threaded threaded) which is about 5" of water and so far, only leaks are coming from the central return line pipe which isn't glued!


IMG_3035.JPG
IMG_3041.JPG
 
OP
OP
MarsRover

MarsRover

Well-Known Member
View Badges
Joined
Dec 18, 2015
Messages
660
Reaction score
513
Location
Los Angeles
Rating - 0%
0   0   0
Lastnight i got the overflow box in place. it was definitely a tight fit..... i actually had to place the tubes and compress them inside of the 4"ABS pipe and do some sanding of fitting etc... but the way that it is situated, the forces are being placed on the ABS pipe rather than the PVC pipes or bulkheads so i guess thats a plus.

The one down side is this entire idea of accessibility to the bulkheads without removing the tower is pretty much out the window. Best case, i'd have to unscrew the bulkhead nut from under the tank, pull the standpipe up an inch or so, slide out the old gasket from underneath the tank and slide in a new one. Would be a huge PITA, but possible in the event of a double point failure (overflow tower leaks AND the bulkheads fail). In general though, the bulkheads shouldn't be seeing water. so i'm not too worried about it.

I'm also reconsidering this whole make rocks, cure the thing, and then install. Mostly because i don't think i'm going to be able to get this tower back in here, and make sure i get a good sealant application on the bottom of the tower to the base of the tank while it's covered in rock and being that sealing the tower is becoming more critical, i'm going to make sure i have a good seal, and do rocking inside the tank with the marco rocks and mortar i purchased yesterday. If need be, i can use the white portland and make some rocks in the tank on the tower and cure the rock in the tank itself.

going hiking today. might do a little more plumbing tonight depending on how tired i am. Ordered 4, 1" neptune flow sensors!

IMG_3043.jpg
IMG_3046.jpg
 

revhtree

Owner Administrator
View Badges
Joined
May 8, 2006
Messages
47,786
Reaction score
87,393
Rating - 100%
1   0   0
Awesome!
 
OP
OP
MarsRover

MarsRover

Well-Known Member
View Badges
Joined
Dec 18, 2015
Messages
660
Reaction score
513
Location
Los Angeles
Rating - 0%
0   0   0
Hiked 14miles today up to strawberry peak via the mountaineers trail. Tired. Plus, want to wait for my flow meters to get in before I finish plumbing. Looks like I'm Done for the weekend! Have a good work week everyone!
 

Txdragonslayer

Well-Known Member
View Badges
Joined
Jul 1, 2015
Messages
693
Reaction score
427
Rating - 0%
0   0   0
Noob question here.... I don't have a sump but slowly planning one now..

In the first pic, where your returns come from the top and just dip directly in your tank... would this create a siphon back into the tubes if you were to turn your return pump off? Or is this simply a plumbing fix? Putting one of those valves that only allow one way traffic with the water?

Thanks!
I like these renderings, wish I had the patience to make them I just saw that you had for return lines I would suggest an oceans motions for the random return just a thought
 

KingJason

Active Member
View Badges
Joined
Apr 27, 2014
Messages
263
Reaction score
232
Location
Seal Beach, CA
Rating - 0%
0   0   0
Your overflow box ended up looking great! Going to be a bit%% to finalize that PVC inside, but once it's done it's done.
 

Toomnymods

Active Member
View Badges
Joined
Feb 24, 2012
Messages
248
Reaction score
71
Location
Arlington, T.X.
Rating - 0%
0   0   0
Oh yeah, I was wondering if there was another reason you had than that.

That said, that's why I was going to go mixed. Bigger grains will support the smaller ones. That and high flow will be the top layers of the tank. I want LPS too and I was planning on keep them lower. Tall tank! Stoked

I did around 200lbs of bahama oolitic for the bottom layer of my deep sand bed and then threw another 100 lbs of Fiji pink on top which has a .5 to 1.5mm grain structure.. If you read Dr. Shimek's guide to deep sand bed and their -denitrifying abilities their are some guidelines to follow.. most importantly the grain structure and the 4" depth. Also having burrowing animals such as sand sifting stars that strip the bed of the microfauna and gobies that constantly dig shouldn't be used.
 
Last edited:
OP
OP
MarsRover

MarsRover

Well-Known Member
View Badges
Joined
Dec 18, 2015
Messages
660
Reaction score
513
Location
Los Angeles
Rating - 0%
0   0   0
I like these renderings, wish I had the patience to make them I just saw that you had for return lines I would suggest an oceans motions for the random return just a thought

Thank you! Yes it did take a lot of time but due to the custom nature of it all, it really saves time in the long run.

Your overflow box ended up looking great! Going to be a bit%% to finalize that PVC inside, but once it's done it's done.

Thanks! Hoping the parts dry so I can silicone it down tomorrow!


I did around 200lbs of bahama oolitic for the bottom layer of my deep sand bed and then threw another 100 lbs of Fiji pink on top which has a .5 to 1.5mm grain structure.. If you read Dr. Shimek's guide to deep sand bed and their -denitrifying abilities their are some guidelines to follow.. most importantly the grain structure and the 4" depth. Also having burrowing animals such as sand sifting stars that strip the bed of the microfauna and gobies that constantly dig shouldn't be used.

Excellent! That's my plan. I have a little more that that much sand coming so hopefully that will land me around 4". If not I can always get more!!
 
OP
OP
MarsRover

MarsRover

Well-Known Member
View Badges
Joined
Dec 18, 2015
Messages
660
Reaction score
513
Location
Los Angeles
Rating - 0%
0   0   0
Working on fitting this cap into the overflow. It's not gonna be SO pretty after I'm done with it....luckily no one will be able to see it!

IMG_3269.JPG


IMG_3271.JPG


IMG_3272.JPG
 
OP
OP
MarsRover

MarsRover

Well-Known Member
View Badges
Joined
Dec 18, 2015
Messages
660
Reaction score
513
Location
Los Angeles
Rating - 0%
0   0   0
Welp, it's officially glued down. Later this week I'm going to fill the over flow stack with water to make sure it doesn't leak. Drain it, and then glue on the cap to seal it up to make the overflow box bottom!


test fitted the overflow box bottom:

IMG_3274.JPG


IMG_3275.JPG
 

Creating a strong bulwark: Did you consider floor support for your reef tank?

  • I put a major focus on floor support.

    Votes: 34 44.2%
  • I put minimal focus on floor support.

    Votes: 19 24.7%
  • I put no focus on floor support.

    Votes: 22 28.6%
  • Other.

    Votes: 2 2.6%
Back
Top