

The one down side is this entire idea of accessibility to the bulkheads without removing the tower is pretty much out the window. Best case, i'd have to unscrew the bulkhead nut from under the tank, pull the standpipe up an inch or so, slide out the old gasket from underneath the tank and slide in a new one. Would be a huge PITA, but possible in the event of a double point failure (overflow tower leaks AND the bulkheads fail). In general though, the bulkheads shouldn't be seeing water.


Can you elaborate on this? Maybe I'm not following. The gasket goes inside the tower, yes? Not under the tank. Or are you just referring to the nut?
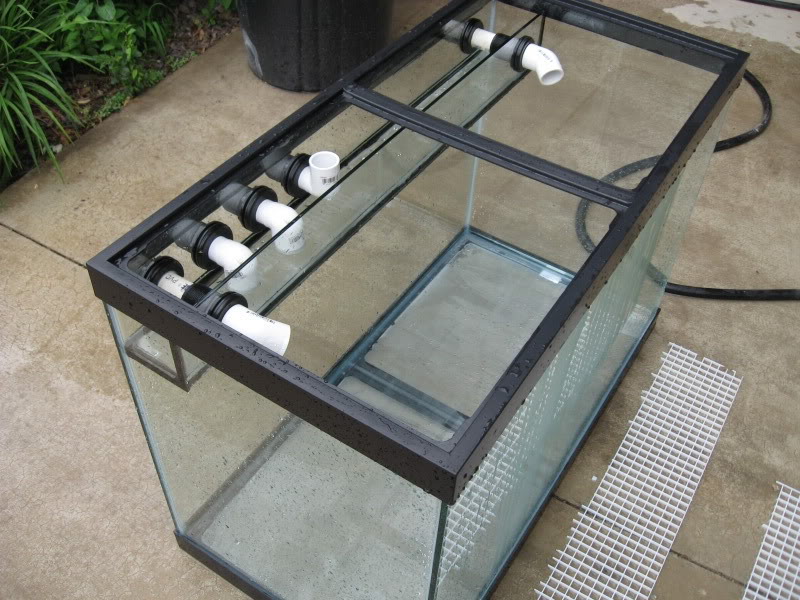
Also, are your bulkheads screwed in under just the tank itself or screwed under the stand as well?


") I do this level of analysis, and much deeper....., at work regularly for a mars rover development and so it's kind of hard for me to turn that off when I'm working on my own projects at home. Glad you appreciate it!
I do this level of analysis, and much deeper....., at work regularly for a mars rover development and so it's kind of hard for me to turn that off when I'm working on my own projects at home. Glad you appreciate it!


