Thanks. That's what this forum is all about, learning from other's experiences.dang man that came out nice I think I learned something to about painting strips.
Navigation
Install the app
How to install the app on iOS
Follow along with the video below to see how to install our site as a web app on your home screen.
Note: This feature may not be available in some browsers.
More options
You are using an out of date browser. It may not display this or other websites correctly.
You should upgrade or use an alternative browser.
You should upgrade or use an alternative browser.
270g FOWLR and Fish Room Build (image heavy)
- Large Build
- Thread starter Oberst Hajj
- Start date
-
- Tags
- fish room fowlr nsa planet aquarium
- Tagged users None
You and me both! lolGreat build for sure, cant wait to see that tank!
Well, it appears that Planet missed the deadline for completing my tank again. Hopefully I'll know more tomorrow when they respond via email. I'm now at 11 weeks and counting for this thing, that's a good ways off from their 4-6 week estimate.
My orange diamond was my favorite fish, he lived through multiple mistakes by me and his general talent for the high dive. He kept a standard 4*2 120g clean and will get another shortly. His most memorable event was leaping from the tank in the basement, bouncing off of the freezer and landing in the litter box, yes covered in litter, I rinsed him with water and she went on to live another 2 years. Was always fun to watch with snails, would pick them up move them elsewhere and return to his sifting duties. One of the reasons I went with sand again.What size tank did your little gobies keep clean?
Sounds like a fun fish!My orange diamond was my favorite fish, he lived through multiple mistakes by me and his general talent for the high dive. He kept a standard 4*2 120g clean and will get another shortly. His most memorable event was leaping from the tank in the basement, bouncing off of the freezer and landing in the litter box, yes covered in litter, I rinsed him with water and she went on to live another 2 years. Was always fun to watch with snails, would pick them up move them elsewhere and return to his sifting duties. One of the reasons I went with sand again.
I just finished and completed my order with them for a 310. They said 4-6 weeks also. Well, it appears that Planet missed the deadline for completing my tank again. Hopefully I'll know more tomorrow when they respond via email. I'm now at 11 weeks and counting for this thing, that's a good ways off from their 4-6 week estimate.

I hope you have better luck with that then I have. I'll be at the 12 week mark this coming week. The communication has been terrible about the delays and I will not be ordering another tank from them in the future.I just finished and completed my order with them for a 310. They said 4-6 weeks also. 
Happy Easter everyone.
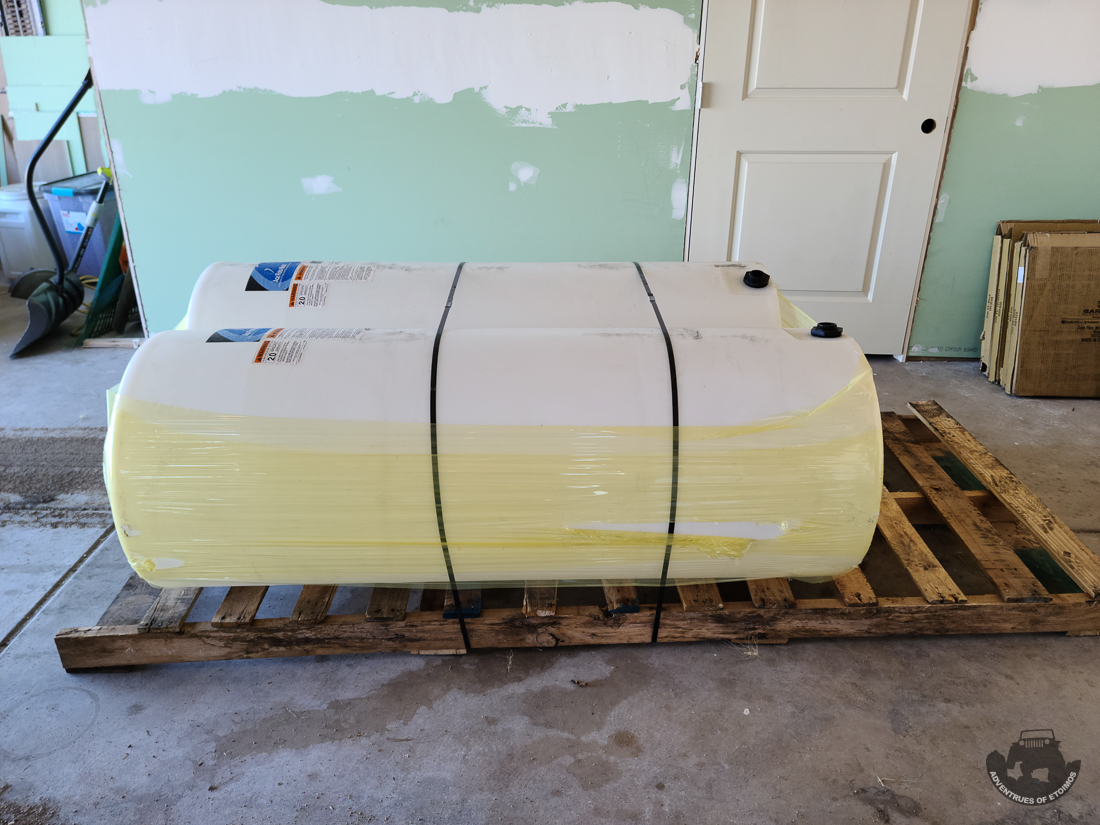
My RODI reservoirs showed up on Thursday. Man these things are big!
On Friday and Saturday I made some decent headway on the fish room.
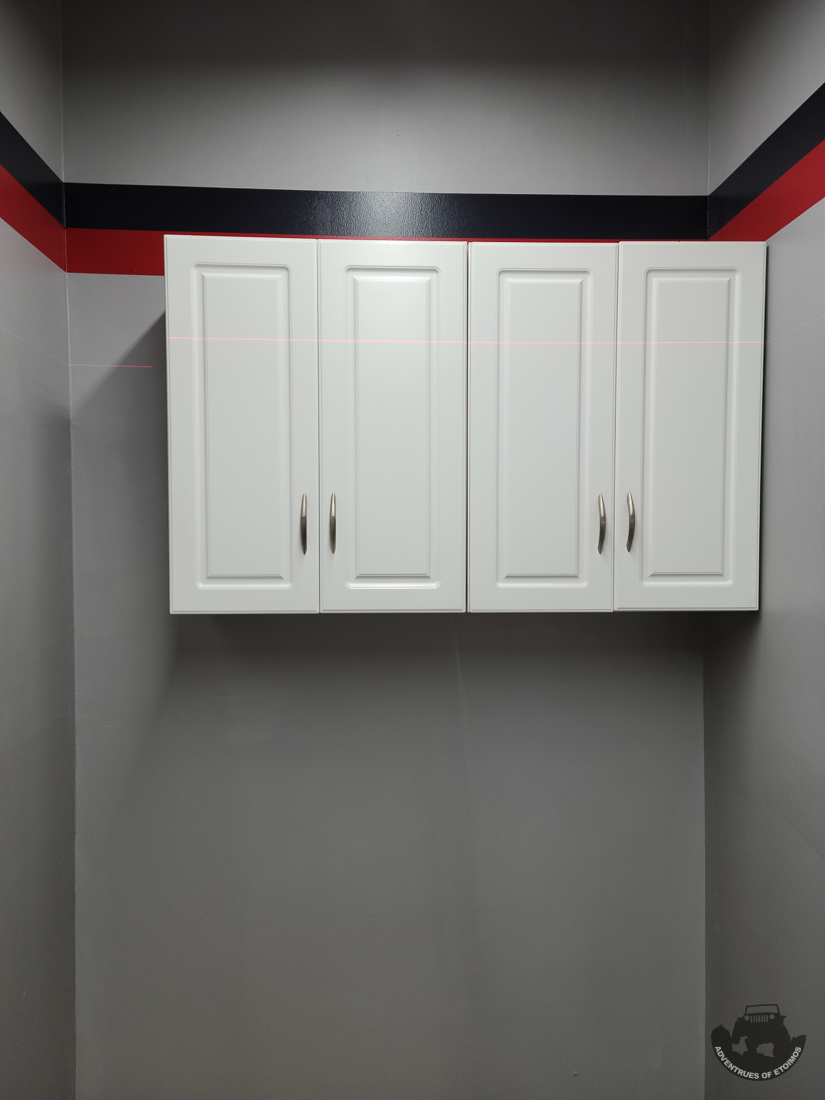
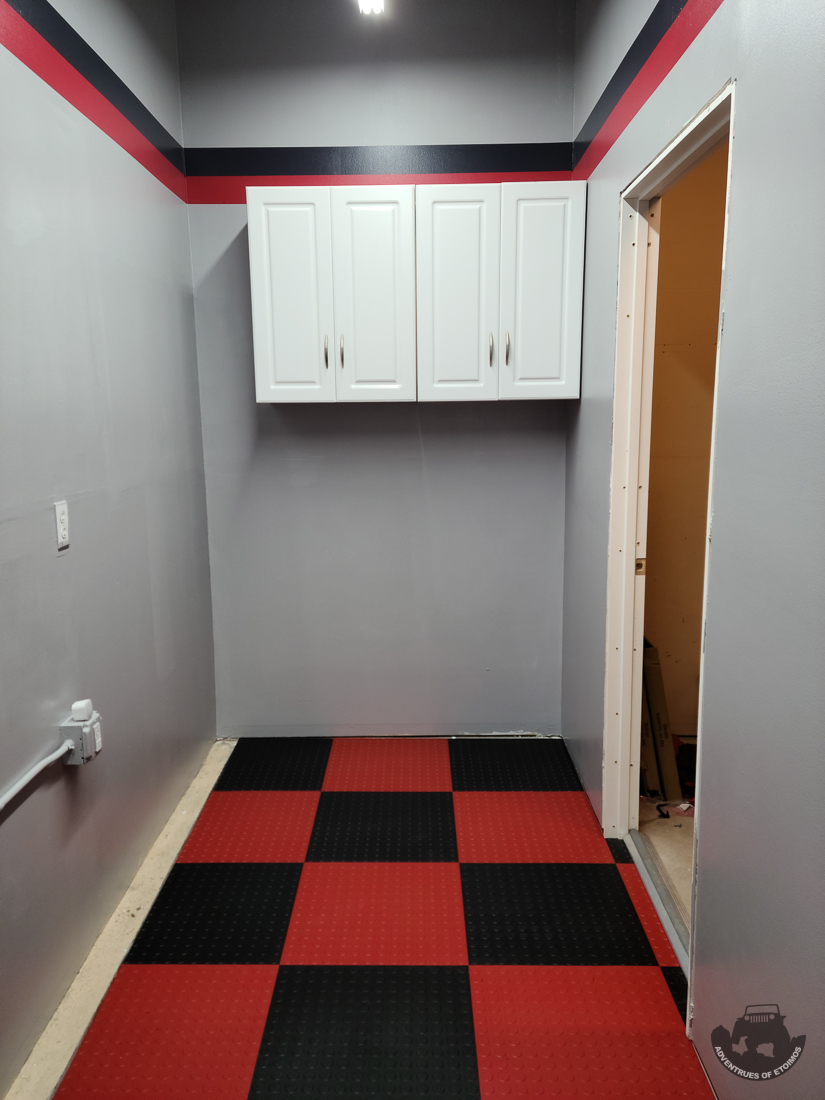
I got my cabinets hung.
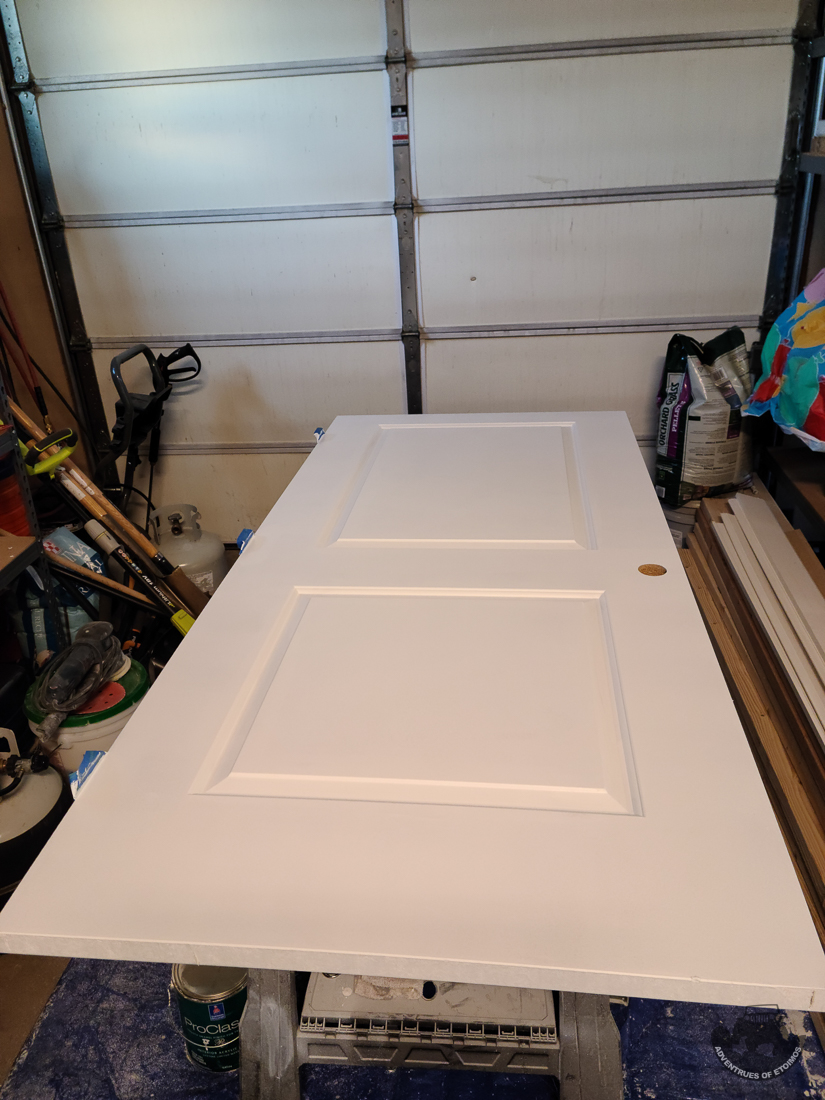
The door painted.
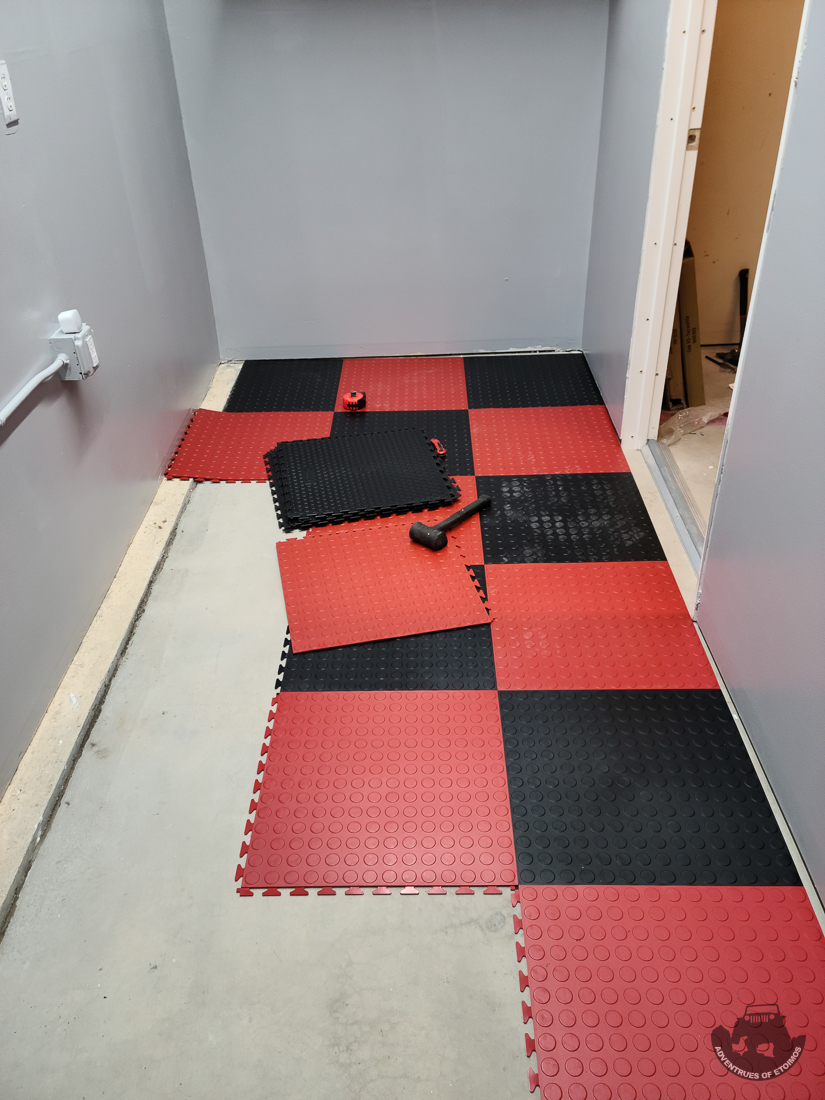
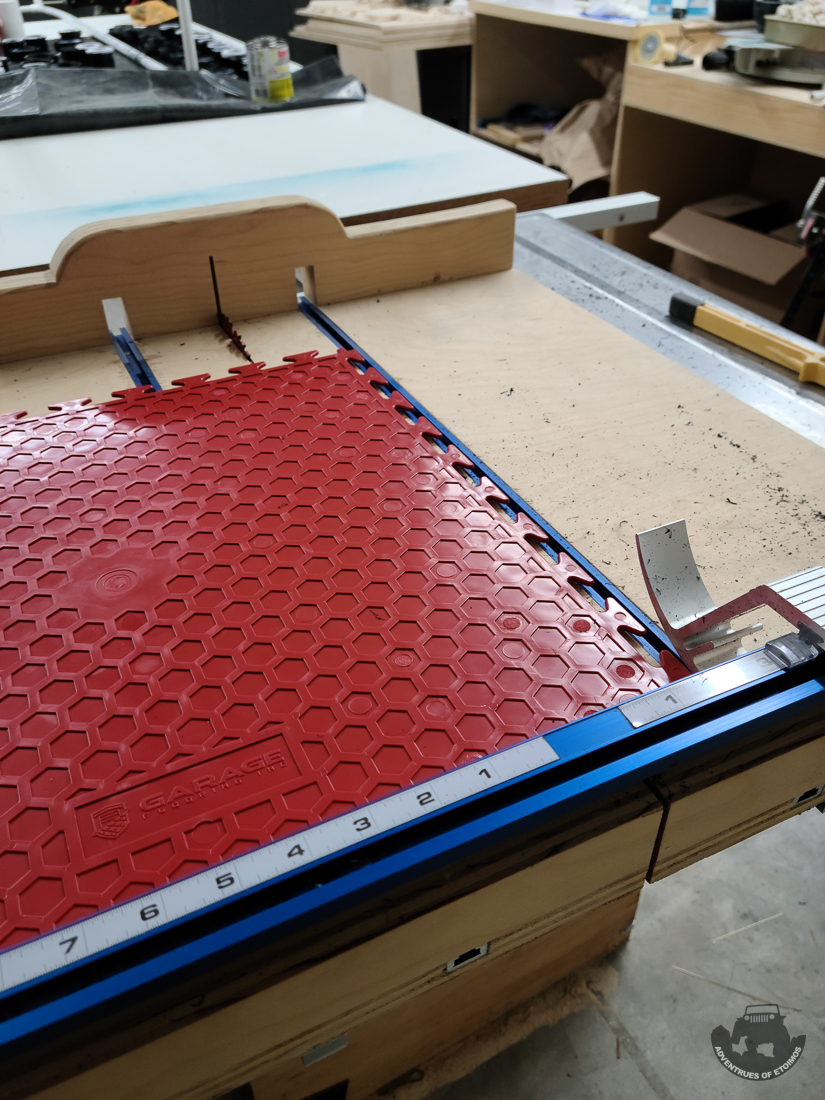
I did not want to just have bare concrete floors for multiple reasons, but I also did not want to paint or epoxy just the fish room area as that would look really weird if I ever had to remove the fish room. Or I'd have to put in a ton of work doing the rest of the 3 car garage so that it matched. So instead, I ordered some rubber garage floor tiles and got those installed.
It is messy, but the cut really well on the table saw.
The room is starting to really come together now.
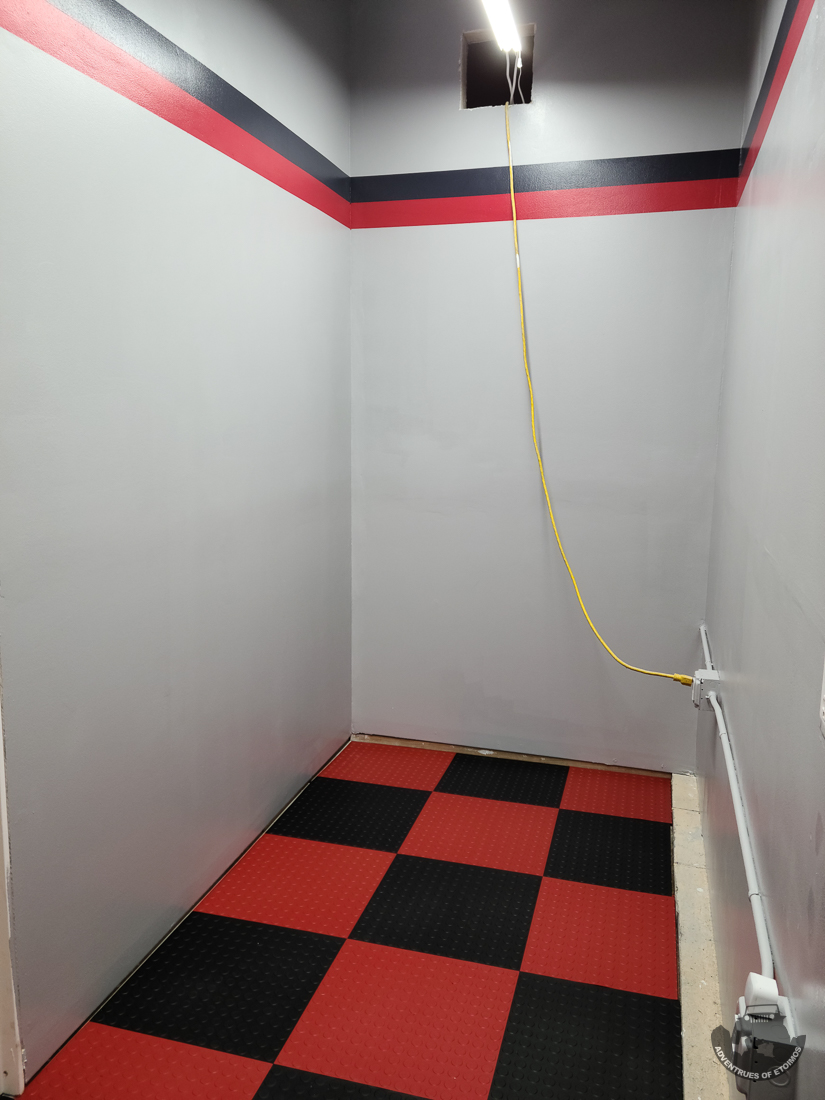
The last thing I got done yesterday was getting the countertop installed. What huge PITA that was! I'm repurposing all the cabinets and countertop from the garage since they were not being used out there. The problem was that they were 72" long and I only have space for just under 60" of counter top. Cutting it down was not too bad.
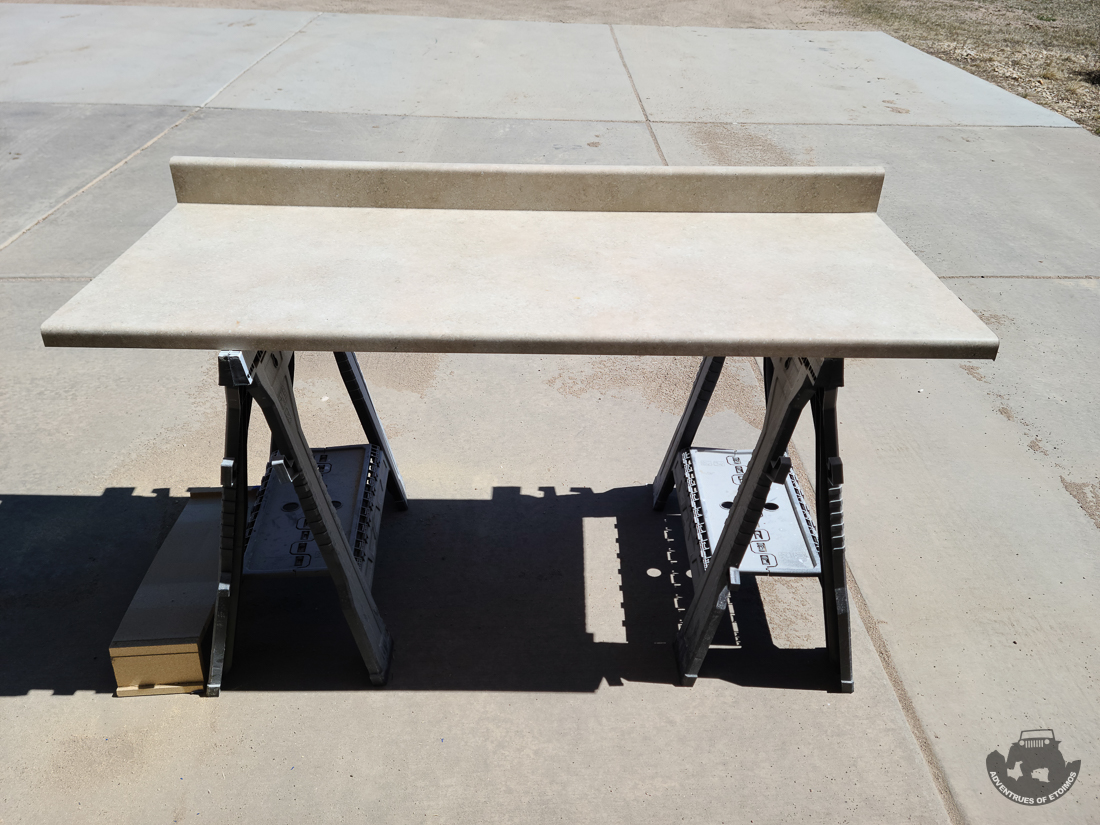
But getting it into the fish room by my self and keep it both straight and level was very difficult. I scraped and dinged and gouged the walls pretty bad.
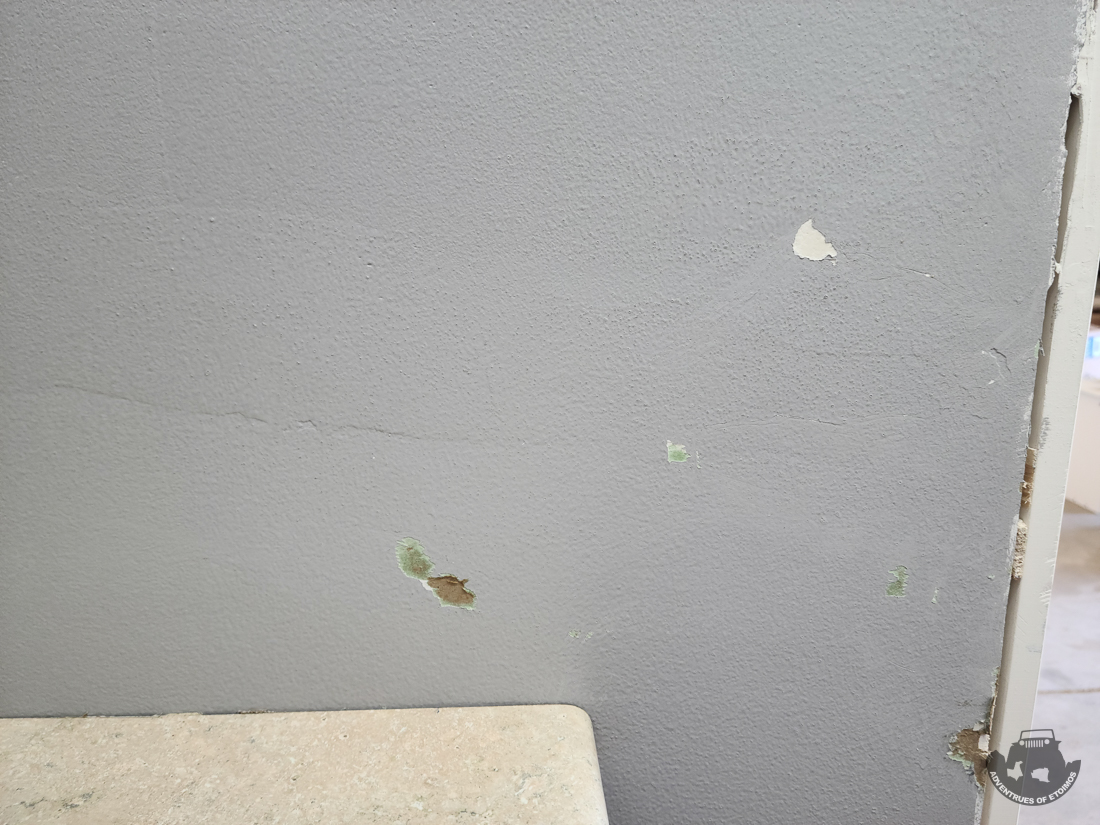
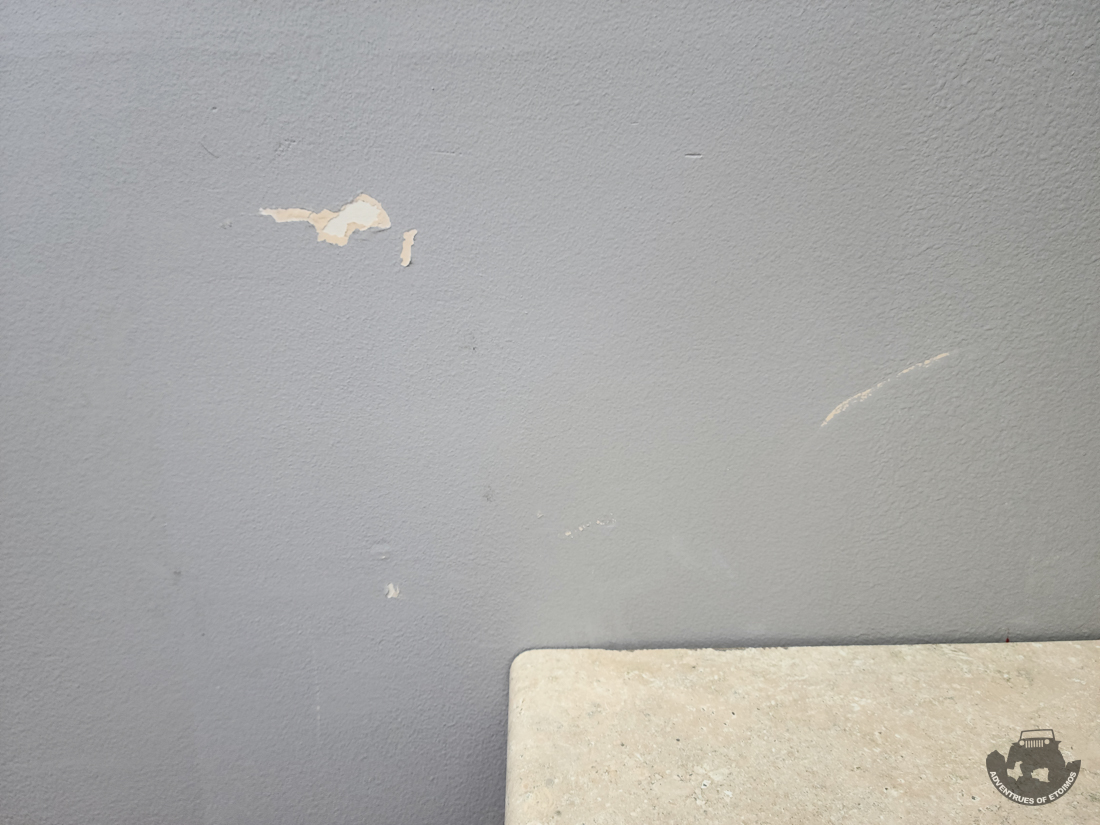
I did finally manage to get it in place and repair all of the wall damage.
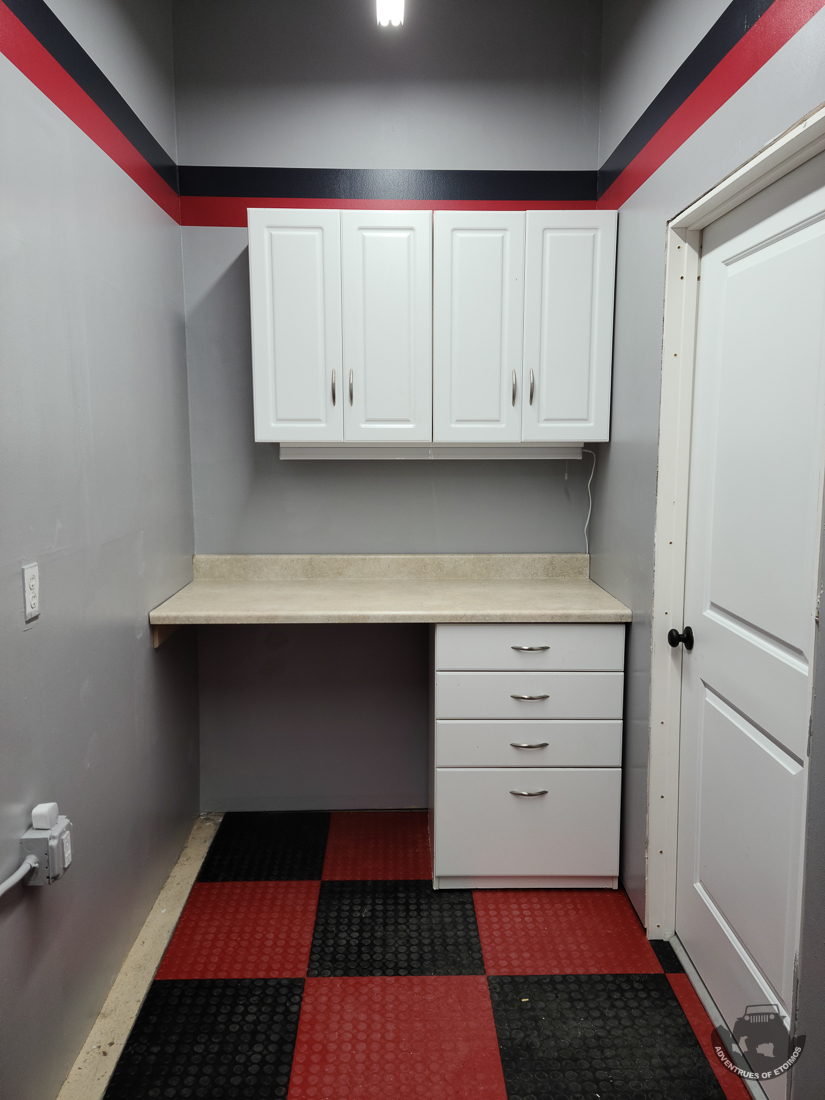
I don't like the color of the countertop at all, but I'm not sure what to do about it. I don't know if you can paint a laminate top and not have the paint flaking and peeling about a little while. Anyone know?
My RODI reservoirs showed up on Thursday. Man these things are big!

On Friday and Saturday I made some decent headway on the fish room.
I got my cabinets hung.

The door painted.

I did not want to just have bare concrete floors for multiple reasons, but I also did not want to paint or epoxy just the fish room area as that would look really weird if I ever had to remove the fish room. Or I'd have to put in a ton of work doing the rest of the 3 car garage so that it matched. So instead, I ordered some rubber garage floor tiles and got those installed.

It is messy, but the cut really well on the table saw.

The room is starting to really come together now.


The last thing I got done yesterday was getting the countertop installed. What huge PITA that was! I'm repurposing all the cabinets and countertop from the garage since they were not being used out there. The problem was that they were 72" long and I only have space for just under 60" of counter top. Cutting it down was not too bad.

But getting it into the fish room by my self and keep it both straight and level was very difficult. I scraped and dinged and gouged the walls pretty bad.


I did finally manage to get it in place and repair all of the wall damage.

I don't like the color of the countertop at all, but I'm not sure what to do about it. I don't know if you can paint a laminate top and not have the paint flaking and peeling about a little while. Anyone know?
They do make paint for laminate counter tops - but it is sketchy. I don't trust the durability or longevity.Happy Easter everyone.
My RODI reservoirs showed up on Thursday. Man these things are big!

On Friday and Saturday I made some decent headway on the fish room.
I got my cabinets hung.

The door painted.

I did not want to just have bare concrete floors for multiple reasons, but I also did not want to paint or epoxy just the fish room area as that would look really weird if I ever had to remove the fish room. Or I'd have to put in a ton of work doing the rest of the 3 car garage so that it matched. So instead, I ordered some rubber garage floor tiles and got those installed.

It is messy, but the cut really well on the table saw.

The room is starting to really come together now.


The last thing I got done yesterday was getting the countertop installed. What huge PITA that was! I'm repurposing all the cabinets and countertop from the garage since they were not being used out there. The problem was that they were 72" long and I only have space for just under 60" of counter top. Cutting it down was not too bad.

But getting it into the fish room by my self and keep it both straight and level was very difficult. I scraped and dinged and gouged the walls pretty bad.


I did finally manage to get it in place and repair all of the wall damage.

I don't like the color of the countertop at all, but I'm not sure what to do about it. I don't know if you can paint a laminate top and not have the paint flaking and peeling about a little while. Anyone know?
They do make paint for laminate counter tops - but it is sketchy. I don't trust the durability or longevity.
That is my concern for any type of paint. I'm also posting this build thread on our local reefing forum and someone there said to try dying it. They said they have gotten hair dye on some of their laminate countertops and nothing seems to take the dye out. I'm going to try that the scraps I leftover.
That would make me think any stain would work as well. That's odd considering laminate is not very porous.That is my concern for any type of paint. I'm also posting this build thread on our local reefing forum and someone there said to try dying it. They said they have gotten hair dye on some of their laminate countertops and nothing seems to take the dye out. I'm going to try that the scraps I leftover.
Nicely detailedHello R2R,
I have been reading a lot of threads here on R2R and gathering a lot of info from some of you on the current build I'm working on. So, I thought it only fair that I start a build thread to share my progress and setbacks so that others might learn from it as well.
My first saltwater tank was a 60g Cube mixed reef that has been up and running for 3.5 years. I've learned a lot from it, and it is still teaching me things to this day. One of the things it taught me was that I really wanted a bigger tank! Not only for the space inside the tank for more fish options, but for more room in the sump area as well. Having to contain your sump and all the equipment and electronics in a 2'x2' footprint is quite challenging and more than a little difficult to work on and clean. The other thing it taught me was that my family likes the critters in the tank more than the corals. This led me to wanting to do a FOWLR tank since it would allow us to keep any fish that we wanted to. I also wanted to reduce the amount of maintenance the tank would need, so the simplicity of a fish only tank was appealing as well.
Thus, the current build was born. Back in January I placed an order for a Planet Aquariums MEGA Matrix 270g (84x30x25) glass tank. It is one of their stock sized tanks, but I had them upsize the external overflow from their Tideline 16" to the 20". Not only did this give the tank more surface skimming, but it also increased the drain size from 1" to 1.5". The increase in drain size allows me to easily convert this tank to a reef tank in the future if I decide to go that route again.
Since the Wife and I are both particular on how our house looks, it was decided early on that I would be building the stand and canopy to best fit in with our interior. It would also save some money on the build, which is always good!
Researching on how to build a solid stand that would support this size tank, I came across the @RocketEngineer plans and decided to use those.

The initial plan was to have all the equipment and electronics under the stand, so I added the two center supports to help frame in a compartment for the Apex on the left side and a space for future expansion on the right if needed. The center supports also gave me a little piece of mind supporting this size tank. The opening is 46" to allow for a decent sized sump to fit in there. The plan is to use pocket screws and glue, eliminating the need for the "screw boards" in his design.
The Wife graciously agreed to turn our formal dining room into a sitting room so that we would have a dedicated area to enjoy the tank from. To get an idea on how the new tank would fit in the room and what type of new furniture she could get, I mocked it all up in Fusion 360. She looked at several couches and a few chaise lounges, but they were all to large for the room once the tank was in there. In the end she had to settle for getting two of our current chairs reupholstered in the fabric of her choice. Some where along the lines new drapes were added to the list of things needed as well.

Mocking it up on the computer also let us play around with color options on the stand easily.


In the end, she decided on an all-white stand with just plain trim and a simple style. Something we could have bought instead of me building, but we are still going to save a lot of money on the stand.


With the tank ordered and the stand designed, it was time to turn my attention to the equipment I was going to use on this build. Since this was going to be a FOWLR tank, I knew I would not need full blown reef lights, could go with a little less flow, and would not need to dose a lot. I wanted to do a Negative Space Aquascape (NSA) and probably a heavier bioload, so that meant I would need a good skimmer and probably a biopellet reactor. The Wife’s biggest pet peeve about aquariums is algae in the DT. To help combat that as much as possible, I’ll be installing a UV sterilizer and probably an algae turf scrubber as well.
After making a list of band and models of the equipment that I wanted, I started searching the various sites to see if I could find what I wanted used before buying it new. I had not made up my mind on which skimmer I wanted to go with, so when a fellow Colorado reefer listed his Precision Marine Bullet 3 skimmer setup for sale, it really piqued my interest. He has it running on a DC pump (same as I wanted to do) with an Avast Marine Swabbie and attached to an Avast Marine Davy Jones’ Skimmate Superlocker. Both addons would reduce the amount of daily/weekly maintenance that I’d have to do. He also offered it all to me at the rough price point I had budgeted for a new skimmer. Score!
Such a large skimmer did pose an issue with getting it in the sump below the stand and working on it. With only a couple of inches from the top of the collection up and the bottom of the stand top, I was not looking forward to having to clean it when the Davy Jones’ Locker was full. Water changes were also going to be more difficult with the sump under the stand then I wanted them to be. I would be back to putting a small submersible pump in the sump and dealing with running a hose outside to drain it and then another hose from the mixing station in the garage to fill it. The wall behind the tank is shared on the other side with our three-car attached garage. Since I was already going to be putting my mixing station in the garage, this got me to thinking about building a “fish closet” in there as well. Knowing that the harder the weekly maintenance is to do, the less likely I will be to do it, I decided that moving the sump and all equipment out there would be the best recipe for success.
Of course, our three-car garage is not laid out optimally for just closing in the 3rd bay to make the fish room, as the two-car portion is what is on the tank side of the garage. The Wife has become a little spoilt when it comes to parking in there as she is the only one that parks on the two-car side and has a lot of room to get in and out of her truck. Not wanting to (okay, not being allowed to!) encroach too much into her space, I had to limit the “fish closet” to 5’ wide. I was limited by the garage door rails to 13’ long. While not overly large, it is bigger than a closet and I should really call it a fish room… which the Wife loves to give me crap about! She doesn't mind really, as she knows I'll maintain the tank better since everything will be much easier to do.


As you can see, I still need to move the yard tools out of that spot and clean the floor before we frame in the room. With the fish room location and size determined, I was able to go ahead an plan out what was going in the room and were it was going to go.
The garage has some shelves and a counter with drawers which was not being used, so I am going to repurpose those into the fish room to give me a place to work and organize the small things.

I’m going to build a stand to hold the sump and water mixing tanks. My plan is for the stand to be 21” high. This will put the sump at a comfortable working height and raise the mixing tanks up so that I can get a bucket under the spigots for those times I need to manually draw some water out.

The mixing tanks are 100g each and I plan to plumb them and automate them as much as possible with my Apex. I have not decided on which pumps I’ll be using for the mixing station yet. I might reuse some of the pumps I have for the 60g Cube to start with, but I eventually want to have all DC pumps and I might go so far as to use the exact same pump on everything. I know this would-be major overkill on some of the systems, but it would give me several plug and play backup pumps if my return pumps (I plan on running dual return pumps) were to fail.

For my sump I’m still undecide on what I want to do. There are a couple of acrylic sumps out there that I really like, but they are quite expensive. I have also thought about building my own acrylic sump as well. I have a nice wood working shop in my detached garage that includes a table saw and router table. I also have a pair of Epilog lasers that will cut and engrave acrylic. So, I have all the tools needed to build my own sump and I already work with acrylic and have sources for it. The only thing I’m lacking is experience welding acrylic to make watertight seams. Until I make up my mind on what my permanent sump is going to be, I am going to buy a 75g sump off the same guy that is selling me the skimmer.

Without having the tank on hand and not knowing down to the fraction of an inch where the wall studs are between the two rooms, I’ve only been able to rough out how I’d like my plumbing to be. The pipes are going to be red like in these images, but the fittings are all going to be black. Since you can't buy everything in black, I ordered what I could in the typical Sch 40 white and I will use pvc dye to dye them black. The benefit to dying the pvc instead of painting it is that the dye actually penetrates the pvc a little and can not be scratched off like paint. If you scratch it deep enough you will expose the the white where the dye did not penetrate, otherwise it will not rub or wear off.

The orange colored unions in these images are Apex flow sensors, so in real life they will be black as well.


This image is looking straight down on the tank and into the fish room. The wall between them will be right on the line where the gray garage floor starts.
From inside the fish room it should look something like this...

I know that some of the wall studs are going to get in the way, so I’ll just have to address that when I open up the dry wall between the two rooms.
I have also not drawn up the manifold to run the UV and other reactors yet. I might not as I'm going to just have to free plumb that stuff once everything else is in. I'm thinking the UV might go to the left of the sump mounted vertically. I think the other reactors will fit on the wall above the sump and below the long return line. The orange bucket is where the Davy Jones' Locker will go. I might have to extend the sump stand into that area to fit the bigger DIY sump in the future, so I'll have to see where else that can go.
So far everything to this point as been just planning things out, but I have started to do some actual work on this build. In the next post I’ll share the NSA aquascape I’ve been working on for the past week. I’m hoping to finish it up this weekend if I don't run out of superglue. I've already used two 16oz bottles from @Glue Masters and I have two more on the way. Who would have thought I'd spend nearly $200 on superglue!
Looks like it will be a great looking command centerI finished the stripes up on Monday.
Red paint laid down over the taped off area to seal the edges
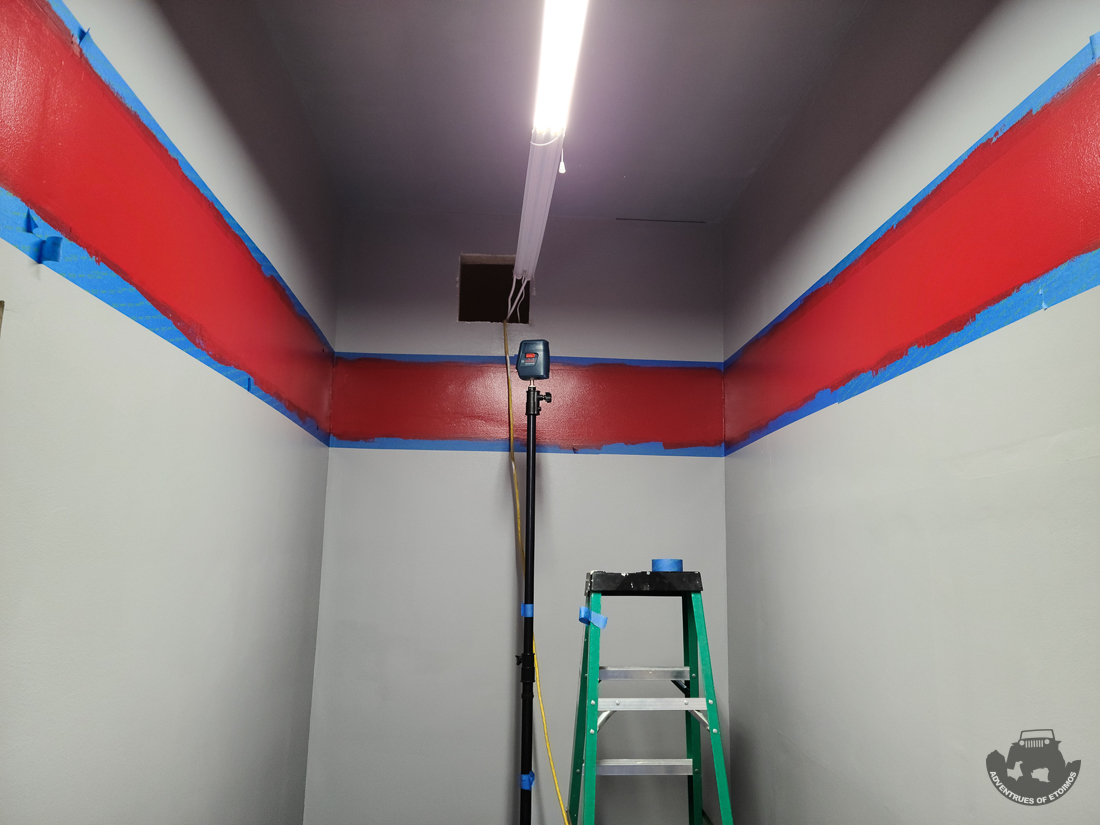
After the two coats of red dried, I taped off the black stripe.
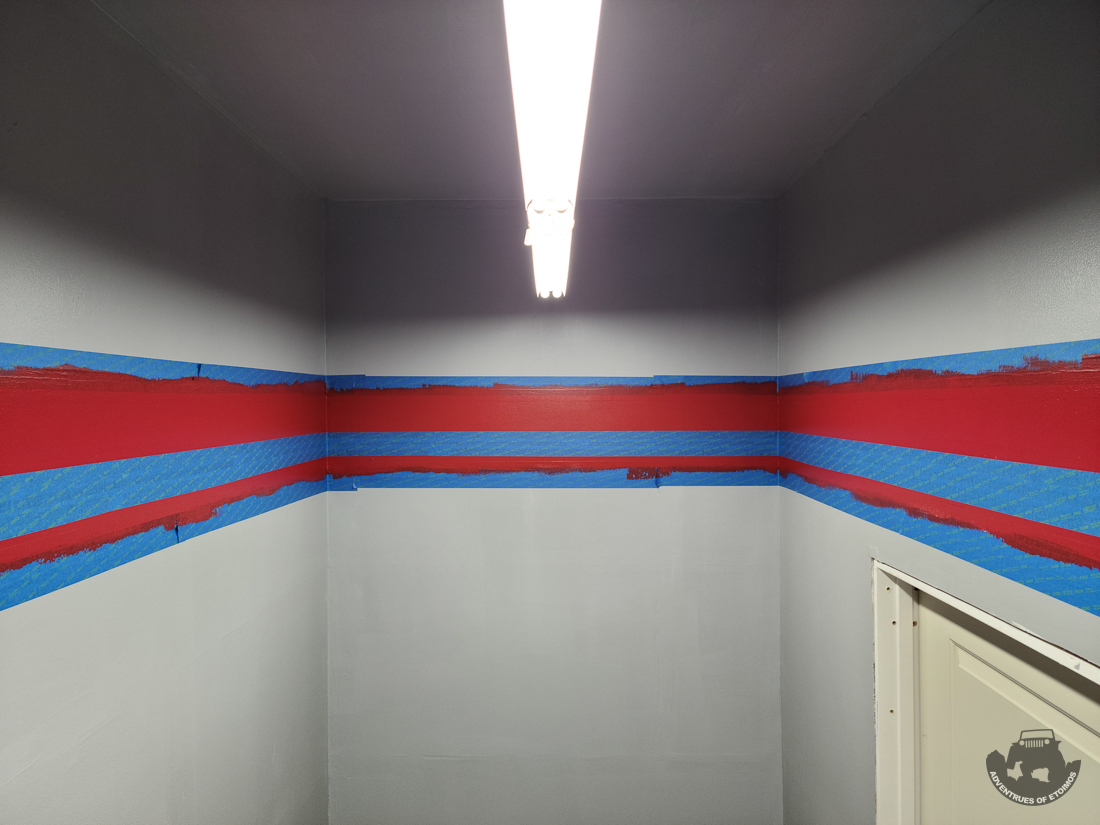
Sealed those edges with red.
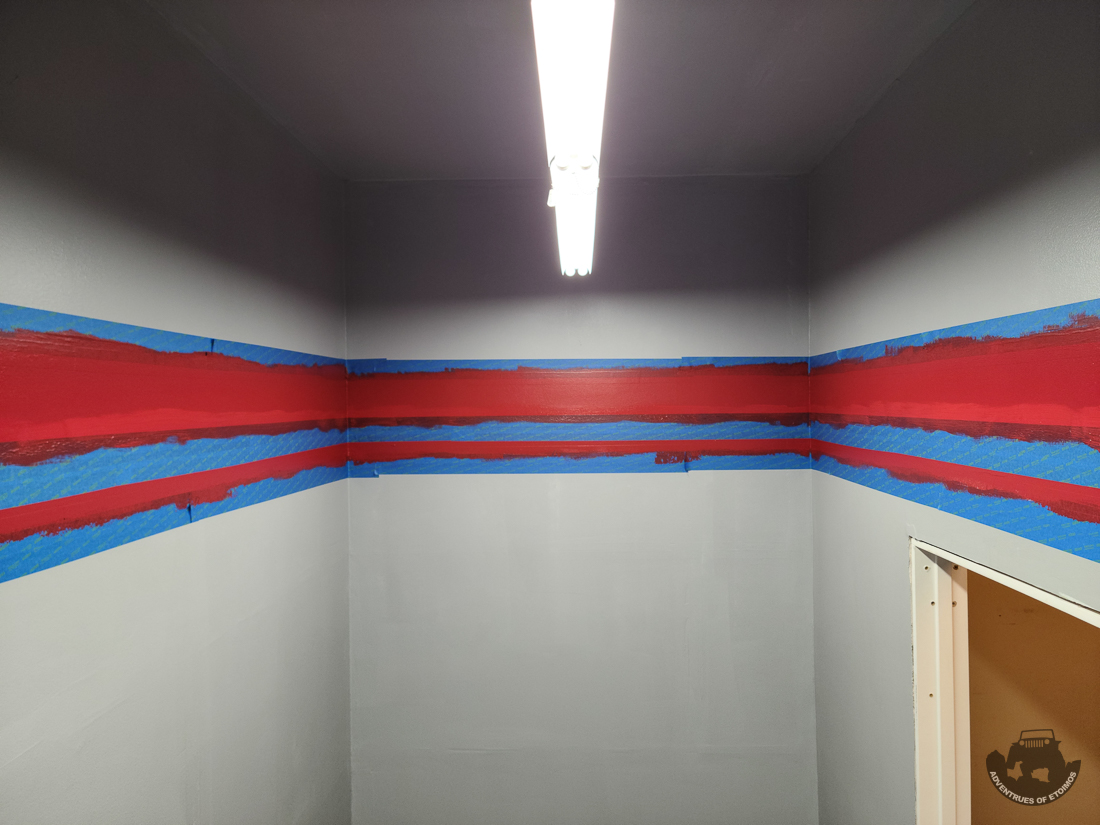
Next was two coats of black (technically, really dark grey).
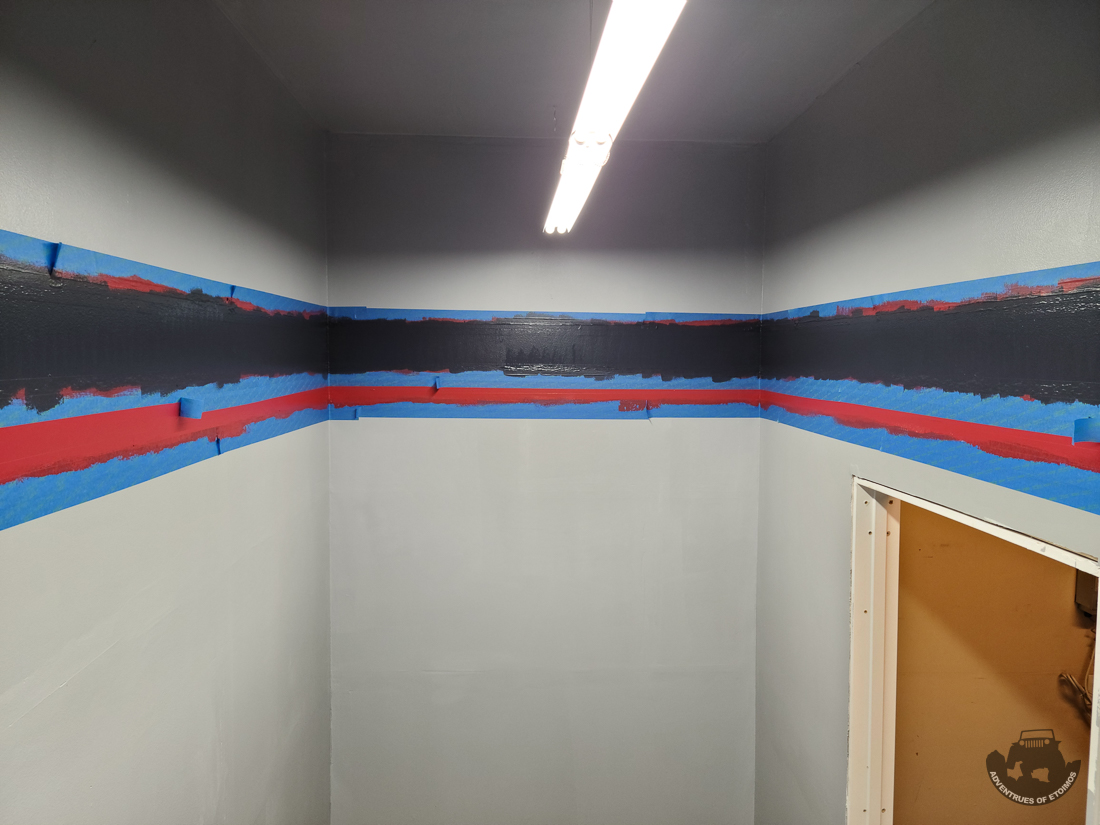
Then all that was left to do was carefully remove all the tape and checkout if all this time and effort paid off or not.
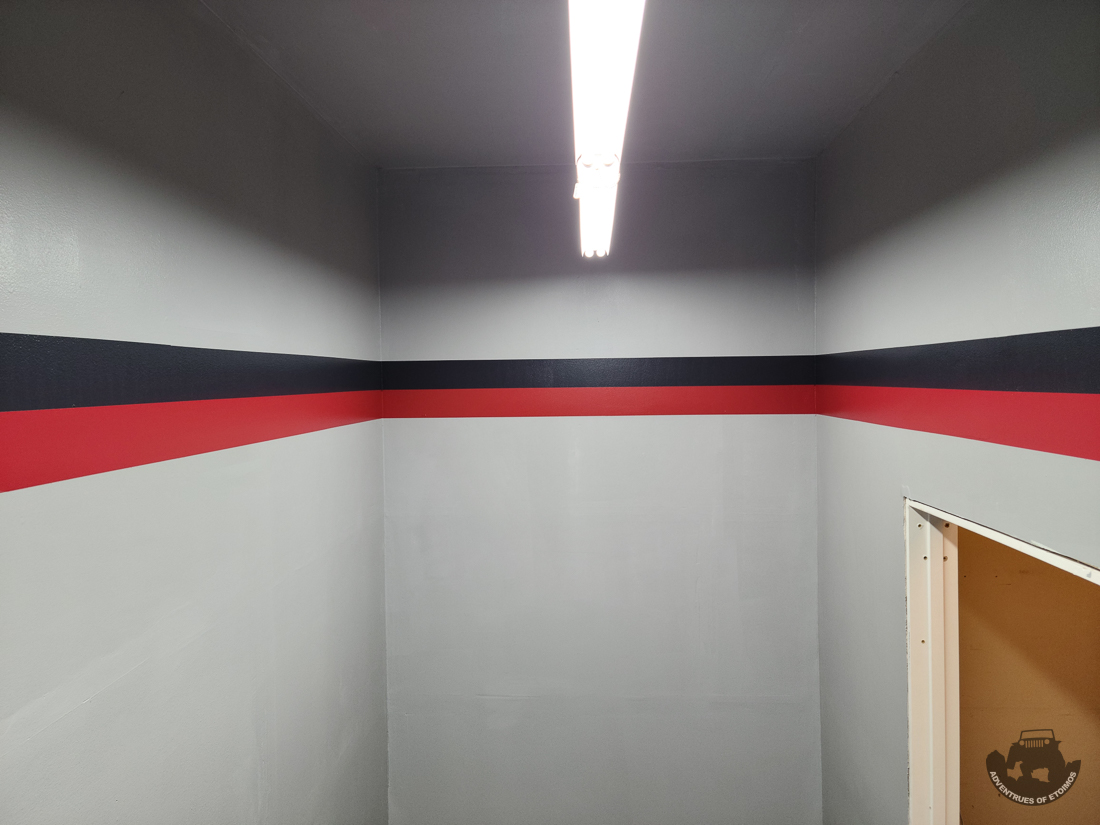
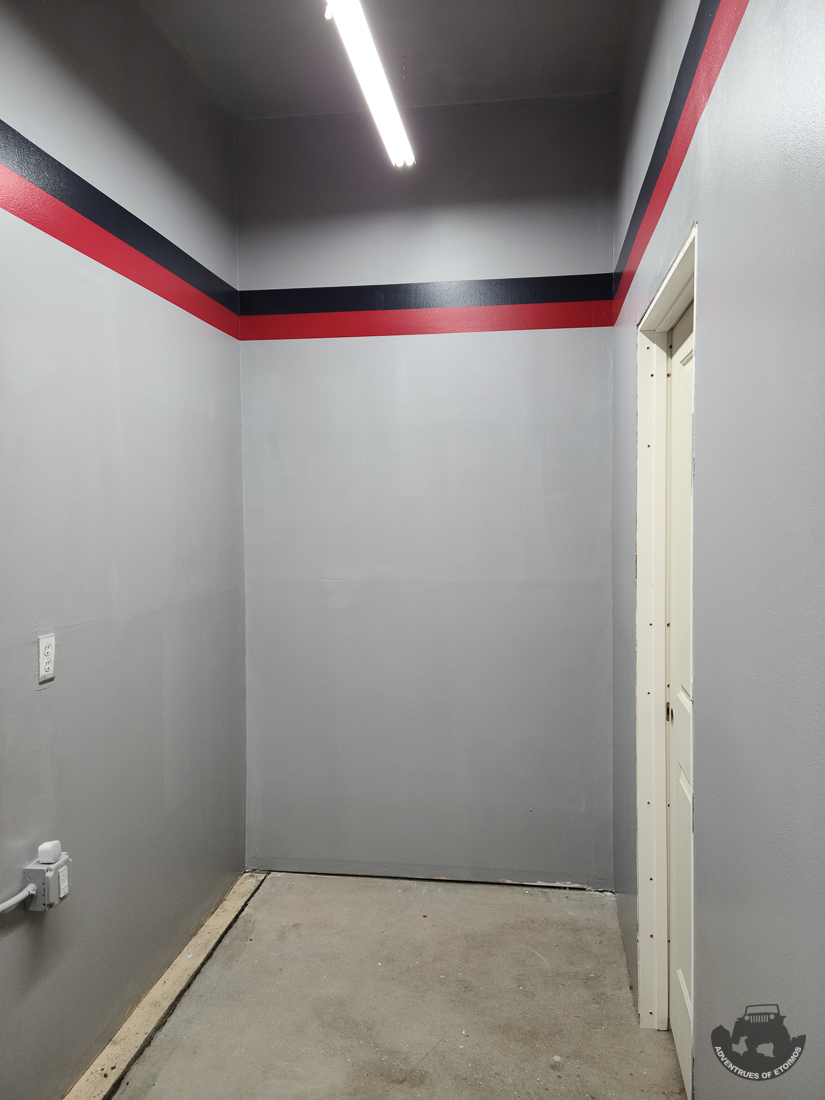
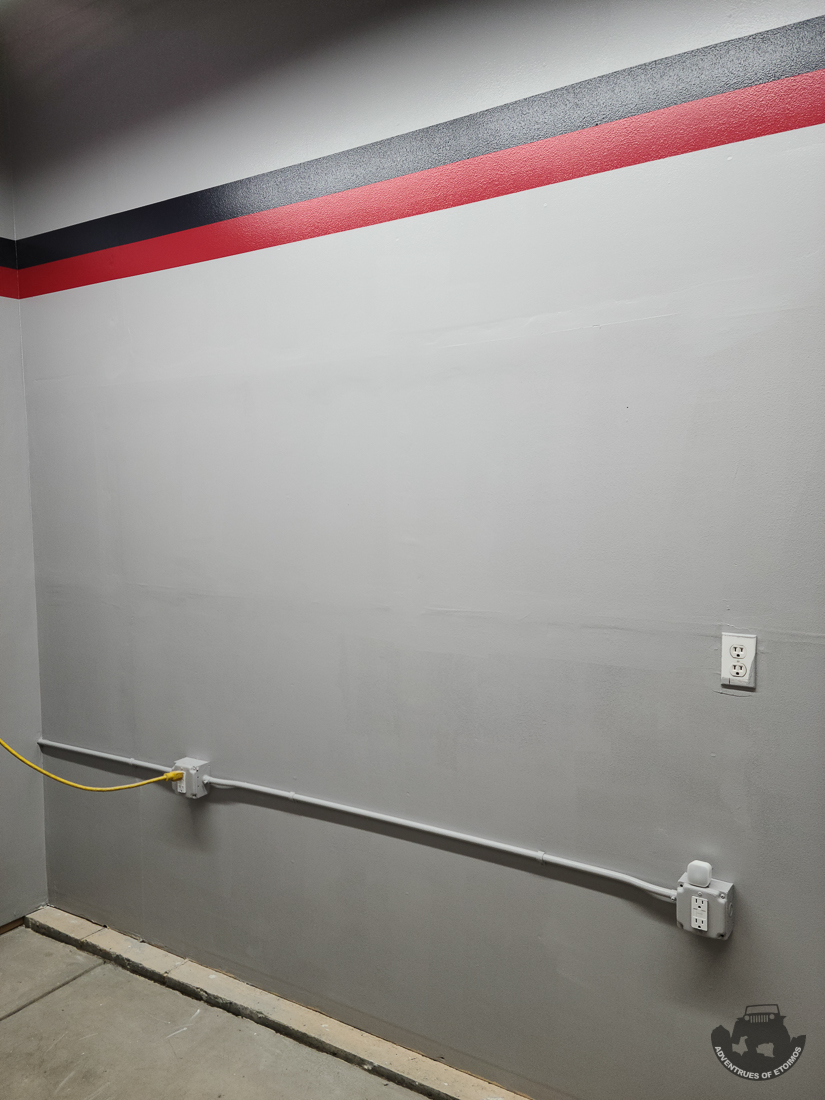
There were some spots that needed touching up, especially in the corners. Note that the red in this next photo is much brighter then it actually is, it is more in the middle of this one and the photos above).
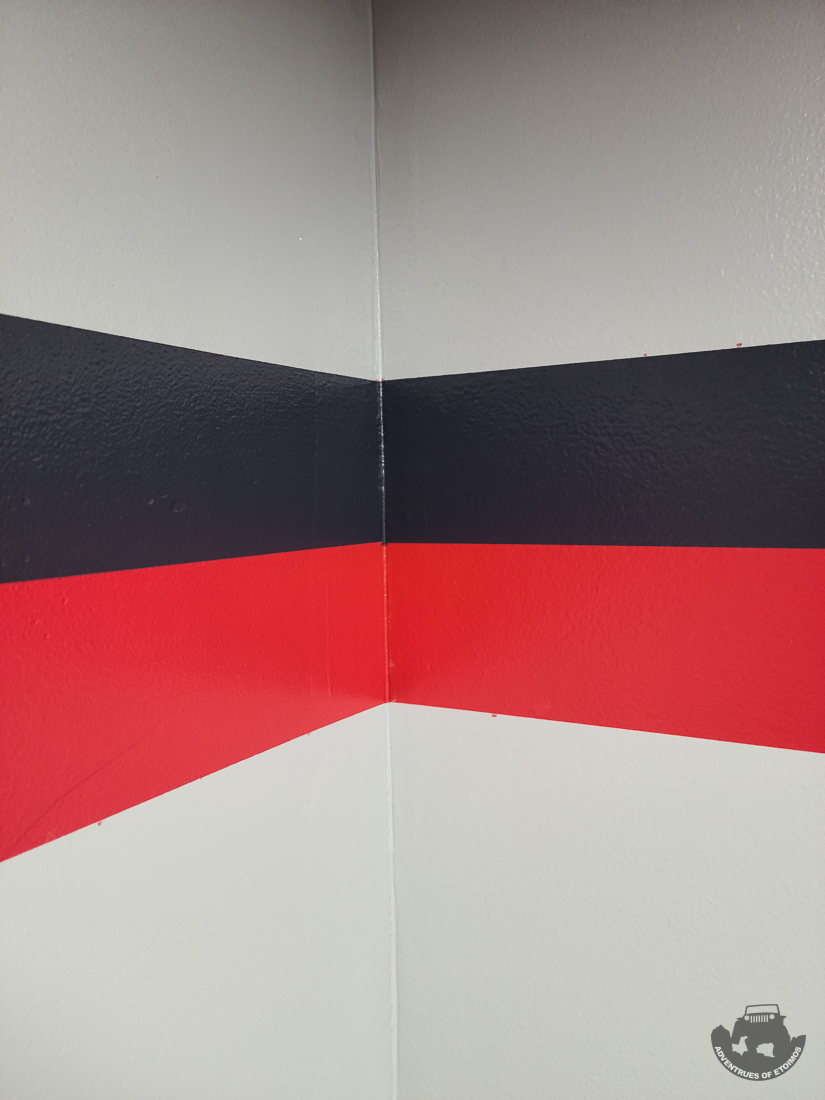
I think it turned out pretty good for my first time taping and painting stripes. I did learn a couple of things doing this. First, do not paint over both edges of the tape when sealing a color, just paint over the inside edge of the tape. If you do this you will end up with a paint line on the outside edge that will show where you taped it off. It is not very noticeable since it is the same color as the wall, but it is there. Secondly, put down a really good coat of paint, or maybe even two coats, when you are color sealing the tape. I thought I had put down enough paint to seal between colors, but as you can see in that last photo, I still had areas were some of the next color bled through.
Not a lot of physical work done since the last update, but there is some movement on the build. I placed an order for a Synergy Reef SK-60 sump this week. I'm having them make a few tweaks to it to fit my needs, but nothing major. So far the communication and interaction from them has been superb. I opted for the Red Mercury color combo to match the fish room.
I also got an update on the tank, it will be here on Sat! I've got the U-Haul rented and guys lined up to help me move it from the truck to my garage. I've not built the stand yet, so they are going to come back out once that is done... so we get to move this thing twice. Nice! lol
I also got an update on the tank, it will be here on Sat! I've got the U-Haul rented and guys lined up to help me move it from the truck to my garage. I've not built the stand yet, so they are going to come back out once that is done... so we get to move this thing twice. Nice! lol
That means twice the reason for a beer together.Not a lot of physical work done since the last update, but there is some movement on the build. I placed an order for a Synergy Reef SK-60 sump this week. I'm having them make a few tweaks to it to fit my needs, but nothing major. So far the communication and interaction from them has been superb. I opted for the Red Mercury color combo to match the fish room.
I also got an update on the tank, it will be here on Sat! I've got the U-Haul rented and guys lined up to help me move it from the truck to my garage. I've not built the stand yet, so they are going to come back out once that is done... so we get to move this thing twice. Nice! lol
I had the day off from work, so I knocked out most of the stand for the saltwater mixing station and sump.
I used pocket screws where need and deck screws for everything else. Both are coated for outdoor use.
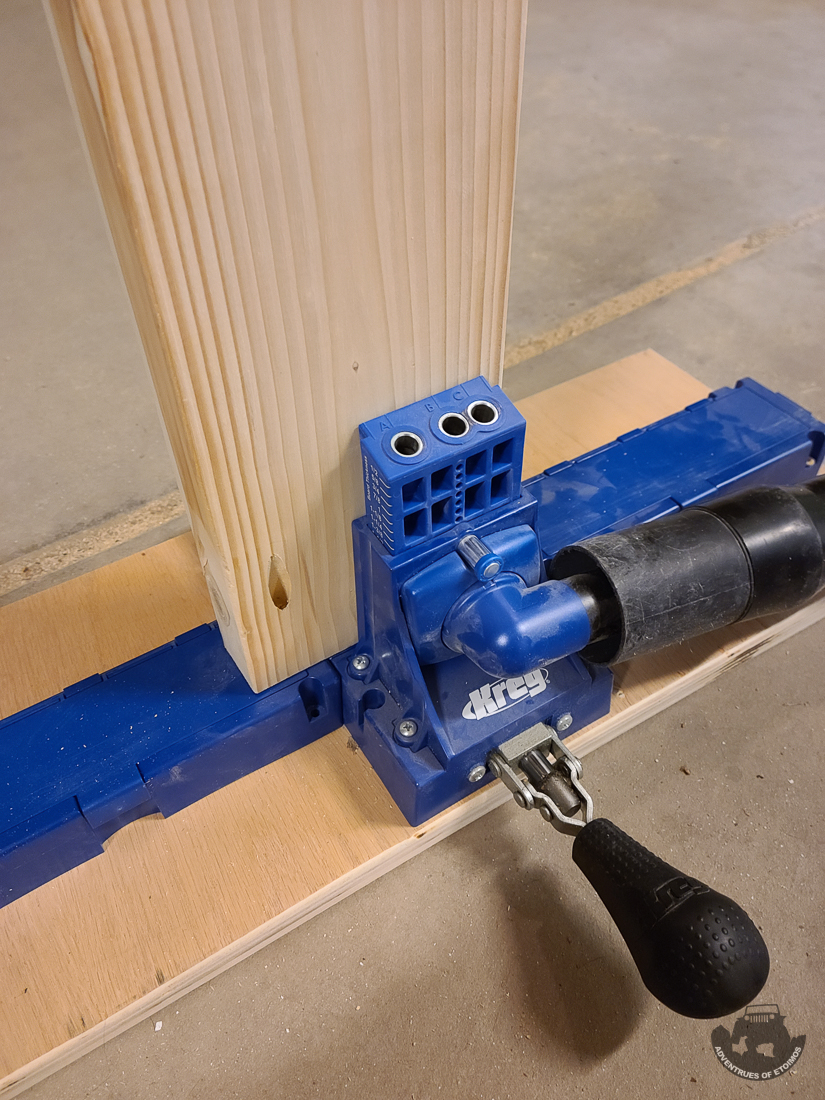
When working alone, a floor jack can come in handy for all kinds of projects.
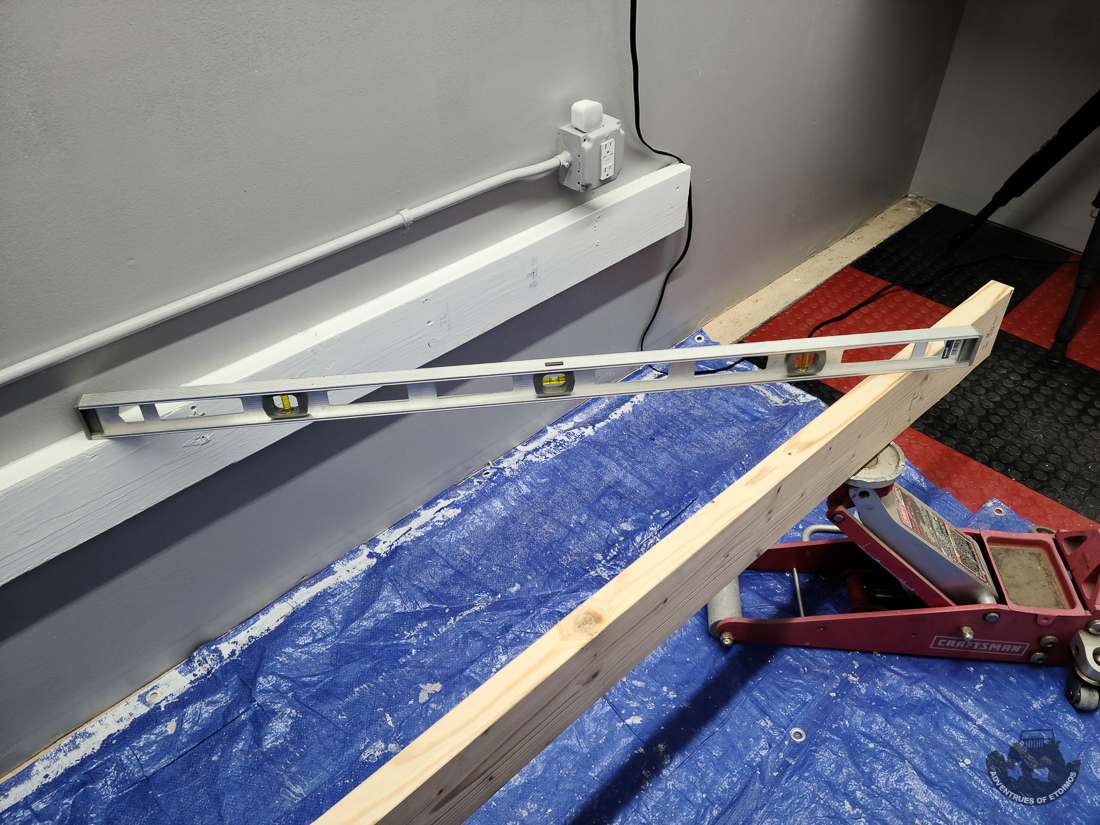
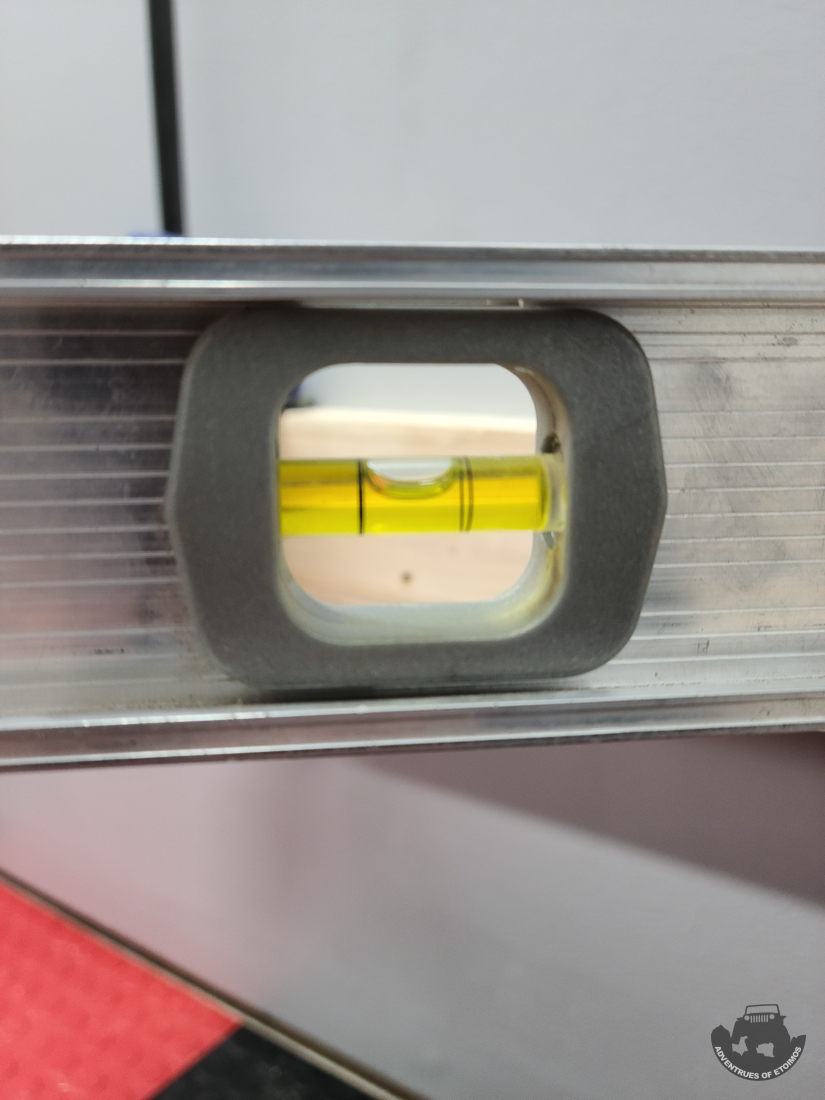
Yep, that looks pretty level.
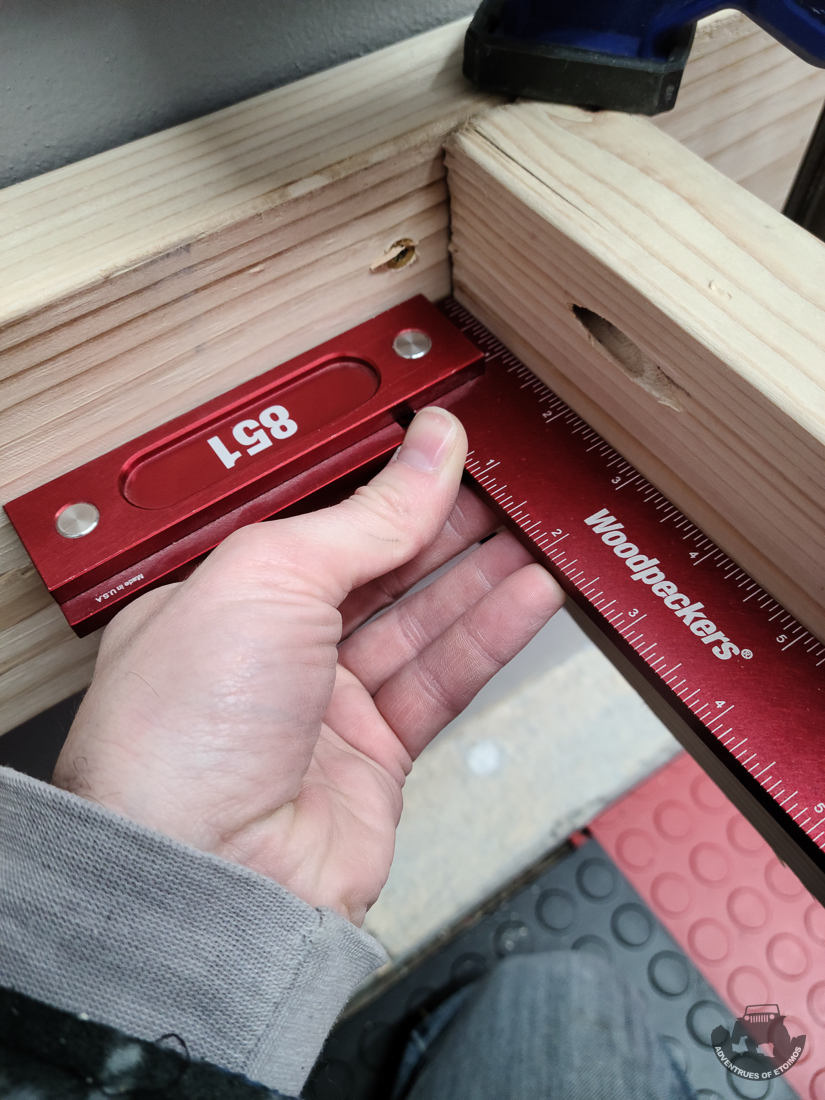
Rough construction lumber is just about impossible to get square, but you still have to try.
So much painting!
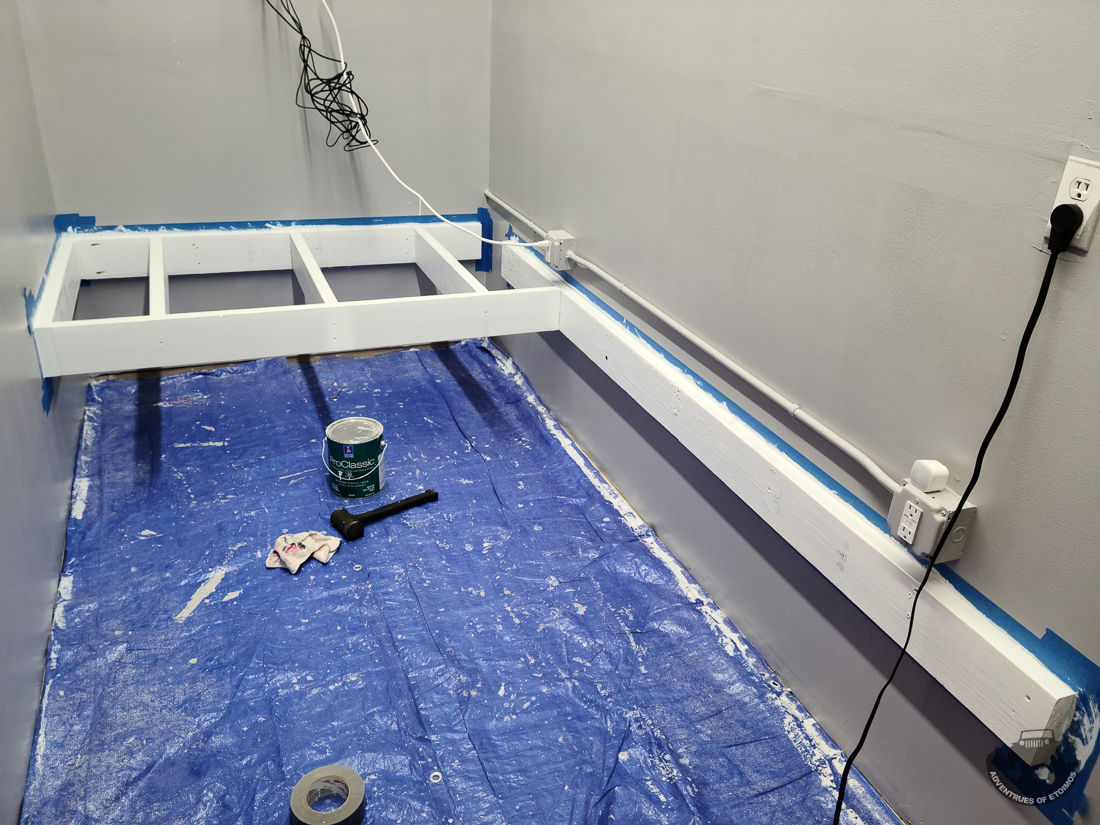
All framed up. The legs are are still on the drying rack after being painted.
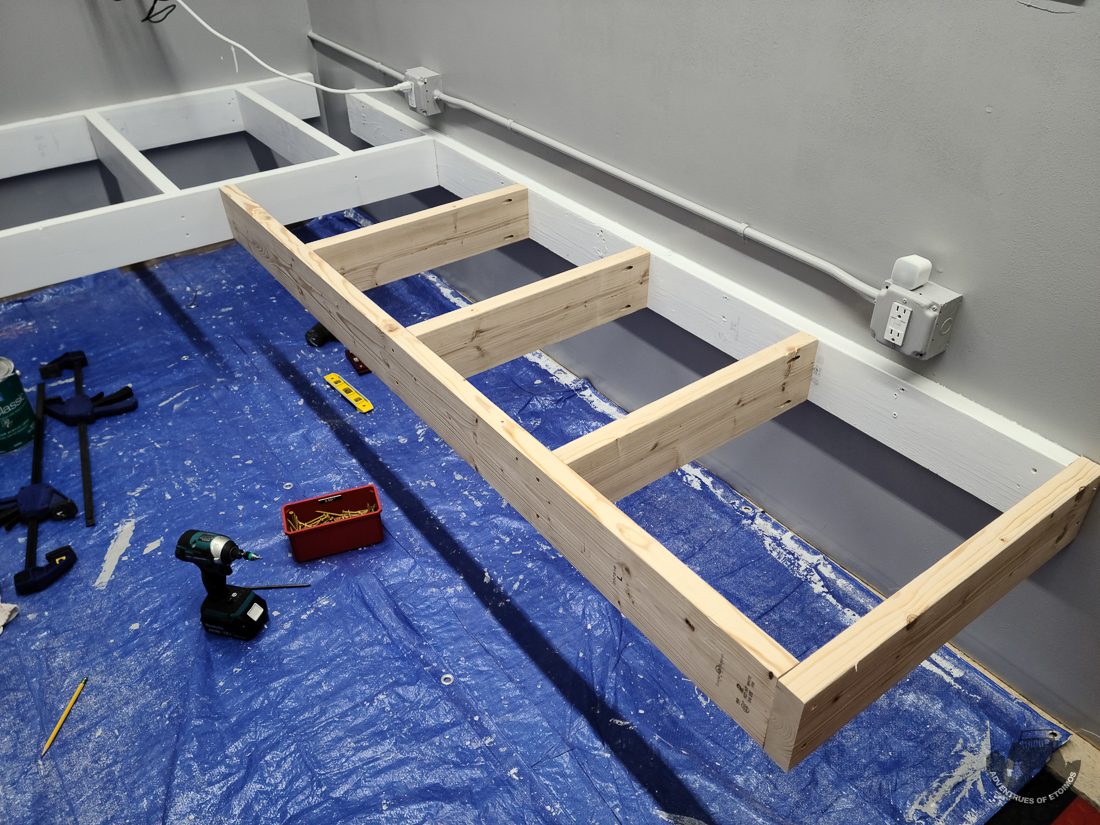
I used pocket screws where need and deck screws for everything else. Both are coated for outdoor use.

When working alone, a floor jack can come in handy for all kinds of projects.

Yep, that looks pretty level.

Rough construction lumber is just about impossible to get square, but you still have to try.

So much painting!

All framed up. The legs are are still on the drying rack after being painted.

There will be a plywood top going on this. It will be sealed with Flex Seal. I have not decided yet if I'll run the Flex Seal up the wall an inch or so, or just run silicon around the edges to seal it.Nice progress.
Will you silicone the edges between stand and wall to avoid water entering between the two?
Similar threads
- Replies
- 16
- Views
- 195


