28 cube —> 40 breeder: The upgrade I never knew I needed

kred47

Active Member
View Badges
Joined
Jan 19, 2022
Messages
113
Reaction score
49
Location
USA
Rating - 0%
0   0   0
Hey everyone,

Some of you might have seen my post asking if an old 40 breeder with a sump and stand was a good deal. Well, it definitely was. The tank is all setup and running so didn’t have time to post everything along the way. But I’ll post in parts here.

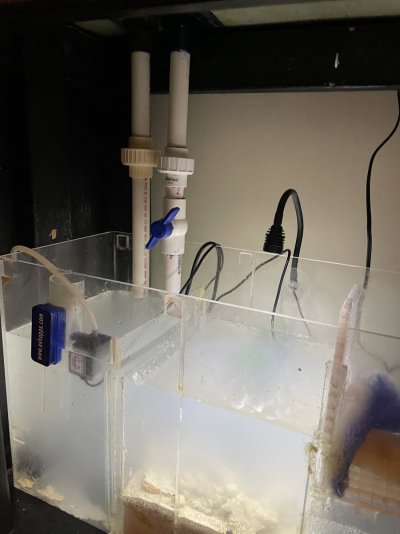
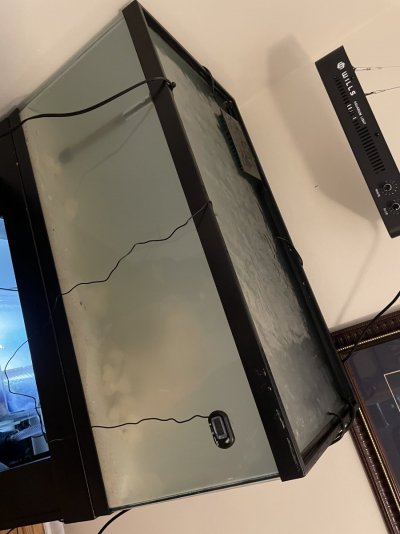
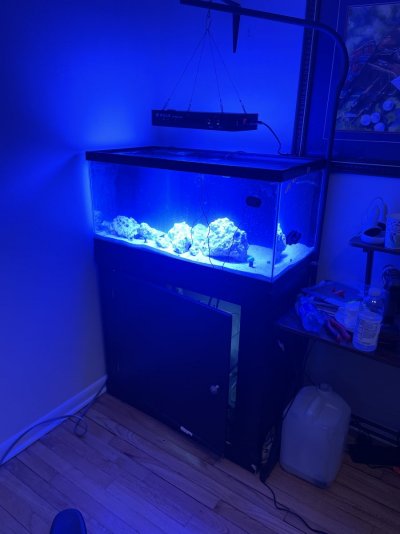
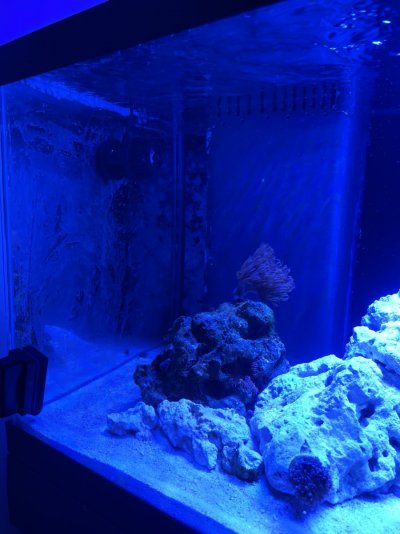
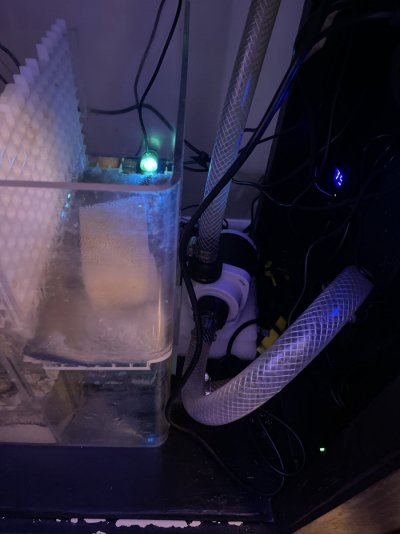
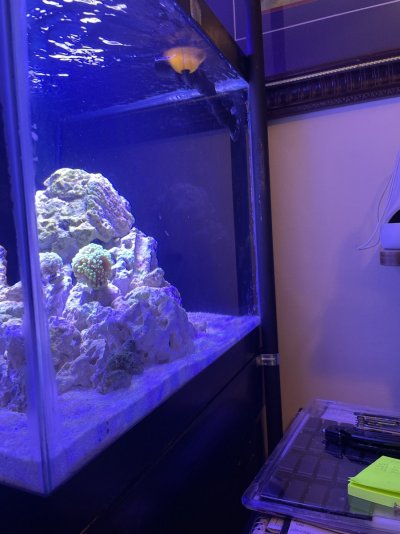
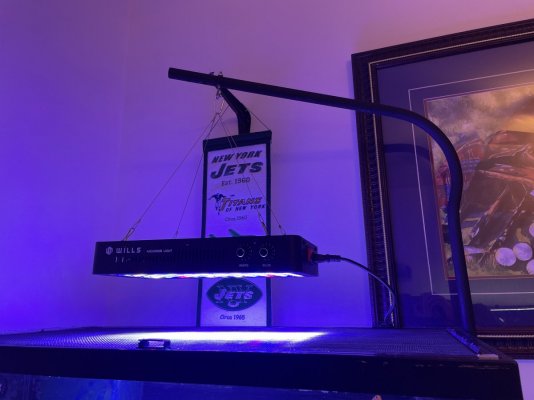
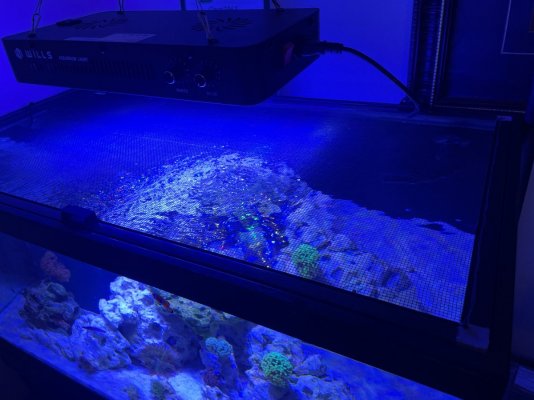
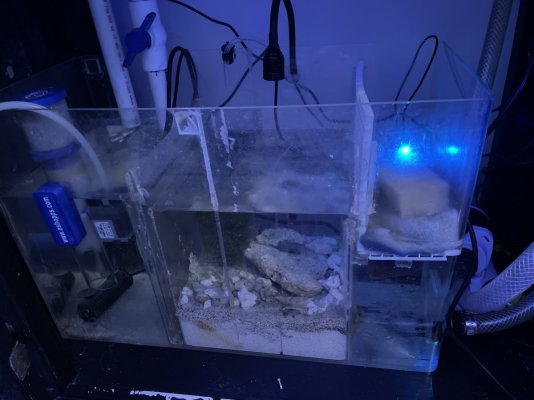
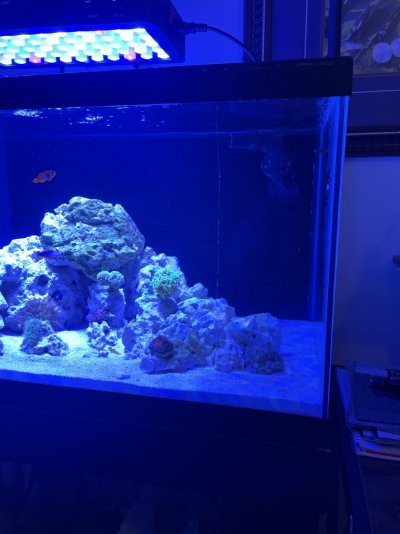
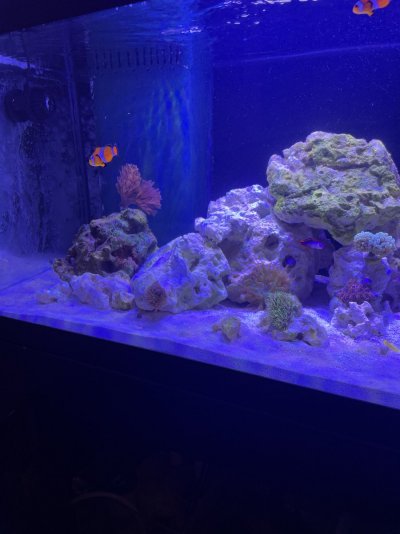
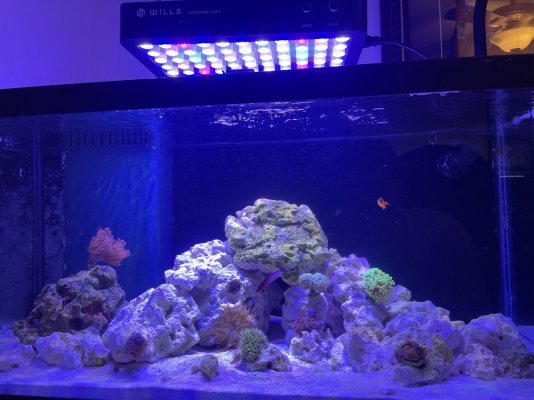
To start, picked up the 40 breeder with custom overflow, sump and stand from a nice guy on Facebook for 200 bucks. It came with a 900 gph no name return pump and an old T5 over hang fixture.

21826D2D-3937-484E-A8D9-F9770BE9BC71.png 34EE9D43-29E7-40EA-A6B5-506E81E5DBC9.png EC36EBEB-ACB7-4CE2-B9B3-D57DC285F38A.png
 
OP
OP
K

kred47

Active Member
View Badges
Joined
Jan 19, 2022
Messages
113
Reaction score
49
Location
USA
Rating - 0%
0   0   0
Brought it home and knew it immediately was going to be a ton of work. I went to take the overflow drains apart and wouldn’t you know the bulkhead on the main drain would budge loose. Wasn’t taking a chance so I went to Home Depot bought supplies for a new drain and proceeded to cut the old one off piece by piece with a grinder. Built the new one out of 1 inch PVC, a compression fitting, a joint, and a ball valve.
 

Attachments

  • 54A1F930-2DBB-40CF-9552-BE5566A293A2.jpeg
    54A1F930-2DBB-40CF-9552-BE5566A293A2.jpeg
    118 KB · Views: 50
OP
OP
K

kred47

Active Member
View Badges
Joined
Jan 19, 2022
Messages
113
Reaction score
49
Location
USA
Rating - 0%
0   0   0
Went to the LFS bought 40 pounds of live sand and then the most treacherous part….. figuring out how to move the cube with the water and livestock in it, because the 40 had to go in the exact spot it was in. Well I turned on my RODI unit so I had water when it was ready and got to work.

saw a post about someone using Pam spray to help a tank slide on the floor. Did that and wouldn’t you know I was able to slide a half full 28 cube on the stand just enough to squeeze the 40 in there.
 

Attachments

  • 95DD89EB-E3B5-411B-BDFE-276BBB84C491.jpeg
    95DD89EB-E3B5-411B-BDFE-276BBB84C491.jpeg
    187.9 KB · Views: 40
OP
OP
K

kred47

Active Member
View Badges
Joined
Jan 19, 2022
Messages
113
Reaction score
49
Location
USA
Rating - 0%
0   0   0
Originally, I tried to clean off all of the stuck coralline and dried varieties of algae off the back wall and also the paint was chipping off the overflow but was going to leave that too.
Knew I would hate myself if I did that so I carried the 40 back to the garage and started getting to work. I grabbed some satin green krylon fusion from the hardware store and spray painted the overflow carefully and set it to dry for the night. After it was dry to the touch the next day, I worked for about 2 hours with a razor blade scraping the back wall of the tank. That in its own had to be 100 bucks worth of labor but so worth it.
 

Attachments

  • 973737E6-E0B7-4507-88DC-481D0D2AB158.jpeg
    973737E6-E0B7-4507-88DC-481D0D2AB158.jpeg
    222.2 KB · Views: 42
OP
OP
K

kred47

Active Member
View Badges
Joined
Jan 19, 2022
Messages
113
Reaction score
49
Location
USA
Rating - 0%
0   0   0
Next day carried the tank back in and at this point I was ready to start filling the tank. (Filled the 28 cube back up by the way when I realized it wasn’t being done the night I moved it). So I put in my sand and my water and switched on the pump and heaters. At this point it’s Sunday so i needed to finish the work that day, but I did not know how long it takes a tank to get up to temp. So at midnight I started emptying the cube and moved everyone over to a 5 gallon staging bucket, I could clear out all the rock and sand from the cube and put it in the new tank.
 

Attachments

  • 755A4693-F434-47D0-9643-3E90D808FB6B.jpeg
    755A4693-F434-47D0-9643-3E90D808FB6B.jpeg
    101.6 KB · Views: 35
  • 4701A706-5BDB-487E-A0C2-E410AF209D56.jpeg
    4701A706-5BDB-487E-A0C2-E410AF209D56.jpeg
    118.3 KB · Views: 38
OP
OP
K

kred47

Active Member
View Badges
Joined
Jan 19, 2022
Messages
113
Reaction score
49
Location
USA
Rating - 0%
0   0   0
tanks now up to temp at midnight, started running it at 6pm, but the water is still basically a cloud. So I waited another 2 hours and figured it was ready to transfer. After a stressful Sunday I finally had everyone in their new home.

***forgot to mention during the coming up to temp time, I hung my Wills 165W light with a closet shelf bracket from my wall. Hated the way it looked and it also didn’t extend out to the middle of the tank. More to come.
 

Attachments

  • 152E89BB-FA91-4E40-8B6E-4B08763D8723.jpeg
    152E89BB-FA91-4E40-8B6E-4B08763D8723.jpeg
    106.6 KB · Views: 39
OP
OP
K

kred47

Active Member
View Badges
Joined
Jan 19, 2022
Messages
113
Reaction score
49
Location
USA
Rating - 0%
0   0   0
I let the tank run for a couple days, but a couple things were off. Number 1 the flow was terrible. On the other side of the tank the sand was being made into a crater and I knew the pump was too strong. Was told a 900 gph was perfect for that tank by the seller but I should have known. I ordered two products from Amazon that night. First the orlovsky 1056gph controllable DC pump and the jebao pp-4 controllable power head. Received them after two days and it made a huge difference. The tanks flow was now so much better and I also was more comfortable knowing that I could control the flow now.
 

Attachments

  • image.jpg
    image.jpg
    161.3 KB · Views: 34
  • image.jpg
    image.jpg
    109.7 KB · Views: 30
  • image.jpg
    image.jpg
    260.7 KB · Views: 31
OP
OP
K

kred47

Active Member
View Badges
Joined
Jan 19, 2022
Messages
113
Reaction score
49
Location
USA
Rating - 0%
0   0   0
now the second thing that was bugging me was the light hanging issue . I went and found a DIY solution and hit Home Depot after work. I used 1 inch emt conduit to build a light stand for the tank.
 

Attachments

  • image.jpg
    image.jpg
    154.9 KB · Views: 38
  • image.jpg
    image.jpg
    116.4 KB · Views: 39
OP
OP
K

kred47

Active Member
View Badges
Joined
Jan 19, 2022
Messages
113
Reaction score
49
Location
USA
Rating - 0%
0   0   0
Lastly, my only concern was that my fish would jump out because I had no lid. So I found another diy solution and used 3/4 screen framing, some screen netting, spline and a spline roller (all from Home Depot) and built a little lid to keep them safe.
 

Attachments

  • image.jpg
    image.jpg
    173.9 KB · Views: 41
OP
OP
K

kred47

Active Member
View Badges
Joined
Jan 19, 2022
Messages
113
Reaction score
49
Location
USA
Rating - 0%
0   0   0
Couldn’t be happier with the upgrade and how much I learned along the way. Not only about DIY solutions but also about reef tanks in general. It was a scary task but in the end extremely rewarding. At least I know with reefing, when a plan seems simple it usually isn’t. Here’s some pics of the tank and I can’t wait to see it really grow into itself.


equipment:
Wills 165W light
Jebao pp-4
Orlovsky 1056gph DC pump
Cheap fuge light
DIY screen kit
DIY light hanger
Cheap light timer
(So thanks Amazon and also ur welcome lol)

livestock:
Two ocellaris
Purple firefish
YMG and tiger pistol pair
Cleaner shrimp
Trochus and hermits
 

Attachments

  • image.jpg
    image.jpg
    130.5 KB · Views: 38
  • image.jpg
    image.jpg
    134.8 KB · Views: 34
  • image.jpg
    image.jpg
    147.8 KB · Views: 33
  • image.jpg
    image.jpg
    184.7 KB · Views: 36

Being sticky and staying connected: Have you used any reef-safe glue?

  • I have used reef safe glue.

    Votes: 141 88.1%
  • I haven’t used reef safe glue, but plan to in the future.

    Votes: 9 5.6%
  • I have no interest in using reef safe glue.

    Votes: 7 4.4%
  • Other.

    Votes: 3 1.9%
Back
Top