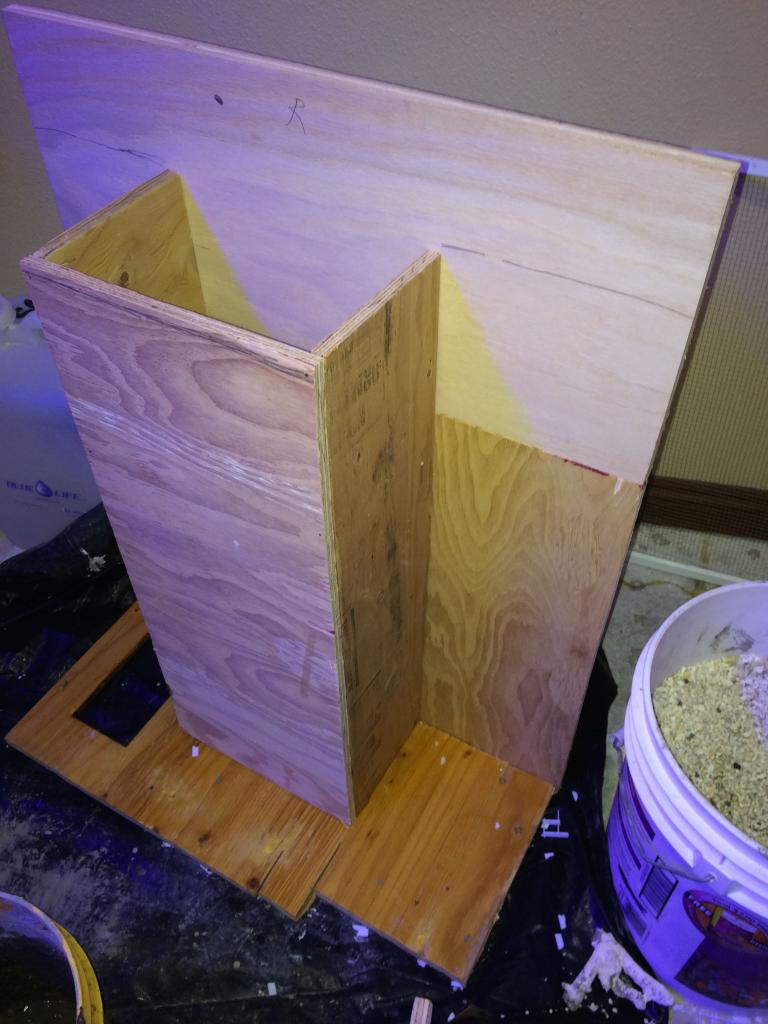
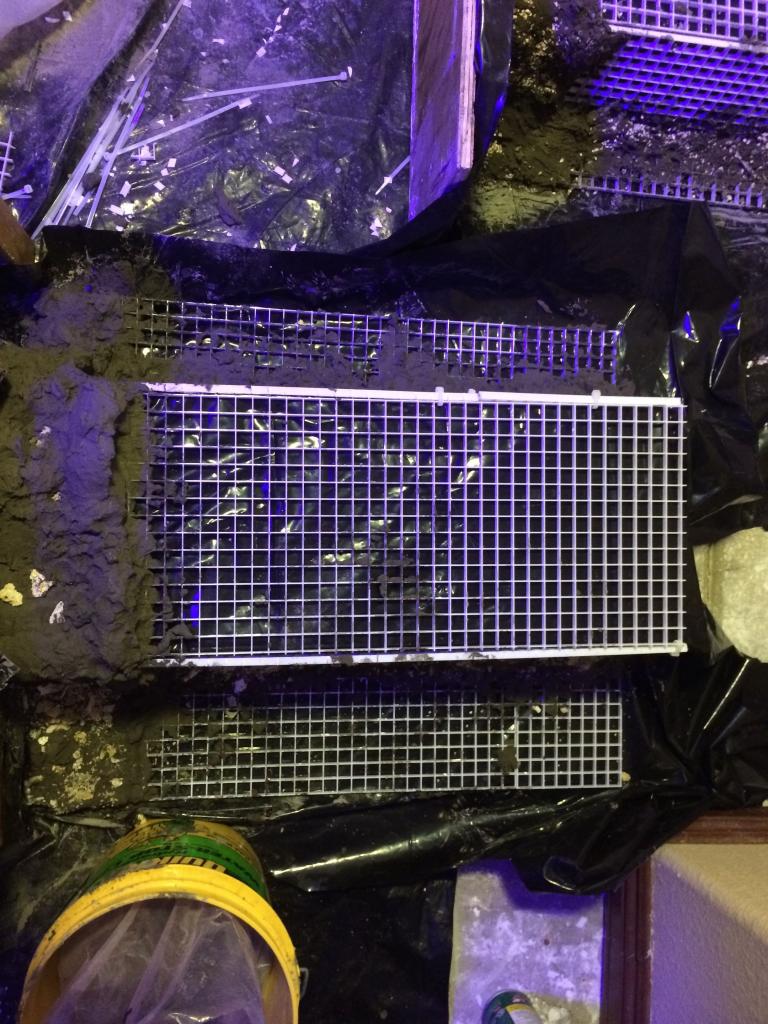
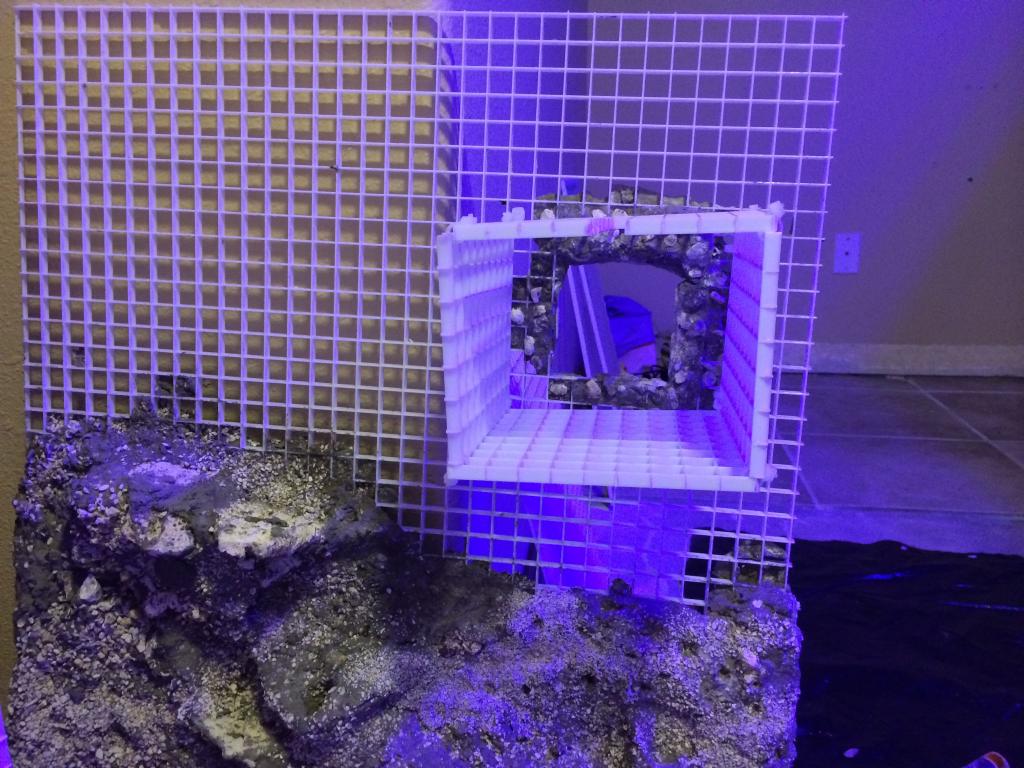
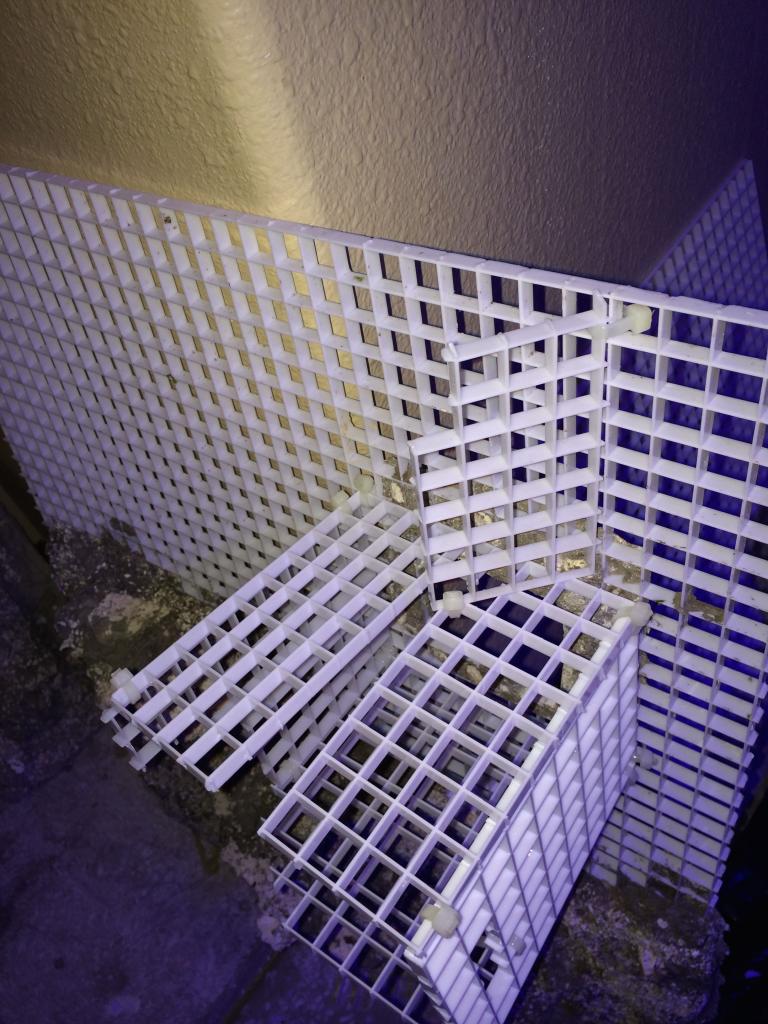
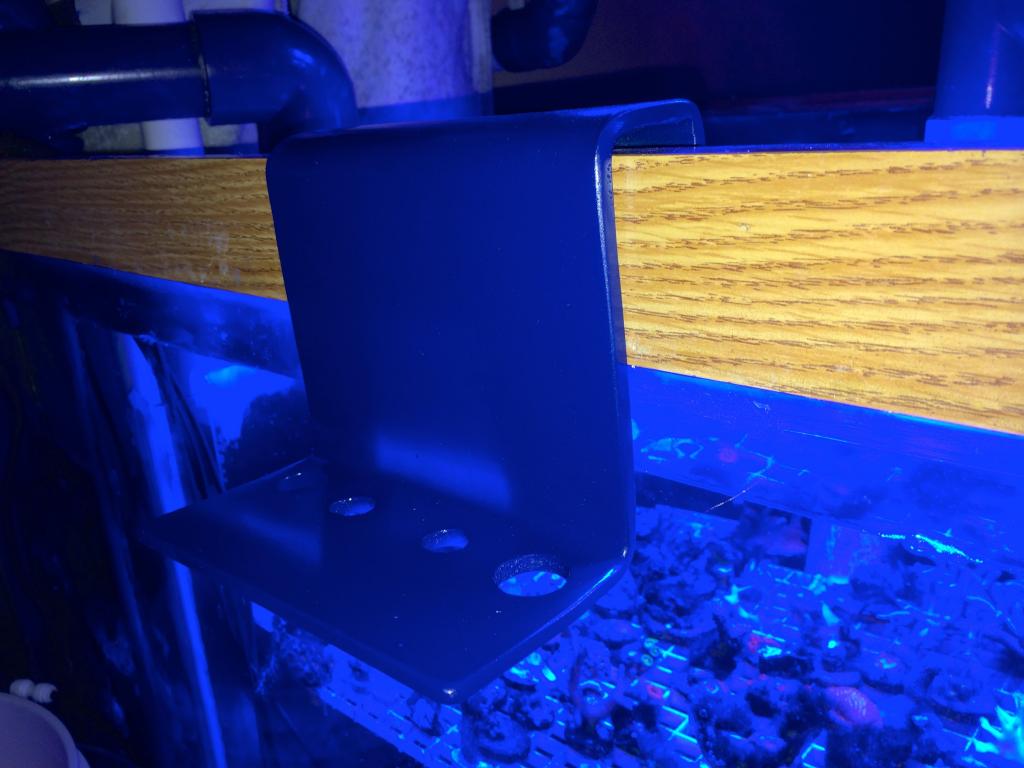
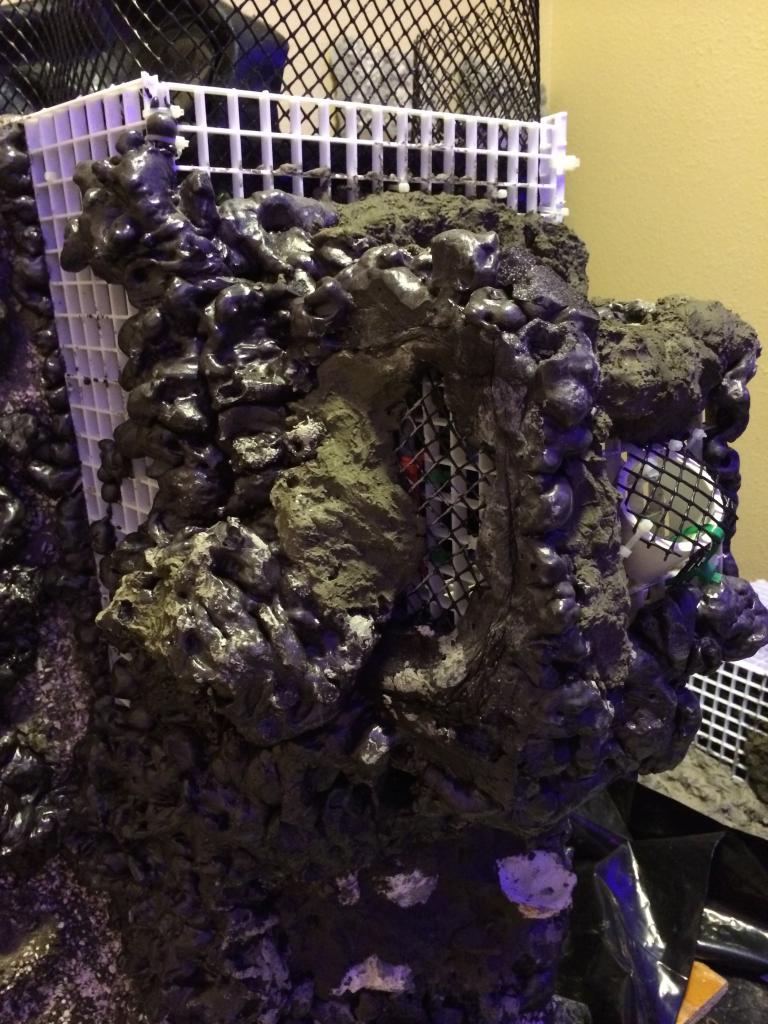
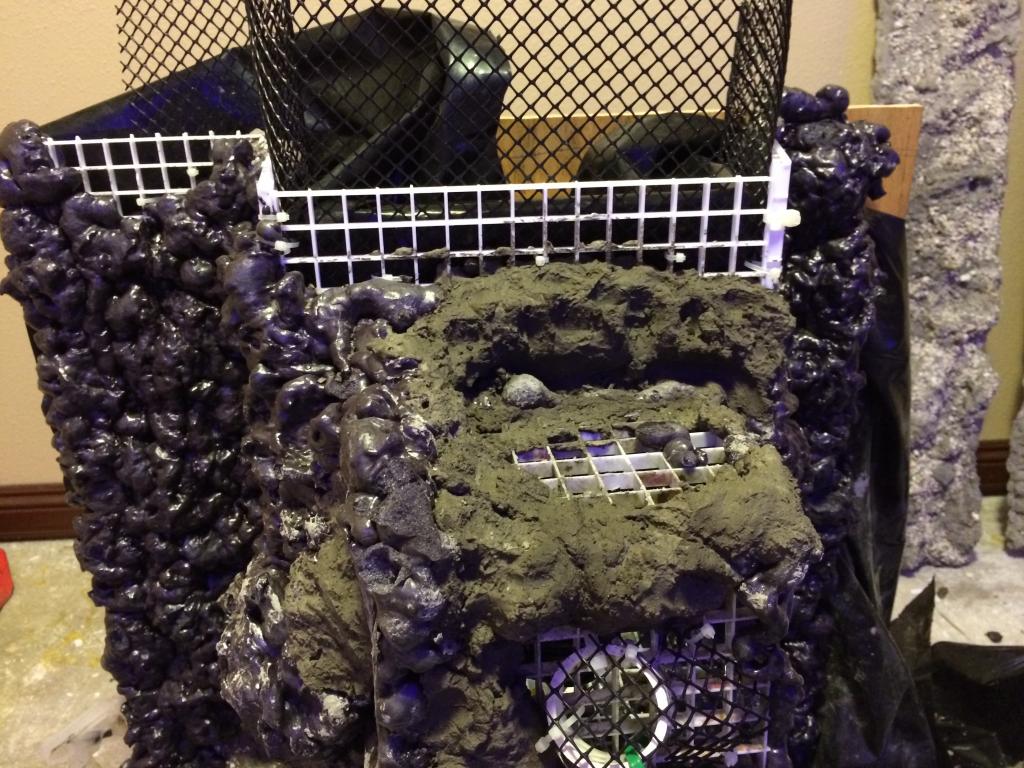
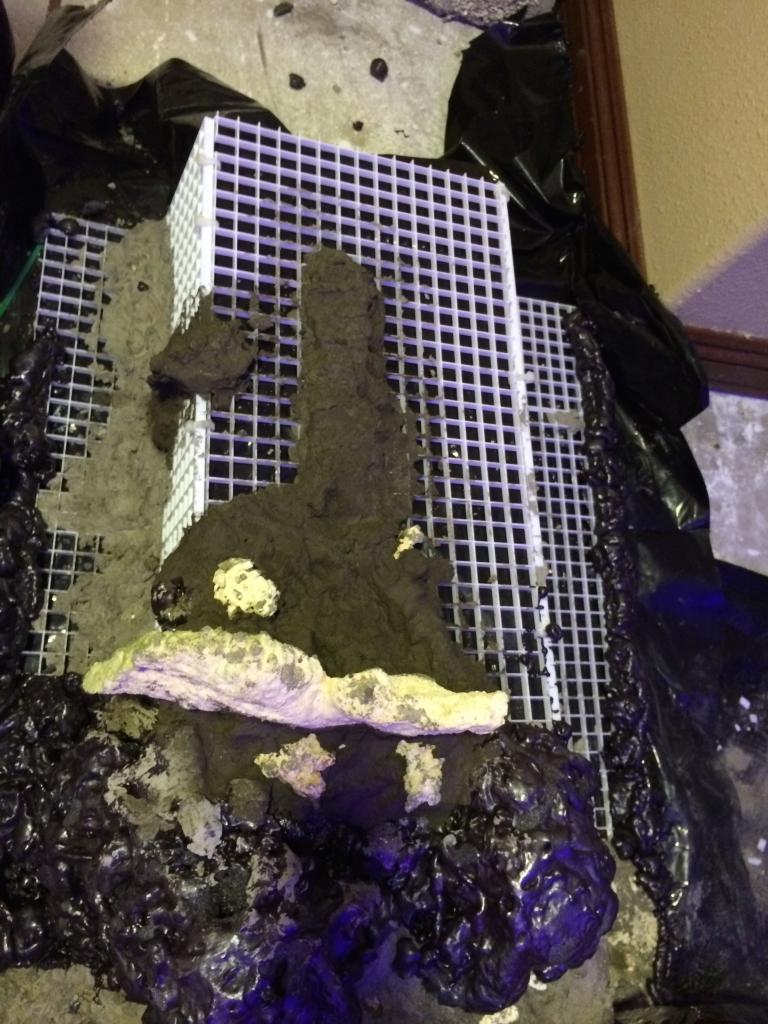
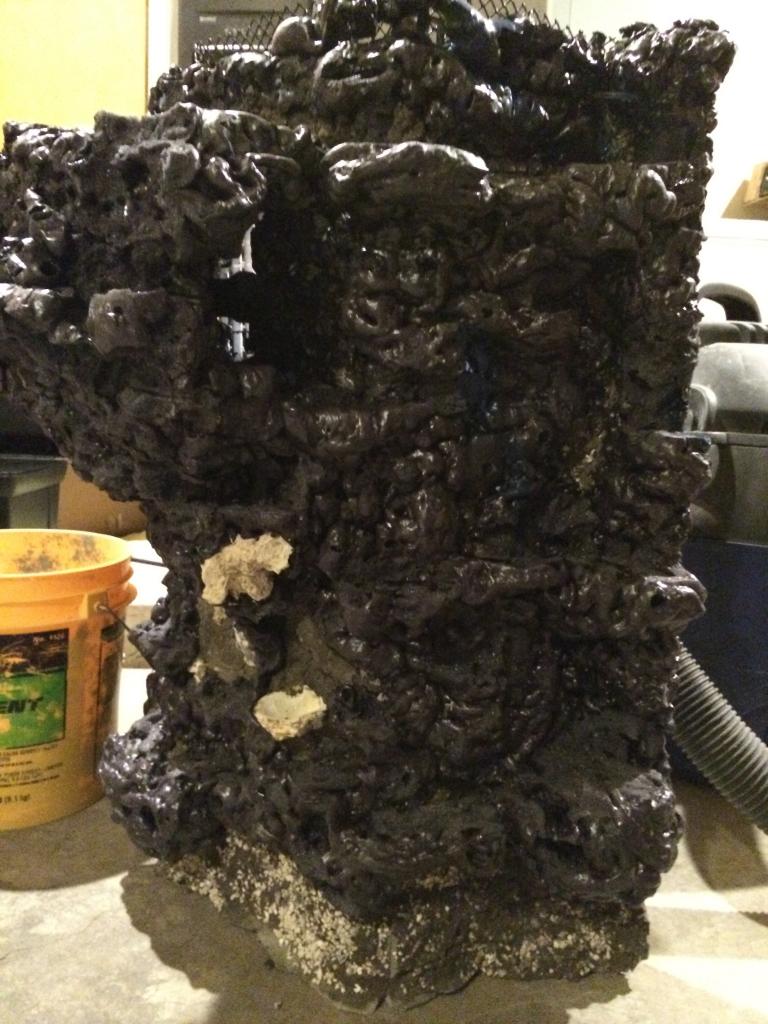
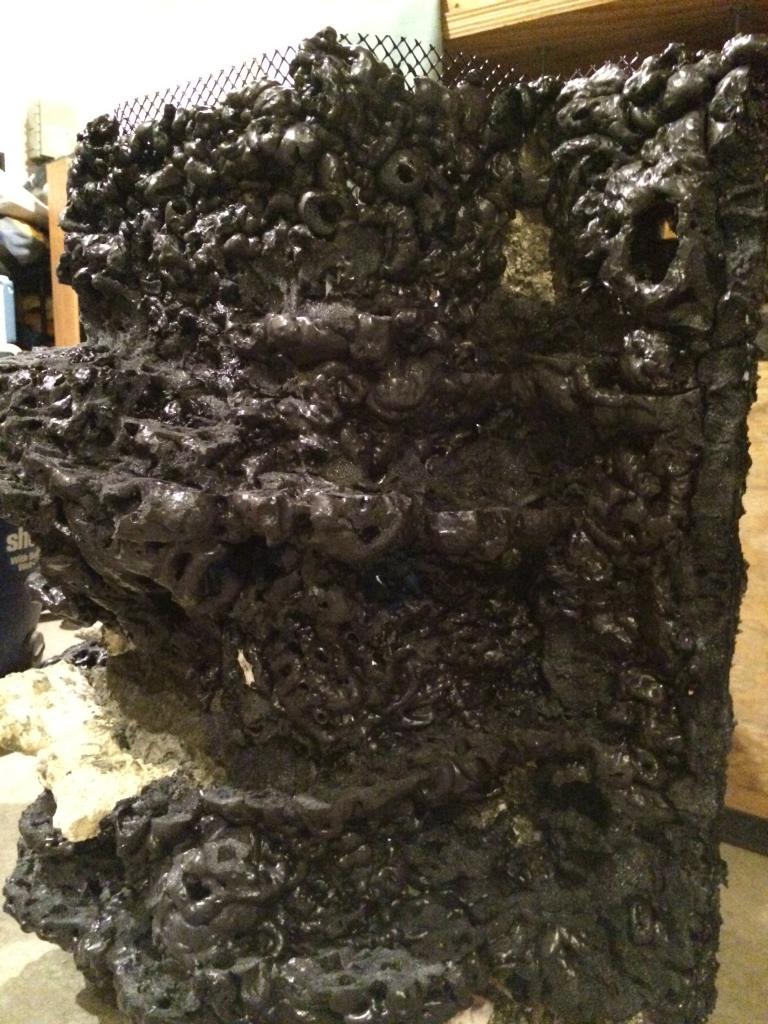
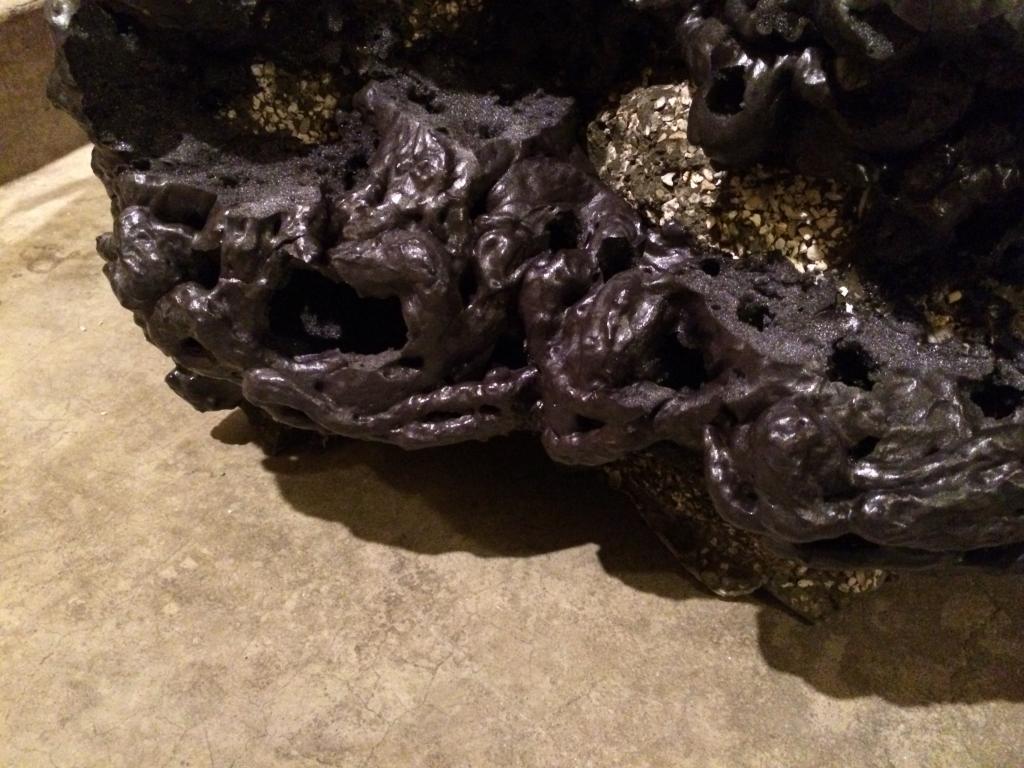
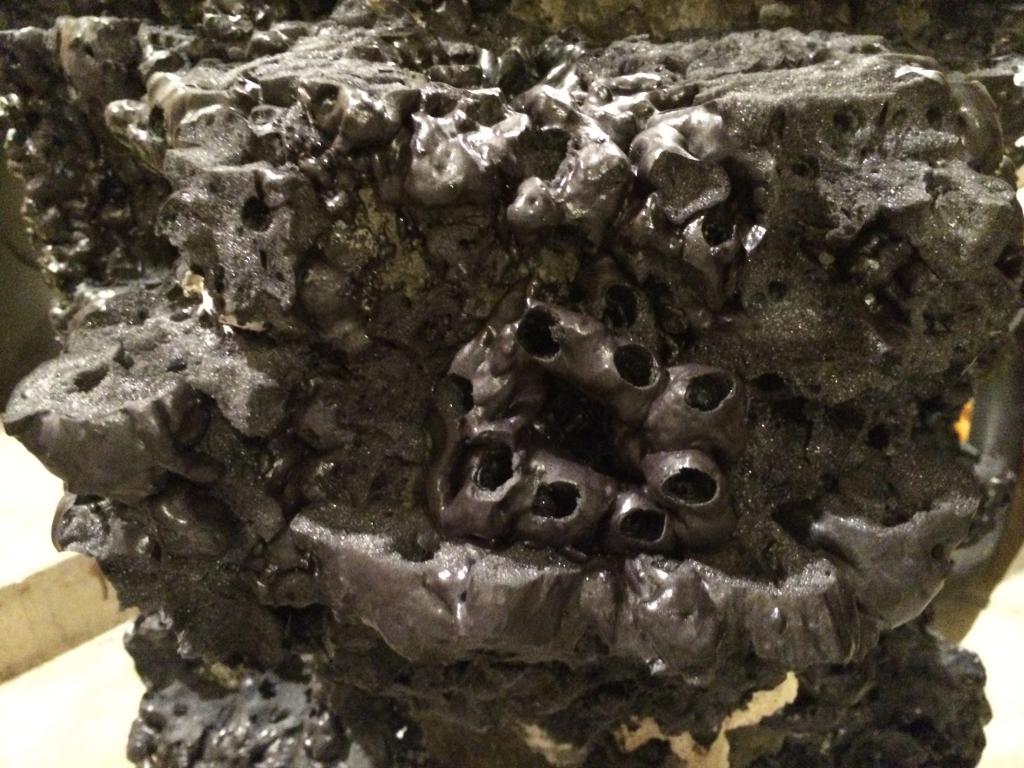
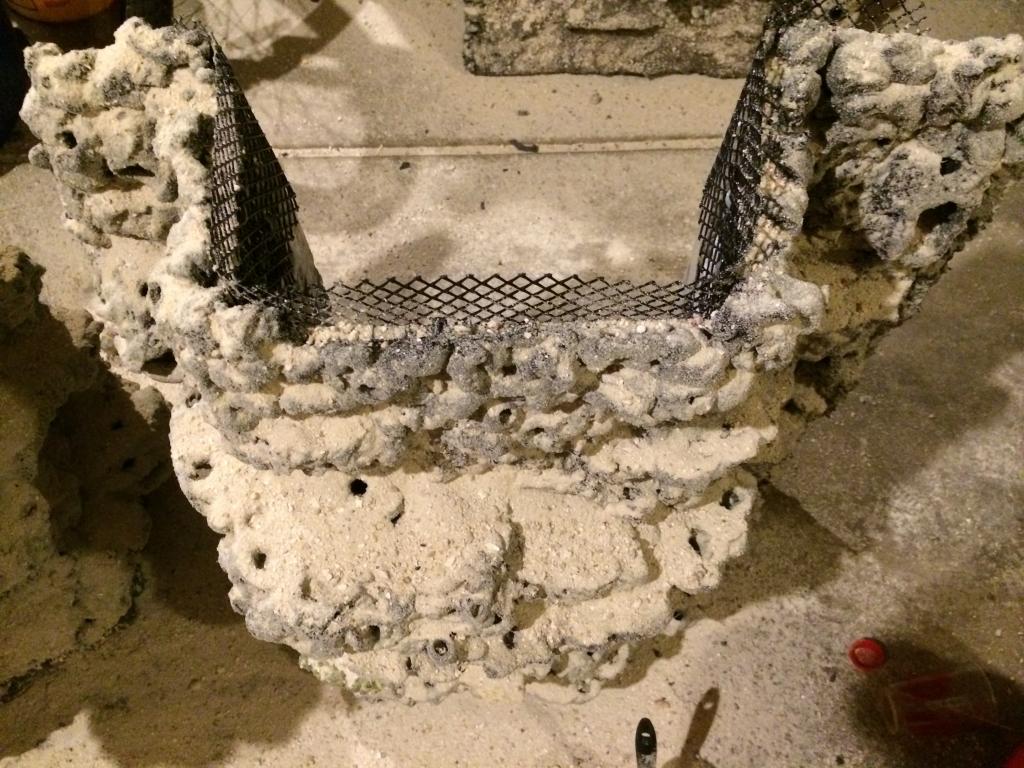
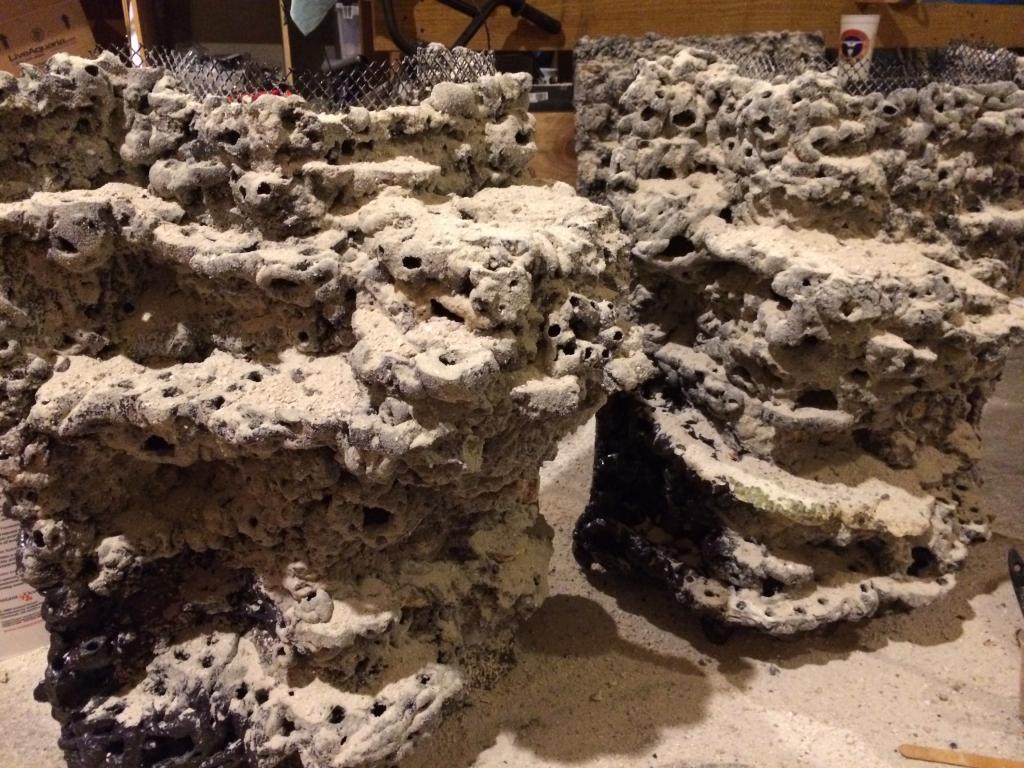
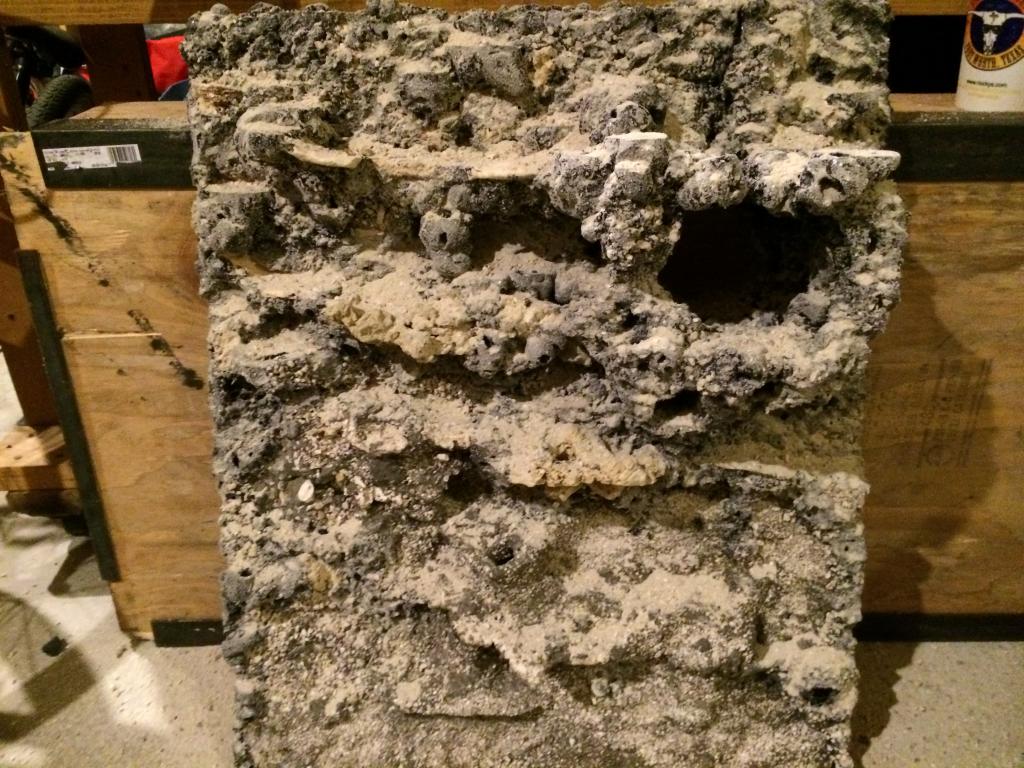
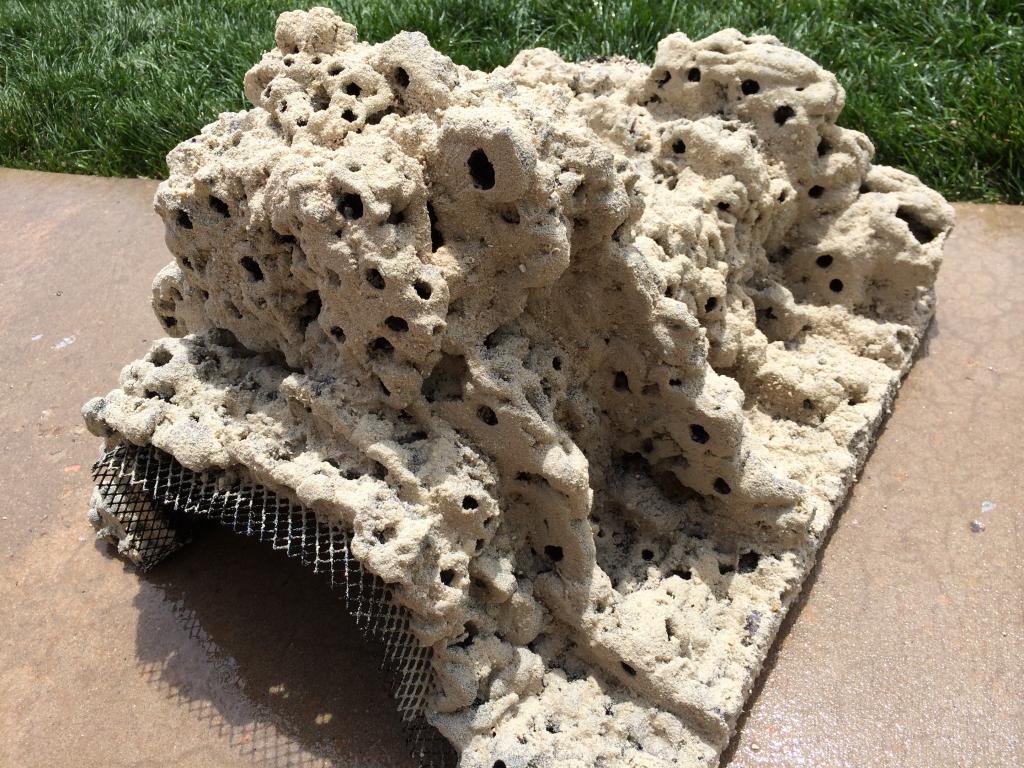
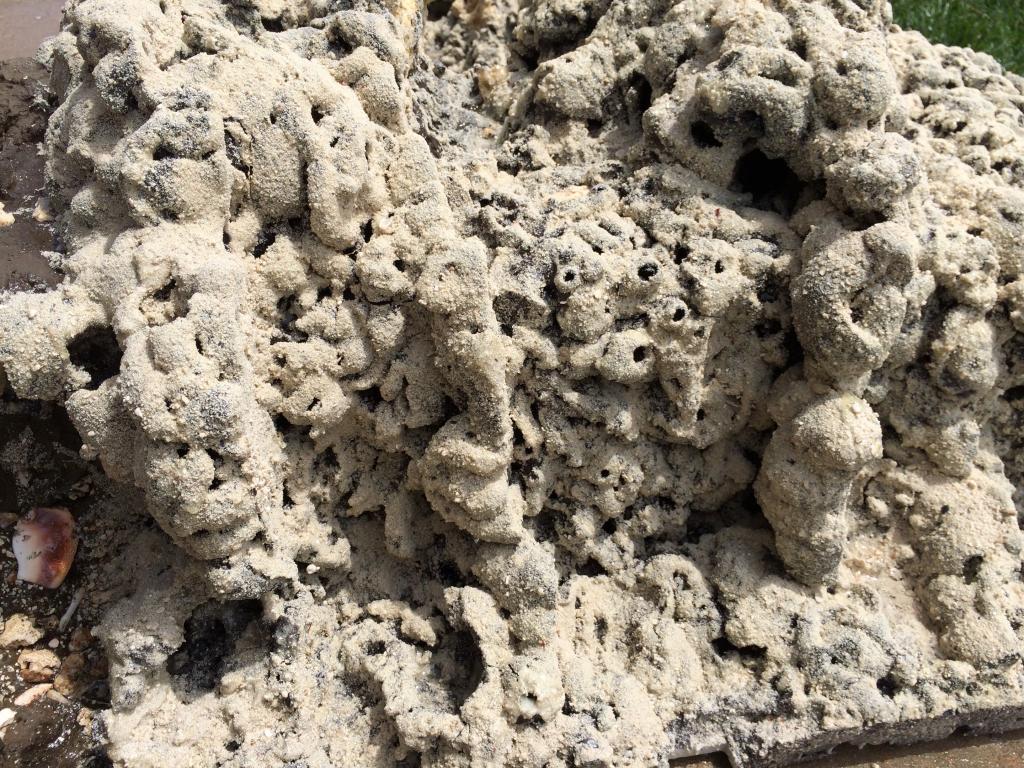
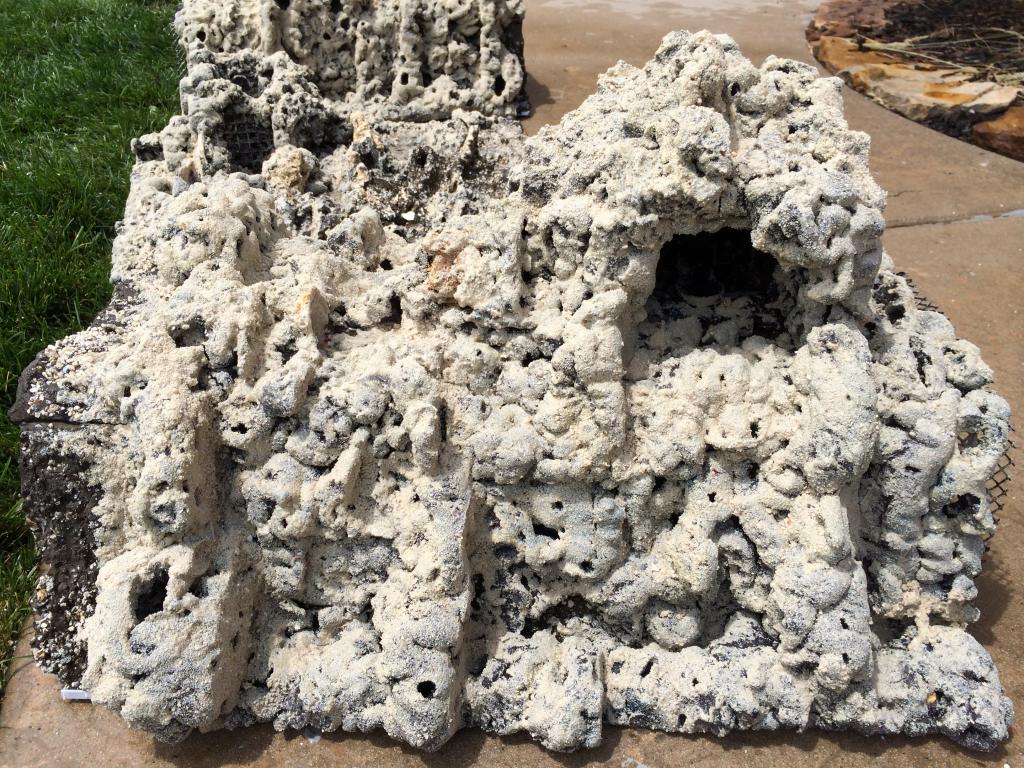
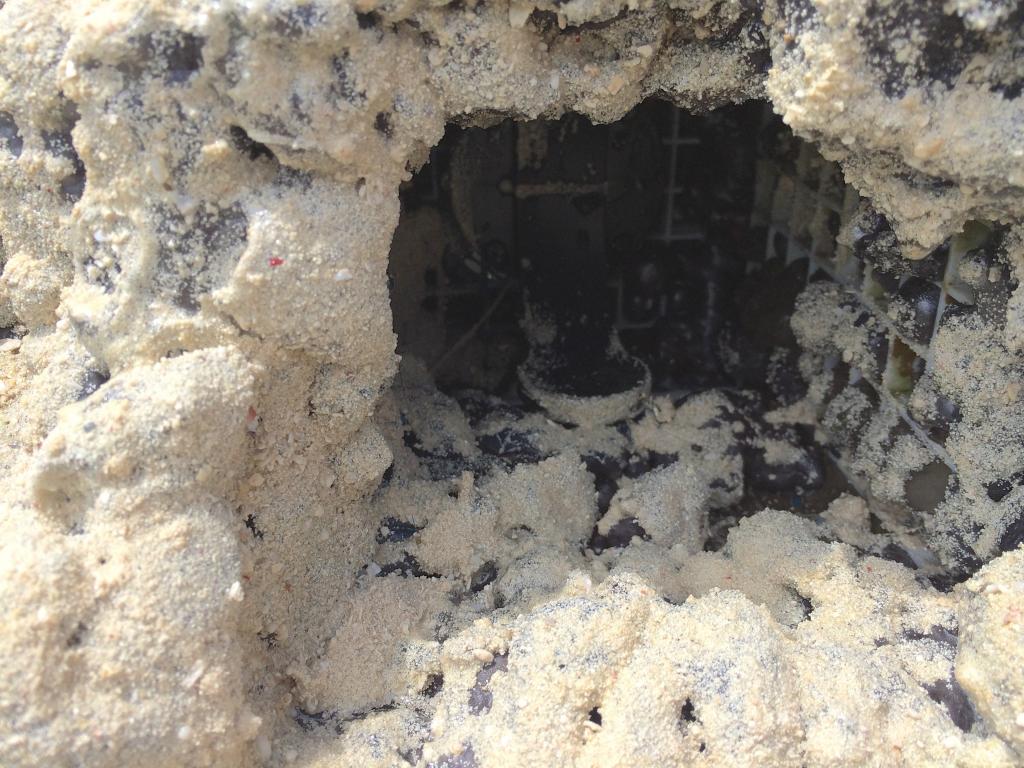
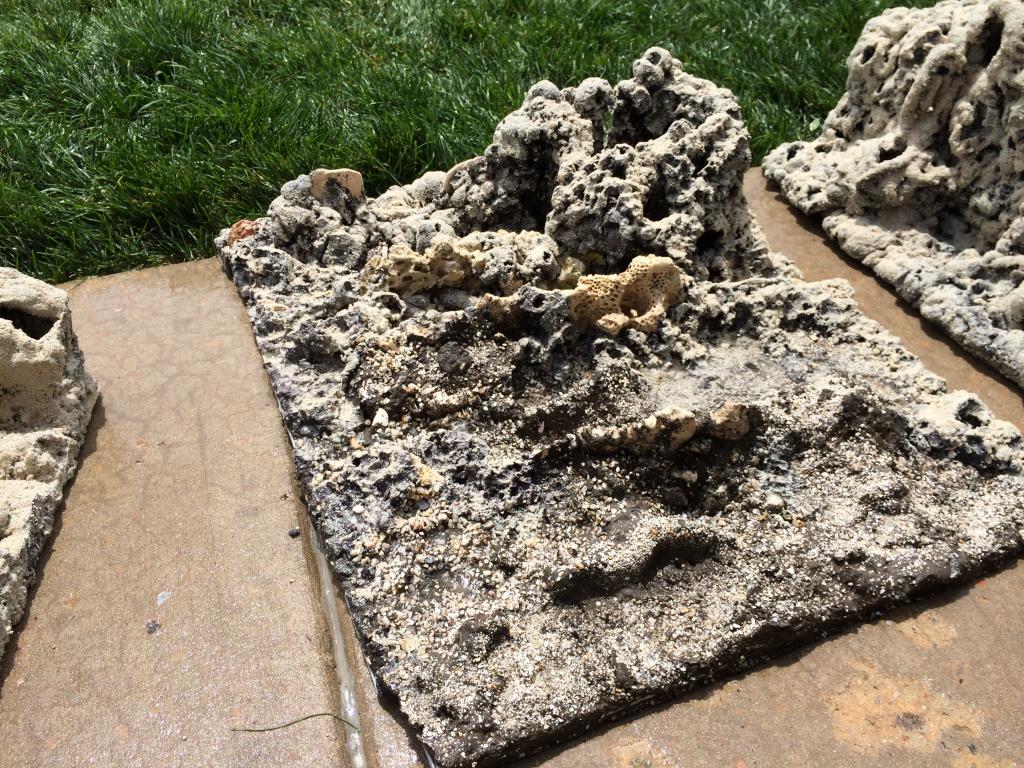
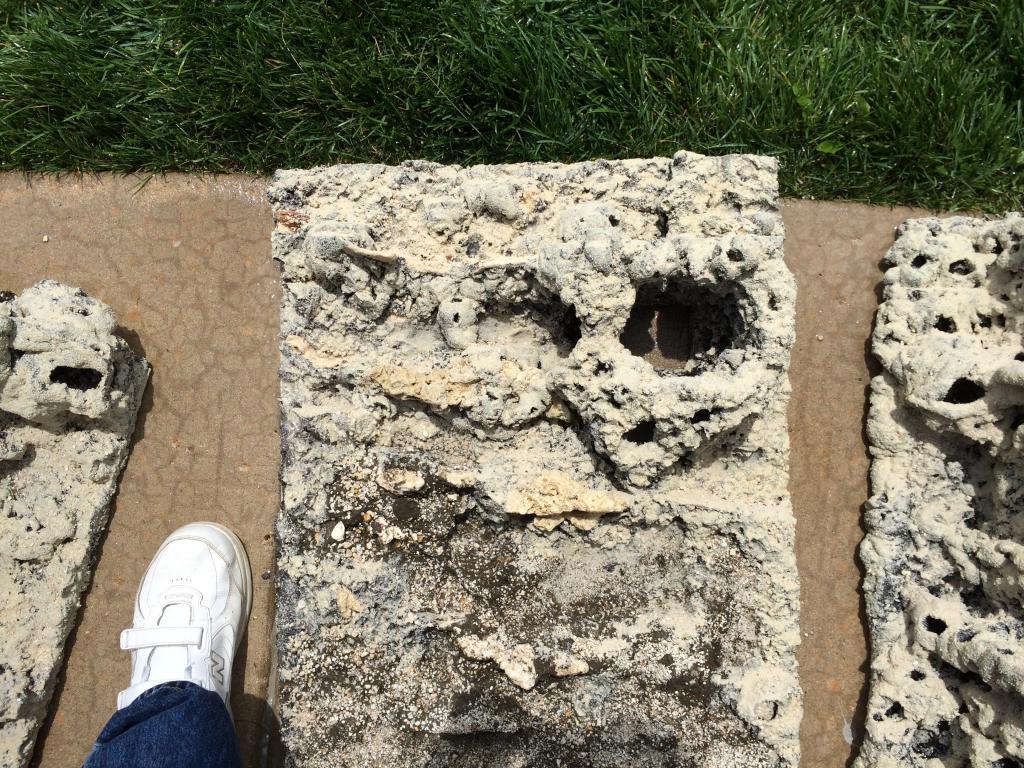
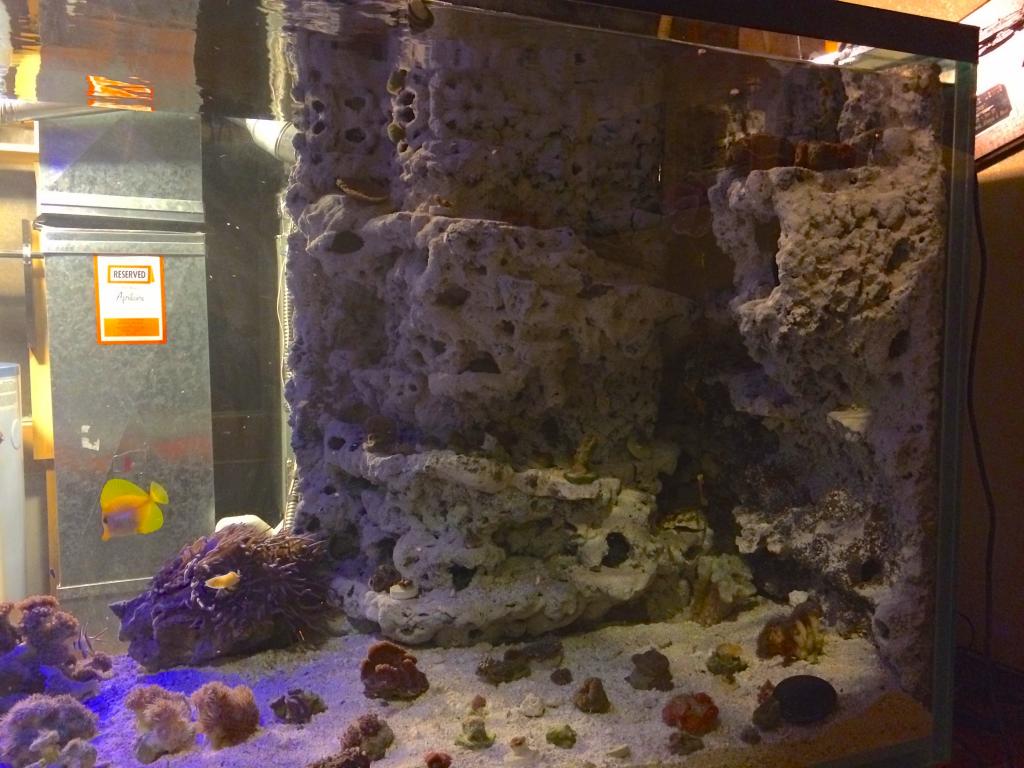
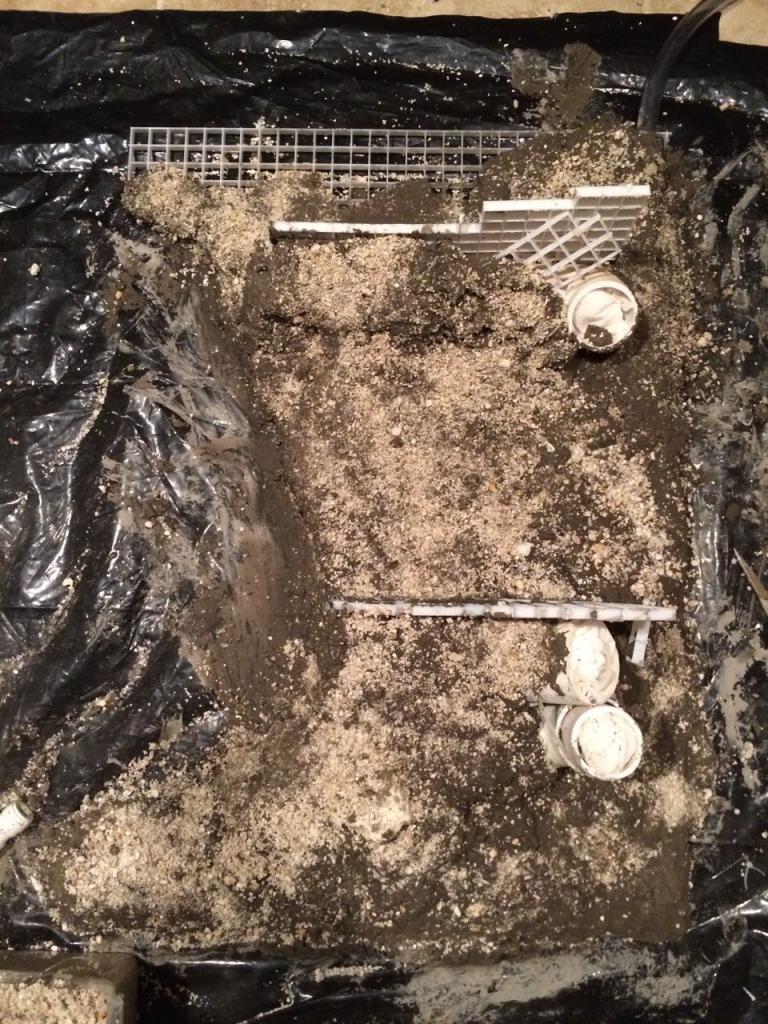
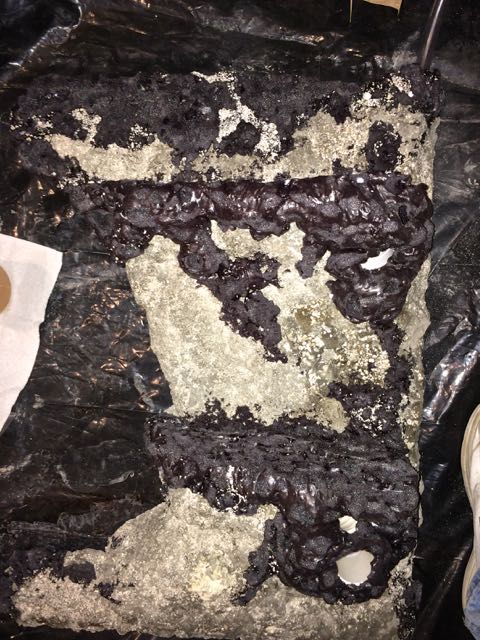
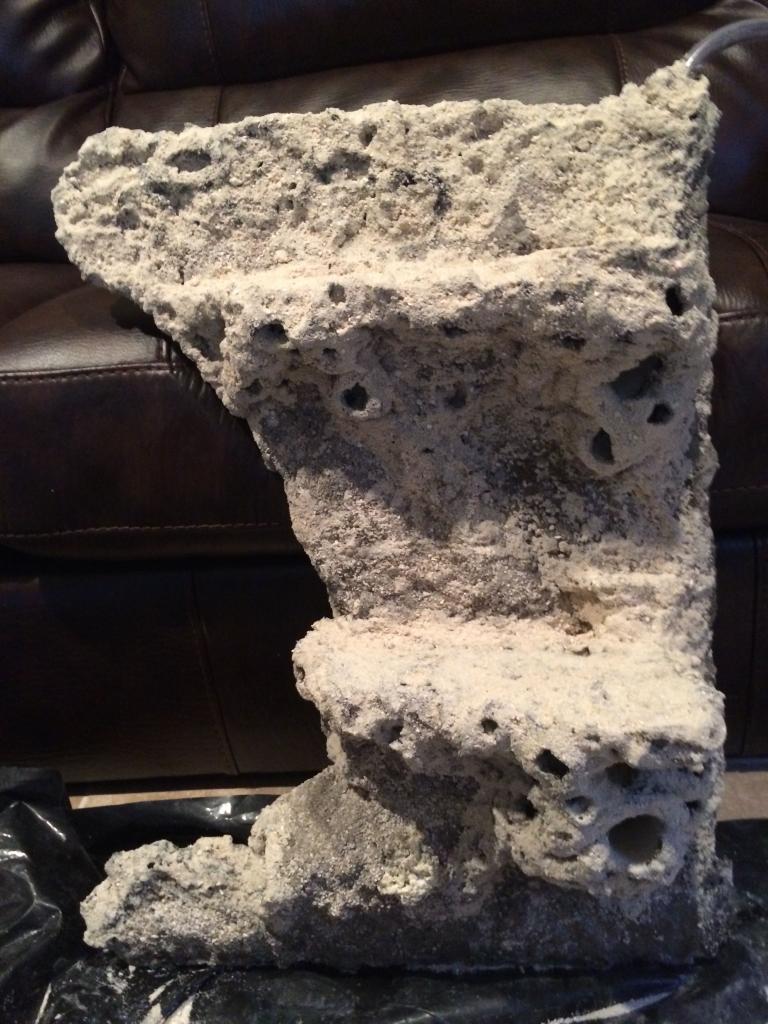
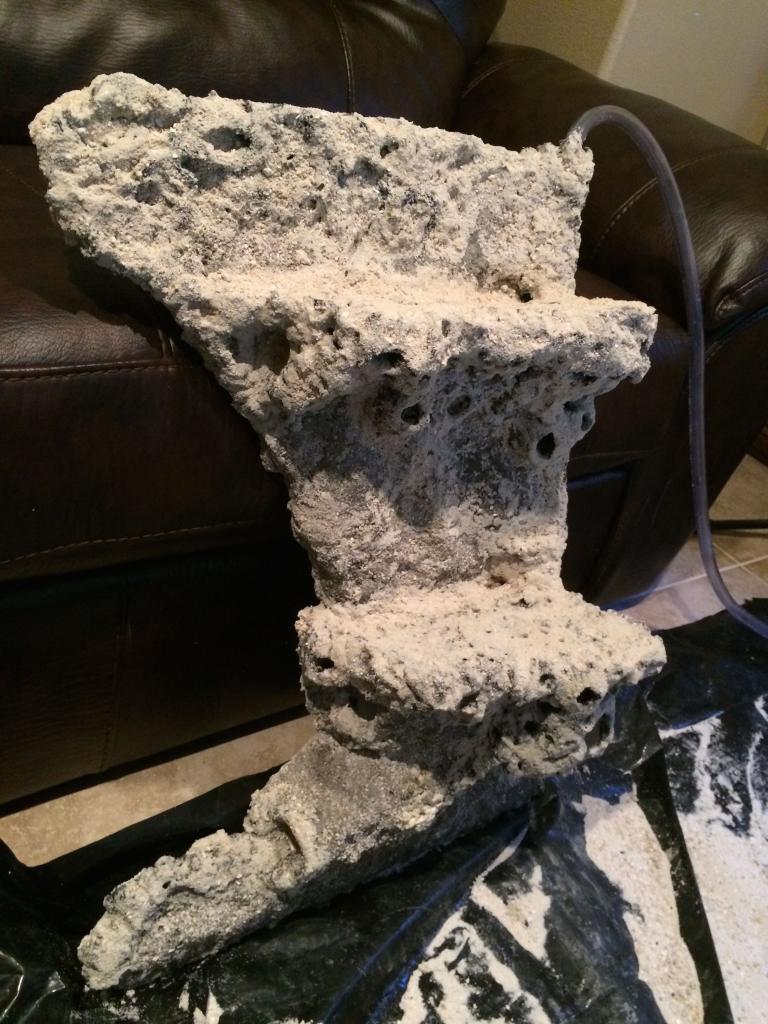
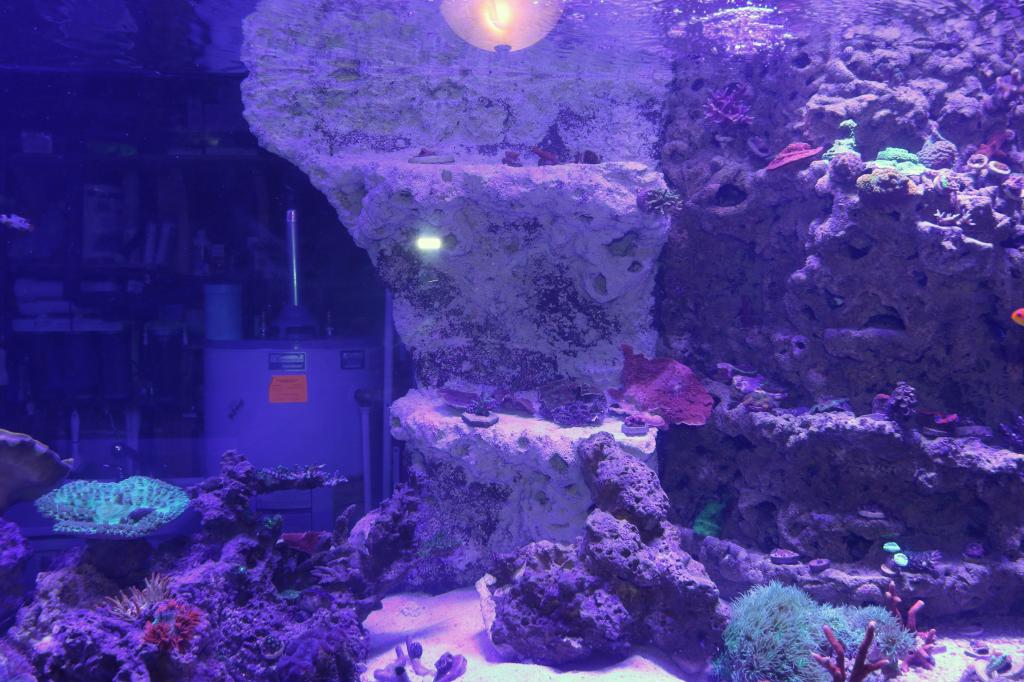
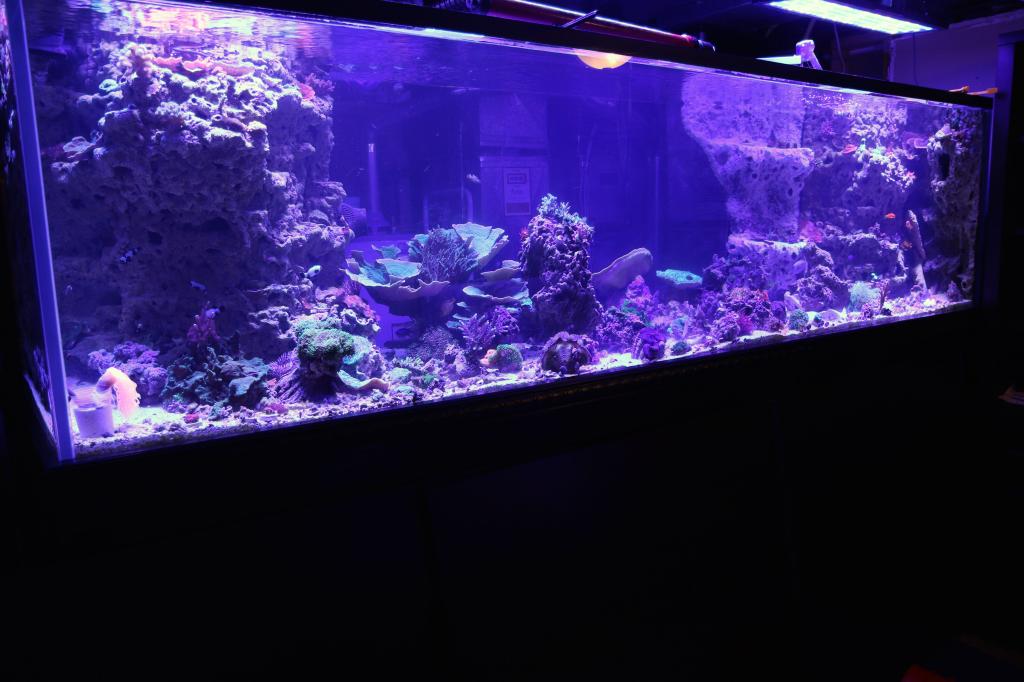
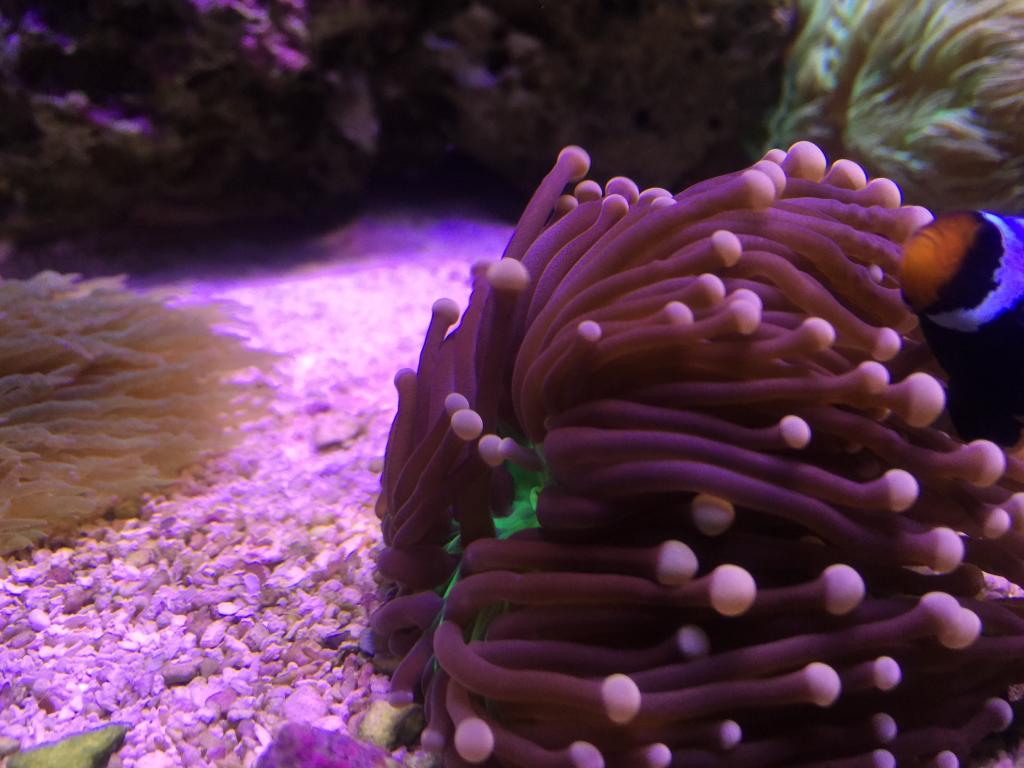
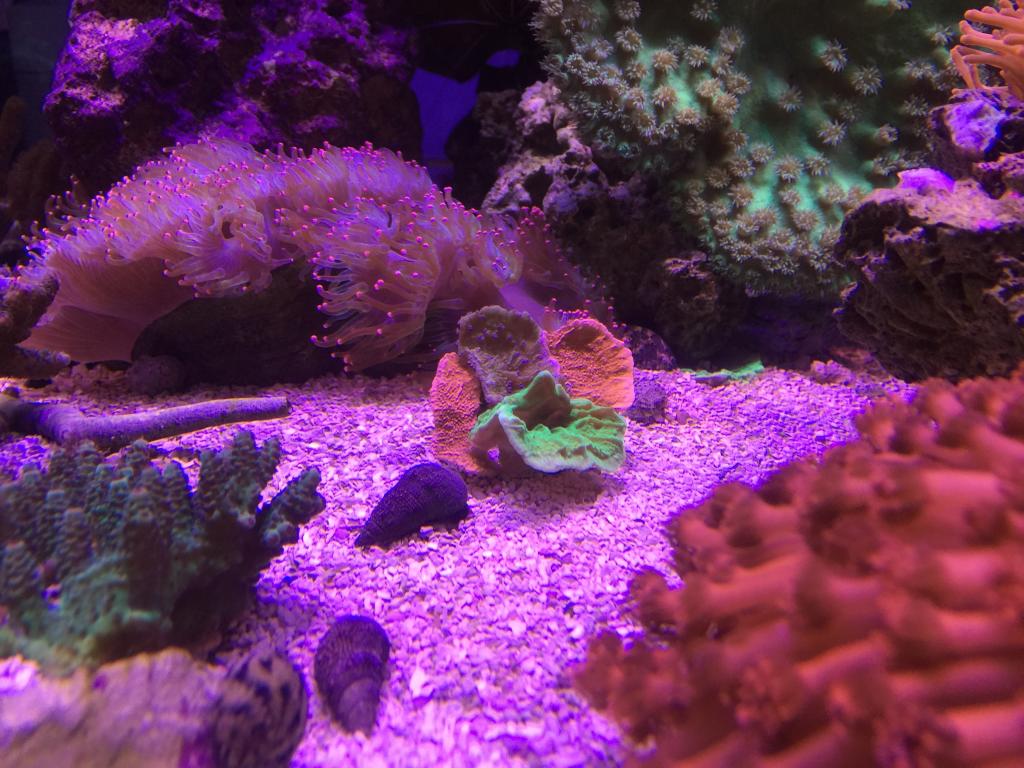
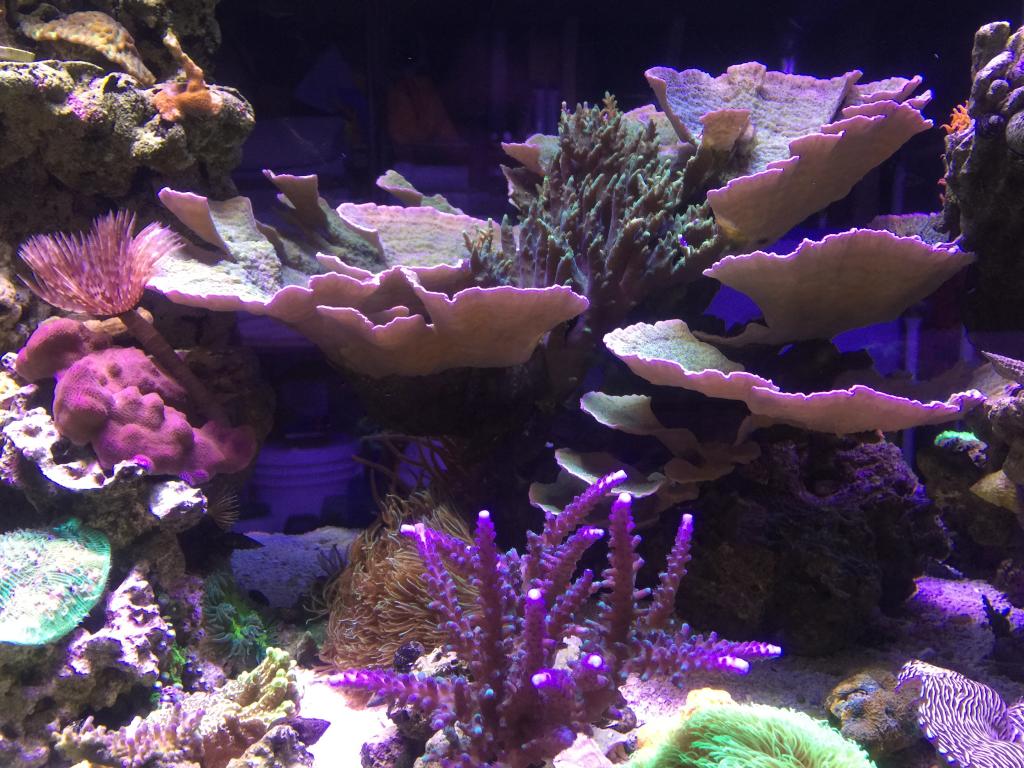
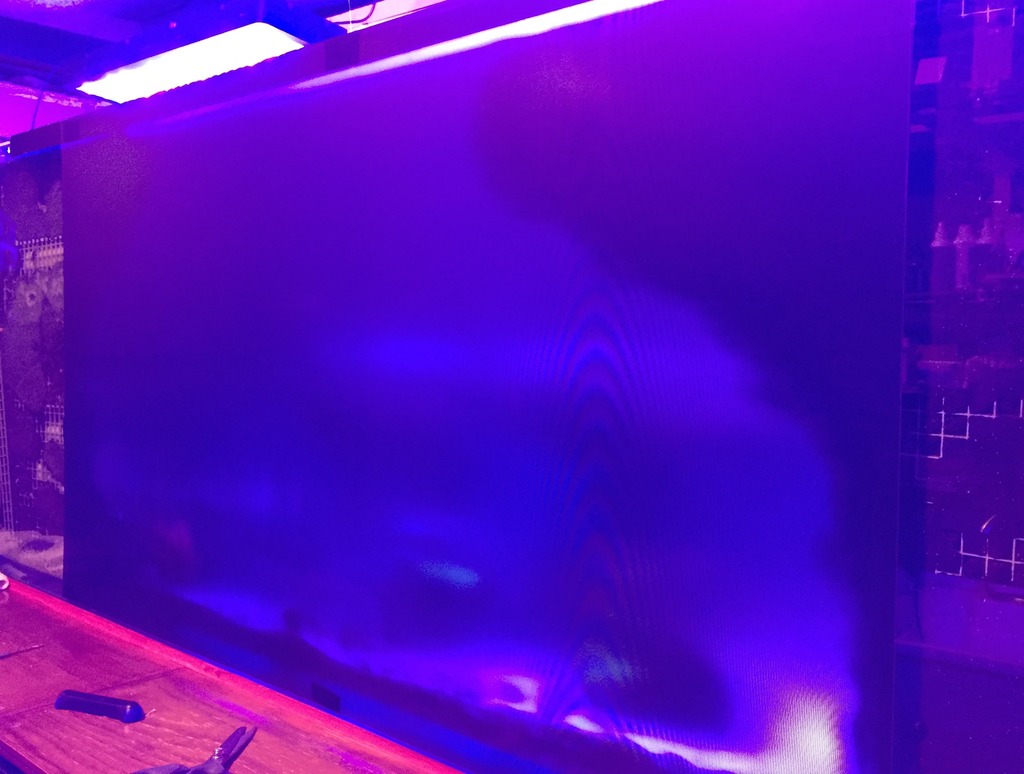
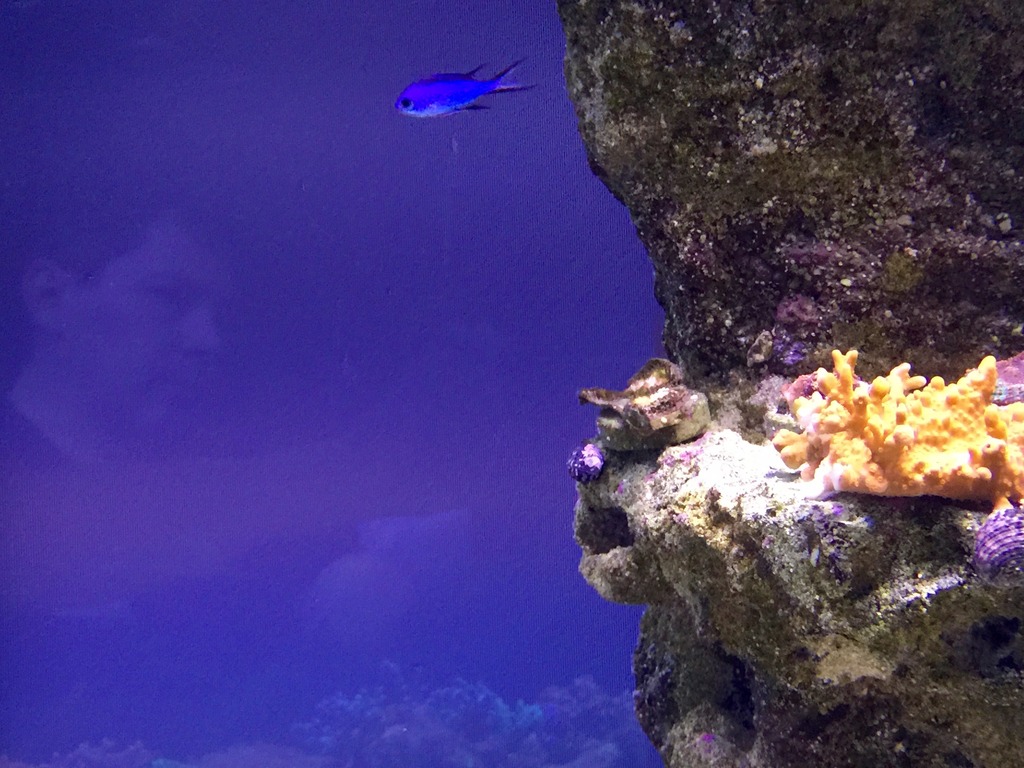
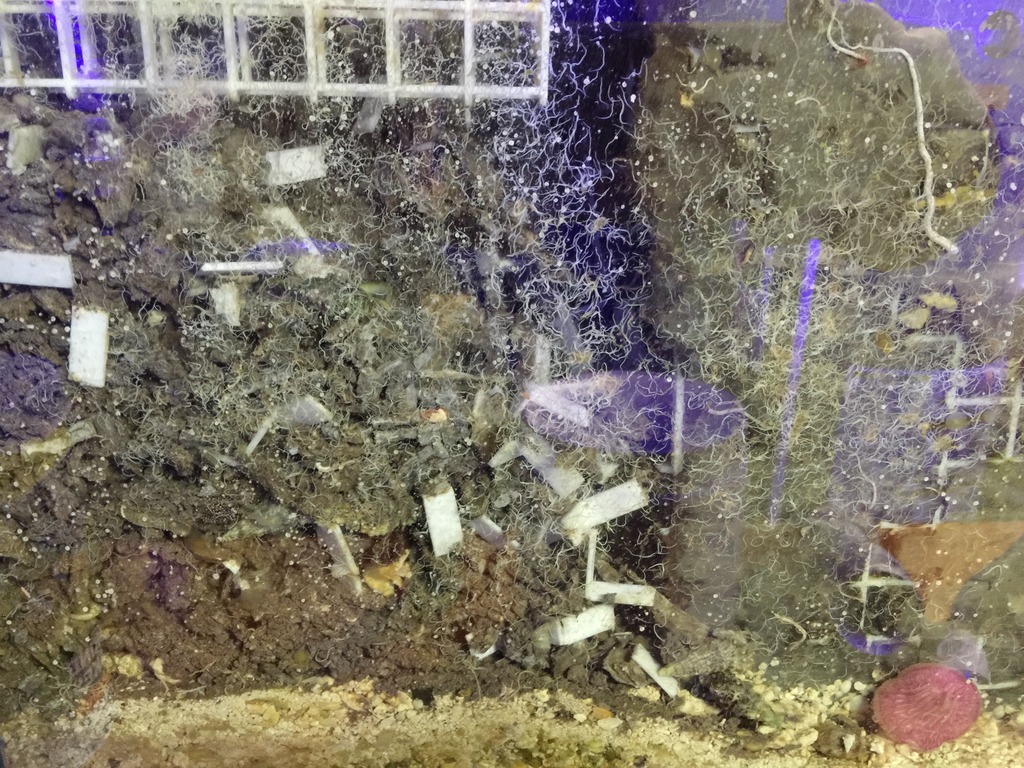
I have a 350 Gallon display tank with a 180 sump underneath. I made rock walls out of hydraulic cement that has started completely crumbling after just over a year. The tank is getting a while new redesign to remove the walls and start over. I'll have to do it with all the corals and fish still in the tank, so it will be a huge PITA.
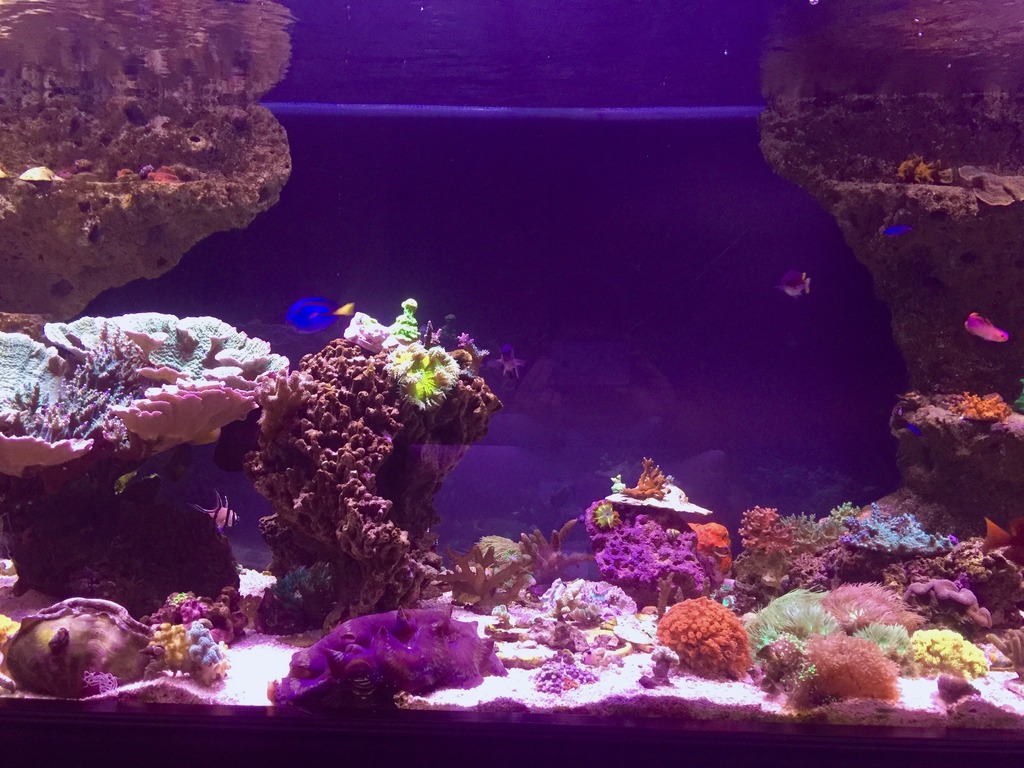
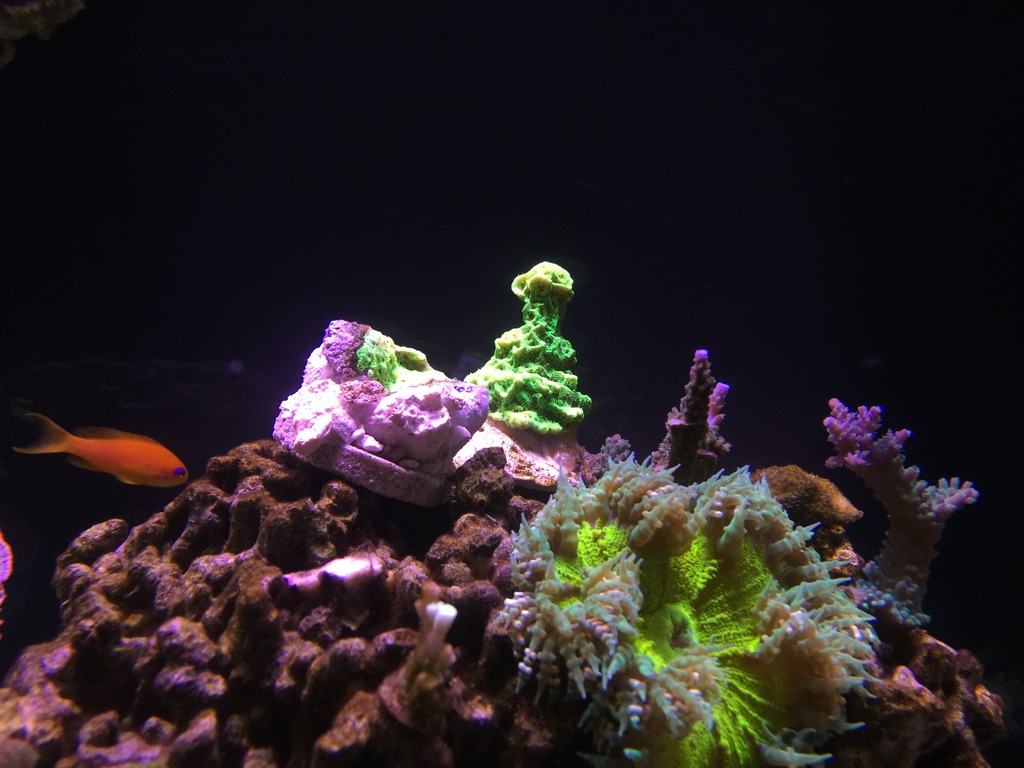
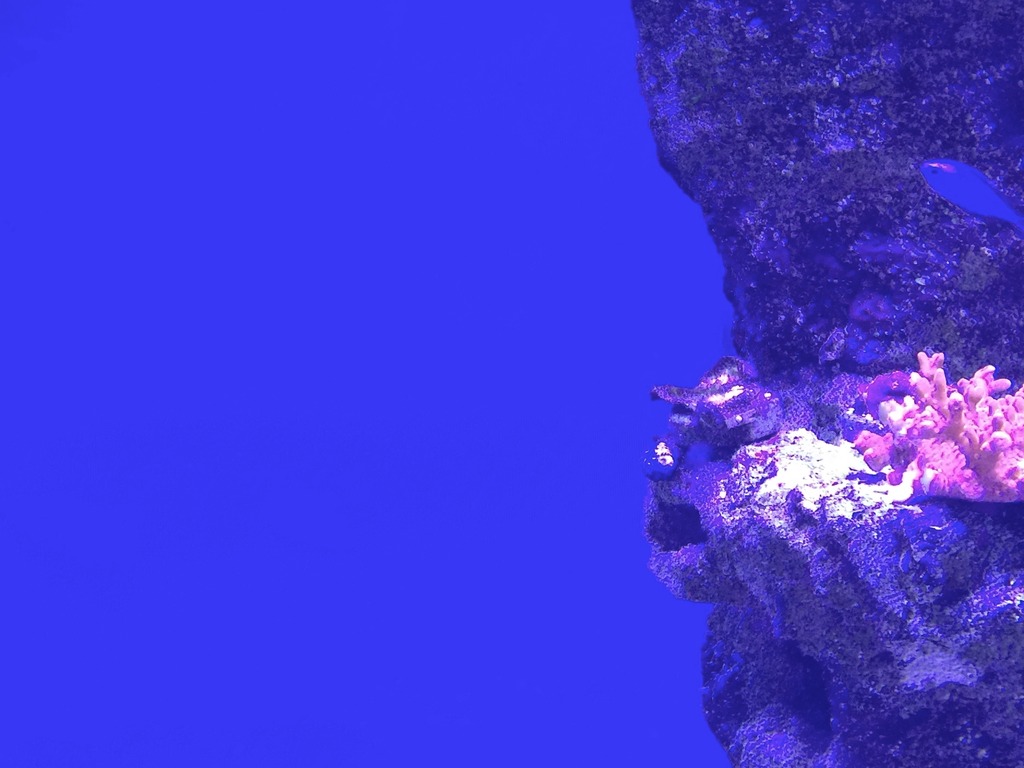
Some historical shots:
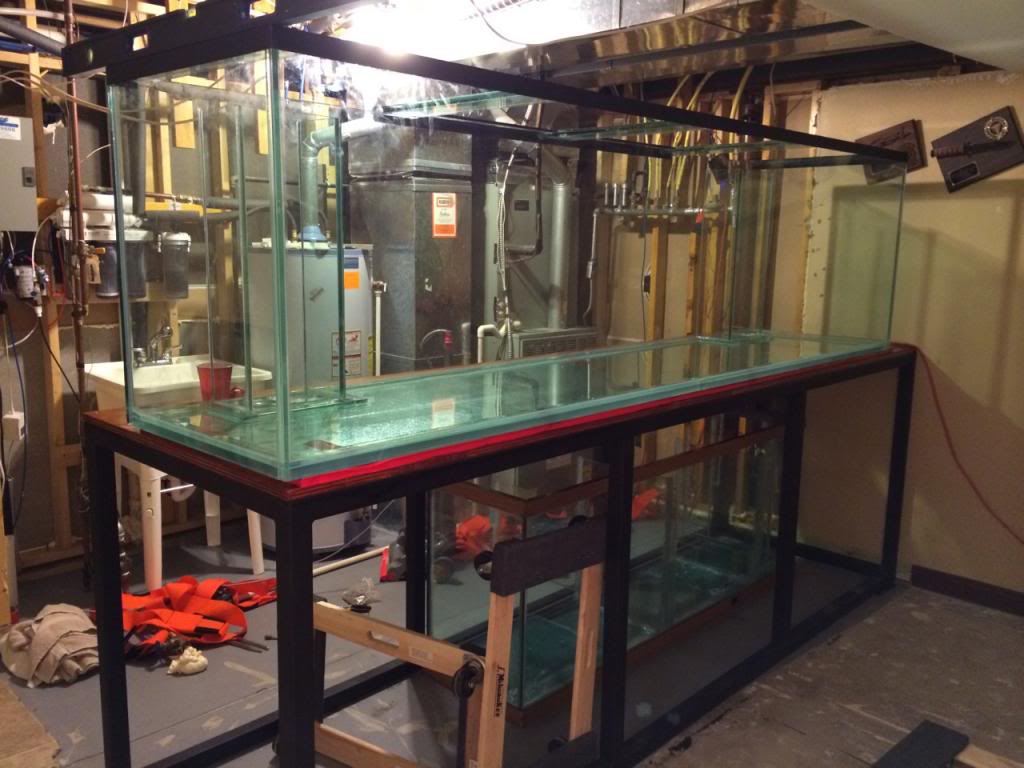
The walls had to be modified to make room for the stand to make it through the hall. The stand is 124 inches long, 41 inches high, and 36 wide. The hallway wasn't big enough. The night before my in-laws arrived my wife heard me telling my youngest son "It's going in tonight. Get the saw". Probably not what she wanted to hear. Not the best timing I've ever done.

The open wall space to the left will be turned into built in shelving for storage of all my junk. A door will be added to the far end of the hall to block off my office/ fish room/ man cave.

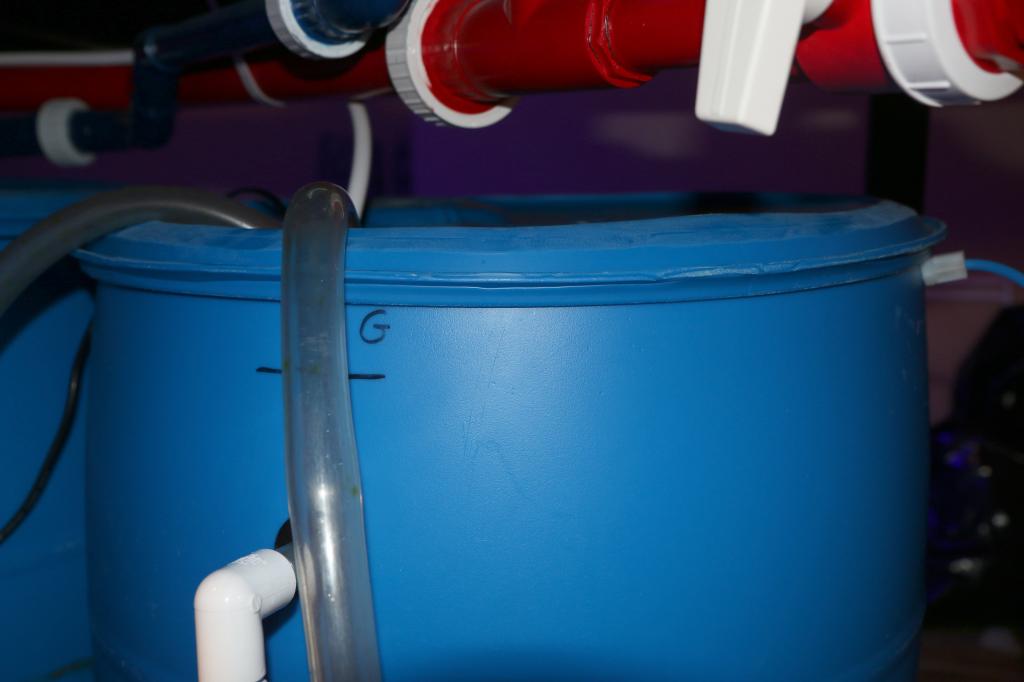
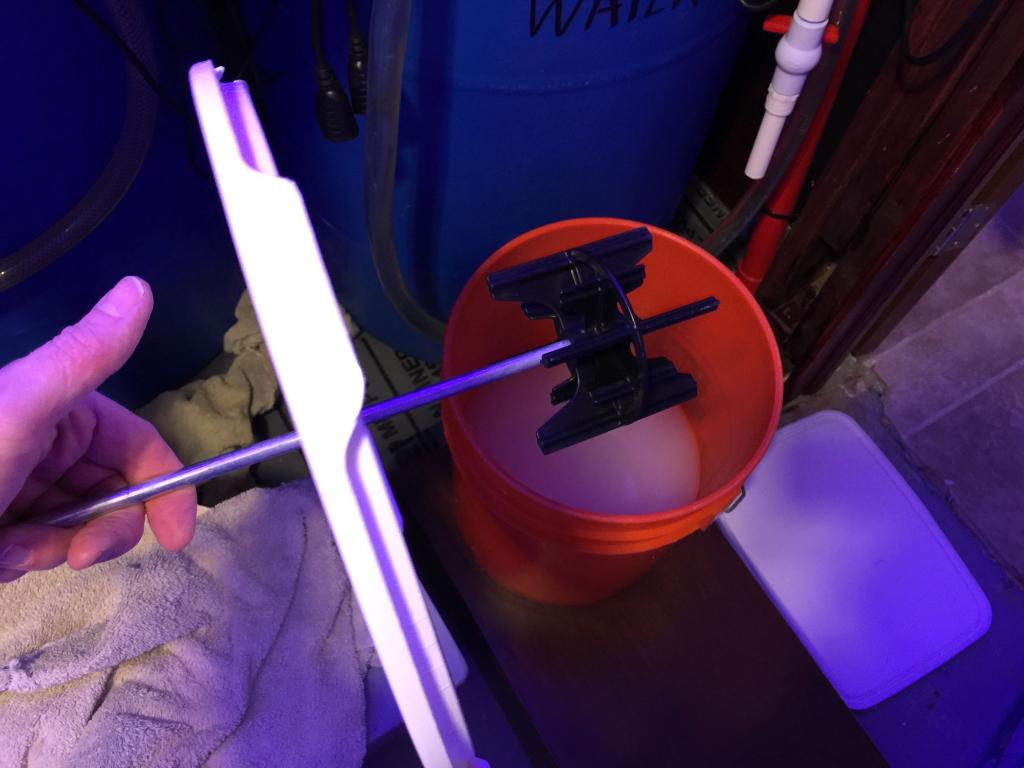
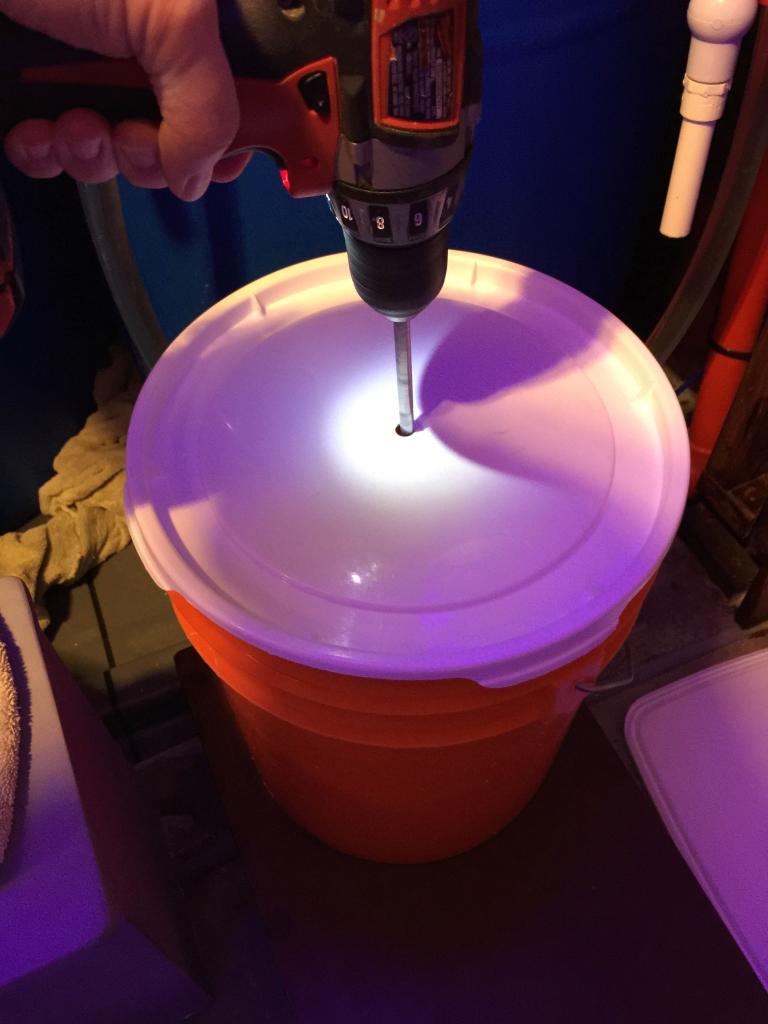
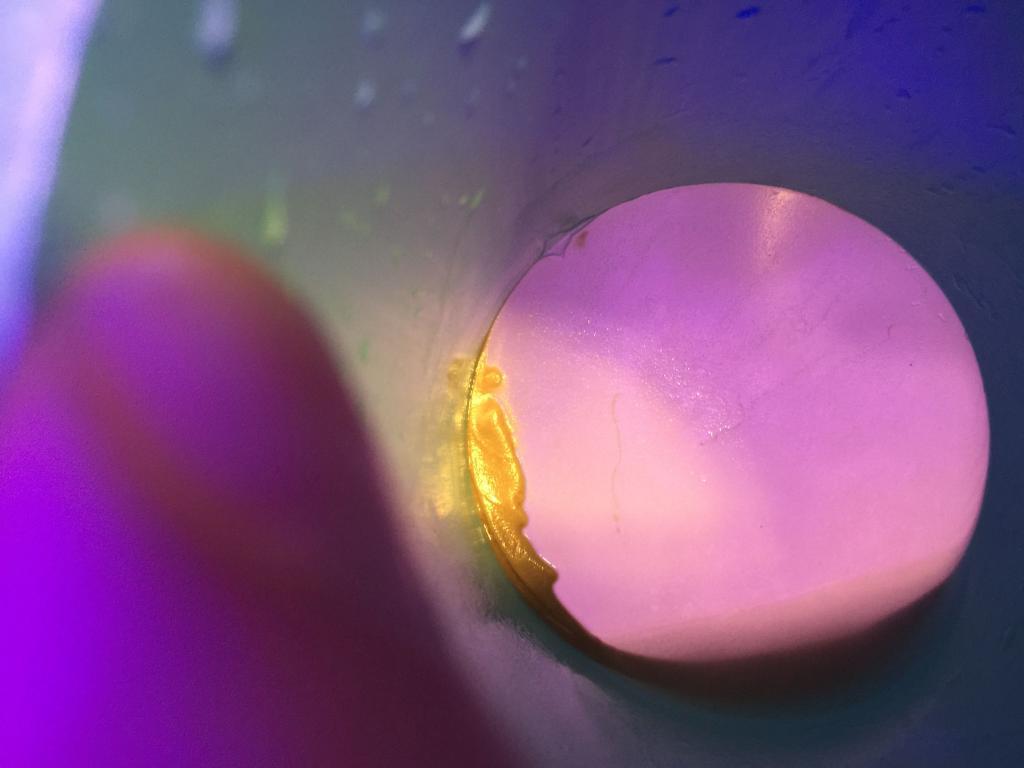
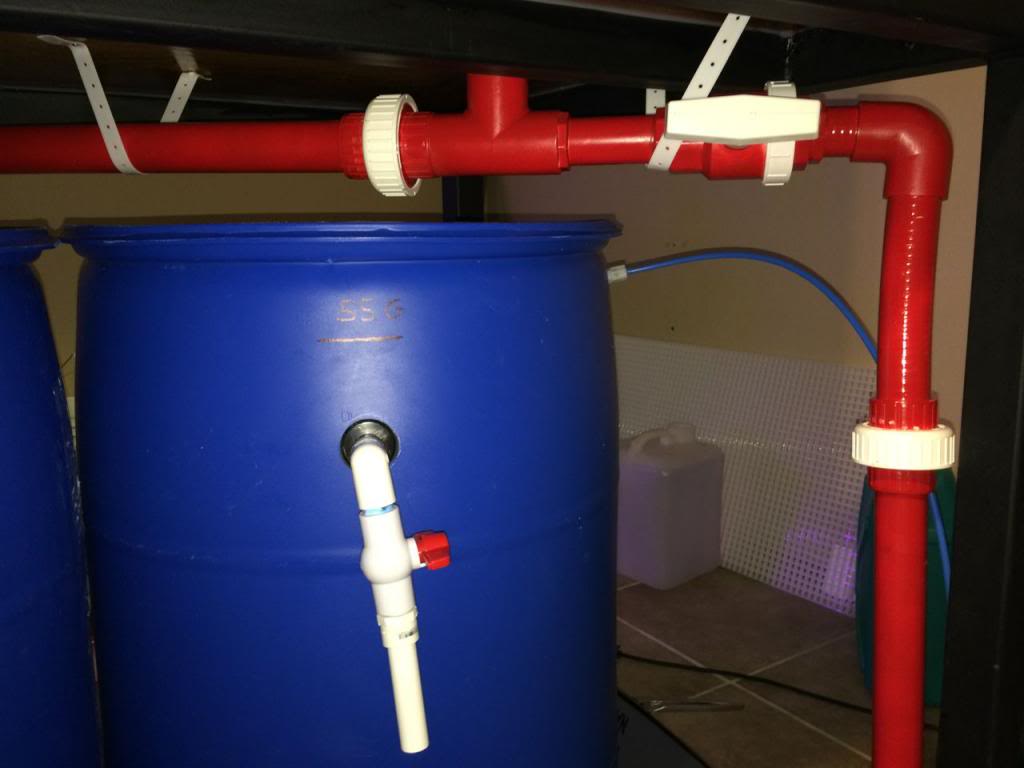
Added a sink and rerouted some plumbing to make access easier. Thanks Levi and GreaseballPaul for the help! The 55 Gal barrels will go under the stand when I get some 1/4 inch line long enough to route it over from the RO/DI filter on the wall above the sink.

Side view.

I had help from some of the church youth getting the tank onto the stand. About 800lbs lifted about 42 inches high. It took everything we had to keep it straight and get it onto the stand.

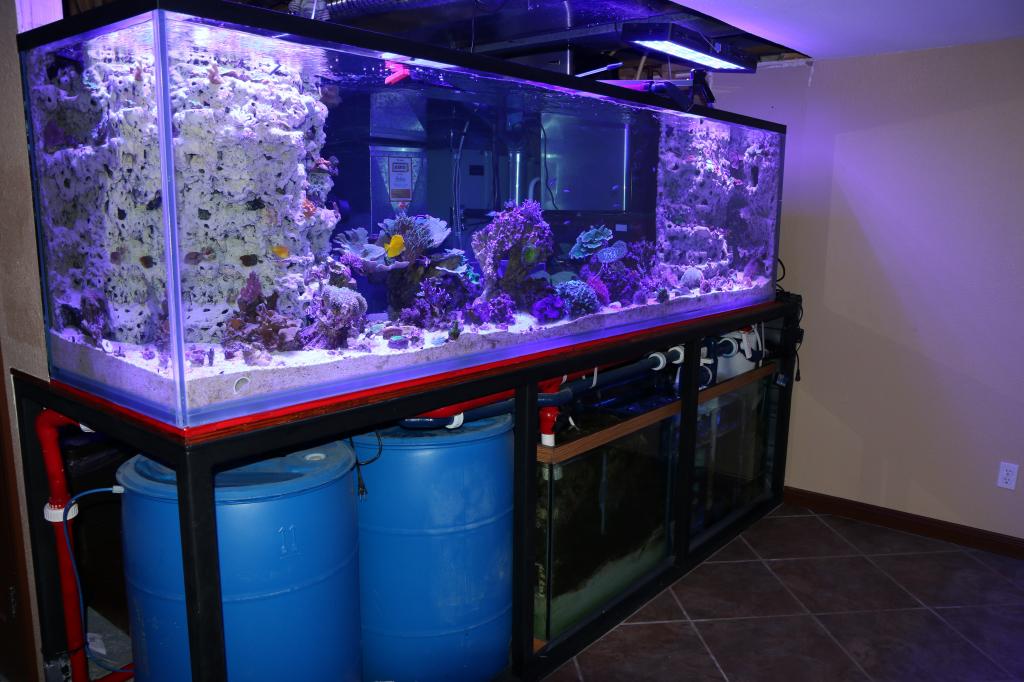
The tank finally on the stand. For reference, the sump under the stand is a 72" long 150 gallon tank I modified. The red liner is tape I put on the edges of the 3/4" foam under the tank.
I also put foam under the sump and put a layer of shower pan liner (40 mil PVC) to keep it all contained.
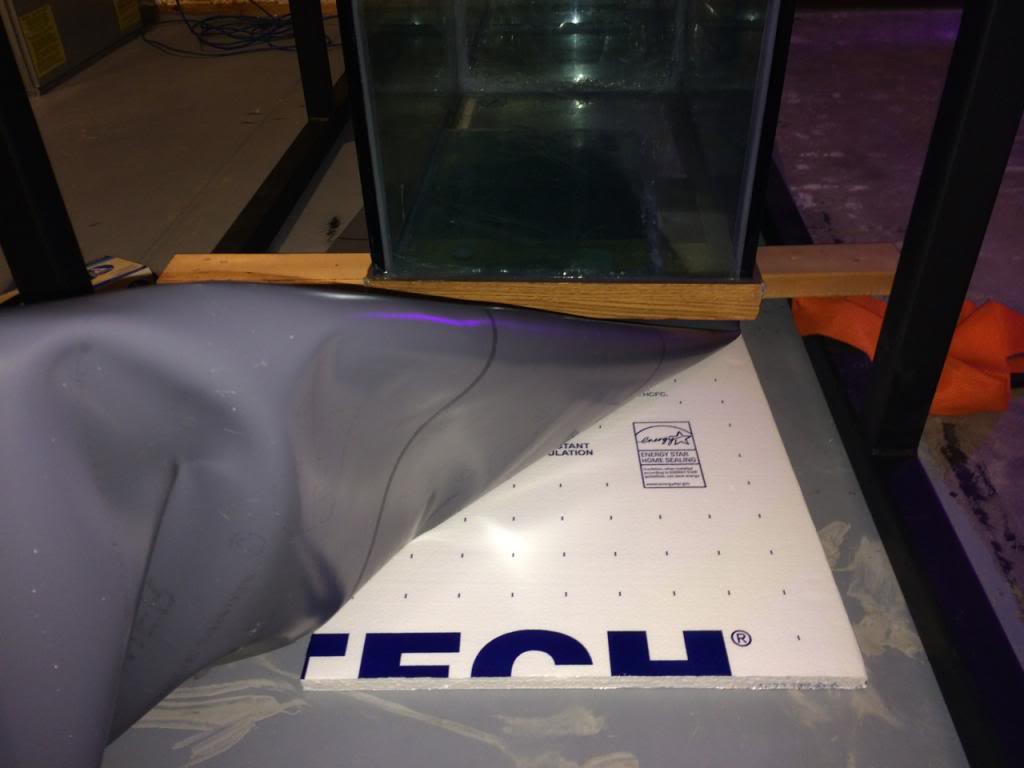
I used quickrete construction adhesive to stick it to the floor and edges of the stand. I wanted to create a pan to catch water and keep the bottom of the stand dry. I ran the shower pan liner up the side wall where the stand butts against another room.

I added a line that goes straight from the sump to the main drain so any build up of water will go right out. If it ever sees use, something has gone pretty bad wrong.

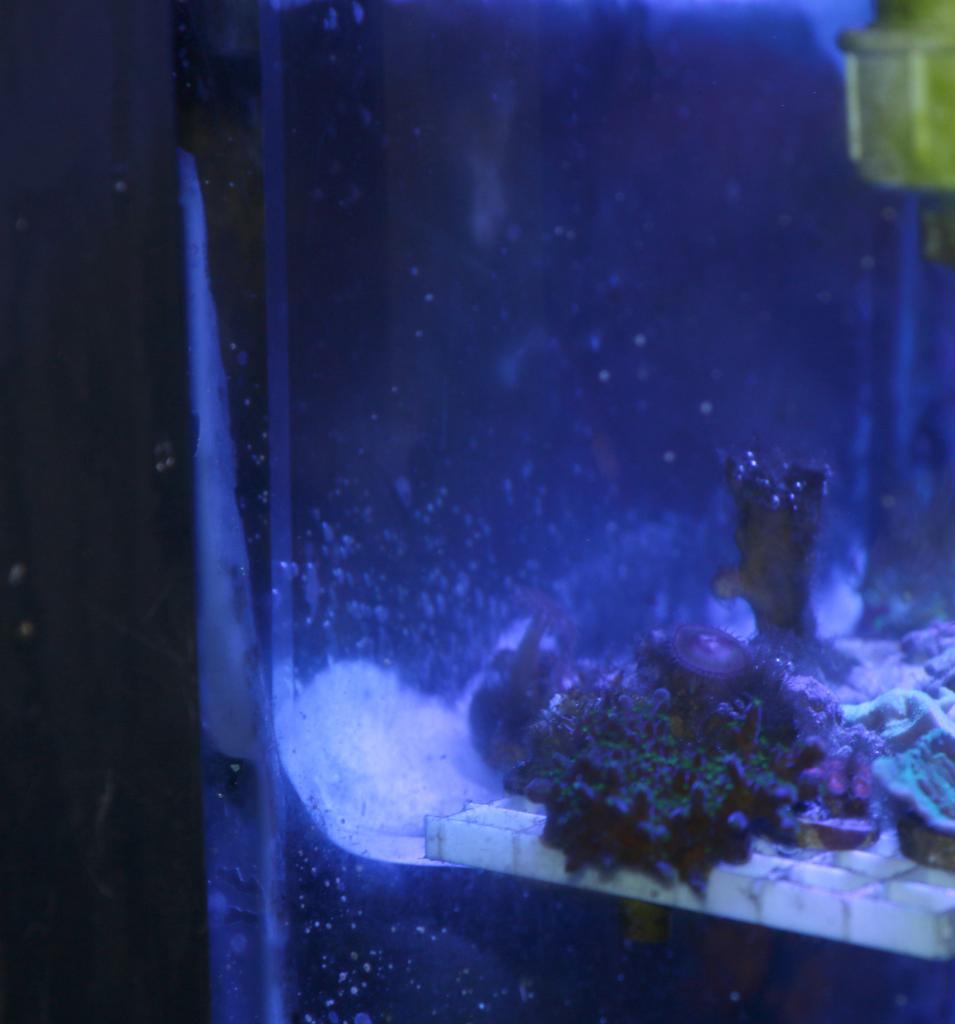
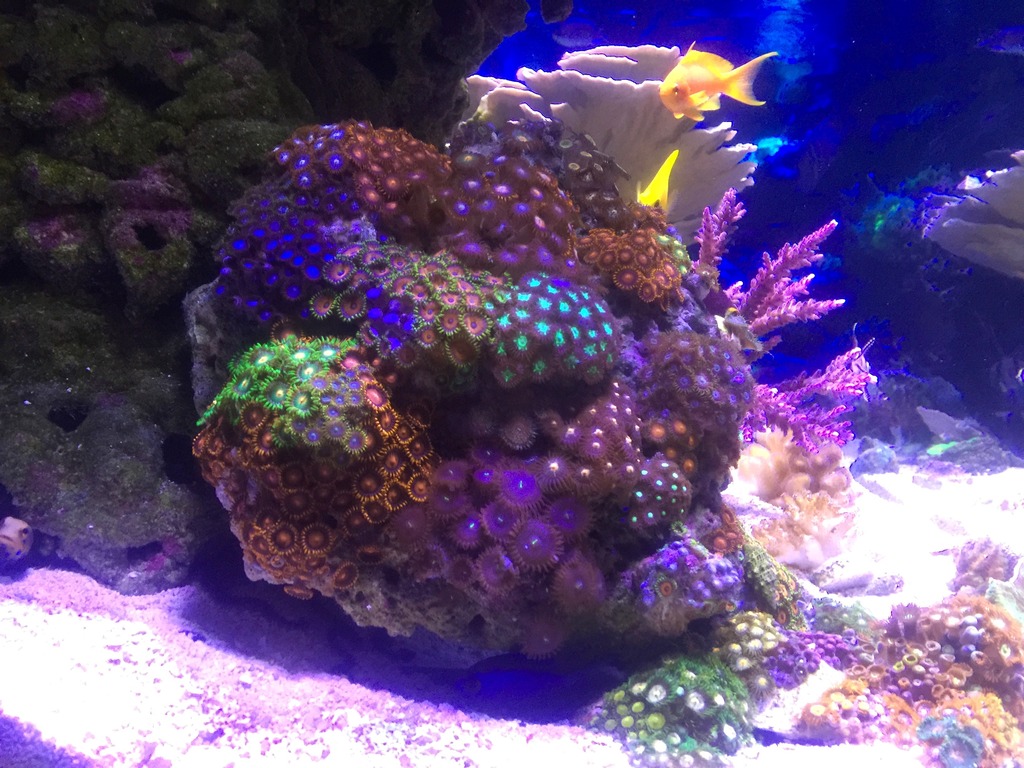
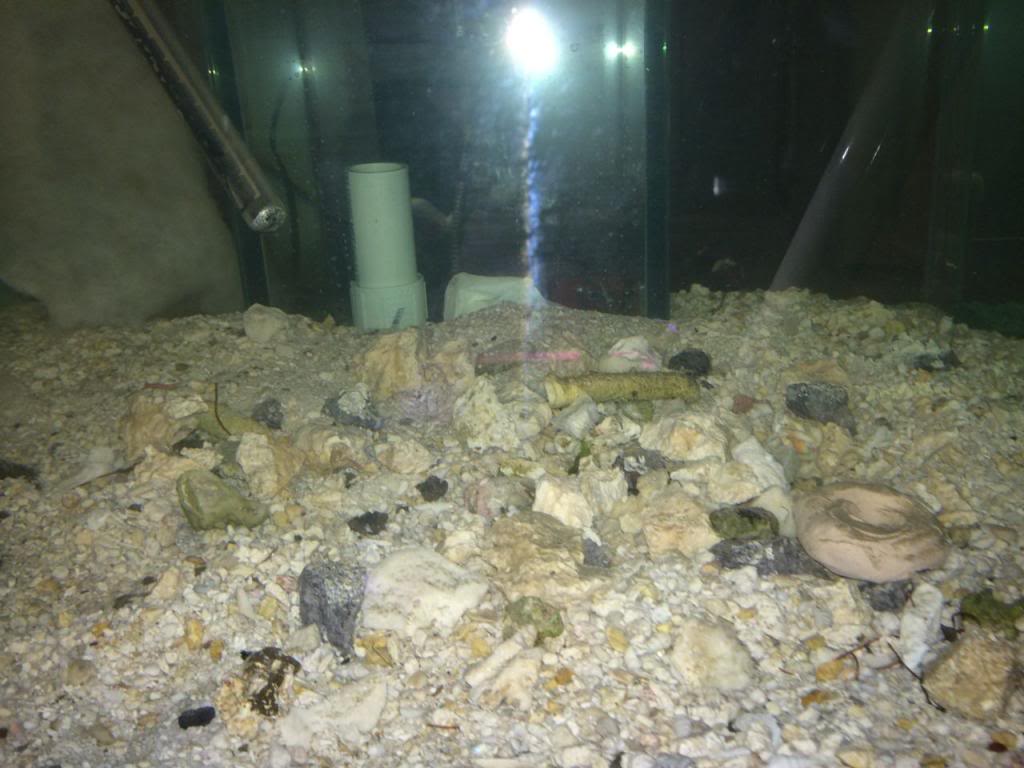
I have the sand and water in the DT. It's cycling while I complete the plumbing. I put some larger rubble pieces at the bottom of the sand on the right side so jawfish and maybe garden eels would have a spot good for burrows. I covered this with another couple of inches of sand.
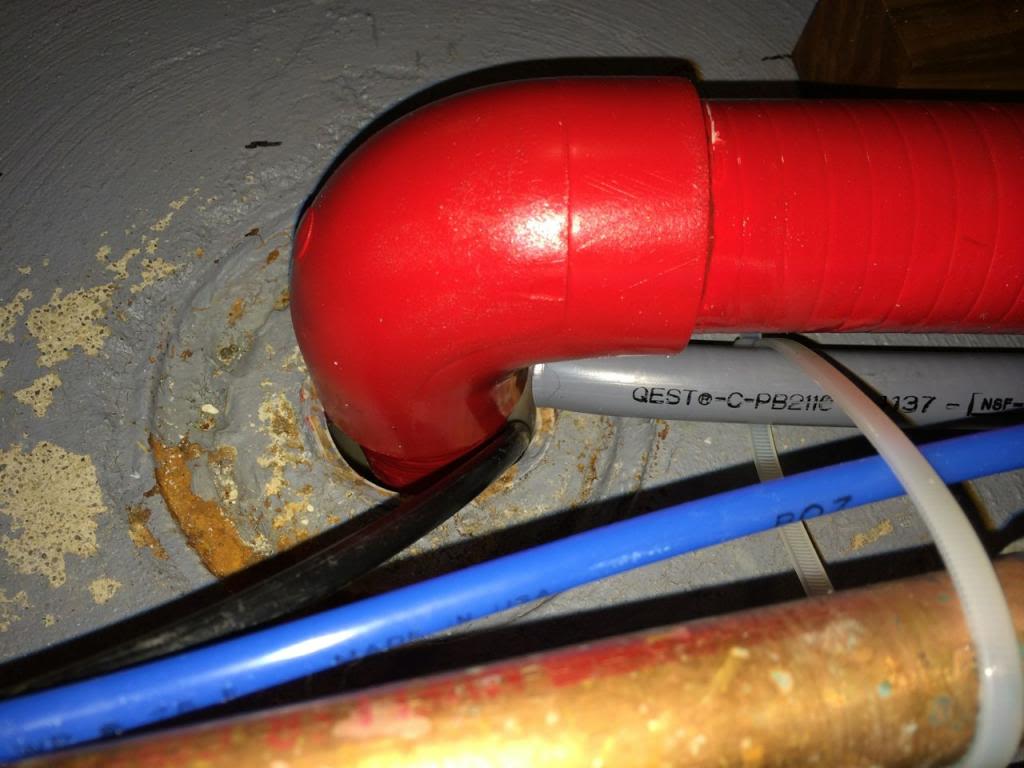
I ran plumbing from the tank to the drain in the floor. I have my RO wastewater line, a 1.25 line for water change dumping, and a 1/2" line for sump leak drainage (hopefully never used). I painted my drain lines red, return lines blue, and I'll be putting in a closed loop of sorts that will have black plumbing.

The drain end.
I covered the plumbing with a wooden platform. It's useful for getting up on the stand as well as protecting the pipes running across the floor.

Water changes will be done by leaving the pumps on and turning the valve from one of the drains shown here on the right. I'll watch the sump level and close the valve when I've drained enough. Even though I recently made some comments about not liking flex PVC, I used some I had laying around. There were a couple of areas where a little flexibility was a good idea. Beside the 55 gallon barrels where I might bump the pipes if I drag them out for cleaning and another spot where my return and drain lines needed to be in just about the same space and I wanted to route around them with some weird angles.
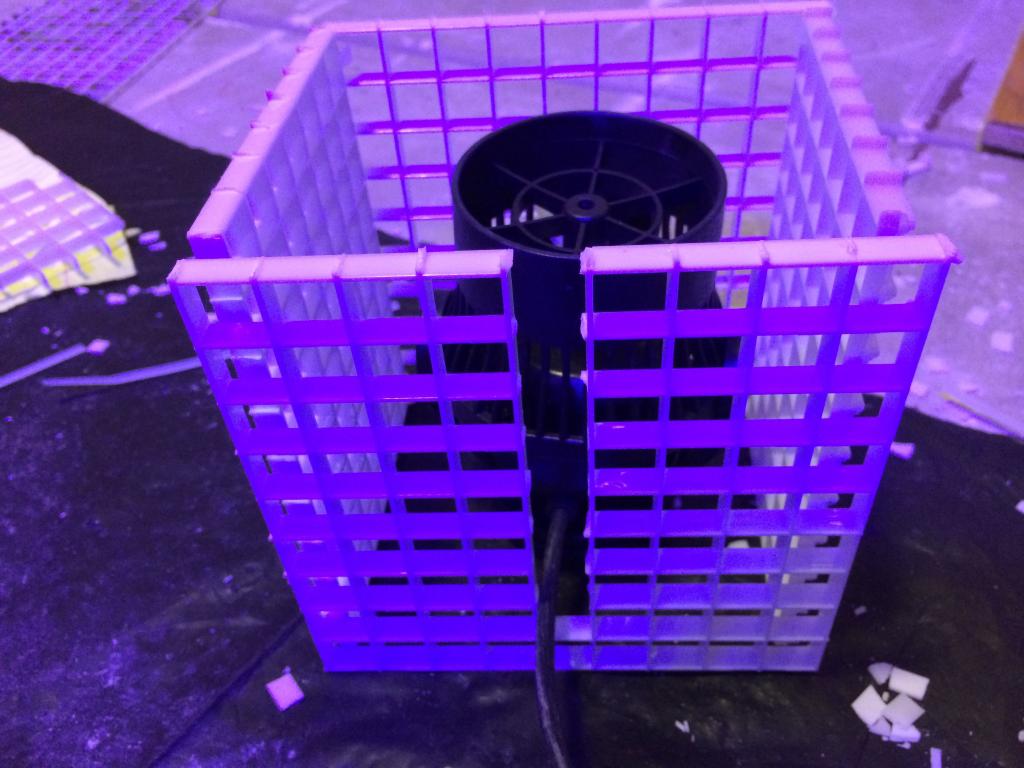
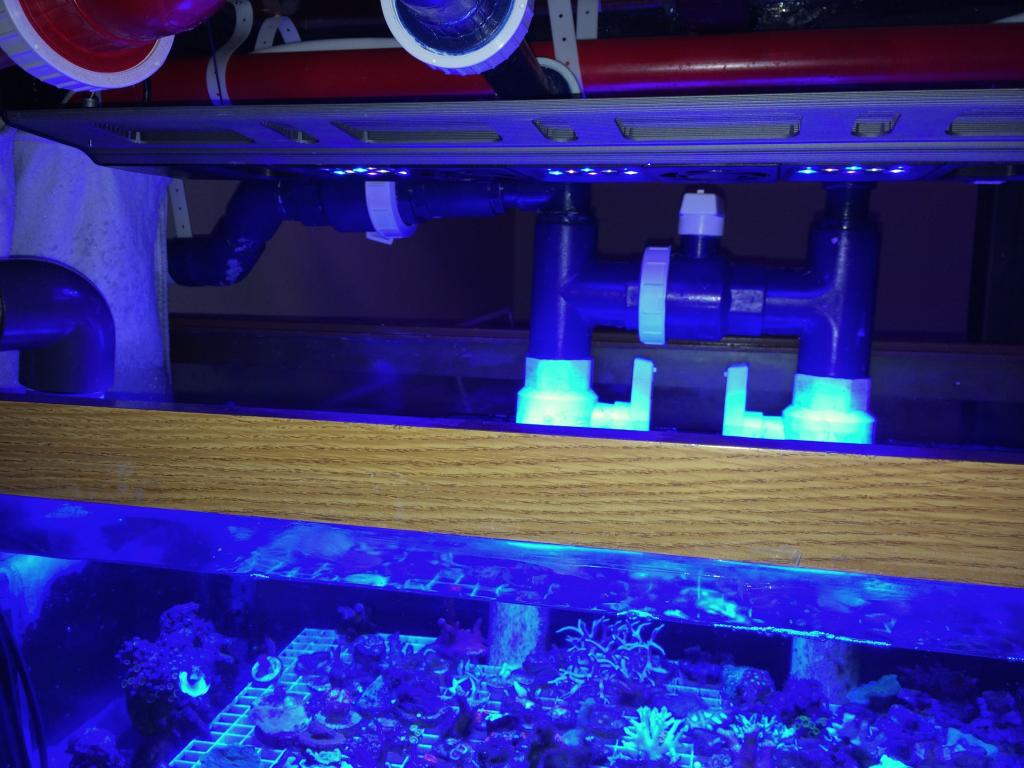
I'm going to run two Jaebo DC1200 pumps internal for the returns. I have it set so I can open the valve in the middle and let one pump feed both return lines if I need to. The pipe that will be submerged is not painted.

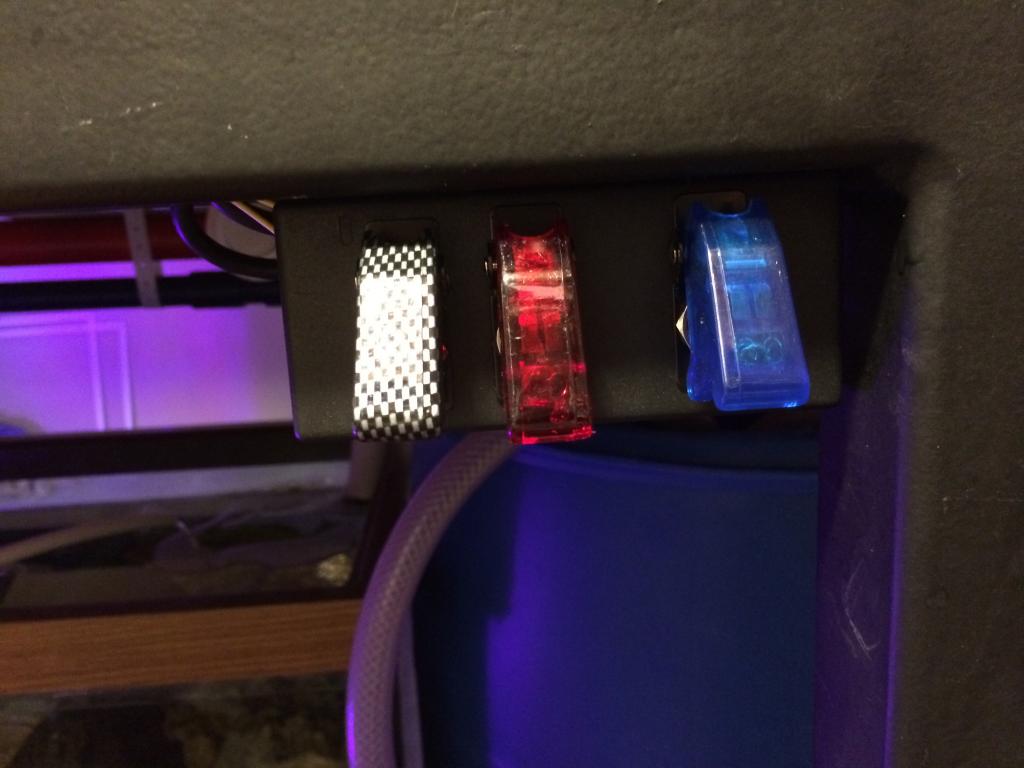
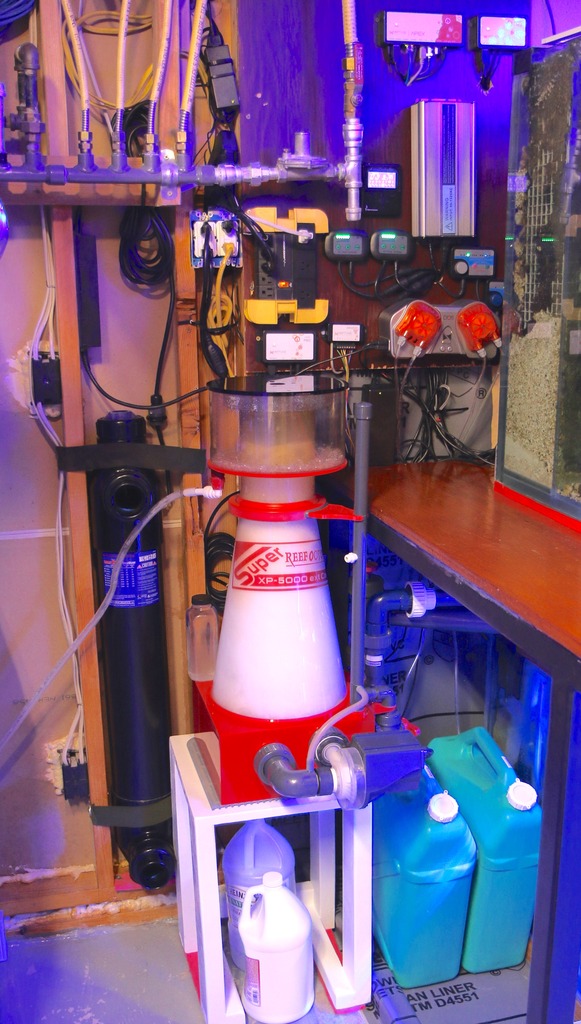
Here is a shot of it installed. The valve on the right is to the UV sterilizer. The black handled valve on the left runs over to feed media reactors.

Here is the other side where I split the line for two media reactor hookups. The red plumbing to the right is two feeds for the refugium. I can control the amount going from one return into two sides of one end of the refugium. I split that off further to have a manifold for an algae turf scrubber or other things down the road.

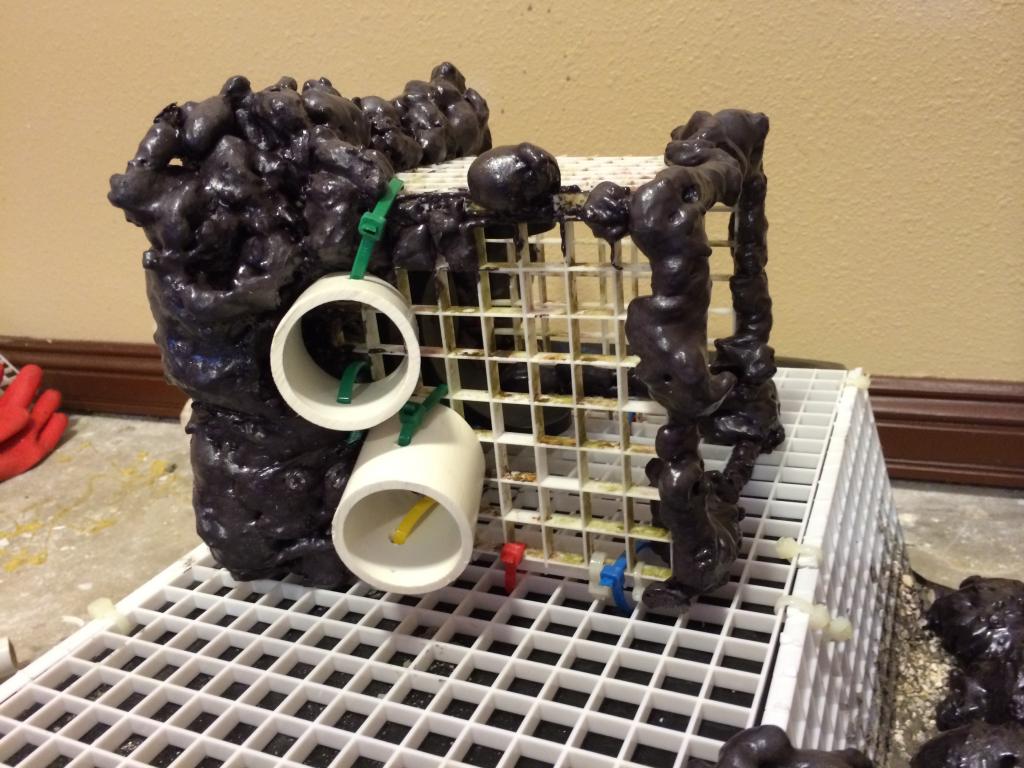
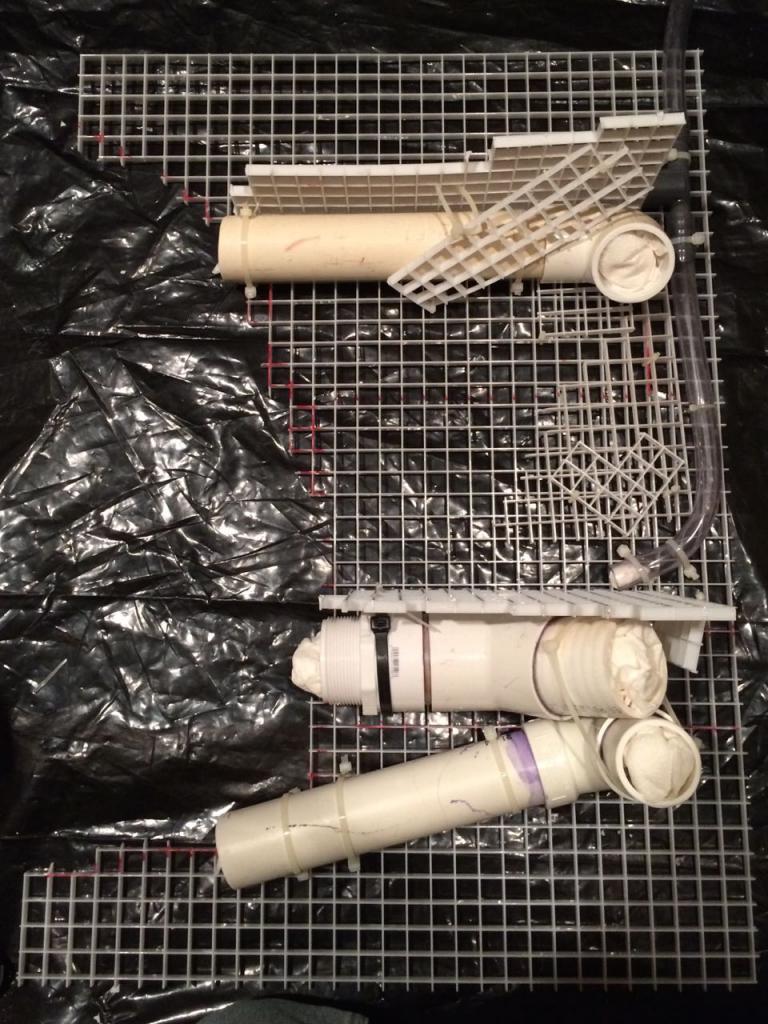
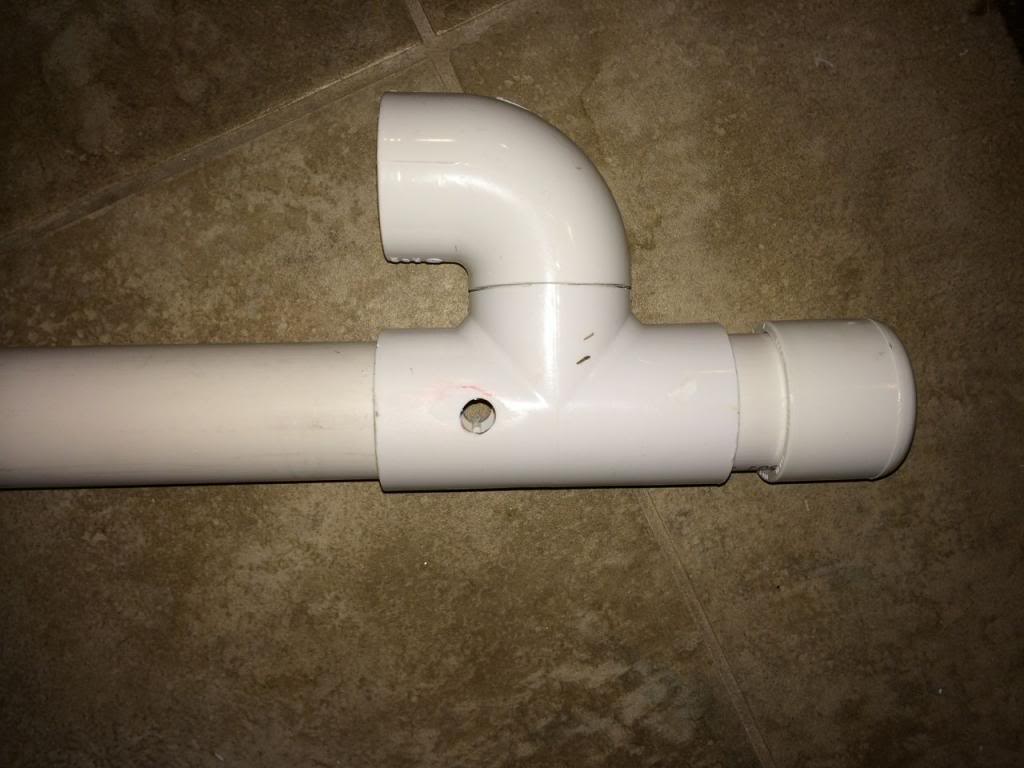
I made a couple of durso drains for the overflows.
I have just enough room for a mini fridge/freezer to hold food right by the tank.

Some historical shots:
The walls had to be modified to make room for the stand to make it through the hall. The stand is 124 inches long, 41 inches high, and 36 wide. The hallway wasn't big enough. The night before my in-laws arrived my wife heard me telling my youngest son "It's going in tonight. Get the saw". Probably not what she wanted to hear. Not the best timing I've ever done.

The open wall space to the left will be turned into built in shelving for storage of all my junk. A door will be added to the far end of the hall to block off my office/ fish room/ man cave.

Added a sink and rerouted some plumbing to make access easier. Thanks Levi and GreaseballPaul for the help! The 55 Gal barrels will go under the stand when I get some 1/4 inch line long enough to route it over from the RO/DI filter on the wall above the sink.

Side view.

I had help from some of the church youth getting the tank onto the stand. About 800lbs lifted about 42 inches high. It took everything we had to keep it straight and get it onto the stand.

The tank finally on the stand. For reference, the sump under the stand is a 72" long 150 gallon tank I modified. The red liner is tape I put on the edges of the 3/4" foam under the tank.

I also put foam under the sump and put a layer of shower pan liner (40 mil PVC) to keep it all contained.

I used quickrete construction adhesive to stick it to the floor and edges of the stand. I wanted to create a pan to catch water and keep the bottom of the stand dry. I ran the shower pan liner up the side wall where the stand butts against another room.

I added a line that goes straight from the sump to the main drain so any build up of water will go right out. If it ever sees use, something has gone pretty bad wrong.

I have the sand and water in the DT. It's cycling while I complete the plumbing. I put some larger rubble pieces at the bottom of the sand on the right side so jawfish and maybe garden eels would have a spot good for burrows. I covered this with another couple of inches of sand.

I ran plumbing from the tank to the drain in the floor. I have my RO wastewater line, a 1.25 line for water change dumping, and a 1/2" line for sump leak drainage (hopefully never used). I painted my drain lines red, return lines blue, and I'll be putting in a closed loop of sorts that will have black plumbing.

The drain end.

I covered the plumbing with a wooden platform. It's useful for getting up on the stand as well as protecting the pipes running across the floor.

Water changes will be done by leaving the pumps on and turning the valve from one of the drains shown here on the right. I'll watch the sump level and close the valve when I've drained enough. Even though I recently made some comments about not liking flex PVC, I used some I had laying around. There were a couple of areas where a little flexibility was a good idea. Beside the 55 gallon barrels where I might bump the pipes if I drag them out for cleaning and another spot where my return and drain lines needed to be in just about the same space and I wanted to route around them with some weird angles.

I'm going to run two Jaebo DC1200 pumps internal for the returns. I have it set so I can open the valve in the middle and let one pump feed both return lines if I need to. The pipe that will be submerged is not painted.

Here is a shot of it installed. The valve on the right is to the UV sterilizer. The black handled valve on the left runs over to feed media reactors.

Here is the other side where I split the line for two media reactor hookups. The red plumbing to the right is two feeds for the refugium. I can control the amount going from one return into two sides of one end of the refugium. I split that off further to have a manifold for an algae turf scrubber or other things down the road.

I made a couple of durso drains for the overflows.

I have just enough room for a mini fridge/freezer to hold food right by the tank.