Welcome to another installment of "how come you've never been married"? With your host, Michael.
Before we begin, let's lower our heads in prayer. "forgive me father, for I have sinned. It's been two weeks since my own account put a hit out on me.."
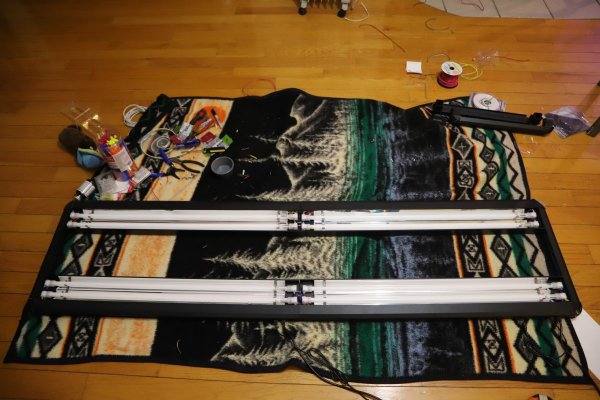
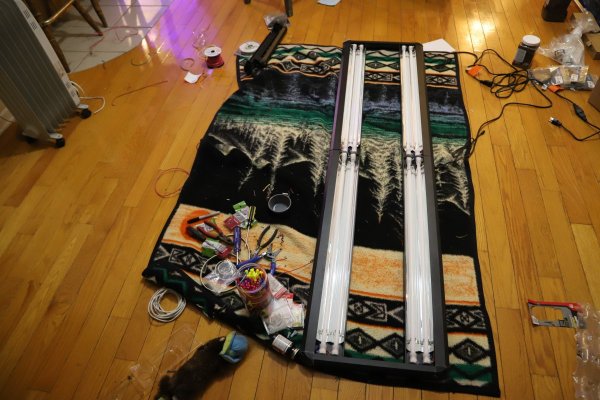
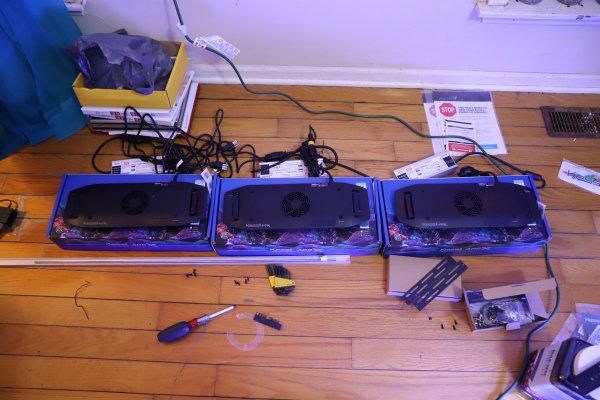
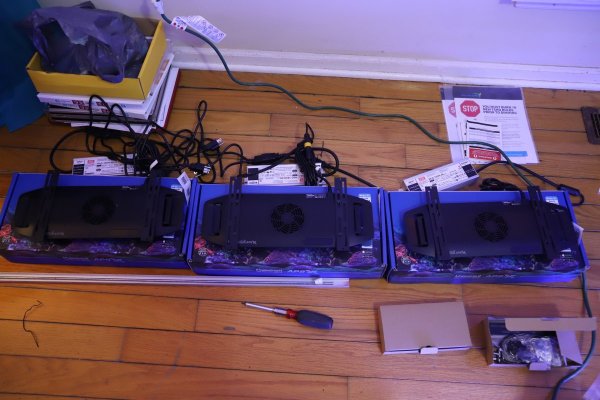
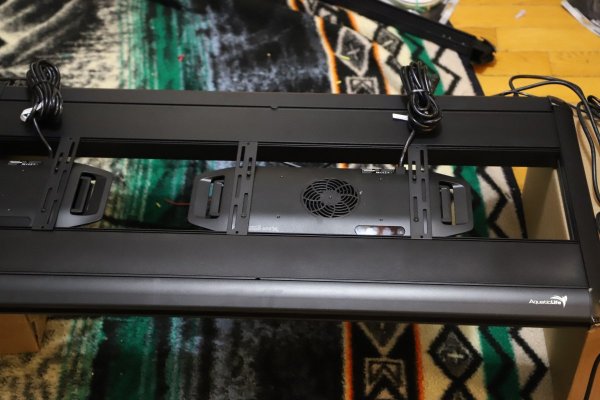
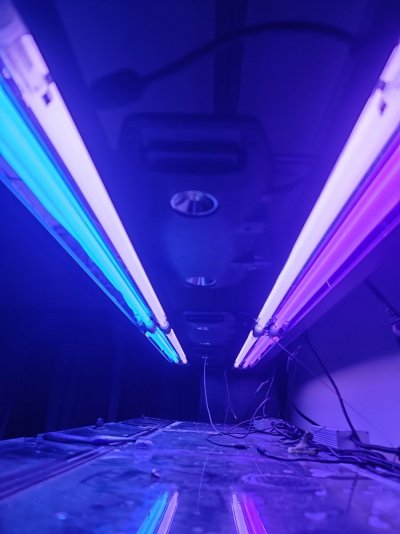
Now, let's follow along as we turn this bank buster:

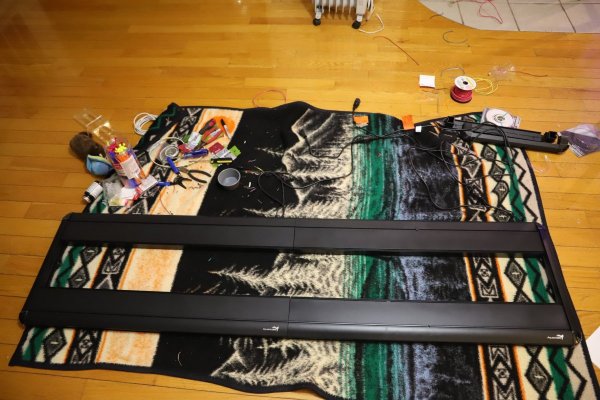
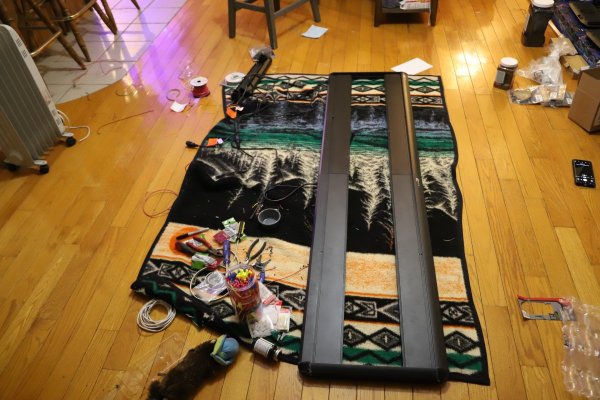
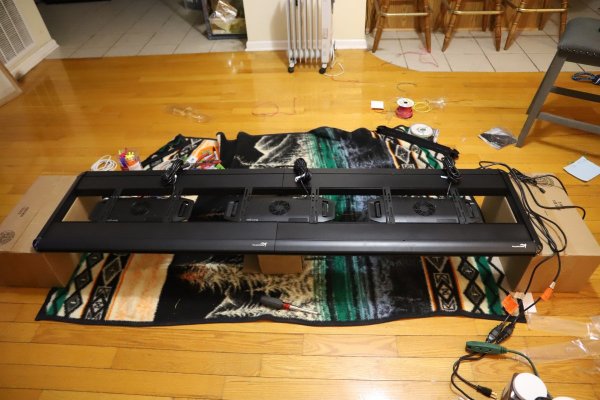
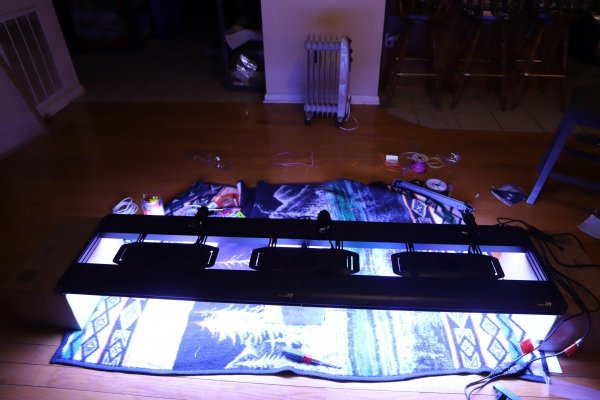
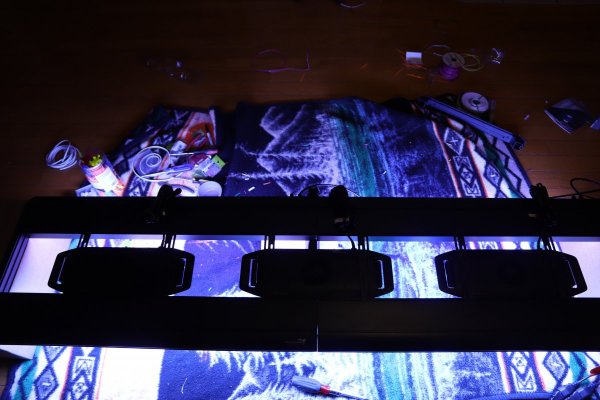
Into this:

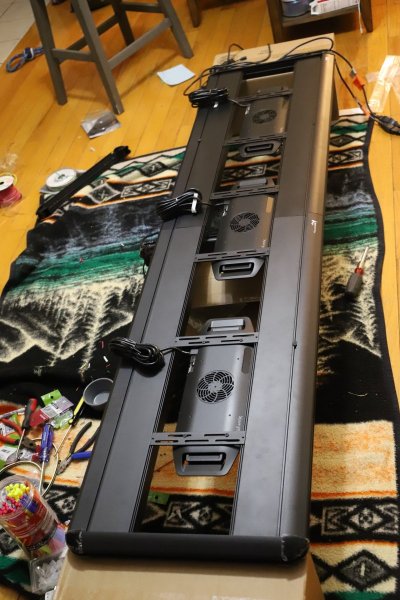
Oh, wait. That didn't go right...
That's for those that get physically ill at the thought of writing a check for two DX18's and the day they arrive getting out the wire cutters voiding any/all warranty.
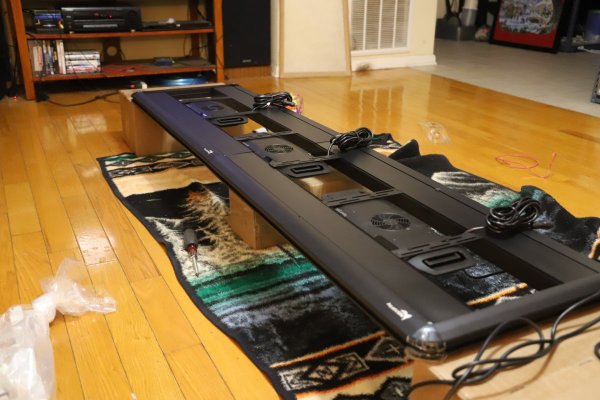
Here's what really happened:

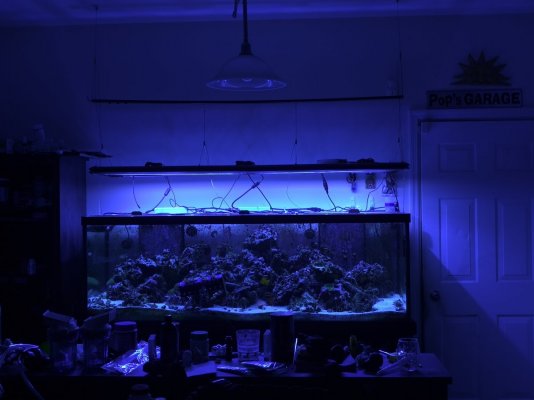
I have a standard 180 gallon display (6x2x2) and the options weren't really fitting. The 60" version was tested to be adequate according to BRS, but it lacked dimming. The only way to convert a 60" to dimming is to replace both ballasts with 0-10v dimming versions. The cheapest I found them was around 175$ each, adding 350$ to the price of the 60".
By that time you're 80% of the way to dual 32" dimmable DX18 prices. So that's the direction I went. It gave wall-to-wall coverage versus the 60" stopping short 6 inches on each side. Plus I have dual dimming controlls running off a single 4-channel VDM module.
The problem comes in years ago when I bought my standard 180, not knowing the advantages of a rimless tank. So I have a rim and two rails on the top basically cutting the tank in 3 2x2x2 cubes. Perfect, I'll put a AP9x over each cube. Except 2 32" fixtures butted together in the middle didn't lend well to this idea.
And here's when the mad scientist comes out. Instead of coming up with a better idea, destroying warranties on day 1 is a much better path.....
This mod is actually simplier than you would think. Remove one side bar on each fixture.
Aquatic life runs the ballast wires down both sides to save on expensive copper wire. Buy some wire, take the cables out of one side and extend them through the other side.
I found an easy wire extender at the local Walmart. Go into the auto section and look for bulk trailer wire bundle. It's 16/4 flat-ribbon cable (so much easier to route) with insulation made to use outdoors on a trailer. 25 feet was around 15$
On the one you're removing the left side part you'll need to move the power cable and the 1-10v signal for the ballast on the front side. For the power cable I used two additional strands of the ribbon cable. With the 2x39 watt ballast pulling less then 1 amp, the 16 guage cable is plenty. For the 0-10v I got a small section of 18/2 low-voltage thermostat cable from the local hardware store for a couple dollars.
Let's get started void'n dem warranteees.
Start with the DX laying on its top with the underside facing up.
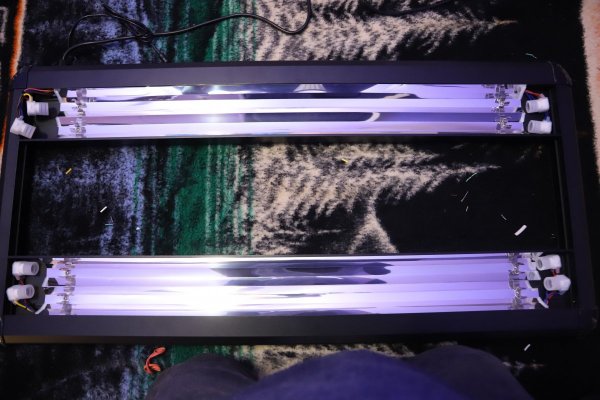
Remove the 8 metal clamps that hold the bulbs in:
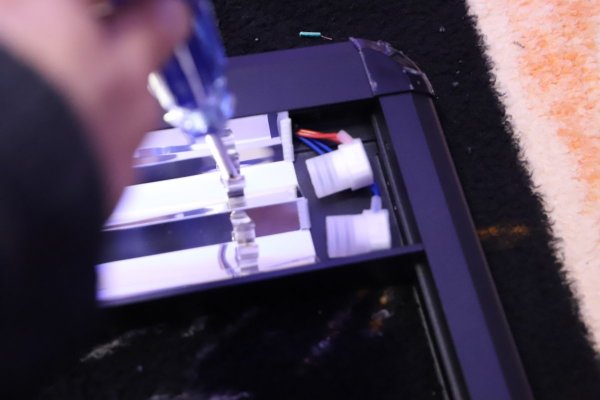
And /gently/ pry the reflector out. Start at the corner and gently work your way down one side.
Do NOT pull on the reflector, like I did, and put a crinkle in it (yay). Just run down the edge and it'll pop out.
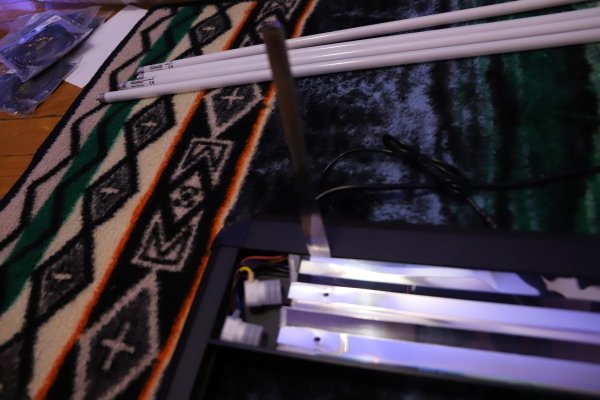
Then you'll be looking at it like this:
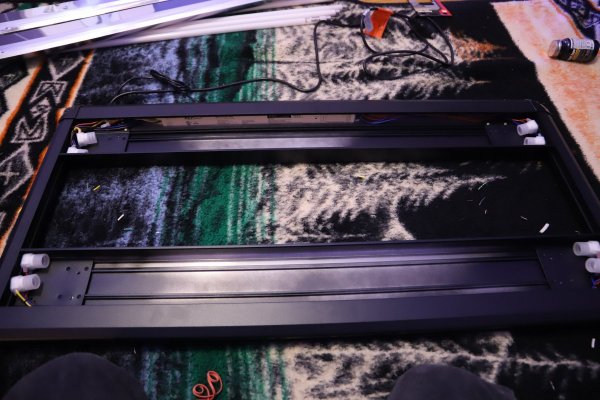
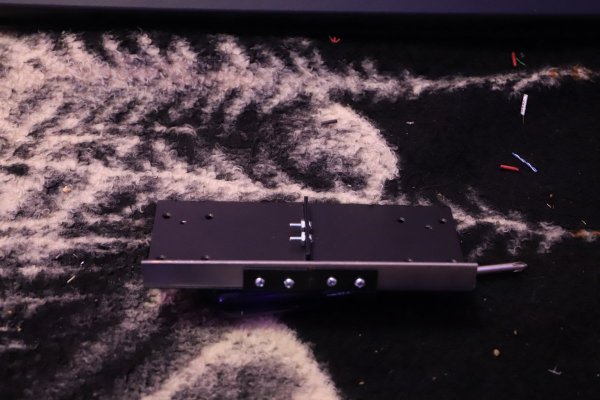
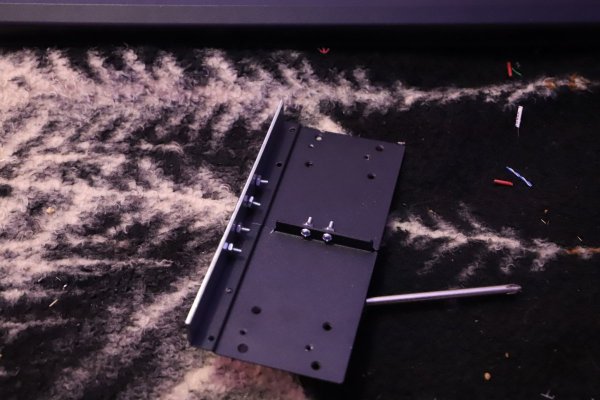
Next is the brackets you see at the edge. Those 4 screws? well, like 16 or so, but yeah.
Since we're taking different sides off each, pick your poison. I did the one with the left first because it had the addition power wiring.
Take all these out
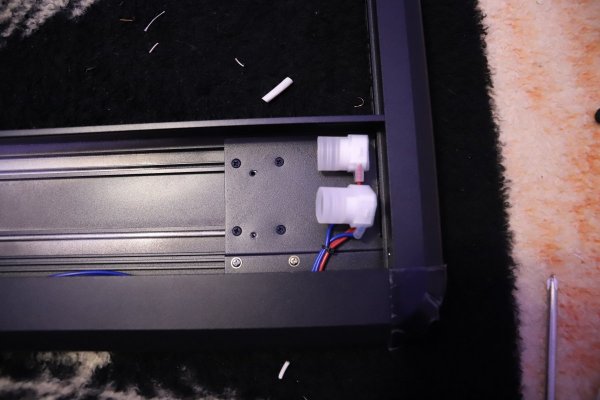
Once you have those out, start on the other side of the corner
Not the best picture, but you get it.
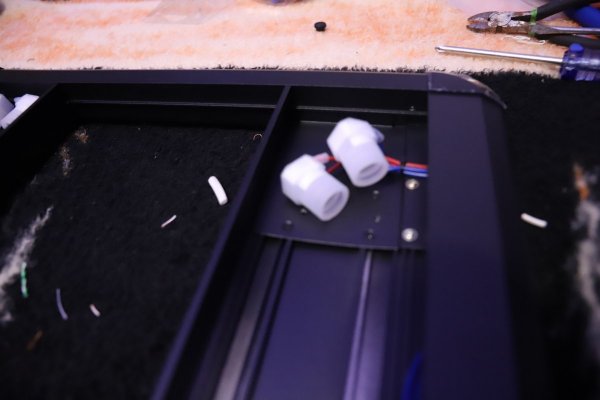
Once those are out the bracket will come loose.
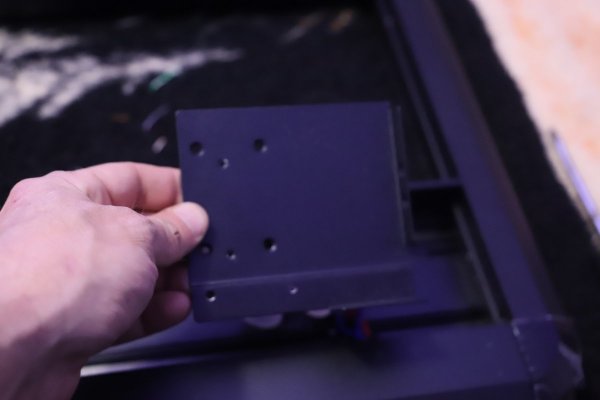
And you'll be left with a corner that looks like this:
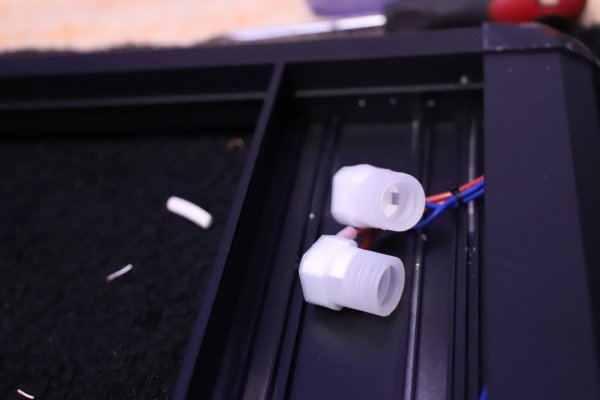
See how much fun we had there? now do the same on the top side....Yay!
At this point you can see down the length of the fixture. The end pieces are solid all the way down, so all the work has to be done across the inside front and inside rear.
Locate and trace the wires traveling down the side you want to remove. Then, and here is the point of no return, get the wire snips out.
Cut the wires, lay the 16/4 around the other way, and start reattaching wires.
Everything was straight-forward, marked on the ballasts, and color coded. If you've ever wired a florescent ballast before, this is just moving wires.
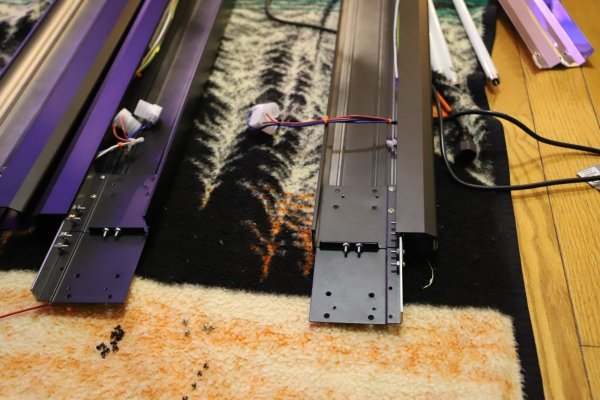
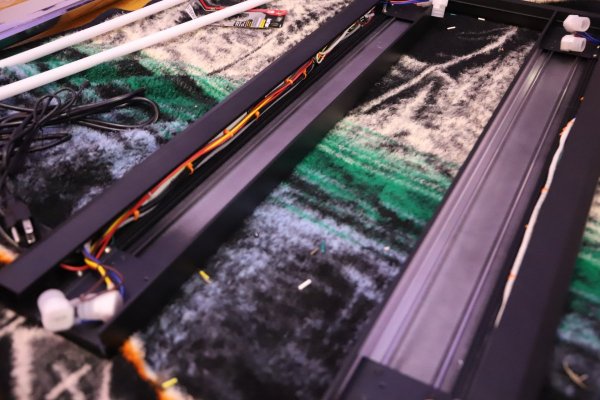
This is a mid-way shot of the re-wire. It also shows the 16/4 flat ribbon cable I spoke of. Having 4 wires on a flat cable to wire a 4-wire ballast was a jackpot find. Highly recommended.
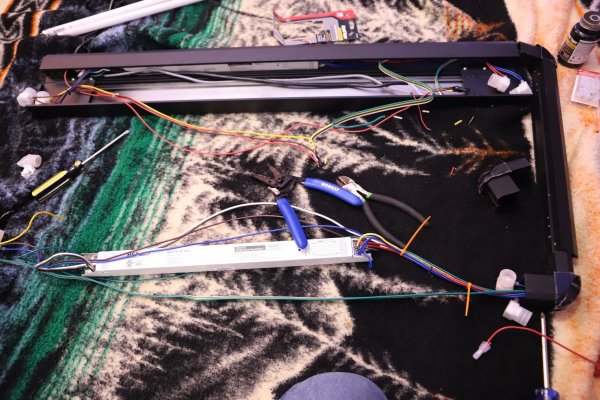
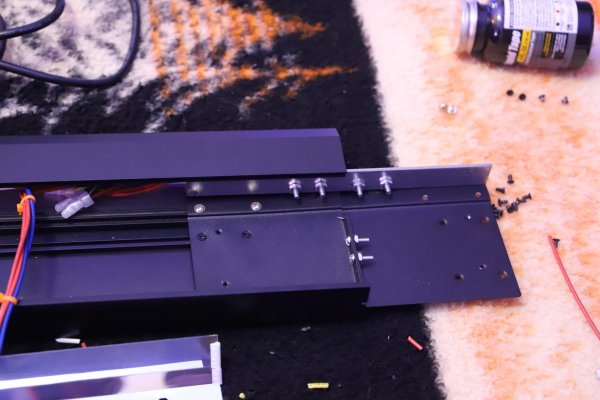
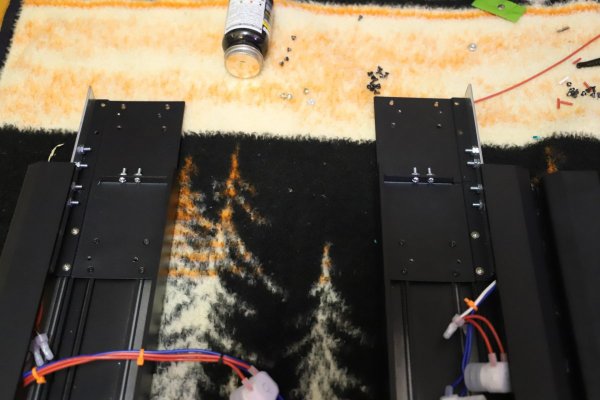
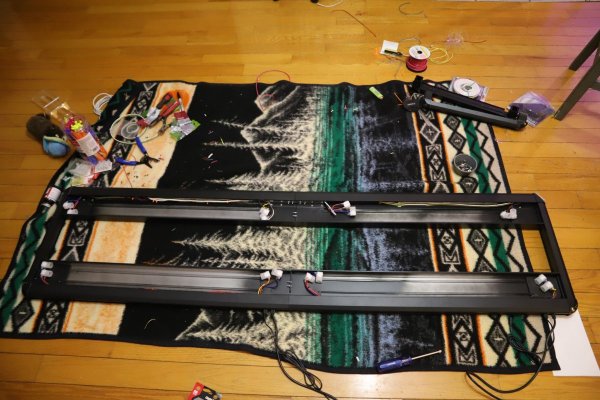
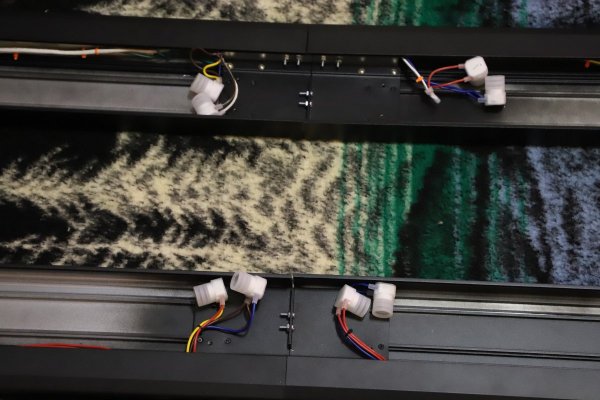
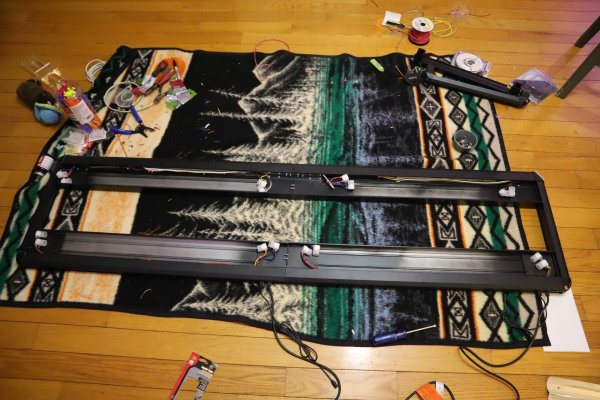
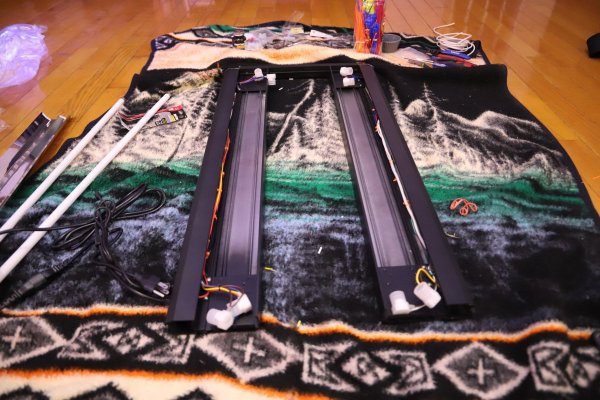
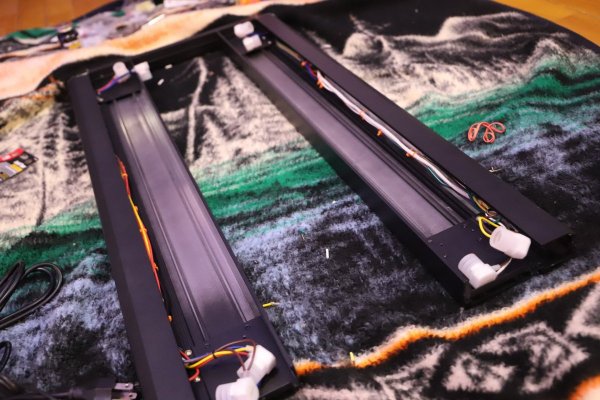
And for those getting ill, Here's a progressed view:
Making sure I don't hit post limit
Will be cont in next post
Before we begin, let's lower our heads in prayer. "forgive me father, for I have sinned. It's been two weeks since my own account put a hit out on me.."
Now, let's follow along as we turn this bank buster:
Into this:
Oh, wait. That didn't go right...
That's for those that get physically ill at the thought of writing a check for two DX18's and the day they arrive getting out the wire cutters voiding any/all warranty.
Here's what really happened:
I have a standard 180 gallon display (6x2x2) and the options weren't really fitting. The 60" version was tested to be adequate according to BRS, but it lacked dimming. The only way to convert a 60" to dimming is to replace both ballasts with 0-10v dimming versions. The cheapest I found them was around 175$ each, adding 350$ to the price of the 60".
By that time you're 80% of the way to dual 32" dimmable DX18 prices. So that's the direction I went. It gave wall-to-wall coverage versus the 60" stopping short 6 inches on each side. Plus I have dual dimming controlls running off a single 4-channel VDM module.
The problem comes in years ago when I bought my standard 180, not knowing the advantages of a rimless tank. So I have a rim and two rails on the top basically cutting the tank in 3 2x2x2 cubes. Perfect, I'll put a AP9x over each cube. Except 2 32" fixtures butted together in the middle didn't lend well to this idea.
And here's when the mad scientist comes out. Instead of coming up with a better idea, destroying warranties on day 1 is a much better path.....
This mod is actually simplier than you would think. Remove one side bar on each fixture.
Aquatic life runs the ballast wires down both sides to save on expensive copper wire. Buy some wire, take the cables out of one side and extend them through the other side.
I found an easy wire extender at the local Walmart. Go into the auto section and look for bulk trailer wire bundle. It's 16/4 flat-ribbon cable (so much easier to route) with insulation made to use outdoors on a trailer. 25 feet was around 15$
On the one you're removing the left side part you'll need to move the power cable and the 1-10v signal for the ballast on the front side. For the power cable I used two additional strands of the ribbon cable. With the 2x39 watt ballast pulling less then 1 amp, the 16 guage cable is plenty. For the 0-10v I got a small section of 18/2 low-voltage thermostat cable from the local hardware store for a couple dollars.
Let's get started void'n dem warranteees.
Start with the DX laying on its top with the underside facing up.

Remove the 8 metal clamps that hold the bulbs in:

And /gently/ pry the reflector out. Start at the corner and gently work your way down one side.
Do NOT pull on the reflector, like I did, and put a crinkle in it (yay). Just run down the edge and it'll pop out.

Then you'll be looking at it like this:

Next is the brackets you see at the edge. Those 4 screws? well, like 16 or so, but yeah.
Since we're taking different sides off each, pick your poison. I did the one with the left first because it had the addition power wiring.
Take all these out

Once you have those out, start on the other side of the corner
Not the best picture, but you get it.

Once those are out the bracket will come loose.

And you'll be left with a corner that looks like this:

See how much fun we had there? now do the same on the top side....Yay!
At this point you can see down the length of the fixture. The end pieces are solid all the way down, so all the work has to be done across the inside front and inside rear.
Locate and trace the wires traveling down the side you want to remove. Then, and here is the point of no return, get the wire snips out.
Cut the wires, lay the 16/4 around the other way, and start reattaching wires.
Everything was straight-forward, marked on the ballasts, and color coded. If you've ever wired a florescent ballast before, this is just moving wires.
This is a mid-way shot of the re-wire. It also shows the 16/4 flat ribbon cable I spoke of. Having 4 wires on a flat cable to wire a 4-wire ballast was a jackpot find. Highly recommended.

And for those getting ill, Here's a progressed view:


Making sure I don't hit post limit
Will be cont in next post


