- Joined
- Nov 6, 2011
- Messages
- 125
- Reaction score
- 121
Yokwe and Aloha. After 25 years of aquarium keeping, i decided to take a break from reefkeeping after departing the Marshall Islands where I lived for five years.
It was a great experience living there having the ability to collect both corals and fish for my aquarium over the span of five years. I have to say, you really learn a lot when the Ocean is your local fish store. But alas, all things must come to an end. I thought about starting a new tank when i moved to the Middle East but after perusing a couple of LFS in Doha Qatar, decided against doing so given the poor selections available. Fast forward to this year, decided to get back into the game since amiss from 2015. Anyways, here's my journey back into the reefkeeping foray after a 6 year absence.
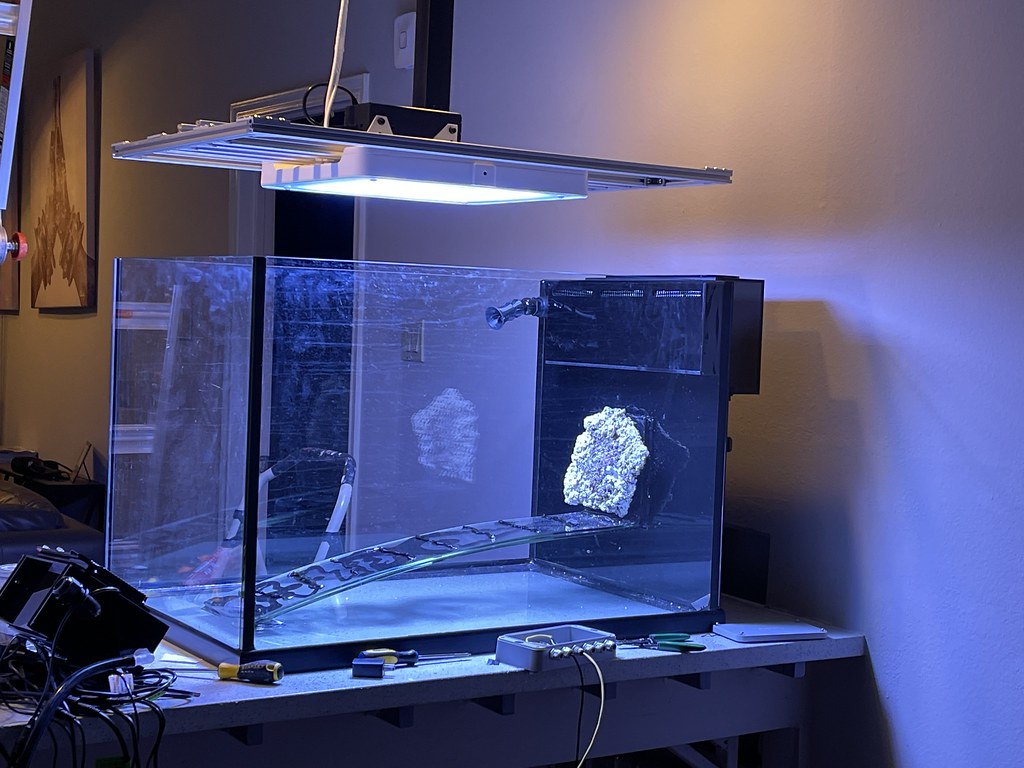
Build overview:
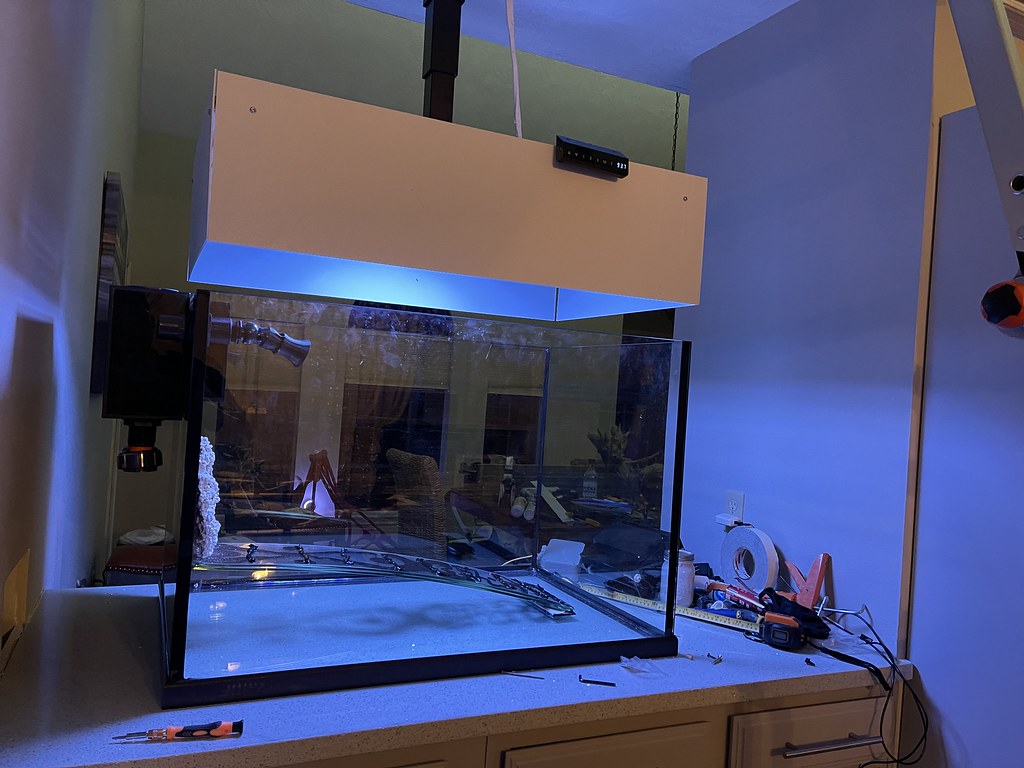
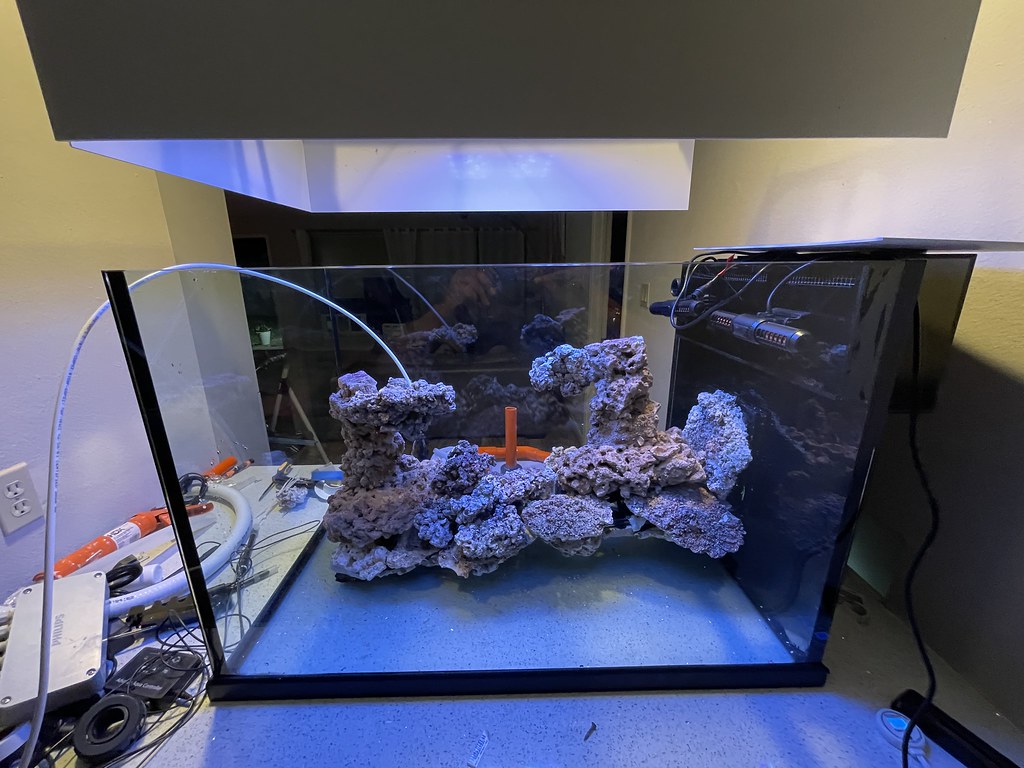
36x24x24 Rimless Planet Aquarium
Exotic Marine 20" Overflow Kit
Philips CoralCare Gen2 LED Light Fixture
Bubble Magus Roller Filter medium
Maxspect JUMP Protein Skimmer
2x IceCap 2K Gyre Flow Pump With Dual Pump WiFi Controller
Coral Box DCA12000 return pump
Aqueon Standard Glass Aquarium Tank 40 Gallon Breeder Sump
Jacks Rax DIY baffle kit
Marine Magic - TURF ATS
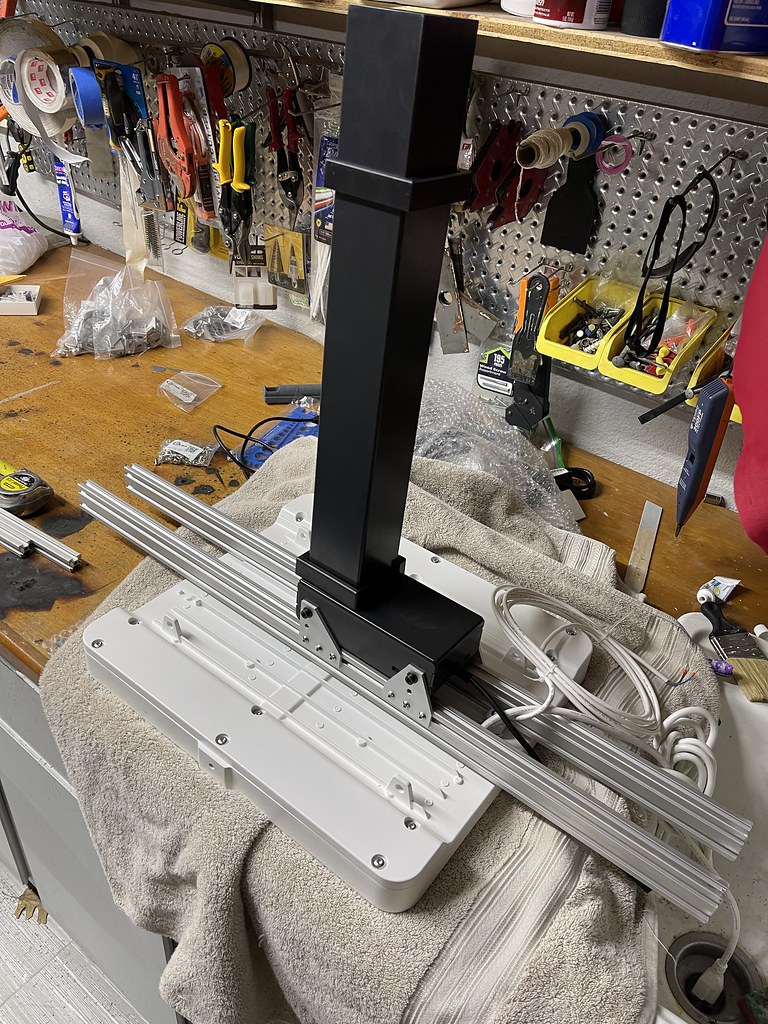
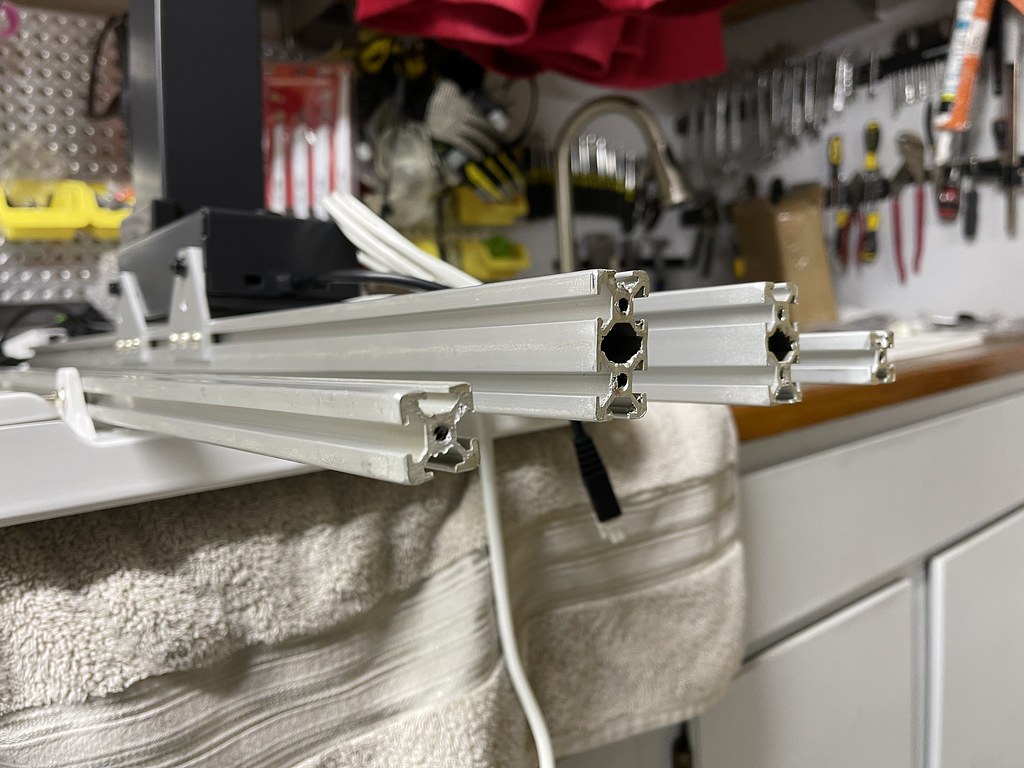
DIY Electric light raising
Stenner AWC pump 170 DM5
HydroFill Water Reservoir 15G, for AWC
AQUATICLIFE RODIw/ booster pump
Profilux Level Sensor, float & Optical for ATO
ProfiLux 4 Controller
ProfiLux KH Director
GHL Doser 2.1 SA
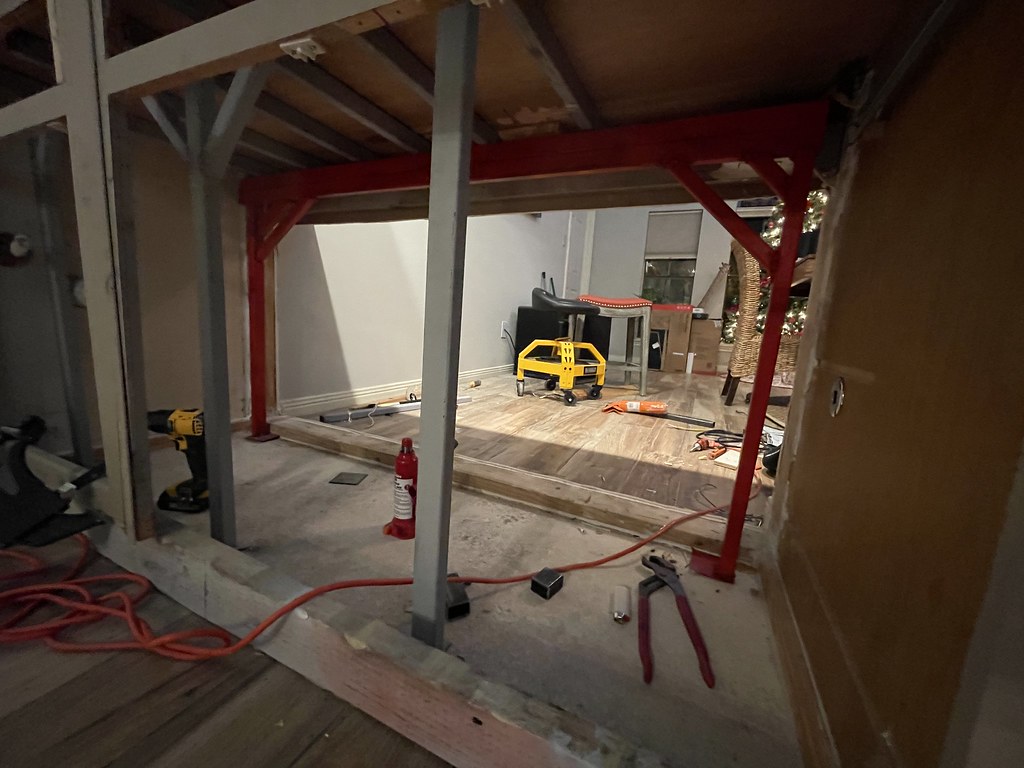
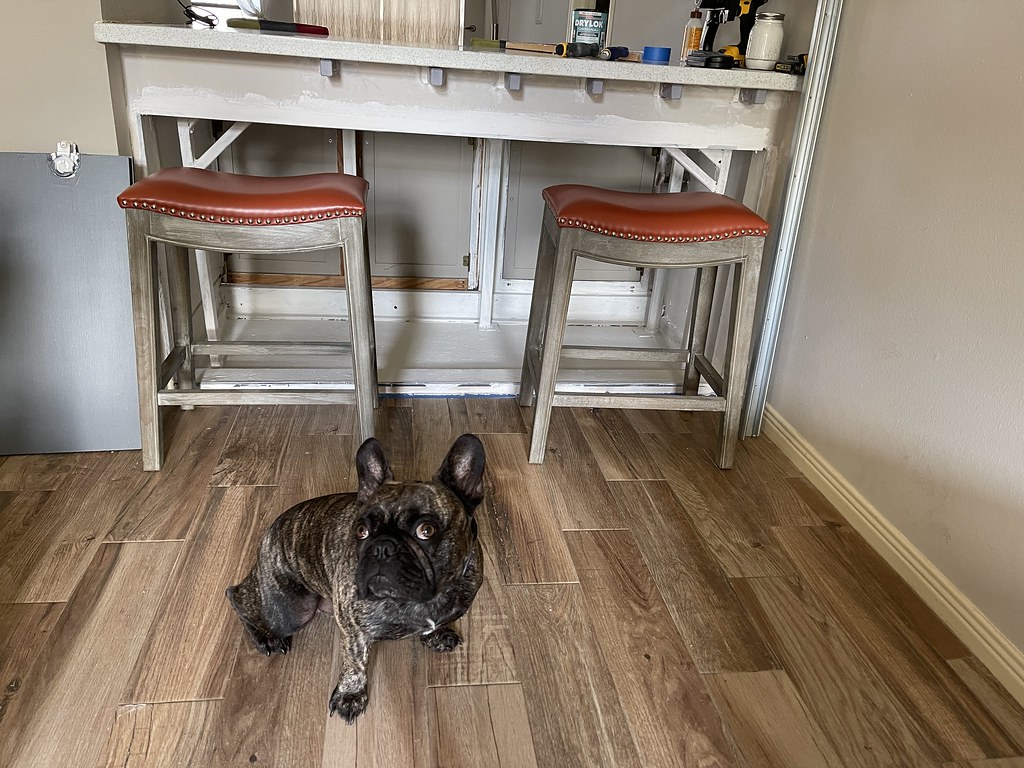
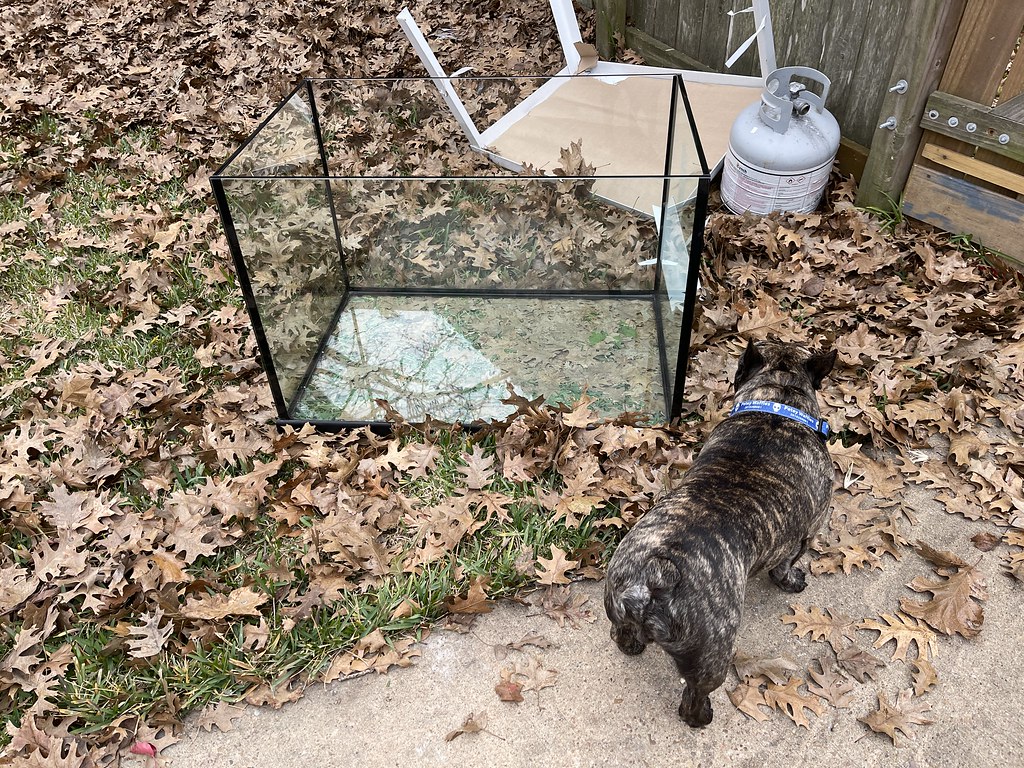
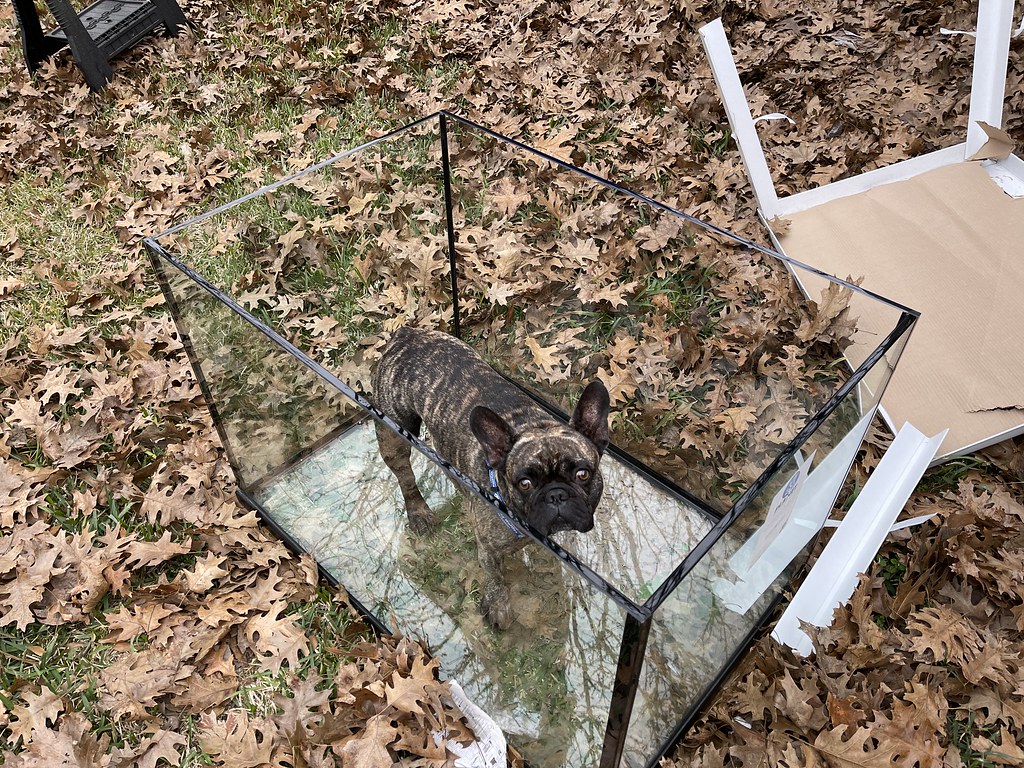
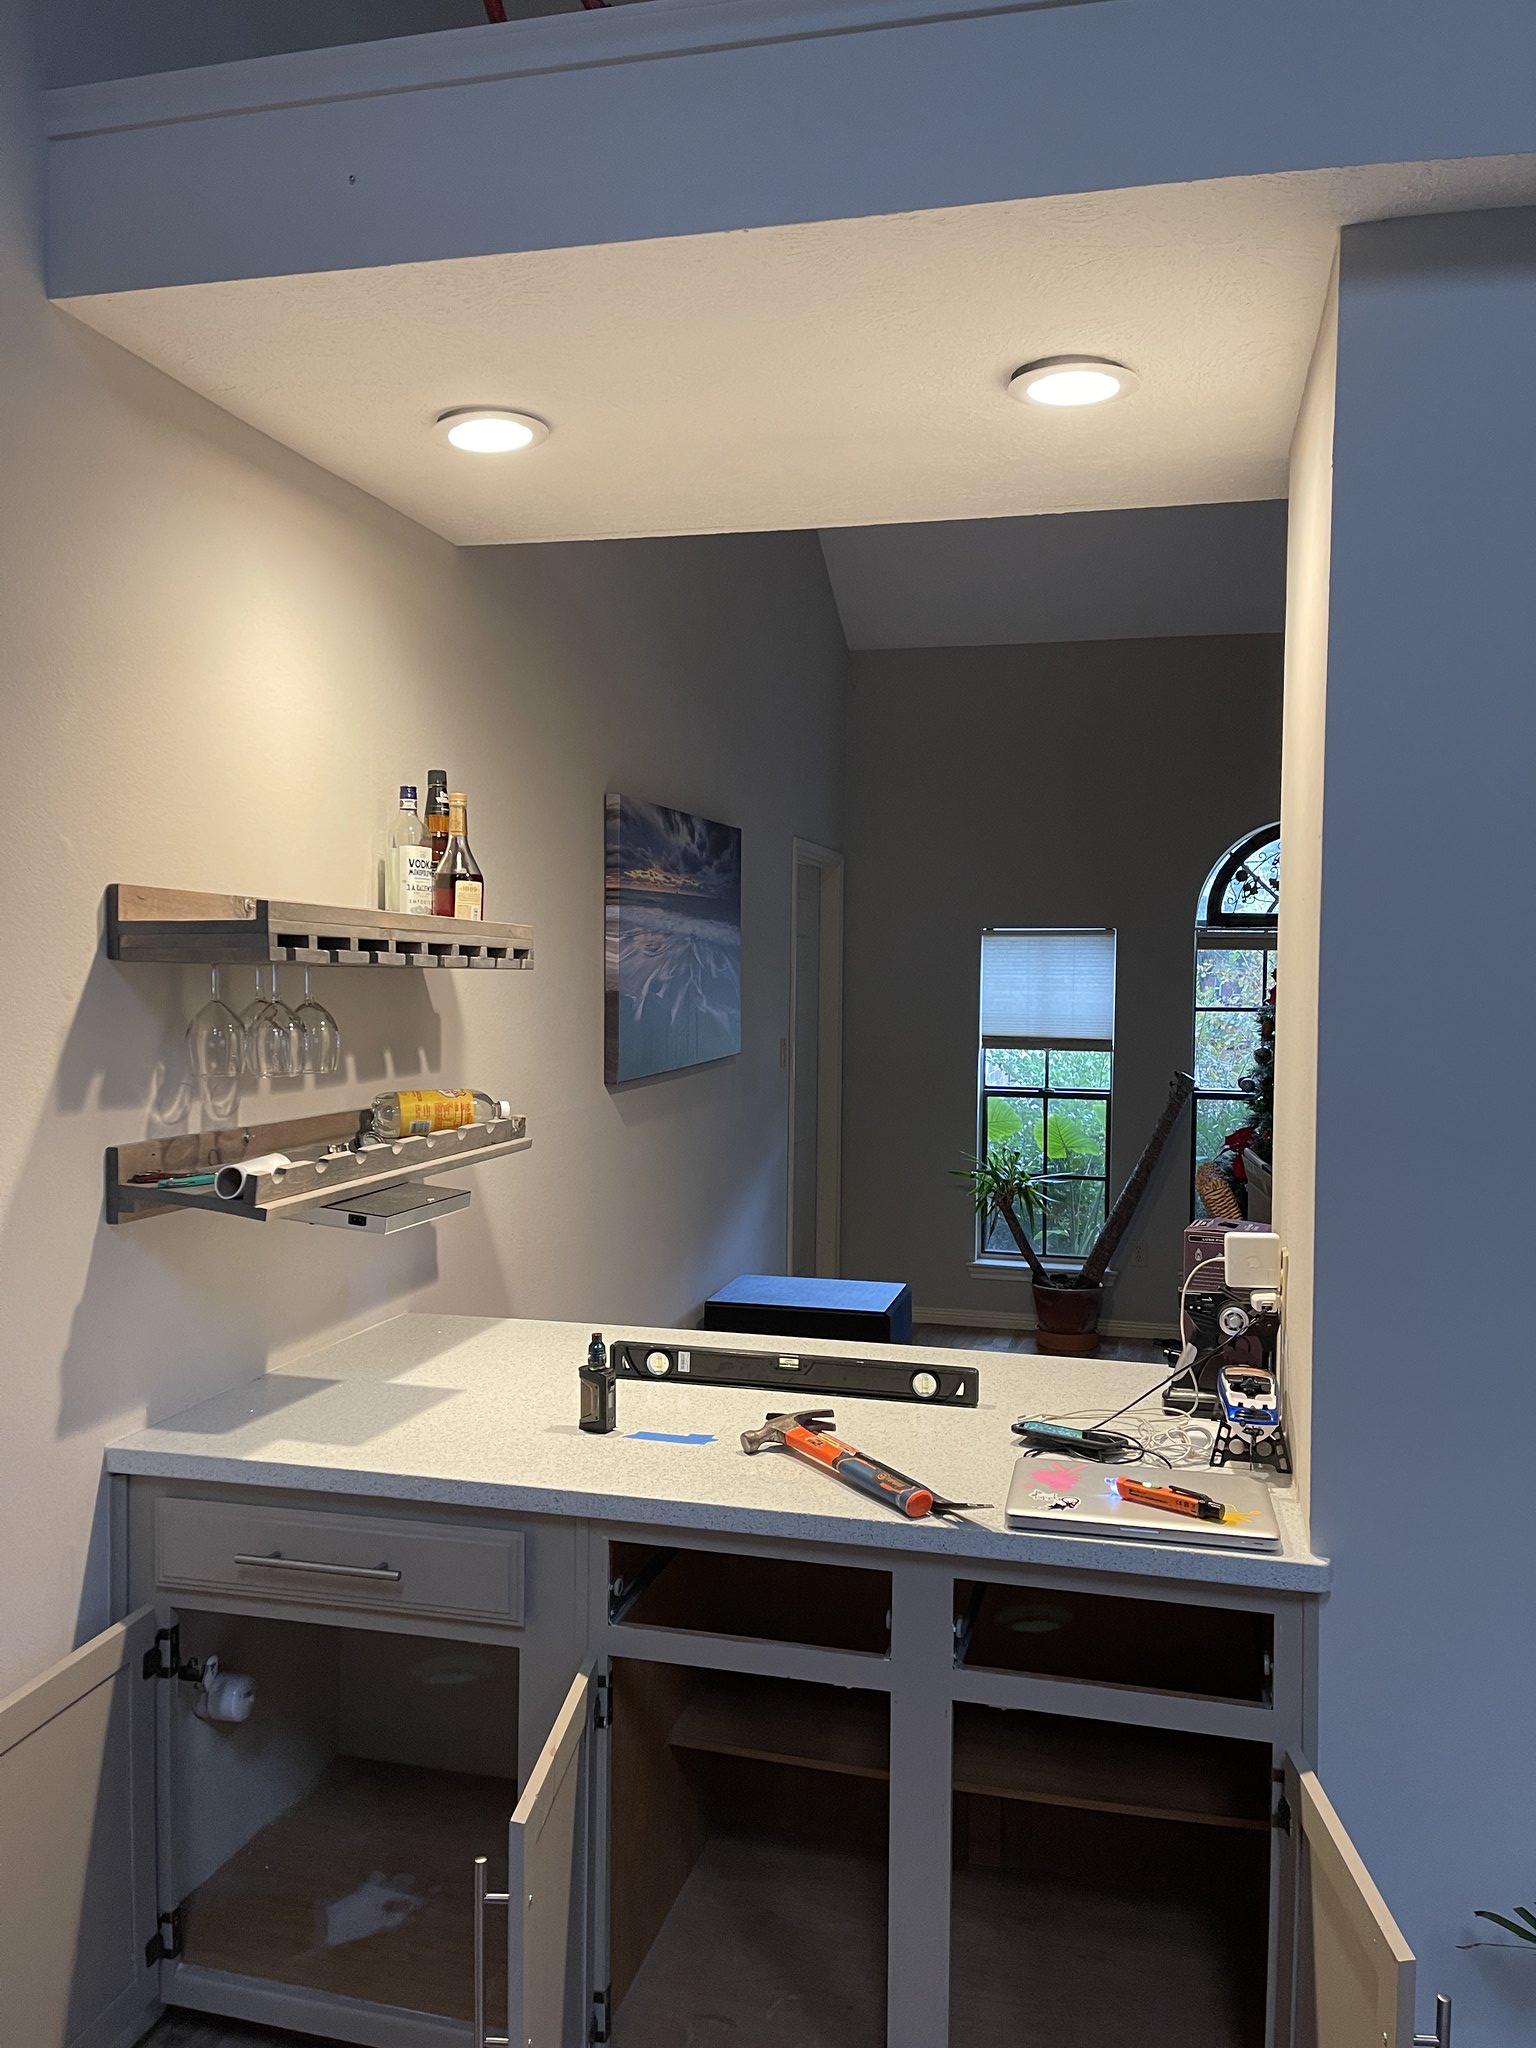
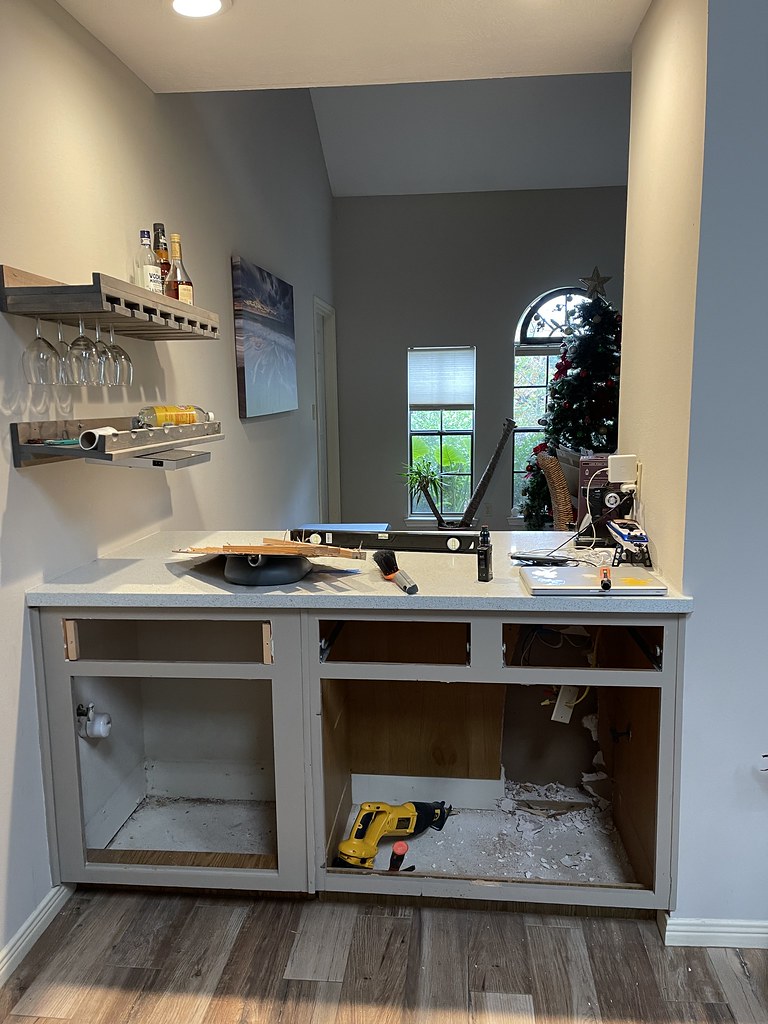
When I purchased my new to me house in 2019....had some minimum criteria....room for my doggy and perhaps a nice spot for a new aquarium. Check and check, perfect house. The new tank will be going where a 'wet bar' was installed previously meaning there's running water and a drain underneath the cabinetry. Perfect Perfect Perfect.
My end goal is low maintenance, self contained. I don't want to see or touch a orange home depot bucket.
Fortunately for me, i work in building automation so i have a heads up on at least conceptualizing what i want to do as for being the ultimate lazy reefer.
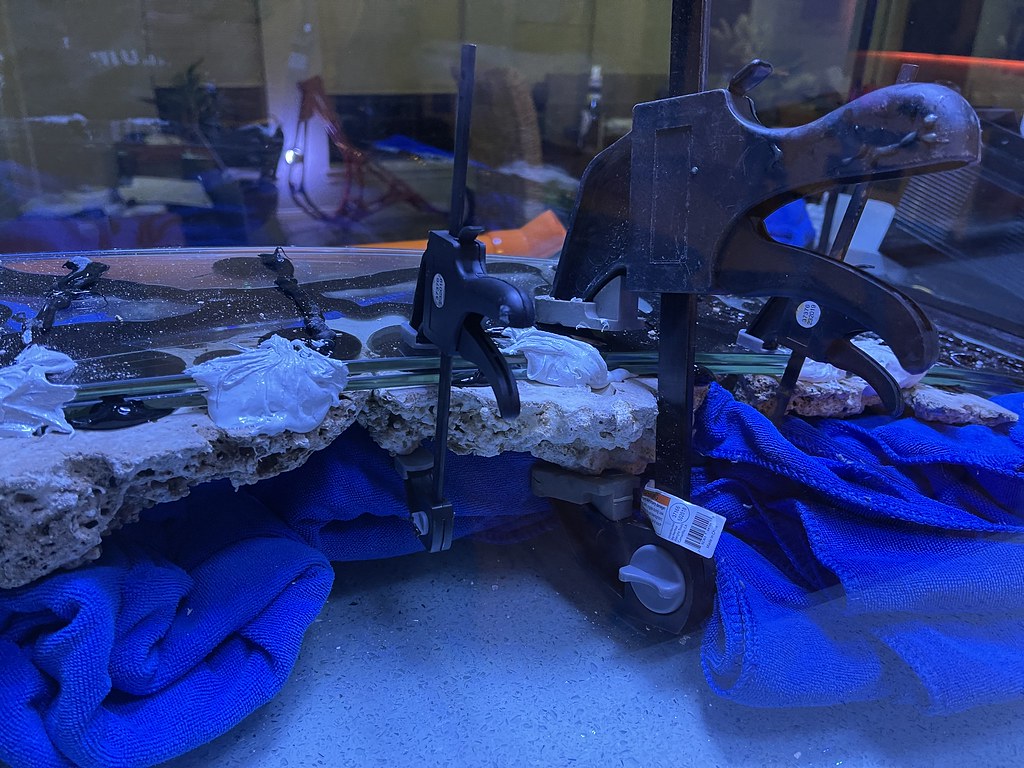
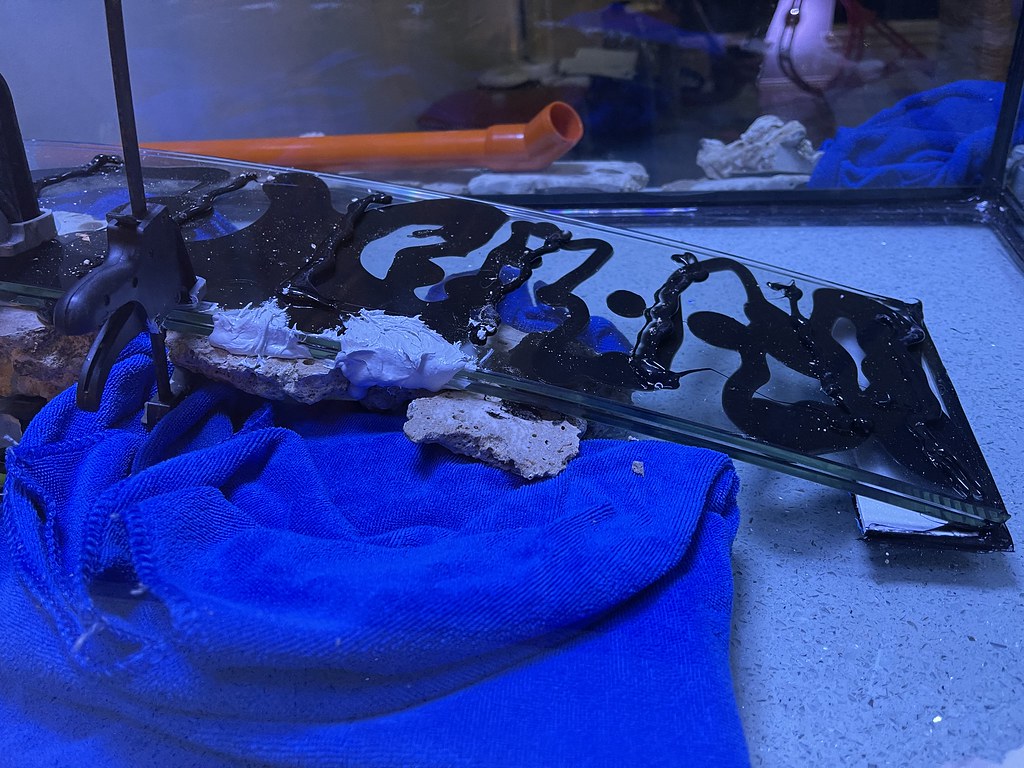
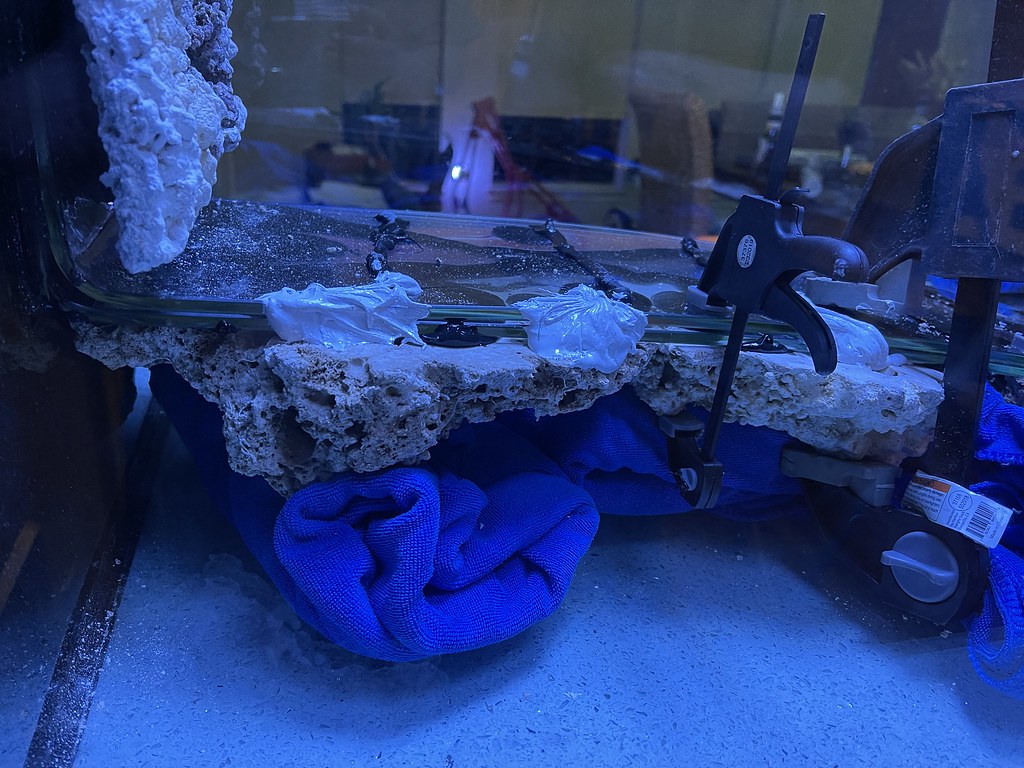
Some demo pics to get this thread started.

 I
I


wild SPS corals, Marshall Islands - Reef Central Online Community
wild SPS corals, Marshall Islands SPS Keepers
www.reefcentral.com
It was a great experience living there having the ability to collect both corals and fish for my aquarium over the span of five years. I have to say, you really learn a lot when the Ocean is your local fish store. But alas, all things must come to an end. I thought about starting a new tank when i moved to the Middle East but after perusing a couple of LFS in Doha Qatar, decided against doing so given the poor selections available. Fast forward to this year, decided to get back into the game since amiss from 2015. Anyways, here's my journey back into the reefkeeping foray after a 6 year absence.
Build overview:
36x24x24 Rimless Planet Aquarium
Exotic Marine 20" Overflow Kit
Philips CoralCare Gen2 LED Light Fixture
Bubble Magus Roller Filter medium
Maxspect JUMP Protein Skimmer
2x IceCap 2K Gyre Flow Pump With Dual Pump WiFi Controller
Coral Box DCA12000 return pump
Aqueon Standard Glass Aquarium Tank 40 Gallon Breeder Sump
Jacks Rax DIY baffle kit
Marine Magic - TURF ATS
DIY Electric light raising
Stenner AWC pump 170 DM5
HydroFill Water Reservoir 15G, for AWC
AQUATICLIFE RODIw/ booster pump
Profilux Level Sensor, float & Optical for ATO
ProfiLux 4 Controller
ProfiLux KH Director
GHL Doser 2.1 SA
When I purchased my new to me house in 2019....had some minimum criteria....room for my doggy and perhaps a nice spot for a new aquarium. Check and check, perfect house. The new tank will be going where a 'wet bar' was installed previously meaning there's running water and a drain underneath the cabinetry. Perfect Perfect Perfect.
My end goal is low maintenance, self contained. I don't want to see or touch a orange home depot bucket.
Fortunately for me, i work in building automation so i have a heads up on at least conceptualizing what i want to do as for being the ultimate lazy reefer.
Some demo pics to get this thread started.
I
Last edited:


 I
I