
Just when I thought I had decided that my next challenge would be a reef tank instead of a planted discus tank . . .
Regardless which way I eventually go, both your examples are inspiring, @Broadfield
Regardless which way I eventually go, both your examples are inspiring, @Broadfield


 IMG_1421
 IMG_1413
 IMG_1411
 IMG_1412
 IMG_1415
 IMG_1416
 IMG_1417
 IMG_1420
 IMG_1424
 IMG_1418
 IMG_1419
 IMG_1425
 IMG_1427
 IMG_1428
 IMG_1431
 IMG_1434
 IMG_1433
")
 IMG_4609
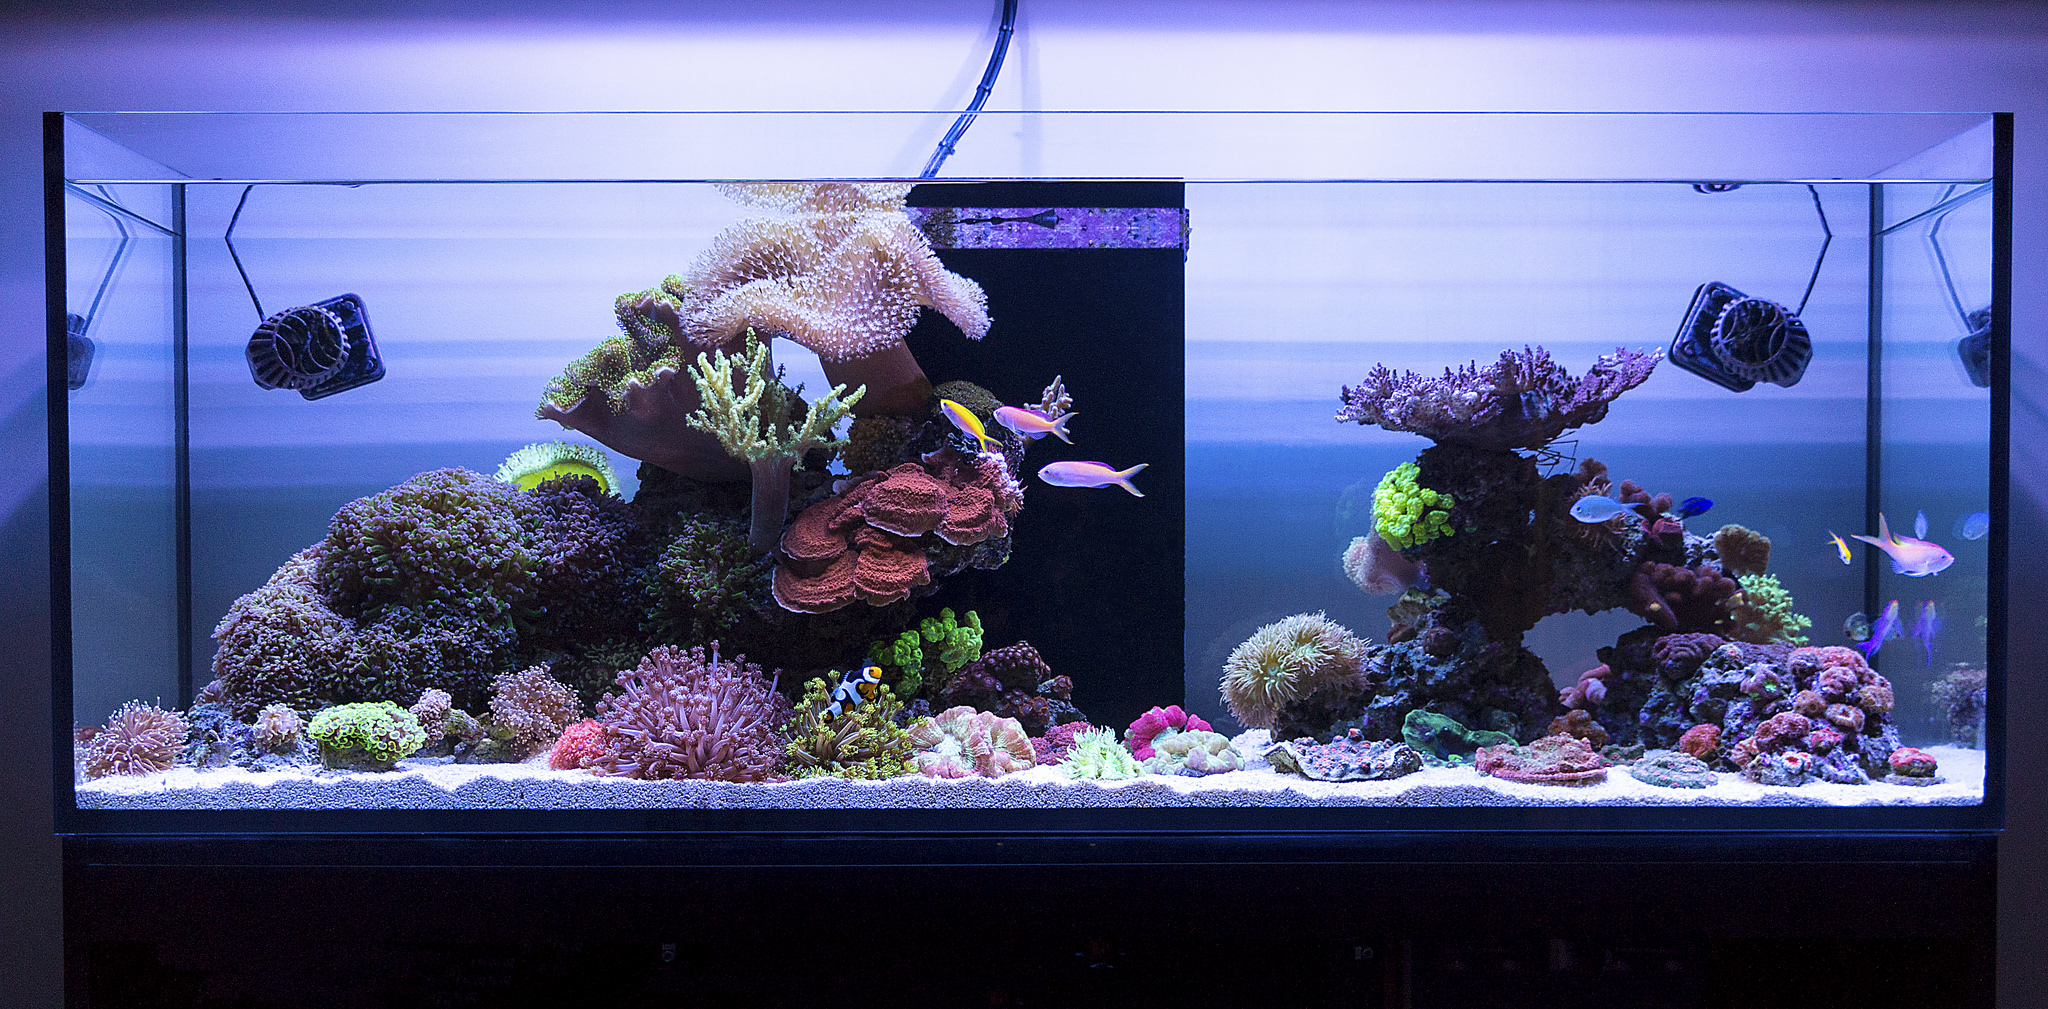 FTS
FTS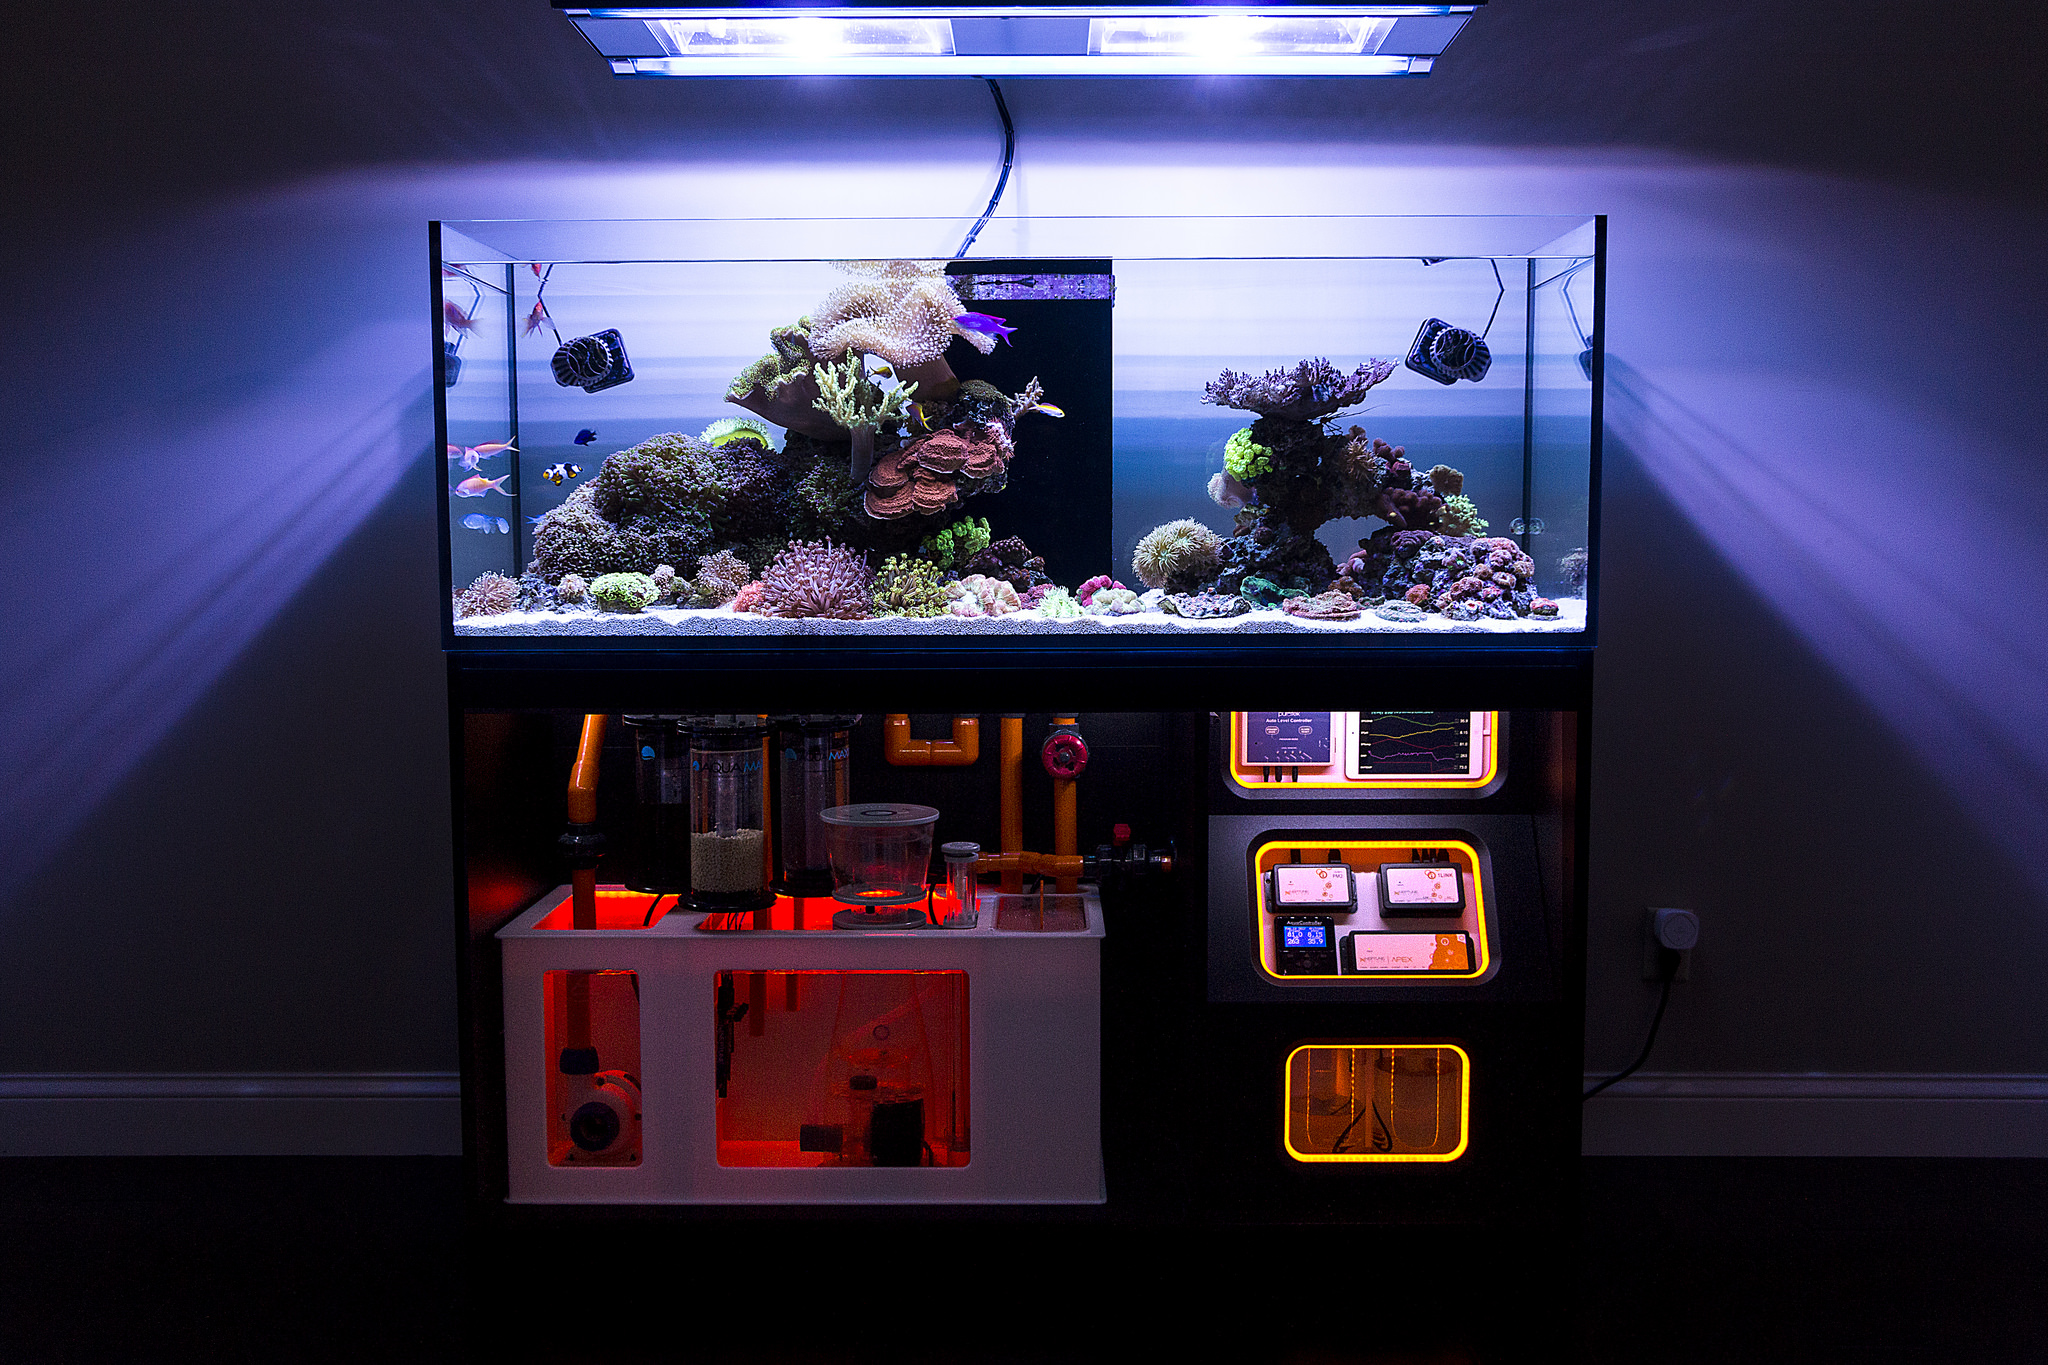 FTS + Stand
 IMG_6030
 IMG_3820
 IMG_3819
 IMG_3825
 IMG_3826
 IMG_3899
 IMG_3887
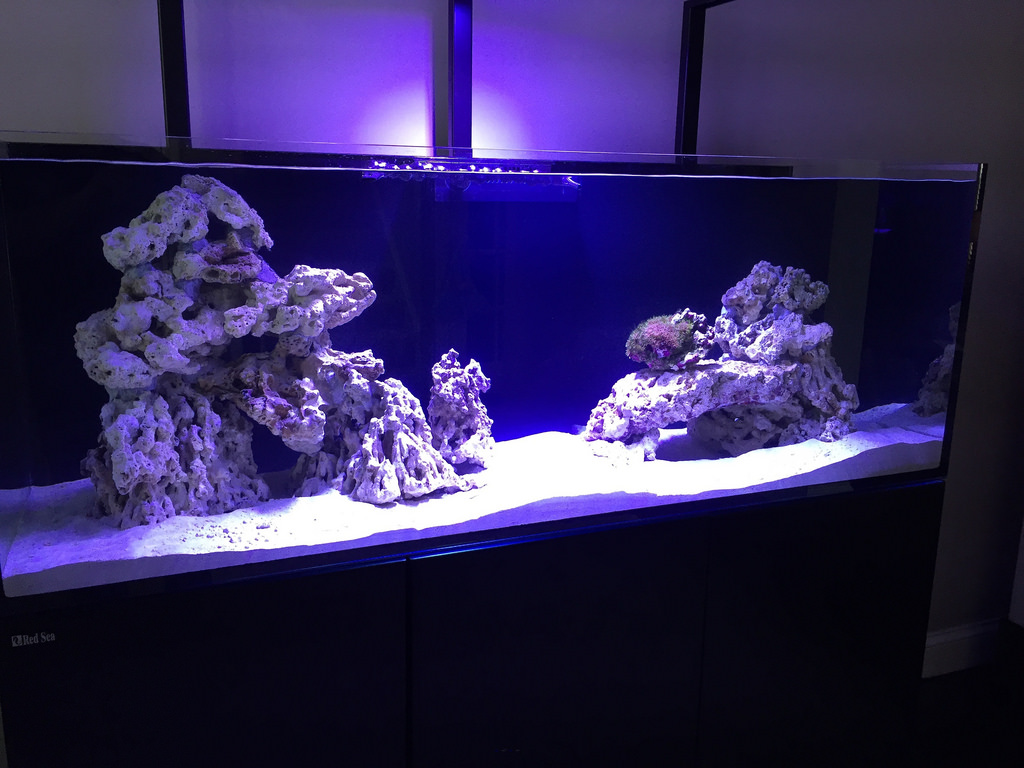 IMG_3937
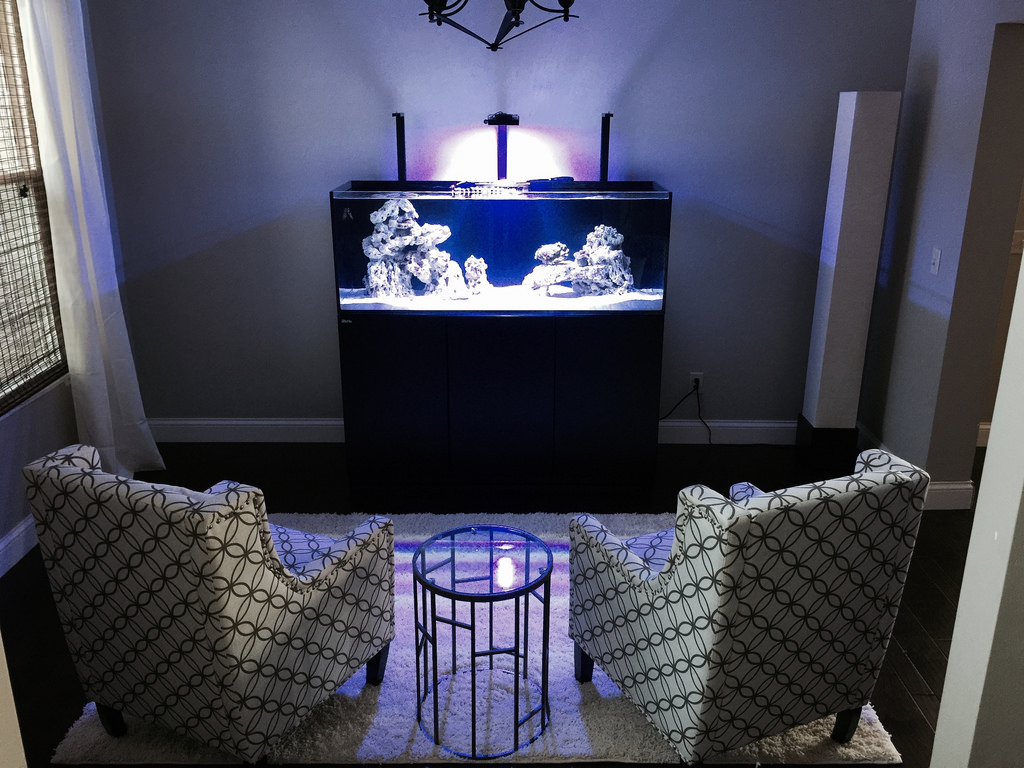 IMG_3978


