
OP
OP
Broadfield
Red Sea Reefer Consultant... Non Affiliated
View BadgesExcellence Award
Reef Of The Month
Photo of the Month
Reef Squad Emeritus
Midwest Reefer
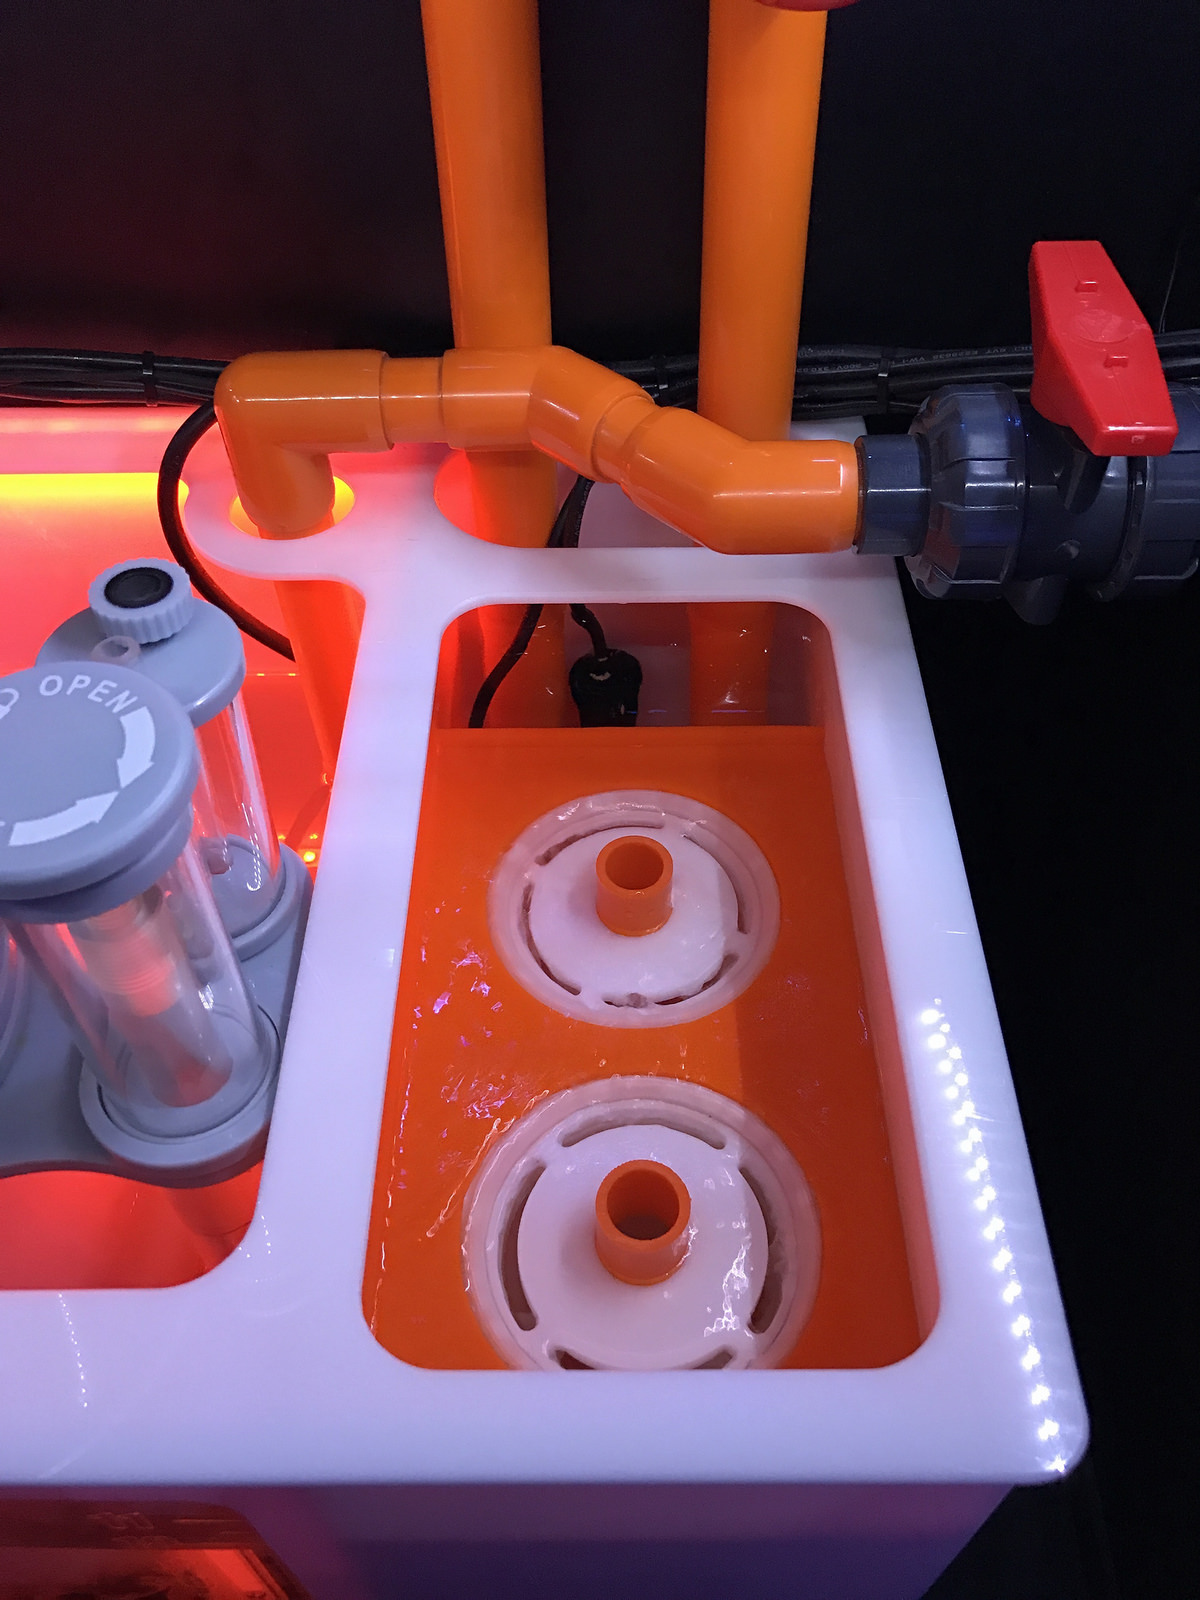
What do you want to change on the sump?
Just full custom.... size, features, cosmetics etc.


")

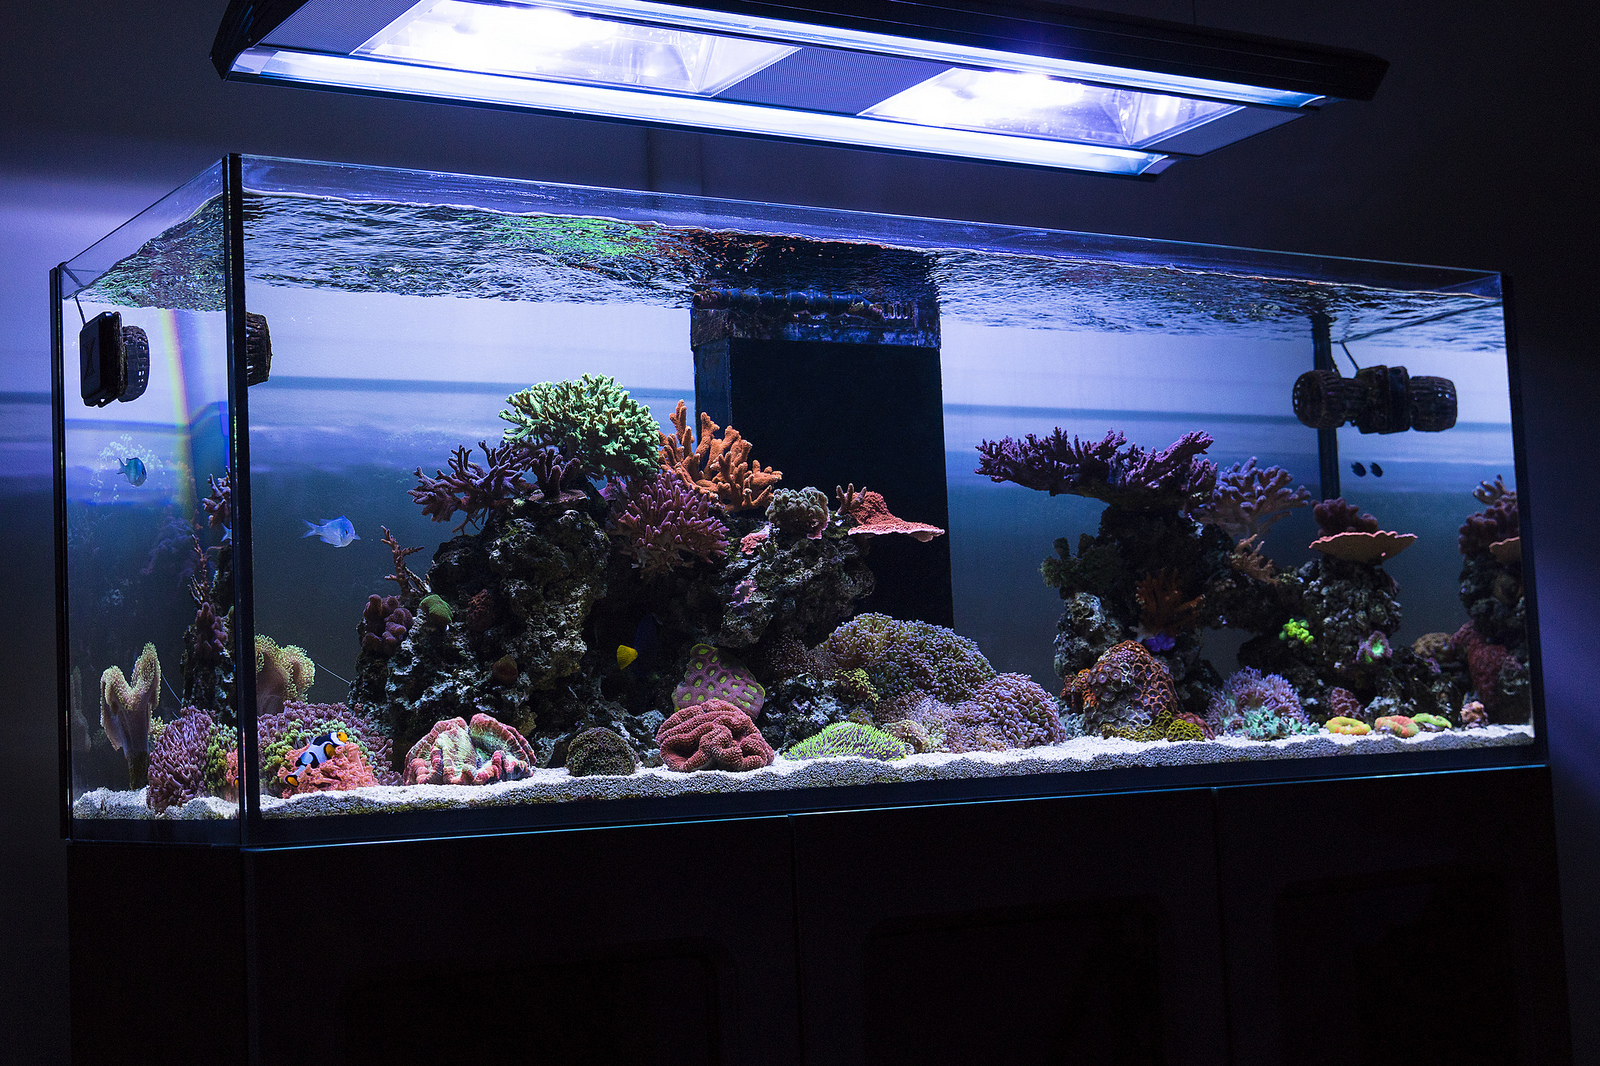 IMG_1432
 IMG_1282
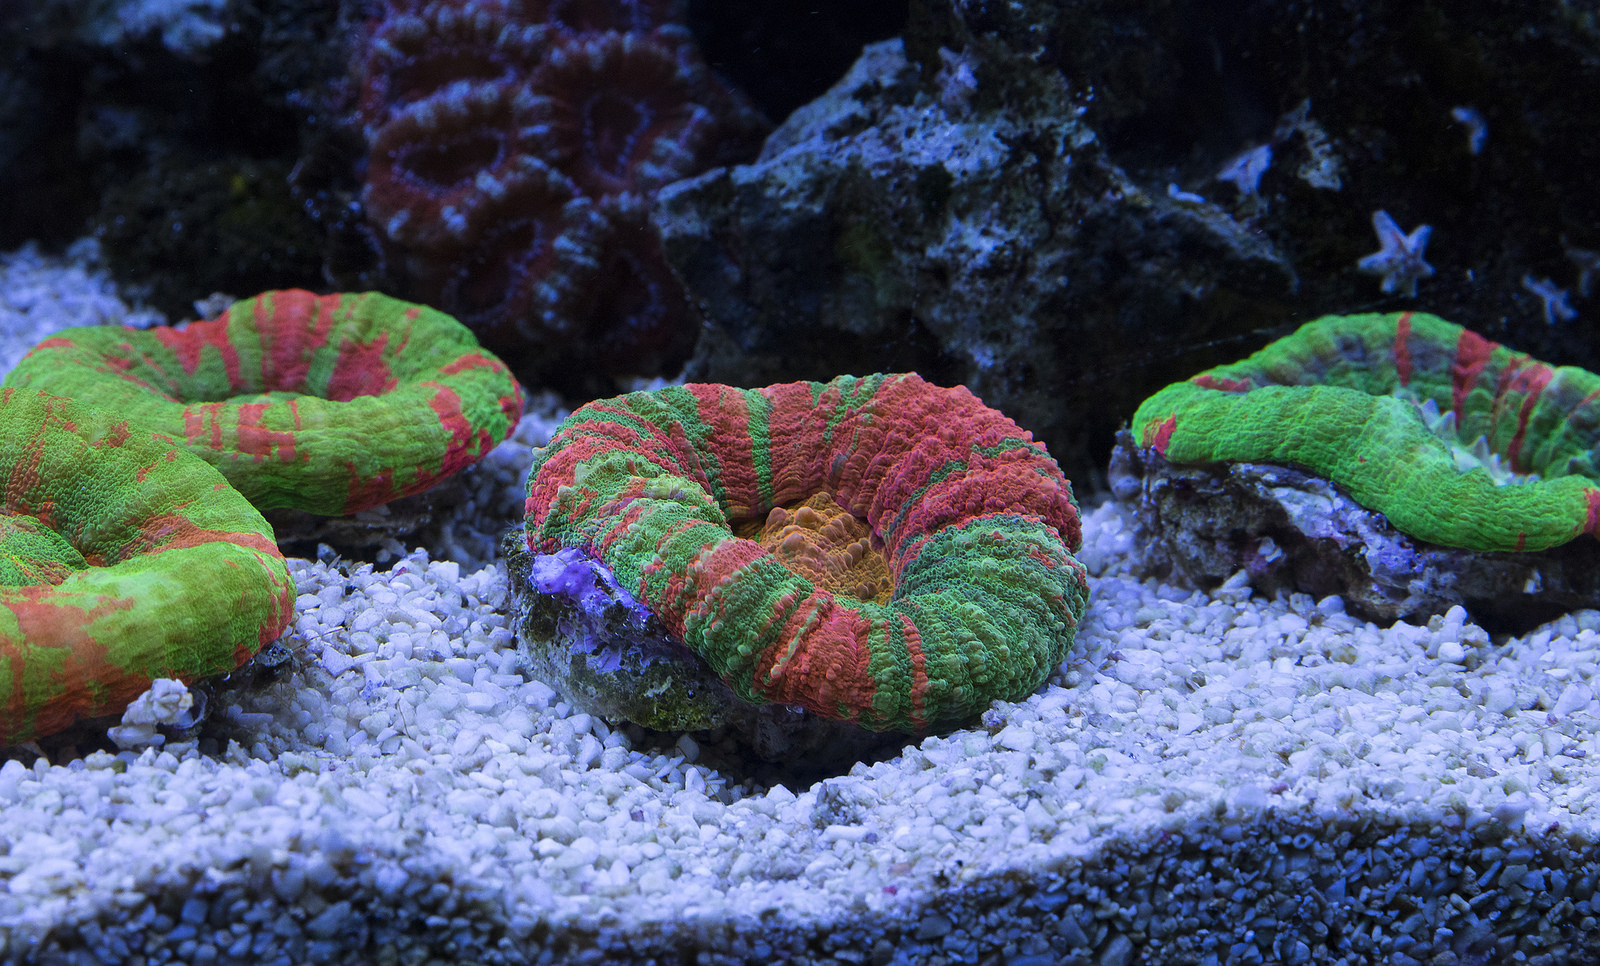 IMG_1282
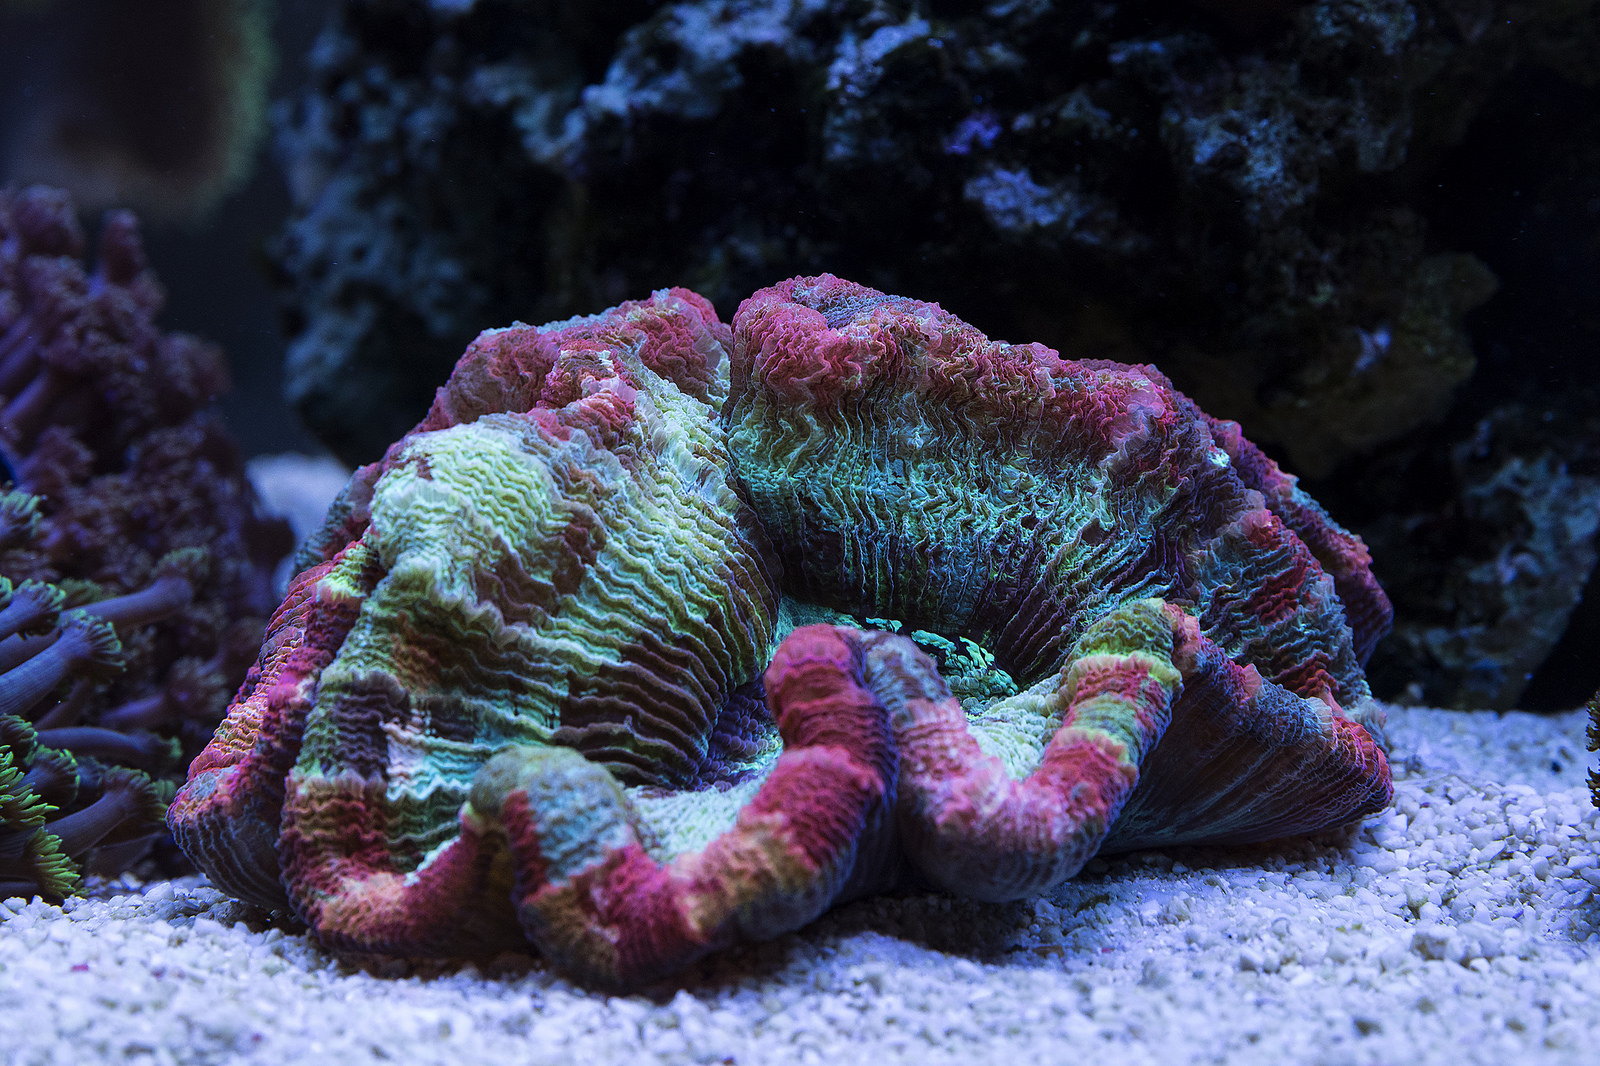 IMG_1257
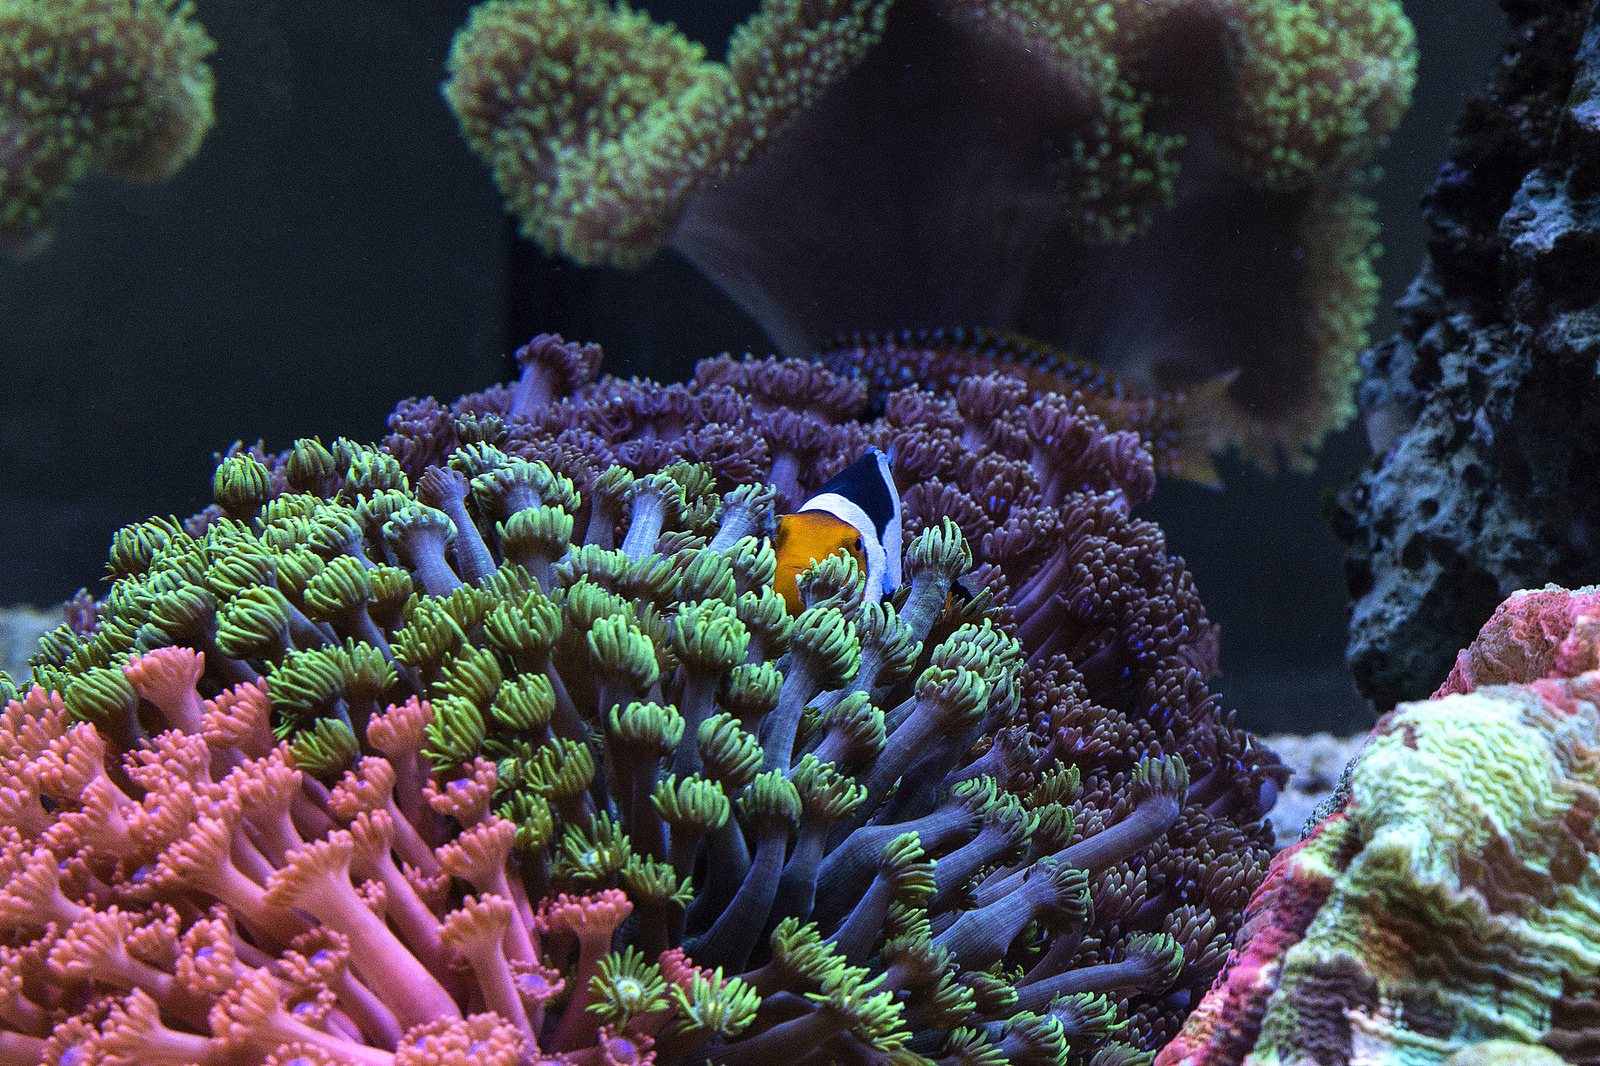 IMG_1301

 IMG_8111


