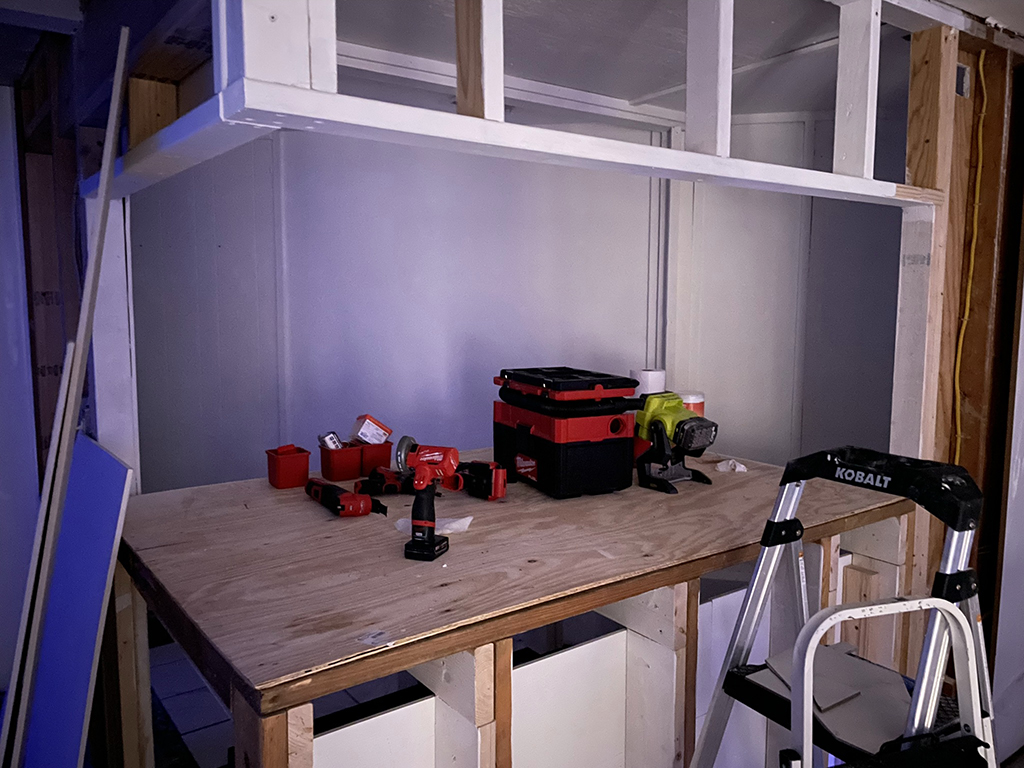
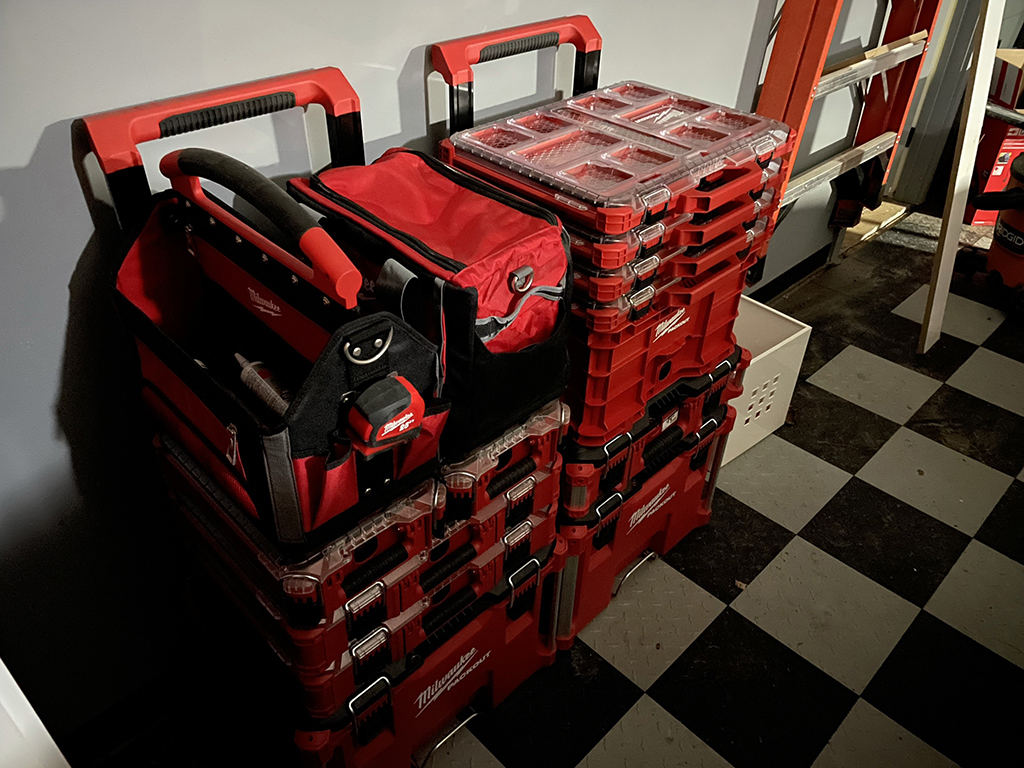
Been a member of R2R for a while now and finally decided to document a tank build. I decided to work and complete the project before the thread so I will be posting all the pictures I took along the way. This build started last year, I had difficulties finding contractors and the ones I did look into would constantly question anything I tried to do that wasn't standard drywall and flooring. I decided to self educate using youtube videos, books and a good friend that is an experienced builder. I did have an electrician help me with some code related stuff and hired a structure engineer to verify my design since I was taking out two load bearing walls in a non traditional basement with joists going both directions (yikes).
The house has some challenges, it's a extremely unique build that was built back in 1981 and has had many modifications over time. While I love it to death it's also challenging at times because it was designed for a prominent business owner here in town by a protégé of Frank Lloyd Wright and there are many instances of "form over function". I want my neighbors to be racoons and birds, not people.")
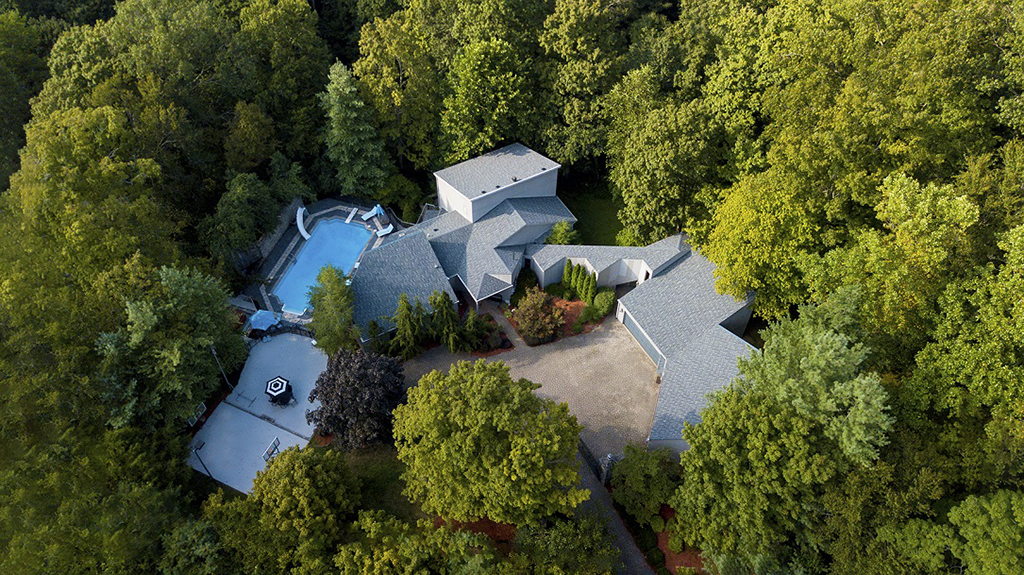
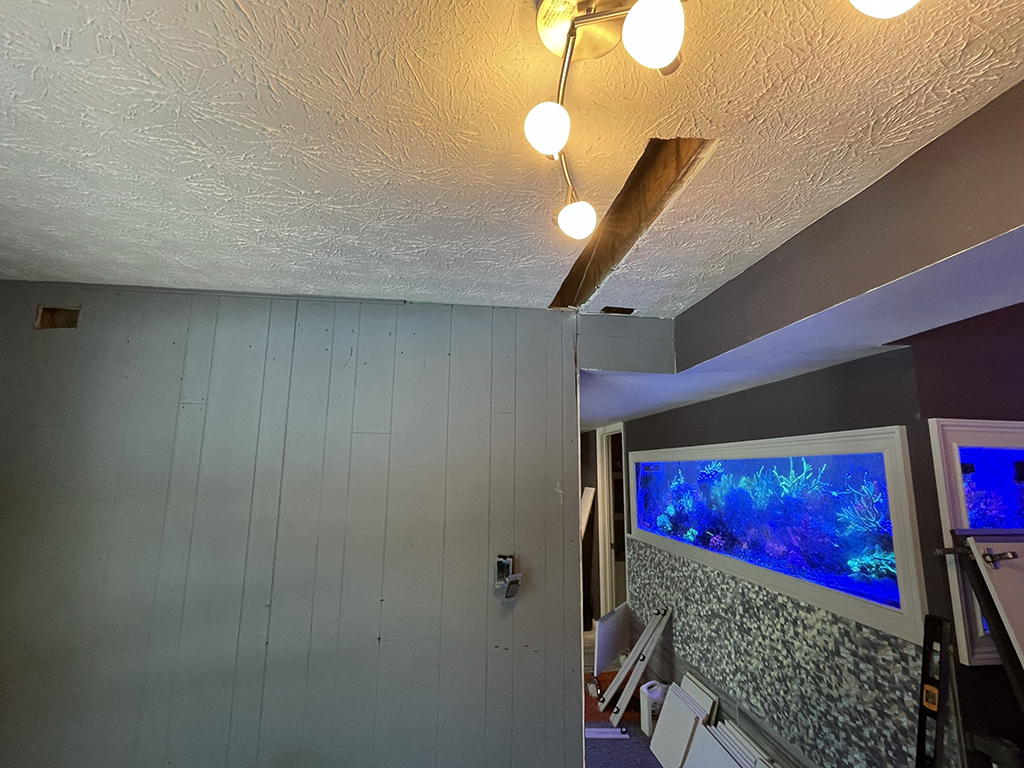
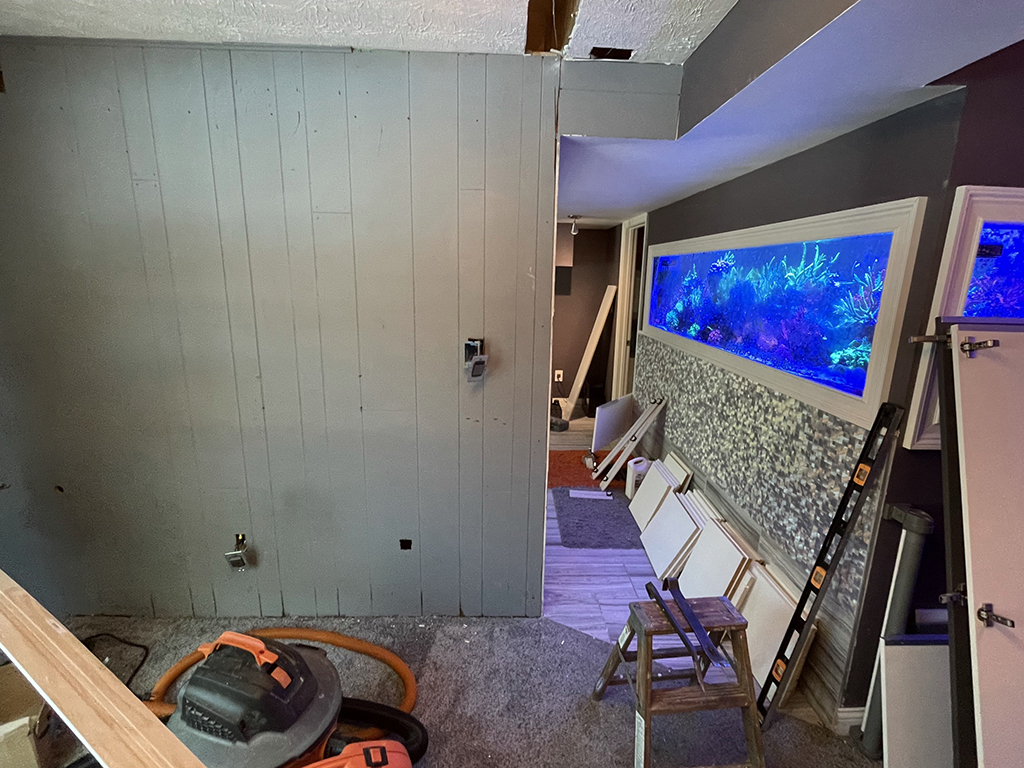
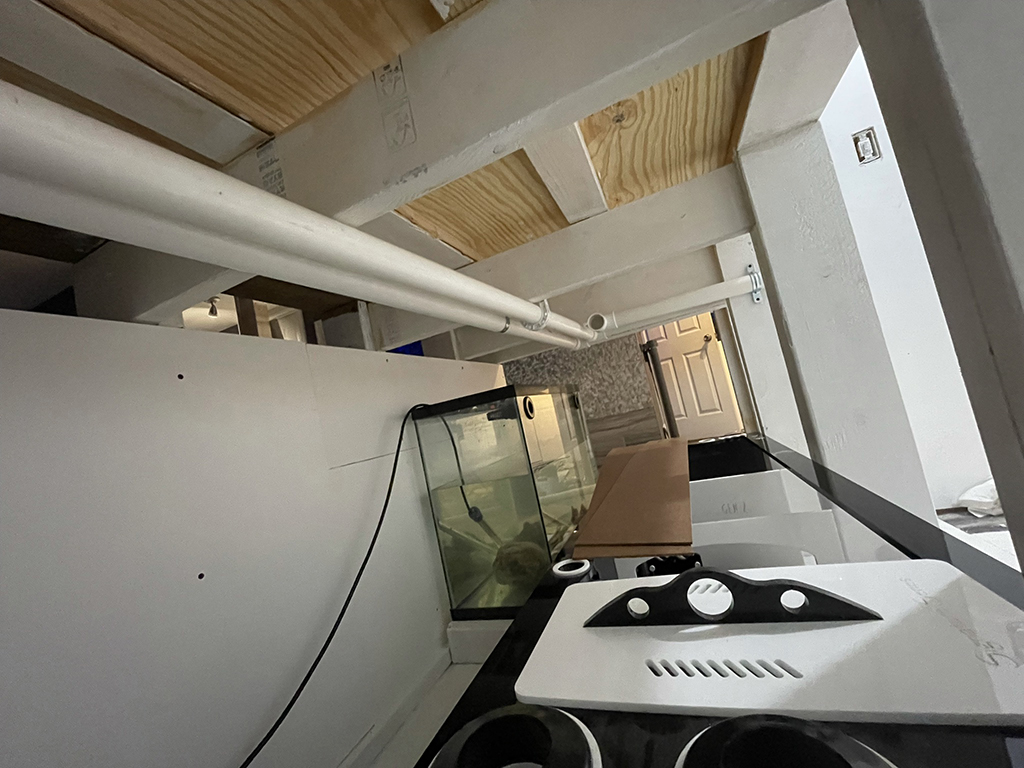
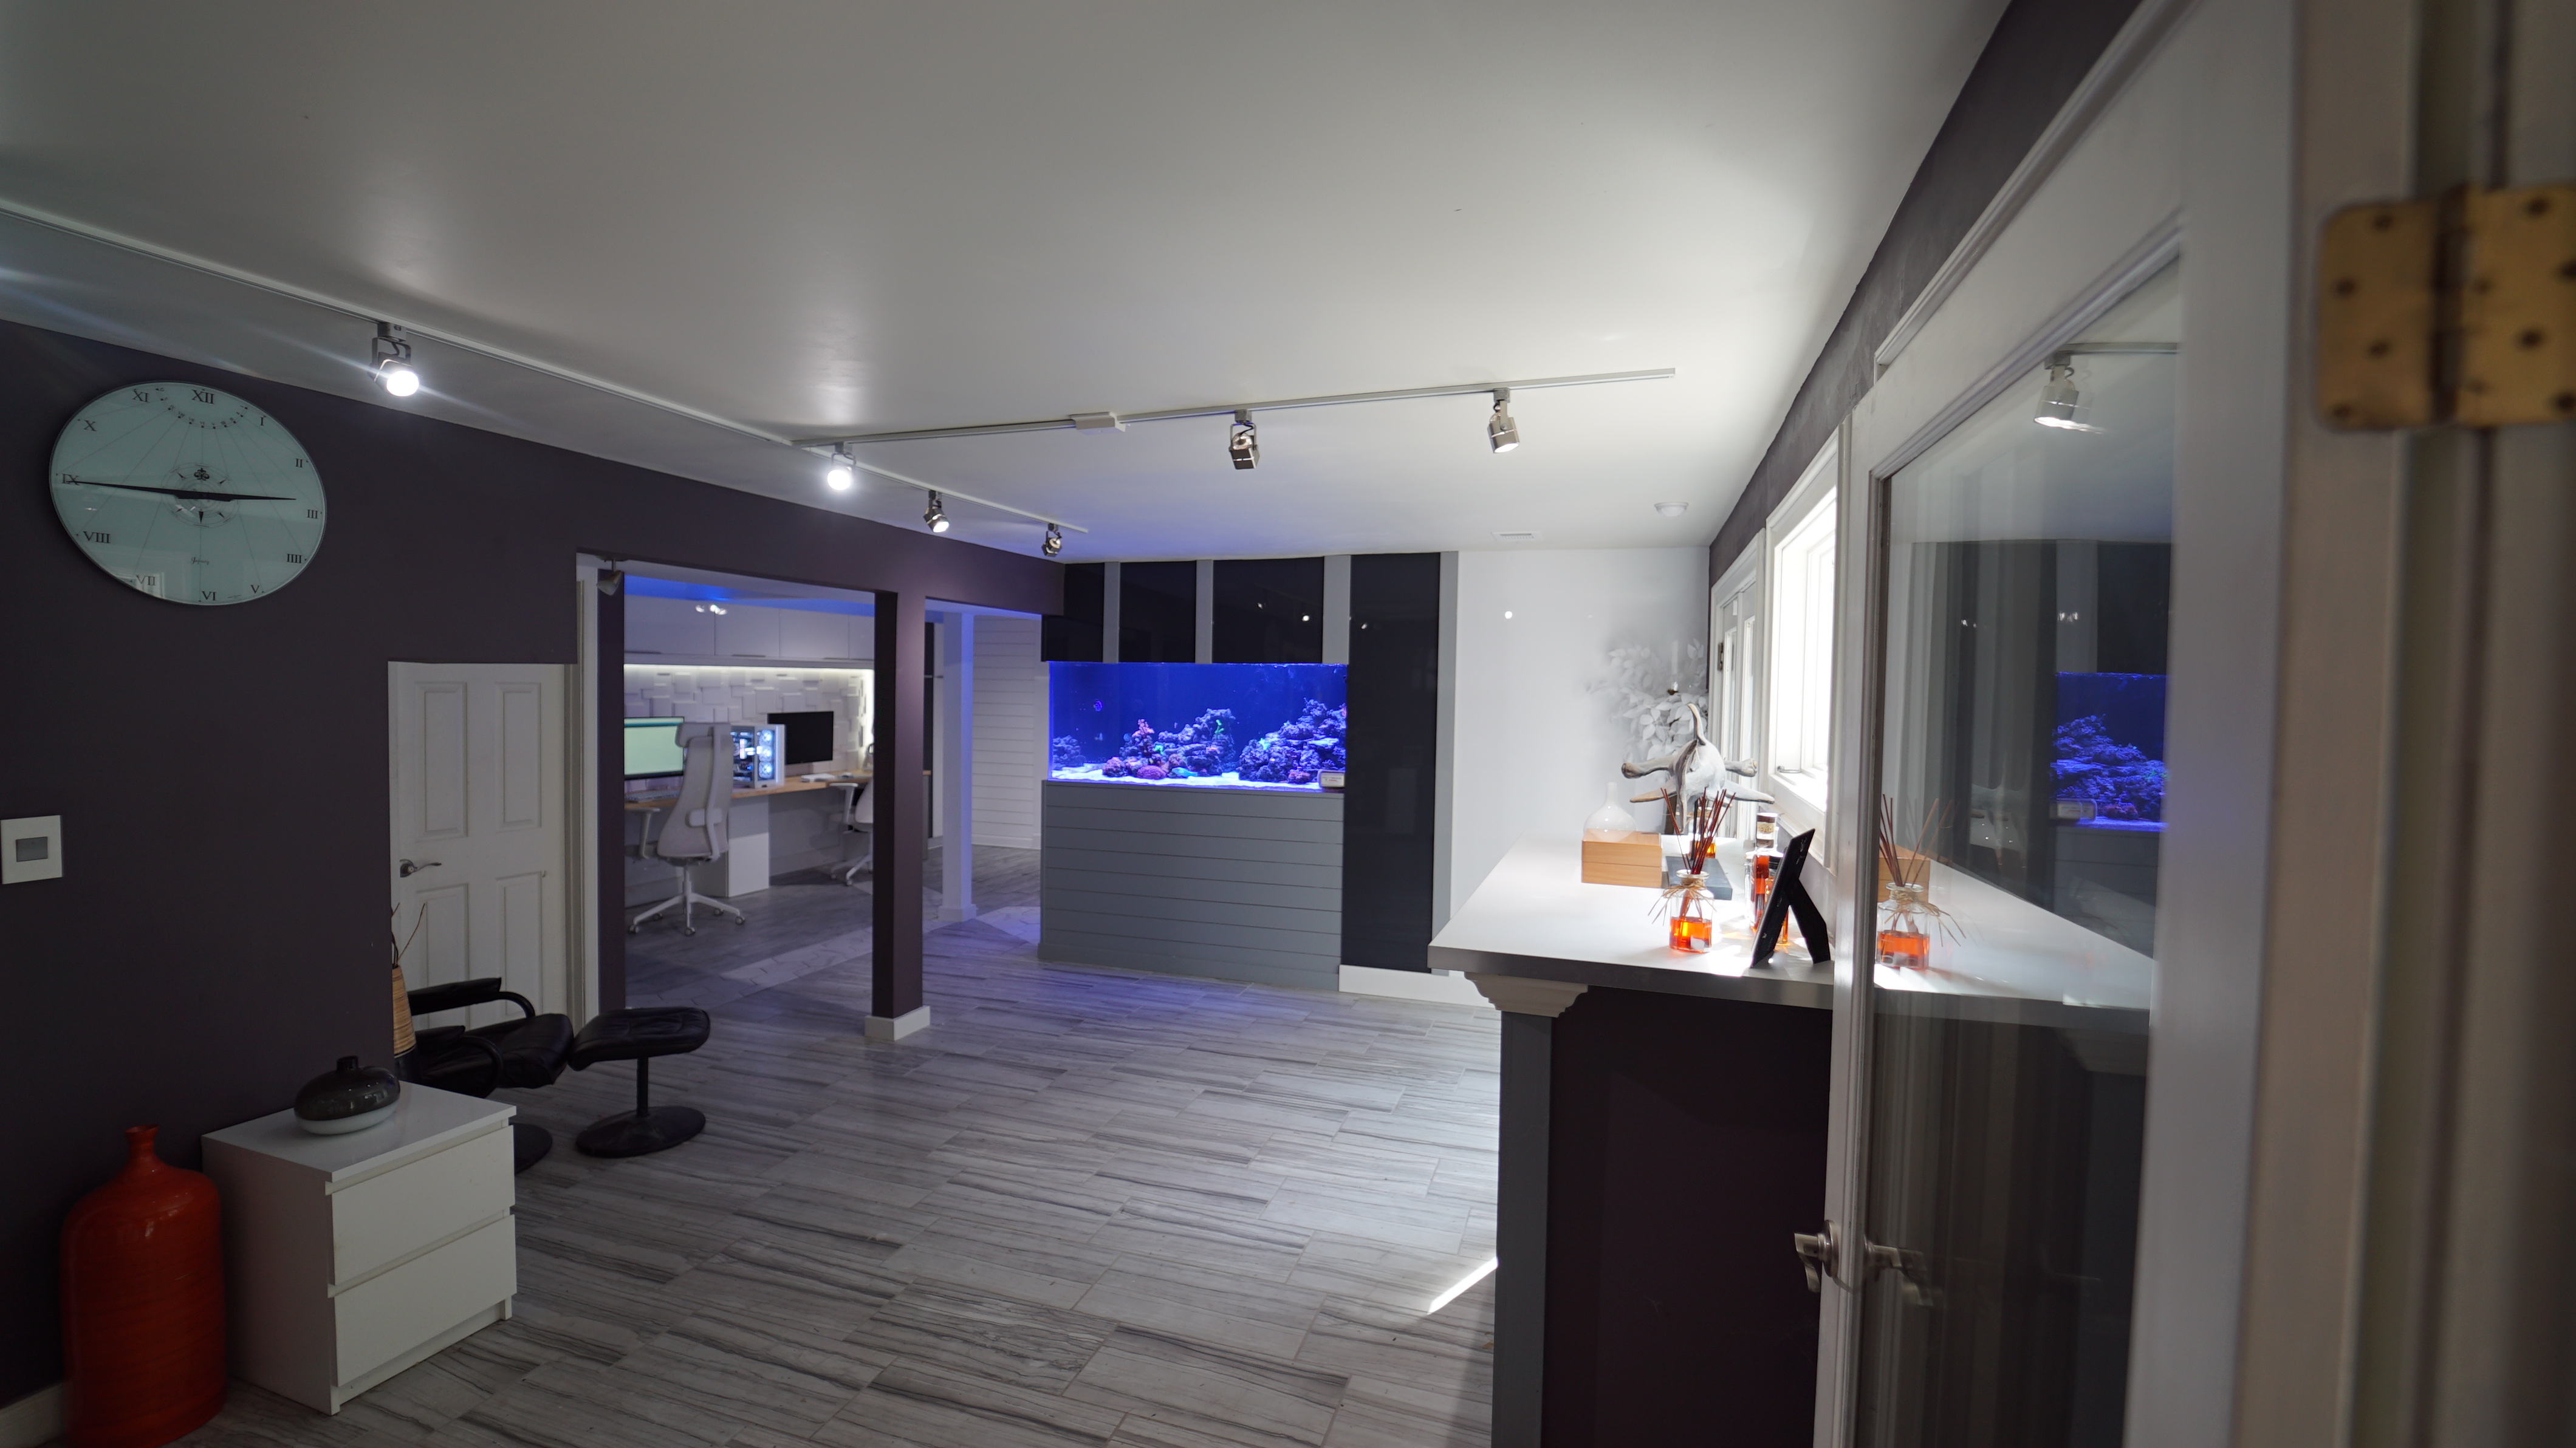
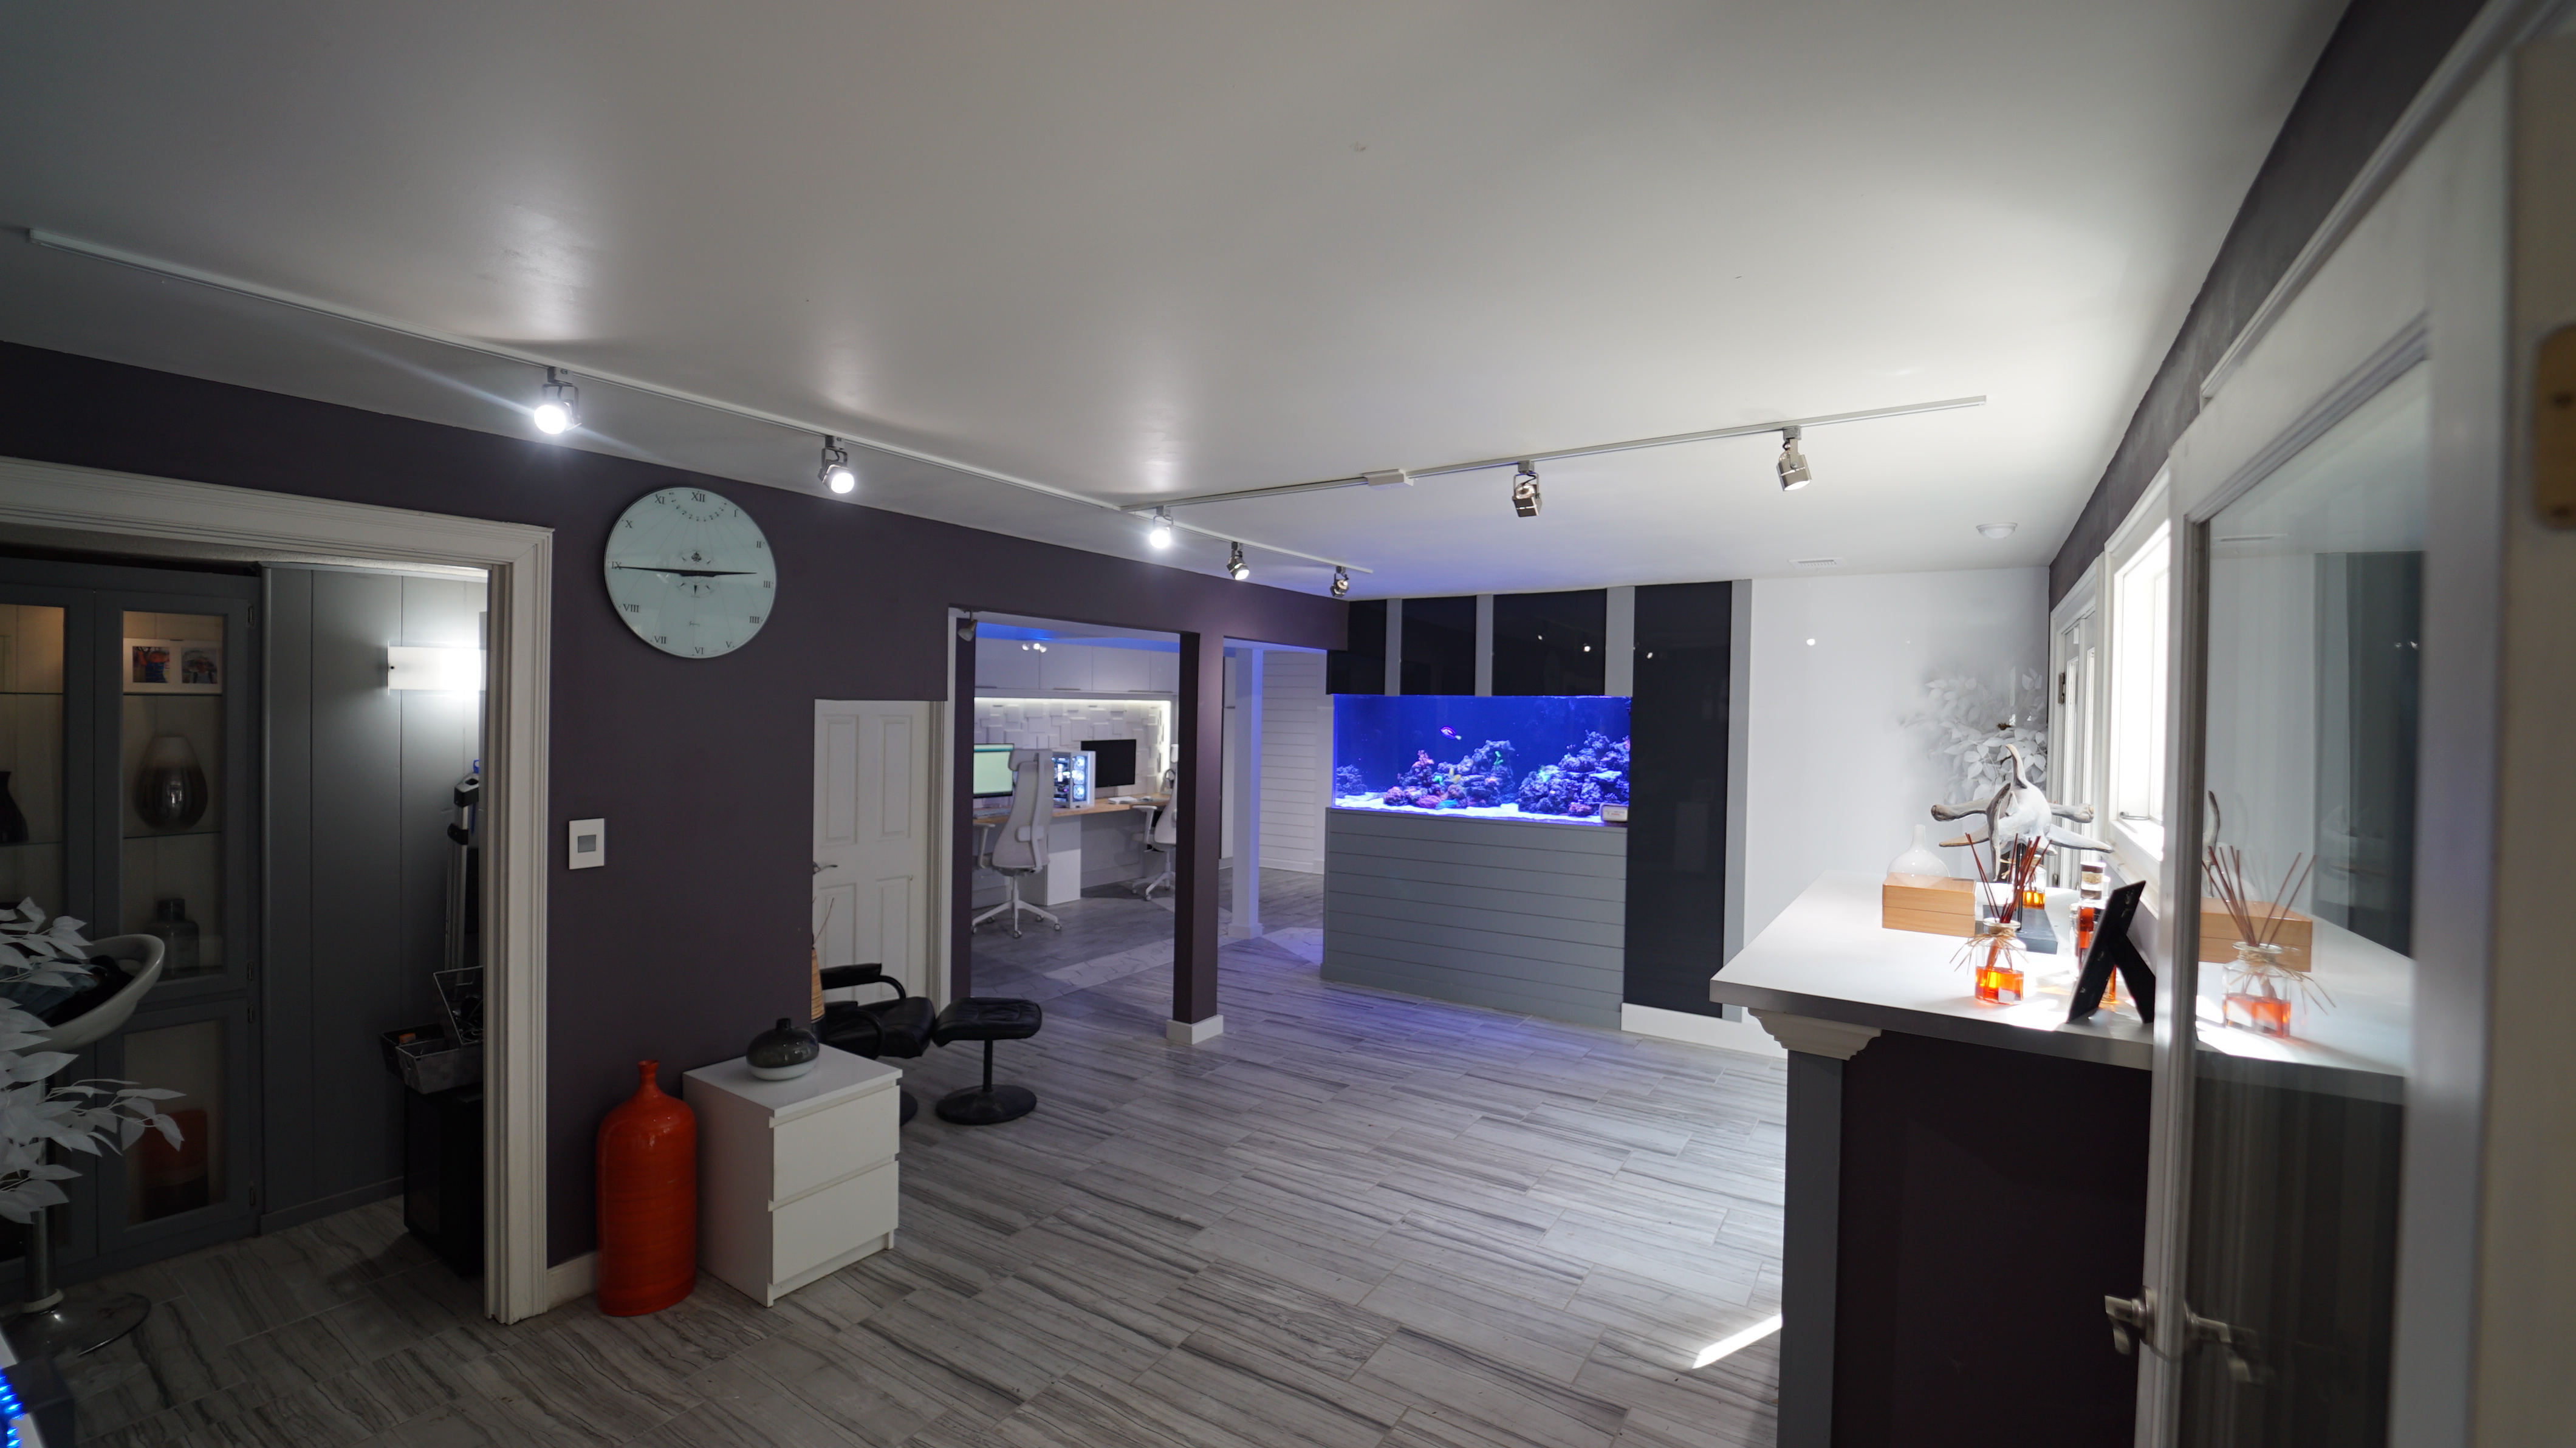
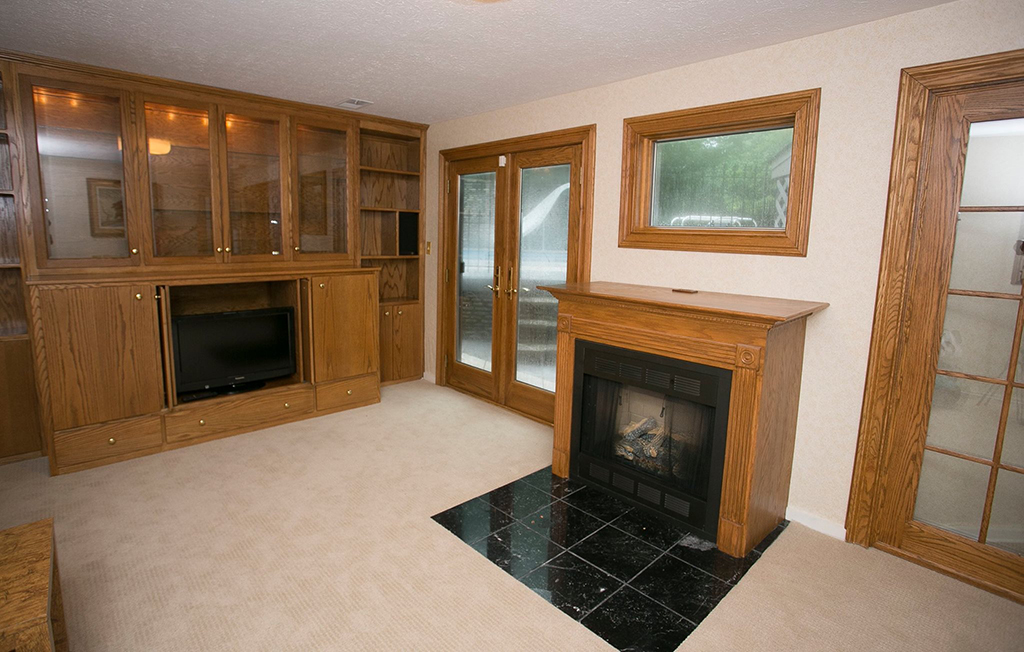
When I moved in, the basement was very dated (this house has two separate basements, both walkouts on each end of the house) it took some convincing to the wife that I could update it and to just trust me! Here is what it started as:
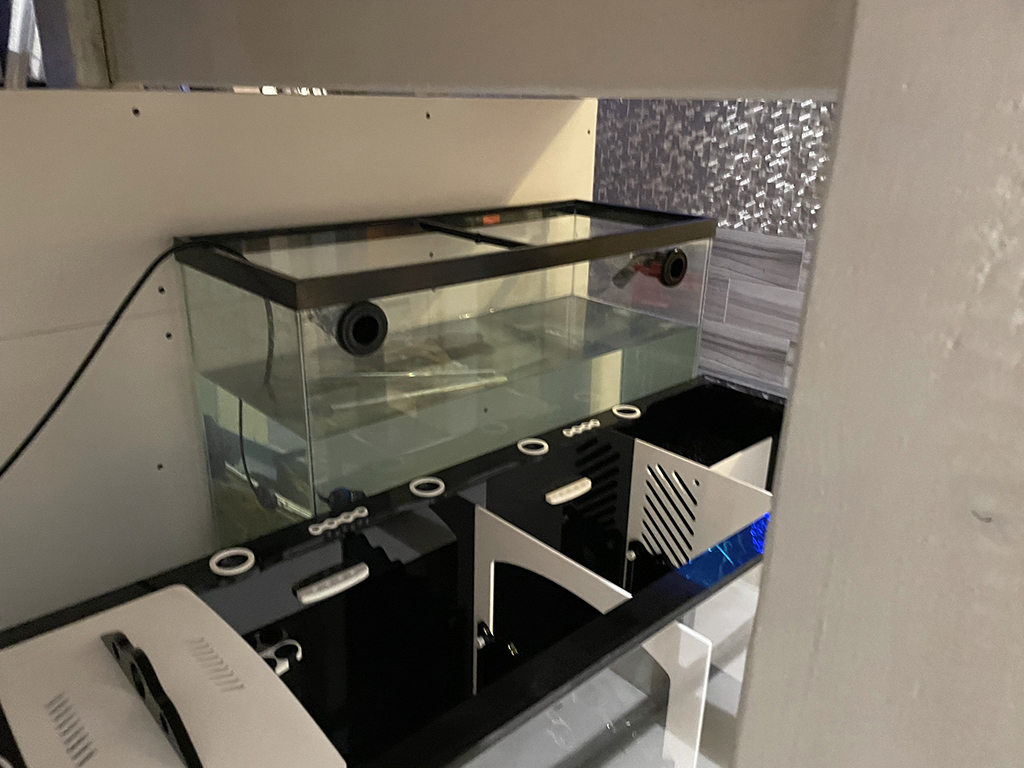
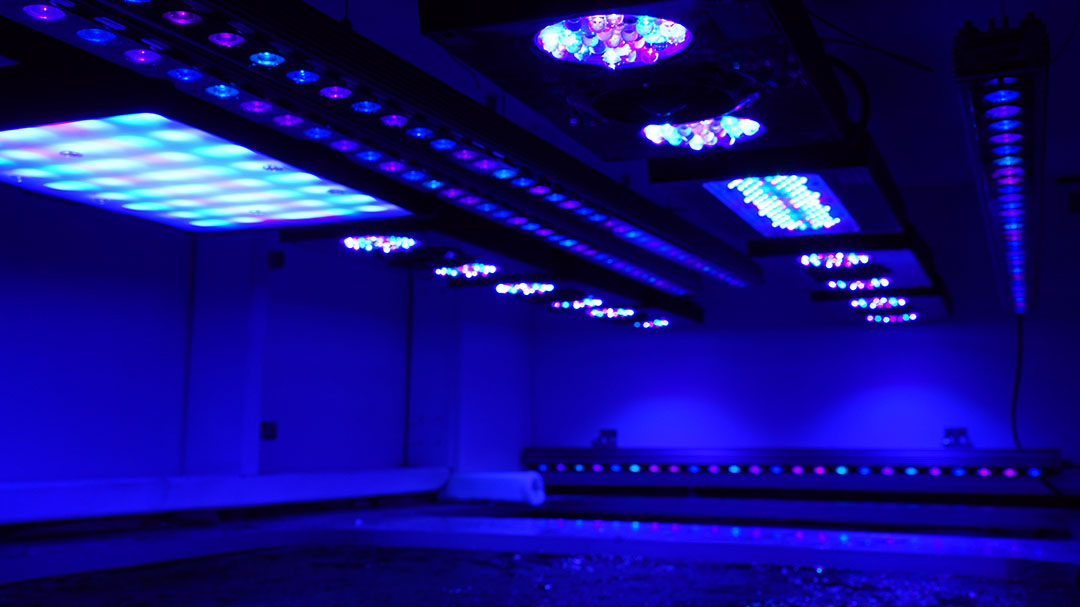
This is the old tank 96x30x20
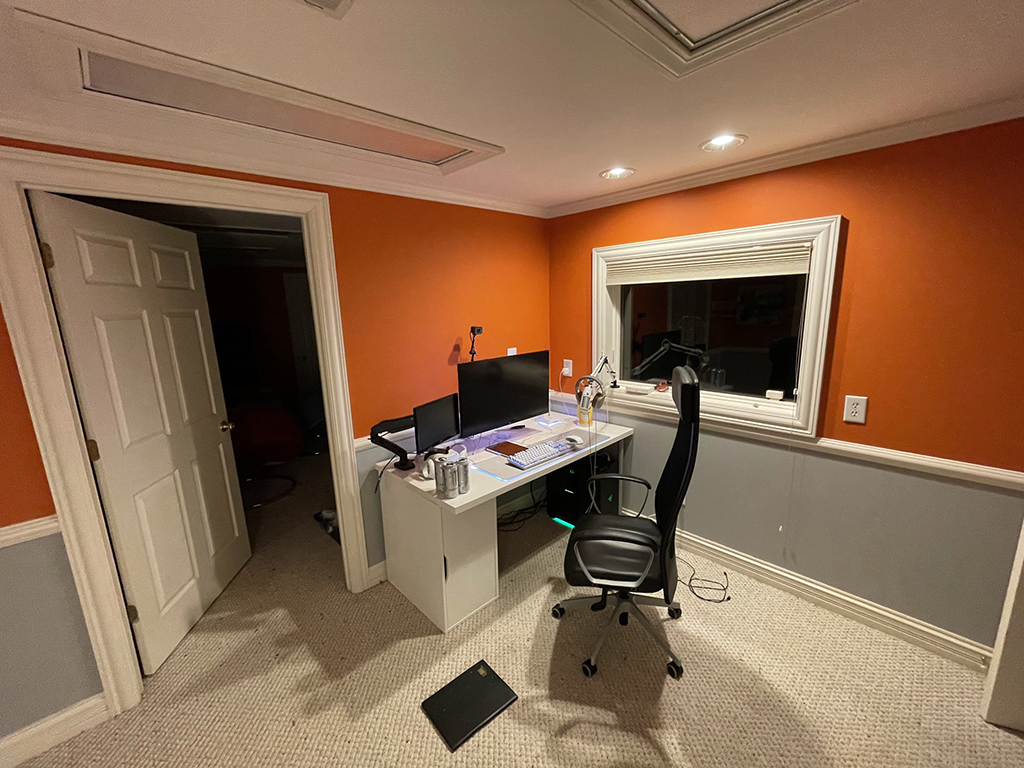
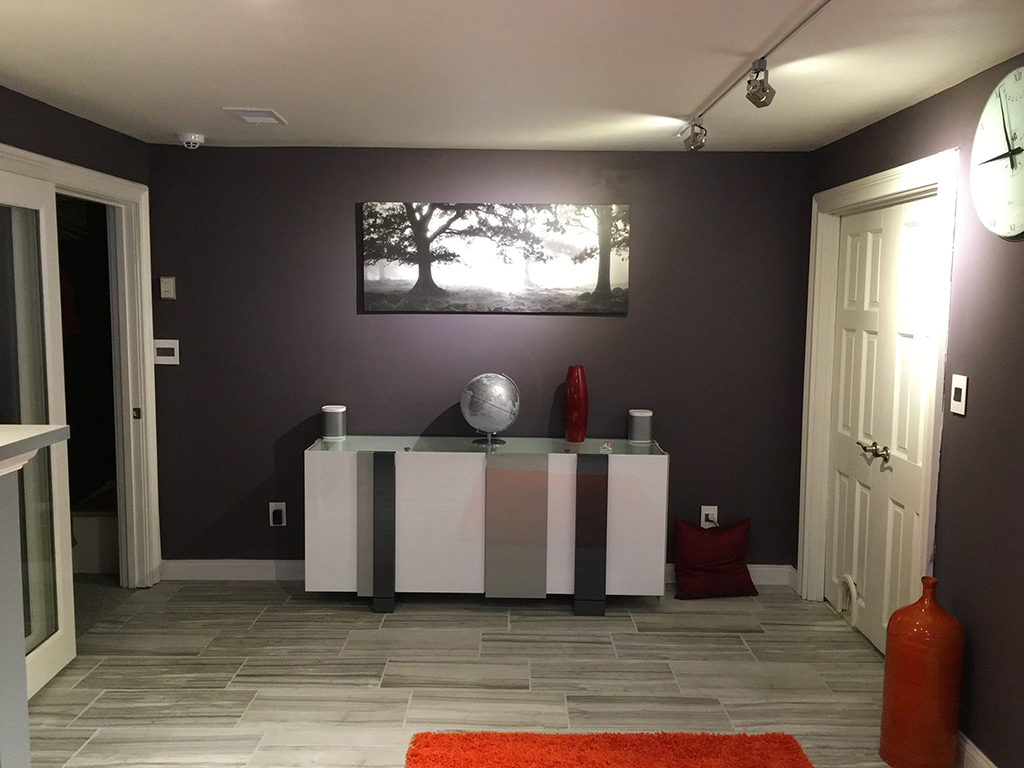
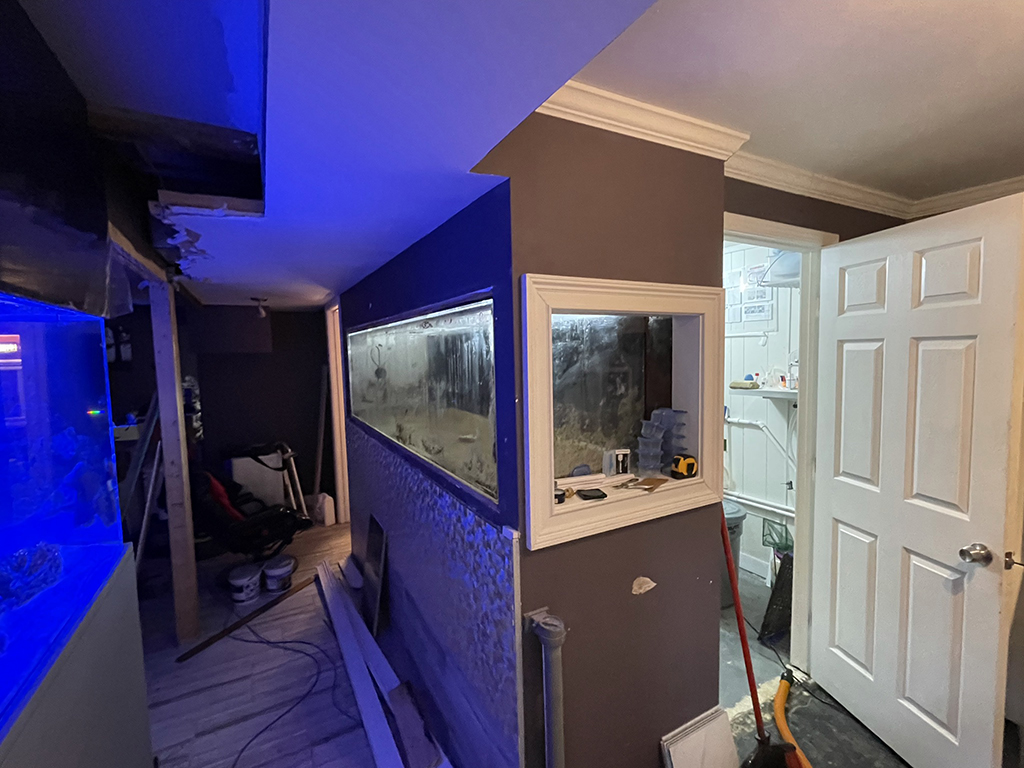
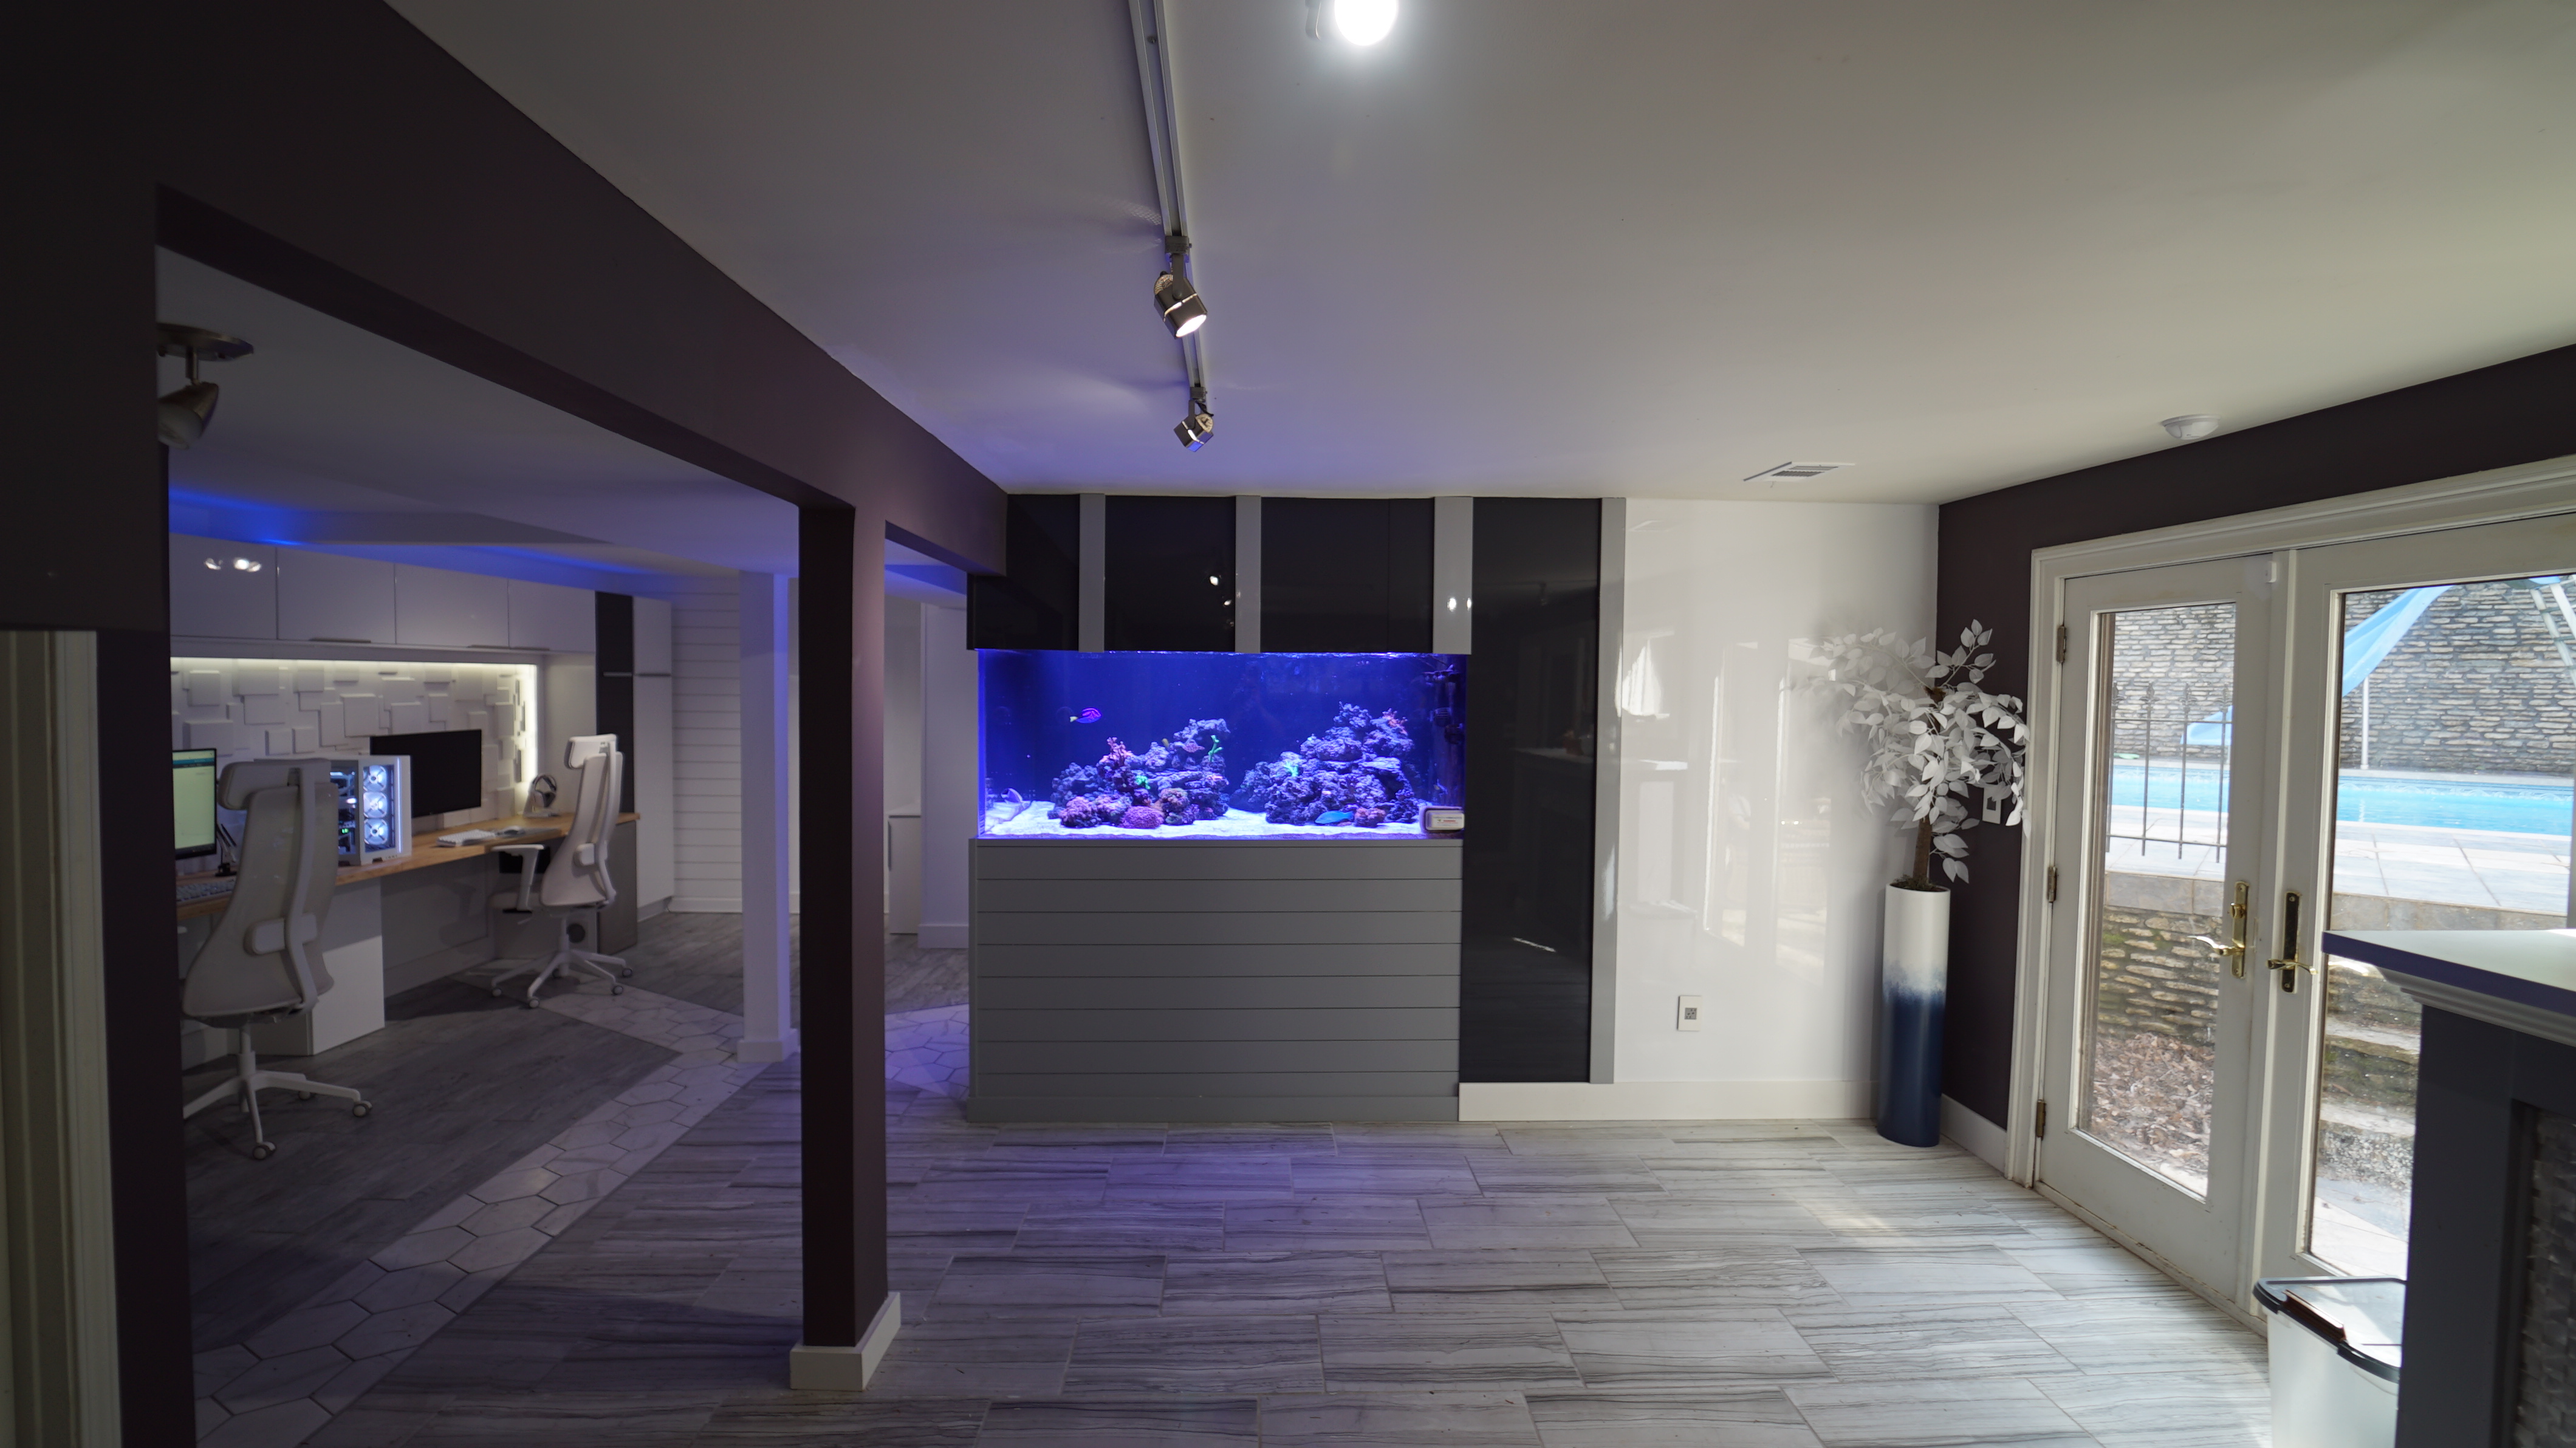
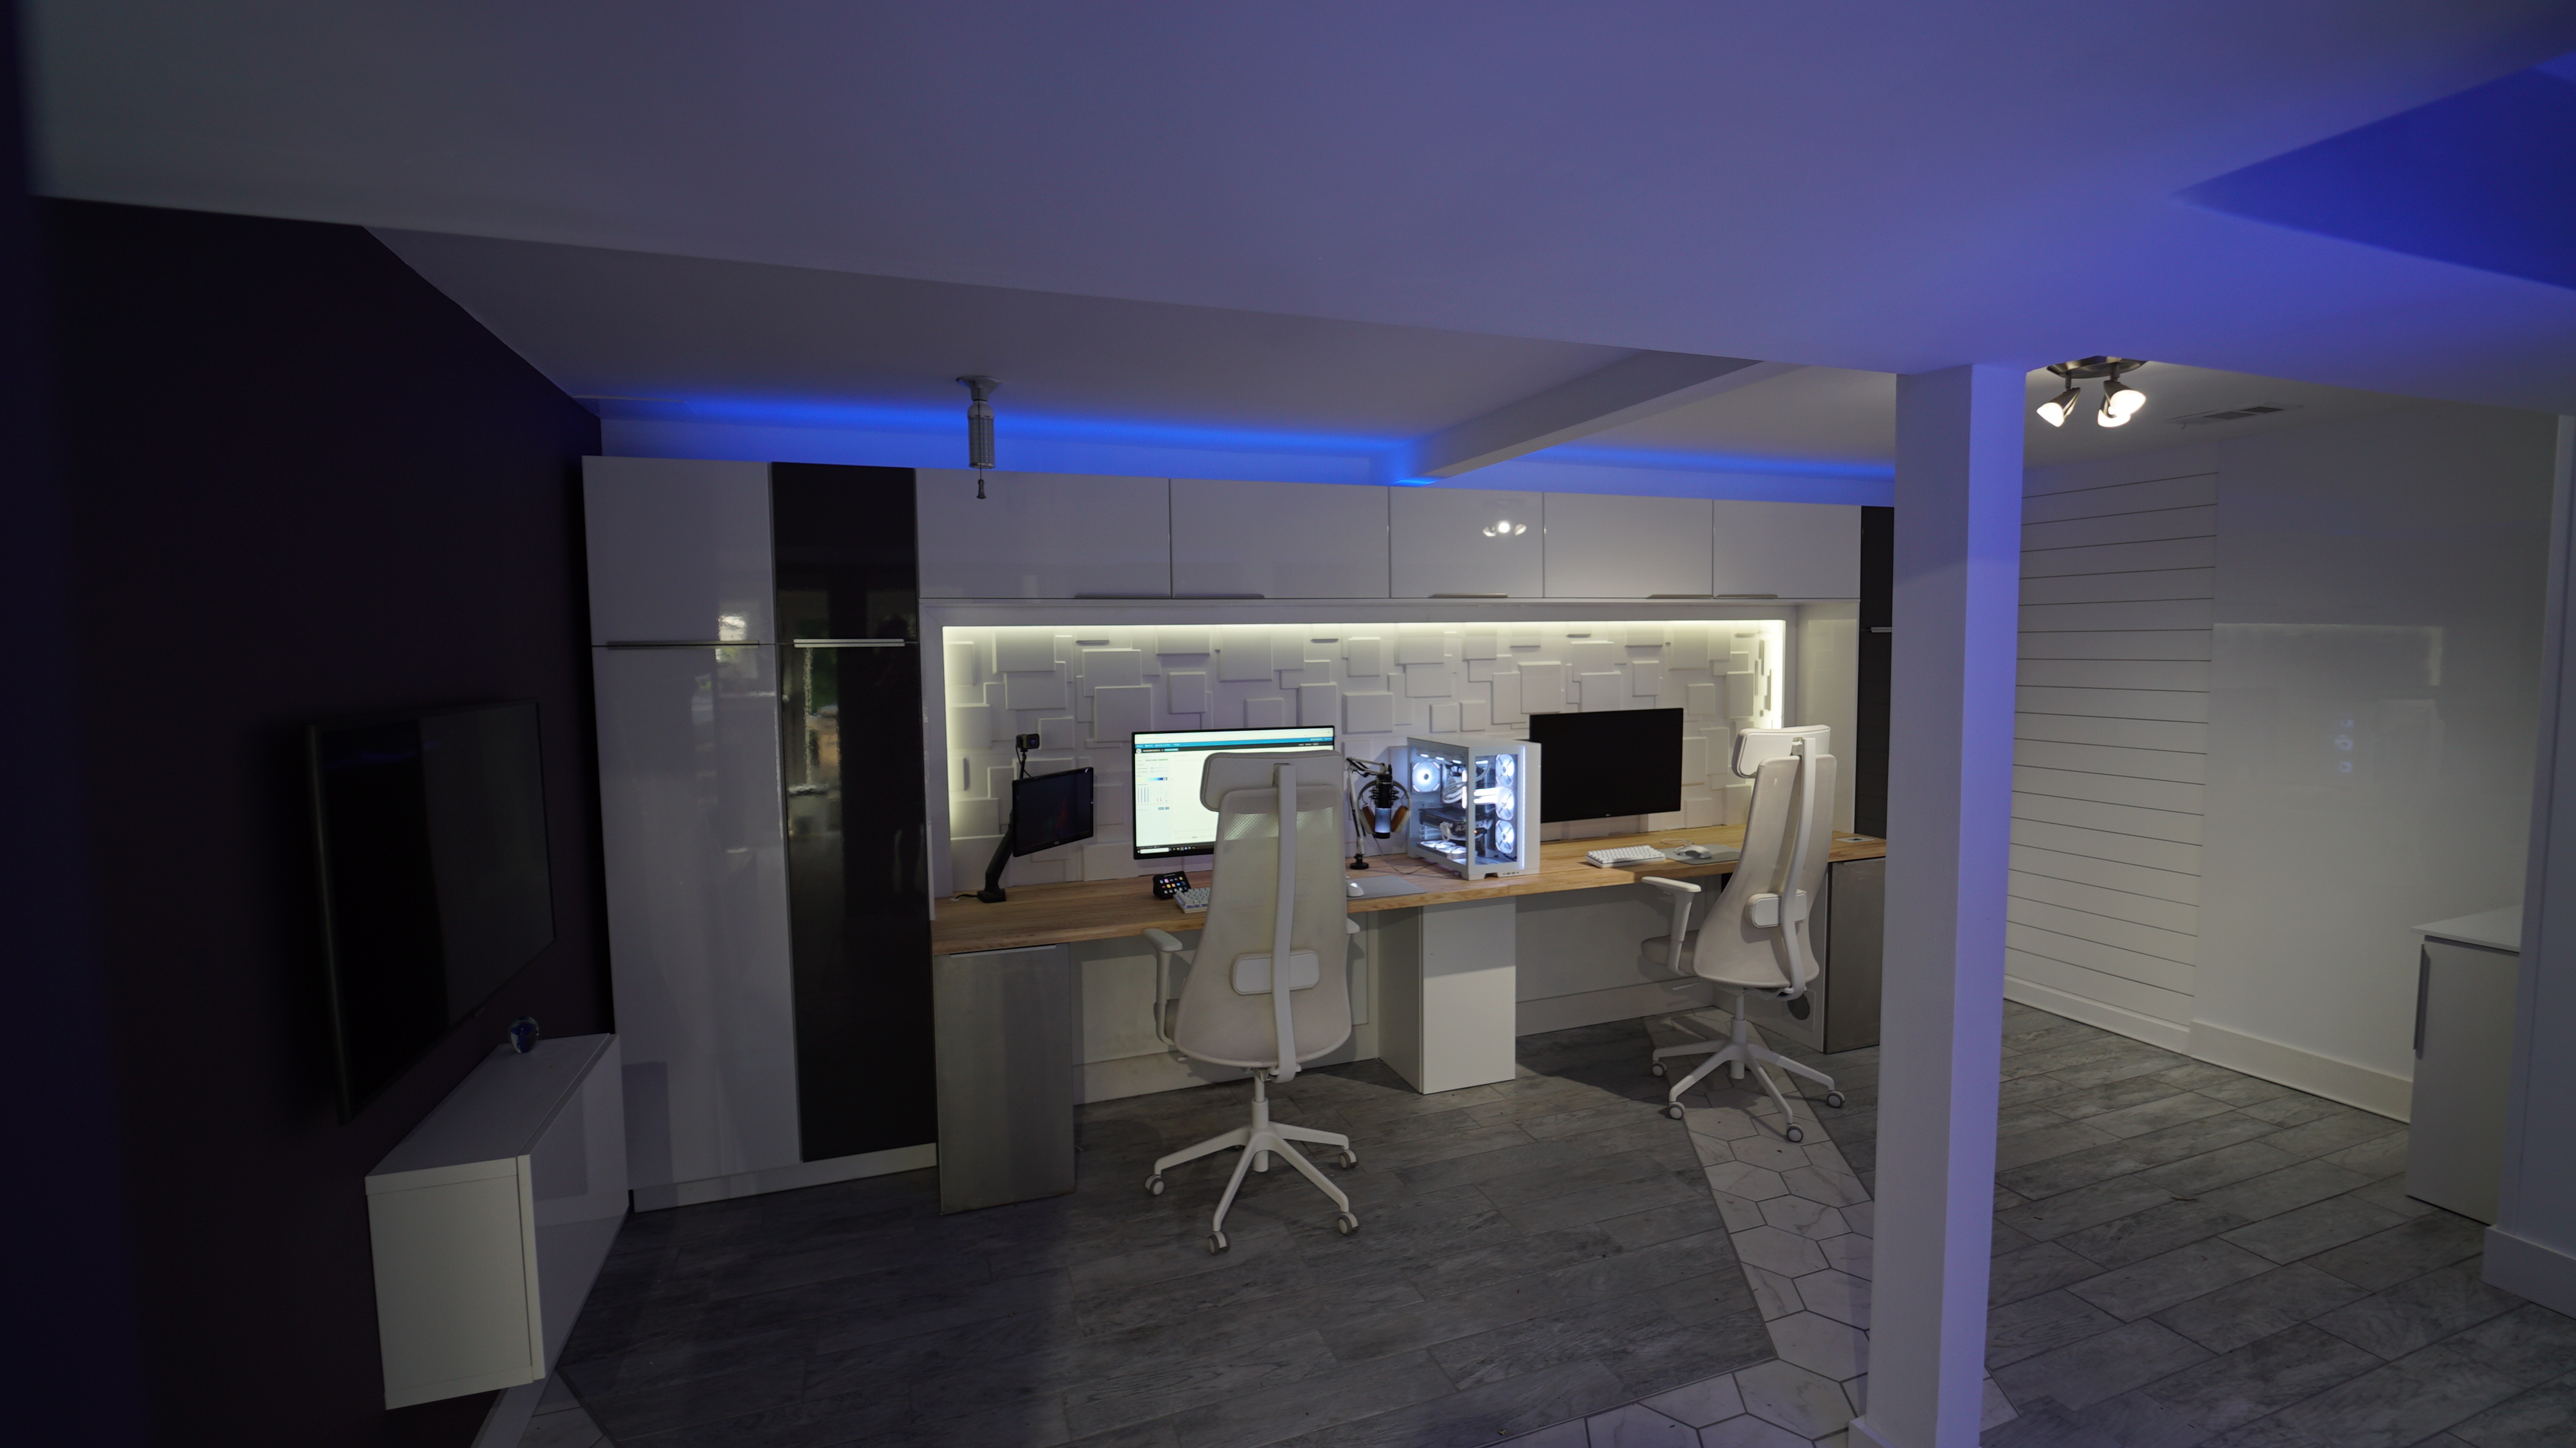
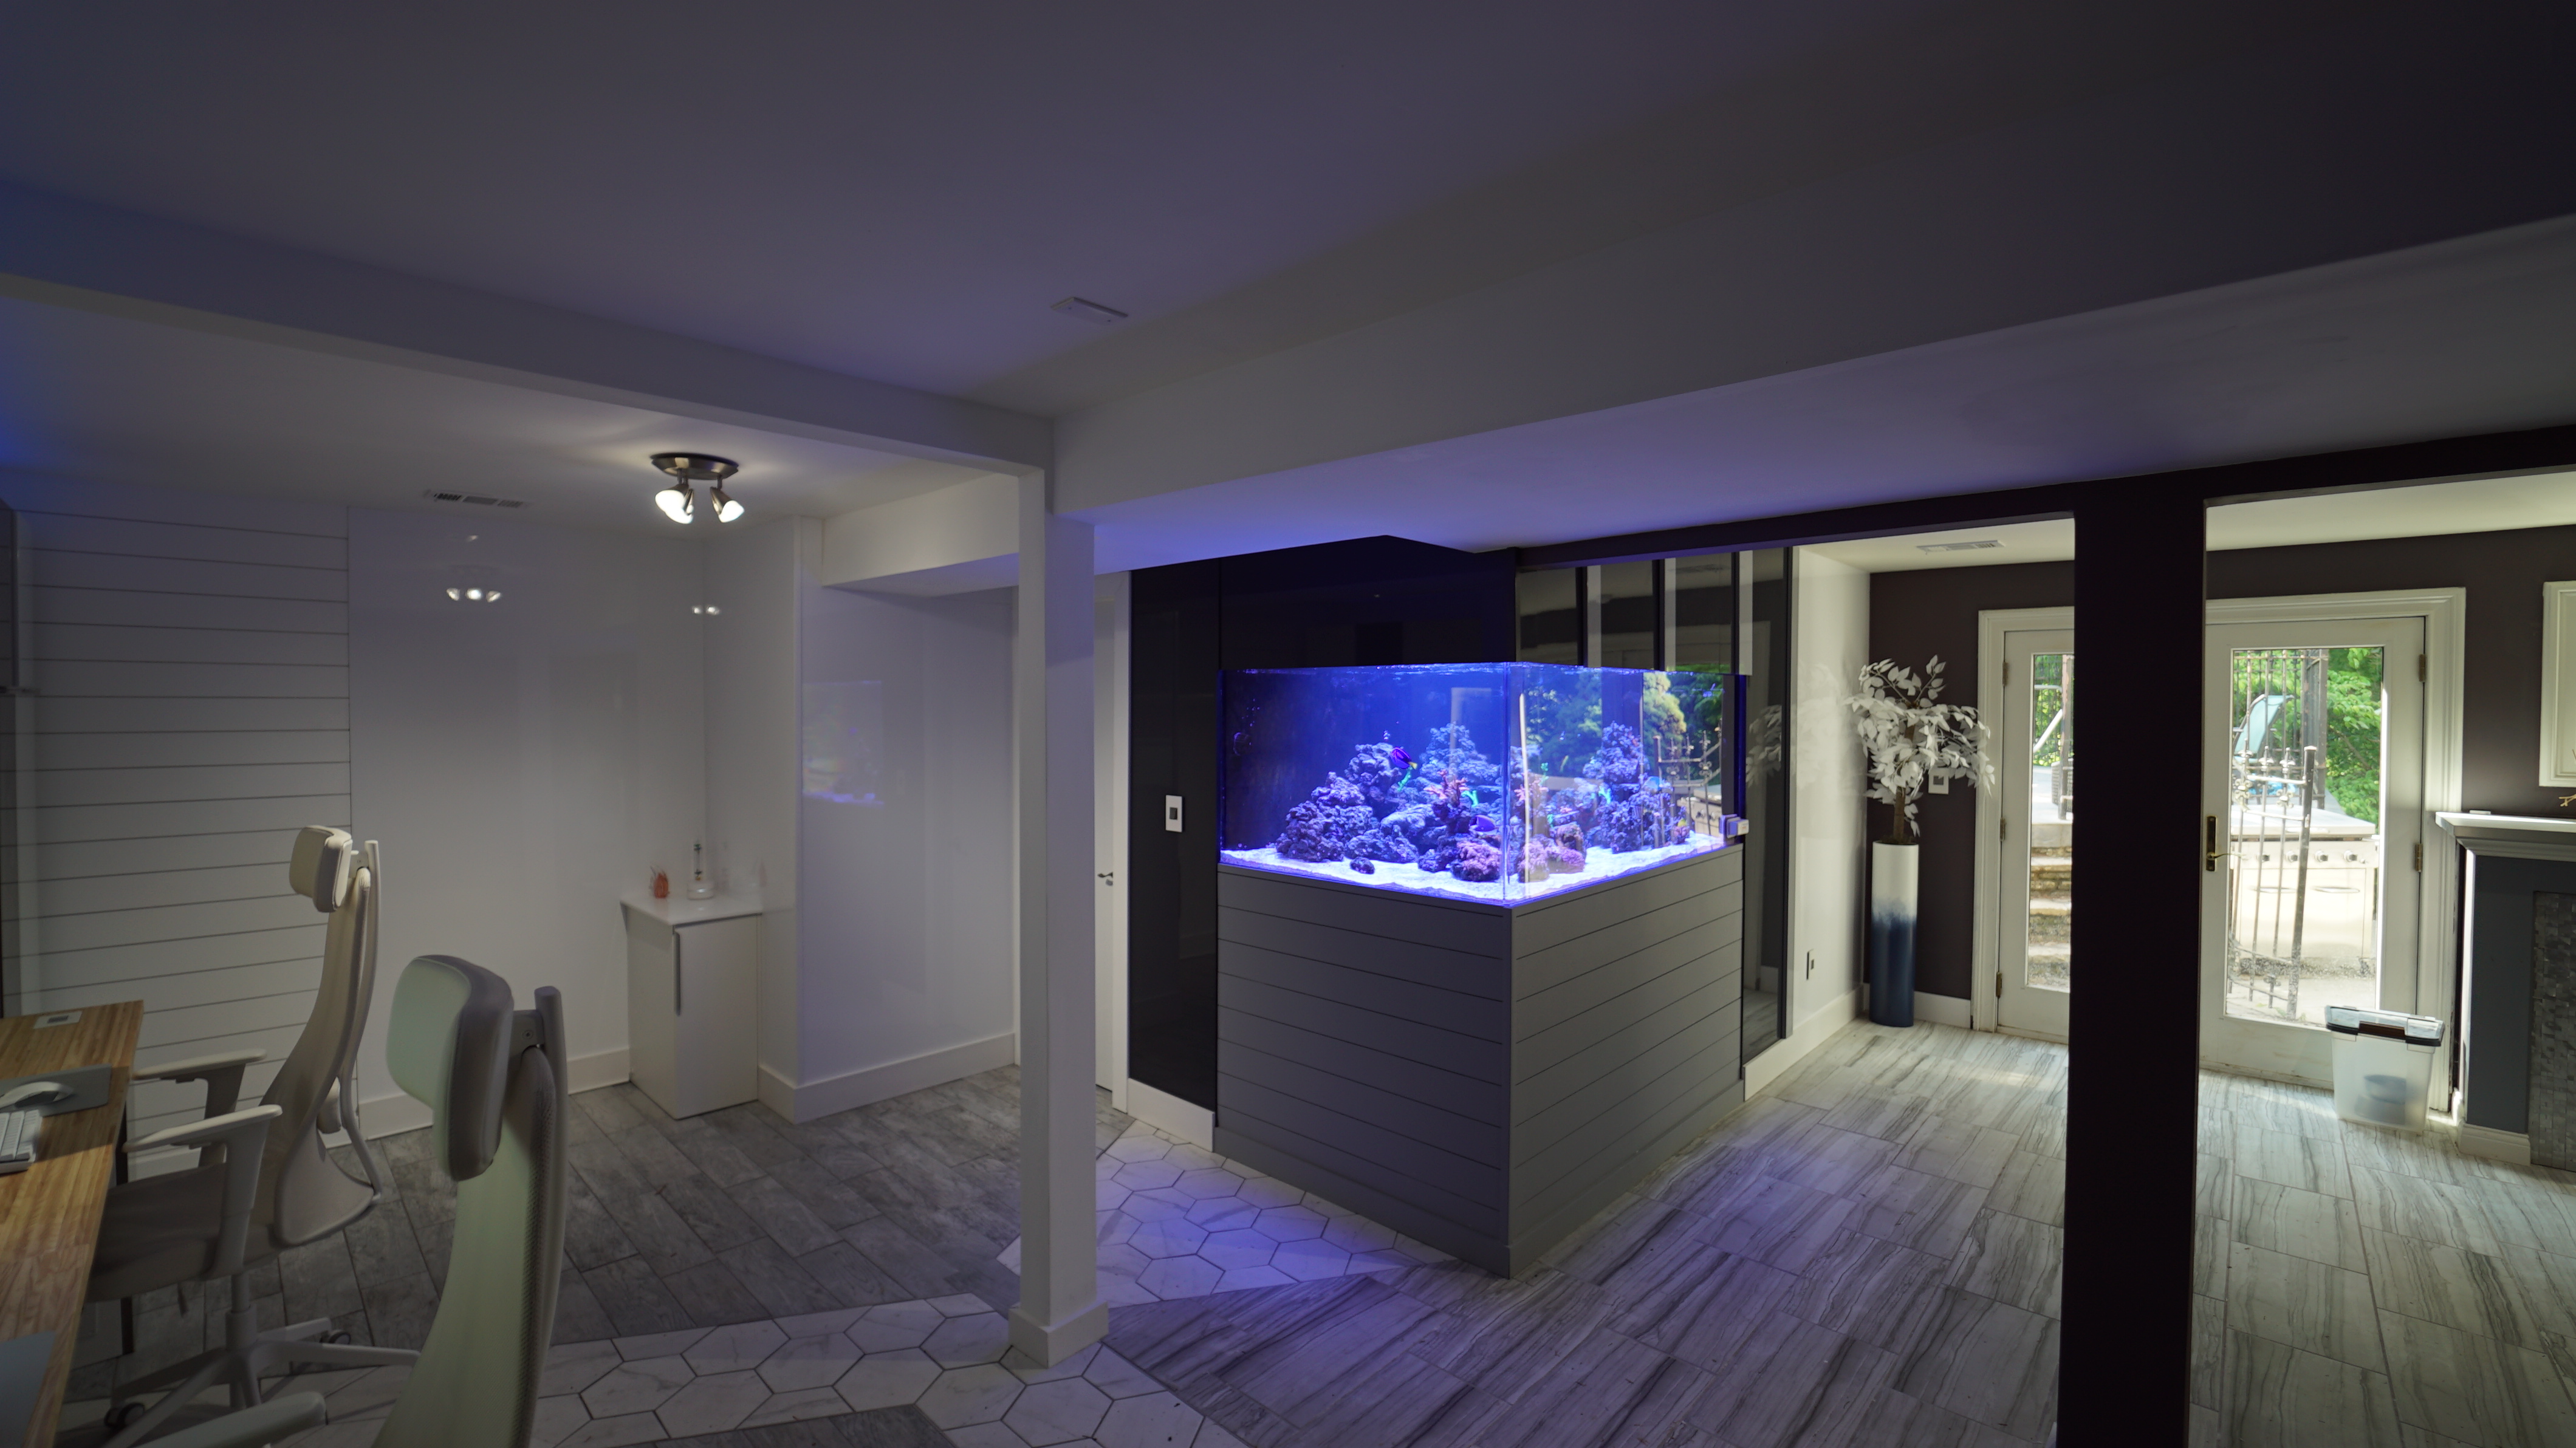
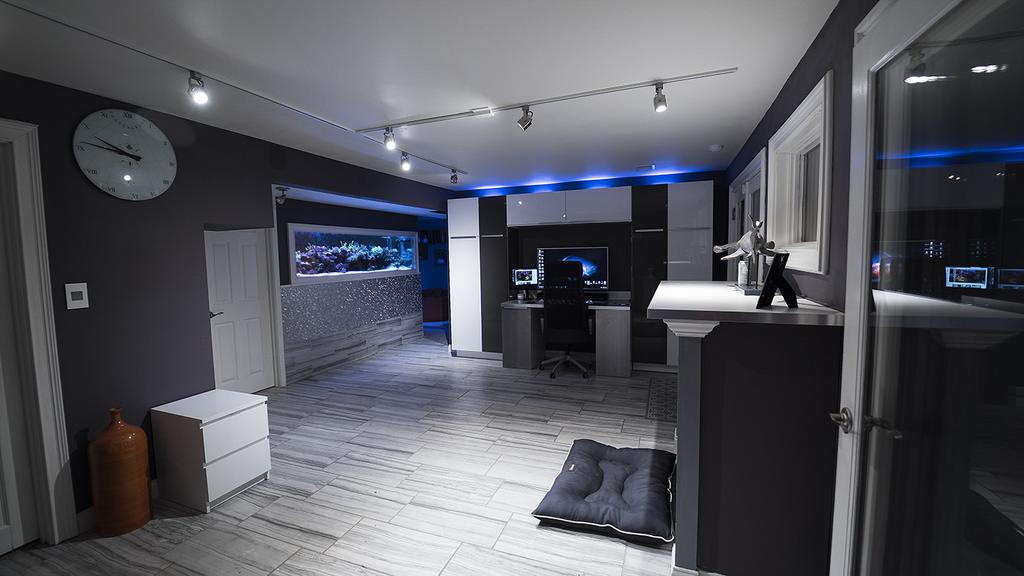
Before my career IT I wanted to be an interior designer but life took me down a different path but I still love transforming my house...it's the best part of ownership. When I moved in back in 2015 this is the remodel end result I immediately started the day I moved in. The original tank was a 300G. The biggest issue I had was that the tank was hard to photo as the wall with the computer design was in the middle of the tank so I could only see 70% of the tank while sitting at my desk. I was never happy with this design and I also didn't like how difficult it was to clean the tank without having access from the front (AC vents in the way). Either way, i'd say is was a vast improvement over the old setup!
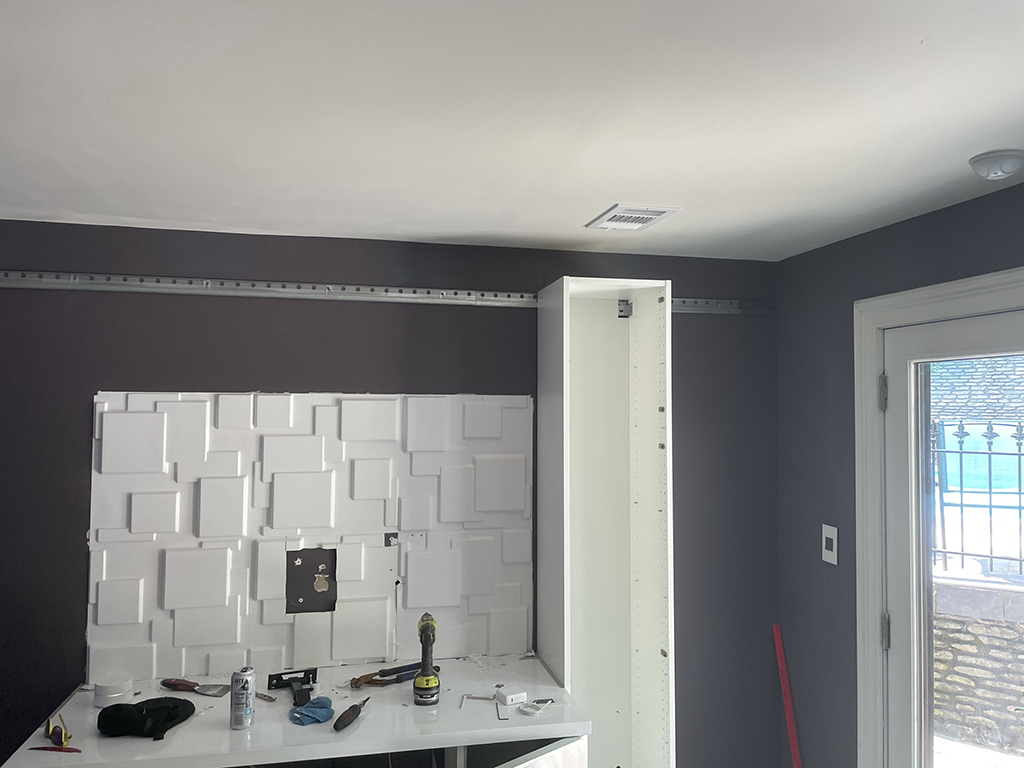
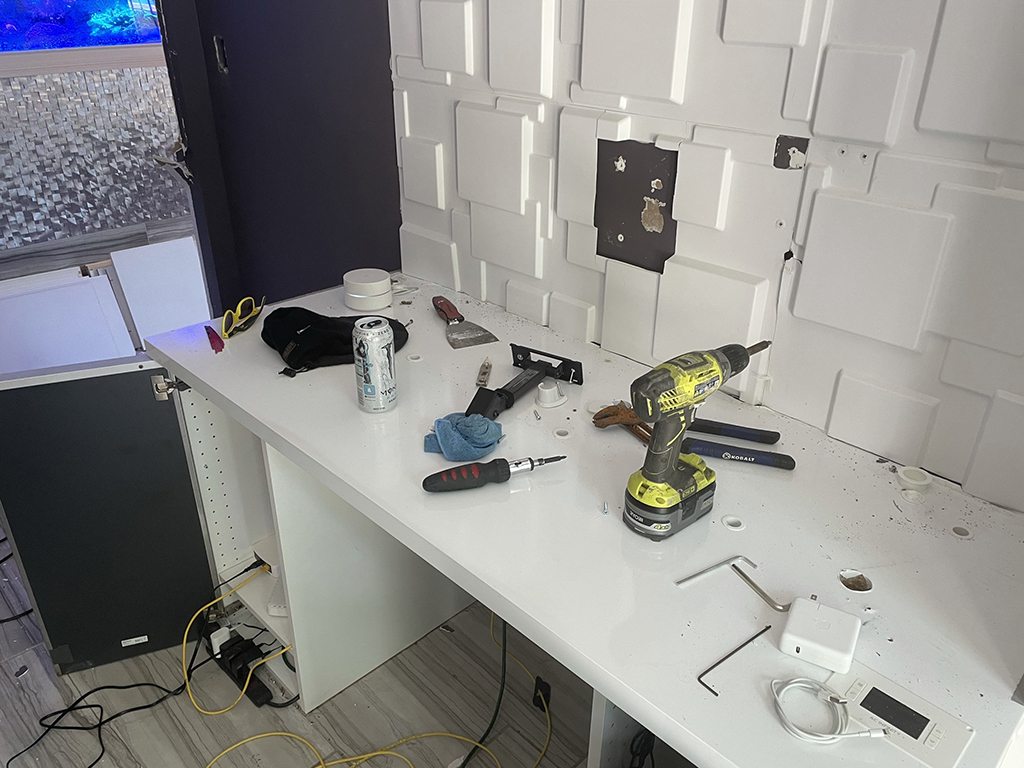
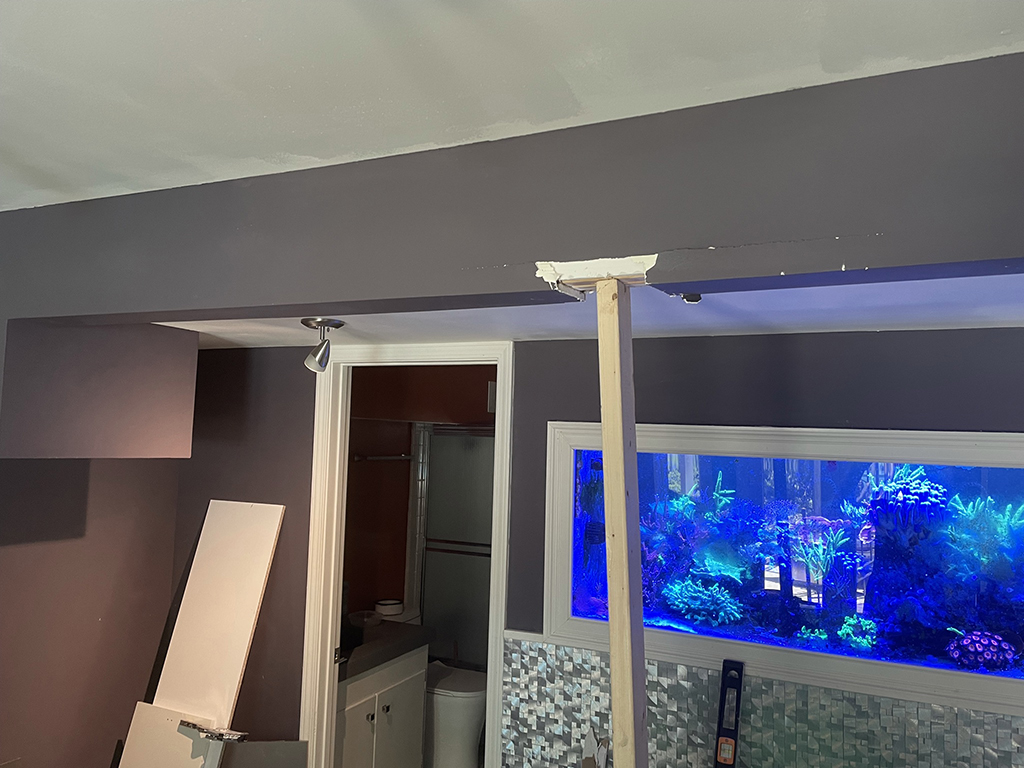
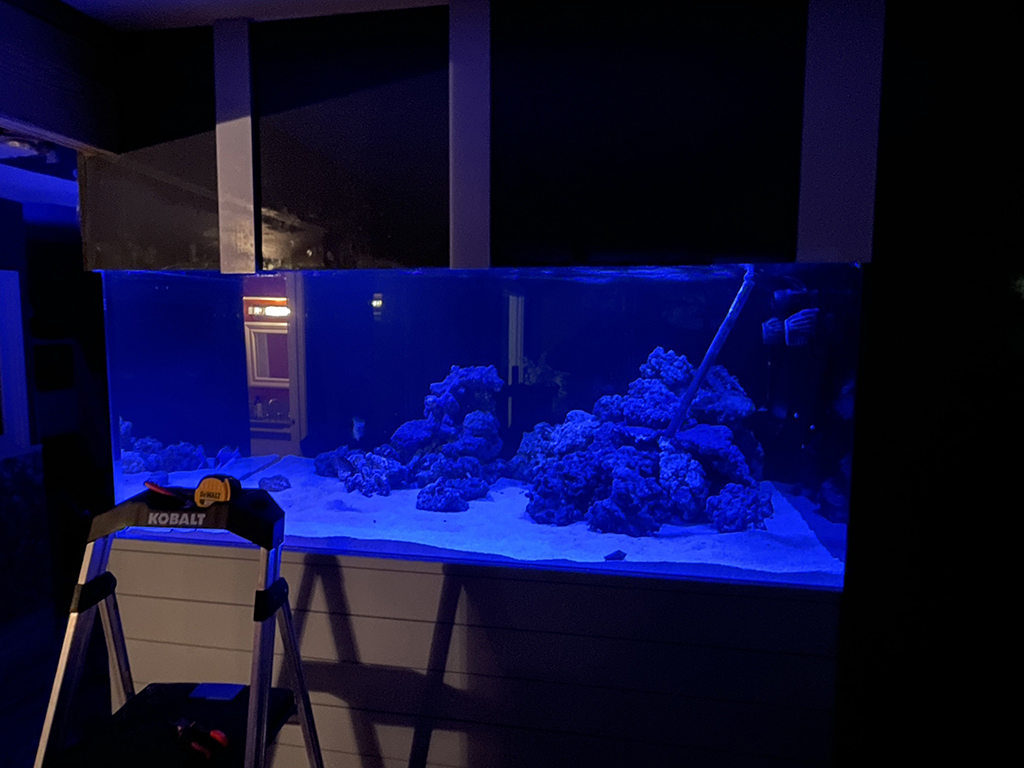
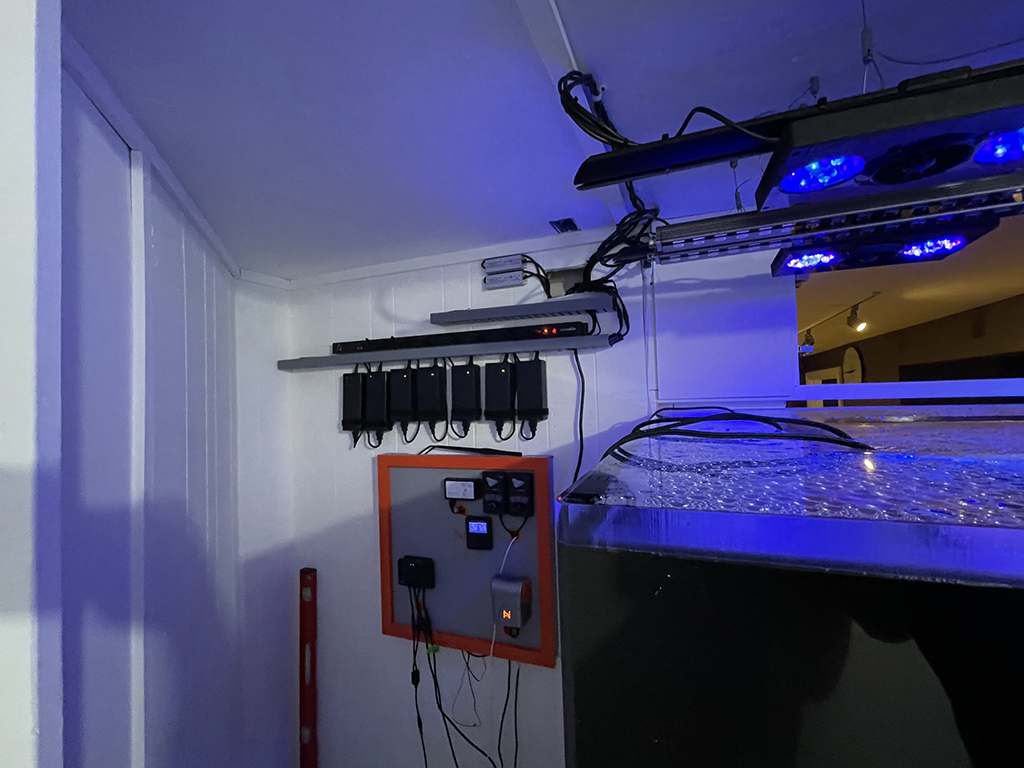
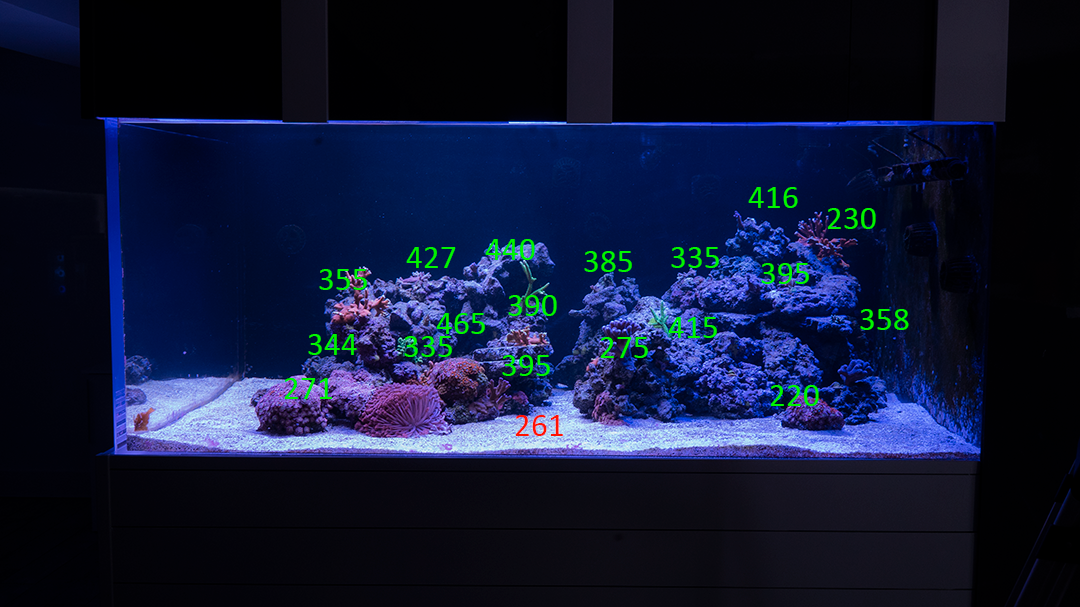
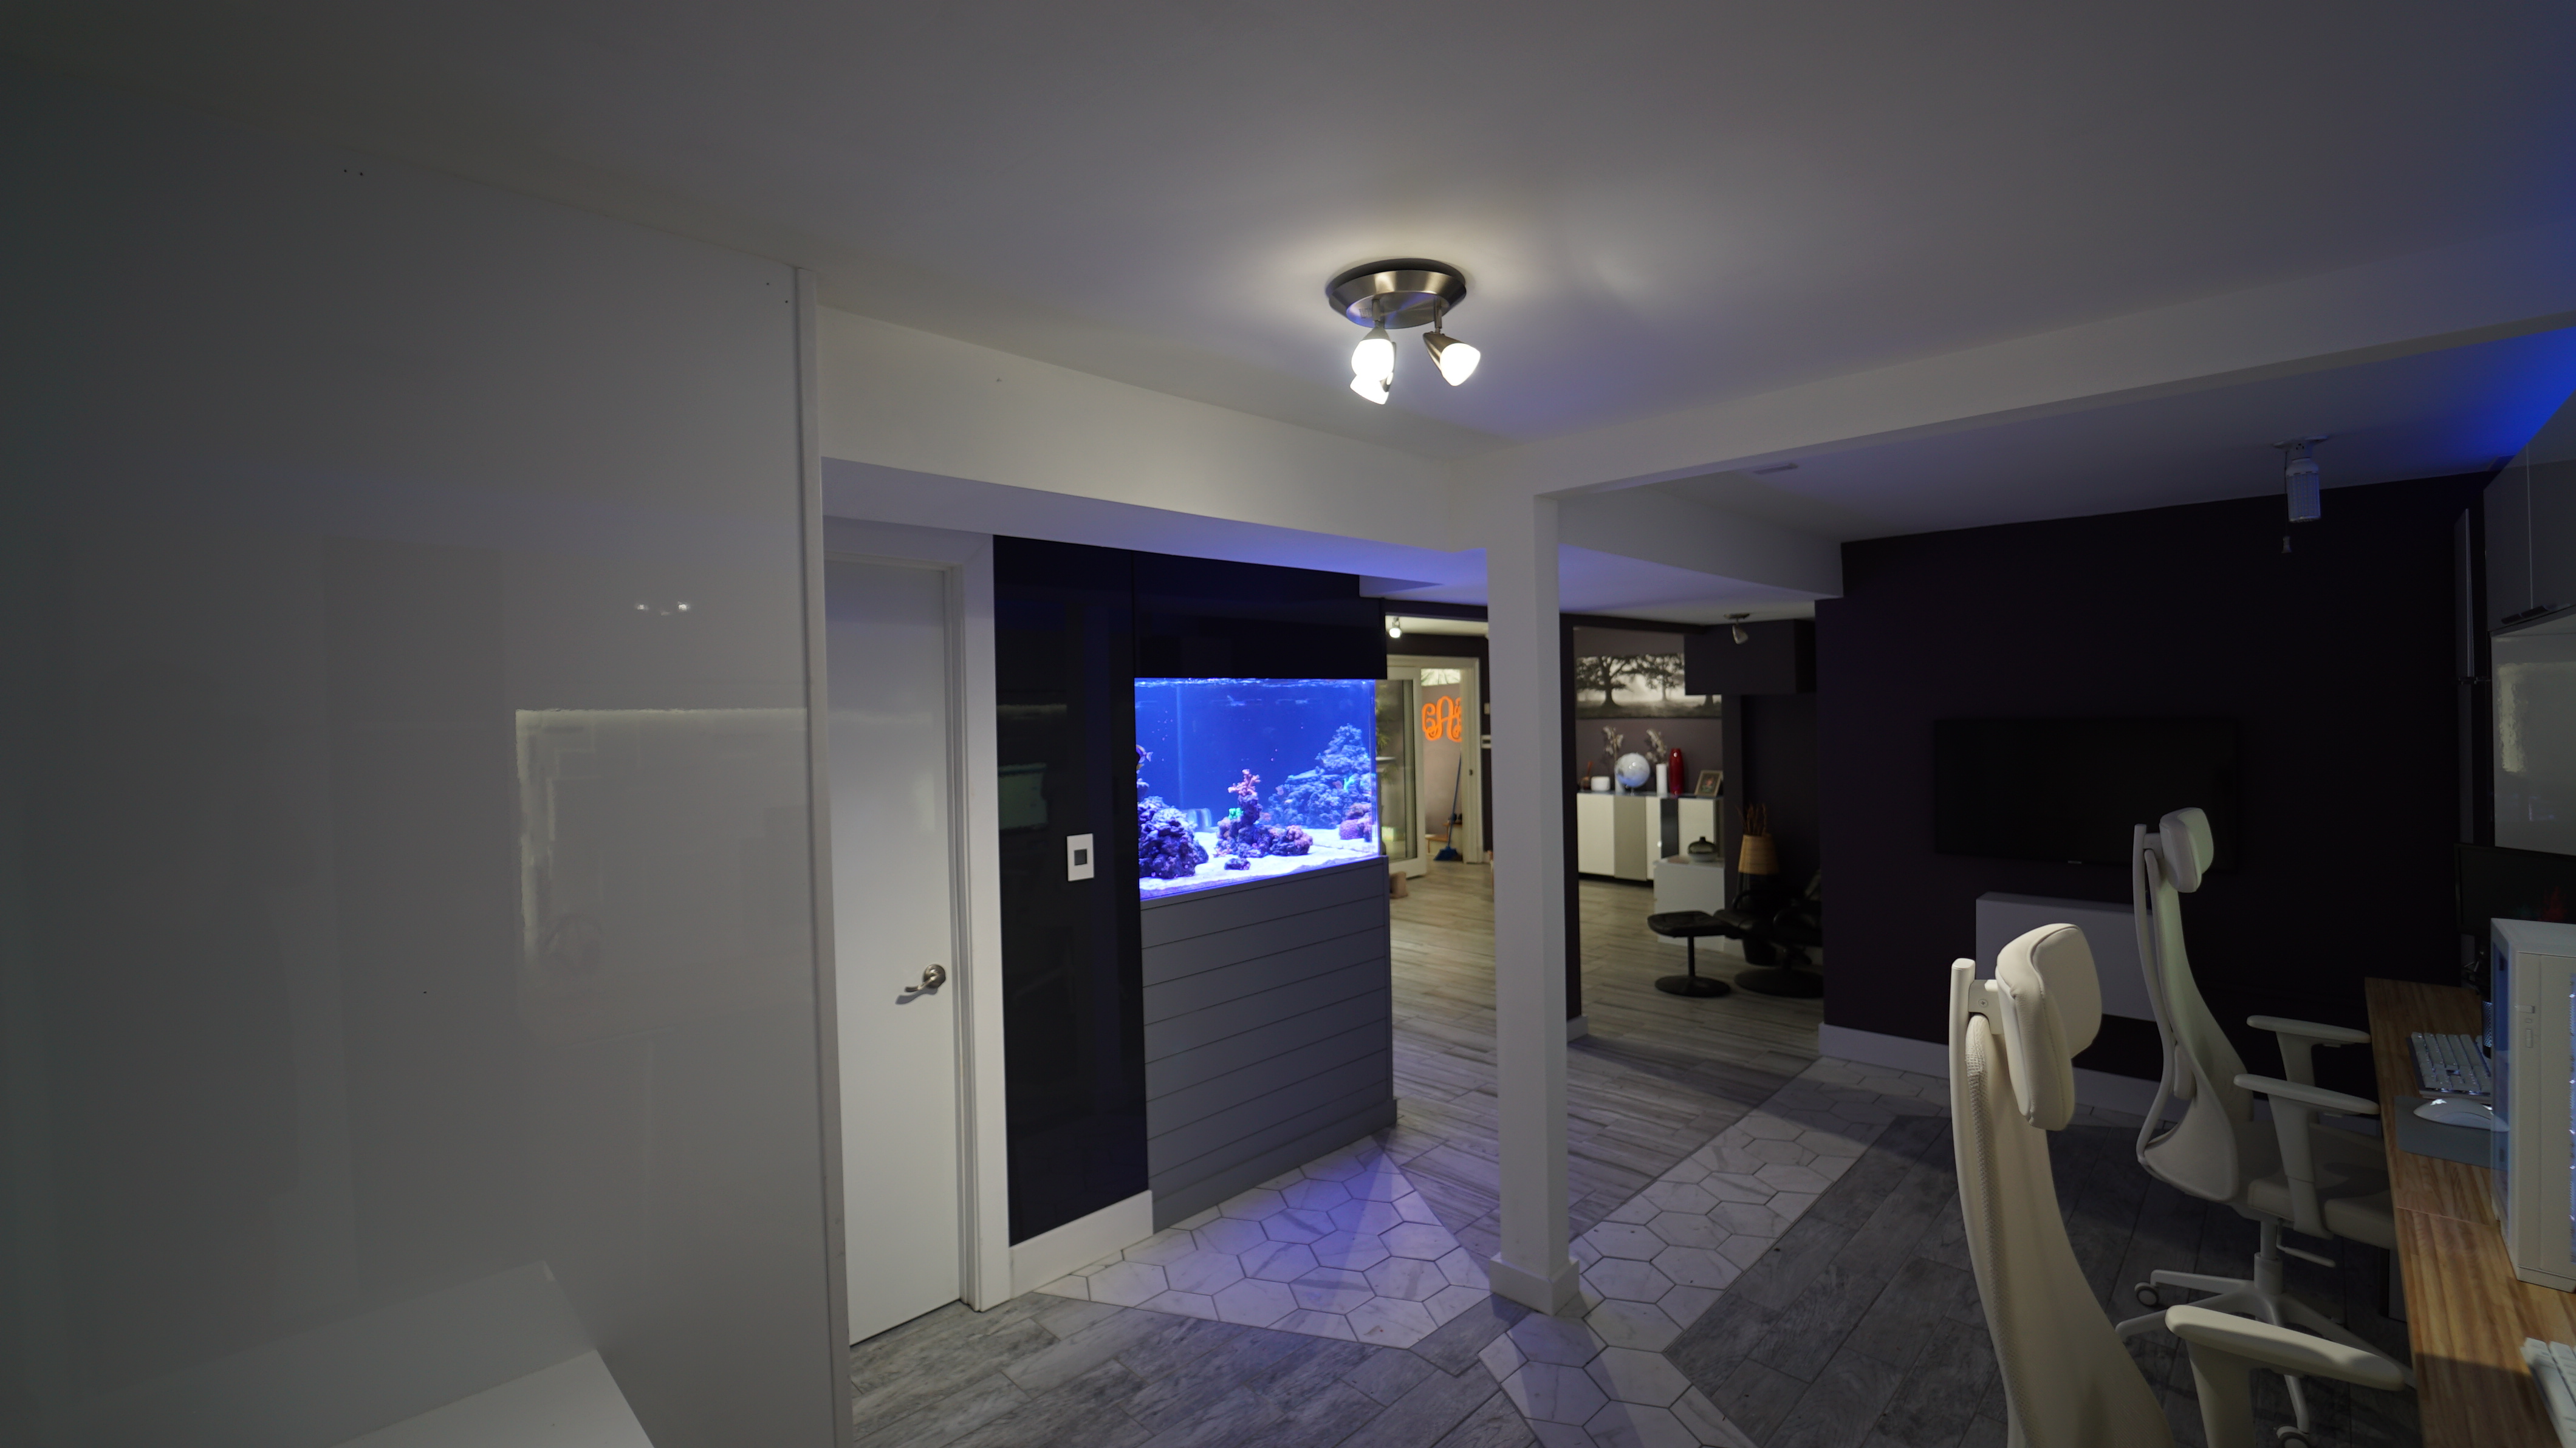
This is the tank right before tear down. I am confident in my ability to grow corals so I knew I could re-create this, this tank has everything from beginner SPS to more difficult rare ones. All of them have grown into large colonies. The new build would start completely fresh with only 1 inch frags and very few transfers as I want to be very choosy in what gets my rock real estate in the future. I also am not a fan of the line row of rocks I had, I want a more tiered "stadium seating" type look that requires deep front to back dimensions.
Now on to the build:
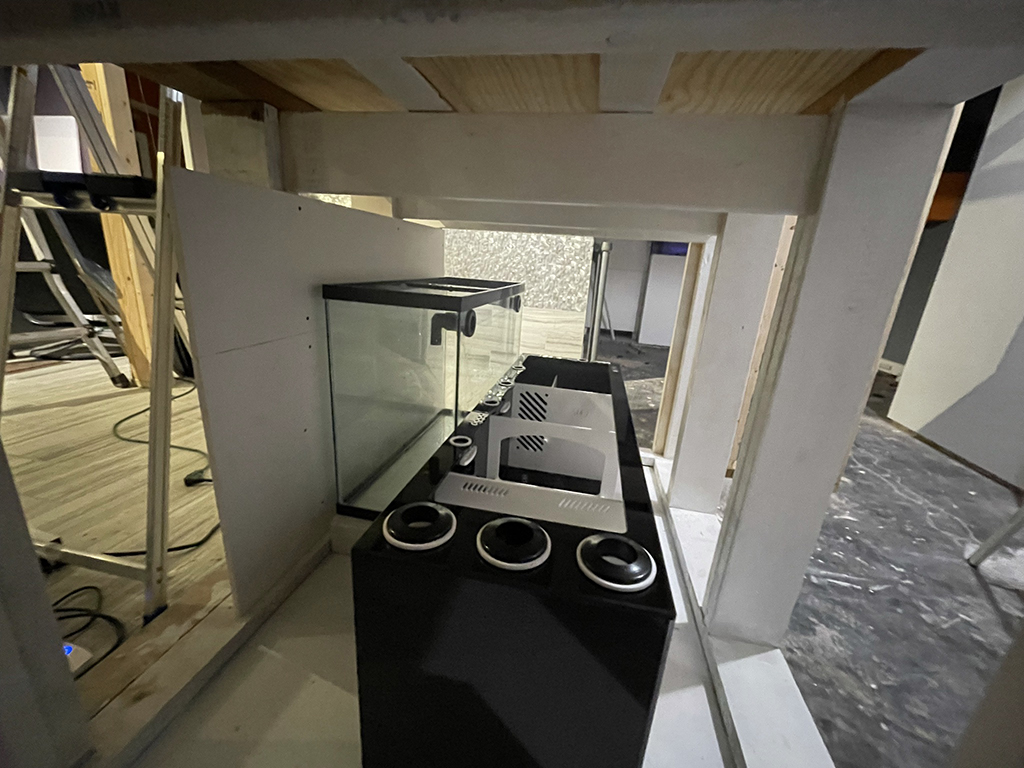
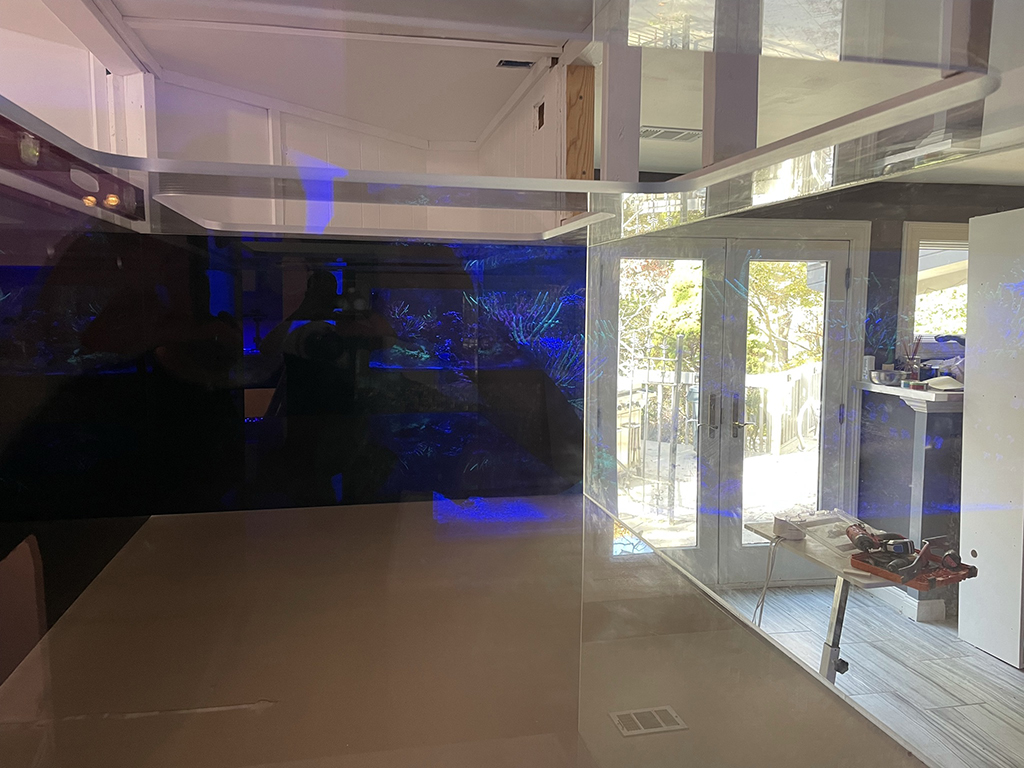
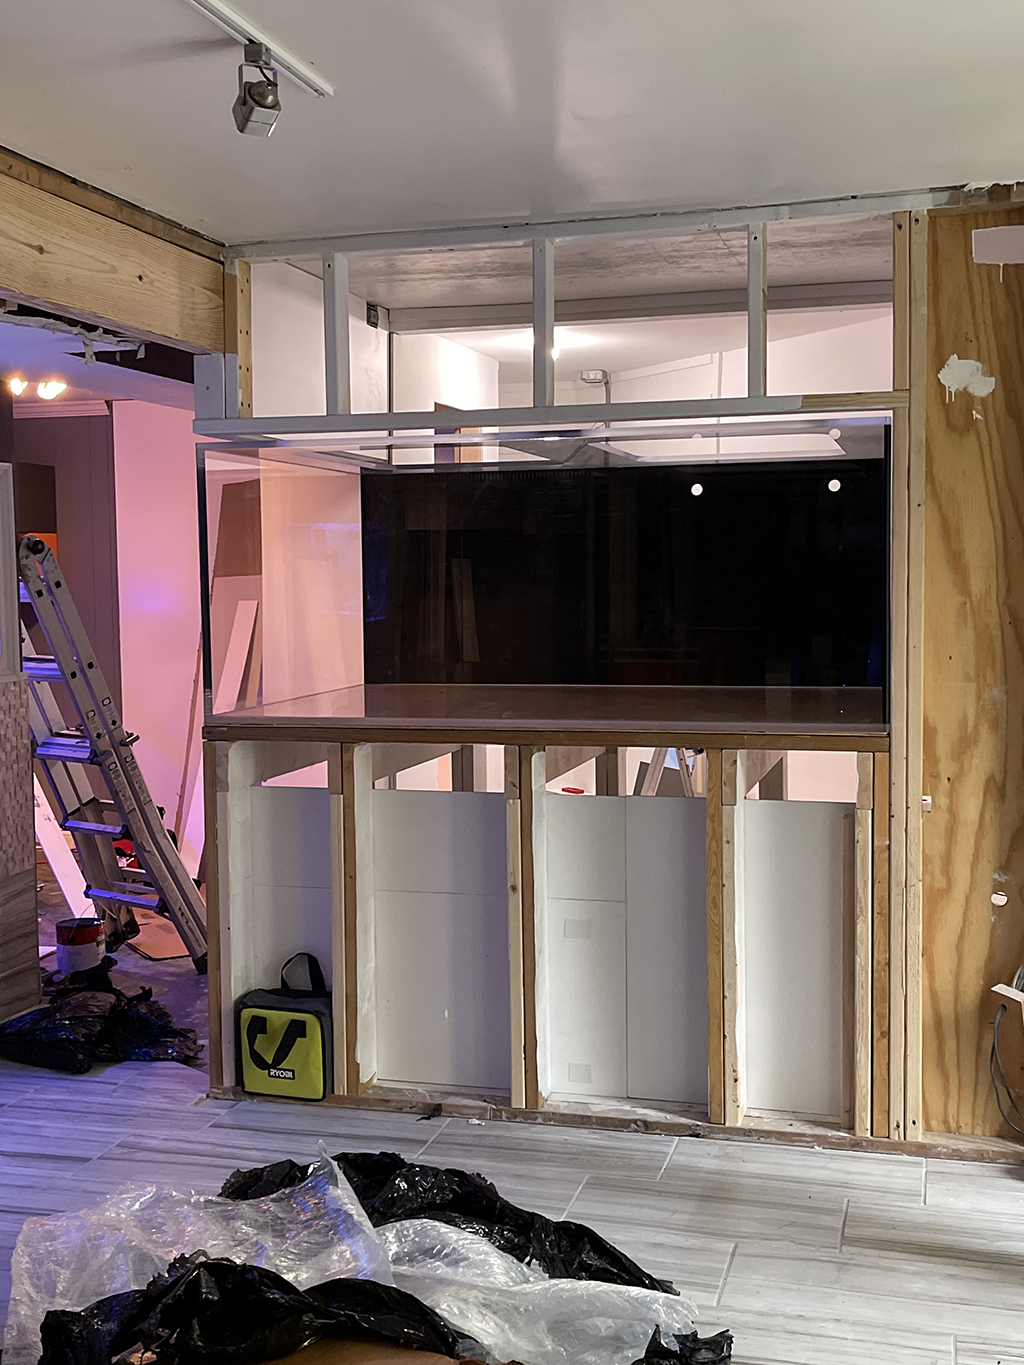
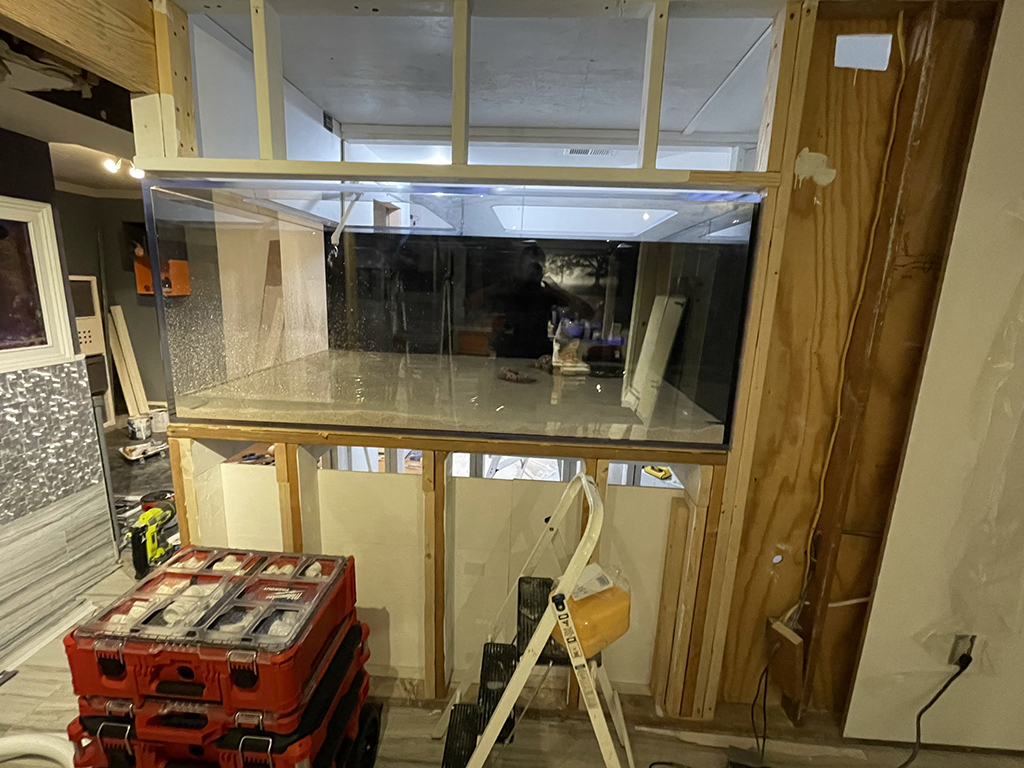
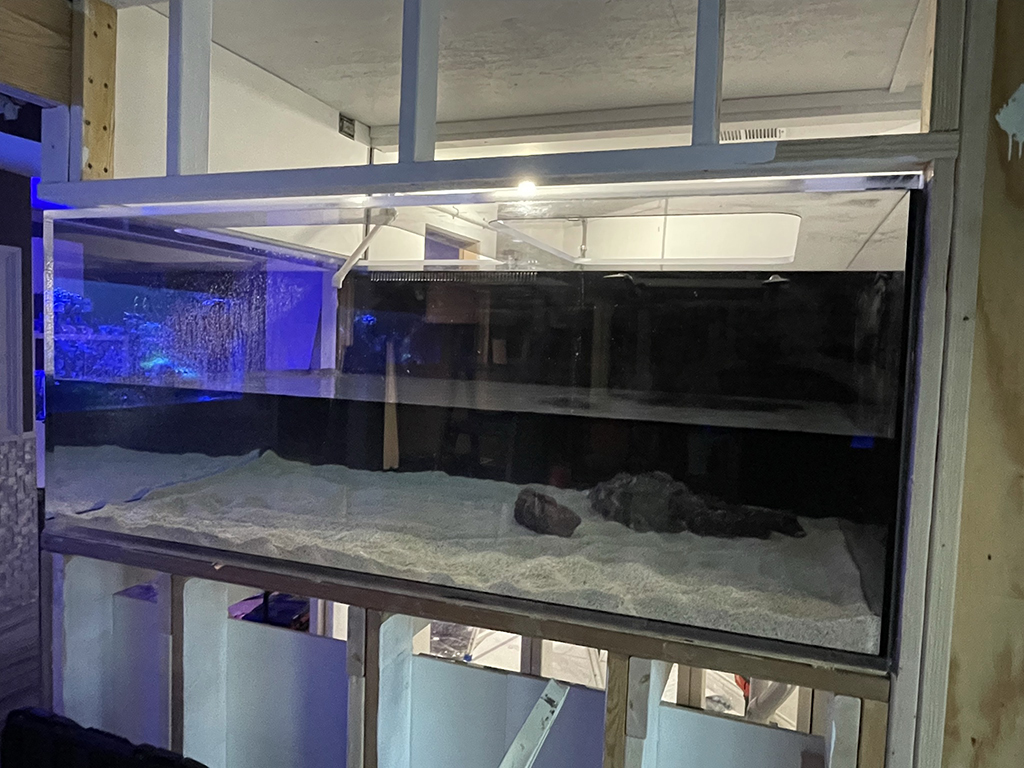
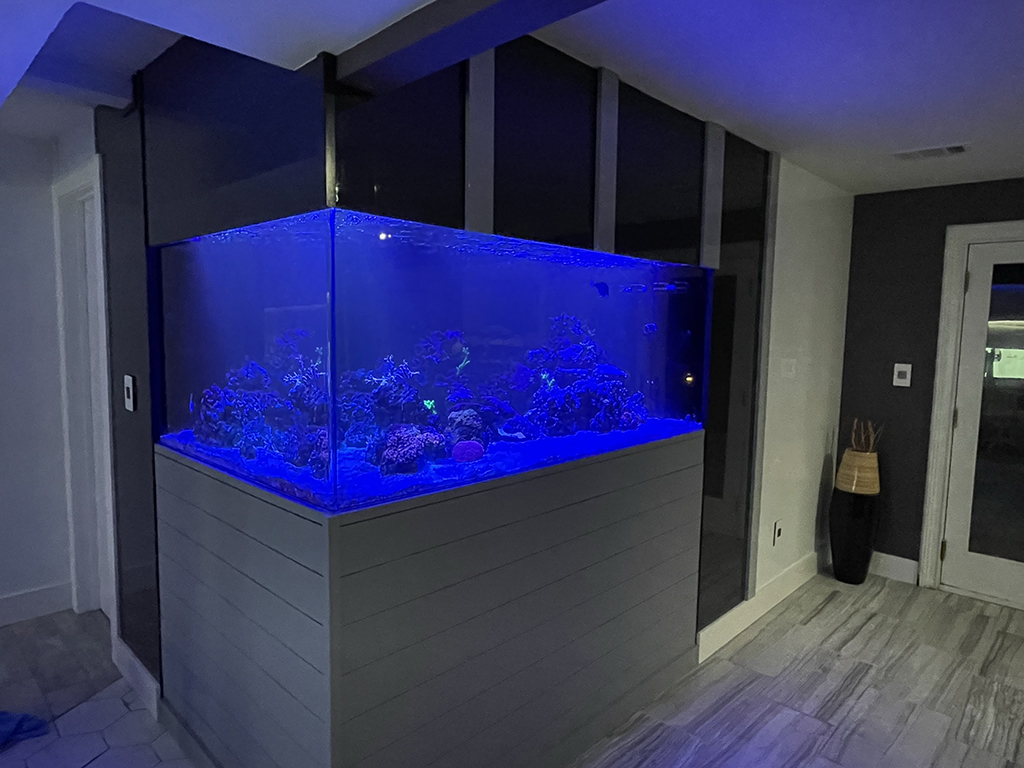
The new tank is a 72x48x30
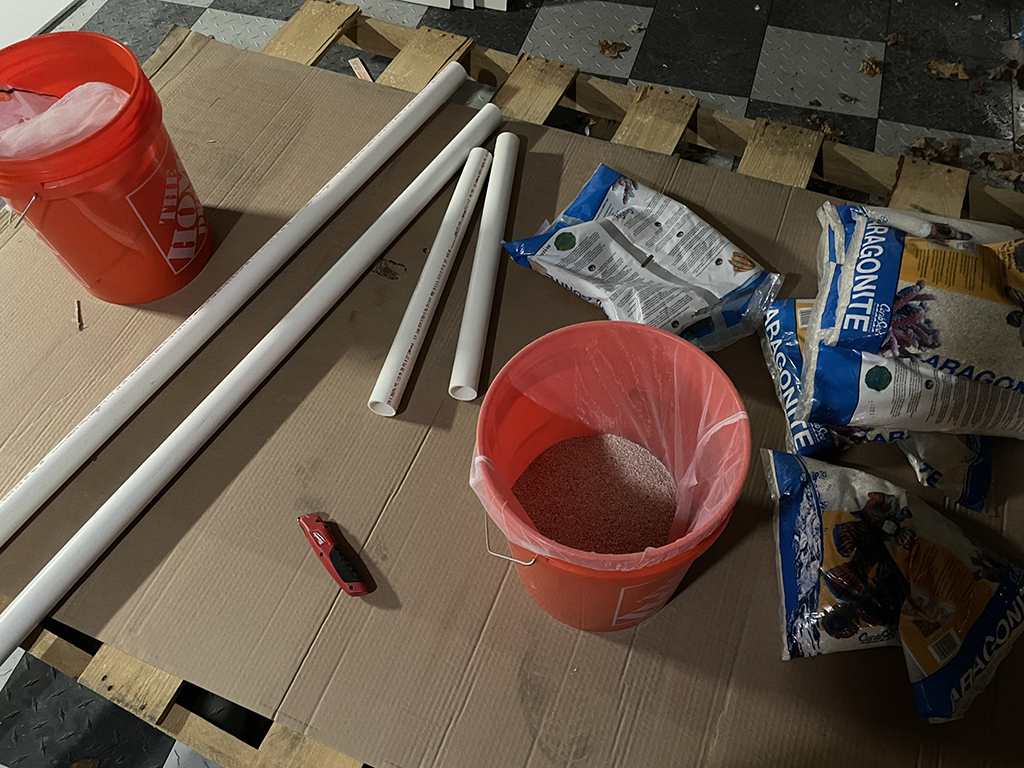
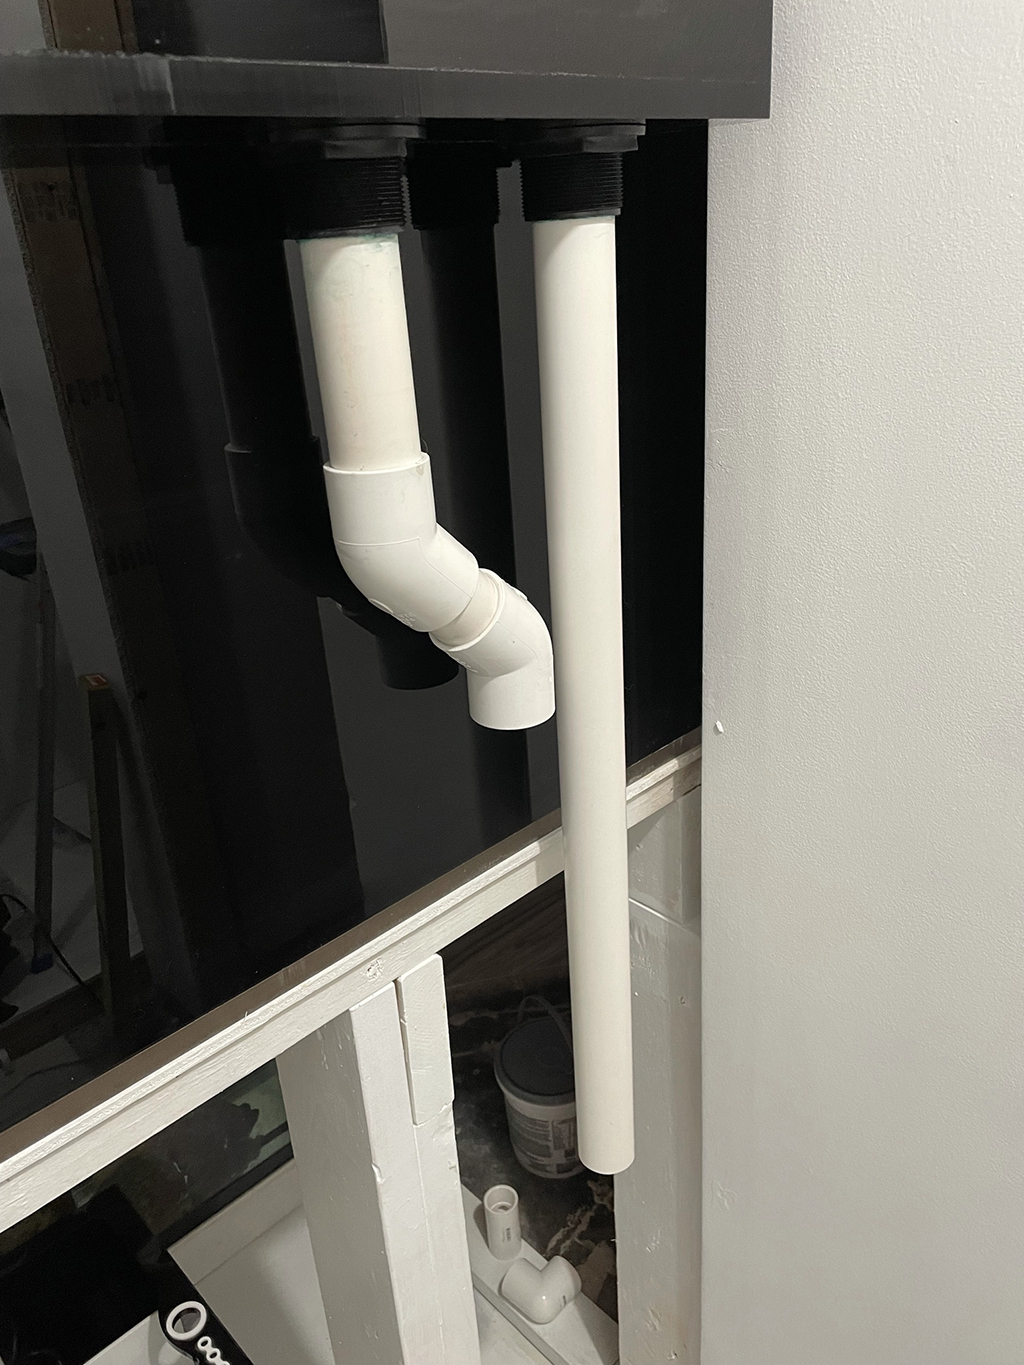
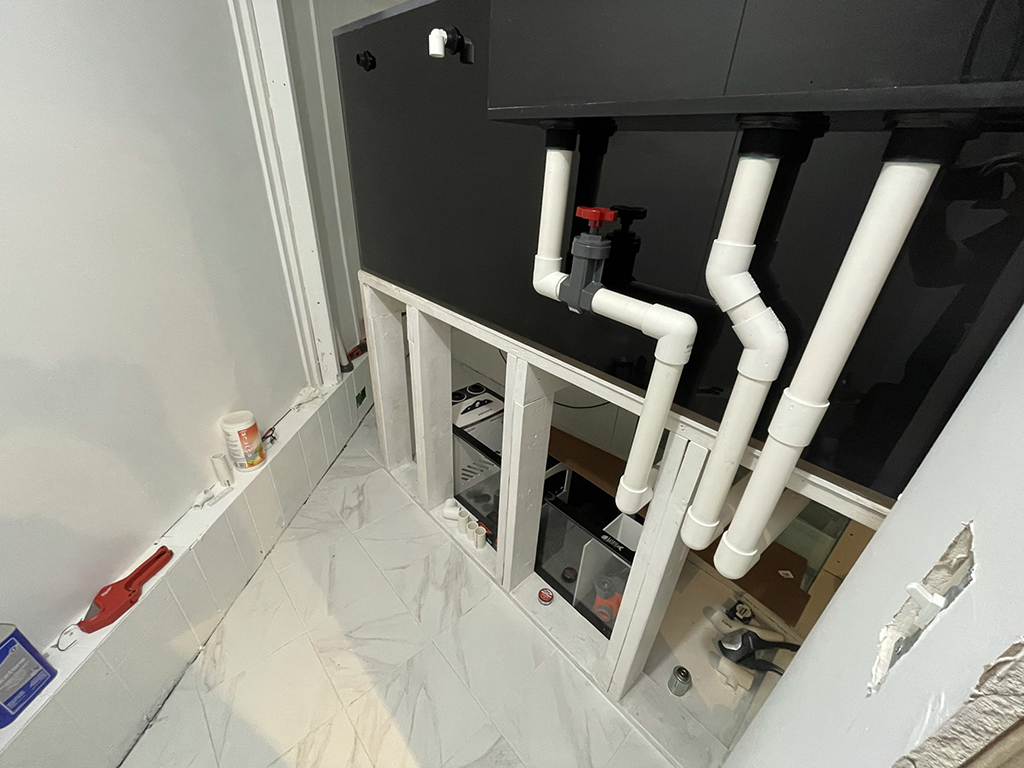
This is less length than my previous tank but deeper and wider. It's an advanced acrylics custom tank that took a heck of a long time to finish (the wait killed me!). I like acrylic, I have never had an issue with scratches that I couldn't repair. Mighty magnets makes a great sanding kit and amazing magnets with a mesh bag that drastically reduce potential for scratches. I also have a ton of odd angles to navigate when installing the tank and concerns over leaks that make the weight and durability of acrylic a favorable option for me.
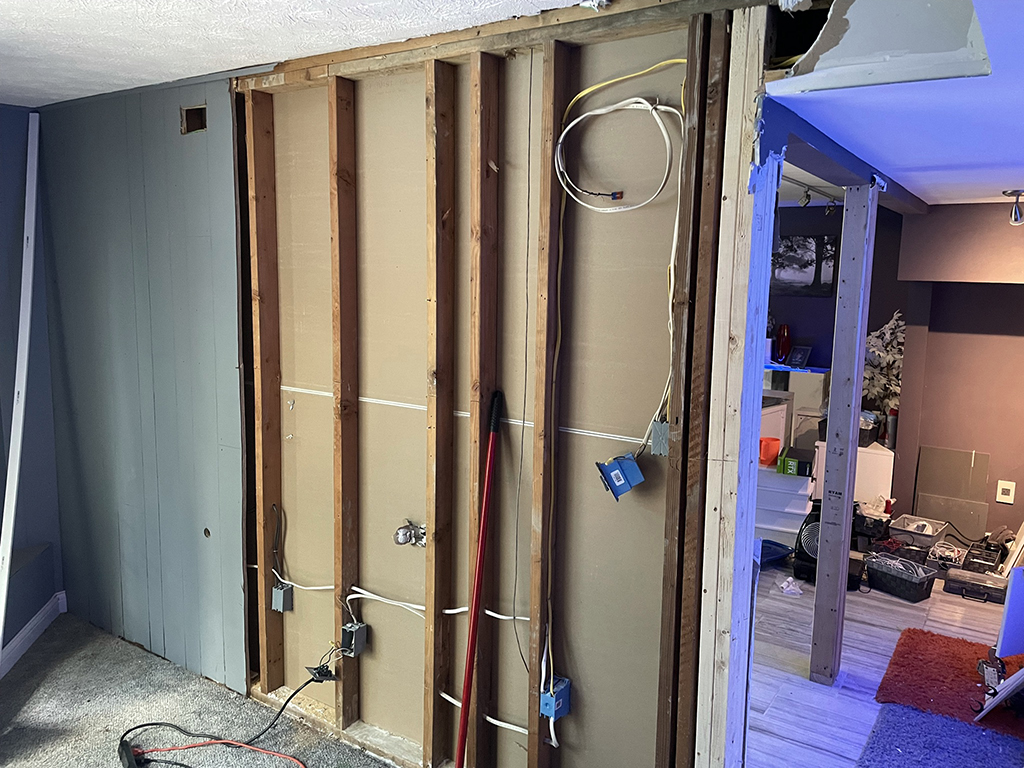
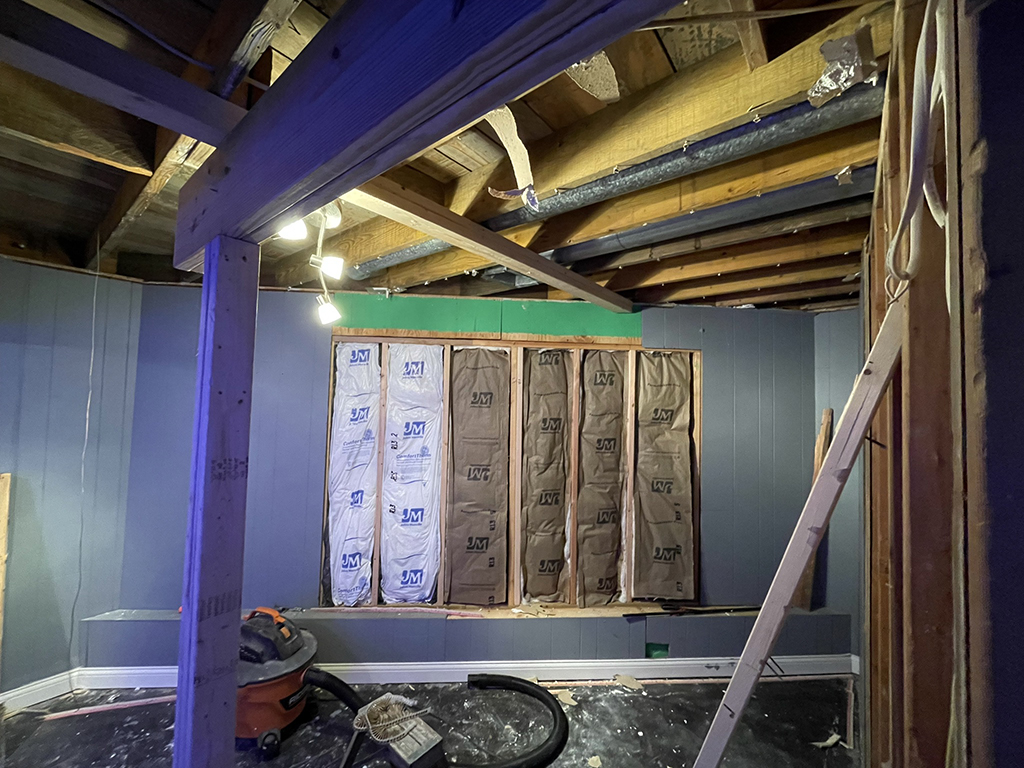
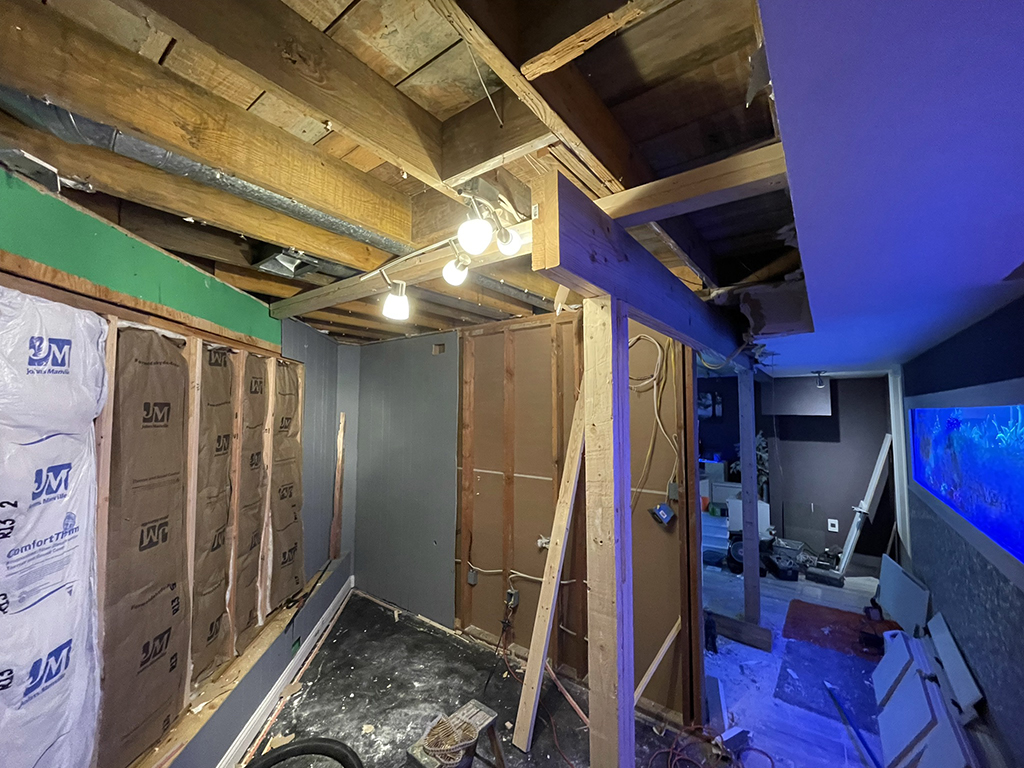
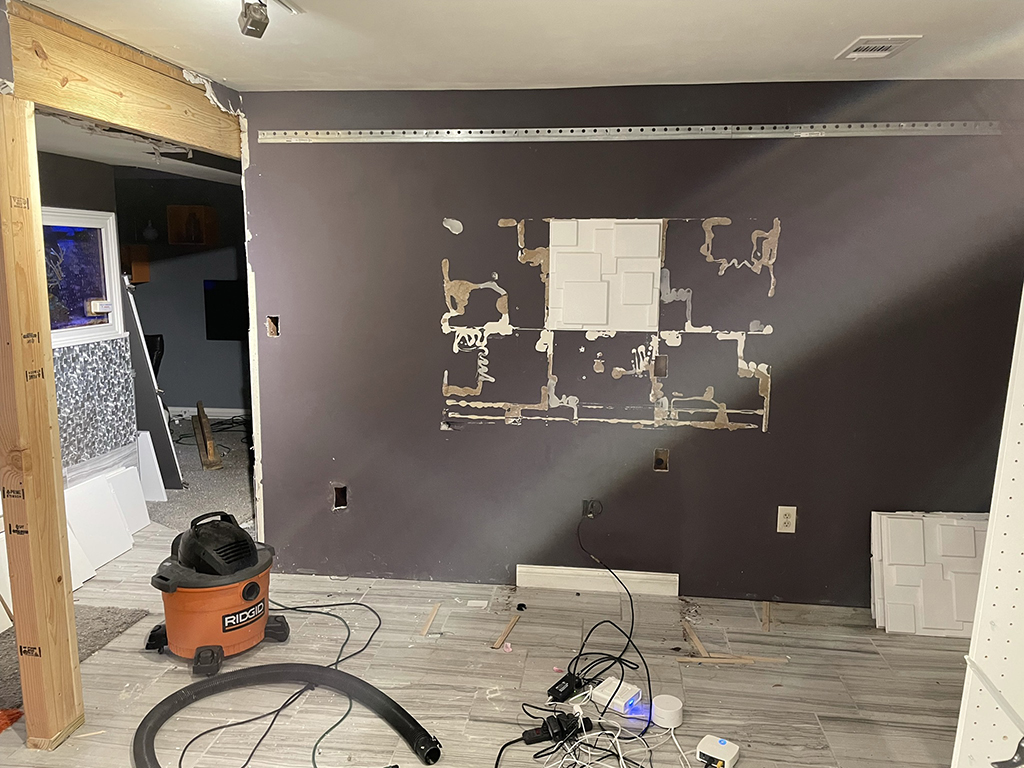
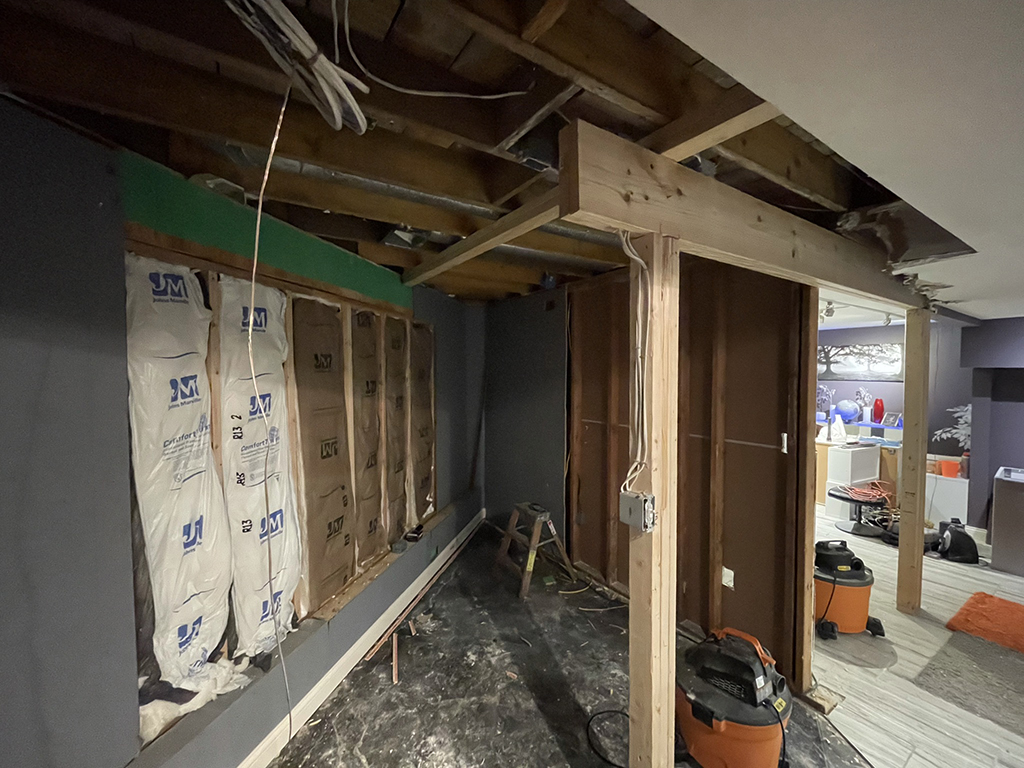
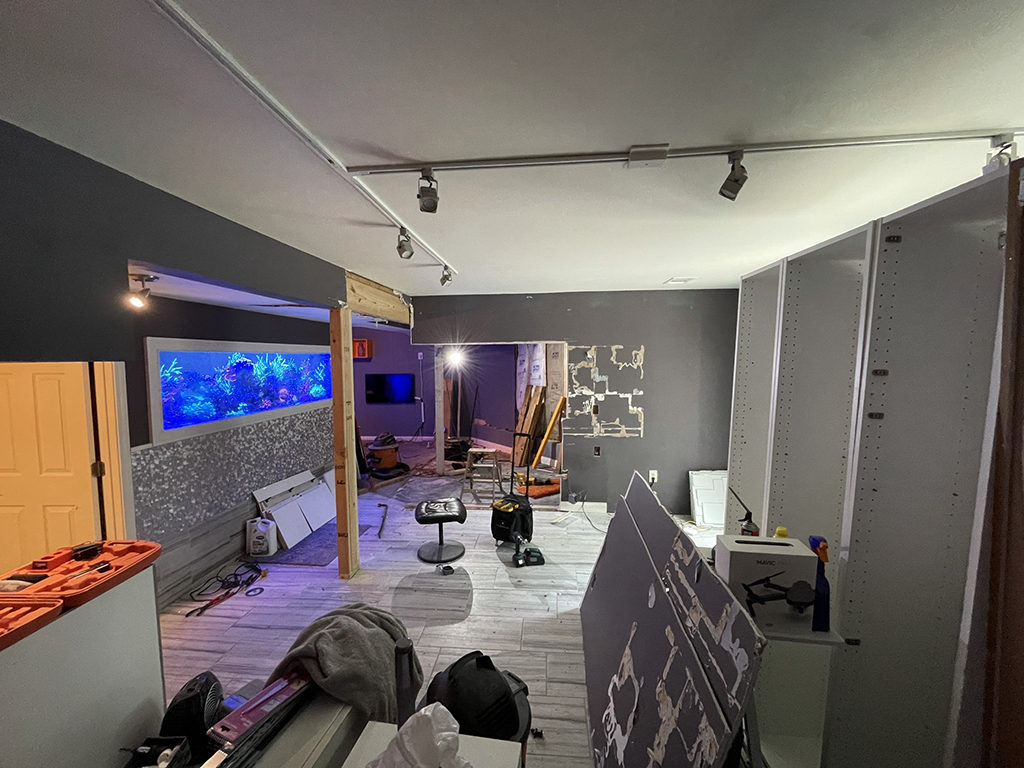
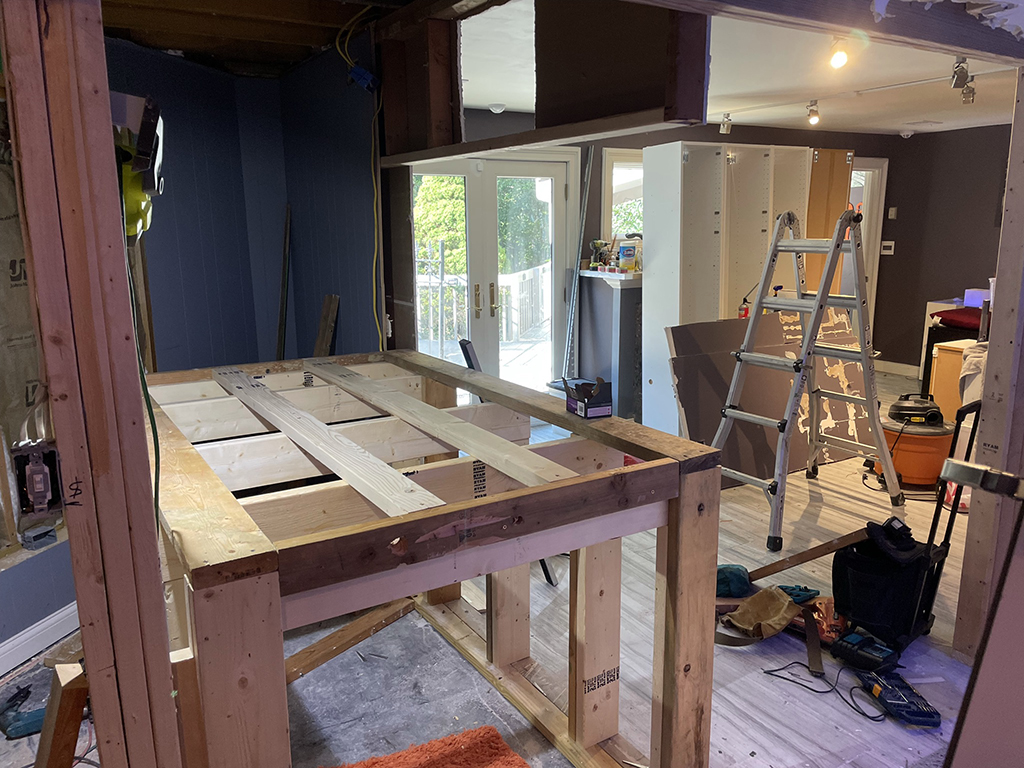
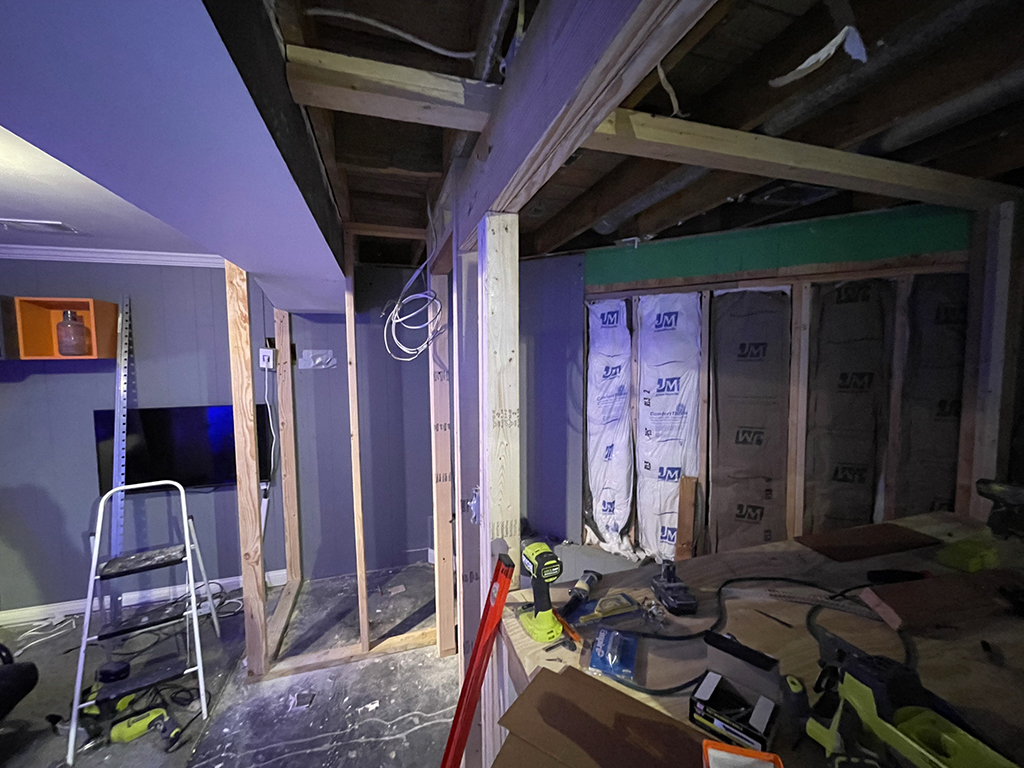
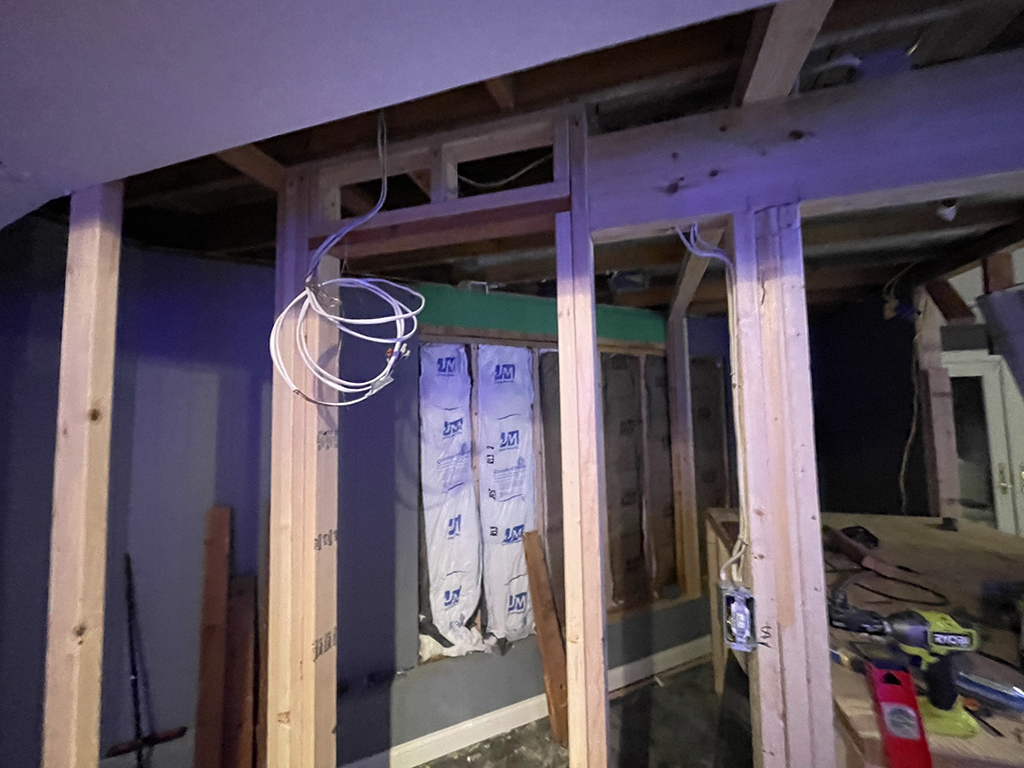
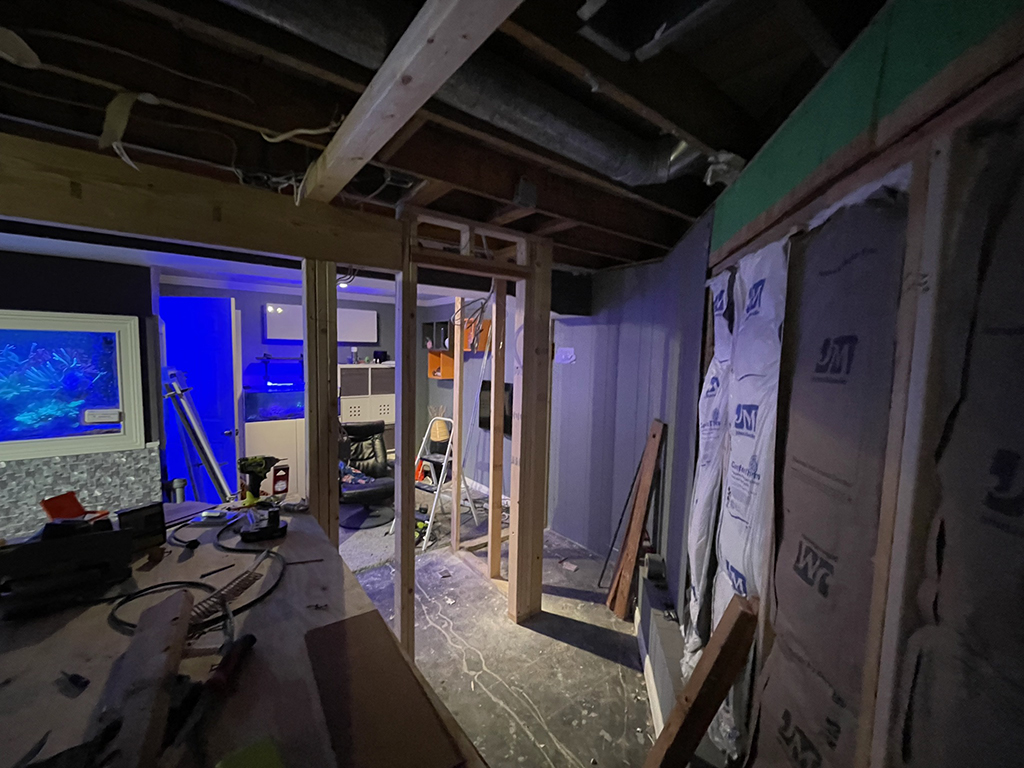
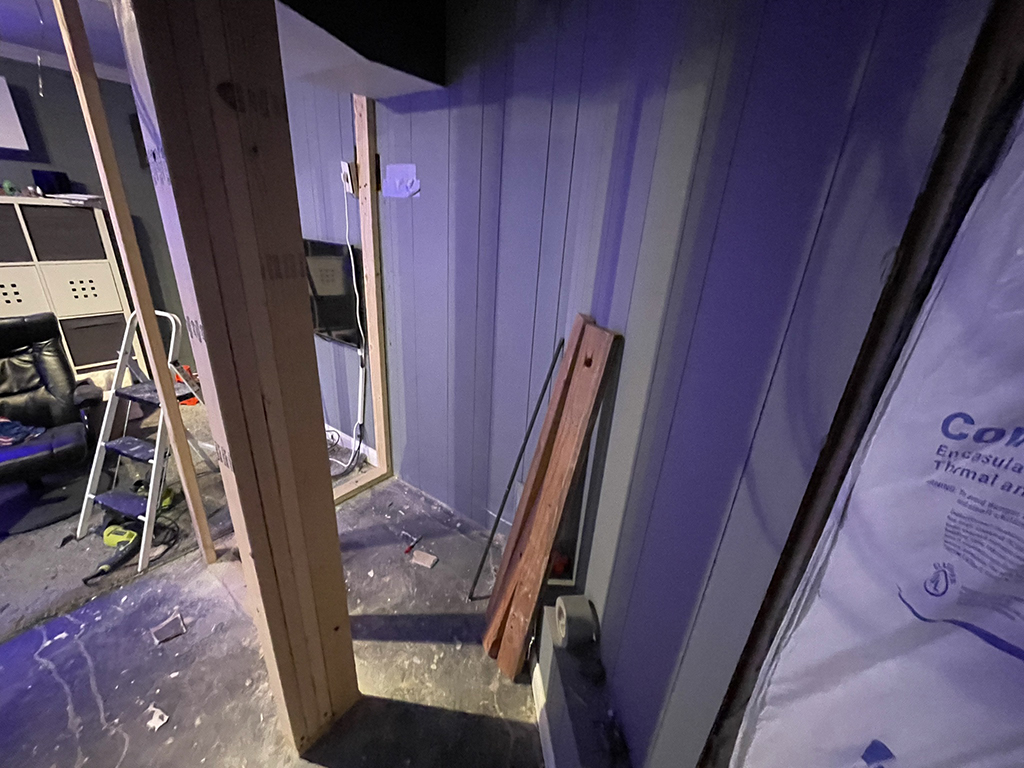
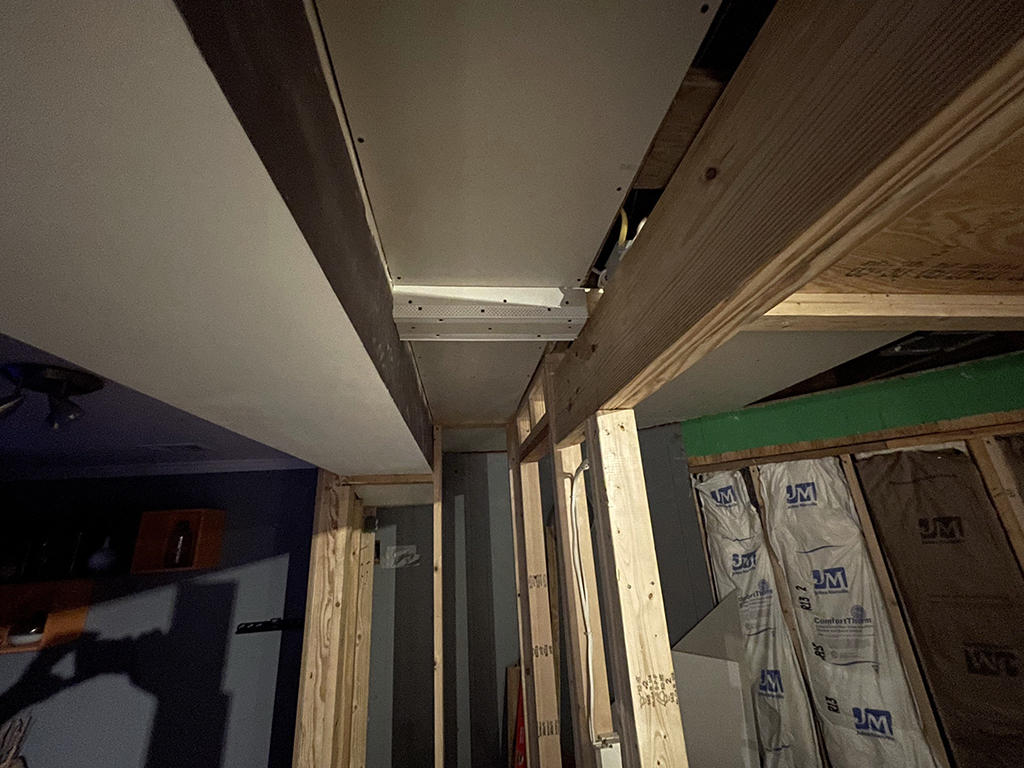
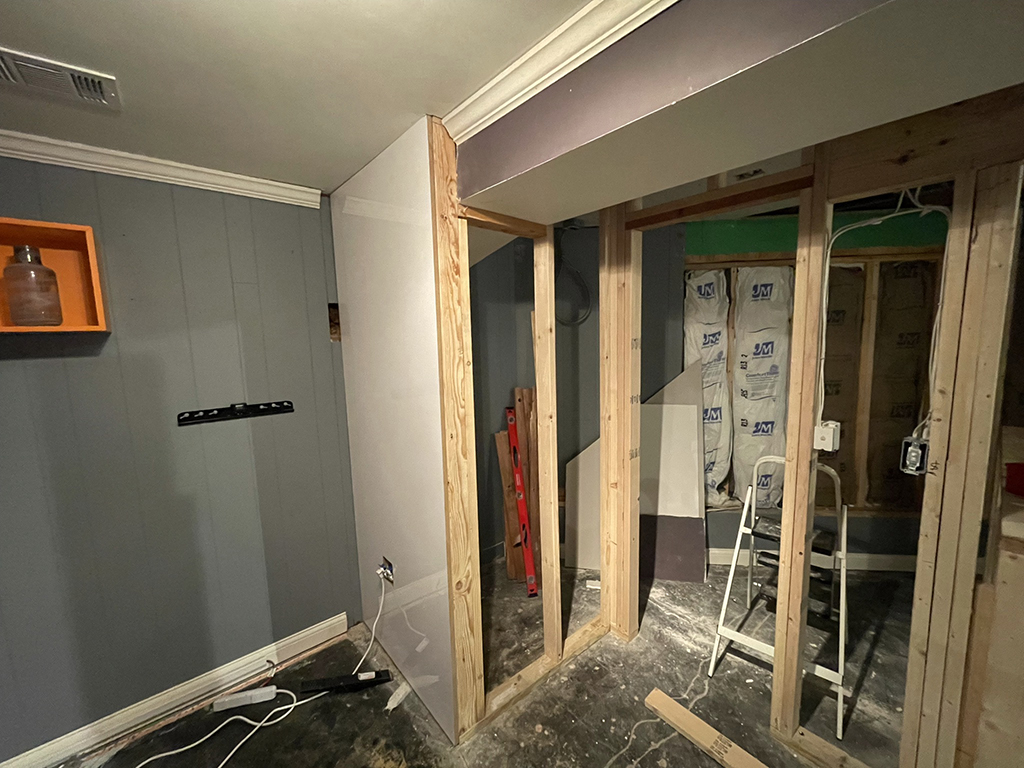
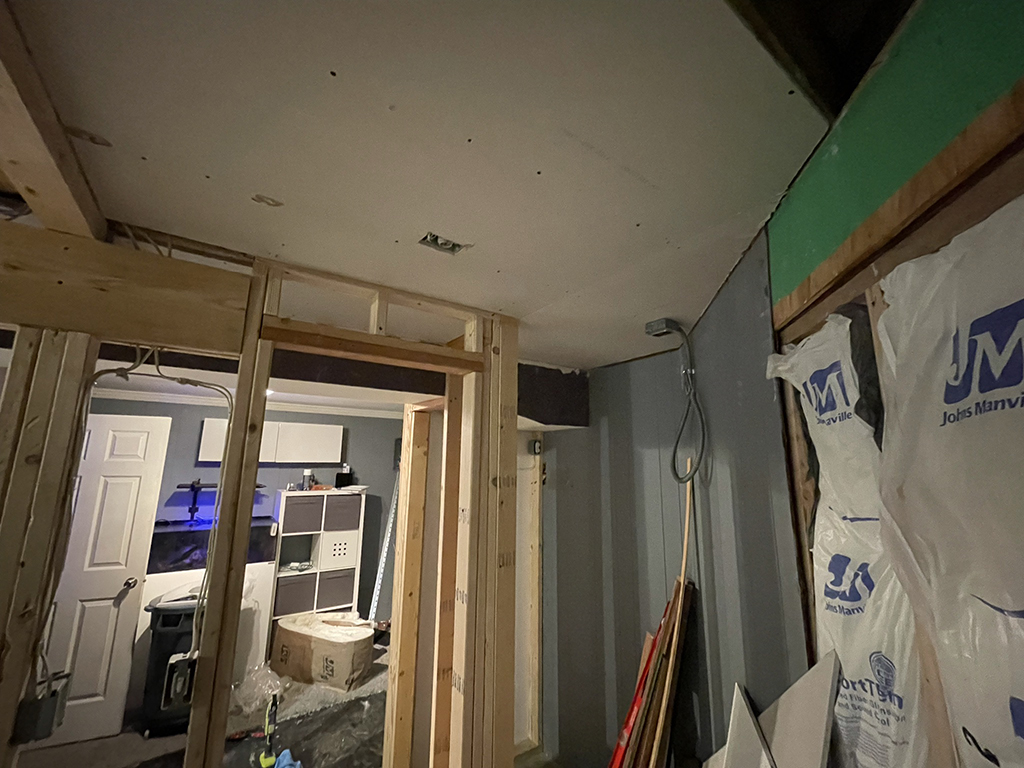
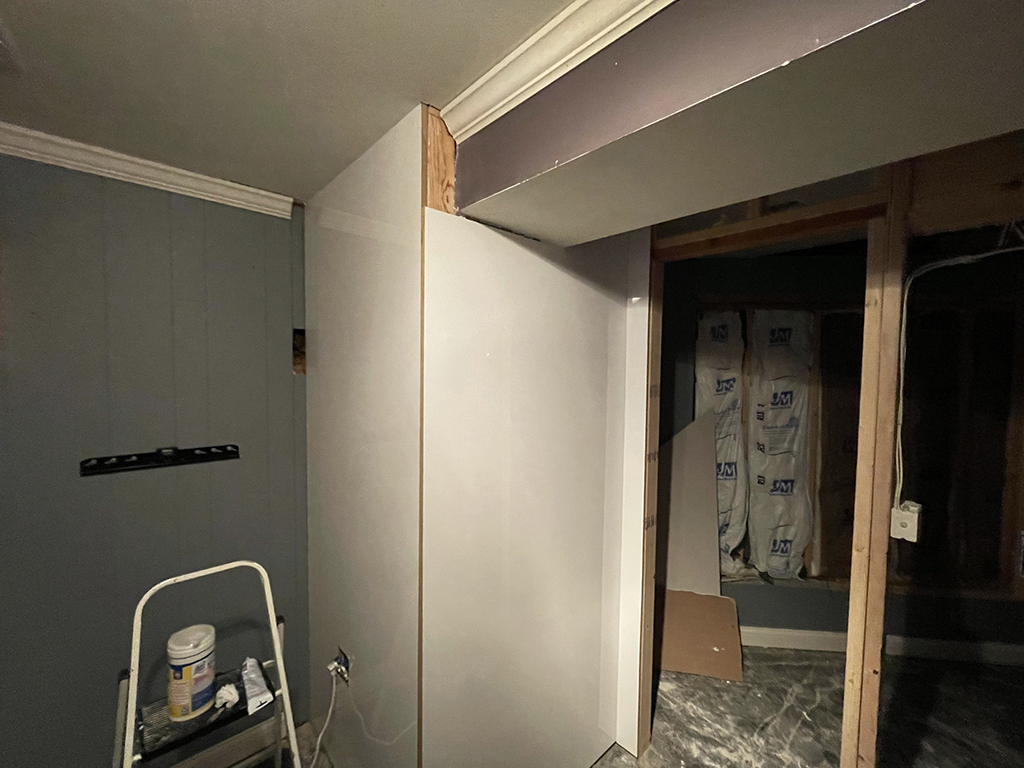
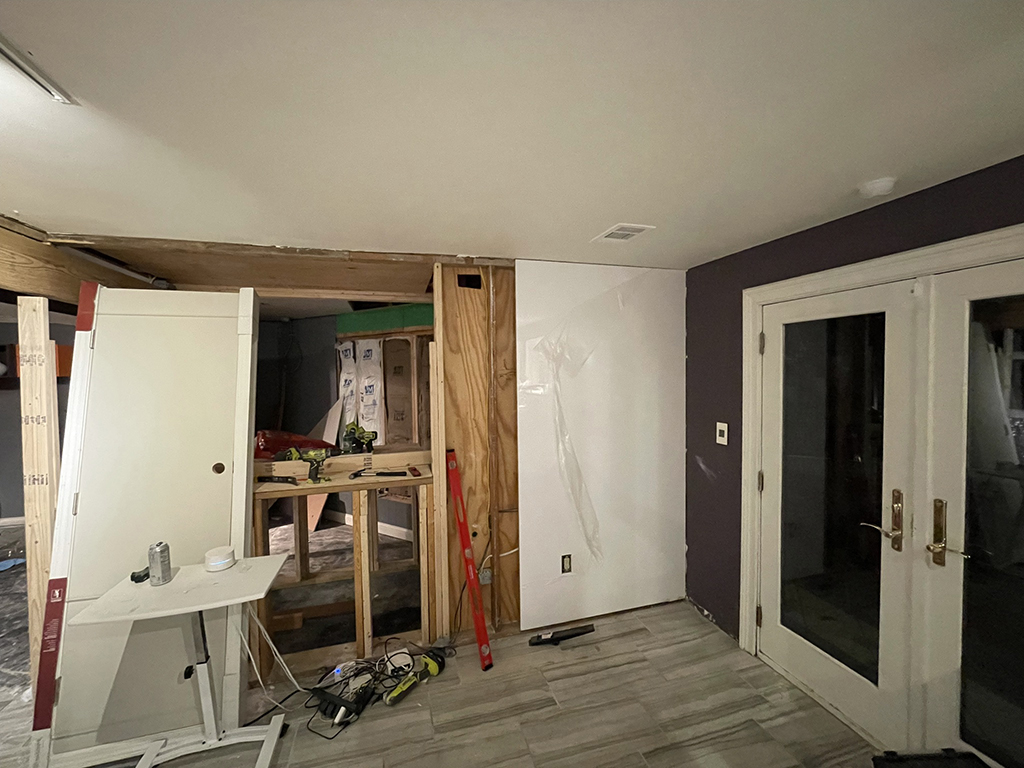
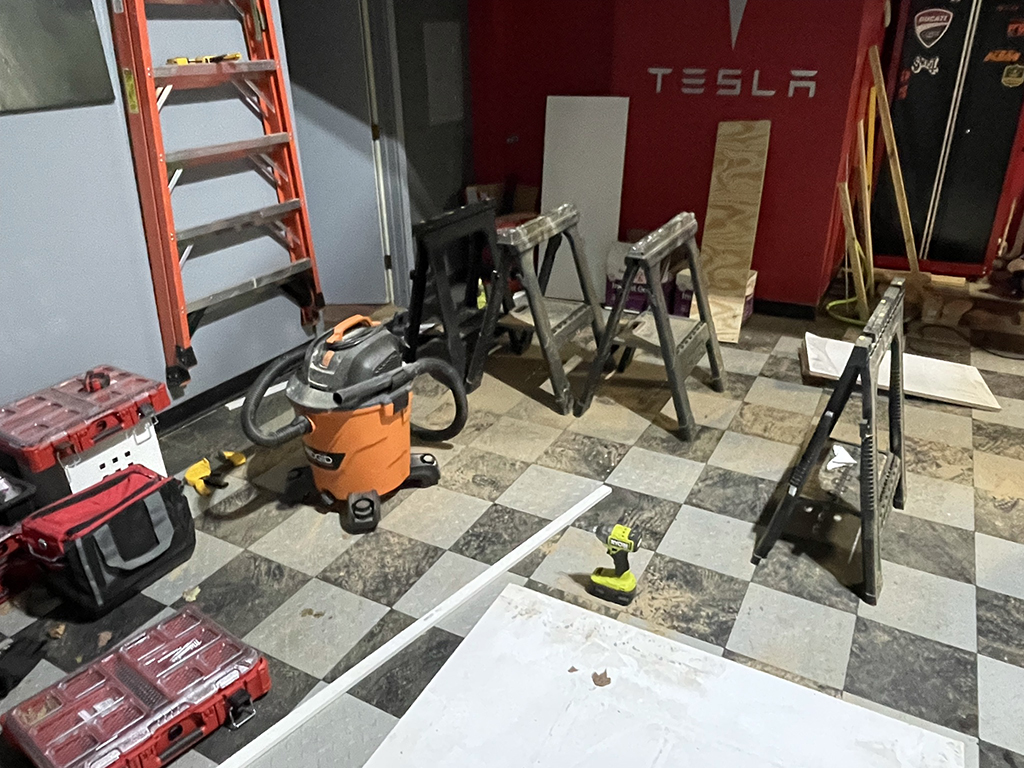
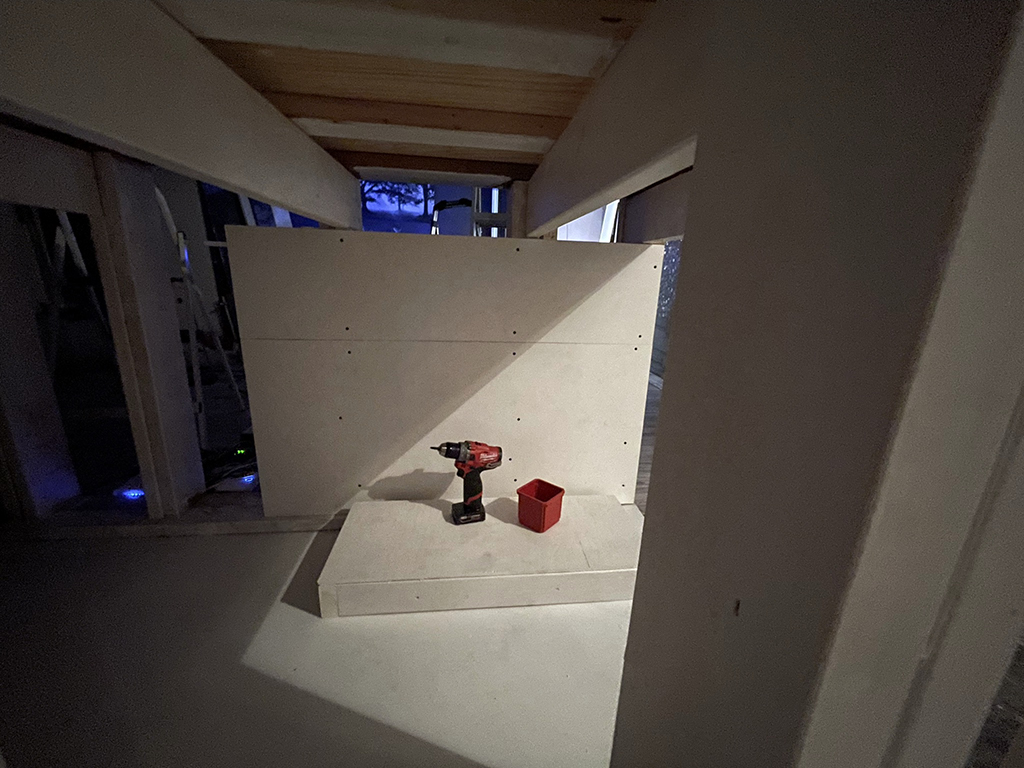
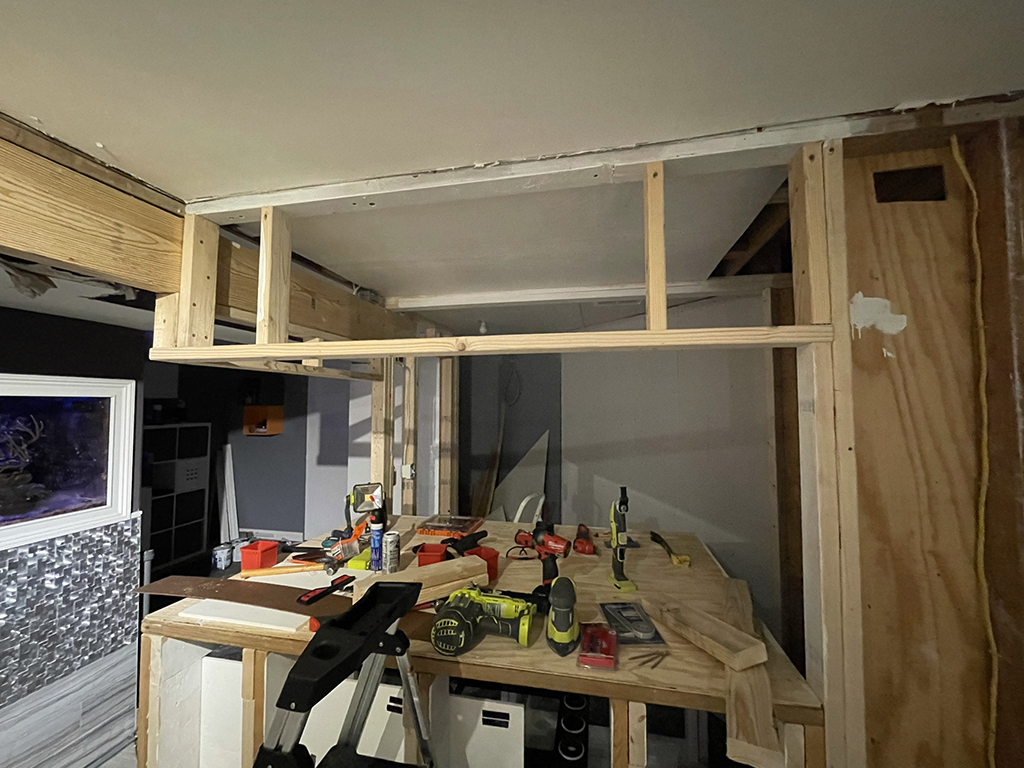
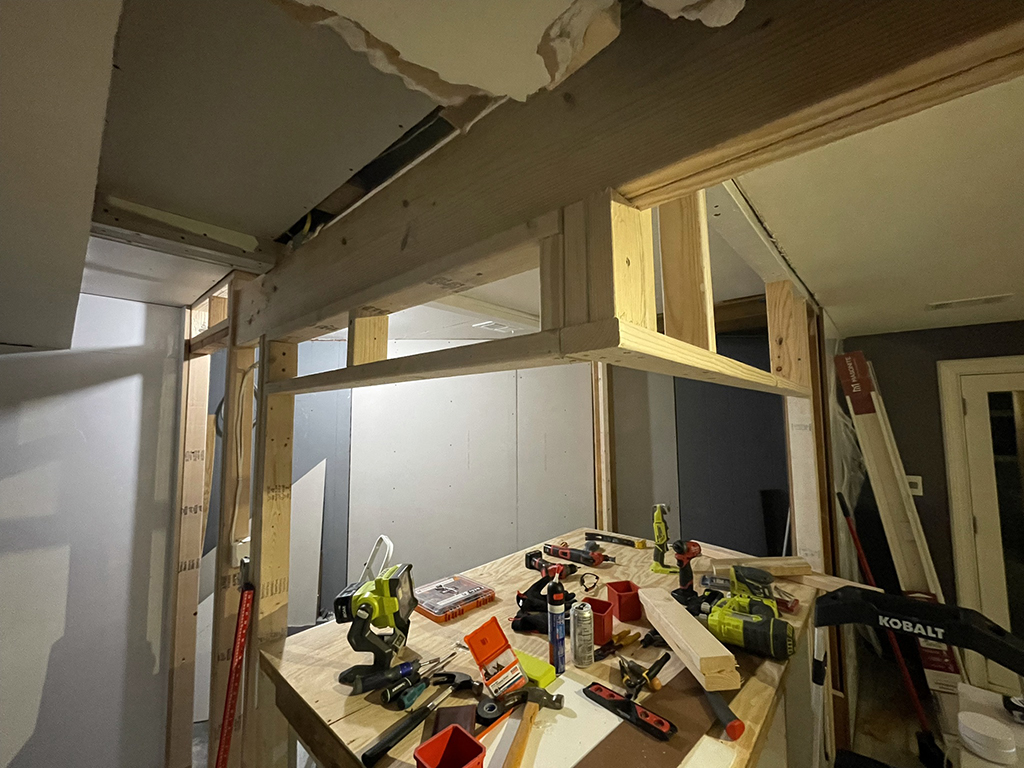
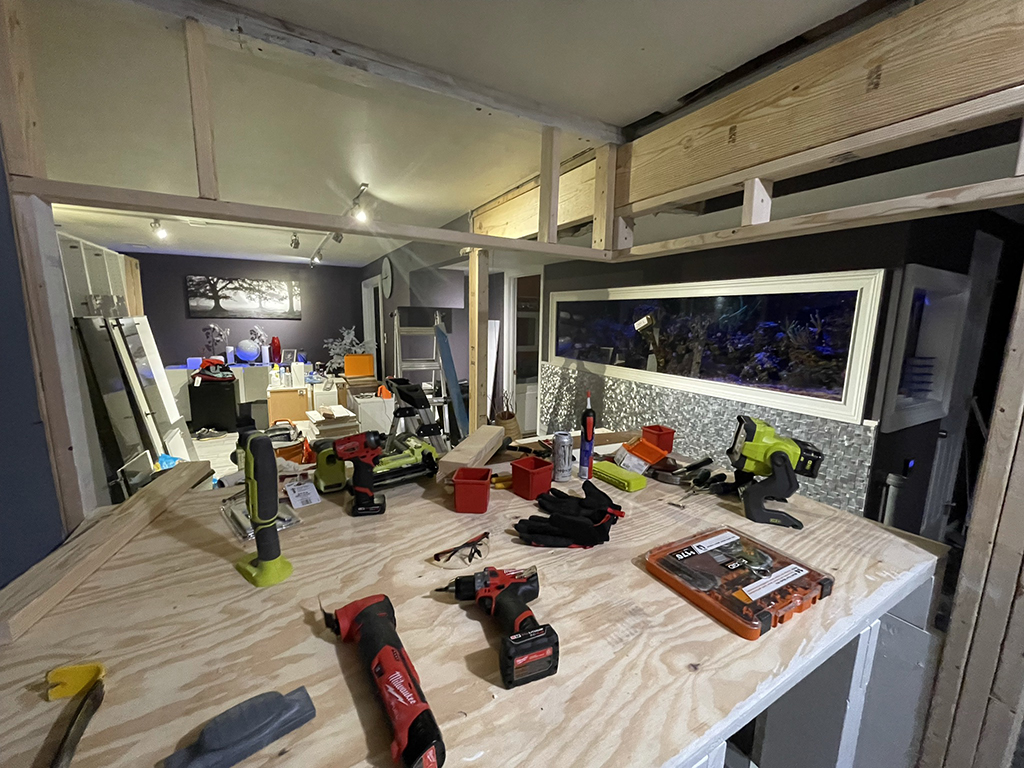
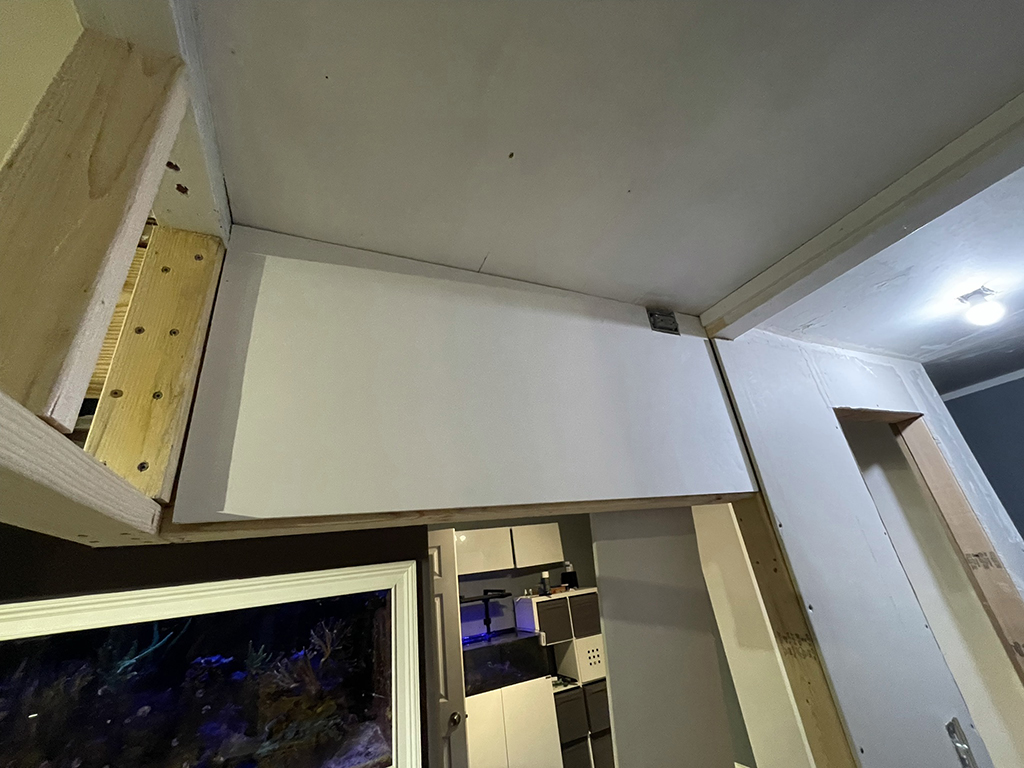
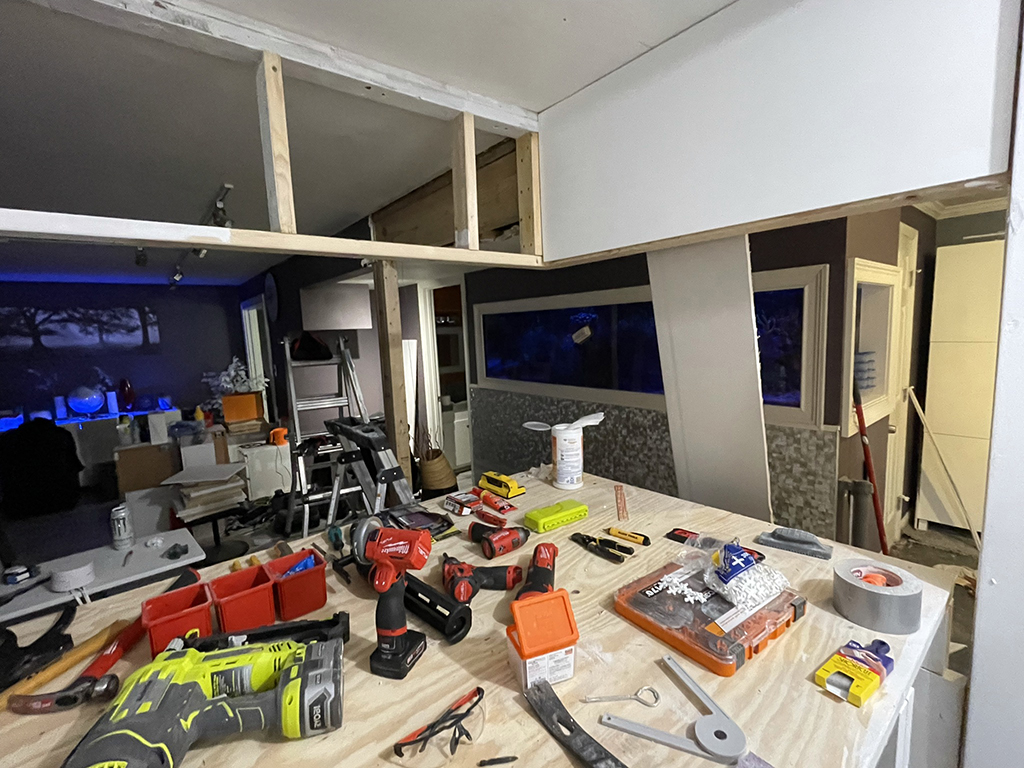
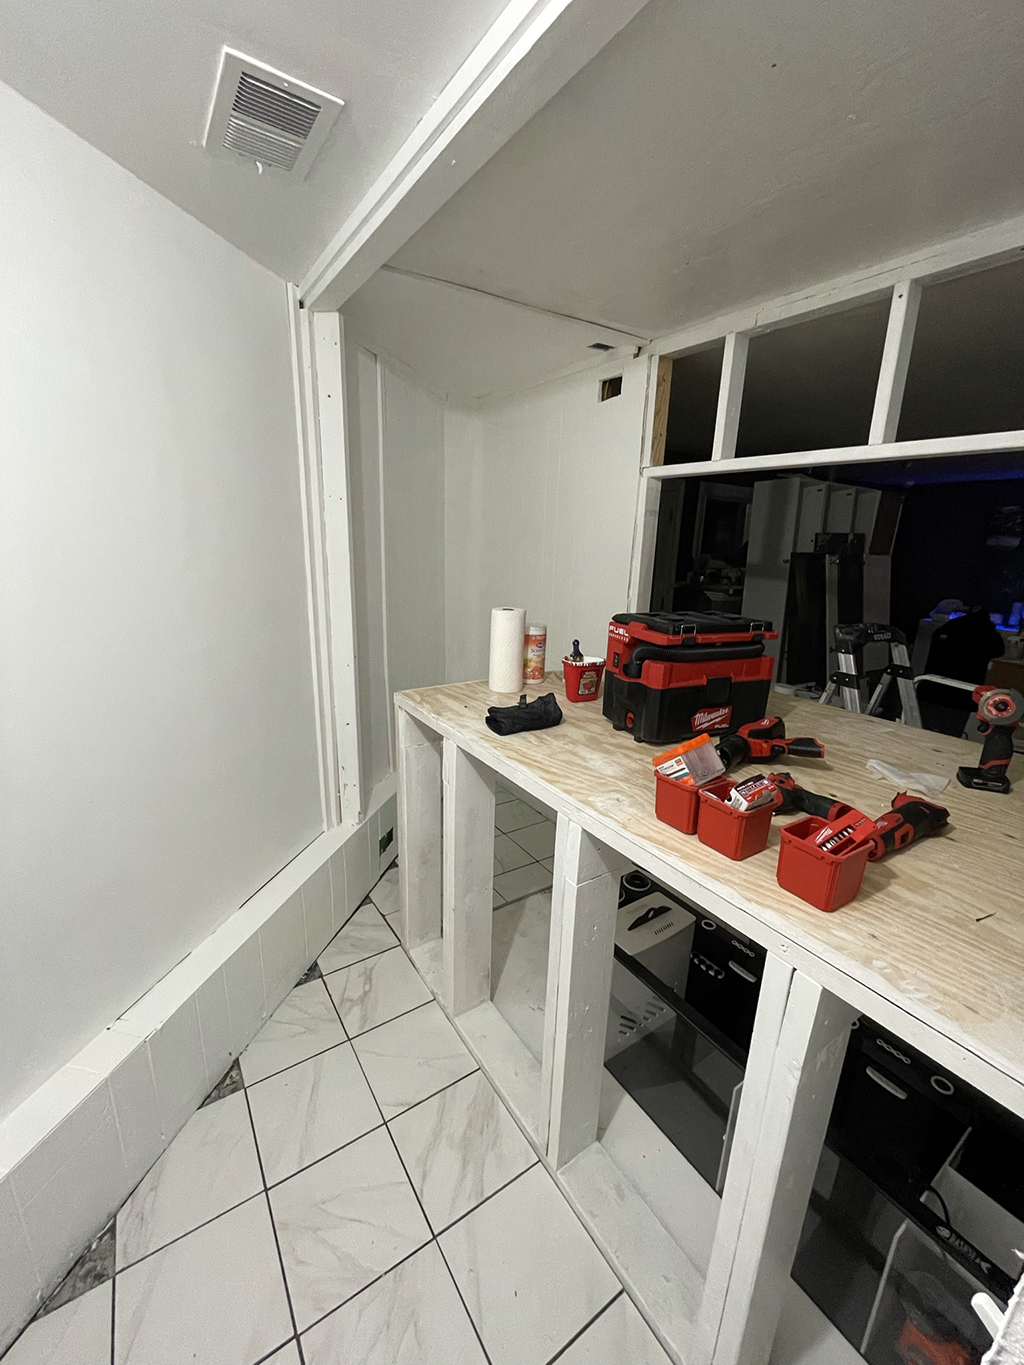
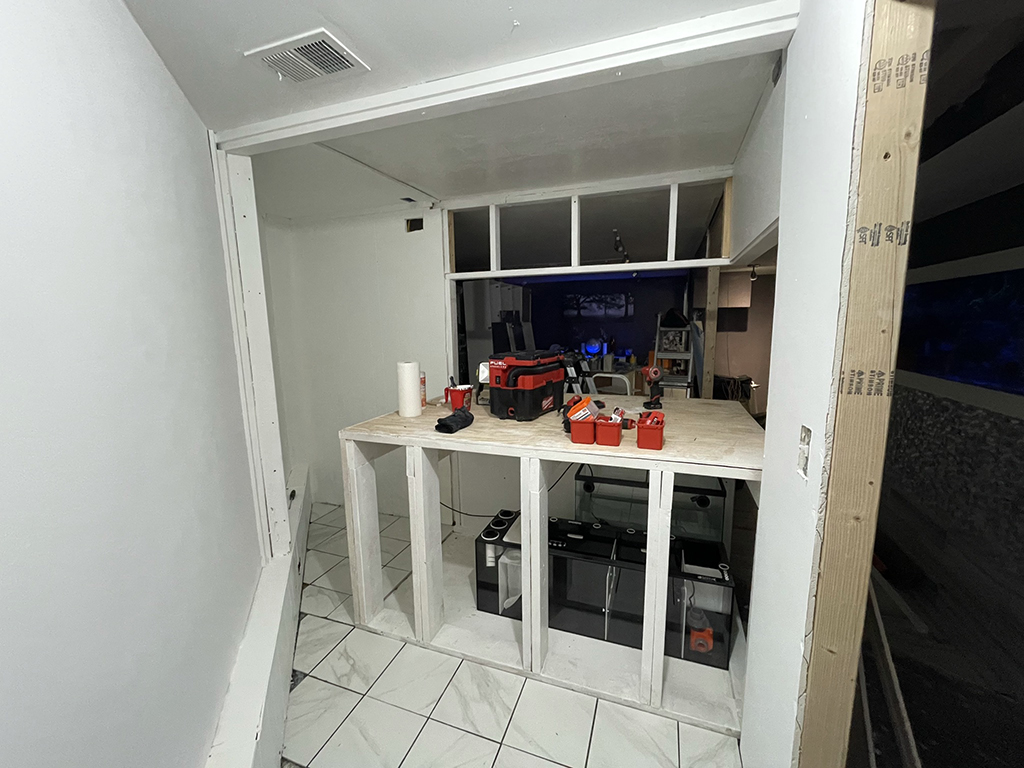
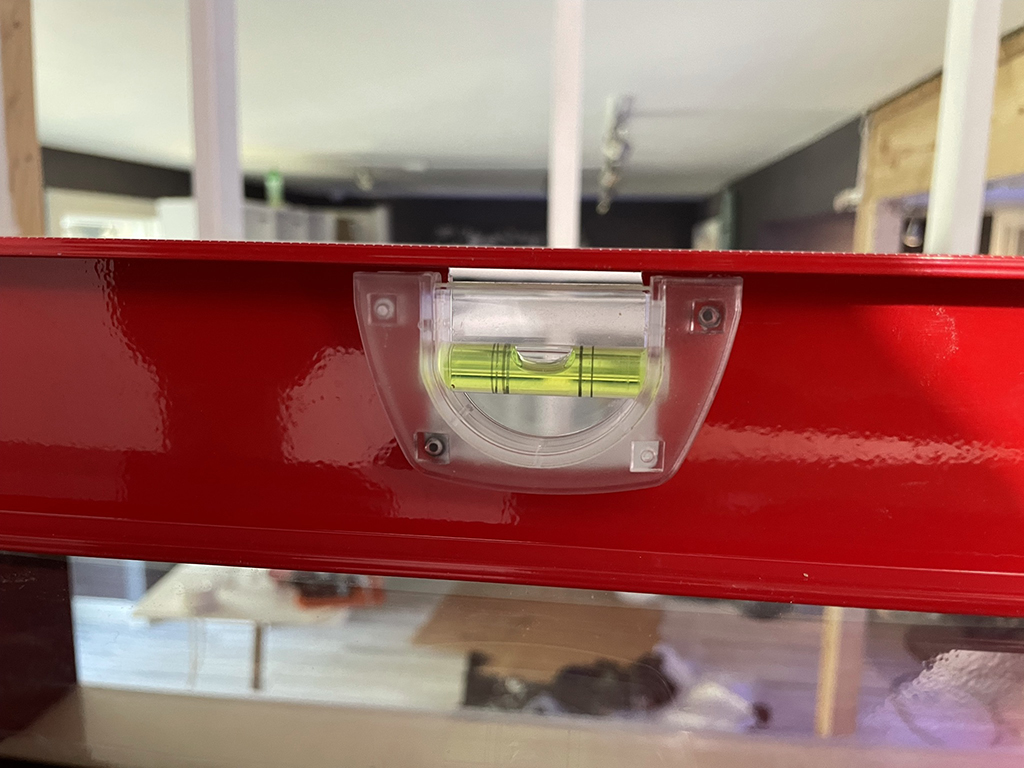
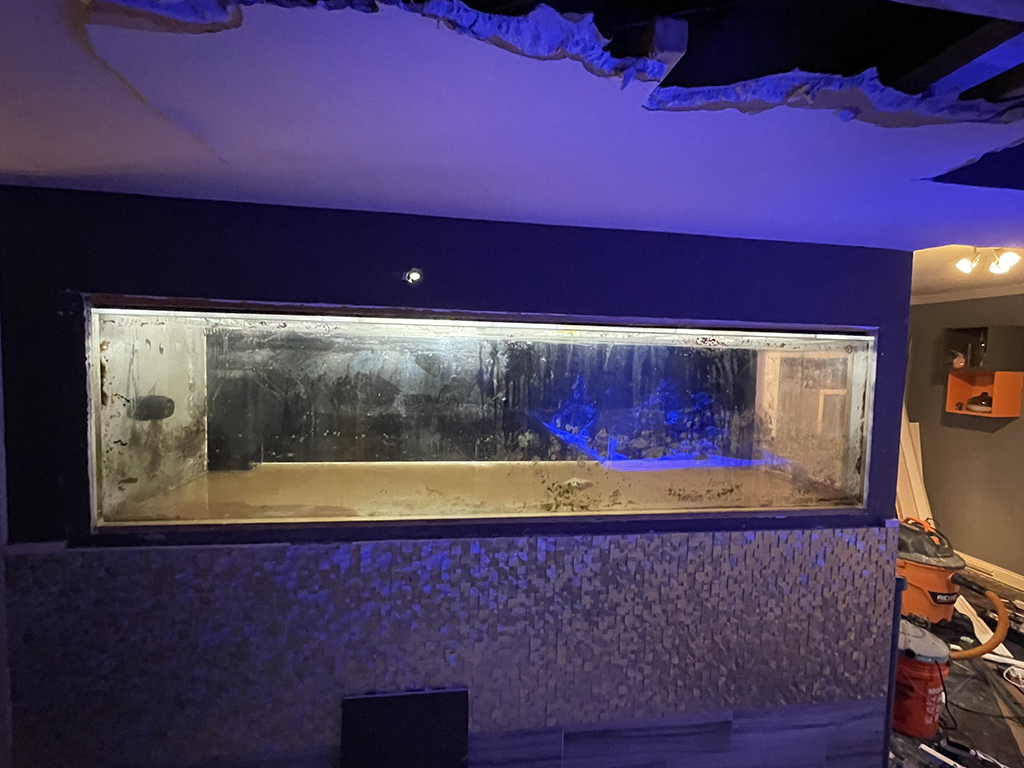
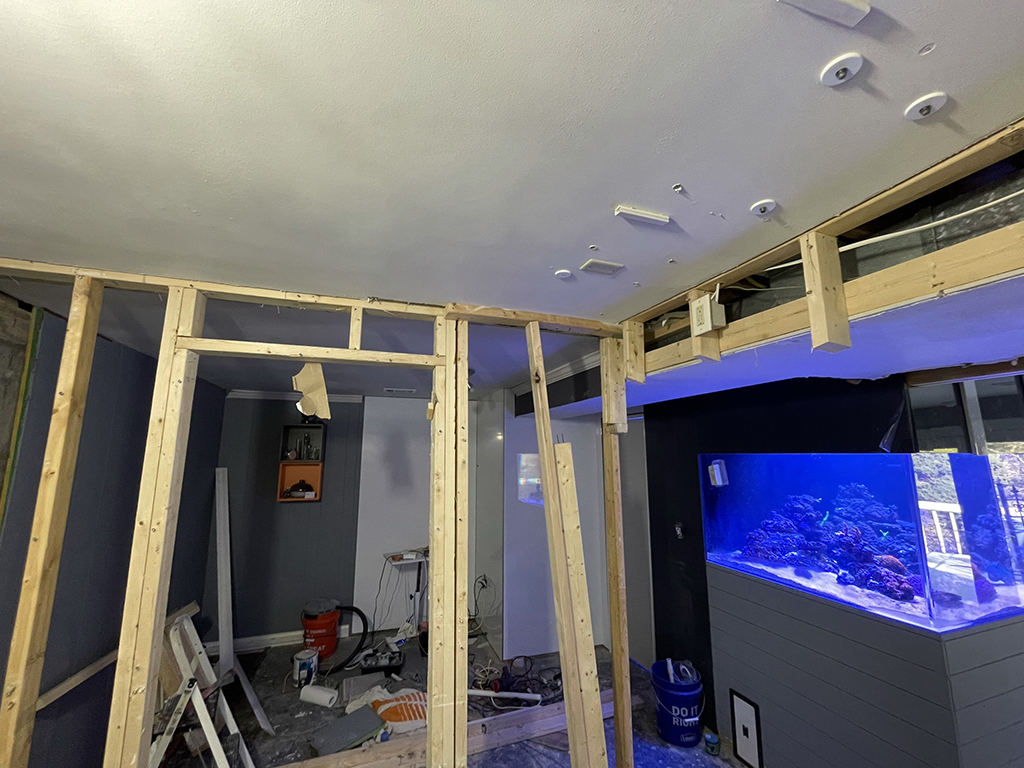
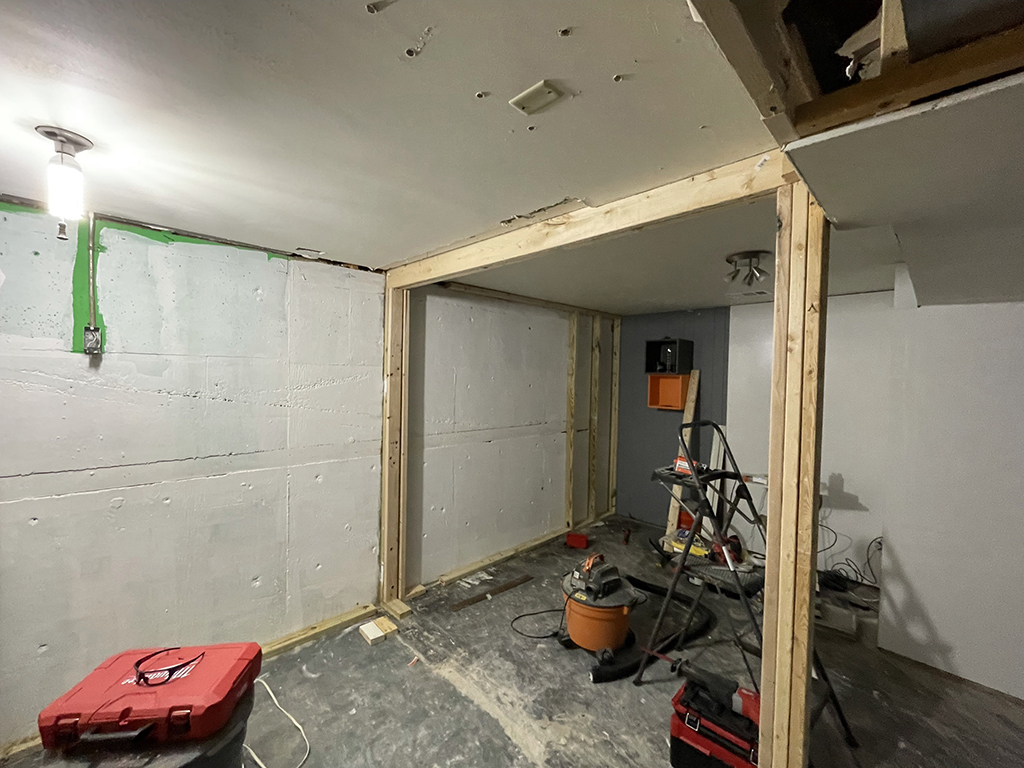
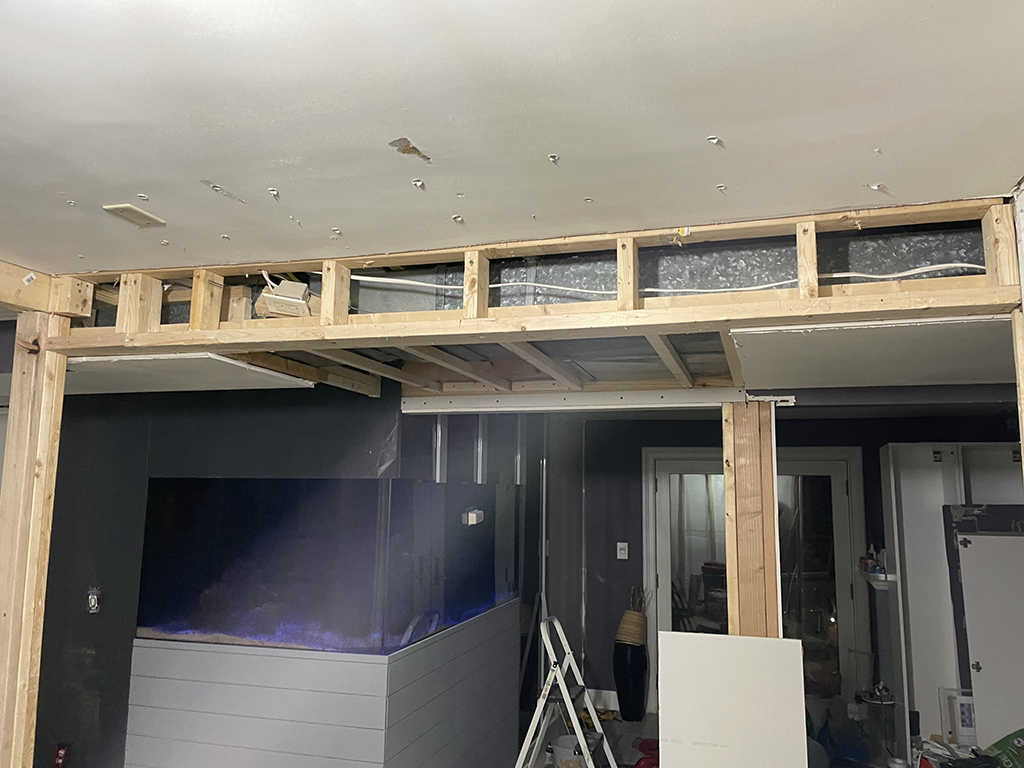
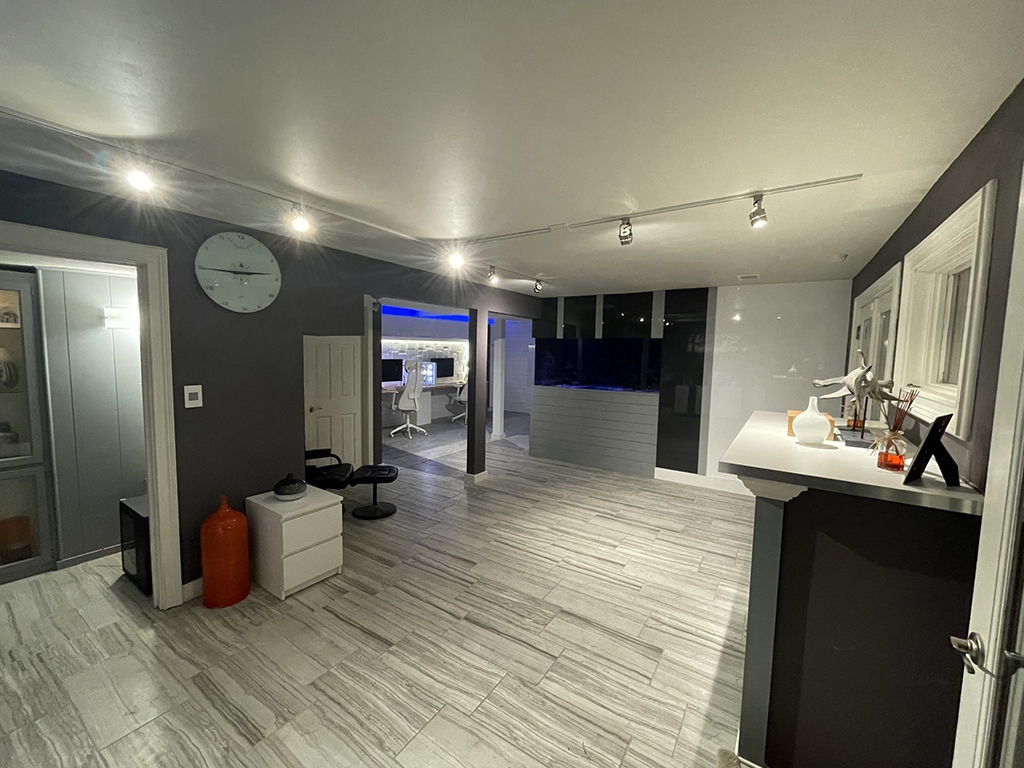
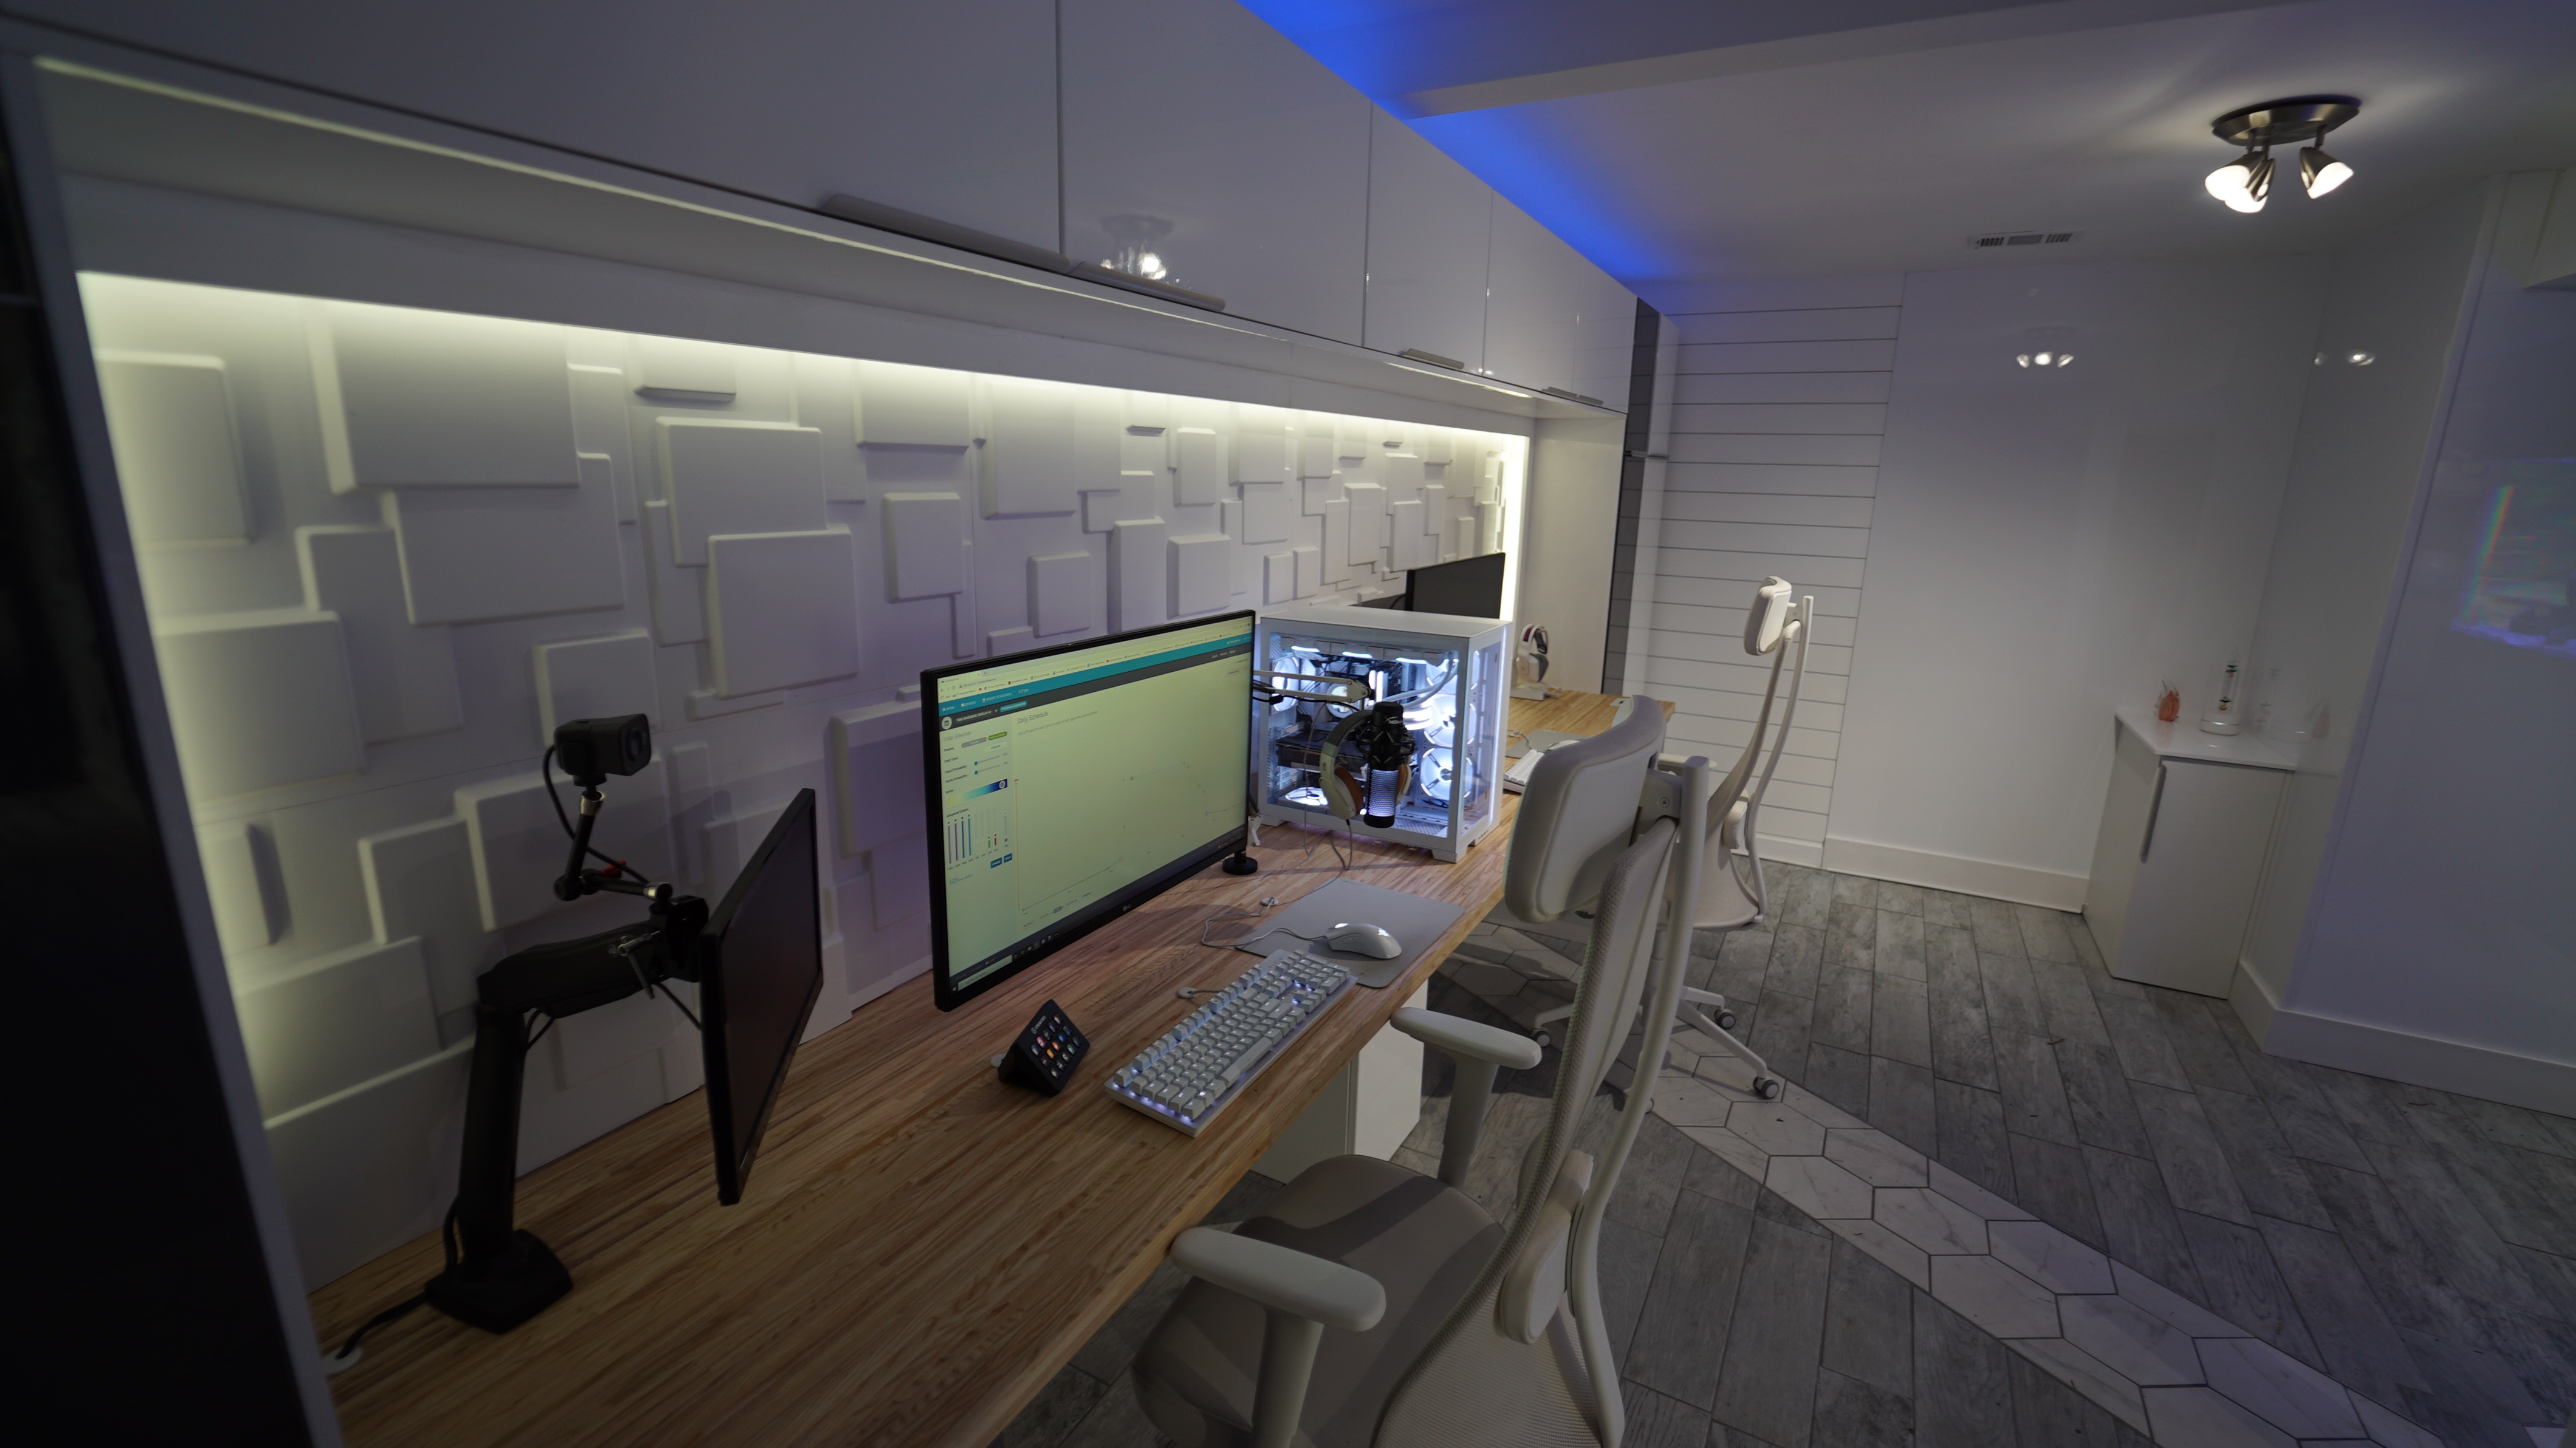
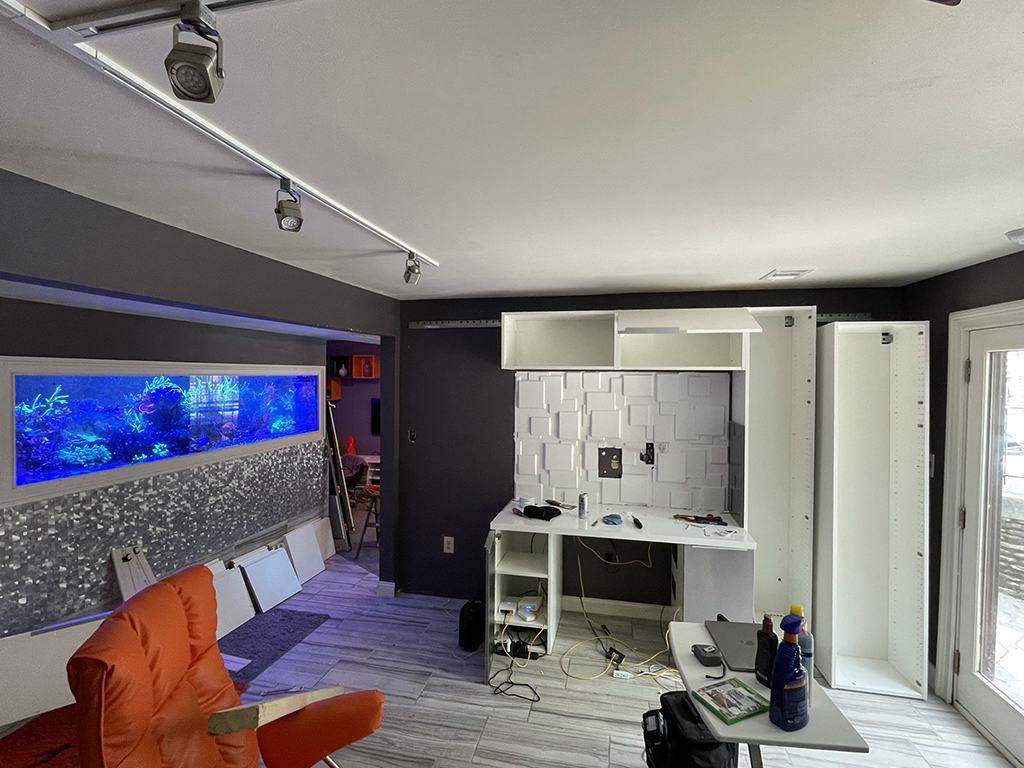
The design of the room will be to remove the entire wall where the computer desk resides and remove the old tank and fish room behind it to completely open up the basement. The problem is joists run two different directions so knocking out the load bearing posts was a challenge. This will be a corner in-wall tank so I want the corner to be completely exposed.
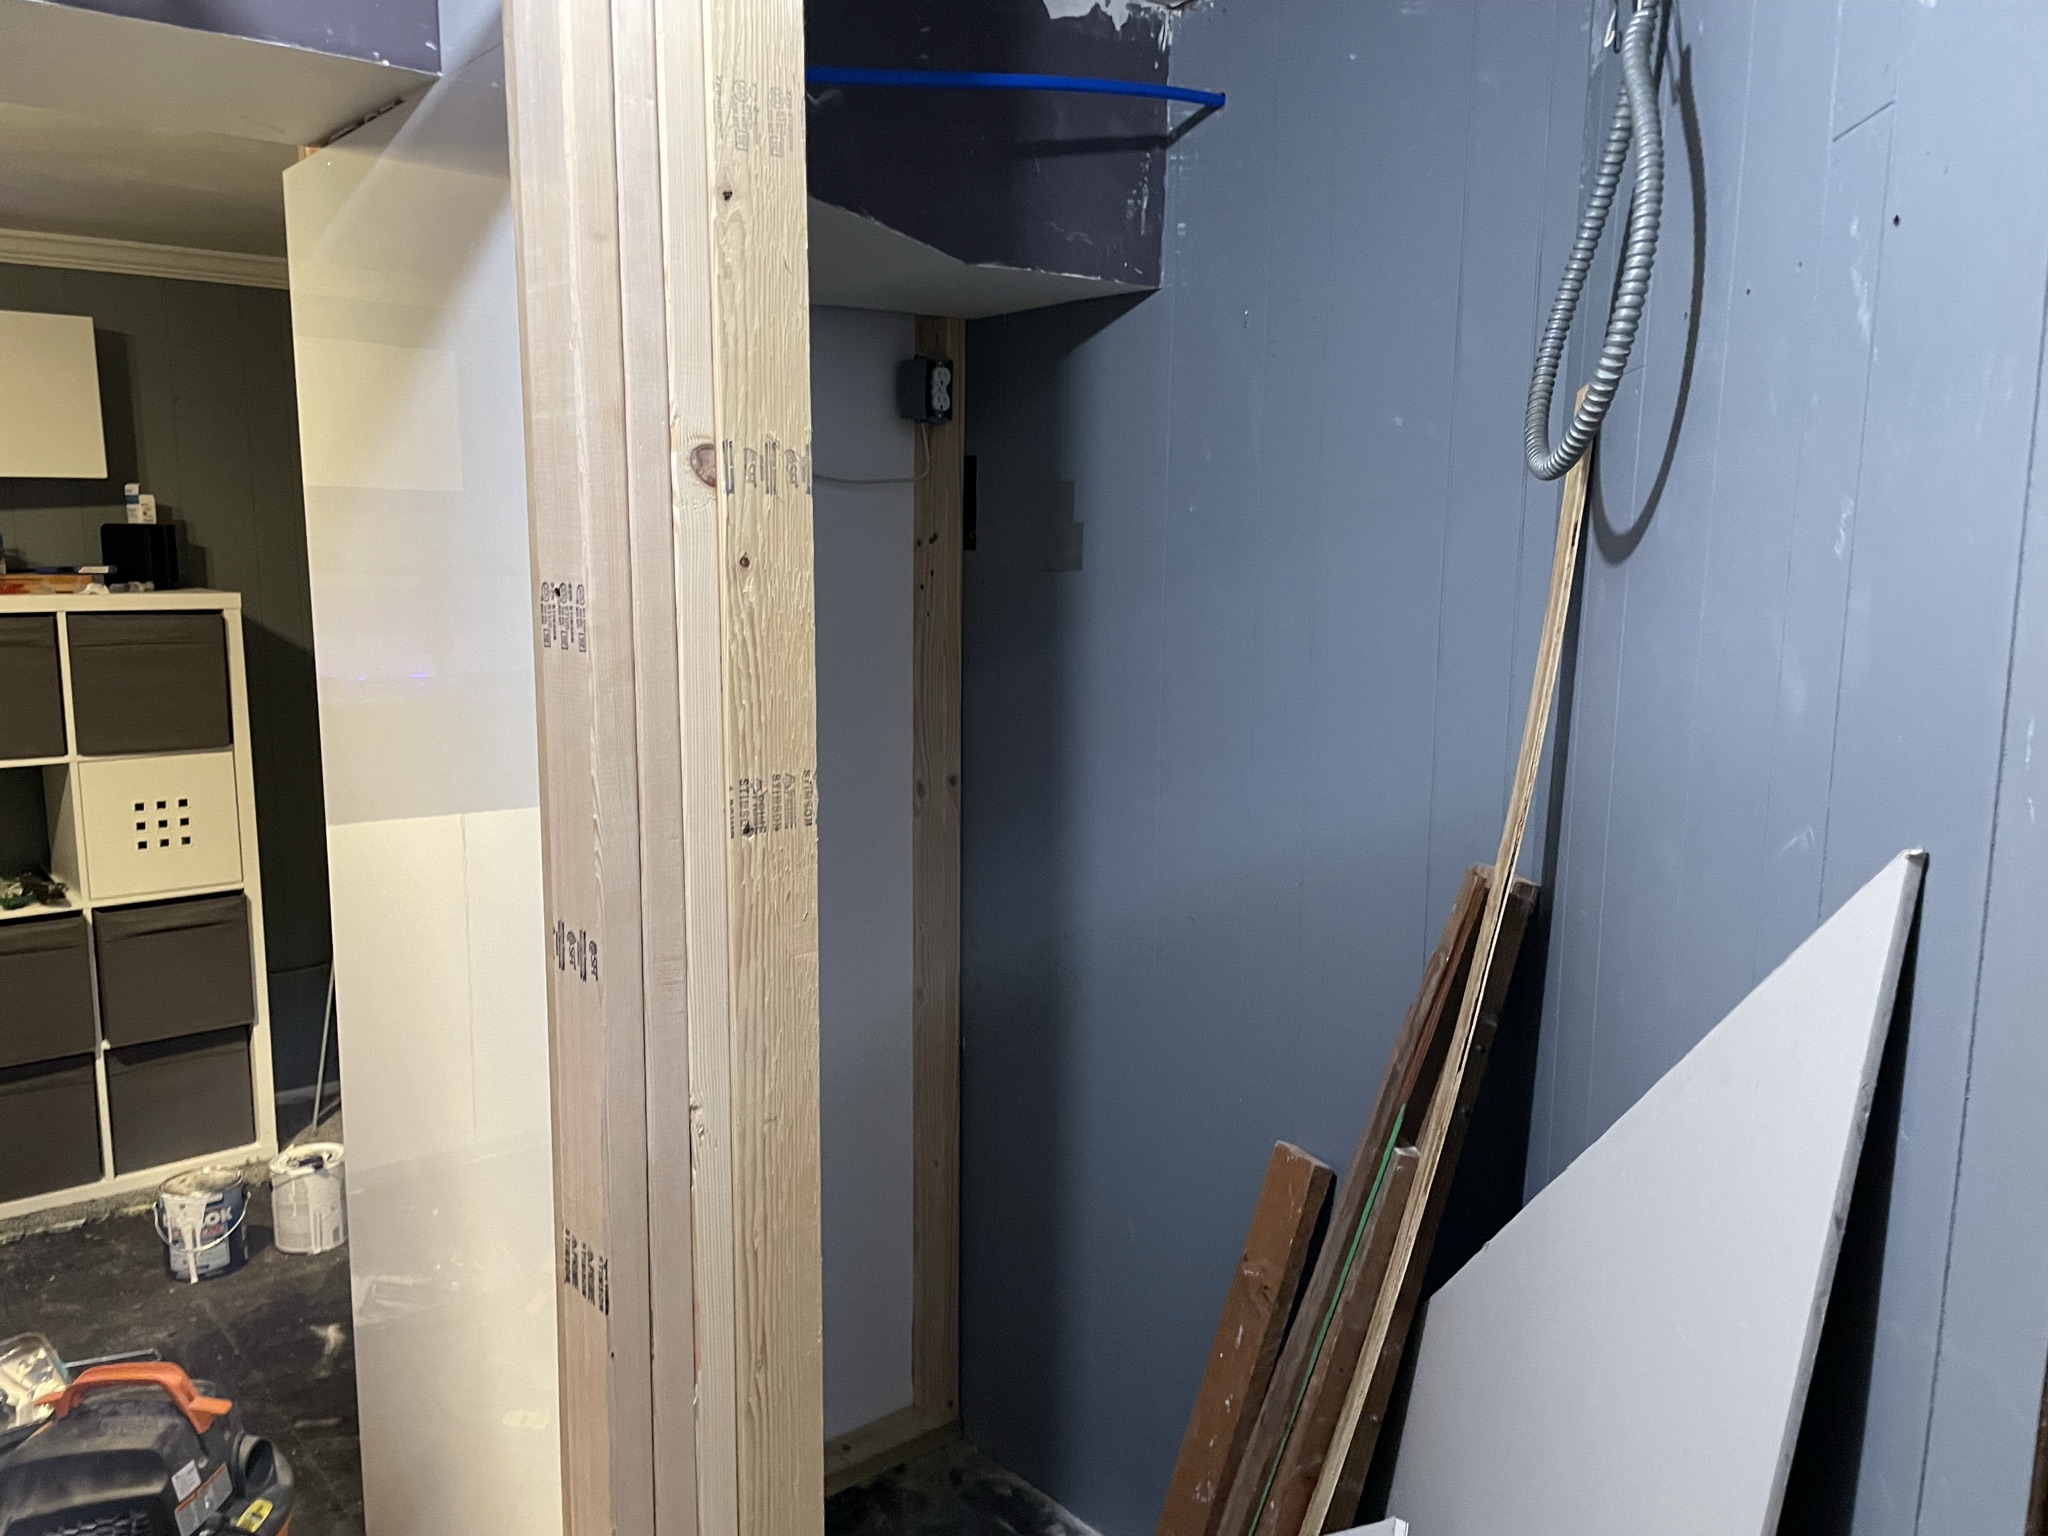
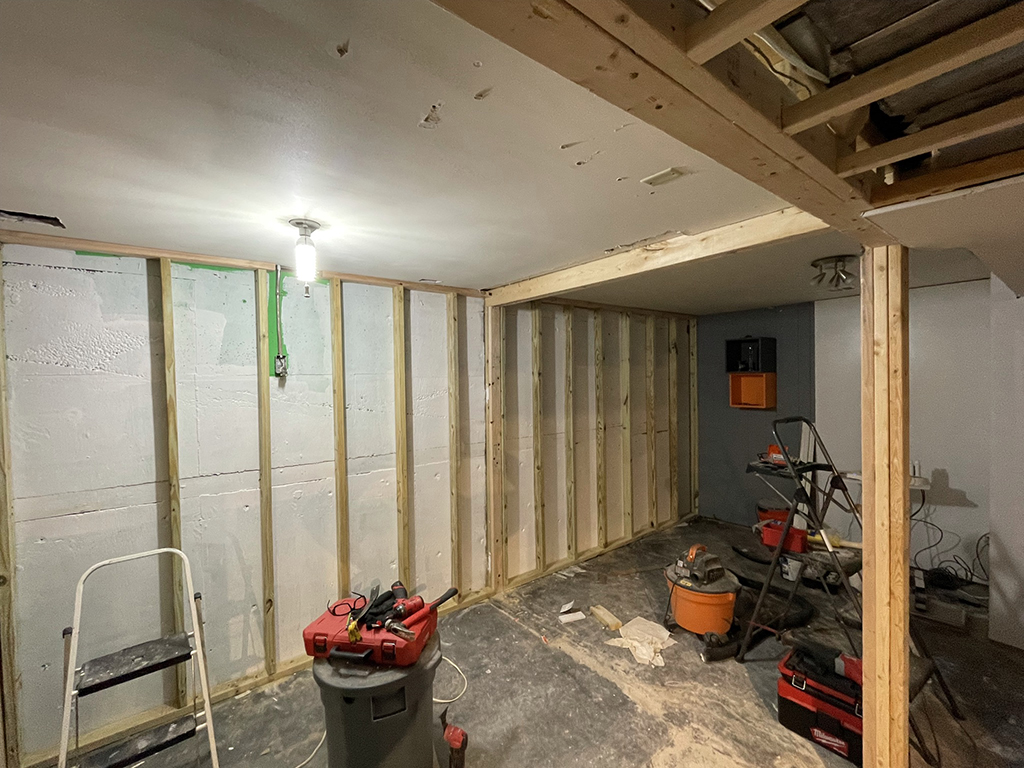
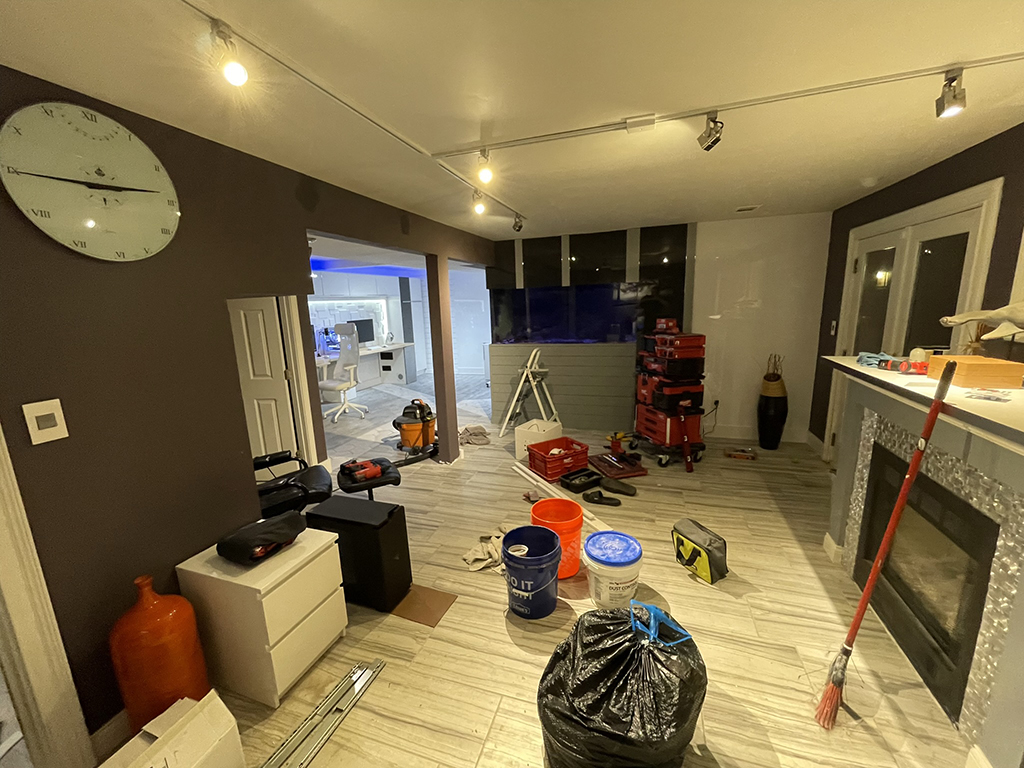
The start of the tear down, already worried that I'm in over my head.
To be continued...
The house has some challenges, it's a extremely unique build that was built back in 1981 and has had many modifications over time. While I love it to death it's also challenging at times because it was designed for a prominent business owner here in town by a protégé of Frank Lloyd Wright and there are many instances of "form over function". I want my neighbors to be racoons and birds, not people.
When I moved in, the basement was very dated (this house has two separate basements, both walkouts on each end of the house) it took some convincing to the wife that I could update it and to just trust me! Here is what it started as:
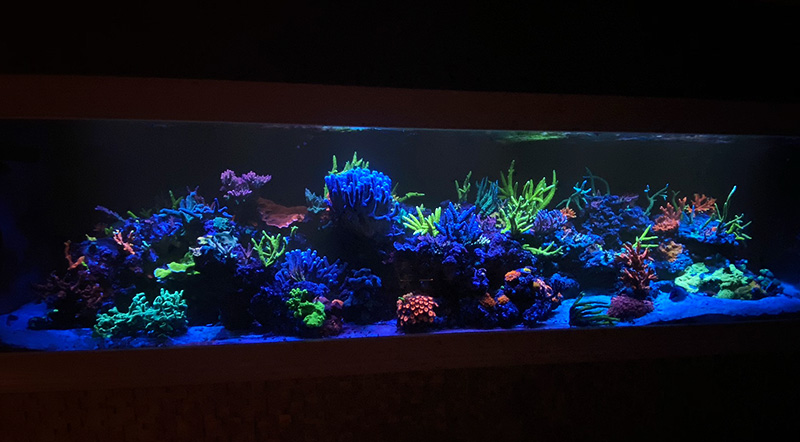
This is the old tank 96x30x20
Before my career IT I wanted to be an interior designer but life took me down a different path but I still love transforming my house...it's the best part of ownership. When I moved in back in 2015 this is the remodel end result I immediately started the day I moved in. The original tank was a 300G. The biggest issue I had was that the tank was hard to photo as the wall with the computer design was in the middle of the tank so I could only see 70% of the tank while sitting at my desk. I was never happy with this design and I also didn't like how difficult it was to clean the tank without having access from the front (AC vents in the way). Either way, i'd say is was a vast improvement over the old setup!
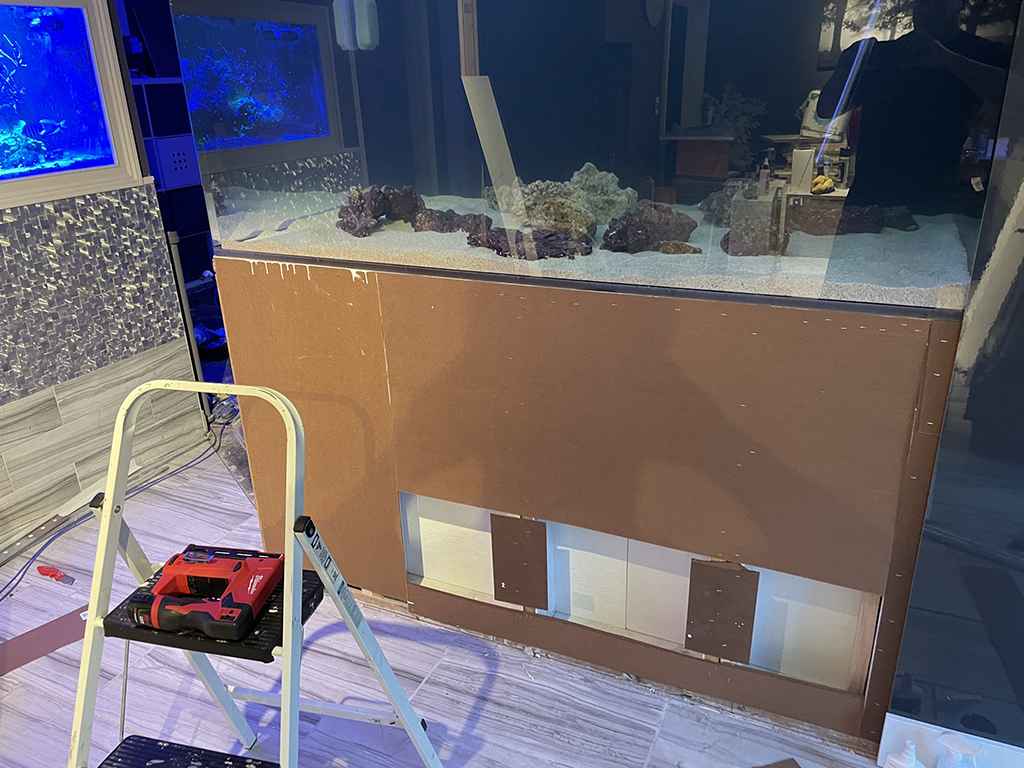
This is the tank right before tear down. I am confident in my ability to grow corals so I knew I could re-create this, this tank has everything from beginner SPS to more difficult rare ones. All of them have grown into large colonies. The new build would start completely fresh with only 1 inch frags and very few transfers as I want to be very choosy in what gets my rock real estate in the future. I also am not a fan of the line row of rocks I had, I want a more tiered "stadium seating" type look that requires deep front to back dimensions.
Now on to the build:
The new tank is a 72x48x30
This is less length than my previous tank but deeper and wider. It's an advanced acrylics custom tank that took a heck of a long time to finish (the wait killed me!). I like acrylic, I have never had an issue with scratches that I couldn't repair. Mighty magnets makes a great sanding kit and amazing magnets with a mesh bag that drastically reduce potential for scratches. I also have a ton of odd angles to navigate when installing the tank and concerns over leaks that make the weight and durability of acrylic a favorable option for me.
The design of the room will be to remove the entire wall where the computer desk resides and remove the old tank and fish room behind it to completely open up the basement. The problem is joists run two different directions so knocking out the load bearing posts was a challenge. This will be a corner in-wall tank so I want the corner to be completely exposed.
The start of the tear down, already worried that I'm in over my head.
To be continued...
Last edited: