OP
OP

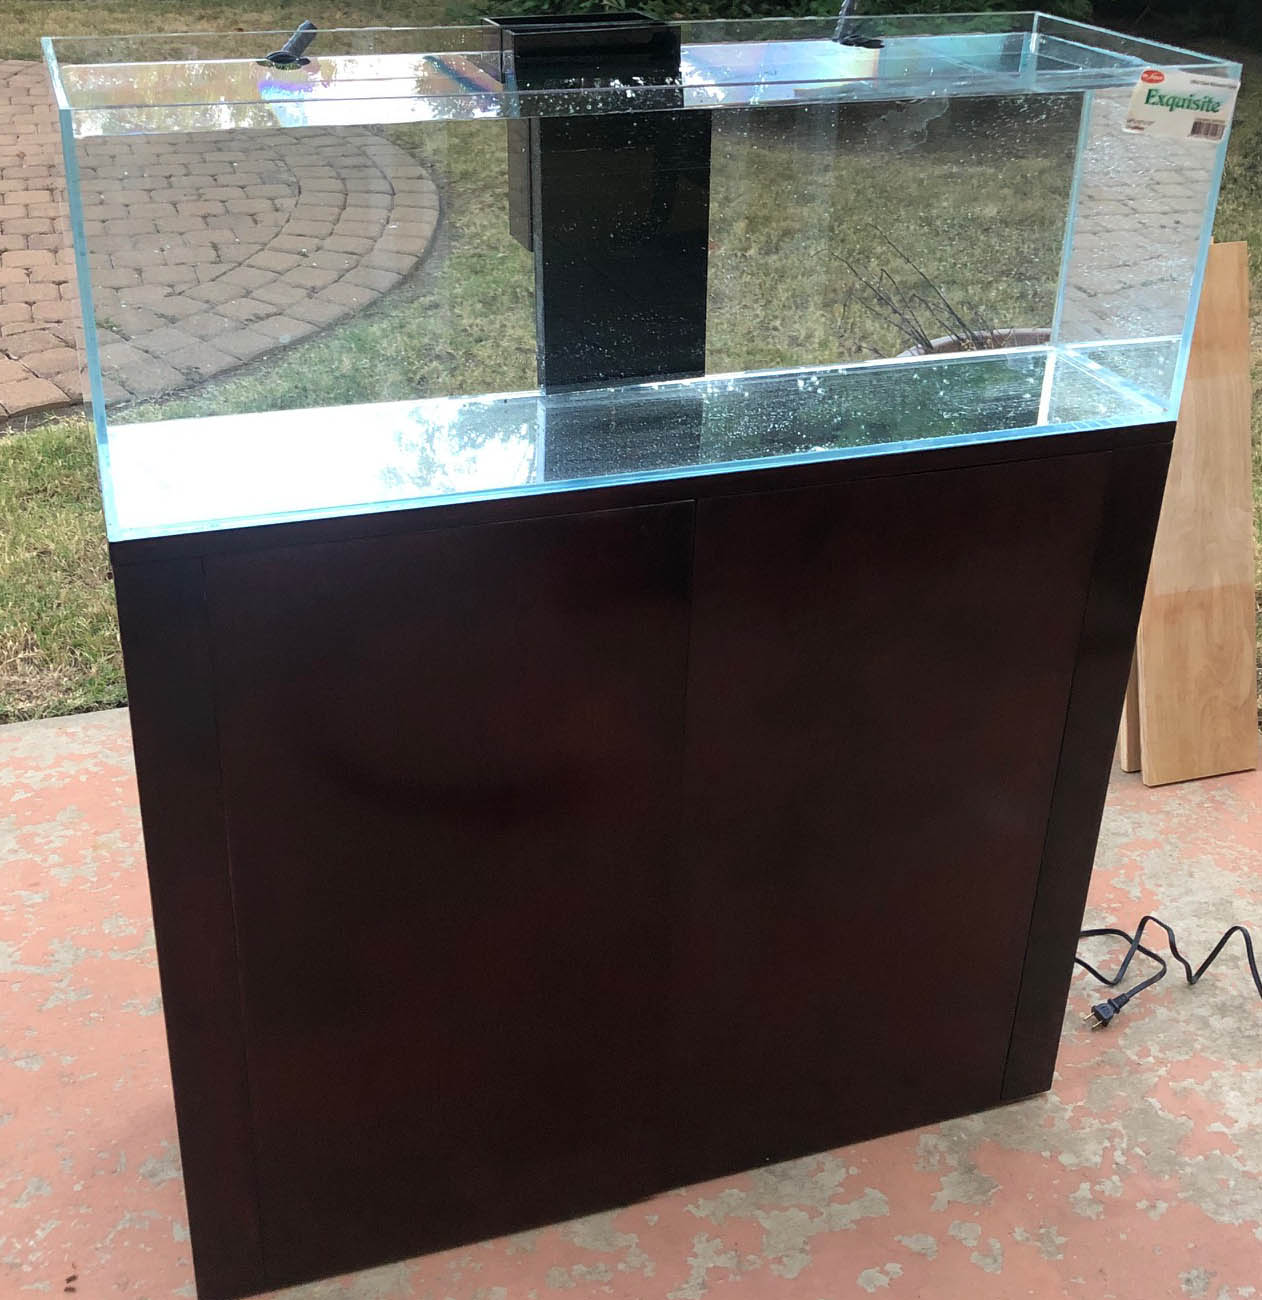
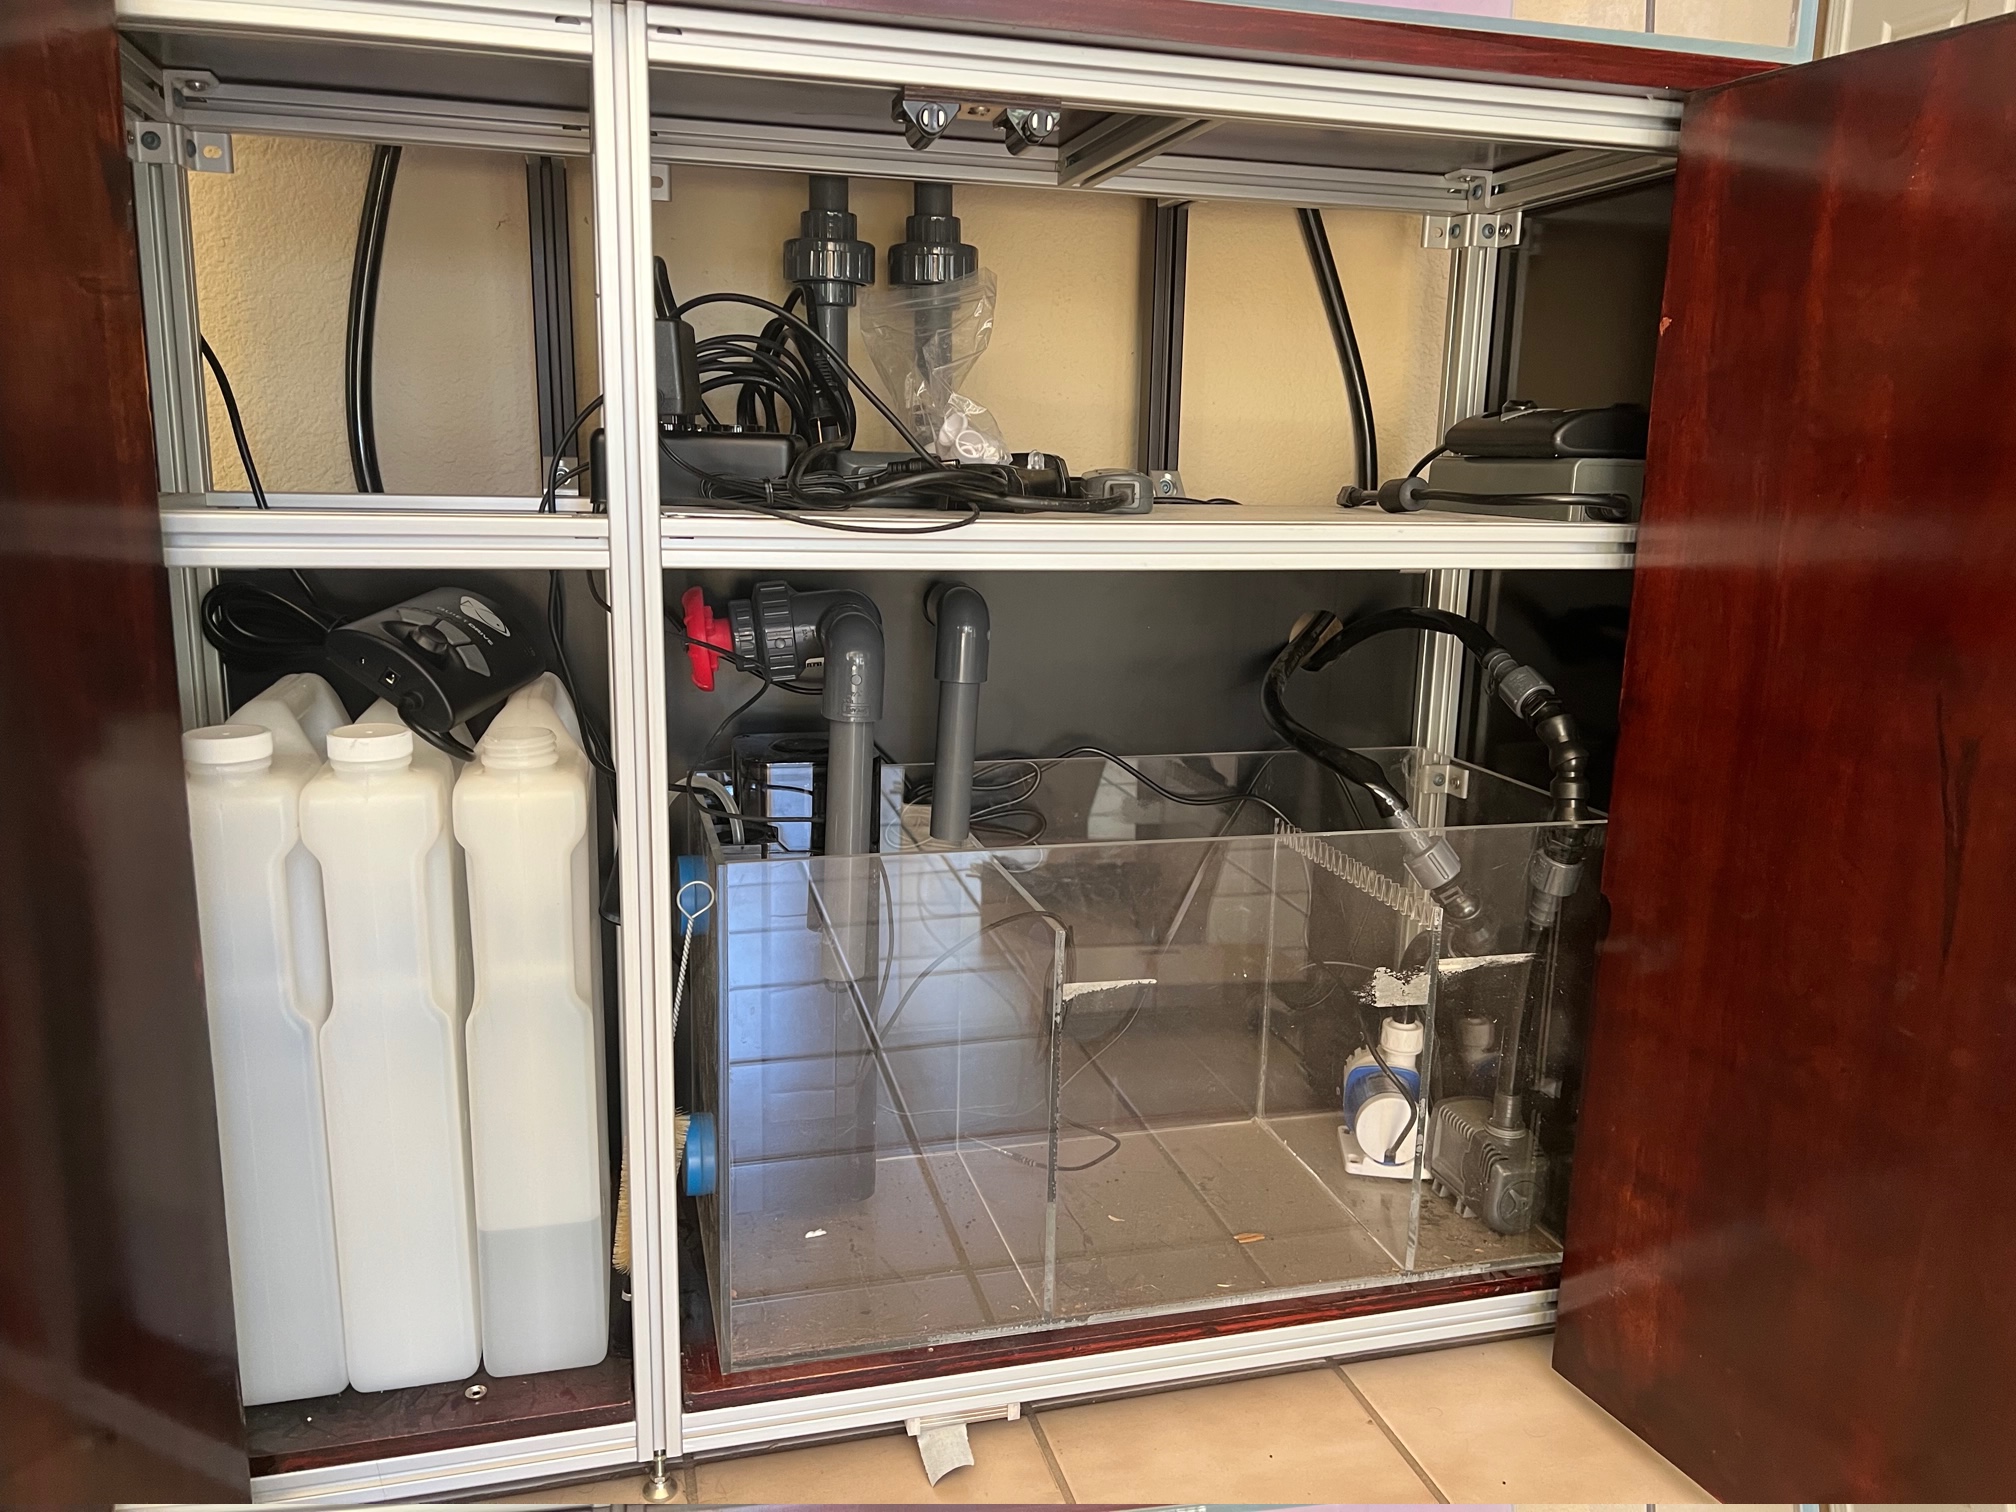
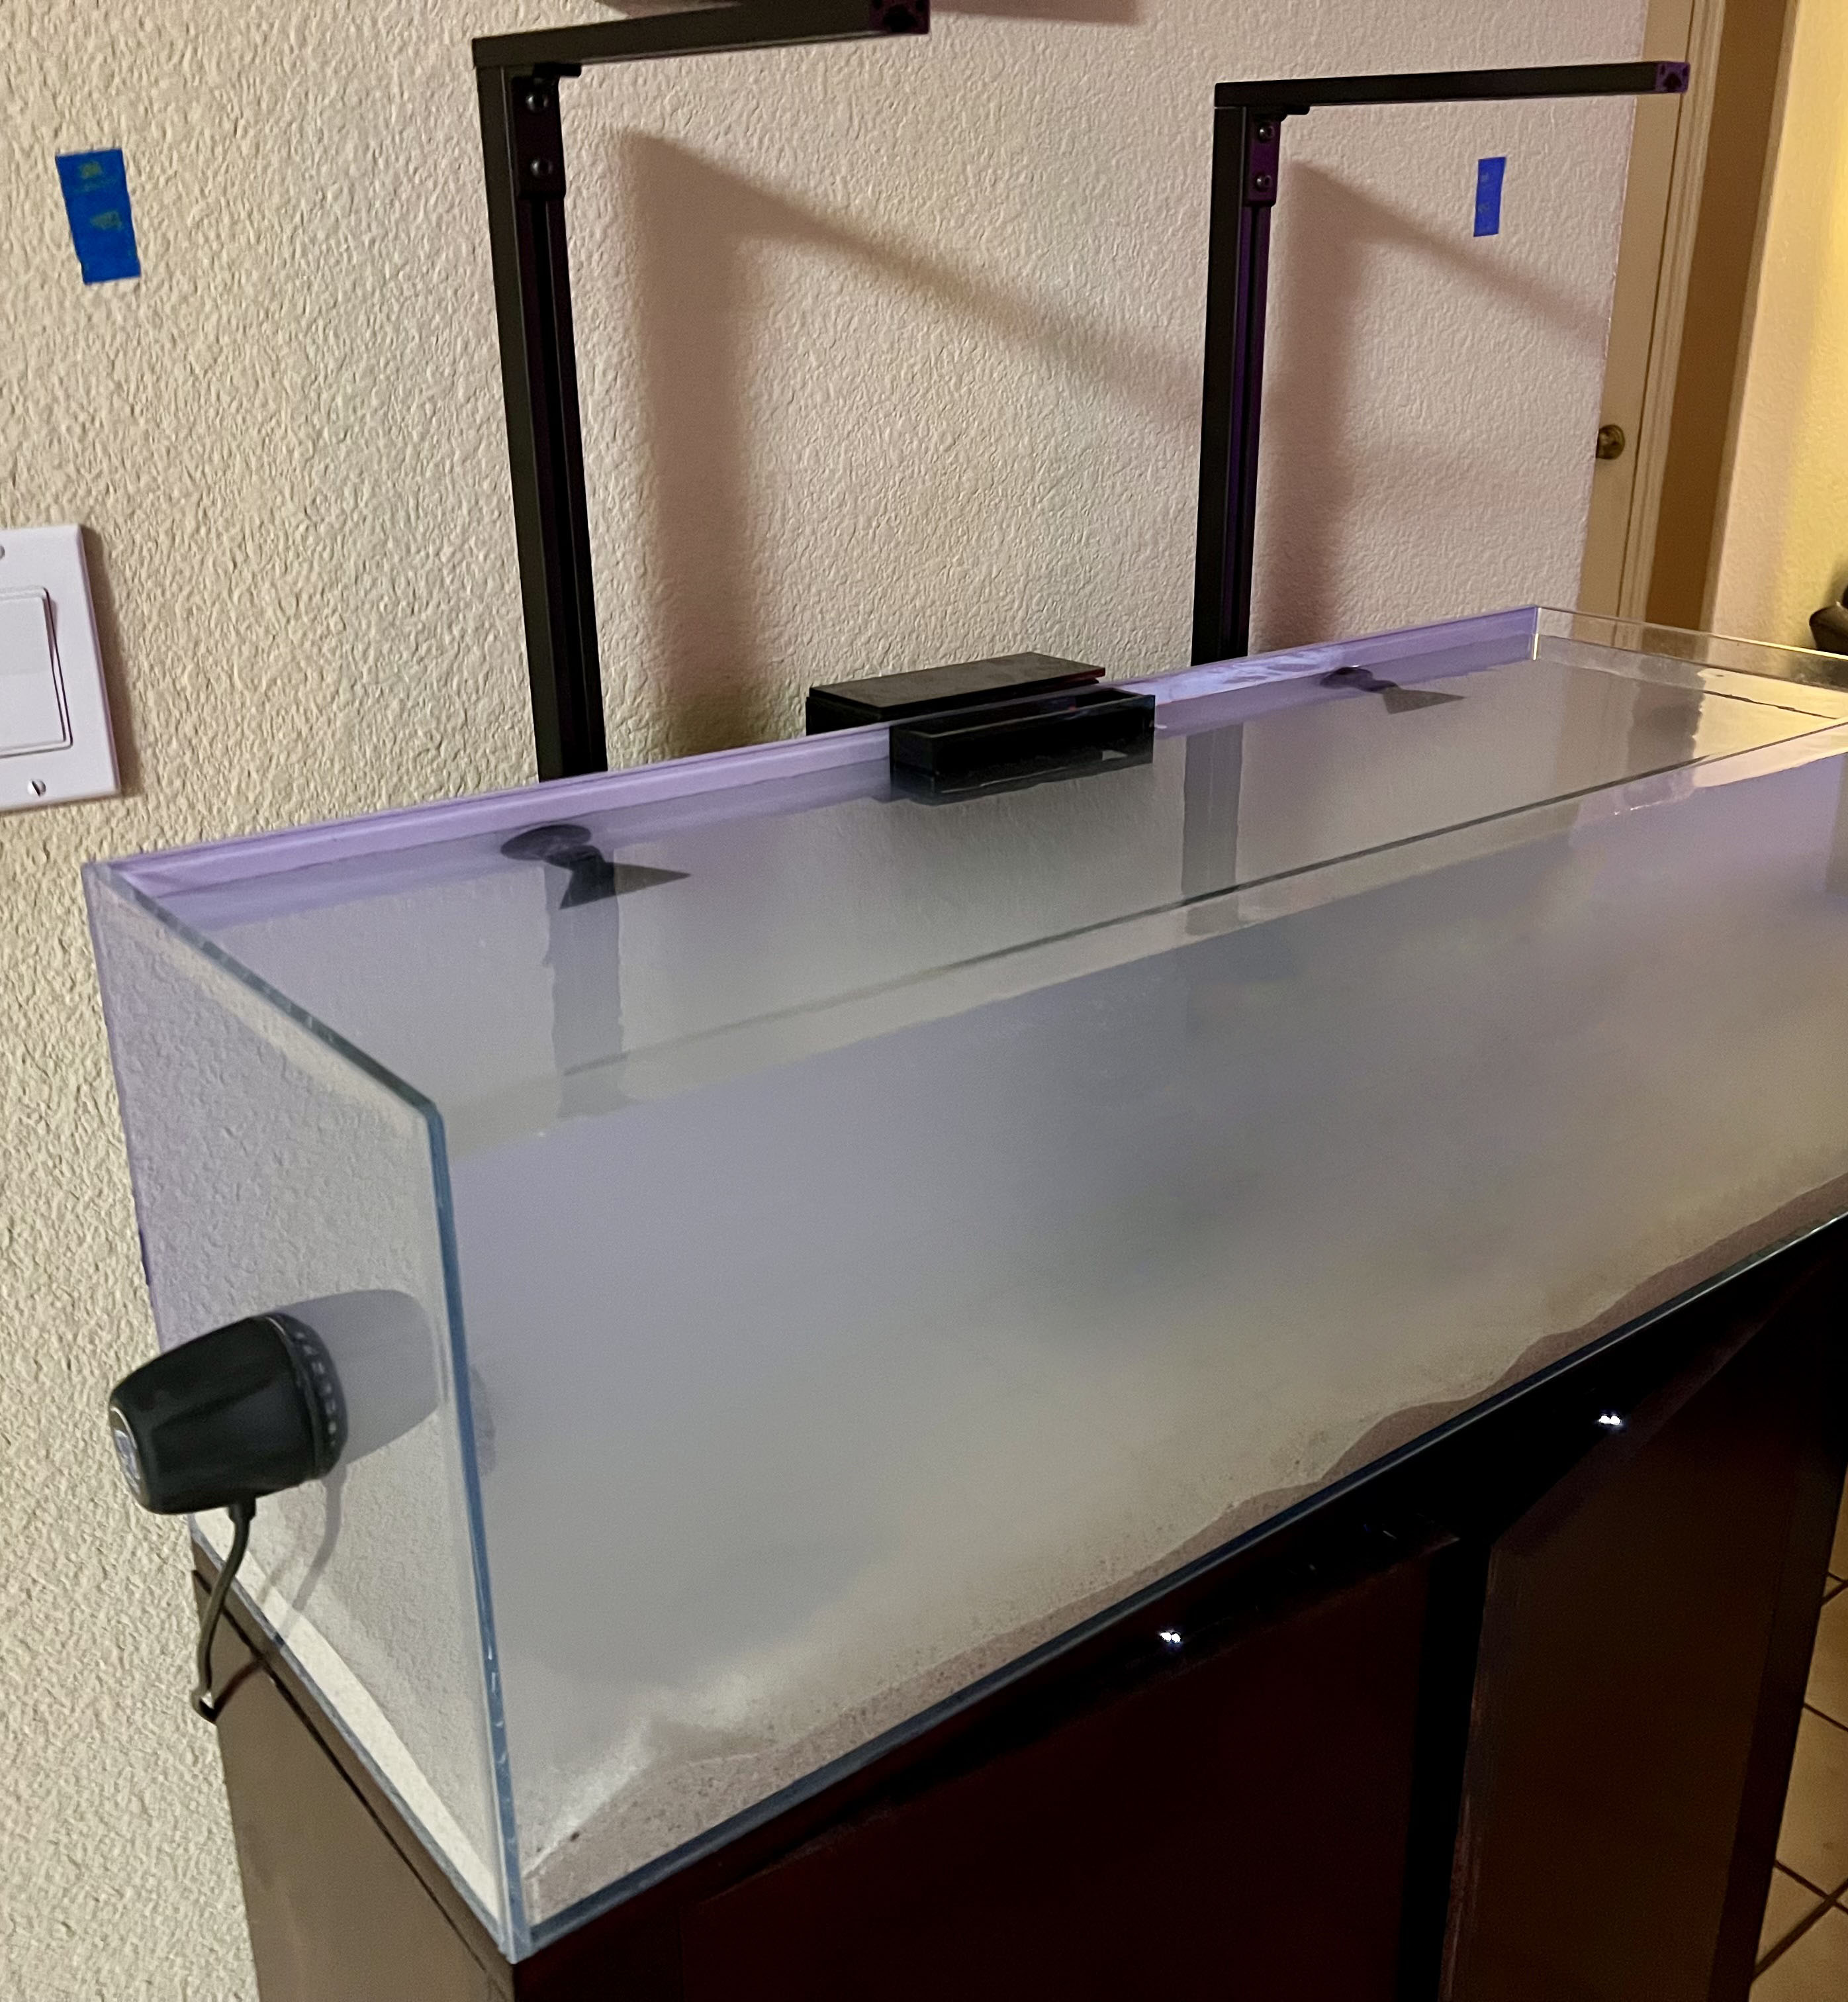
Water-in test. I have cut much of the plumbing and did a fill test. Need to glue pumbing before I can properly do leak testing.
The siphon drain is very quiet - will be a nice upgrade from my current 90 on the old MegaFlow Durso.

Follow along with the video below to see how to install our site as a web app on your home screen.
Note: This feature may not be available in some browsers.


Glad to see the tank is filled with water sand and rock now!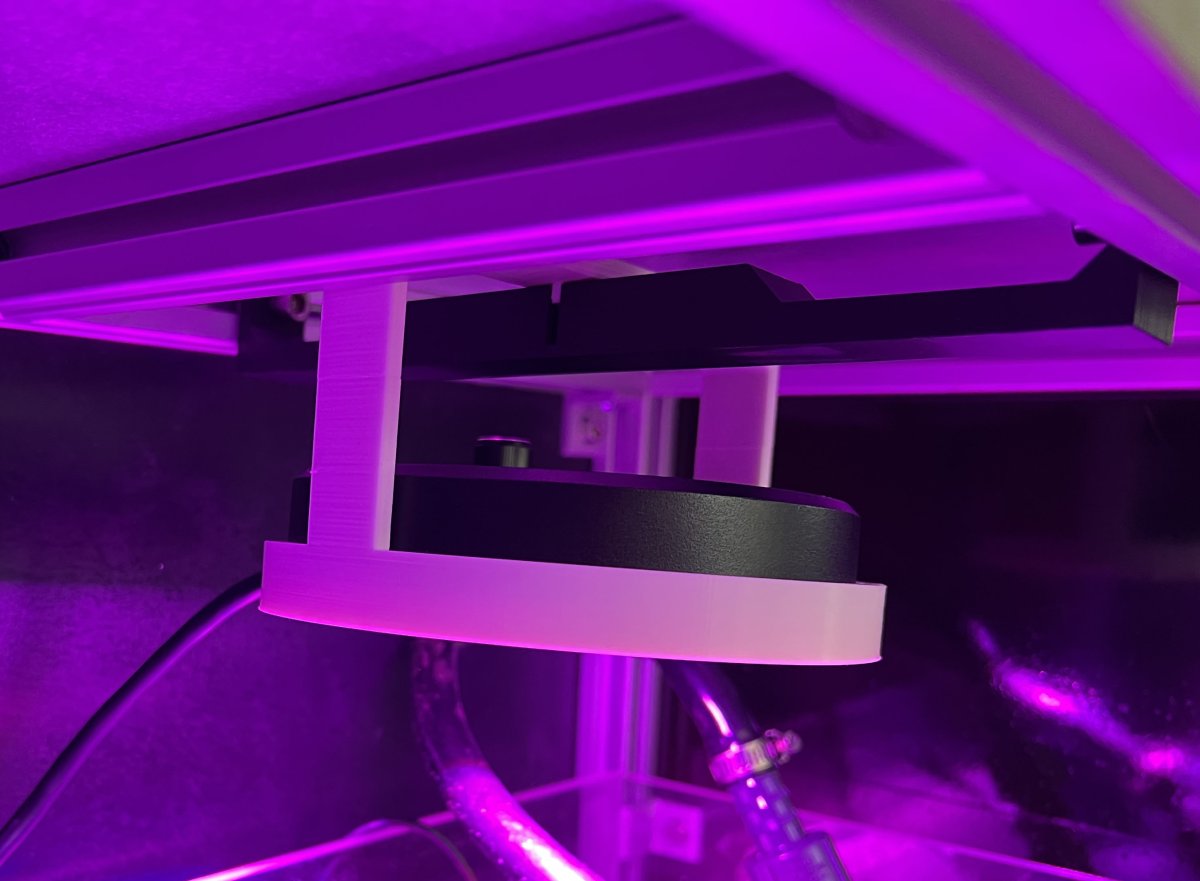
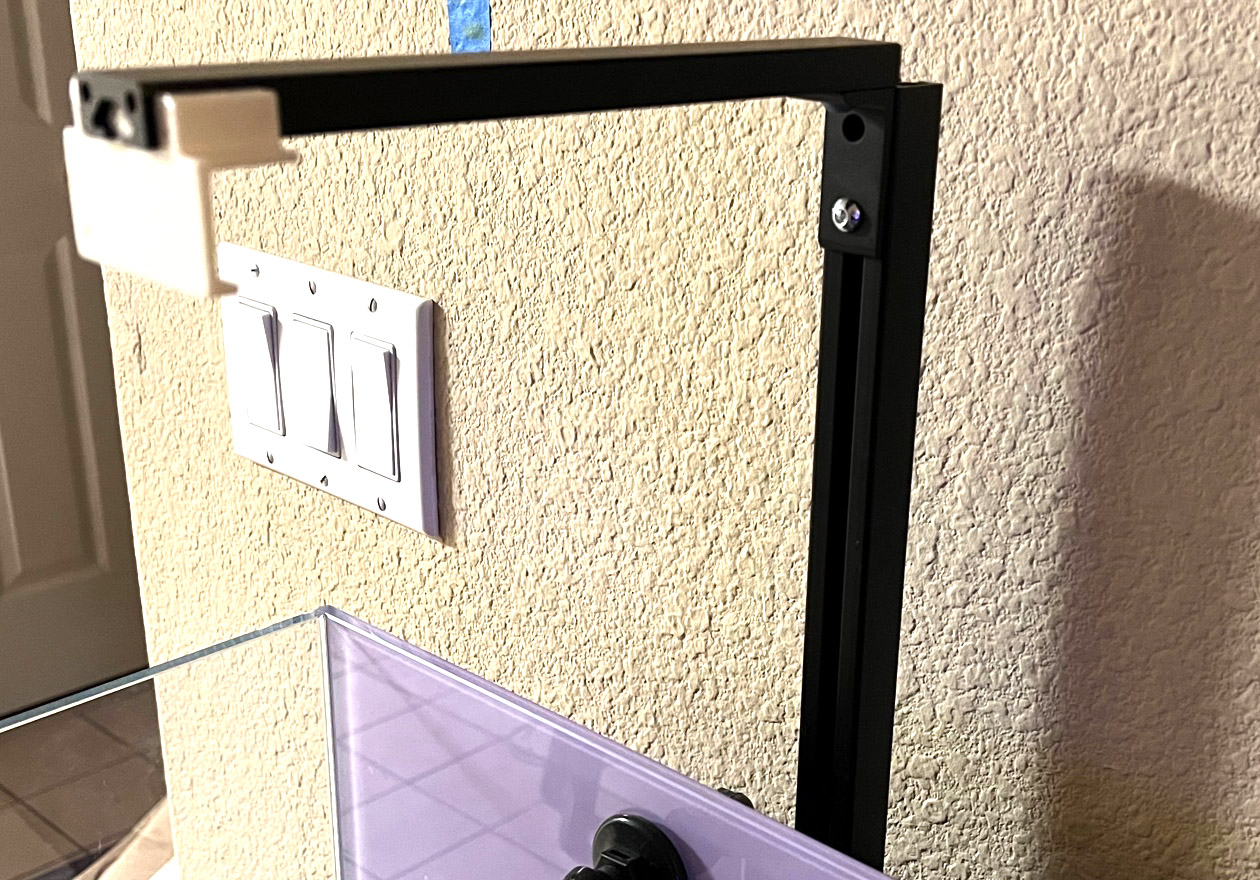
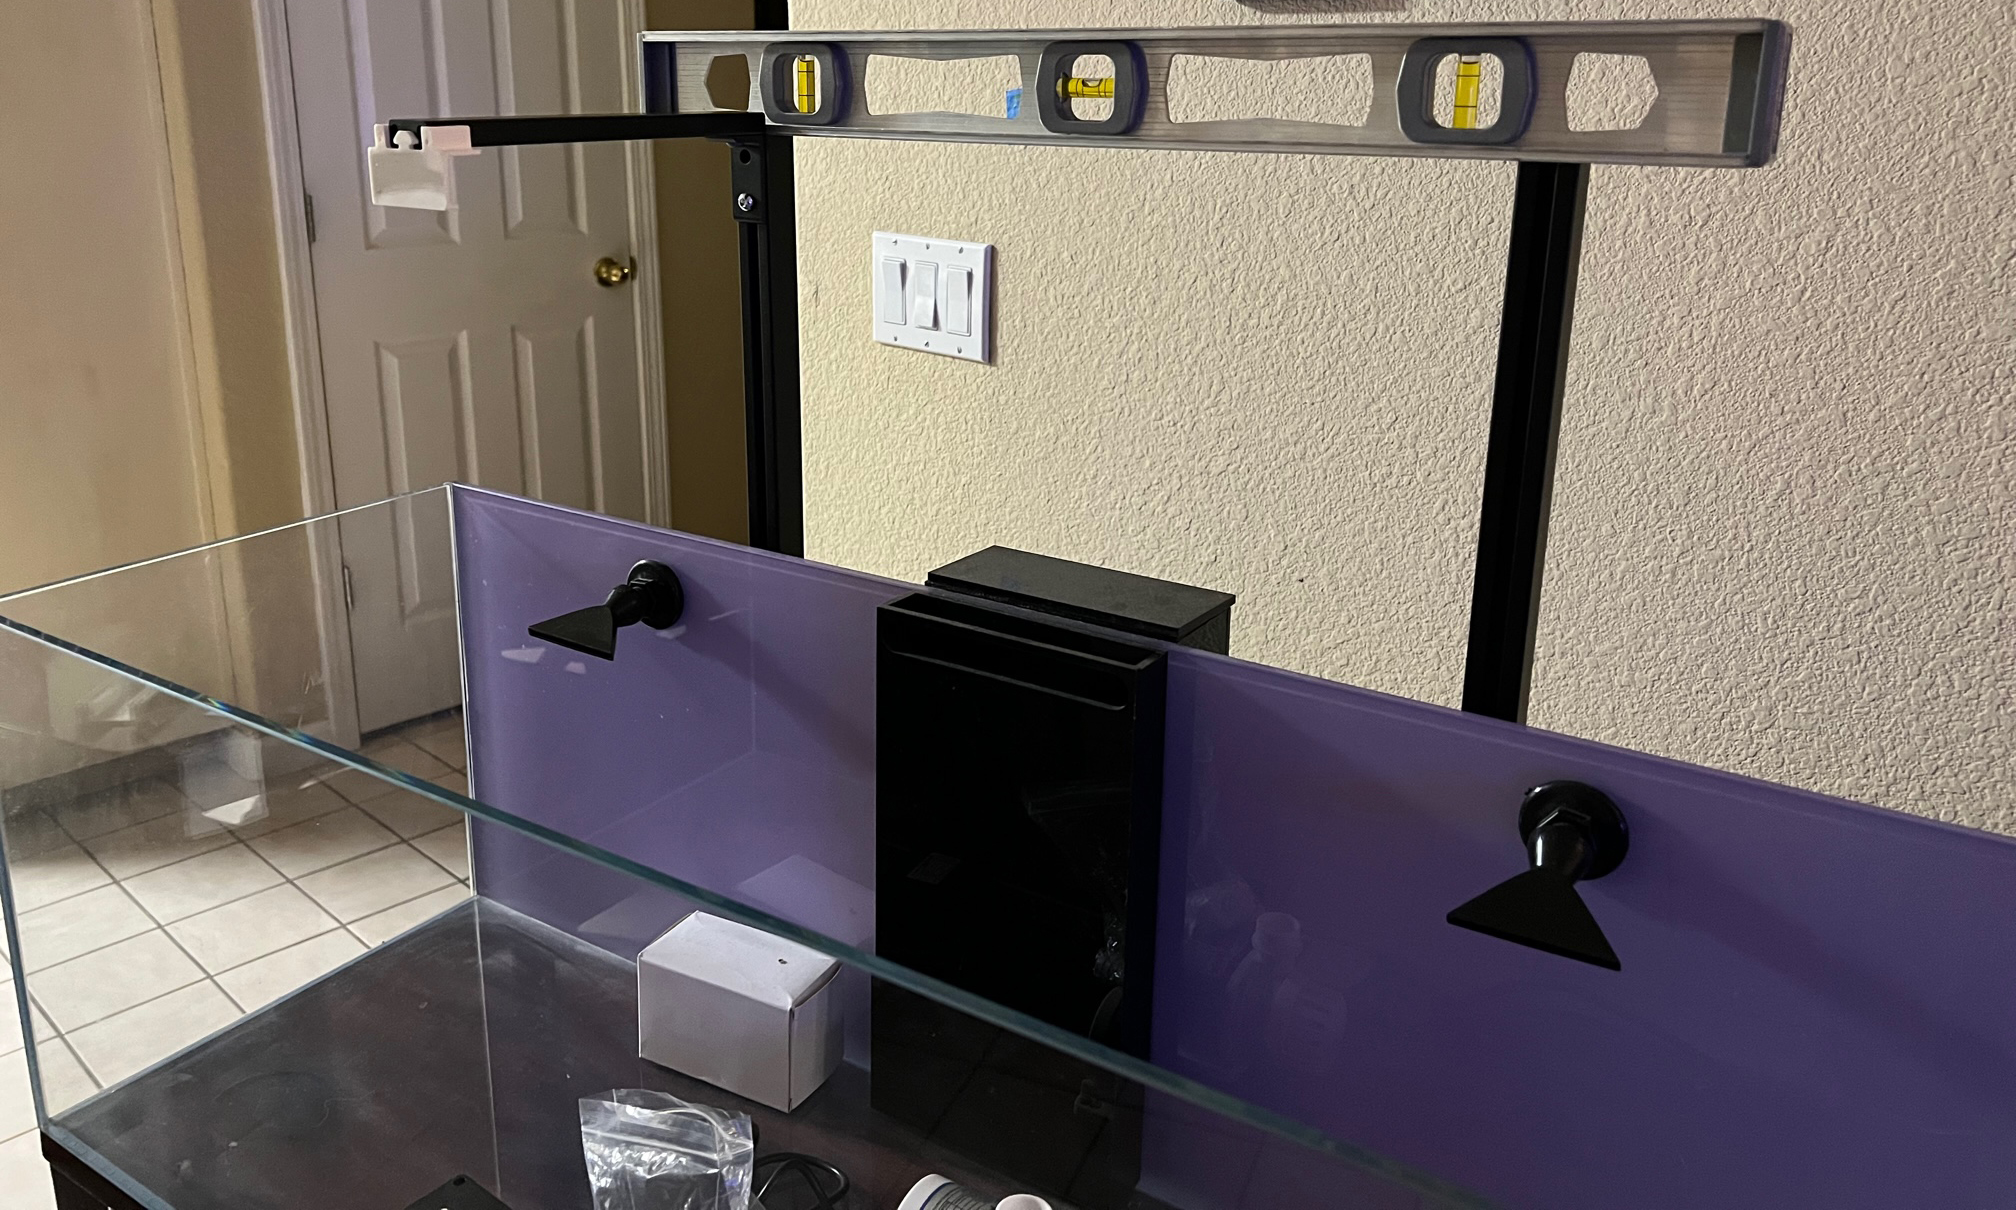
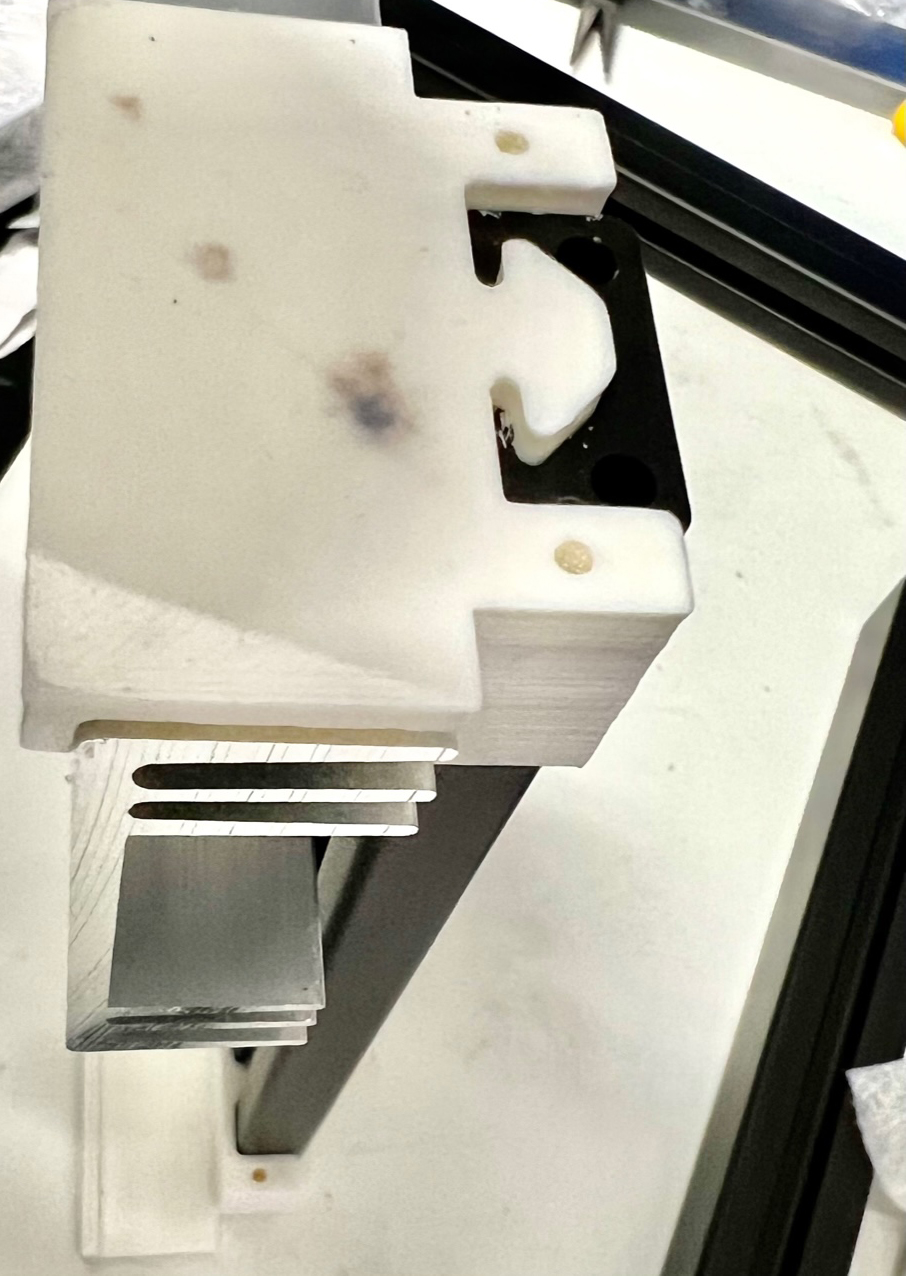
Mounting a refugium light - this is a custom 3d printed frame.

Some base rock. Some fresh uncured live rock. Now to let it marinade.
Those lights look great!Let there be ... temporary light!
This is a pair of XR15Pros Gen6. On the RMS mount, which coincidentally fits perfectly over 8020 25mm rail...
Yes, yes, I need to finish my GleamRails. That will also fix the spread problem (center of the tank is low light). But time is scarce, and these worked in a pinch.
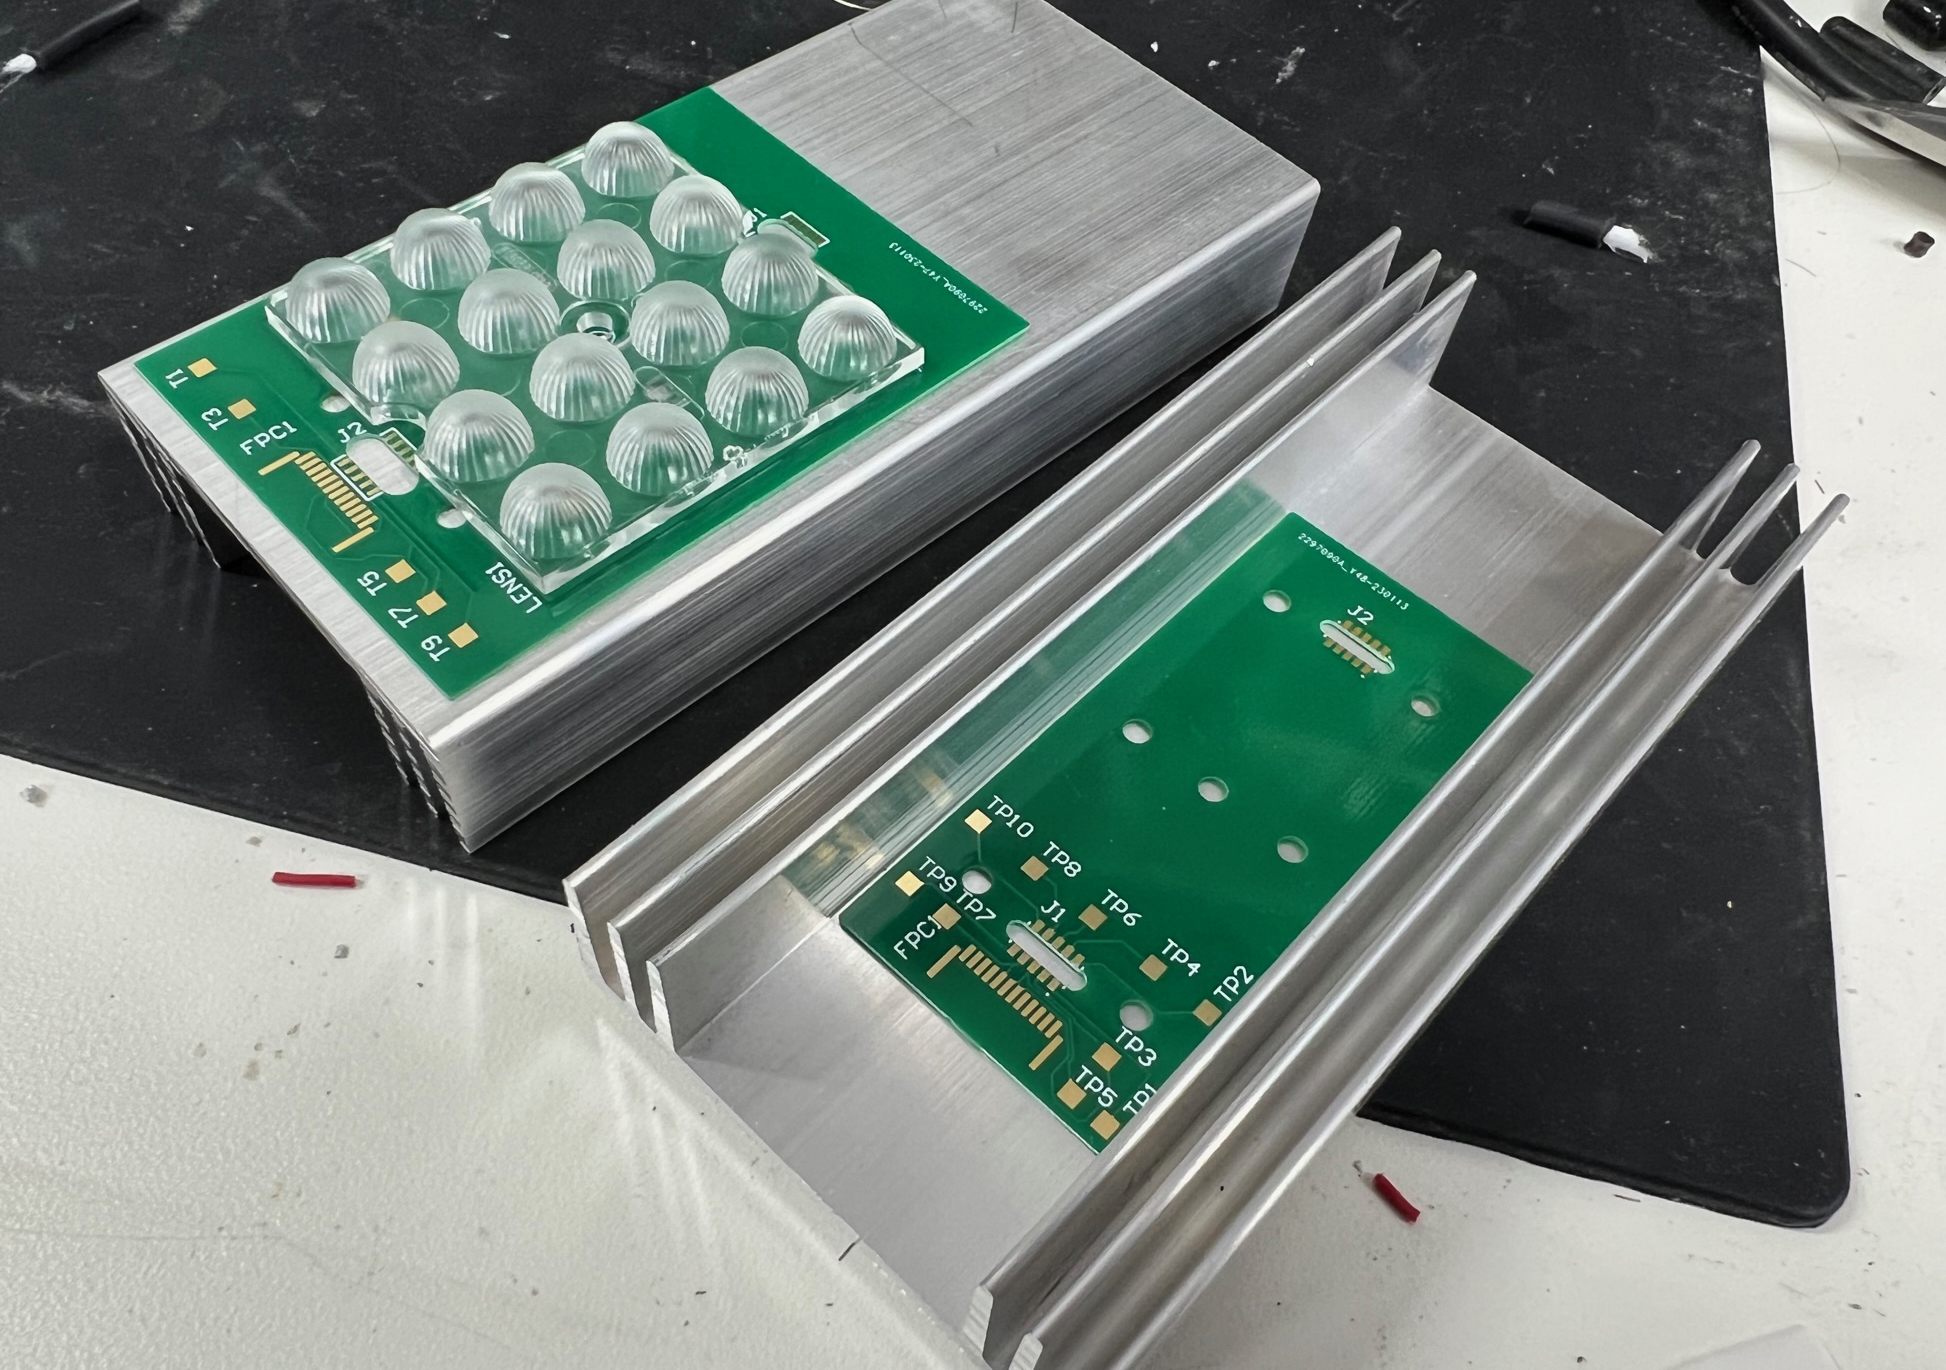
I did 3d print the snoot and base plate for them. Otherwise there is far too much light spill into the room. The plate has embedded magnets (print, stop at layer, insert magnet, resume) so it just snaps to the bottom of the Radions. The snoot fits inside the plate so its how swappable for different shapes and sizes.


