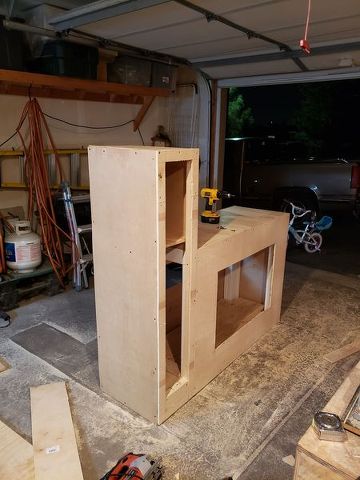
Hello. I am looking for where I can find standard plans for a stand made out of 2x4 lumber. I see examples within the posts but am looking for the plans with dimensions. Is there is a specific website or link where prebuilt plans exist? Any help would be appreciated to point be in the right direction.
Also, I after reading the forums, I plan to use the 2x4 and glue and screw them together as needed. Is there a specific quality of 2x4 that I should use in terms of grade?
thanks in advance for any advice..
thanks
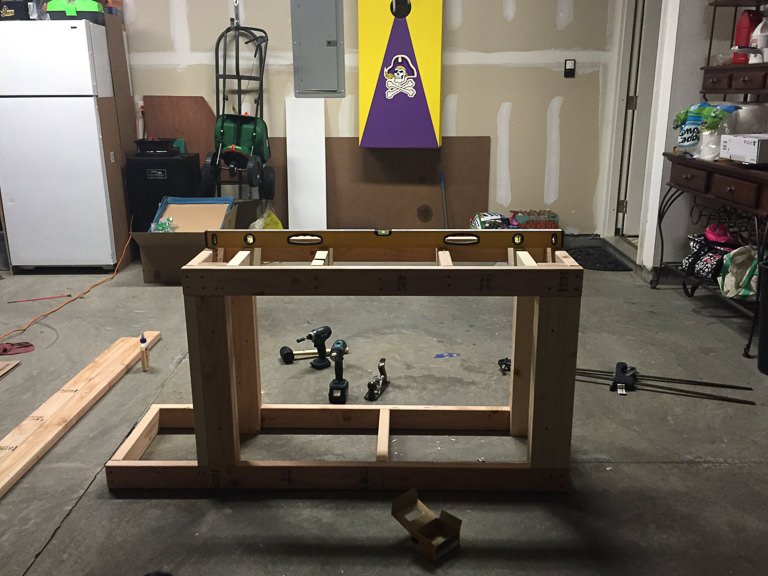
Also, I after reading the forums, I plan to use the 2x4 and glue and screw them together as needed. Is there a specific quality of 2x4 that I should use in terms of grade?
thanks in advance for any advice..
thanks