
So it began.
Quick Specs of NEW Squashed Cube Tank:
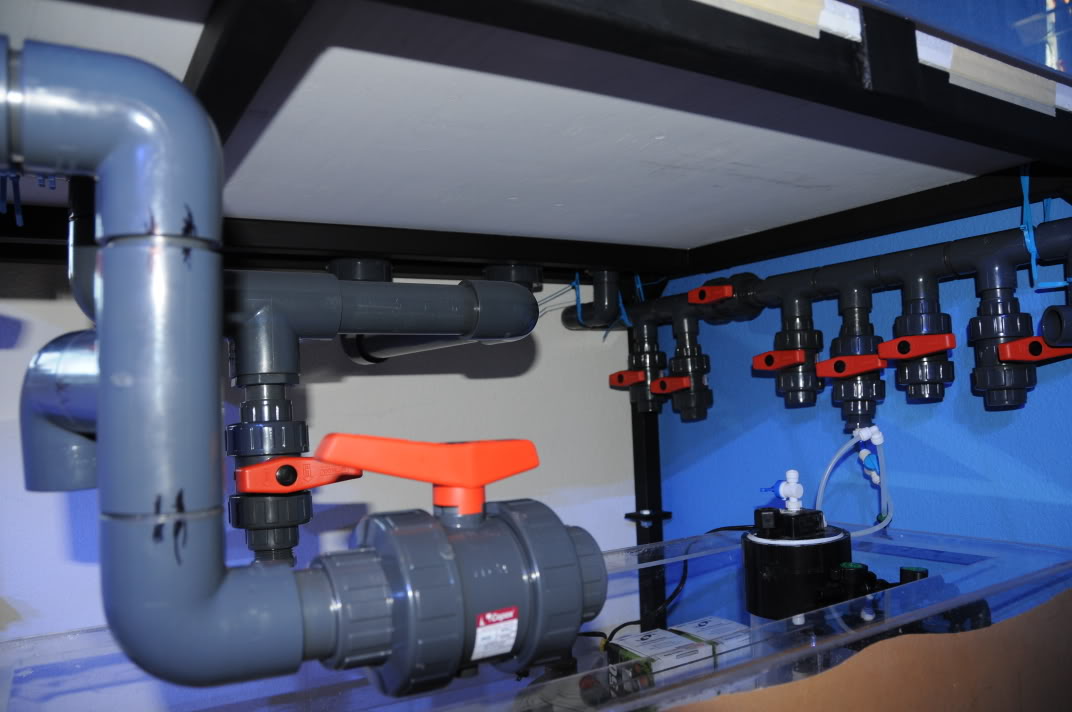
Tank: 36x30x19 1/2" Acrylic tank External overflow with 2 1.5" drains.
Lighting: Coralvue 250 watt E-Ballast. Hope to get a lumenmax or Lumenarc sometime soon.
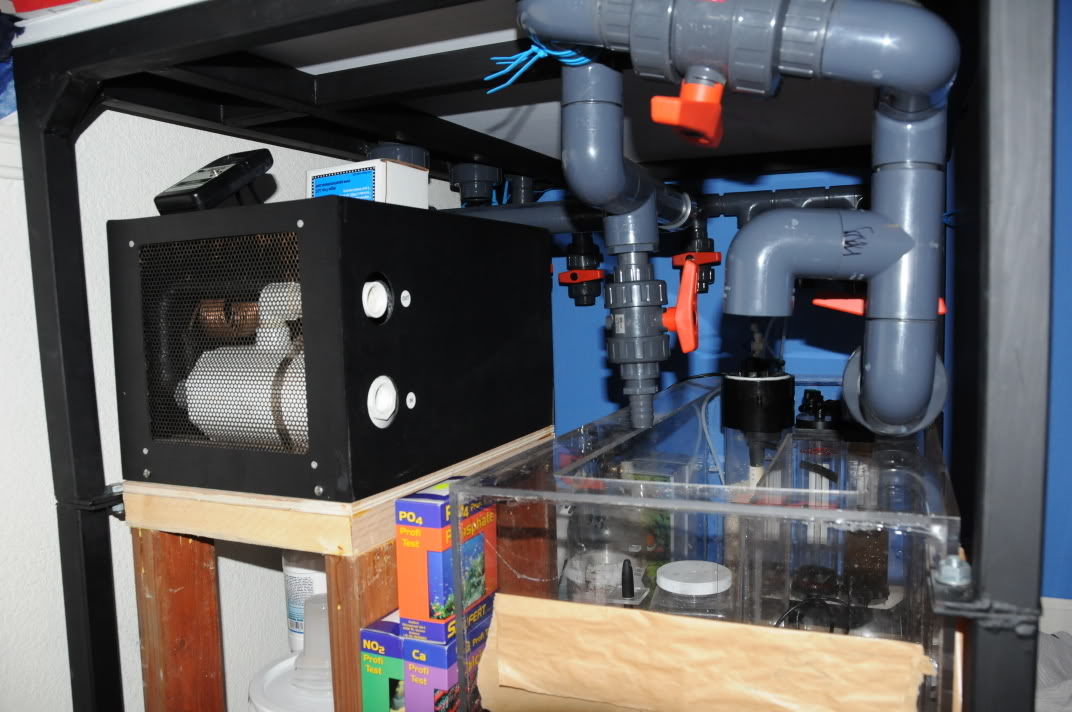
Skimmer: ASM G1X. Hope to upgrade soon.
Basic Filtration: Zeovit.
Controller: Profilux 2 with P3 upgrade on the way. Ranco to control chiller.
Return Pump: Eheim 1260
Flow: Single Vortech MP40w
Around 120 lbs of Live Rock.
Starting the Zeovit system soon.
Sump will soon be taken out and rebuilt to better fit a bigger skimmer and Zeovit system. Going to remove the fuge.
Continuous Water Change system should be implemented soon. I already have a drain line going to the outside world. I just need my Dosing unit.
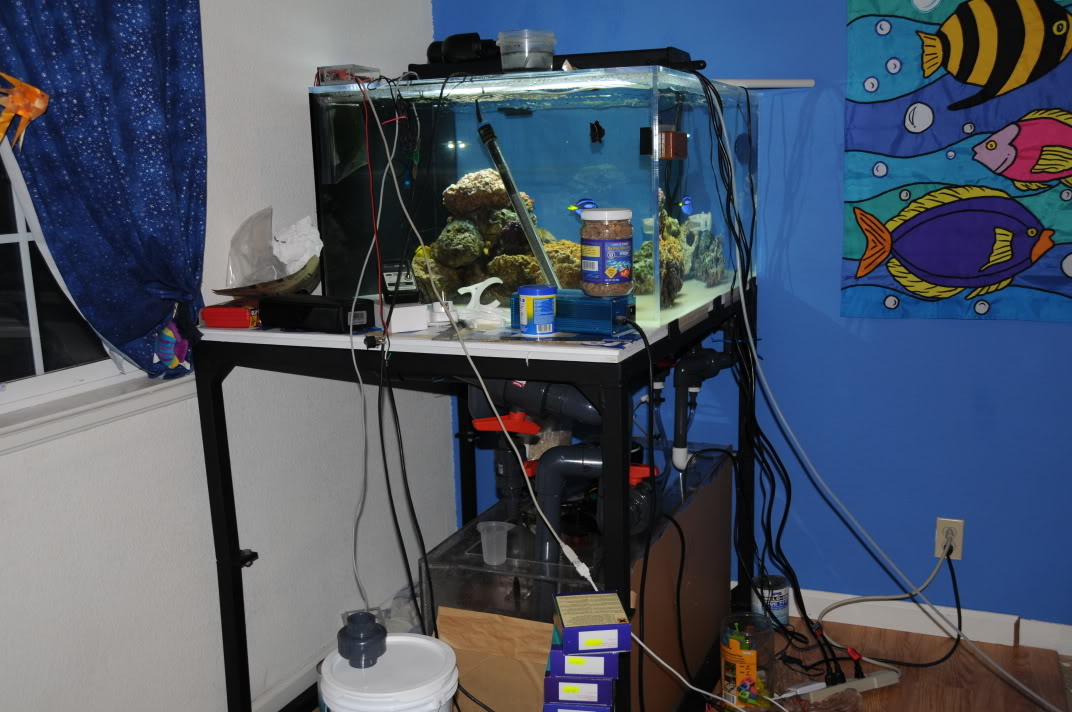
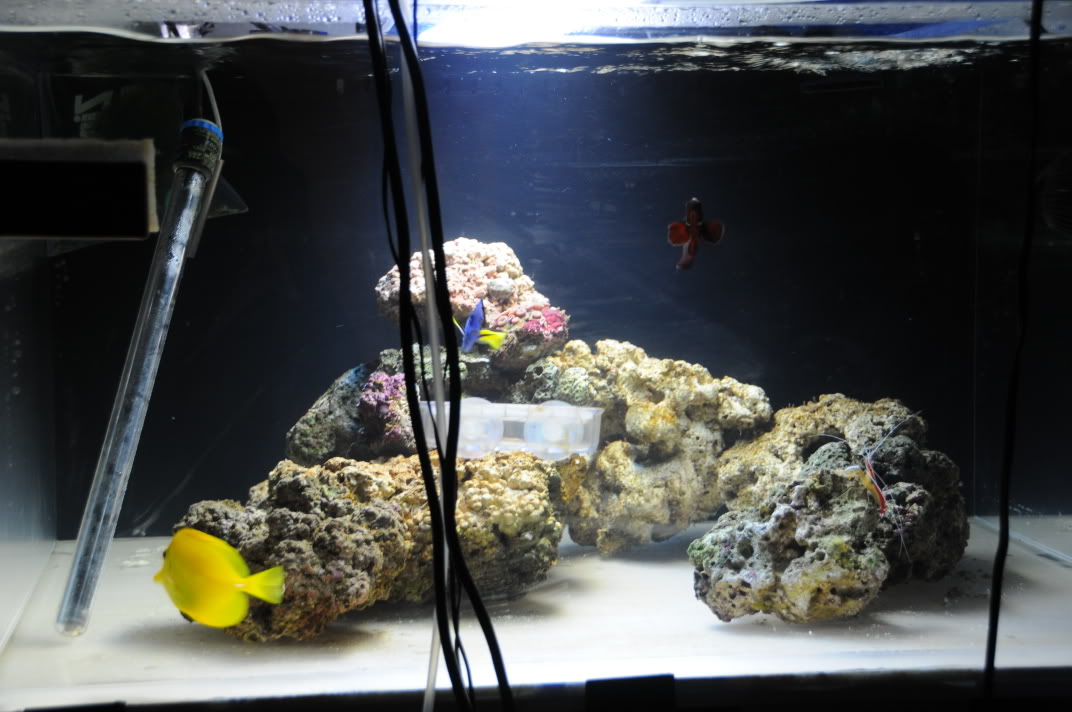
This was my old 90 before all of the hair algae and such took over. I think I did... 1 water change in the year this tank was up. This was the tank at 1 year old, about a year and a half ago.

The sump cracked and started to leak. :mad2:
I re-siliconed it and it held for a little while I tried to find a new sump. The stand was built as a FW tank so it had too many supports and the way the sump went in was through the back of the stand. After I put it in I screwed new supports over it and never thought about it. I figured if I have to tear the tank down to replace the sump I might as well get a new 90 that has no scratches. I built a new sump out of acrylic and it turned out pretty good.
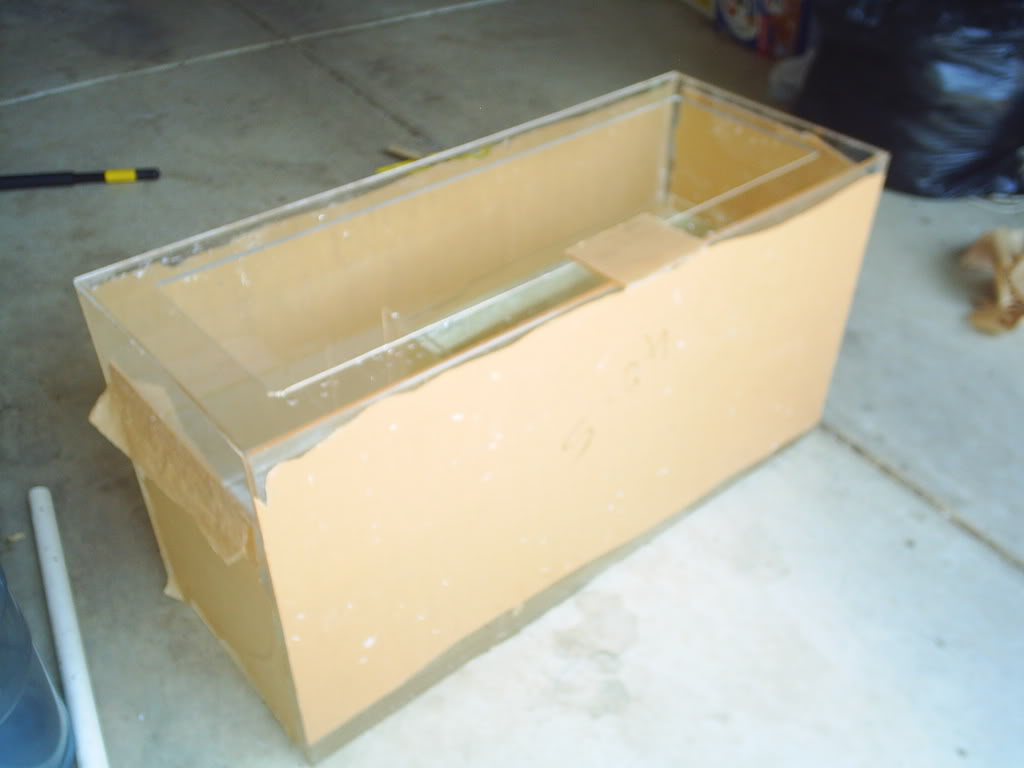
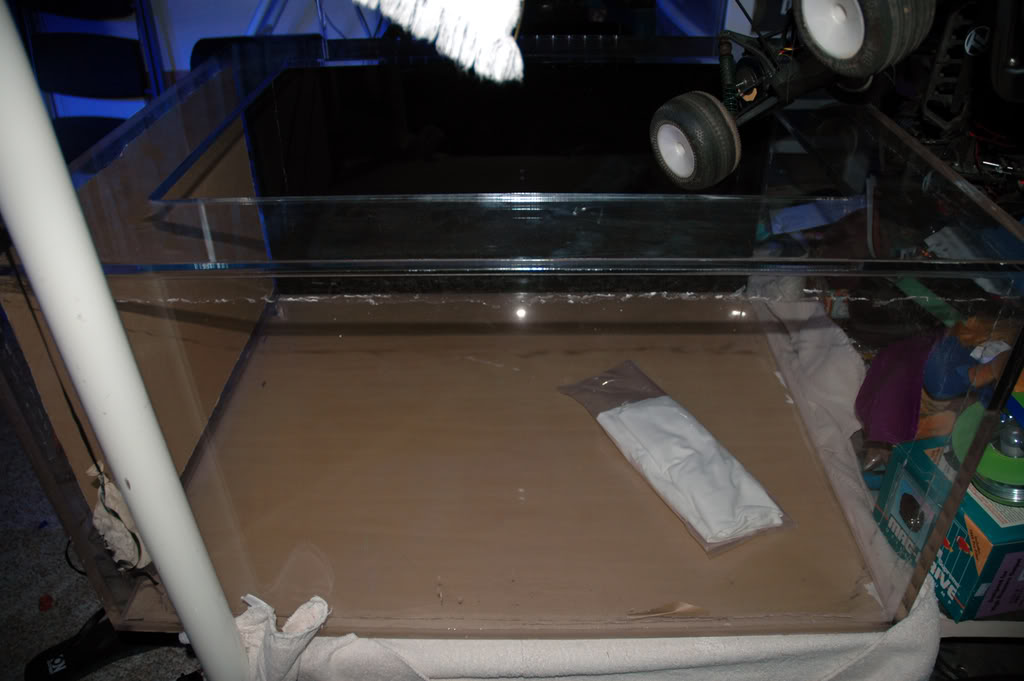
There it is being leak tested. It had only 2 small pinhole leaks. I designed it to fit as much water under the smaller footprint of the 90 gallon tank. the new stand was also built.
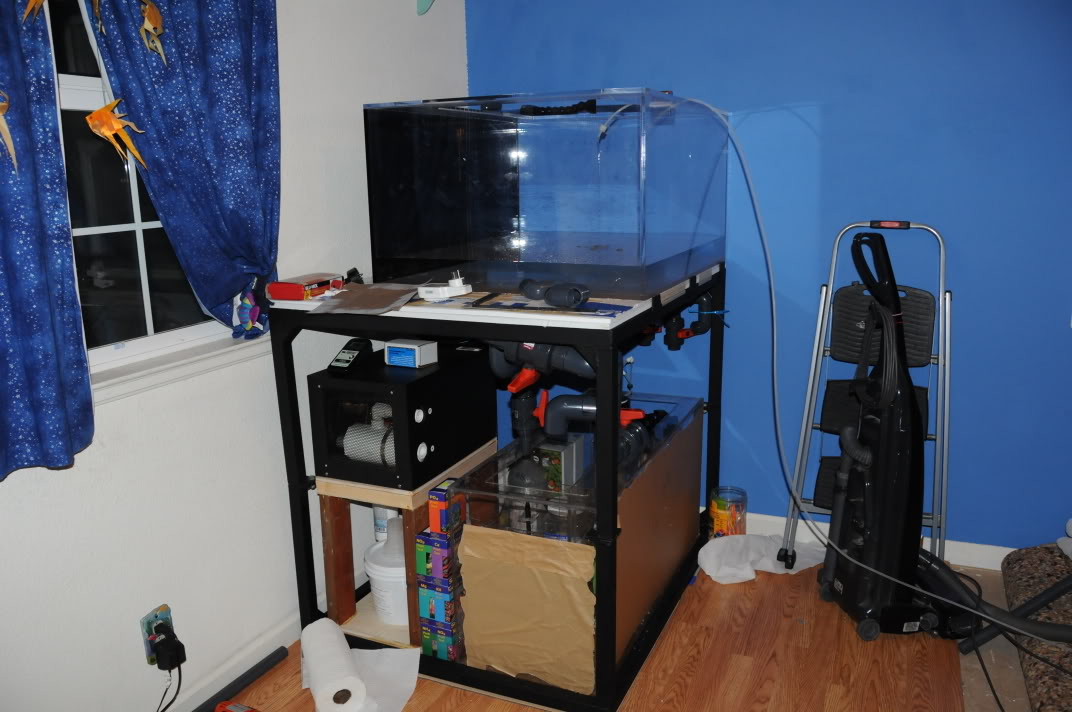
And then came the dream tank. Built in overflow... Deep front to back dimensions... 90 gallons... It was a 36 wide by 30 deep front to back by 19 high. "Squashed" cube. Perfect dimensions for a single lumenarc or Lumenmax elite.
This is the offending tank.
I started to do some sketches in sketchup even before I got the tank. This was around August of 2008.
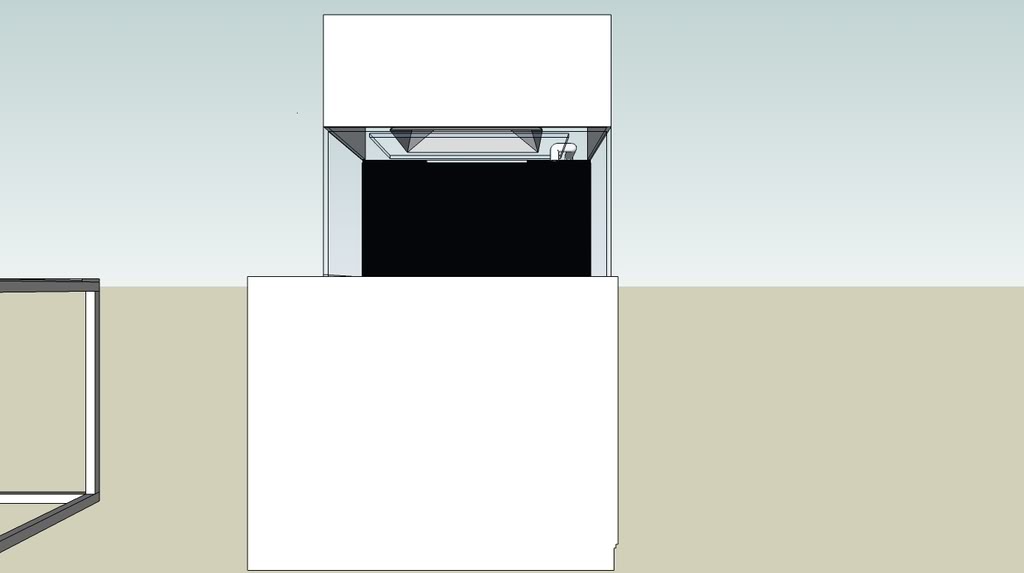
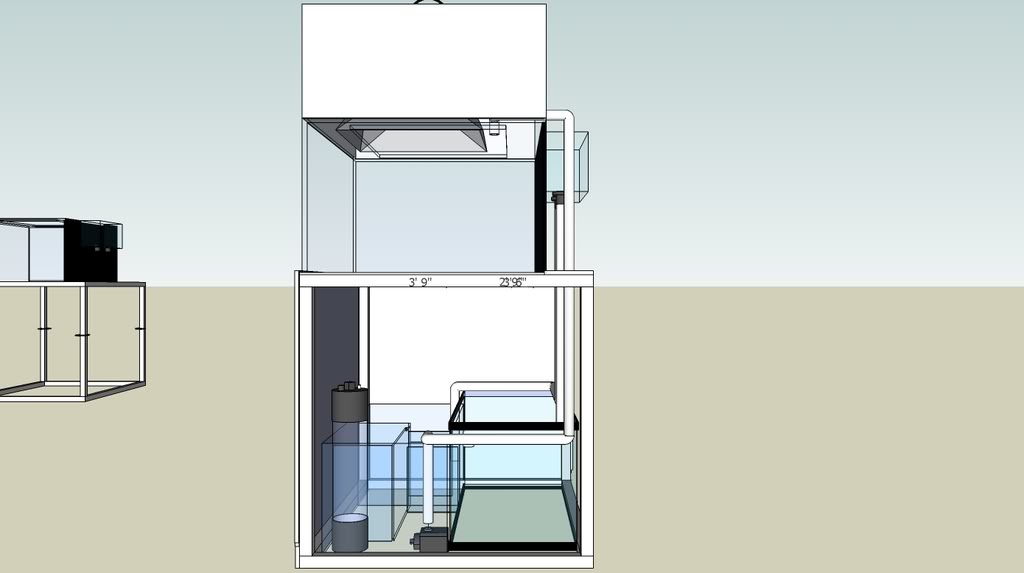
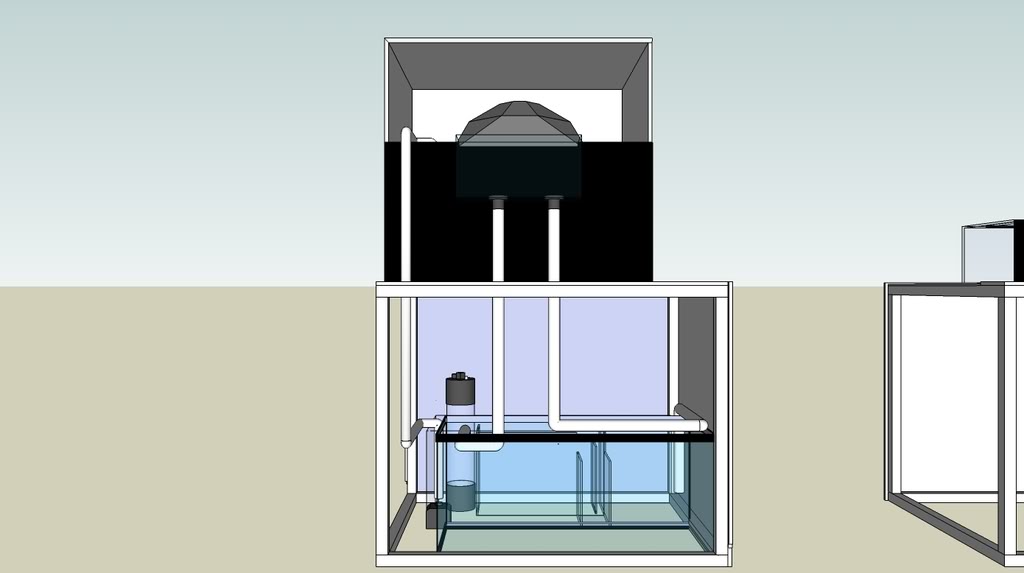
This was the basic design. The plumbing changed. A lot. but the stand stayed exactly as it was designed. The stand is made out of 1 1/4" Thick Wall Steel square tube.
There was another design challenge. My doorway is only 28" wide. The tank at its minimum length is 30". No problem for the tank. Just turn it onto its side. The stand on the other hand... The stand came out to around 38" high. It had to be assembled in the room. Can't weld indoors lol.
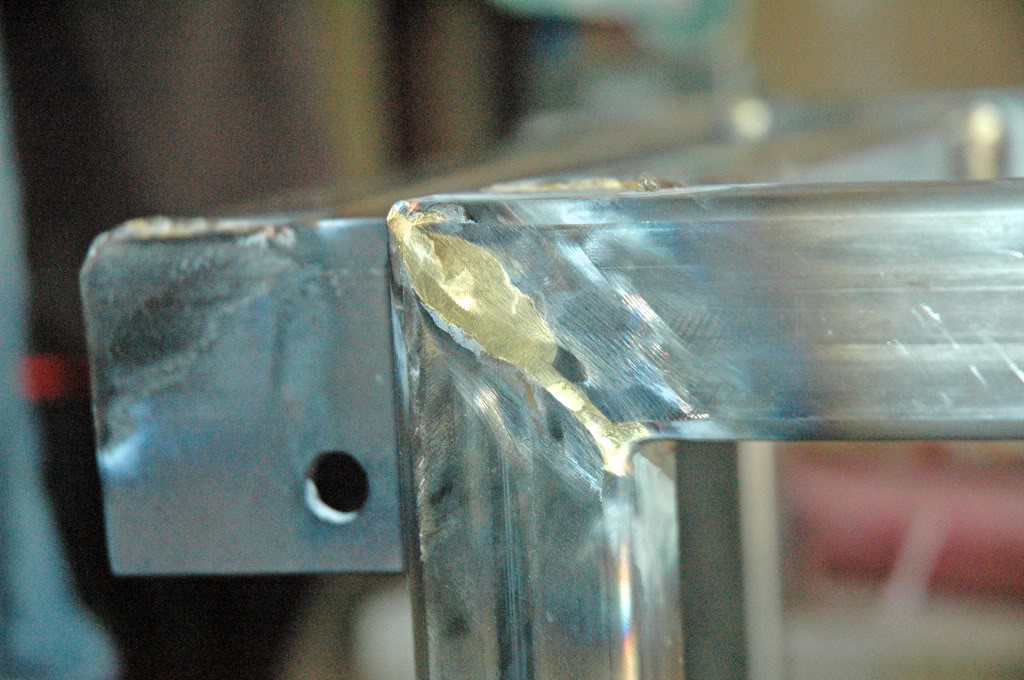
To the left you can see one of the plates that are used to bolt the top to the bottom. The whole stand was constructed specifically for this tank.
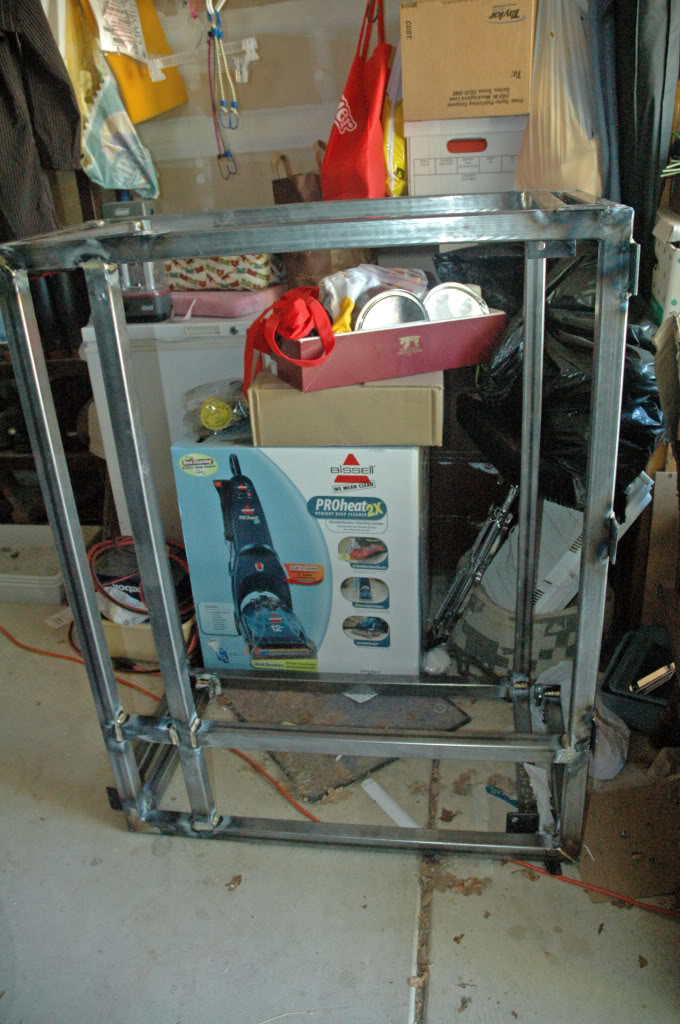
That is before the gussets were installed. In the room the tank was being installed into the carpet was being ripped up and replaced with hardwood floors. The standard 90 stayed in the spot in the room with the carpet rolled up to it, and hardwood floors installed in half the room.
The big BRS order was commenced. All of my plumbing came from BRS.
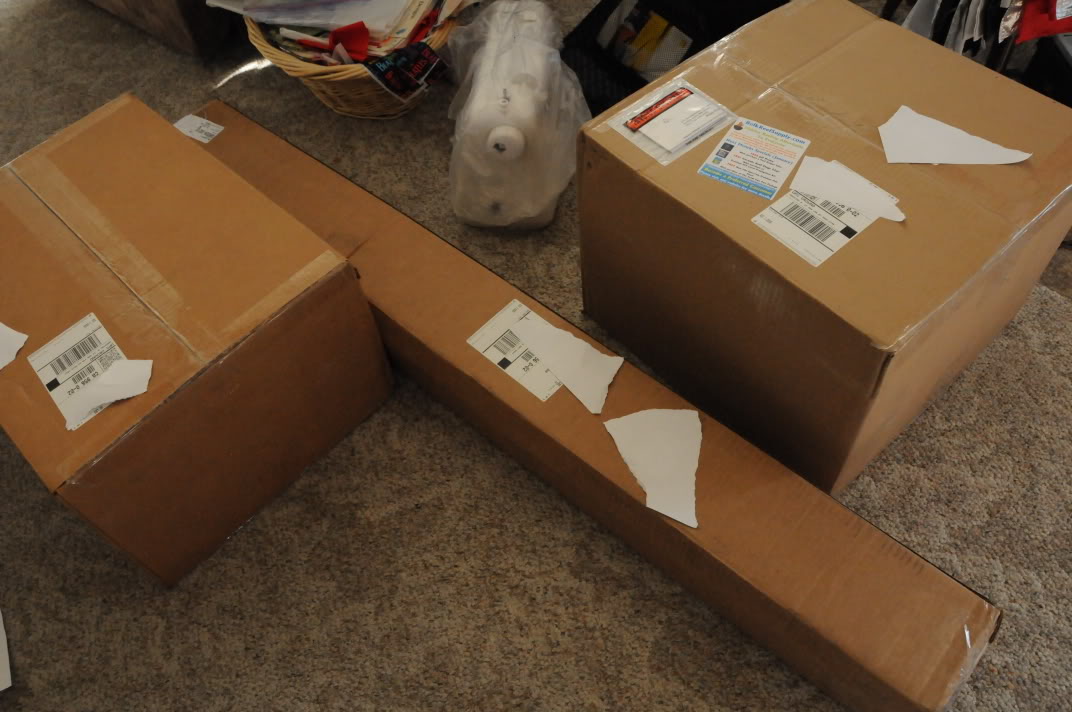
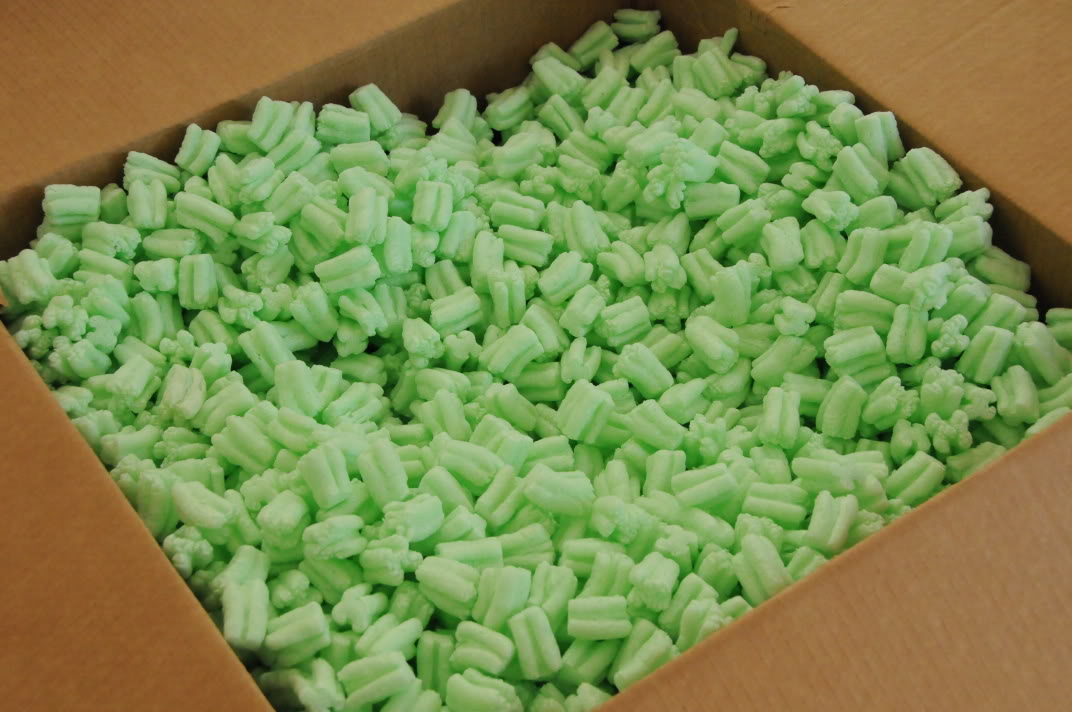
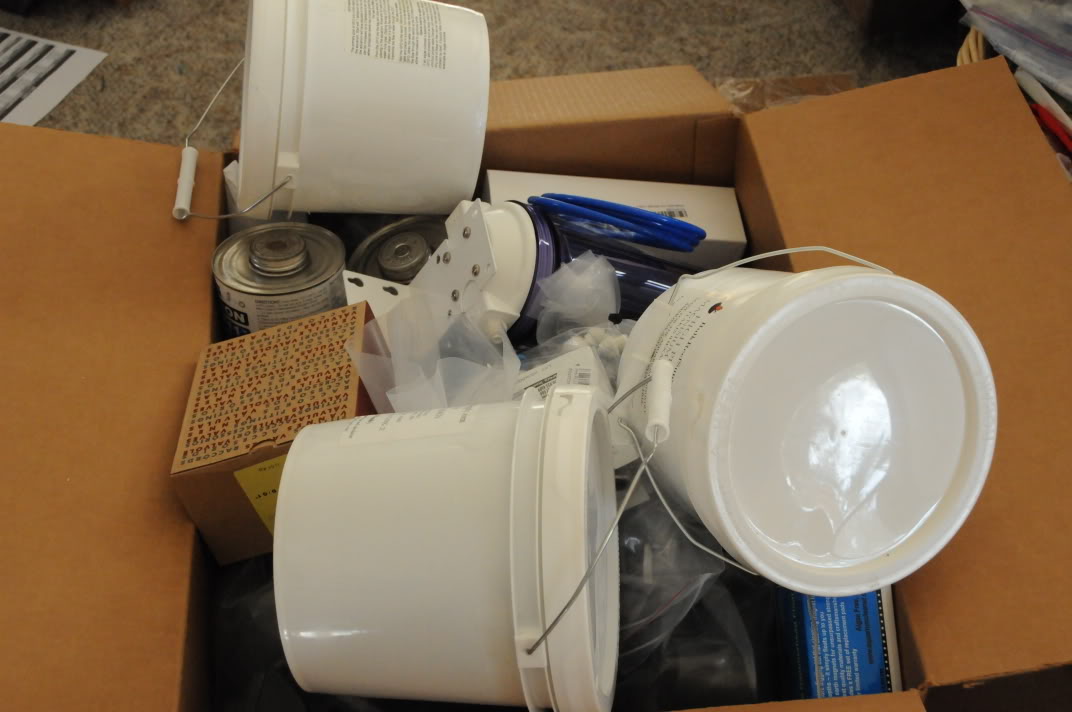
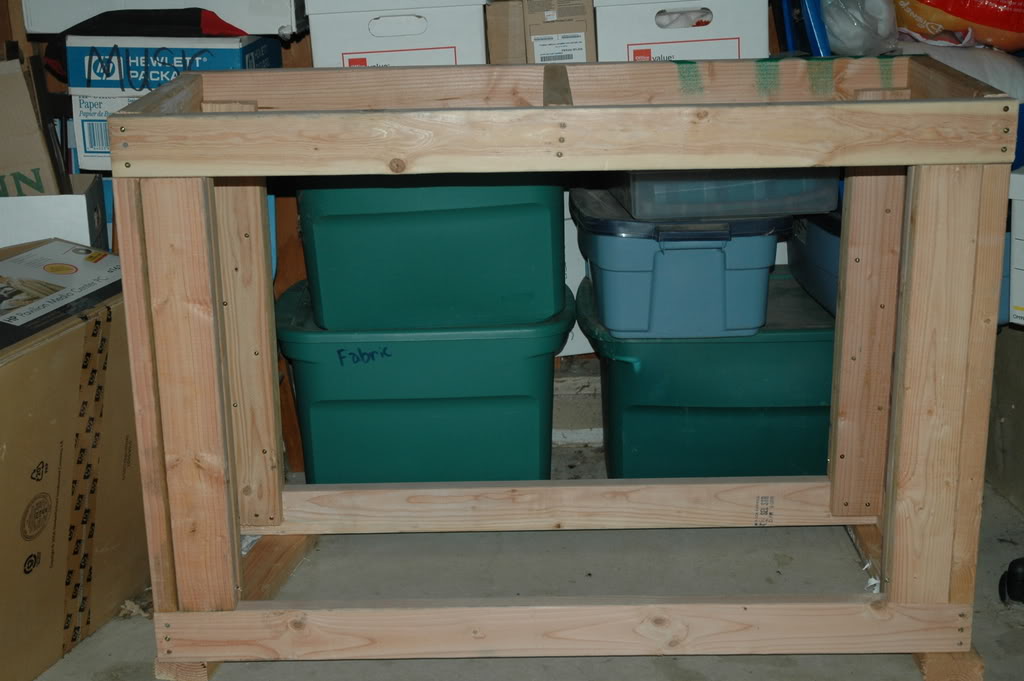
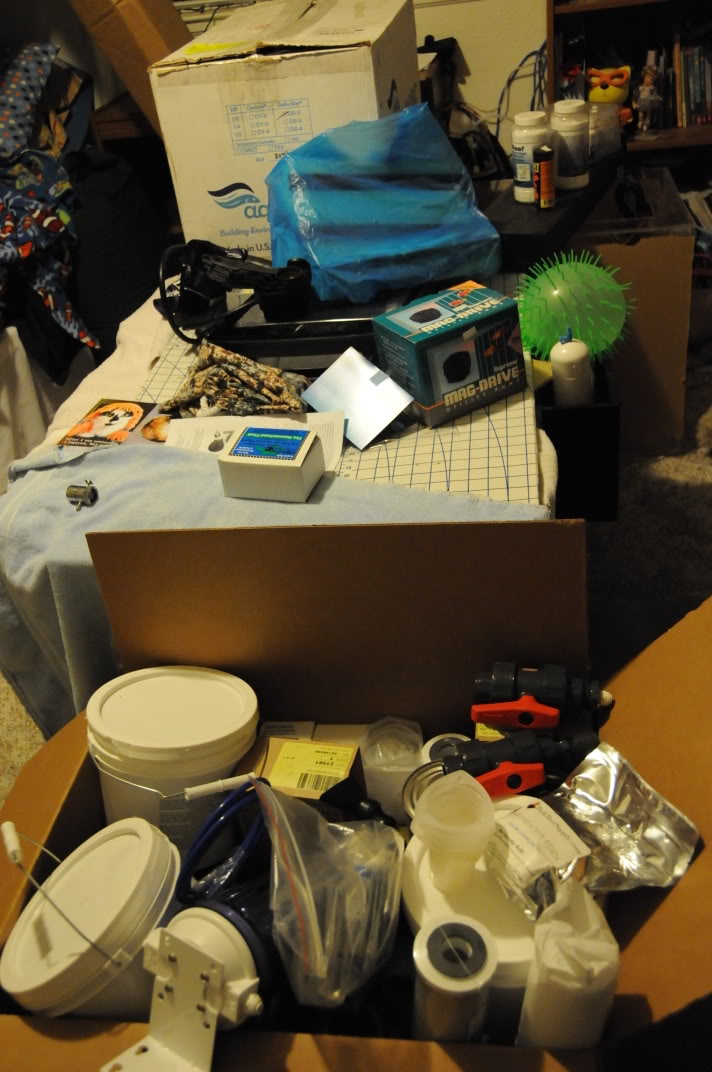
Everything came nicely packed. with tons of peanuts. As this tank build was going on I was collecting equipment for it. This was the beginning of January 2009. In the very back of this pic you can see the sump. In the front is the BRS order. Everything in between is involved with this tank.
Right before the tank went into the room it was going into. Ignore the stuff on the walls haha. To the left of the camera is where the current 90 is. It is still running when this picture was taken.

Quick Specs of NEW Squashed Cube Tank:
Tank: 36x30x19 1/2" Acrylic tank External overflow with 2 1.5" drains.
Lighting: Coralvue 250 watt E-Ballast. Hope to get a lumenmax or Lumenarc sometime soon.
Skimmer: ASM G1X. Hope to upgrade soon.
Basic Filtration: Zeovit.
Controller: Profilux 2 with P3 upgrade on the way. Ranco to control chiller.
Return Pump: Eheim 1260
Flow: Single Vortech MP40w
Around 120 lbs of Live Rock.
Starting the Zeovit system soon.
Sump will soon be taken out and rebuilt to better fit a bigger skimmer and Zeovit system. Going to remove the fuge.
Continuous Water Change system should be implemented soon. I already have a drain line going to the outside world. I just need my Dosing unit.
This was my old 90 before all of the hair algae and such took over. I think I did... 1 water change in the year this tank was up. This was the tank at 1 year old, about a year and a half ago.
The sump cracked and started to leak. :mad2:
I re-siliconed it and it held for a little while I tried to find a new sump. The stand was built as a FW tank so it had too many supports and the way the sump went in was through the back of the stand. After I put it in I screwed new supports over it and never thought about it. I figured if I have to tear the tank down to replace the sump I might as well get a new 90 that has no scratches. I built a new sump out of acrylic and it turned out pretty good.
There it is being leak tested. It had only 2 small pinhole leaks. I designed it to fit as much water under the smaller footprint of the 90 gallon tank. the new stand was also built.
And then came the dream tank. Built in overflow... Deep front to back dimensions... 90 gallons... It was a 36 wide by 30 deep front to back by 19 high. "Squashed" cube. Perfect dimensions for a single lumenarc or Lumenmax elite.
This is the offending tank.
I started to do some sketches in sketchup even before I got the tank. This was around August of 2008.
This was the basic design. The plumbing changed. A lot. but the stand stayed exactly as it was designed. The stand is made out of 1 1/4" Thick Wall Steel square tube.
There was another design challenge. My doorway is only 28" wide. The tank at its minimum length is 30". No problem for the tank. Just turn it onto its side. The stand on the other hand... The stand came out to around 38" high. It had to be assembled in the room. Can't weld indoors lol.
To the left you can see one of the plates that are used to bolt the top to the bottom. The whole stand was constructed specifically for this tank.
That is before the gussets were installed. In the room the tank was being installed into the carpet was being ripped up and replaced with hardwood floors. The standard 90 stayed in the spot in the room with the carpet rolled up to it, and hardwood floors installed in half the room.
The big BRS order was commenced. All of my plumbing came from BRS.
Everything came nicely packed. with tons of peanuts. As this tank build was going on I was collecting equipment for it. This was the beginning of January 2009. In the very back of this pic you can see the sump. In the front is the BRS order. Everything in between is involved with this tank.
Right before the tank went into the room it was going into. Ignore the stuff on the walls haha. To the left of the camera is where the current 90 is. It is still running when this picture was taken.
Last edited:


")


