Little bit more about me and who I am:
I am currently trying to finish up schooling to get a LPN or LVN Nursing License. A LPN or LVN is a Licensed Practical Nurse or Licensed Vocation Nurse which is right below a RN or Registered Nurse. So pretty much RN’s are my bosses once I start working. Due to this little fact of still trying to finish my schooling, this build is progressing at a very slow rate, sorry about that! Just please bear with me on this build, I promise this build will get good I have a lot in store for this build. As well I am married to a beautiful wife who has had her own fair shares of the ups and downs of being married to a fish keeper. I am a father of a toddler/Pre-schooler son, and as well to a soon to be born son in August, can’t wait for the new addition to be born.
Introduction:
Well the time to start this Reef Tank Journey is finally here!!! After much consideration and much contemplation, I finally have gotten up enough nerve to start my very own and FRIST Reef Build of my own! I am very much still in the building phase of this one of a kind Journey that I am hoping to have success in the Reef keeping world. Like I stated earlier is that this is going to be my first Reef Tank ever. I just finished owning my very first Nature Aquarium, of a Iwagumi Planted tank layout, that I truly enjoyed up keeping and owning, (my ADA 75P). I am extremely nervous on "Embarking the Journey" of owning a Reef tank. I personally knew awhile back ago that there was no other place that I would rather Embark this Journey then on Reef 2 Reef. As I have been a member for a little longer then over a year I have seen this community connect as one in helping newbies like myself to gain enough courage to get started in this amazing hobby. I personally can say this since I have contacted so many fellow Reef keepers on Reef 2 Reef that I have followed and carried great and friendly conversations with throughout this time of being a member of this amazing community. So, thank you to all the people I have messaged and contacted especially a shout out to d2mini. I am looking forward to " Embarking the Journey " with you all on Reef 2 Reef, and can't wait to share all this with you in this amazing journey of mine in the reef keeping world.
The Title “Embarking the Journey” is the name of my build due to the fact that I am starting something completely new, to any of my past fish keeping ways! I have mostly always kept FW fish my whole life from simple fish, to the beautiful Discus fish. I always knew that fish where going to be a large part of my life from a very young age, due to the introduction of fish keeping by my older brother Sheldon Jessup. I know with this new Journey of mine I am truly starting something completely different and Embarking in something completely new in my life. I am very nervous and excited for this Reef Build of mine, I am truly looking forward to this new journey!
The tank and stand;
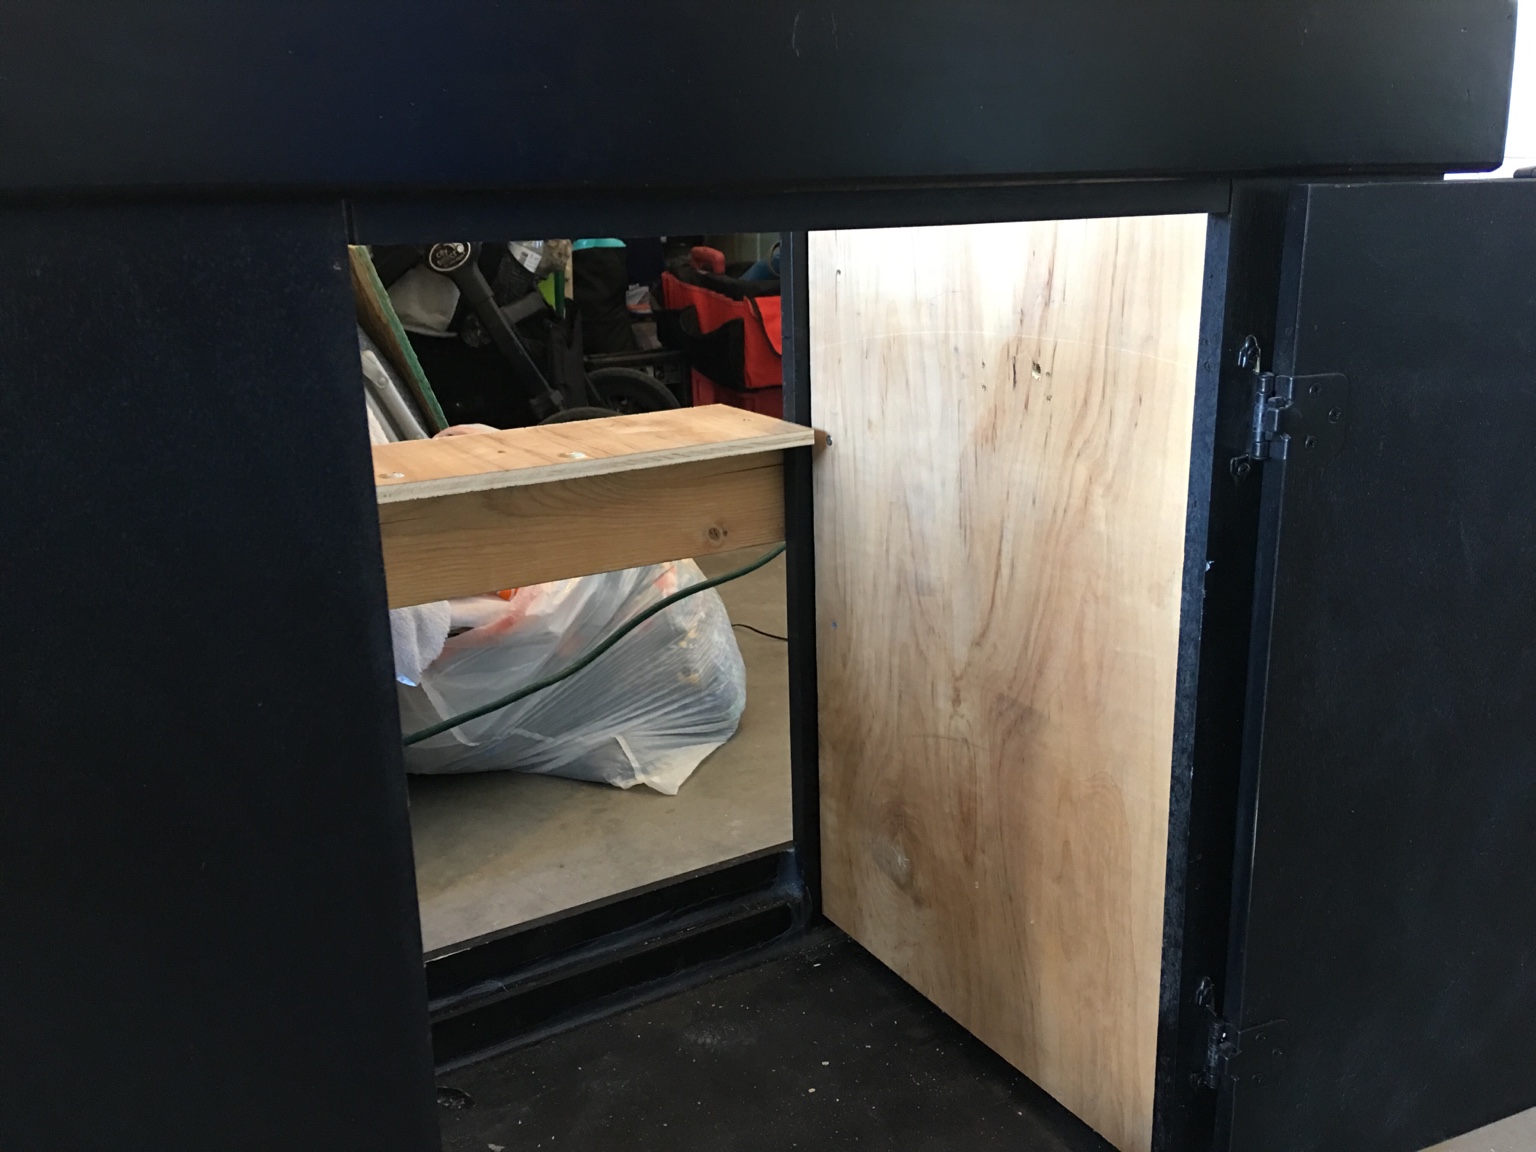
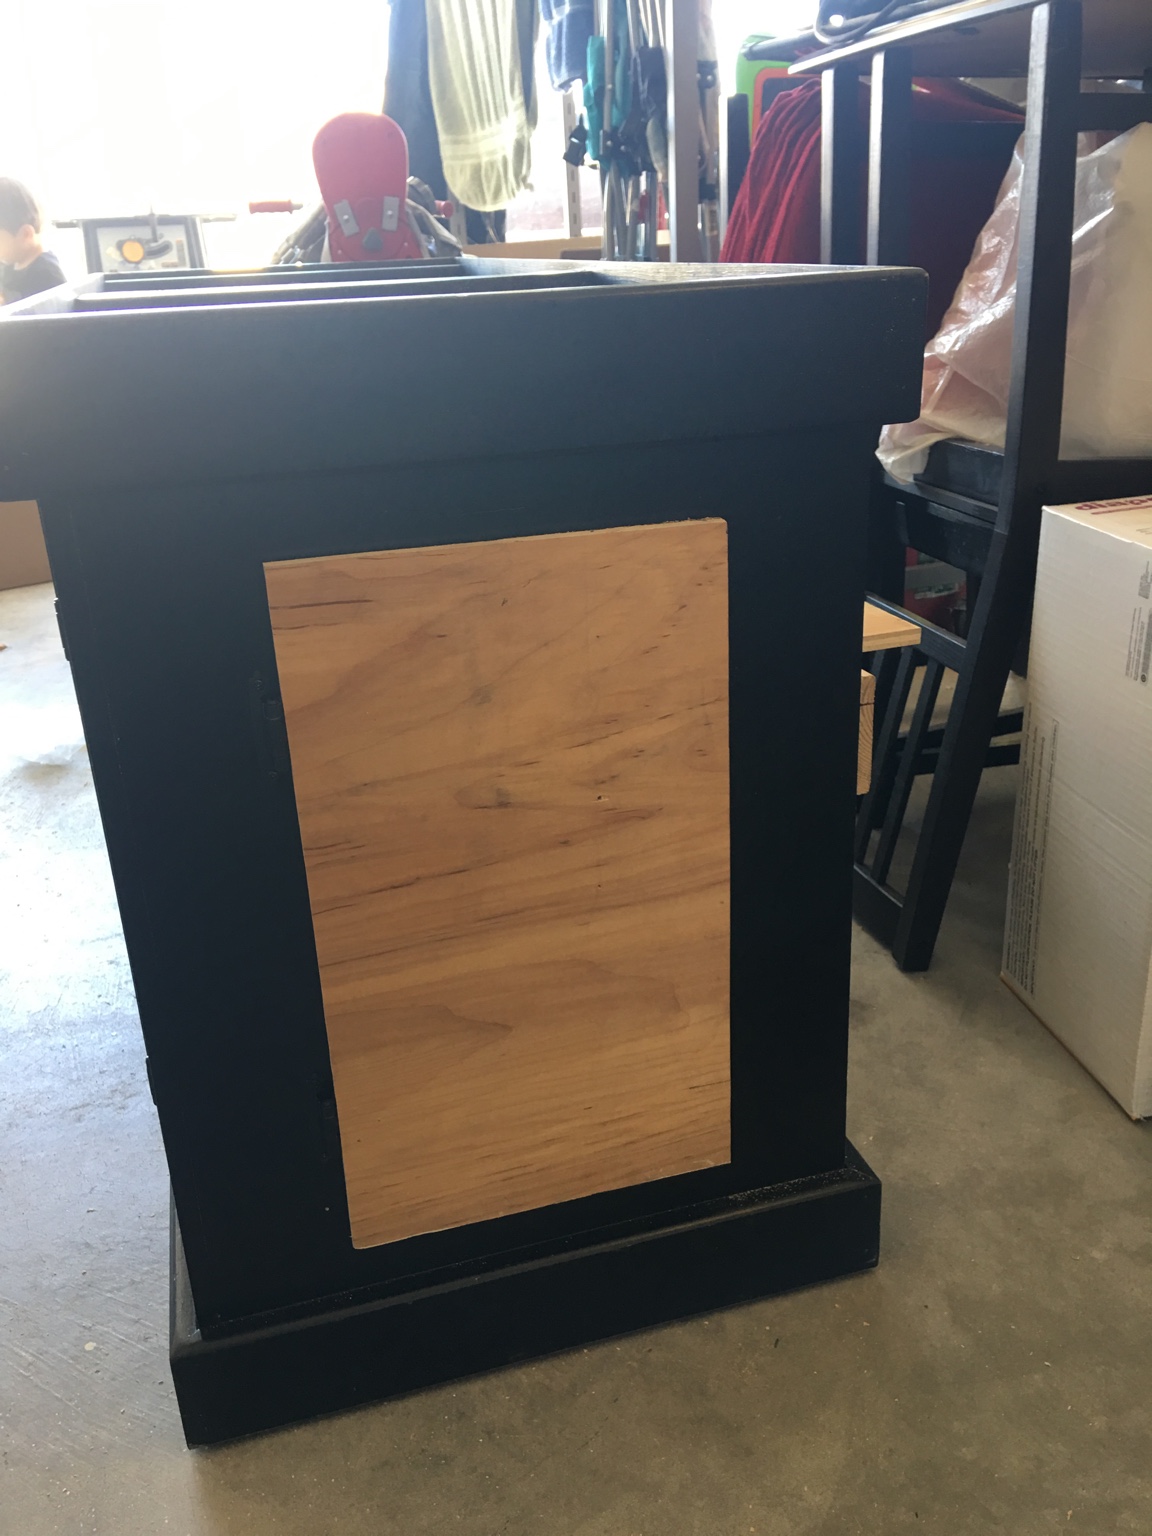
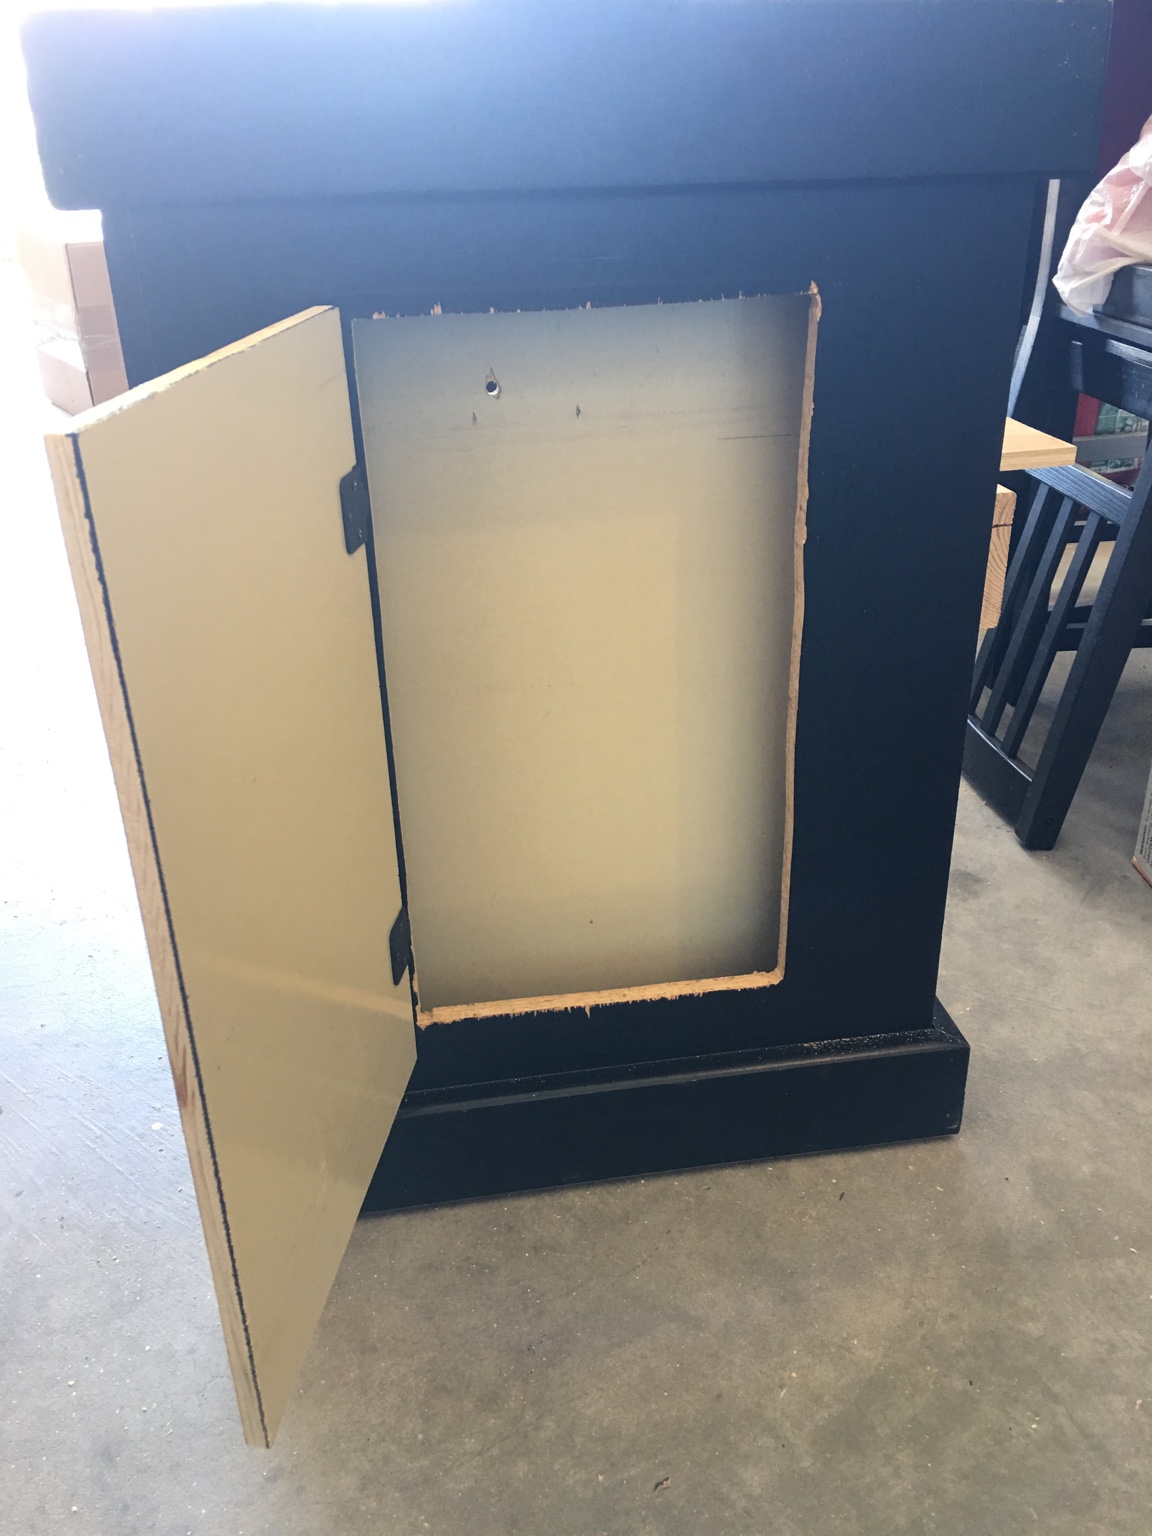
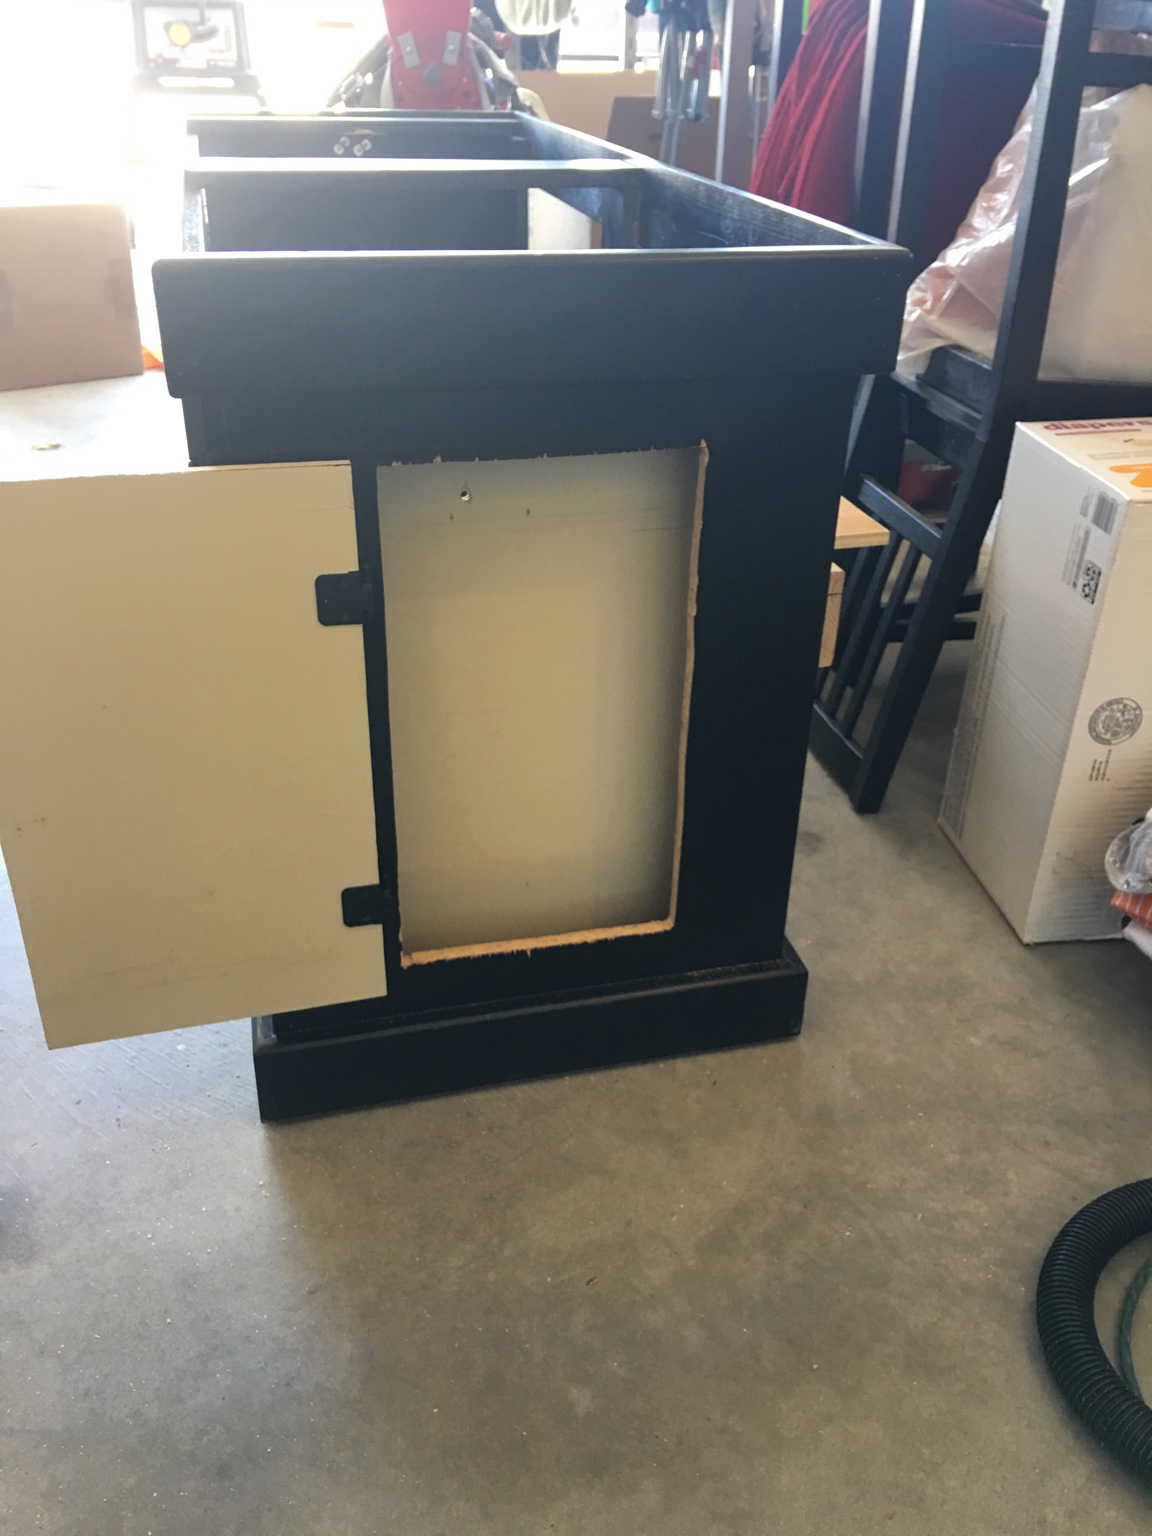
I have had an internal battle on debating on what size tank to start with, from a 40g rimless ADA 75p, to 60g cube, a 93g cube, and now finally found a deal on a lightly used aquarium and stand in my local area of El Paso, Texas. Due to some extremely tight budget restraints the tank is nothing to special but a standard off the shelf tank, I just had to make it my own by doing some touch ups and changes to the tank and stand to make them my own and hoping maybe one of a kind, with a standard tank. I am doing my best to make this build of a standard tank a unique. I will be posting pictures of everything I have done from when I have first originally bought the tank used, to now the Redesigned version of tank and stand. A lot of time went into it but I can honestly say that I am happy with the results!
The Goal:
My GOAL on this very tank is to create my very first successful mixed reef tank, that can maybe go into a SPS themed tank latter down the line. Coming from a Natural Aquarium back round I have lost of ideas in my head, on how I am wanting to go about this tank. I am truly one who finds a level of Zen and Piece in the fish themed hobby I enjoy very much. So, with I am truly trying to get the best that I can afford, or by exercising a lot of patience with wanting to get the items and equipment that I truly want from the start. So that way it’s a plug and play setup route to success, verse changing a lot of my equipment, latter down the line, once the tank is established. I can’t state enough how excited I am about this journey of mine, in taking my hobbyist level to a level higher, by introducing reef keeping into my family’s life and my own life.
The List:
(Items of which I have)
Display Tank: 75g standard tank (48in x 18in x 21in tall)
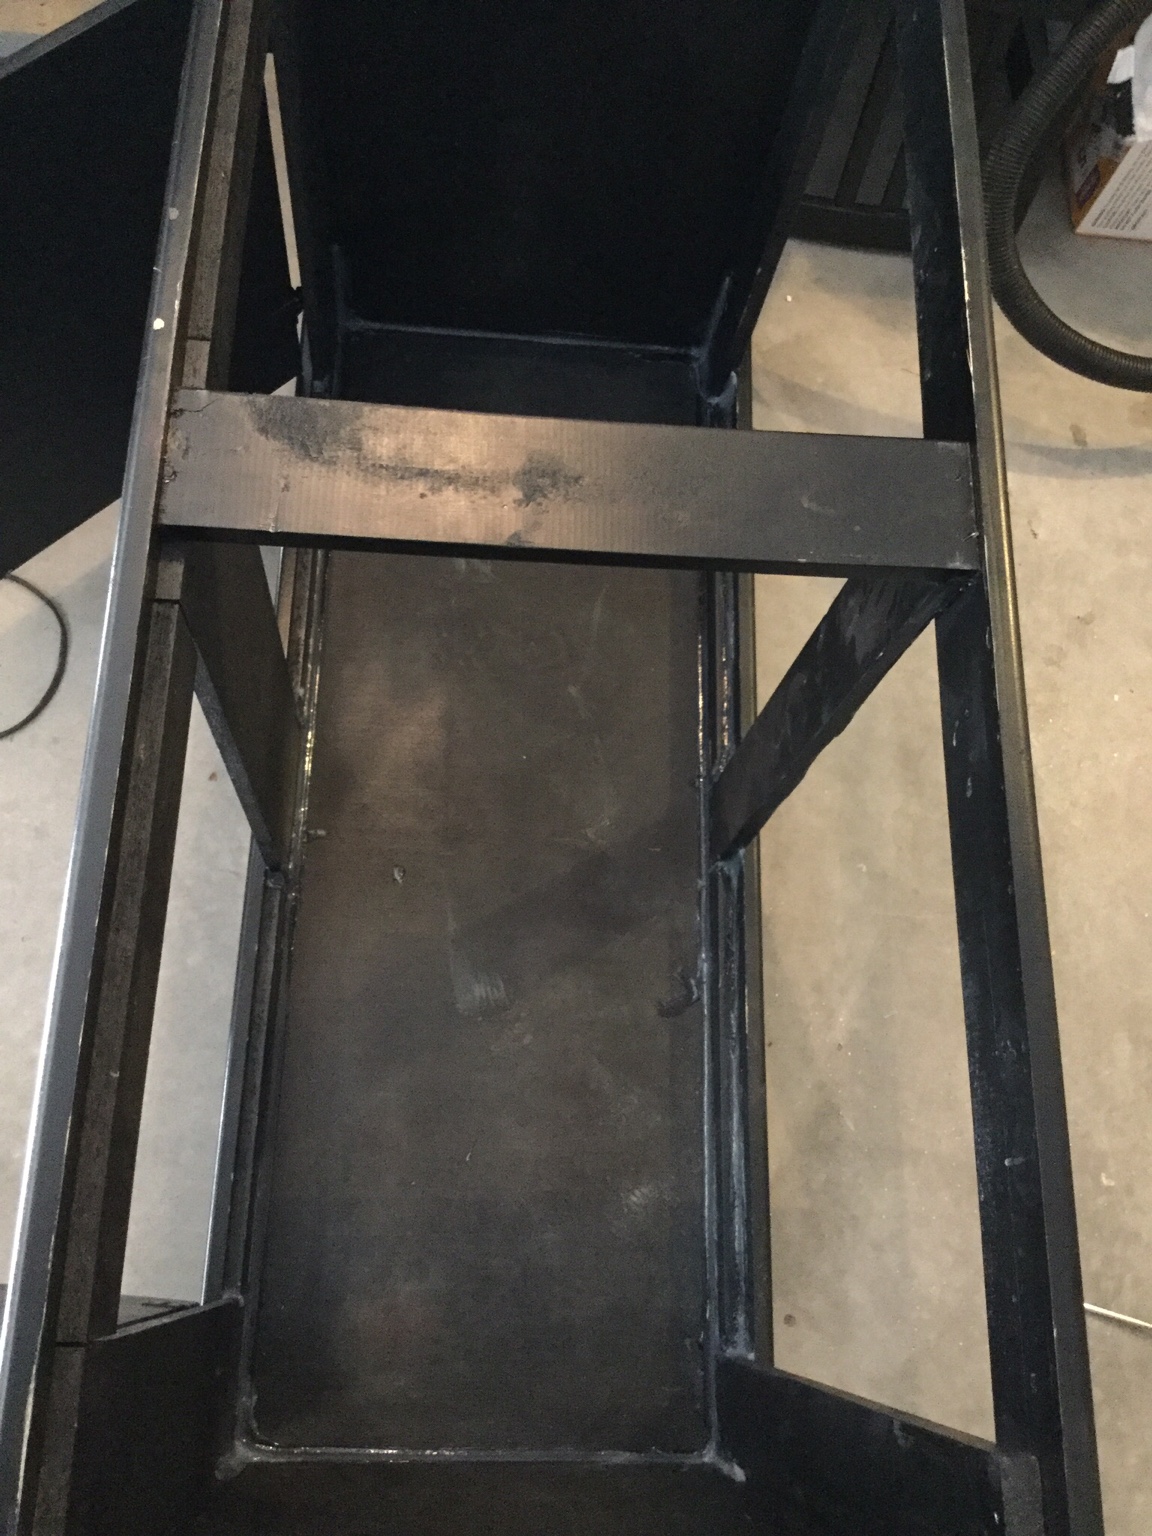
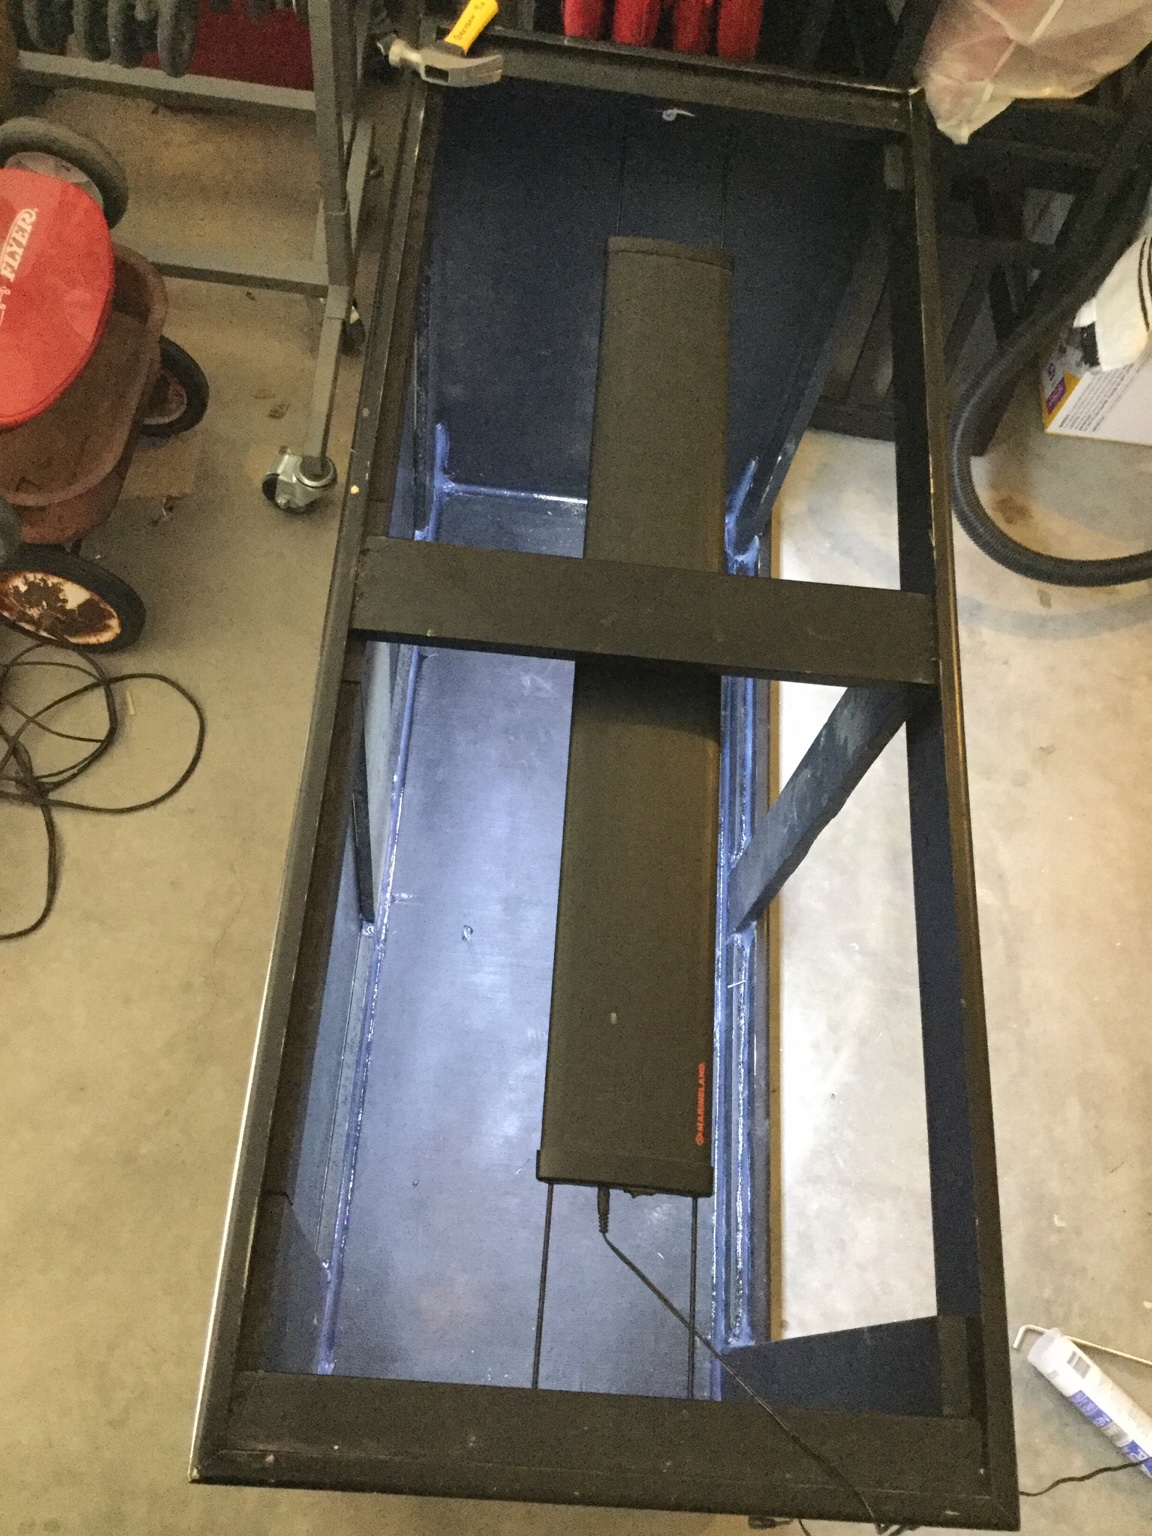
Stand: Standard stand redesigned (50in x 20in x 28in tall)
Overflow: Synergy Reef 16in 1500 GPH Ghost Overflow
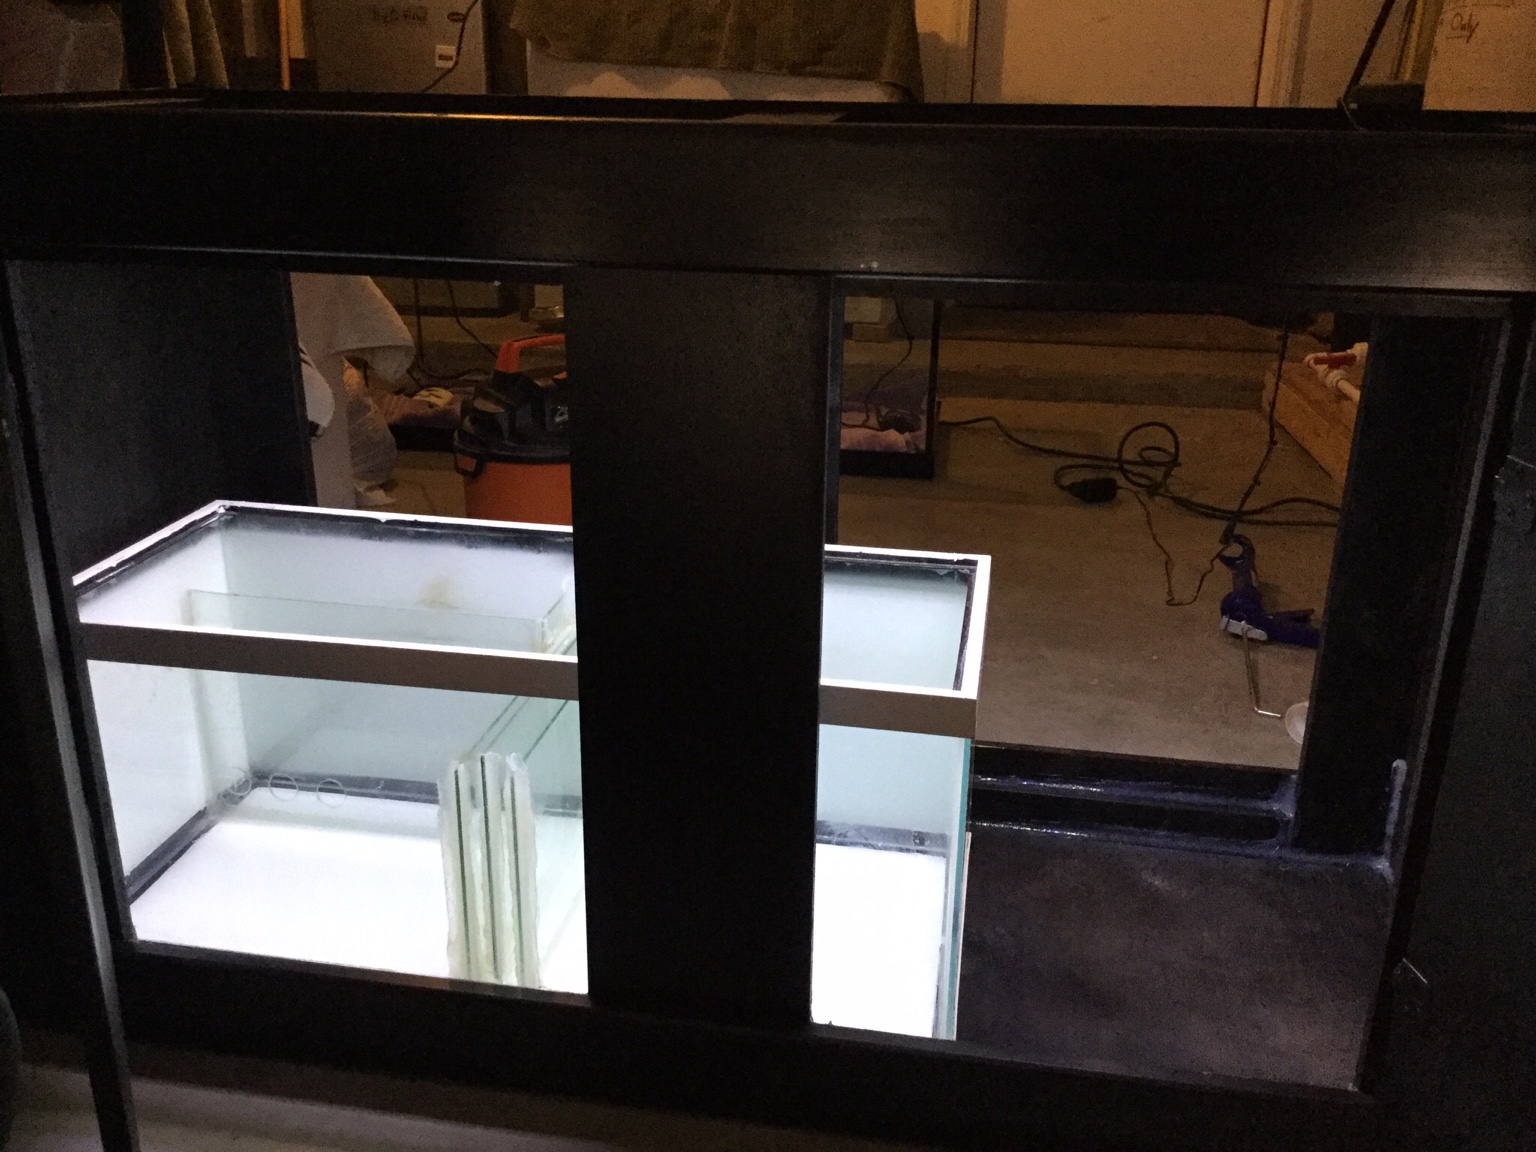
Sump: 20L DIY sump done by me, based on the “Reef in the Sky “sump design
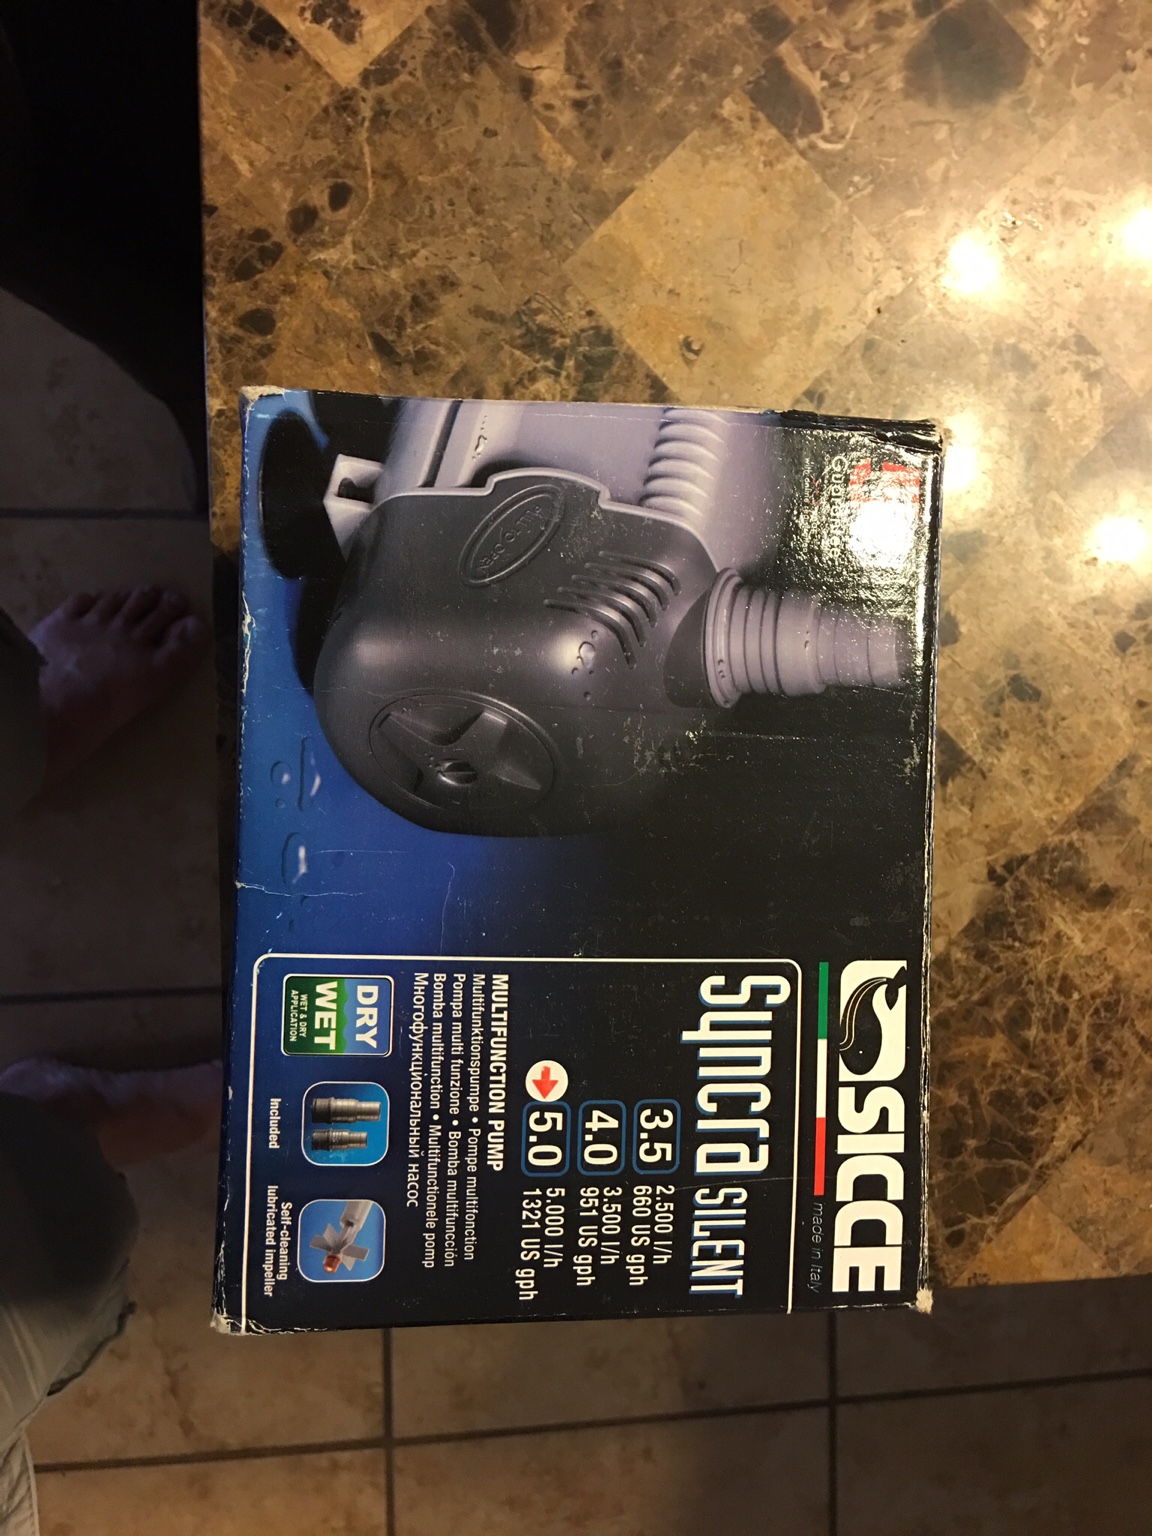
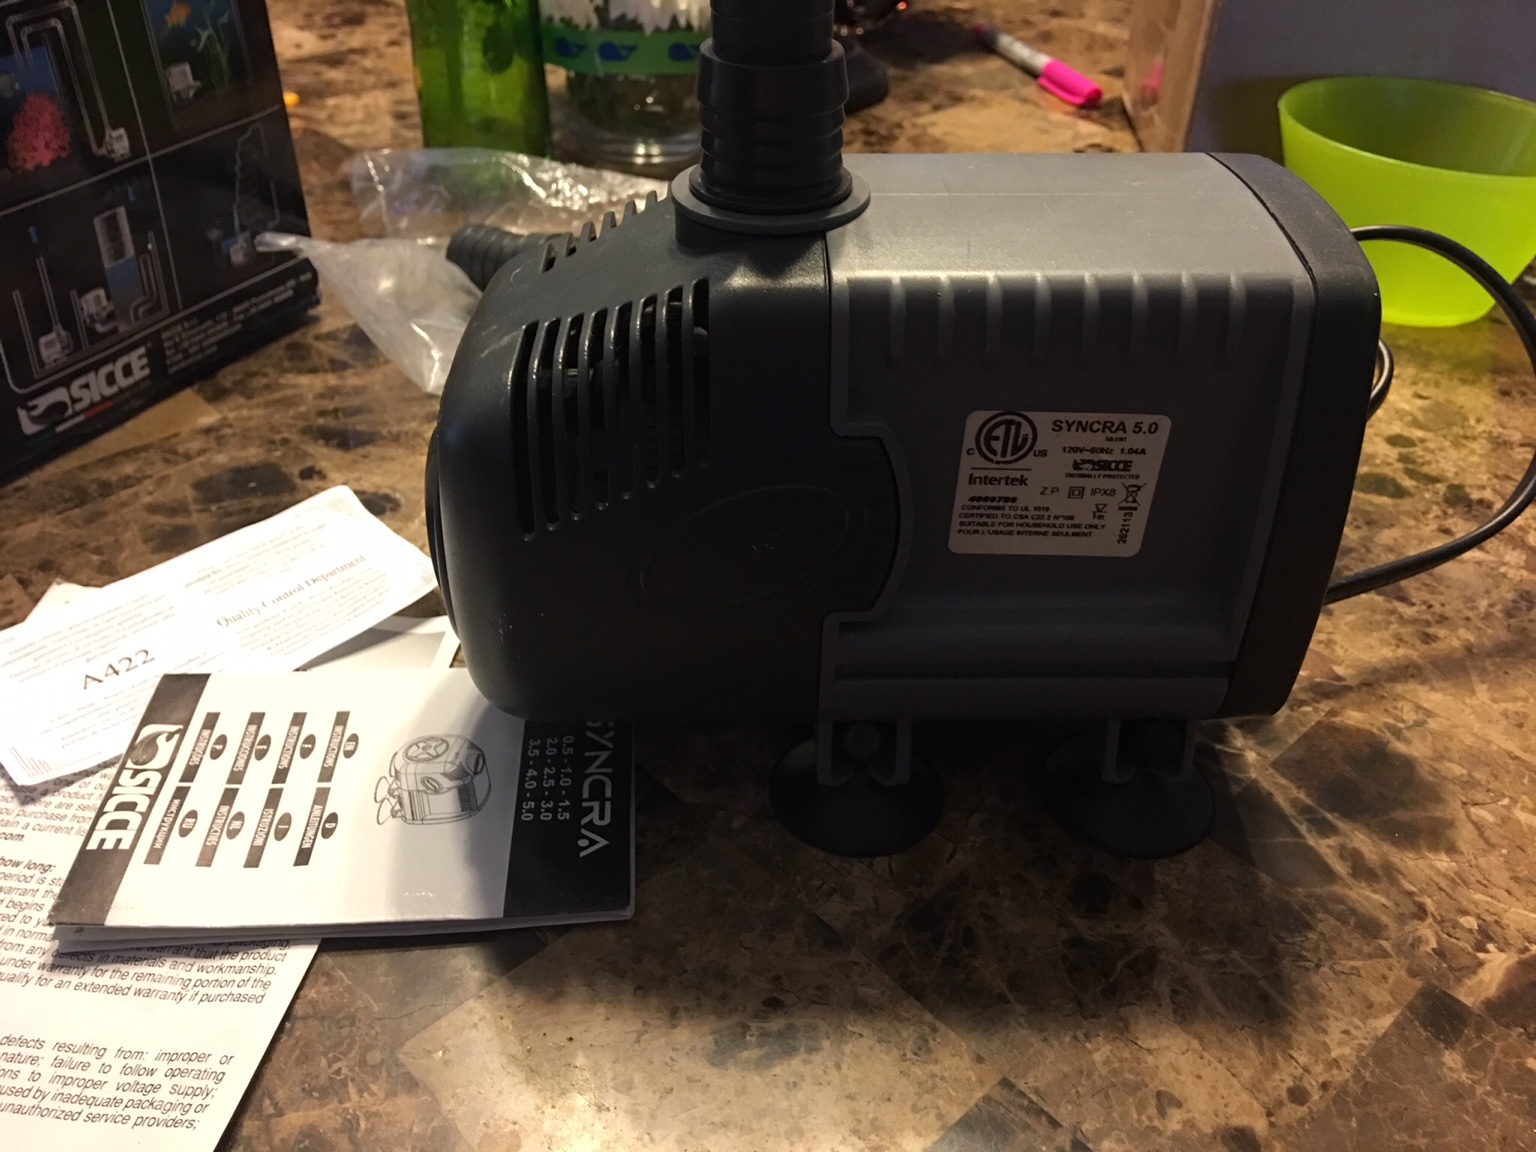
Return Pump: Sicce Syncra Silent 5.0 (1321GPH)
Circulation Pumps: EcoTech Vortech MP10W’s upgraded to QD x 2
Skimmers: Tunze 9410
Heaters: Ehiem Jager 150w x2
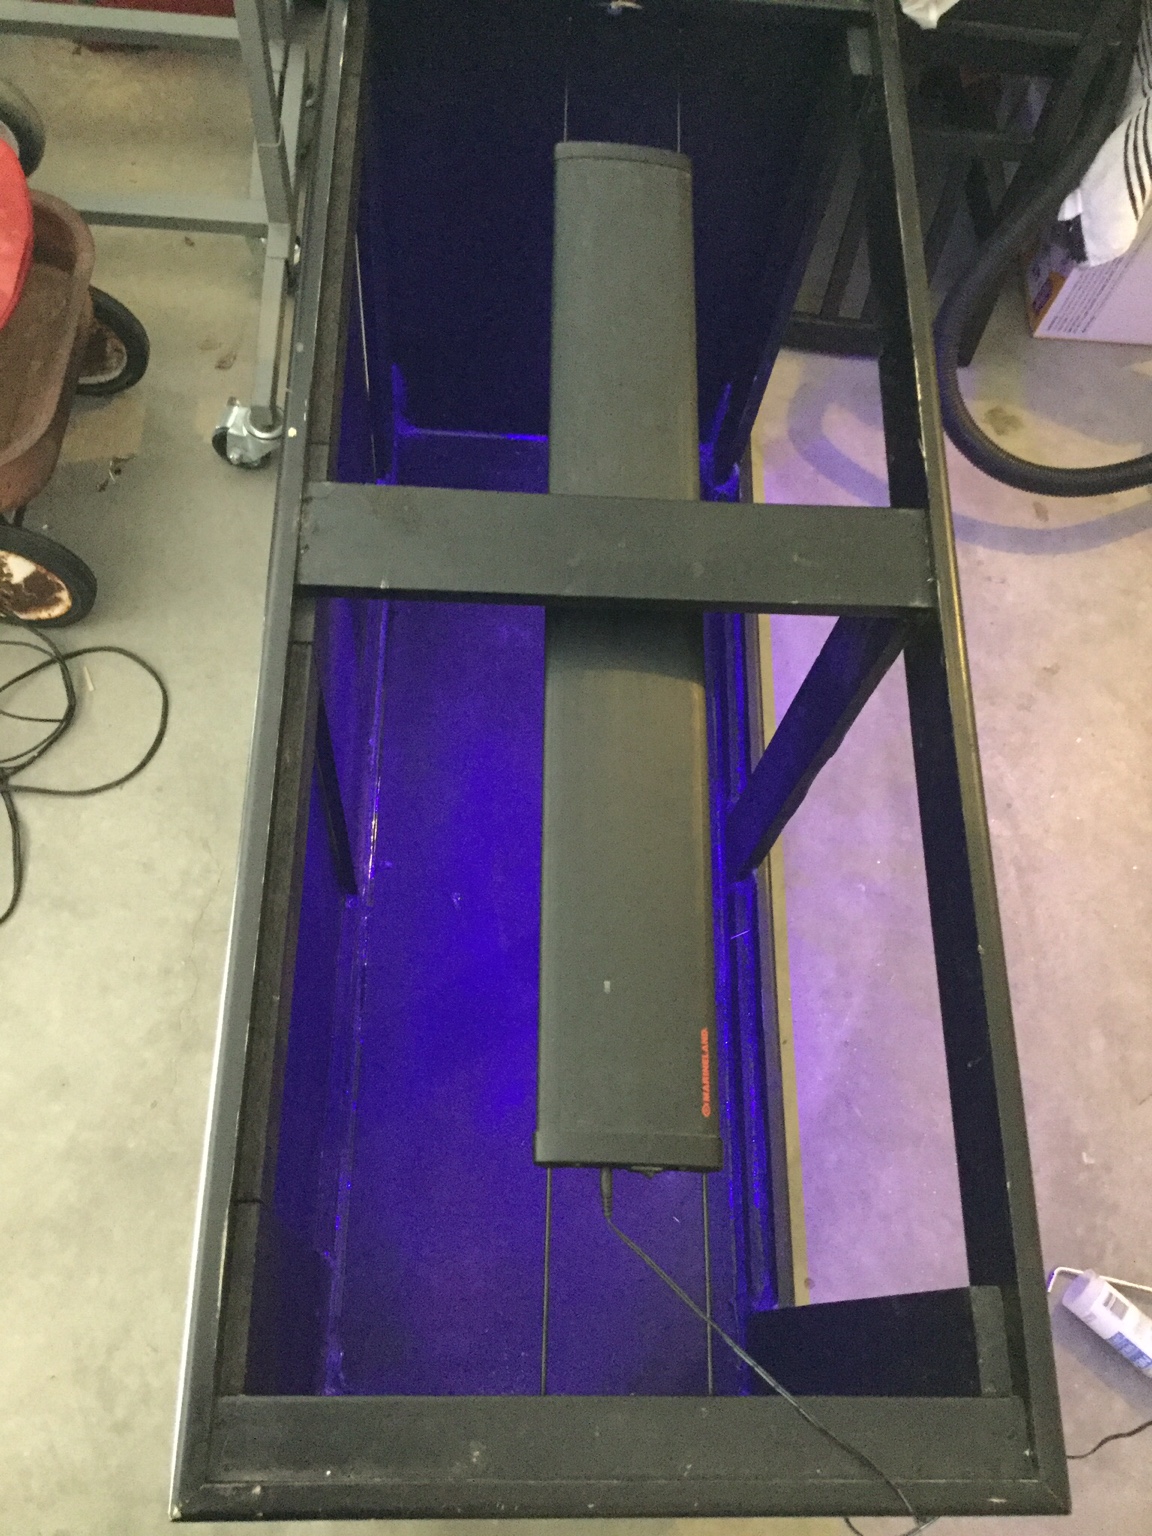
In-stand LED Lighting: Marineland 36in LED
Plumbing: All 1 in Sch.80 pipes with White Sch.40 fittings, to ½ in manifold.
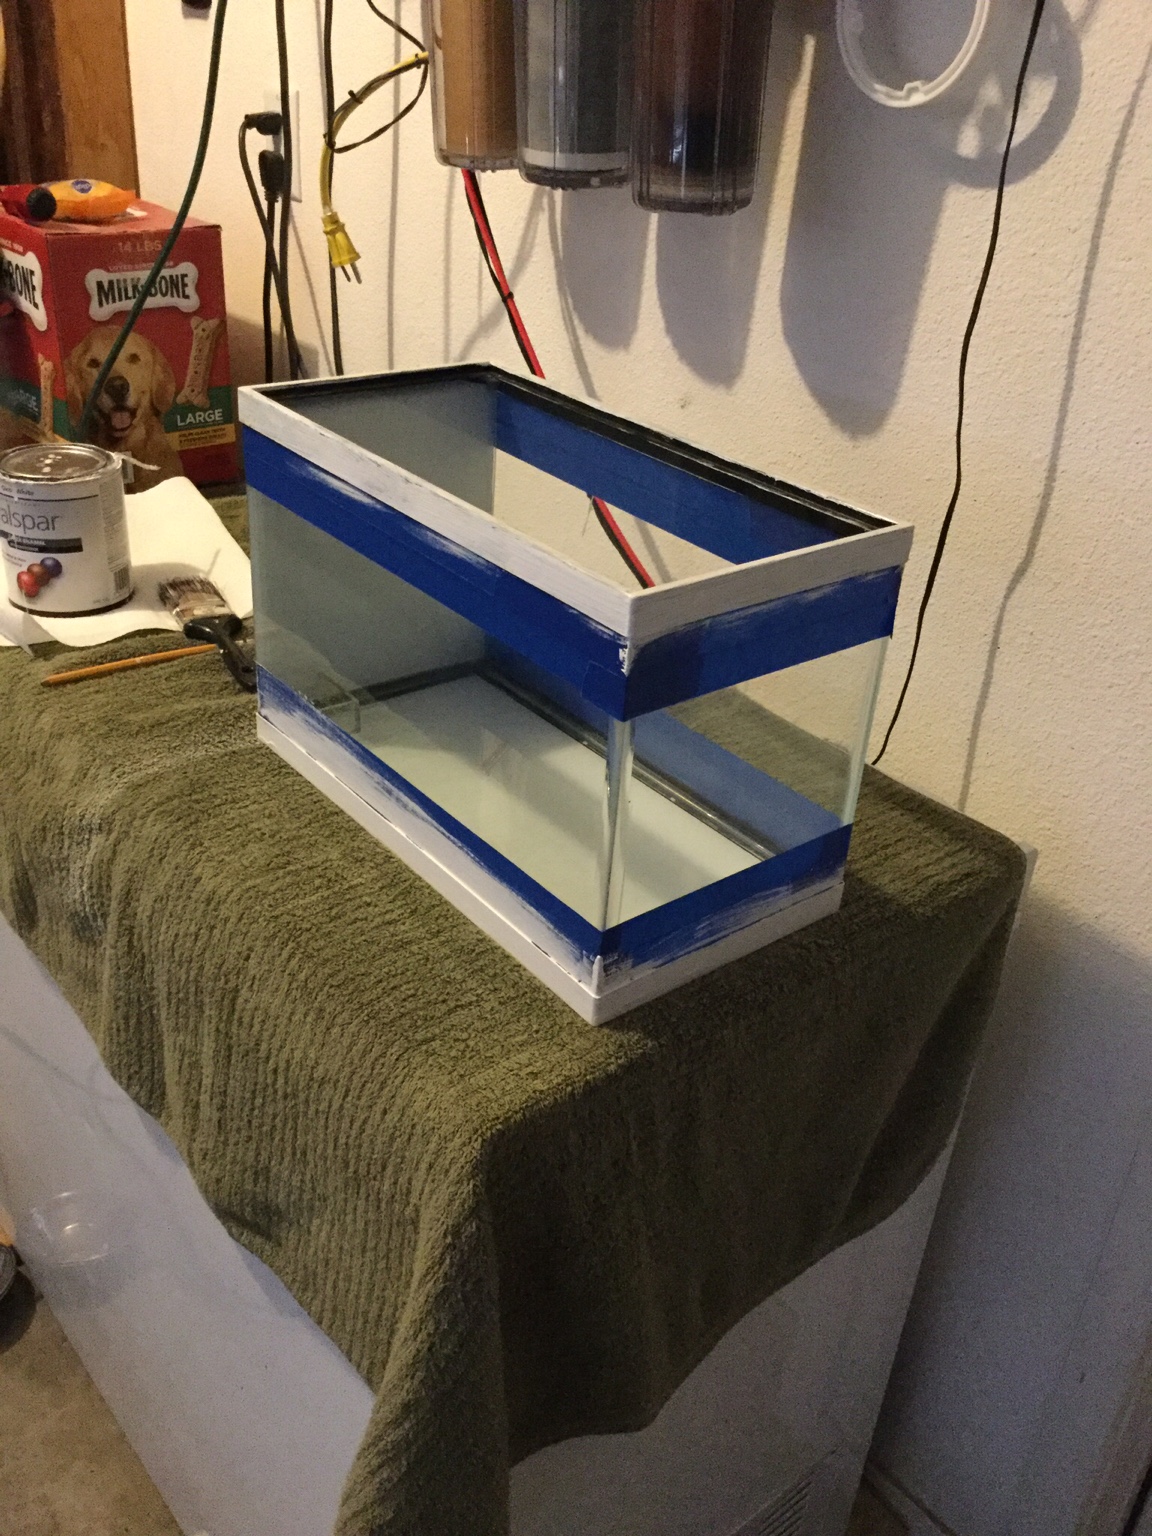
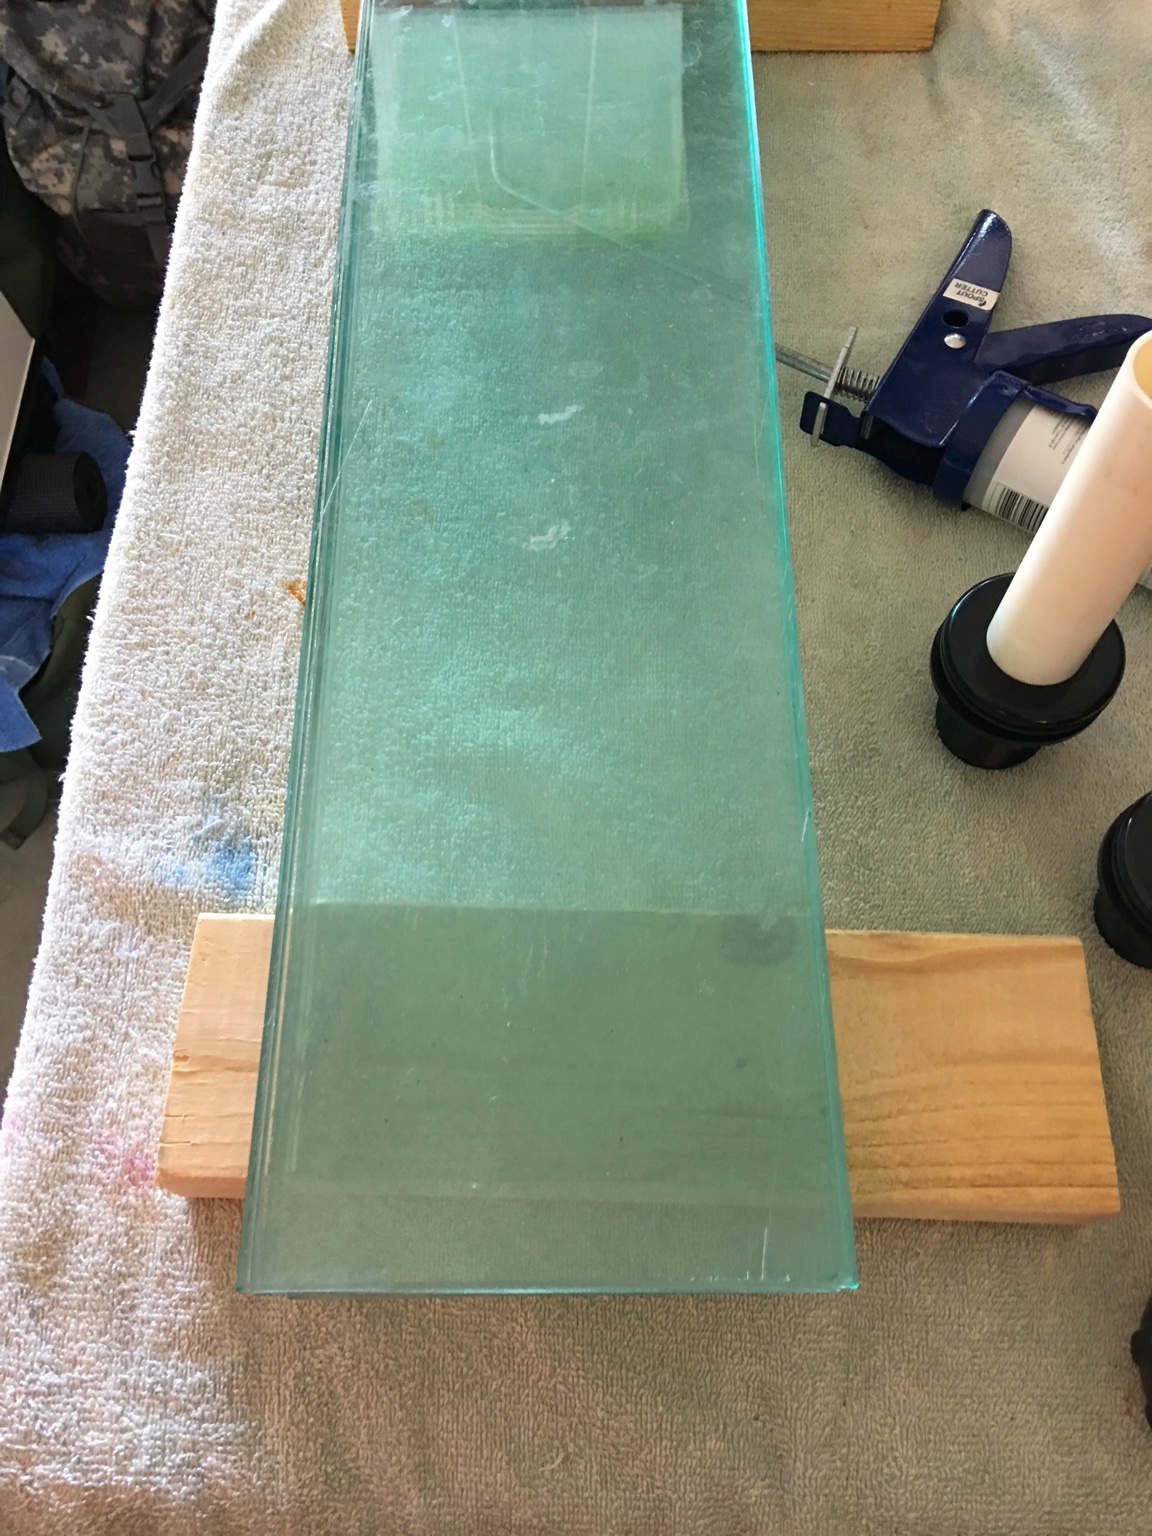
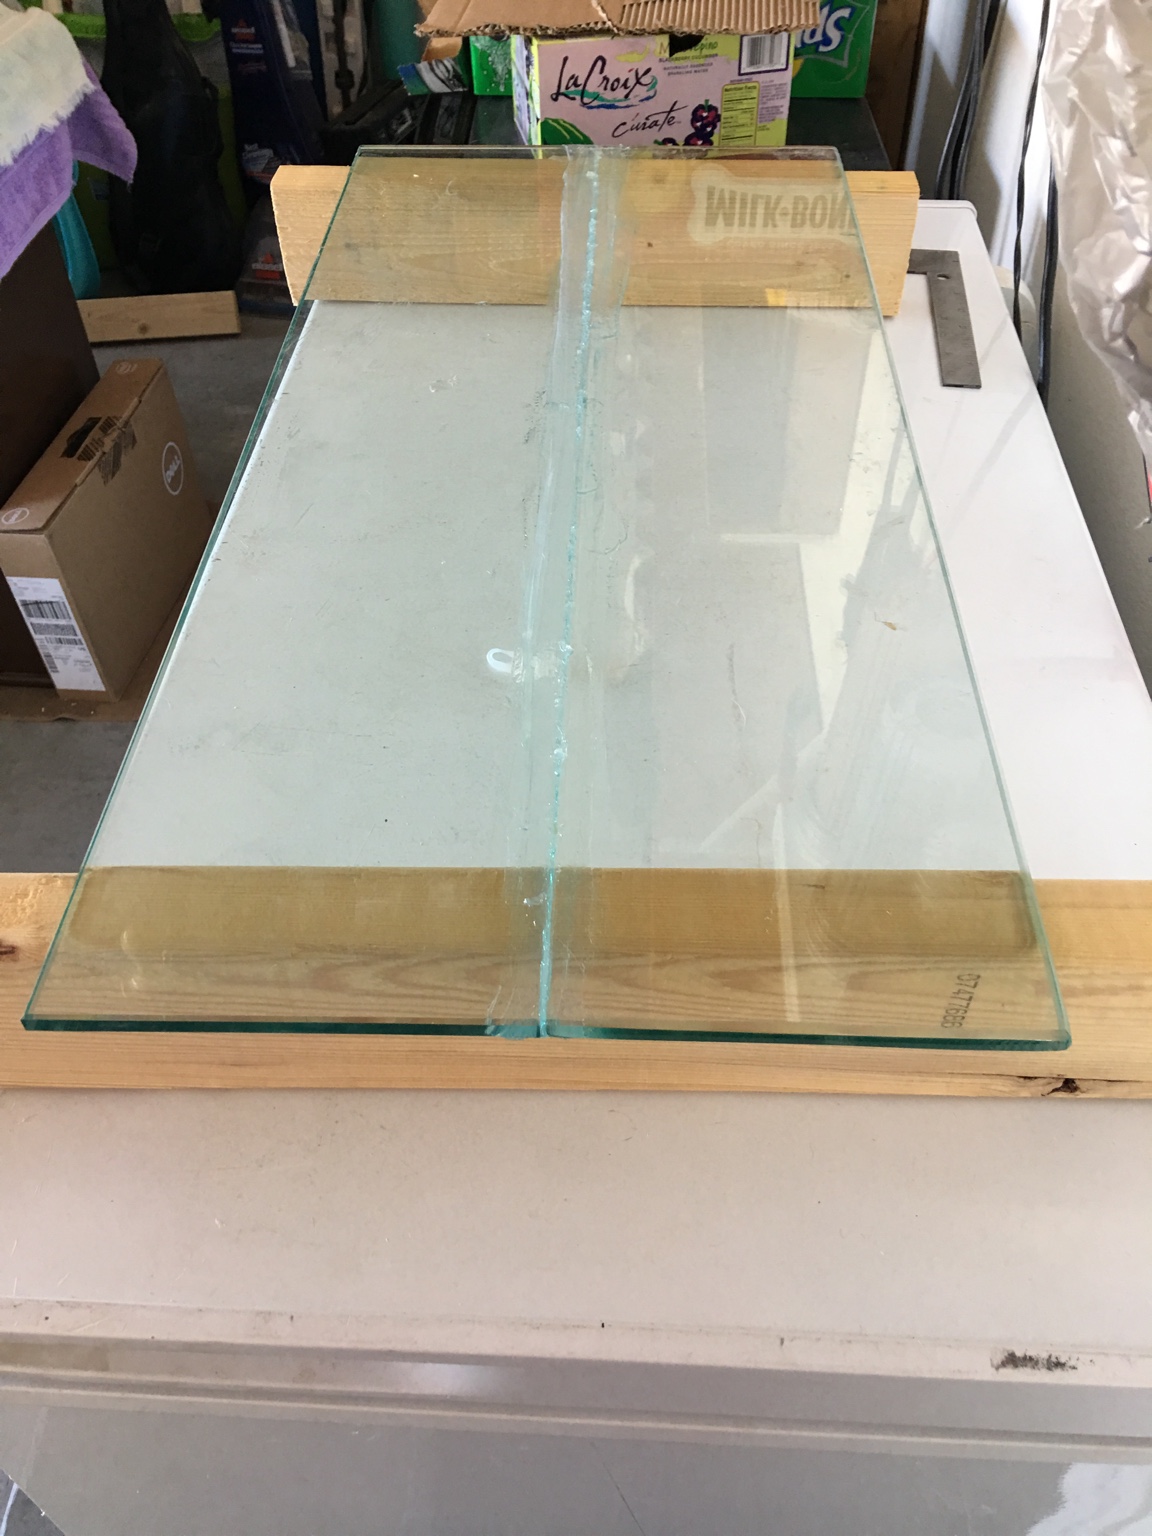
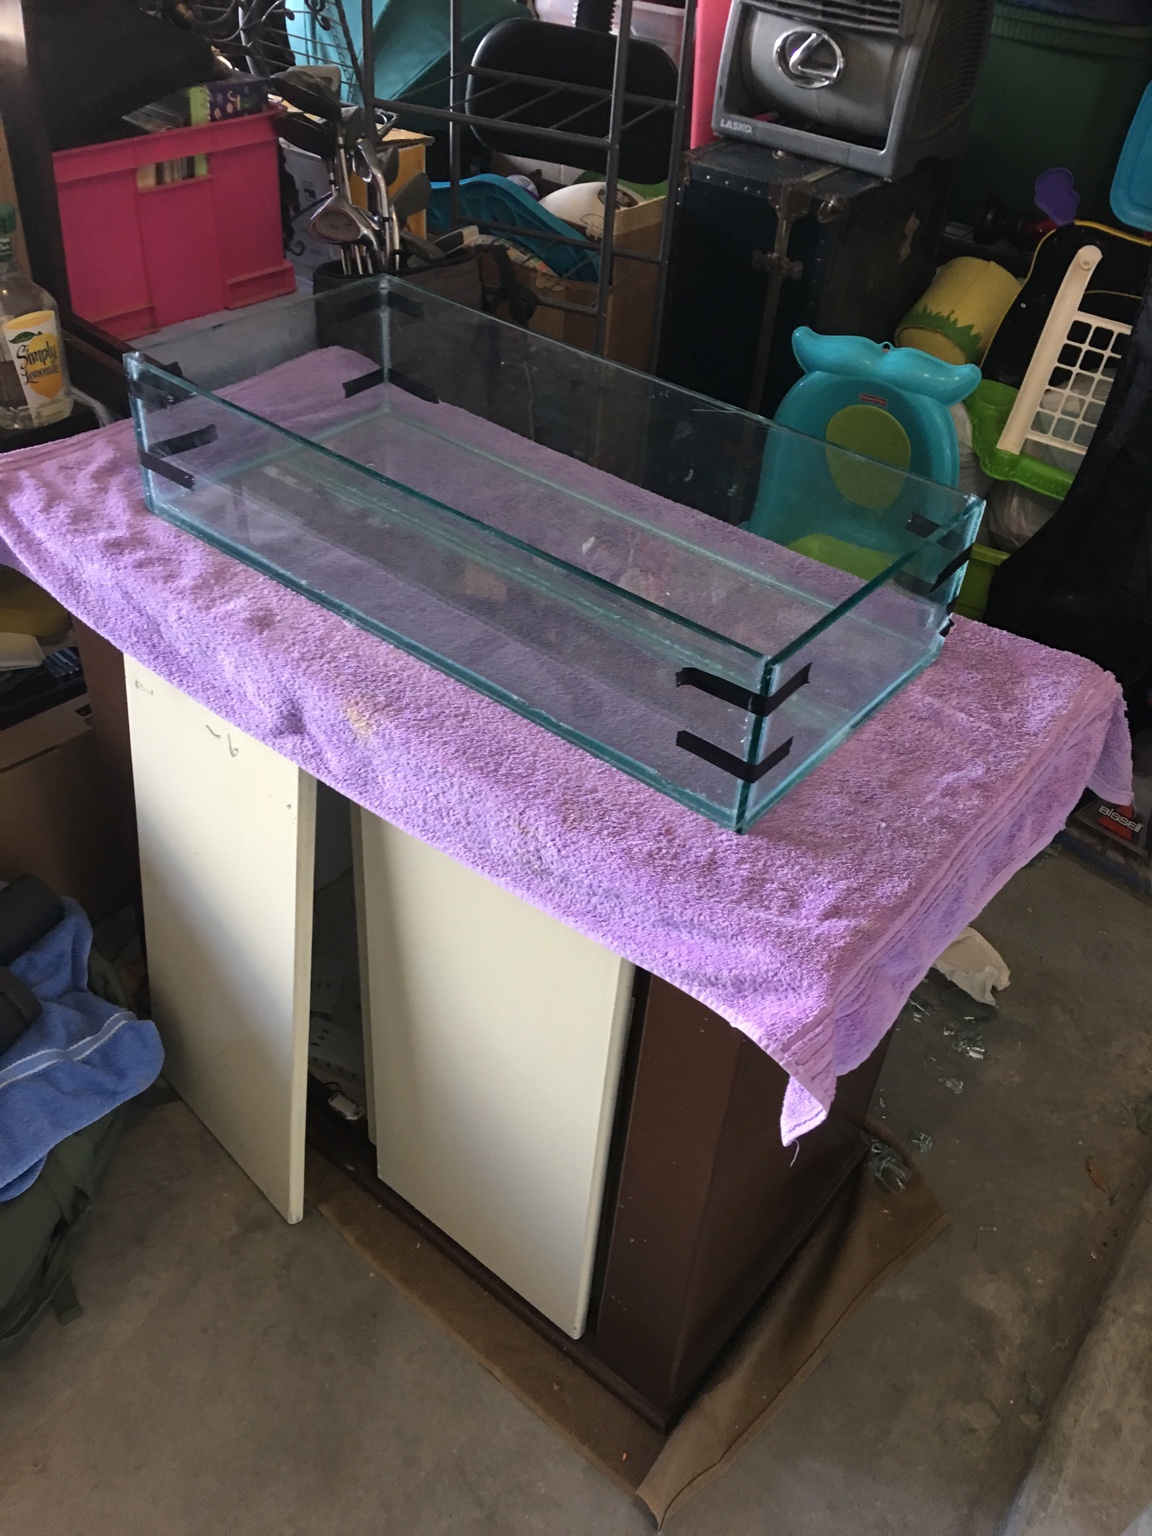
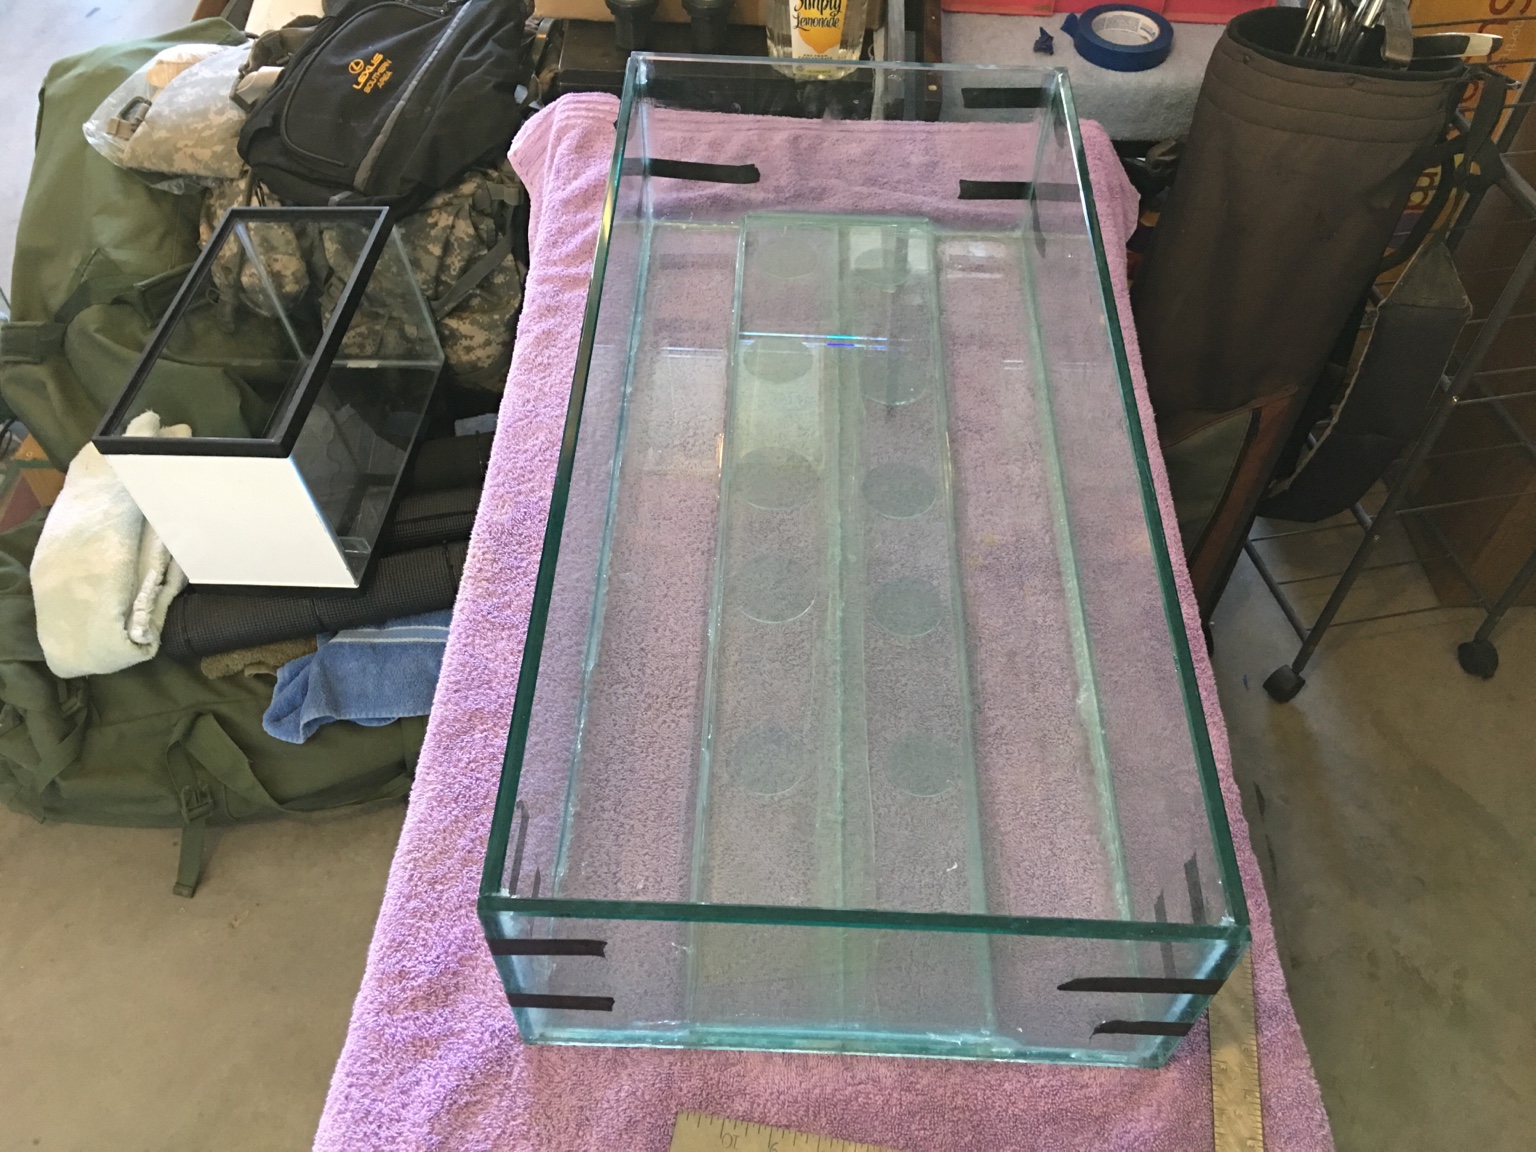
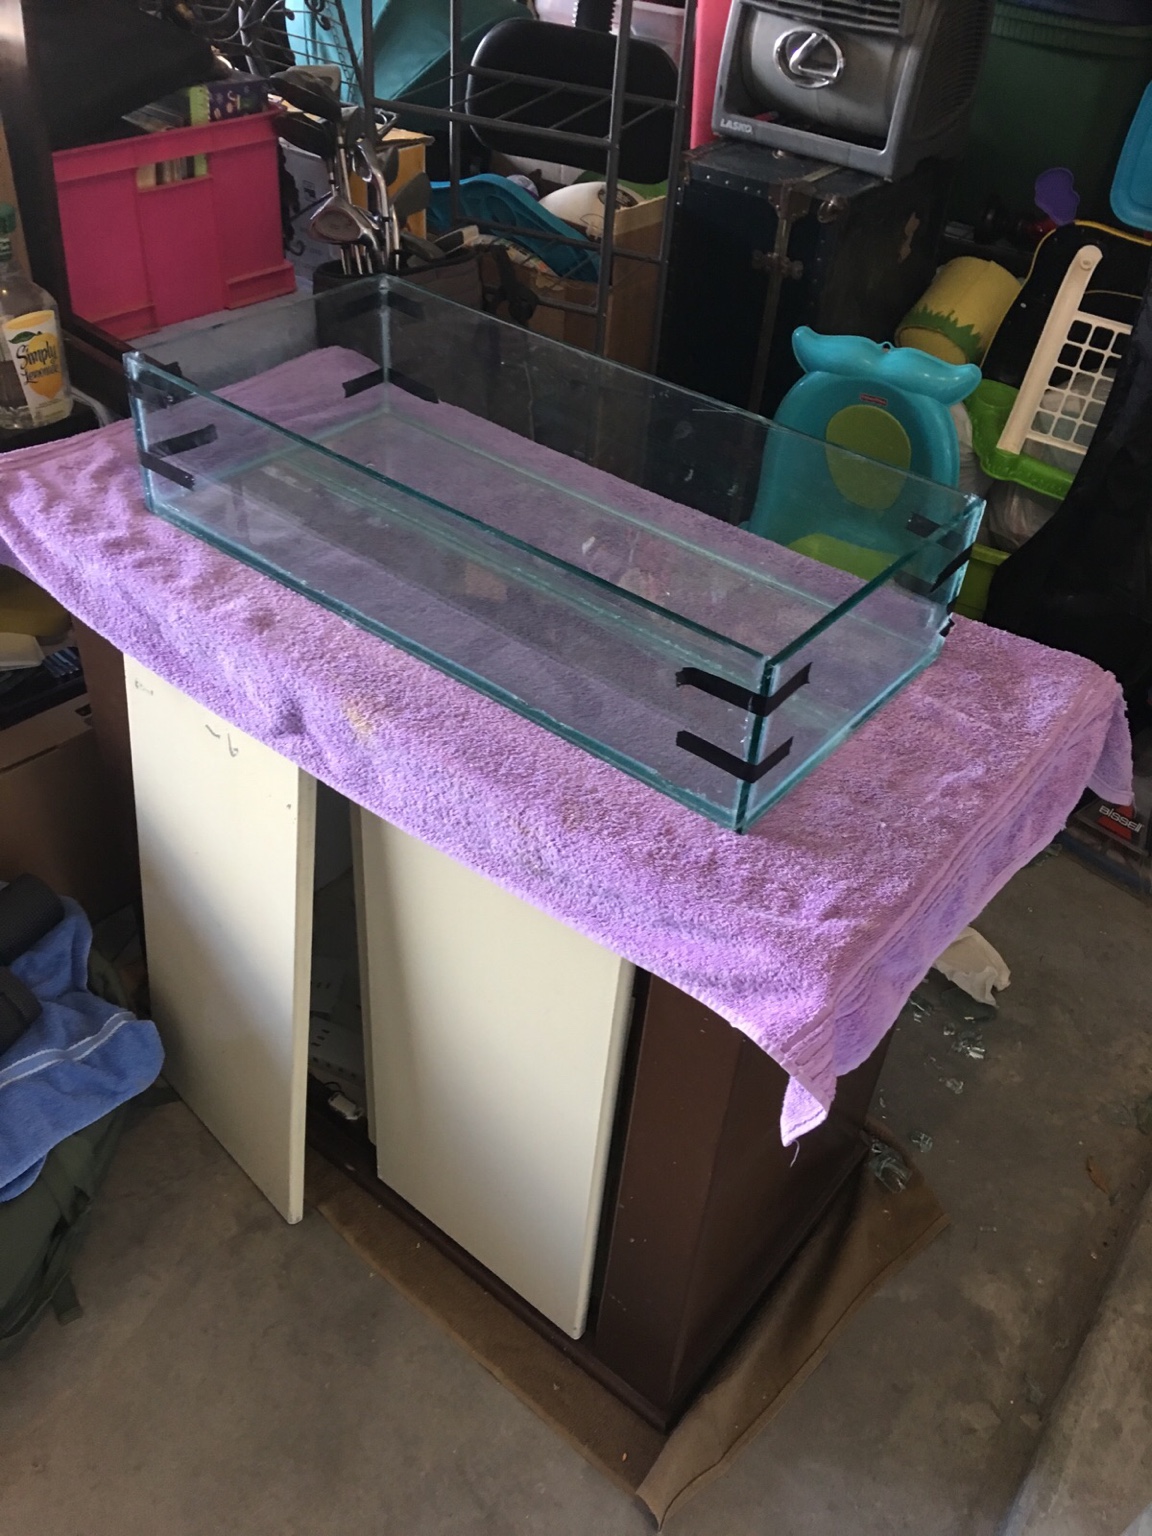
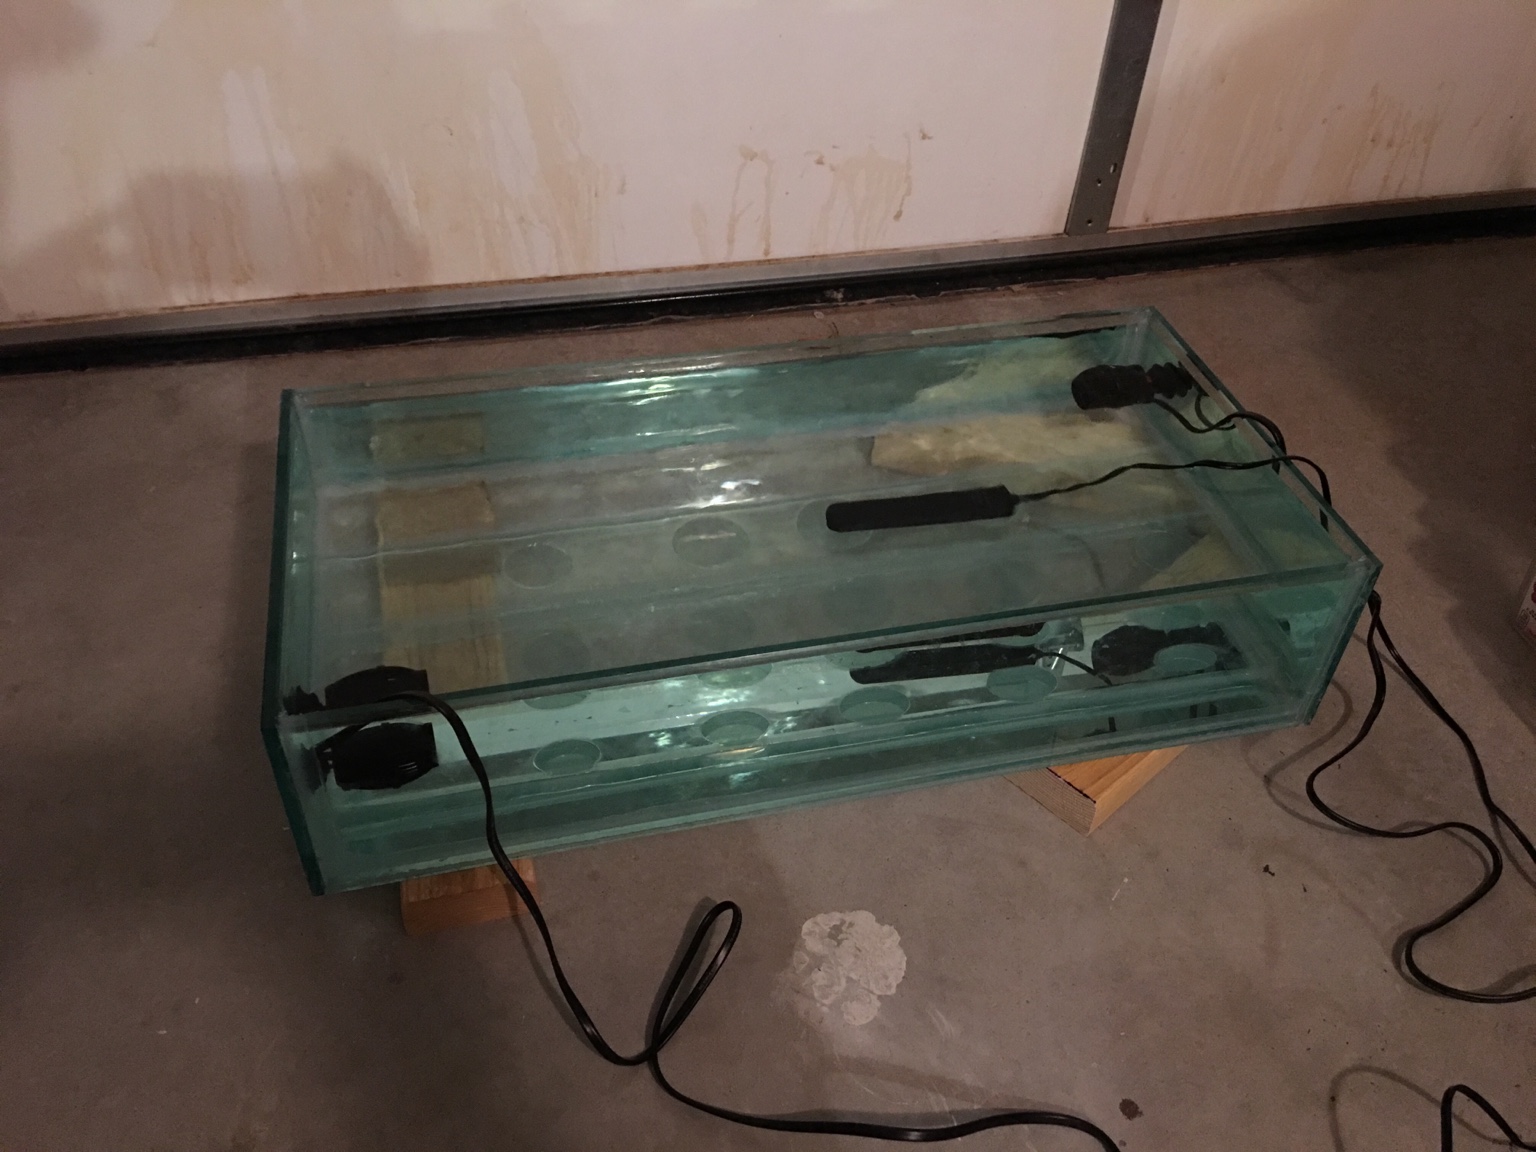
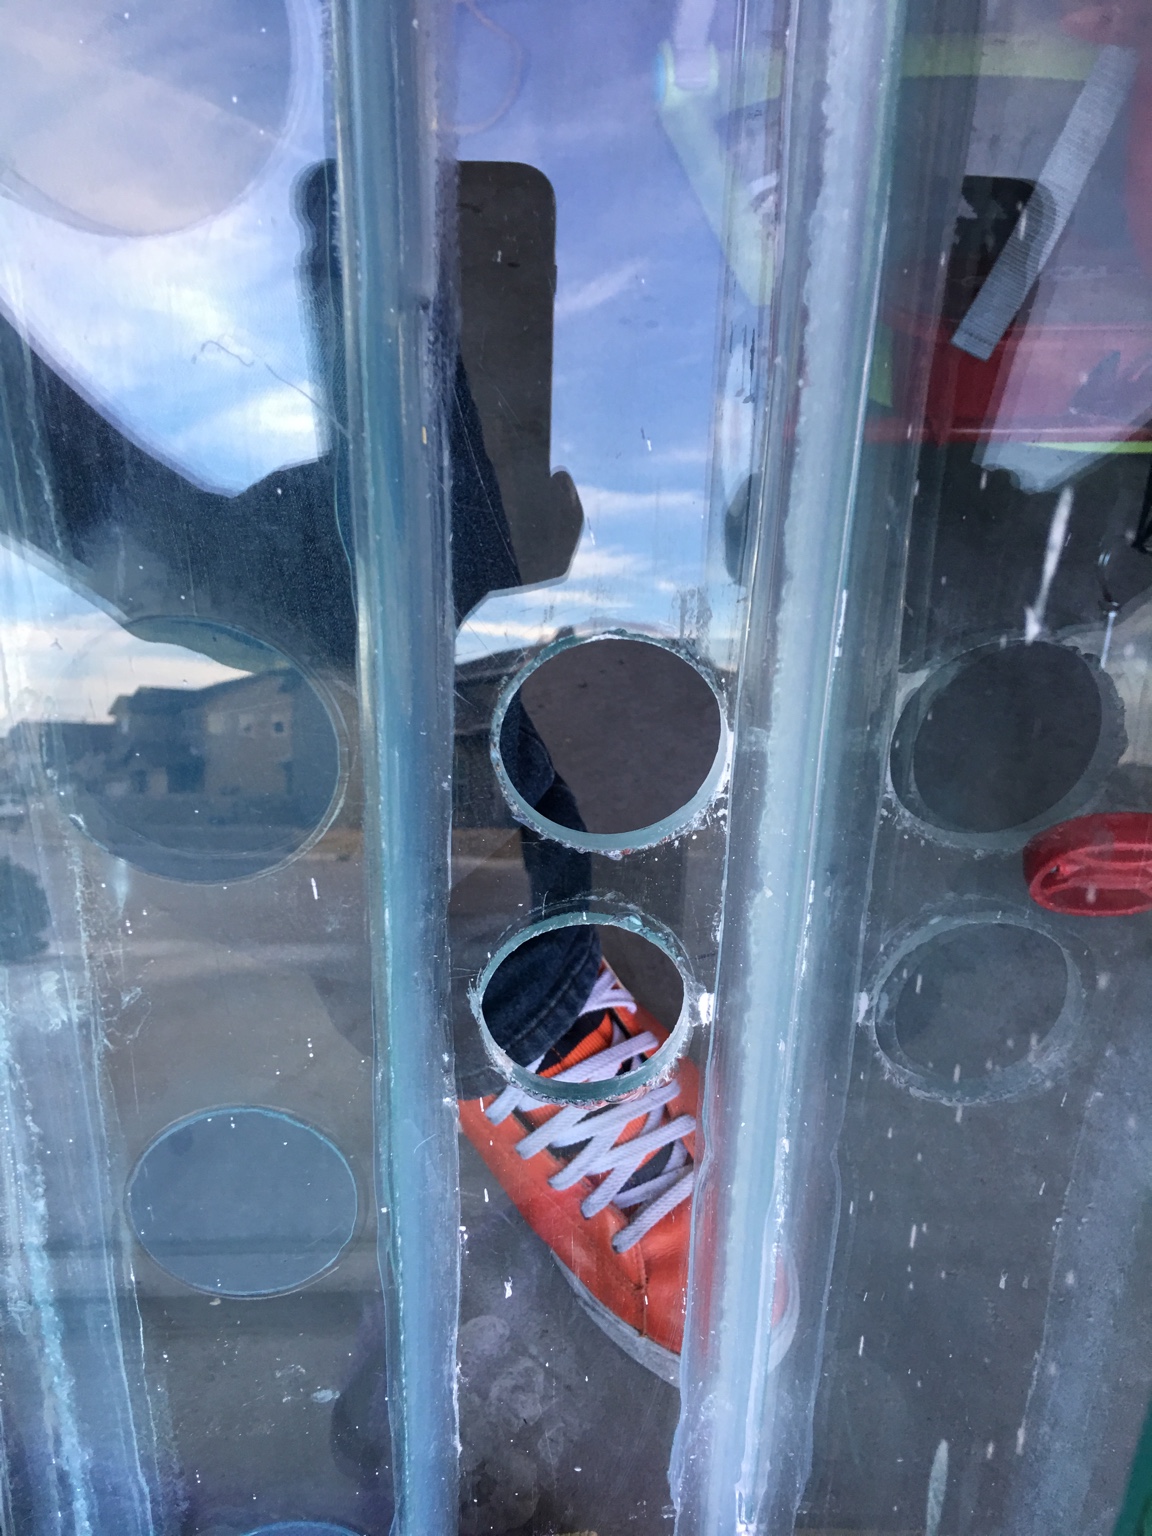
Frag tank: Built by myself rimless 10g (29in x 14in x 7in tall)
Sump: DIY Standard 20H aquarium with Modular Marine Baffle kit.
Overflow: Herbie design, Sch.80 stand pipes.
Return Pump: Mag Drive 7
Circulation Pumps: Hydor Korilia 425 gph with Hydor Smart Wave.
Lighting: 150w HQI Metal Halide pendent style fixture 15in above frag tank.
Items needed:
Display Tank
Lighting: Still to be determined
Controller: Apex or GHL Profilux P4
Pump controller: Either ReefLink or depending on controller choice.
Frag Tank:
Possible controller upgrade.
Possible light change depending on light source for DT.
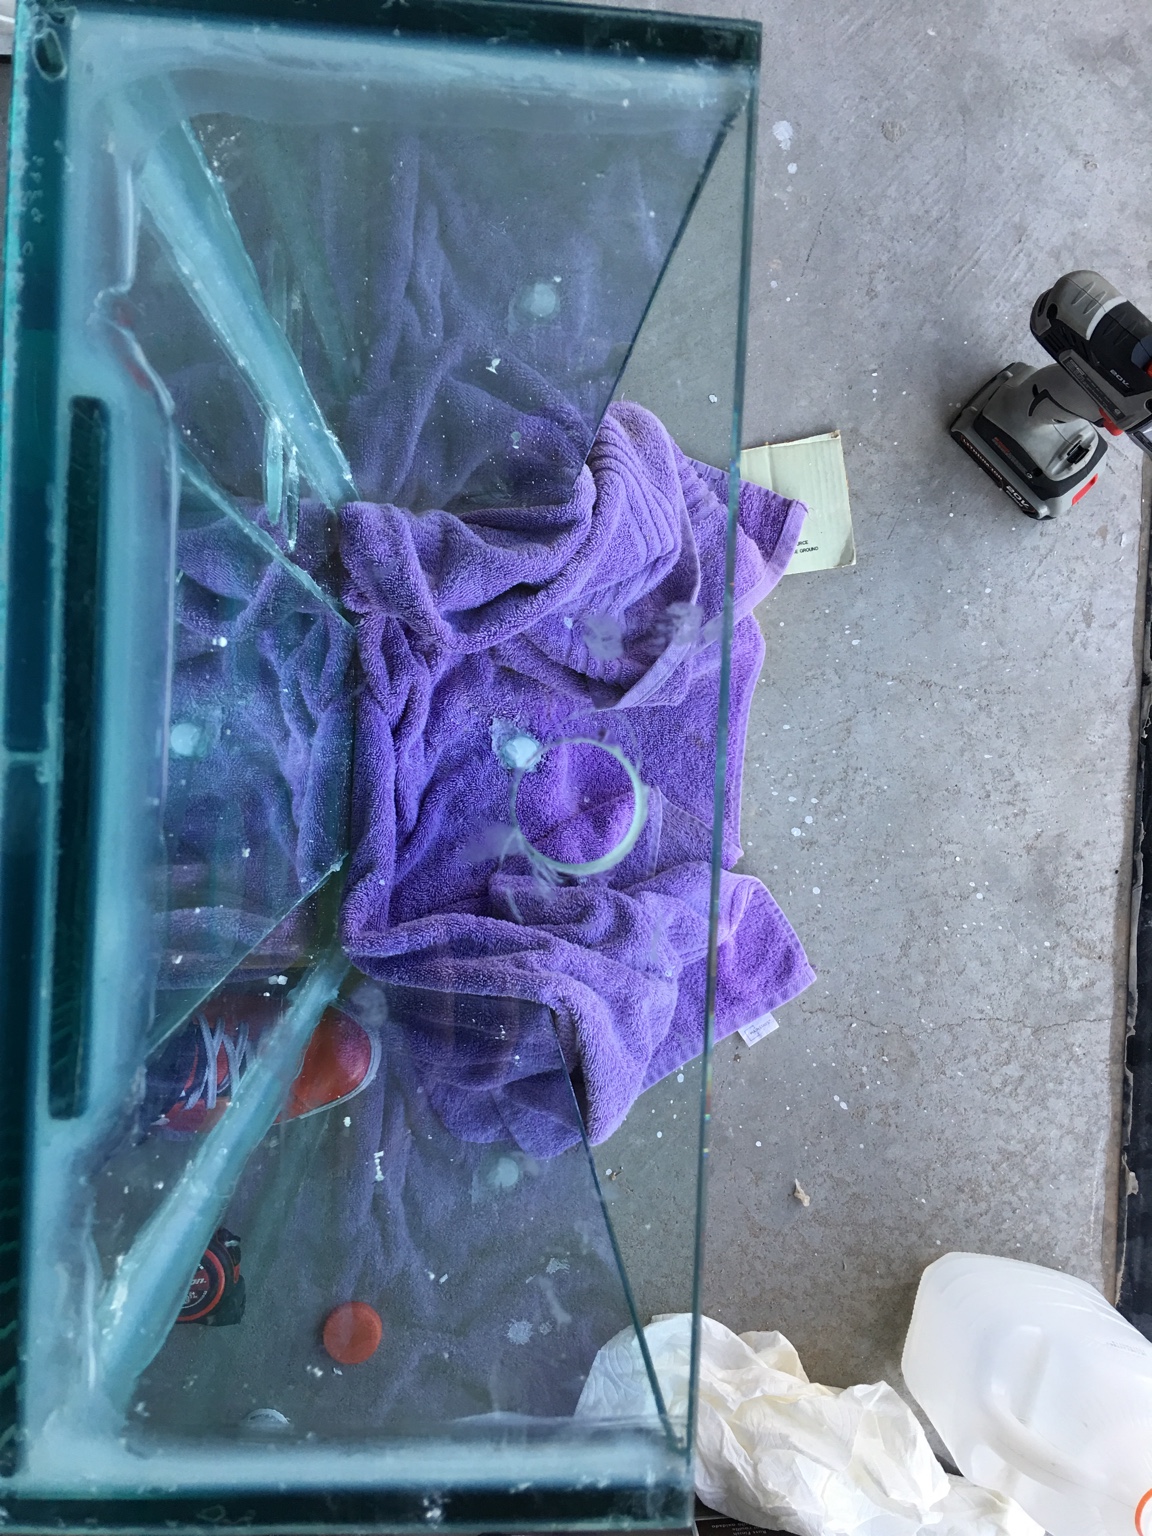
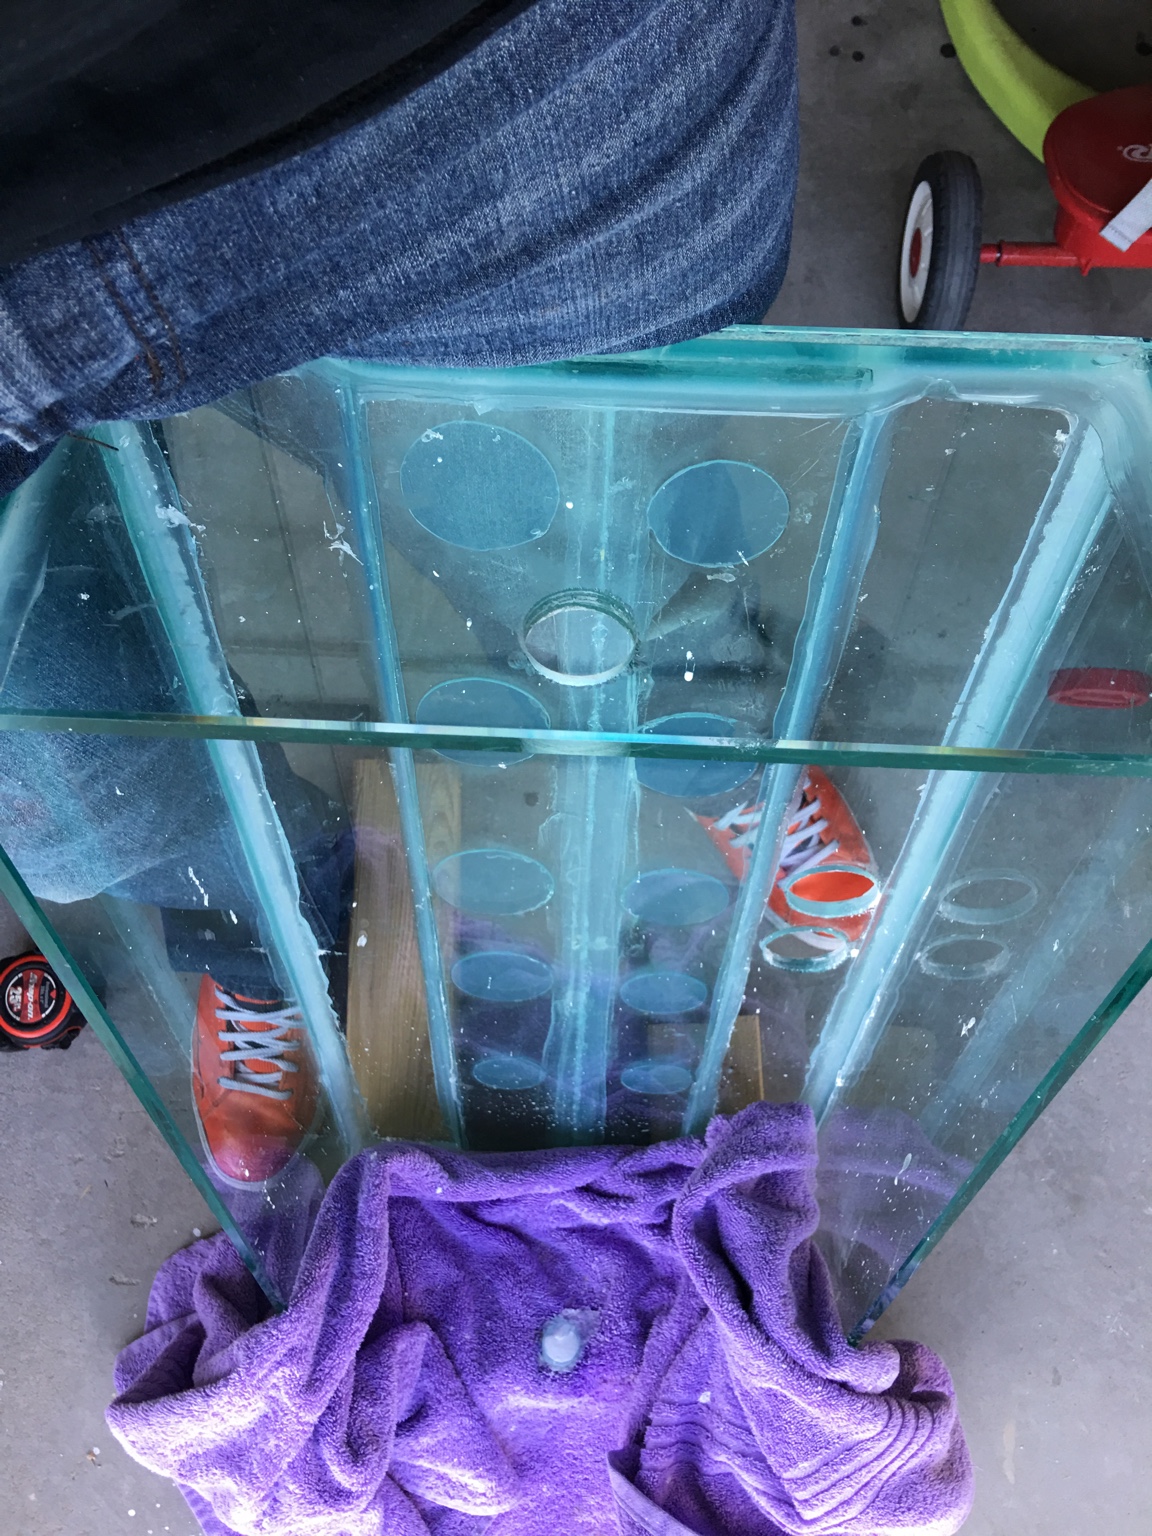
Let the pictures come:
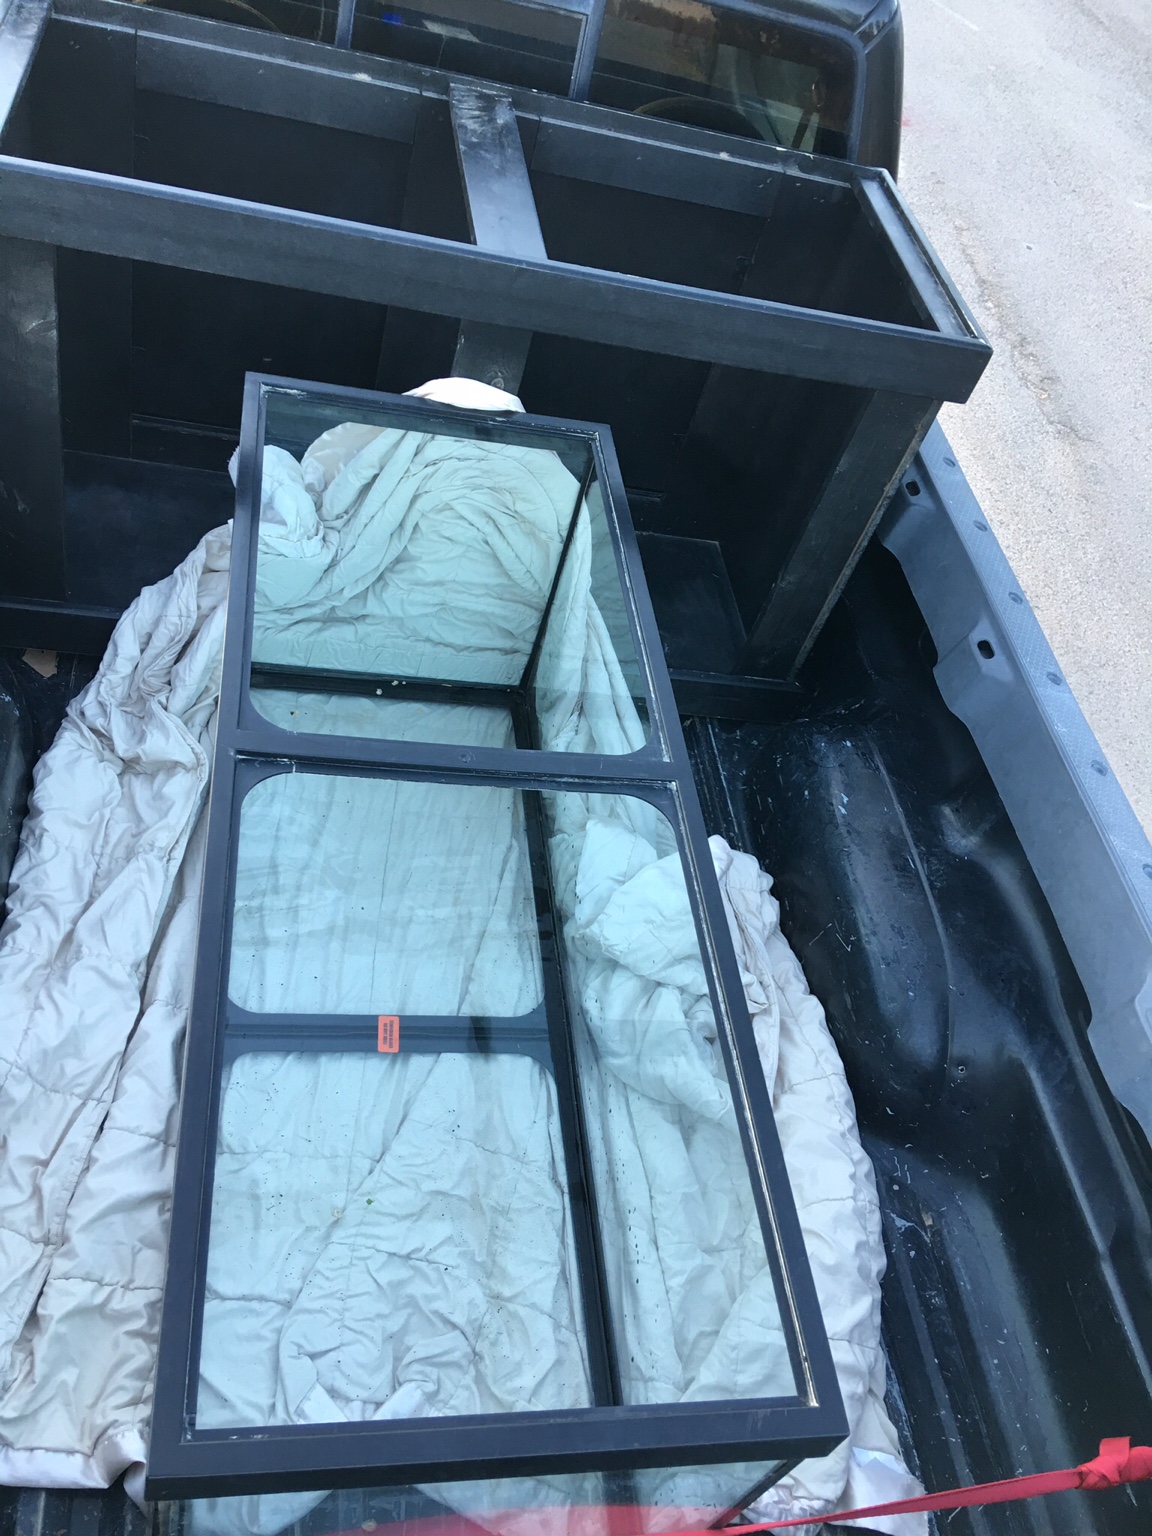
Tank coming home

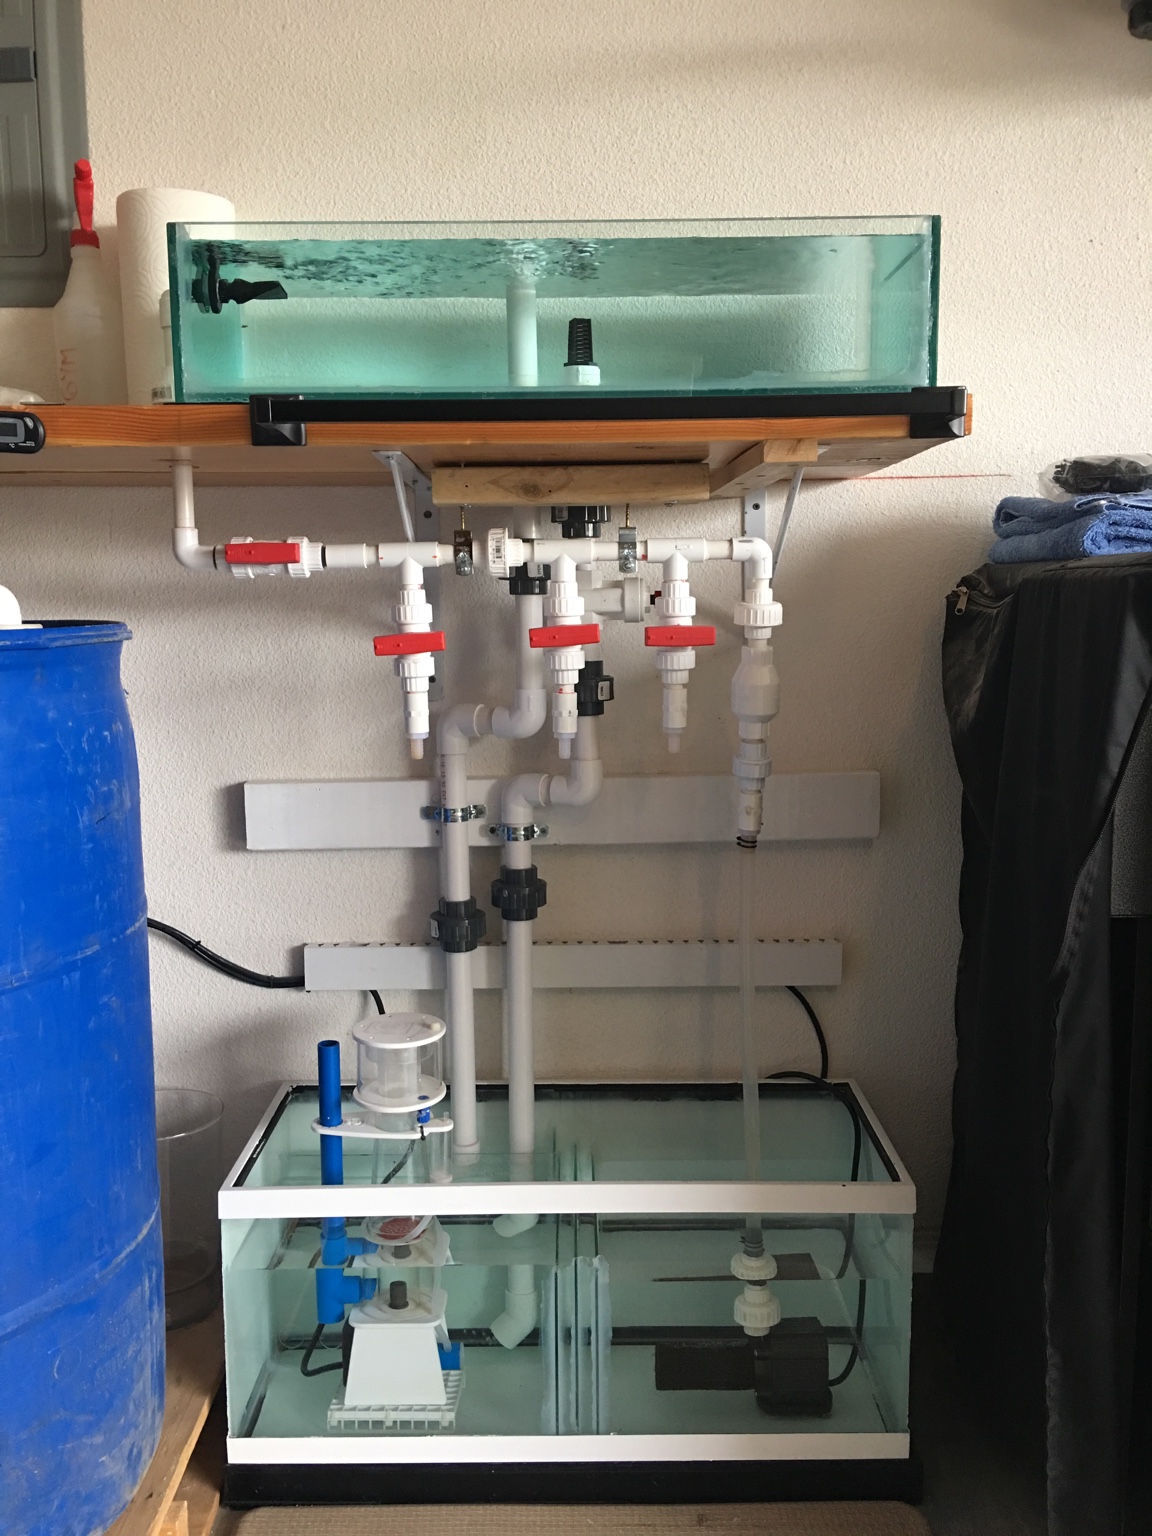
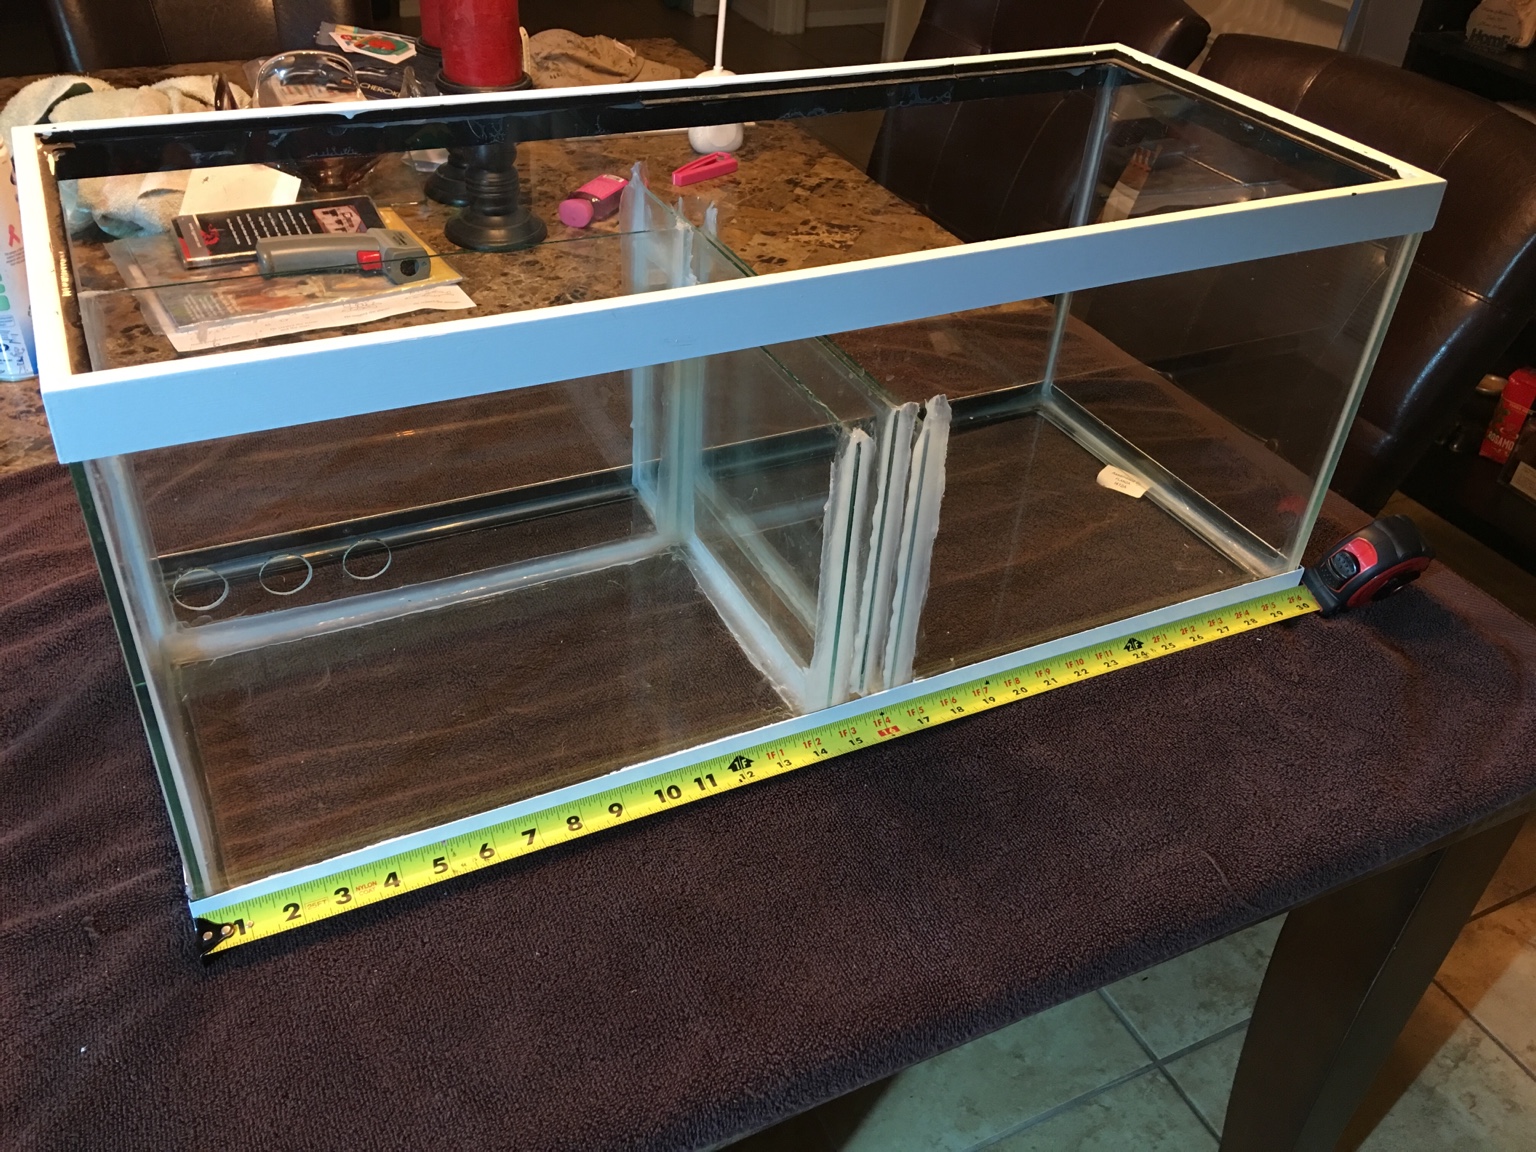
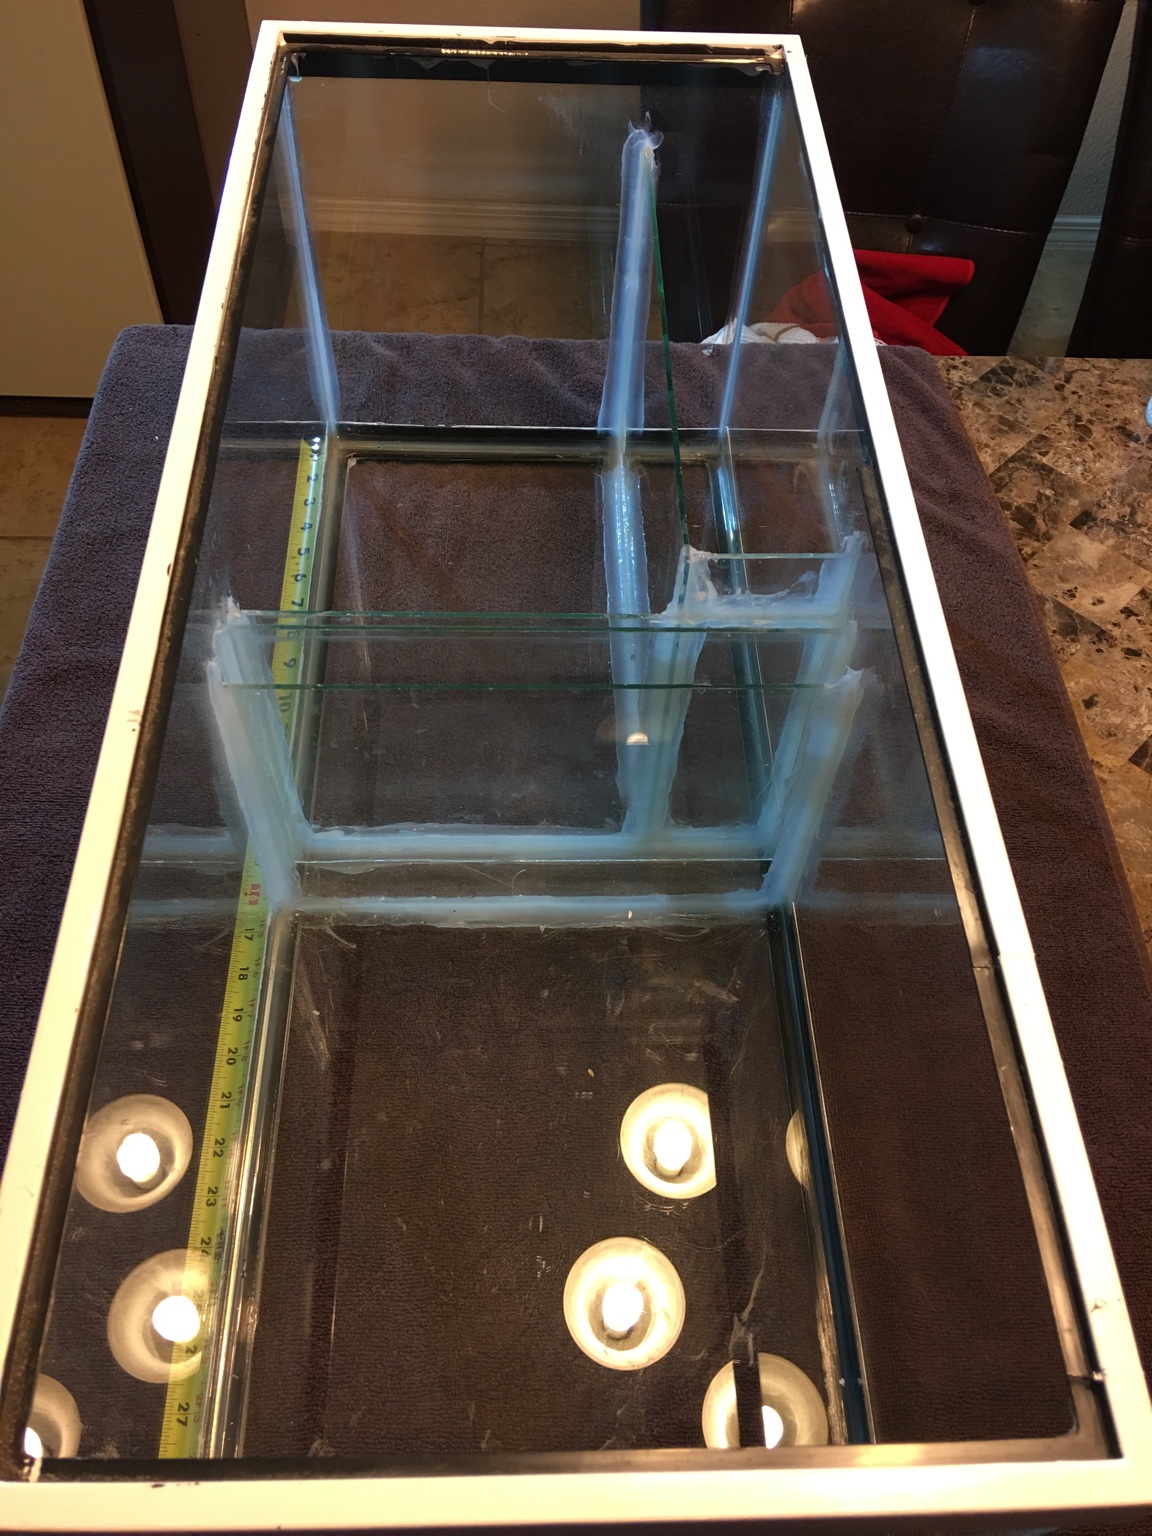
Sump DIY 20L
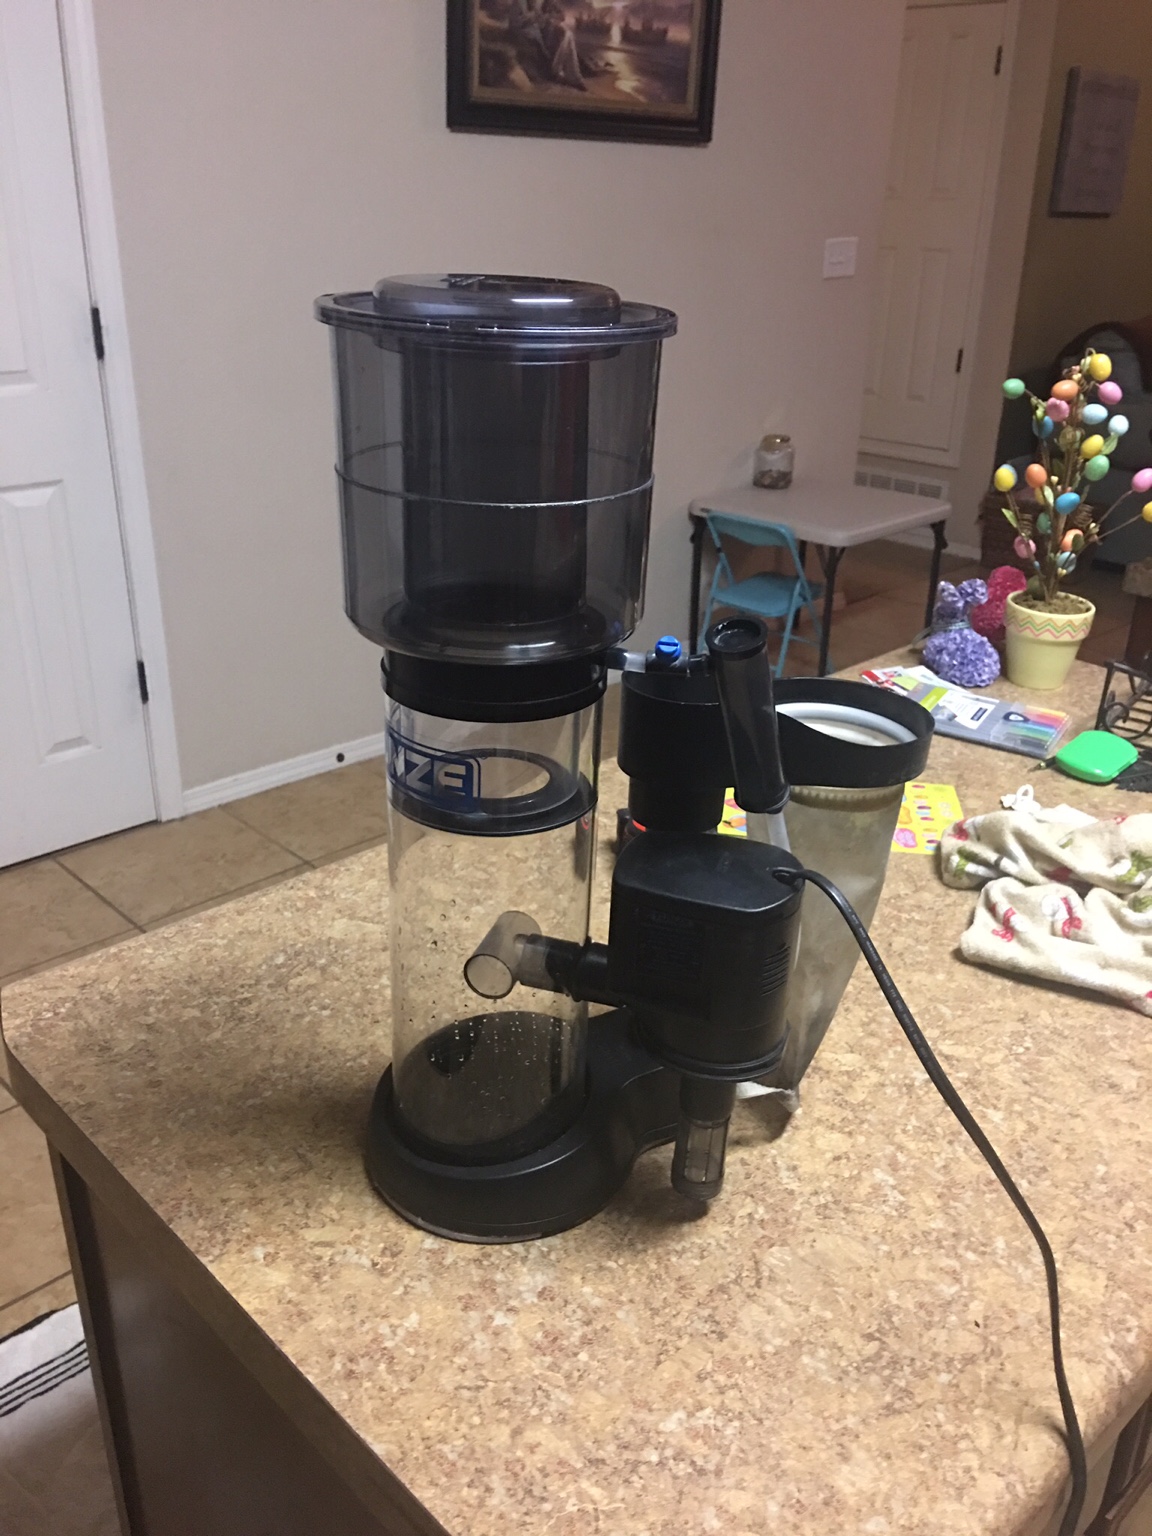
Skimmer :
Circulation pumps :
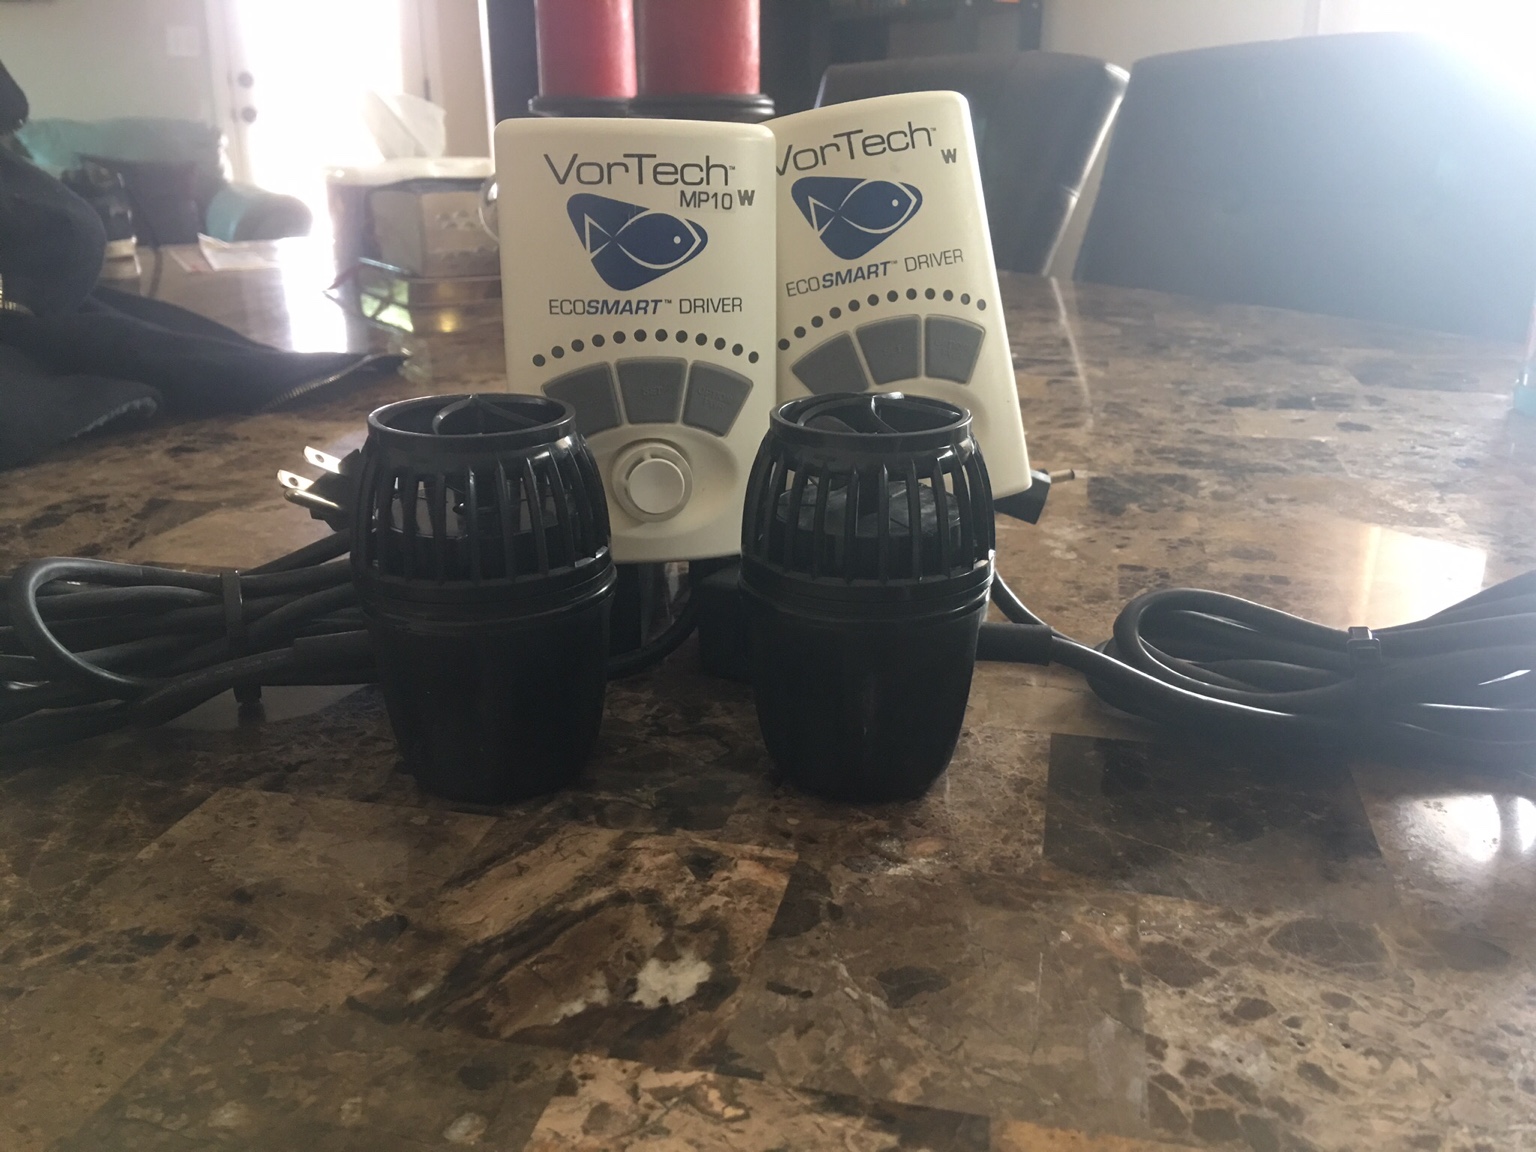
They have now been upgraded to the QD drivers.
Return Pump
More to come Super Soon :
[emoji12]

")