Empty V’s 90 Gallon Long Build Thread - Updated/PIC HEAVY

Eye H8 Empty V

Active Member
View Badges
Joined
Jan 11, 2019
Messages
462
Reaction score
729
Location
Magnolia, TX
Rating - 0%
0   0   0
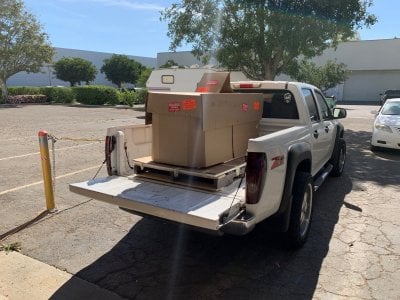
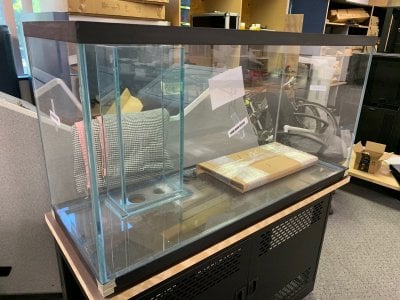
So as I’ve stated in a few other posts this will be my first saltwater aquarium in over 10 years. My last tank was a 20G JBJ nano cube that did not have a lot of success. Now I’ve got kids and I want them to experience the amazing colors a reef setup can offer. I placed the order for the tank today from glasscages.com out of Nashville. So far that’s all I’ve done. I’ll be building the stand myself as I’ve got a full furniture shop with a 5’x10’ CNC Gantry Router. My goal is is to get some of my dream fish like a moorish idol and ornate butterflies along with some soft corals. If I can swing it, some hard corals. Below what I’m thinking for equipment. Any comments or suggestions are well appreciated. Technology seems to have progressed a ton in the last 10+ years so I’m shooting in the dark here.

Tank 48 x 18 x 25 Tall, Low Iron Glass on front and sides, Overflow with 2 holes, acrylic overflow cover and hinged glass top.

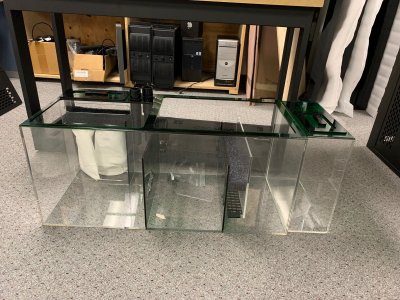
20 gallon long sump
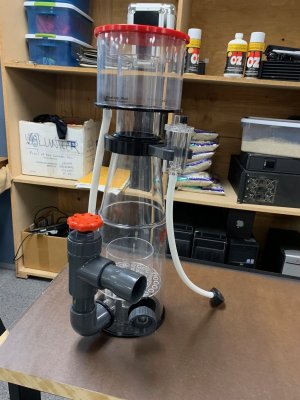
Reef Octopus Classic 150 INT Skimmer
Current USA Orbit IC Pro 2x48” lights
Current USA Orbit Current USA eFlux 6011 DC Flow Pump - 3170GPH
Current USA eFlux Wave Complete Pump Kit With 3x 2100GPH Power Heads
Current USA Loop Control System
80lbs of Real Reef Rock
120lbs of CaribSea Arag-Alive Special Grade Reef Sand

I’ll update this as the build progresses. Thanks for viewing and any comments/suggestions!
 
Last edited:
OP
OP
Eye H8 Empty V

Eye H8 Empty V

Active Member
View Badges
Joined
Jan 11, 2019
Messages
462
Reaction score
729
Location
Magnolia, TX
Rating - 0%
0   0   0
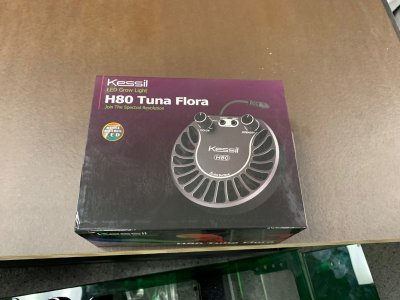
So I've got an update. The tank arrived a while back, I've received the Reef Octopus 150 INT Skimmer, Trigger Systems Emerald 34 Sump, 5gal ATO Tank, Kessil H80 Tuna Flora, 140# CaribSea Speacial Grade Reef Sand, and all of the plumbing parts i.e. PVC, gate valves, check valves, adapters, etc.

My plan is to get 60#-90# of Real Reef Rock 2.0, and I'm thinking of an Aquatic Life T5 Hybrid with 3 Kessil Tuna A360X's . Any feedback is appreciated!

IMG_2003.jpg
IMG_2009.jpg
IMG_2650.jpg
IMG_2651.jpg
IMG_2652.jpg
 
Last edited:
OP
OP
Eye H8 Empty V

Eye H8 Empty V

Active Member
View Badges
Joined
Jan 11, 2019
Messages
462
Reaction score
729
Location
Magnolia, TX
Rating - 0%
0   0   0
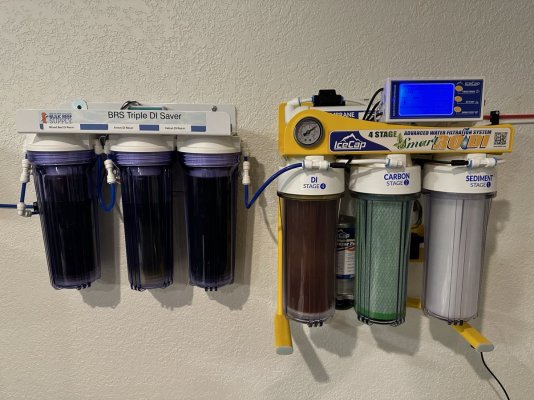
Although this is very slow going I just picked up a Triple DI from BRS that I'll be putting post RO/DI. I'm looking at picking up my rock soon. The big hold up is my kitchen. I'm in the process of building my new cabinets now and can't lay the new flooring(which the tank will be on) until the cabinets are in place. I've got a long ways to go!

Triple DI.jpg
 
OP
OP
Eye H8 Empty V

Eye H8 Empty V

Active Member
View Badges
Joined
Jan 11, 2019
Messages
462
Reaction score
729
Location
Magnolia, TX
Rating - 0%
0   0   0
I've actually got a brute trashcan filled with 1.026SG just for that reason.The question that I have though is I'm going to be using Real Reef Rock which says it's already cycled. Should I do it anyway?

From their website:
"Once the Real Reef Rocks are created, they go through a pre grow-out preparation. This pre grow-out freshwater curing process lasts for a minimum of 12 weeks. Once the rock has completed the curing process, it is then transferred to saltwater grow-out for a minimum of 12-16 weeks. Our marine grow-out facility consists of large 3,000 and 10,000 gallon fiberglass raceways in our climate controlled greenhouses. It is in these filtered closed system raceways that Real Reef becomes a biologically active aquarium rock. It is from these grow-out raceway systems that Real Reef is prepared, packed and shipped to distributors and retailers worldwide."
 
OP
OP
Eye H8 Empty V

Eye H8 Empty V

Active Member
View Badges
Joined
Jan 11, 2019
Messages
462
Reaction score
729
Location
Magnolia, TX
Rating - 0%
0   0   0
I’m slowly getting there. Received my AquaticLife DX18 T5 setup with Kessil adapter plates. Building a new RO system, my 1st of 2 65 gallon water tanks, and a utility sink for the garage.

039A6084-1EE6-4D43-9227-8B9D75B98251.jpeg

098D81BF-B8CF-45AD-8E4E-B845E66EBA7C.jpeg

07D281C4-A7C8-4673-8752-6A7A35F61F85.jpeg
 
OP
OP
Eye H8 Empty V

Eye H8 Empty V

Active Member
View Badges
Joined
Jan 11, 2019
Messages
462
Reaction score
729
Location
Magnolia, TX
Rating - 0%
0   0   0
I almost forgot, my Secret Santa fill-in @JoshH was very generous and got my powerheads off to a dream start! I plan on adding another for the opposite side and a Reef Octopus Octo Pulse 4 for the back. All run off of the Hydros Wave Engine which means 1 power supply for all 3 pumps and complete independent control.

818DD199-AEF4-42BA-B4B0-9F3BD53AE1E9.jpeg
 
OP
OP
Eye H8 Empty V

Eye H8 Empty V

Active Member
View Badges
Joined
Jan 11, 2019
Messages
462
Reaction score
729
Location
Magnolia, TX
Rating - 0%
0   0   0
Well after 3-1/2 years (son of a mother!) and moving 1600 miles a lot has changed not just for me/us as a family but technology has advanced. I'll get into that later. The tank is finally starting to get wet! What a glorious day! We moved from CA to the free state of Texas and found a spot for this long overdue dream project. I'm going to be telling this story like the show Lost, the timeline will not be chronological but hopefully the ending will make sense.

The Boring Stuff - Fast Forward to SW Mixing Station

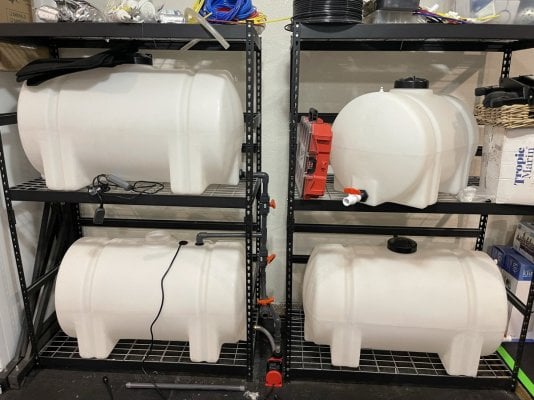
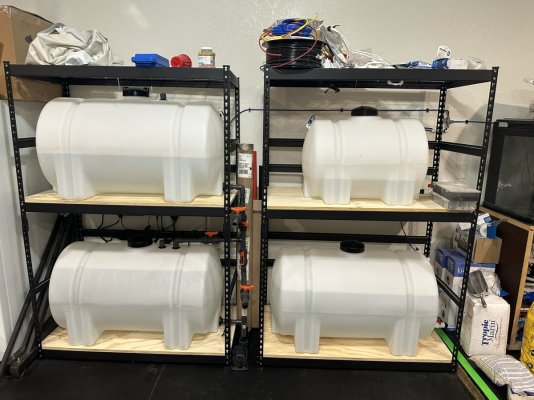
2 65gal Norwesco Horizontal Leg Tanks
Hydros Quad WiFi Power Strip
Jebao DCP-10000 DC Pump
XP Aqua RO/DI Flood Guardian Solenoid (Marriage Saver)
200w Titanium Heater with Inkbird Controller
Icecap 4-Stage RODI System
BRS 3-Stage DI System
2nd Water Saver RO Membrane (coming soon)


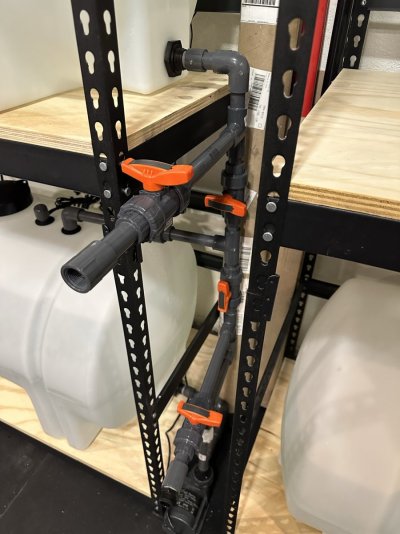
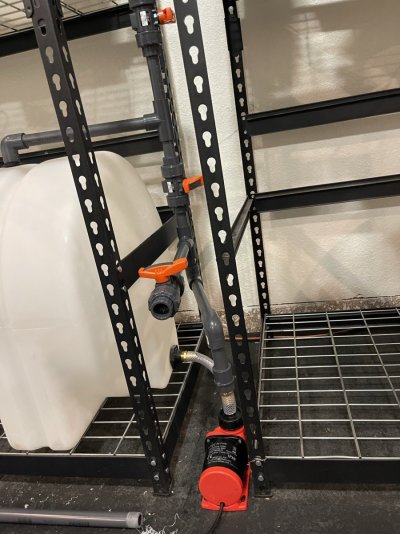
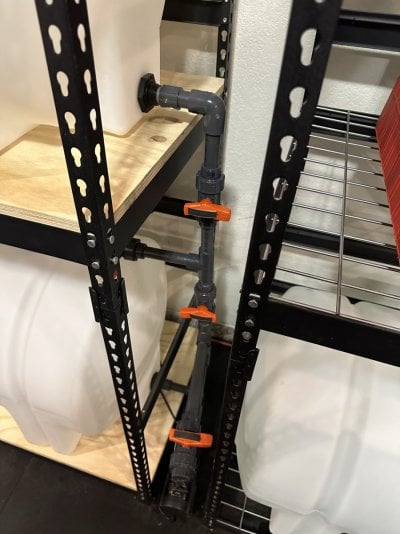
I setup twin 65gal Norwesco horizontal leg tanks on shelving units I purchased from good ole Tractor supply. At first, they seemed okay but the shopping cart like shelves started to flex. I put down 3/4"x2'x4' precut (fit perfectly - didn't have to break out the table saw) birch plywood over the wire rack shelves. Voila no more flex! I setup a 2nd shelving unit with a 35gal and 65gal tanks for emergency drinking water, because you know...the government and our country seems to be in a state of fictional chaos. I bypassed the DI stages of my RO system for the drinking water. I don’t see a reason to waste the resin. My wife bought cheap light blocking fabric that I'll drape over the tanks in order to minimize algae growth. I'll most likely drain and refill every 3 months just to be safe.

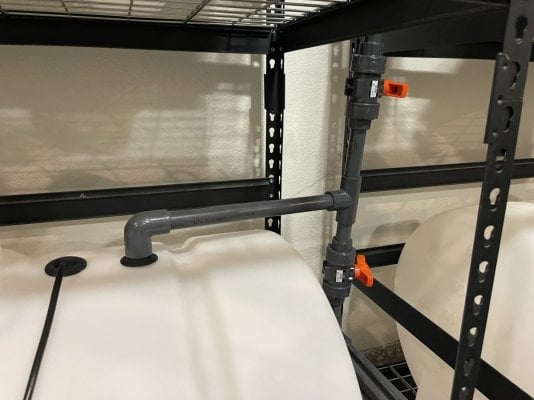
When I first plumbed the system I didn't realize that the output of the SW tank would create a siphon and prevent me from draining out pure RO water. It would basically pull from both sources. After pumping the SW tank into my sump and DT, I was able to drain the RO tank into the SW tank which allowed me to cut/insert a tee and valve at the top so I can isolate the RO water.


IMG_3452.JPEG IMG_3453.JPEG IMG_3653.jpeg IMG_3654.jpeg IMG_3639.jpeg IMG_3454.JPEG IMG_3490.JPEG
 
Last edited:
OP
OP
Eye H8 Empty V

Eye H8 Empty V

Active Member
View Badges
Joined
Jan 11, 2019
Messages
462
Reaction score
729
Location
Magnolia, TX
Rating - 0%
0   0   0
The Stand - Rewind 2 Years Ago


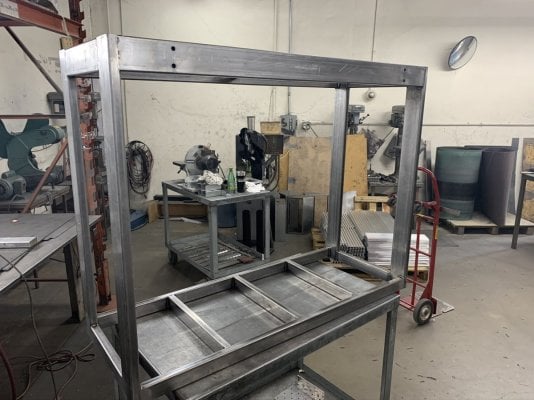
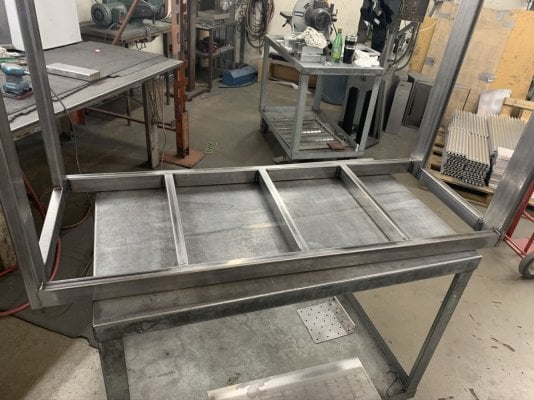
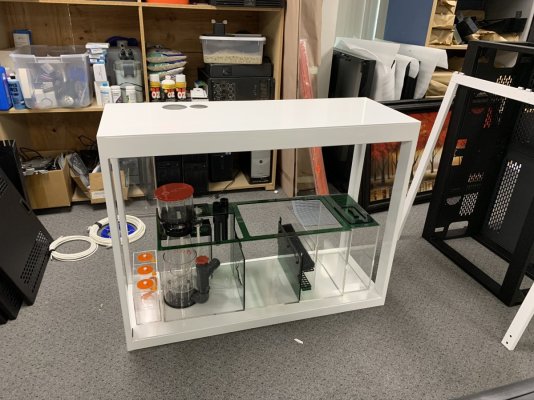
A few years ago my father, who built custom commercial furniture for 40 years, purchased a sheet metal shop that we worked with for a very long time. This opened up lots of possibilities. I worked for my dad for over 20 years, so it was my duty to make sure they were maximizing their potential.


DISCLAIMER - I did not perform any of the metal fabrication. I can build a lot of stuff but metal fab is out of my wheelhouse.

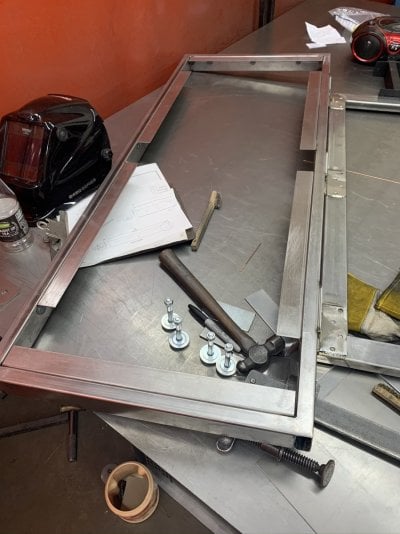
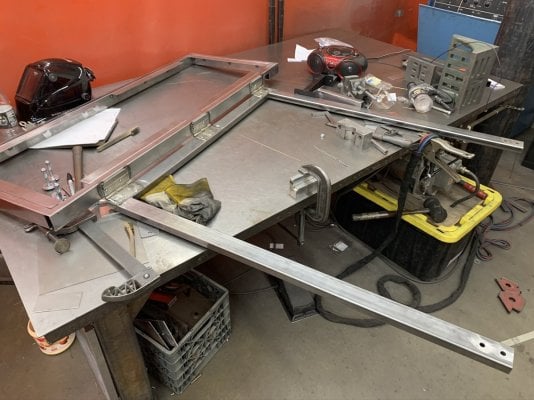
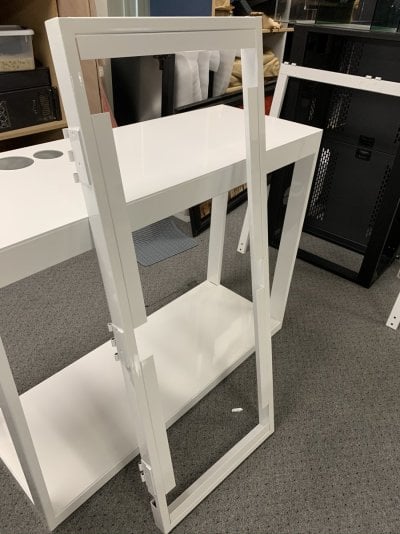
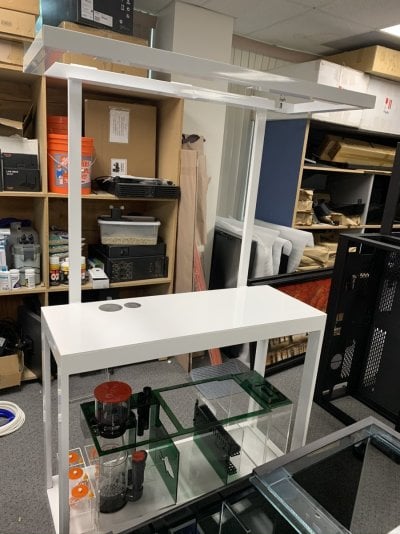
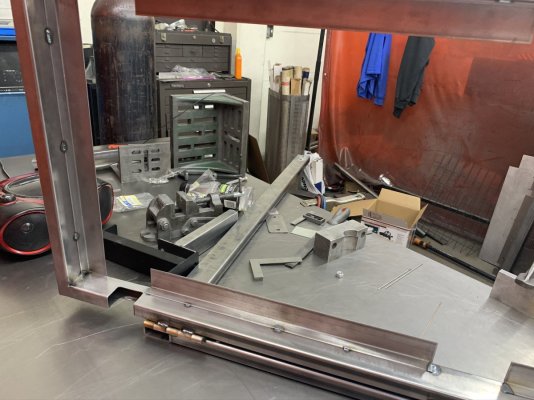
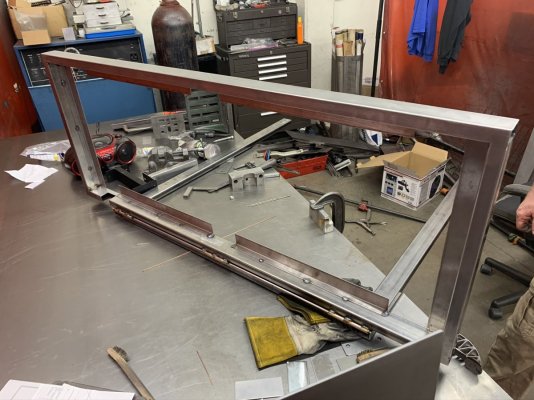
I researched metal stands and saw lots of design flaws. Uprights that blocked access to the sump, crappy doors, poor materials, t-slot aluminum that may be strong but not being a unified piece of material via welding, could flex and adds additional failure points/more parts. I apologize if this offends anyone with a t-slot aluminum stand. Every material has its benefits and drawbacks. So, I settled on 1x2 steel rectangular tubing, I can't remember the gauge.

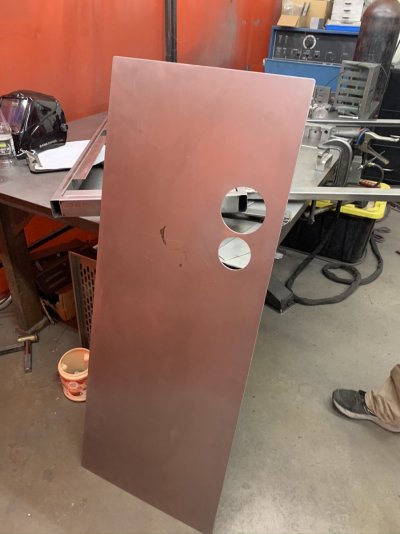
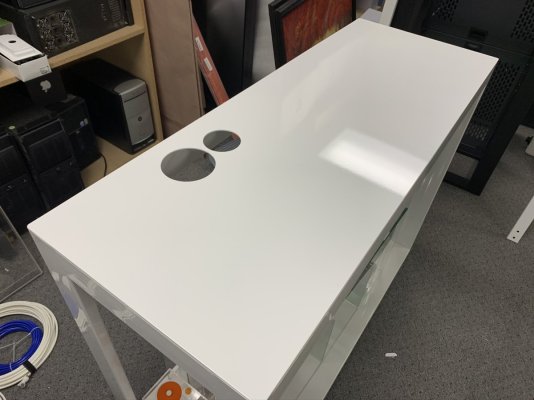
I had an overflow built into the tank so I needed access for the 1-1/2" and 1" drain bulkheads through the top of the base. A CNC cut steel sheet did the trick.

IMG_9001.JPEG IMG_9002.JPEG IMG_9003.JPEG IMG_9007.JPEG

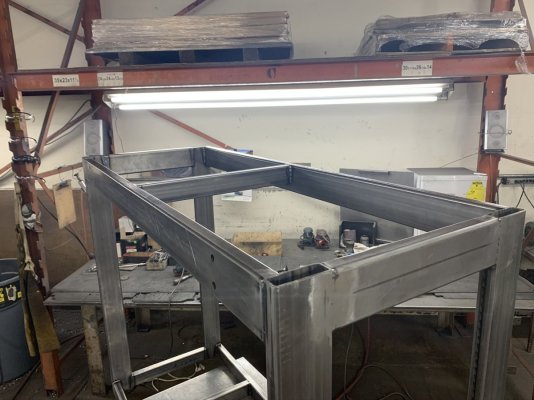
Next up was the Lighting Canopy

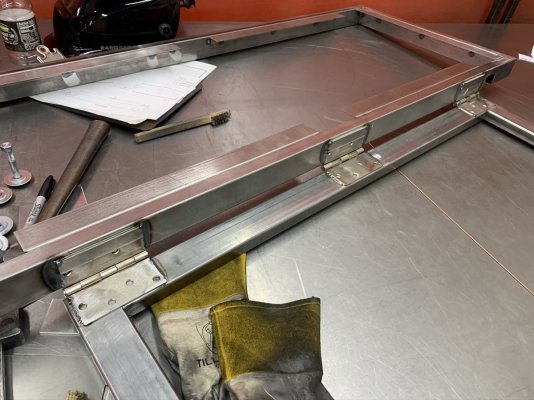
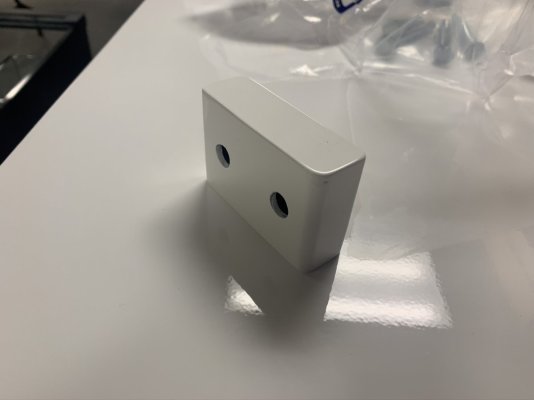
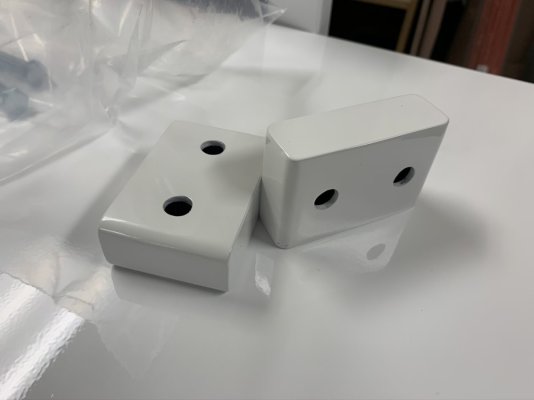
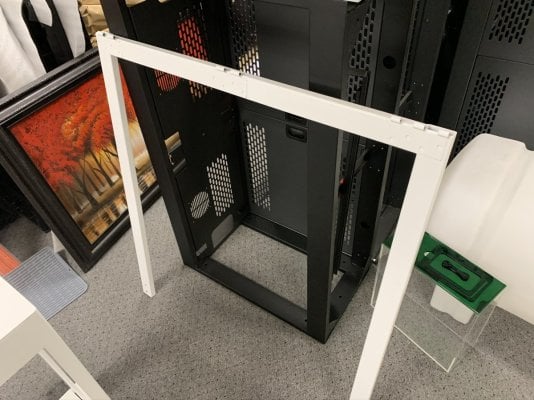
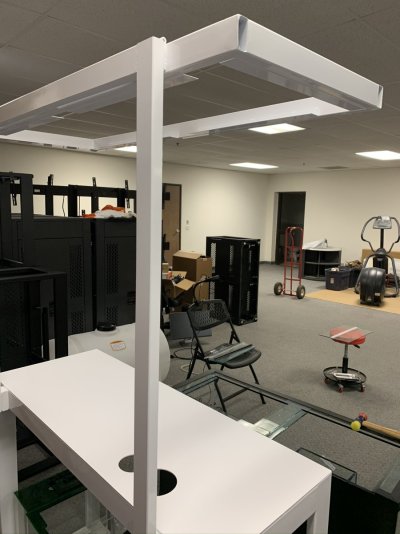
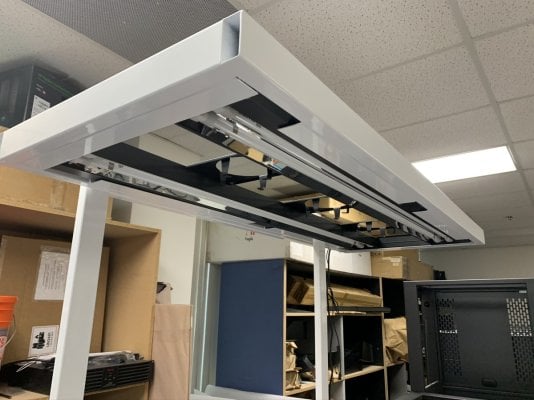
I designed the canopy to specifically fit the Aquatic Life DX48 T5 Hybrid fixture. The frame has a flange that the fixture rests on and a notch cutout out for the power/data cables. The tank is 22" tall so I need to be able to get on top in order to reach the very bottom. Access to the tank is crucial and I didn't want the lights to sit too high off the water's surface. I decided to turn it into a transformer, not really. I put the canopy on 3 heavy duty hinges with welded uprights that are bolted to the base. It's offset with a couple of spacers in order to compensate for the depth of the hinges.

IMG_9004.JPEG IMG_9005.JPEG IMG_9006.JPEG IMG_9009.JPEG IMG_9008.JPEG


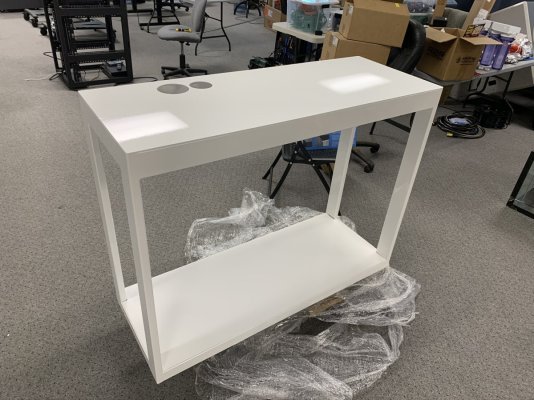
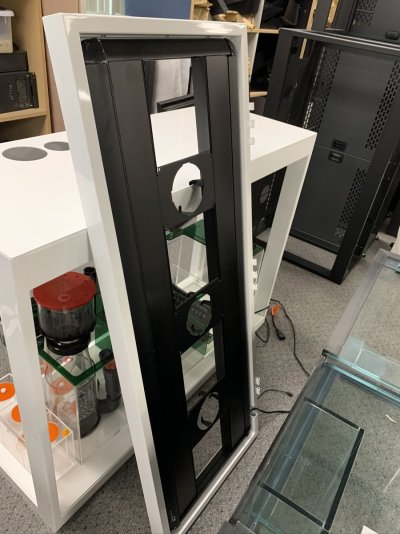
I wanted it to look like if the Apple Store and the LFS had a baby. And not the ugly baby in Seinfeld. White was the only option, and my wife approved. Anything to get her involved is a plus in my book.

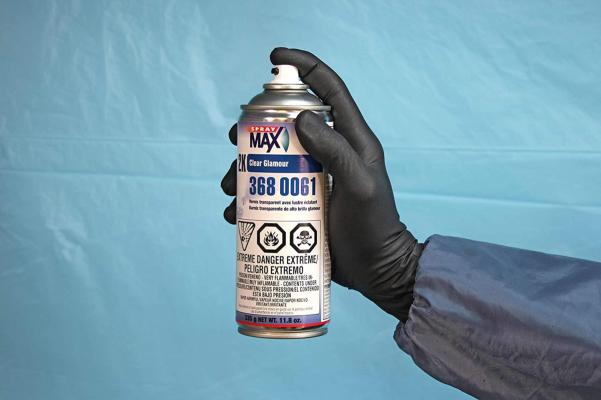
One problem though, powder-coating in inherently porous. If any saltwater gets in, the oxidization would cause the paint to flake off. That’s why you never see powder-coating on boats. But surprise surprise, when I was at Reef-A-Palooza in CA a few years ago, everyone that was making stands out of steel was powder-coating them. I was in the market and asked and they all said they didn't seal the paint. I 100% wanted my paint sealed so I hit it with many many lights coats of a clear coat. That's not my hand BTW.

1665528583784.png


Here's pics of the stand after baking in the oven. I don't have pics with the sealer but it looked exactly the same, which was the goal. Nothing beats a fresh powder-coat!

IMG_9060.JPEG IMG_9067.JPEG IMG_9068.JPEG IMG_9069.JPEG IMG_9074.JPEG IMG_9075.JPEG IMG_9066.JPEG IMG_9072.JPEG IMG_9076.JPEG IMG_9077.JPEG IMG_9078.JPEG IMG_9079.JPEG

1665526783828.png IMG_9070.JPEG
 

Being sticky and staying connected: Have you used any reef-safe glue?
  • I have used reef safe glue.

    Votes: 75 86.2%
  • I haven’t used reef safe glue, but plan to in the future.

    Votes: 6 6.9%
  • I have no interest in using reef safe glue.

    Votes: 3 3.4%
  • Other.

    Votes: 3 3.4%
Back
Top