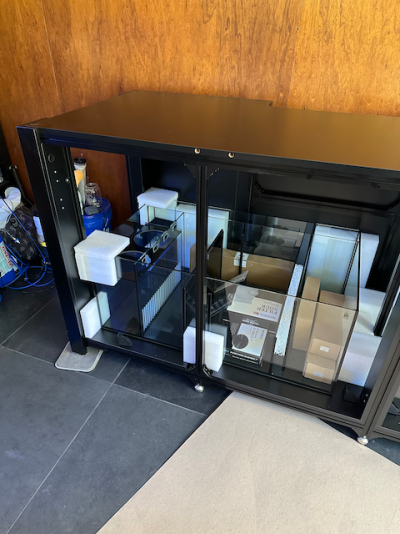
Semi-Upgrading from a Waterbox Peninsula 25.
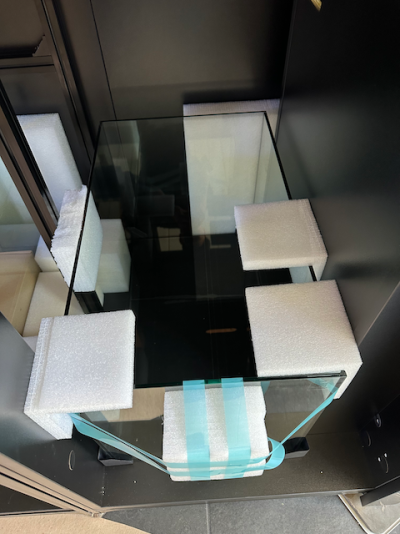
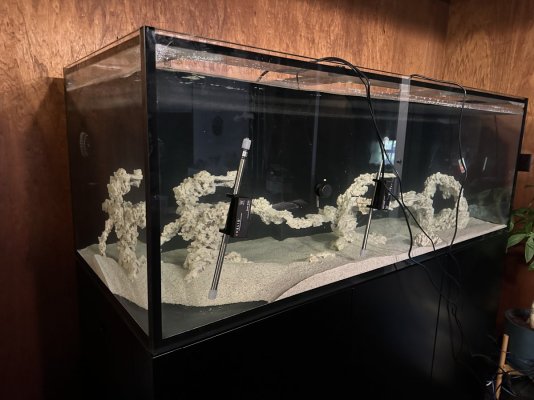
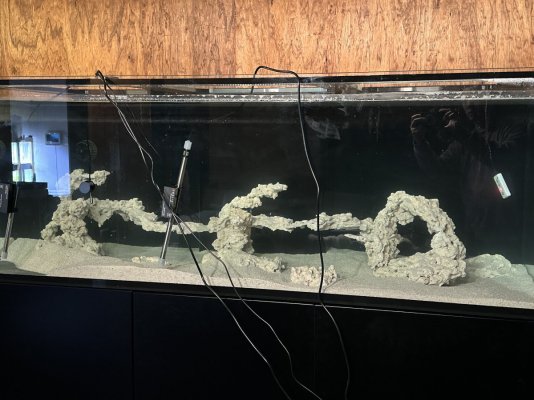
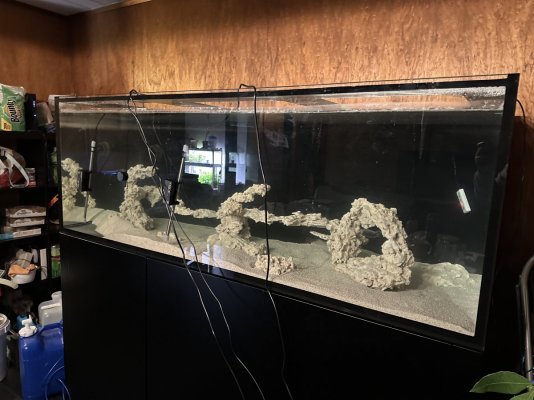
Ended up choosing the Waterbox Reef LX 290.6. The 340.7 just appears to always be out of stock and the extra foot seemed like it may be troublesome for our space.
Will be moving over and reusing some equipment that we got previously as we had already planned to upgrade after we moved and we’re now at a good place to make that change.
Equipment Plan:
Livestock:
Items in italics are the ones already have and moving over to the new build.
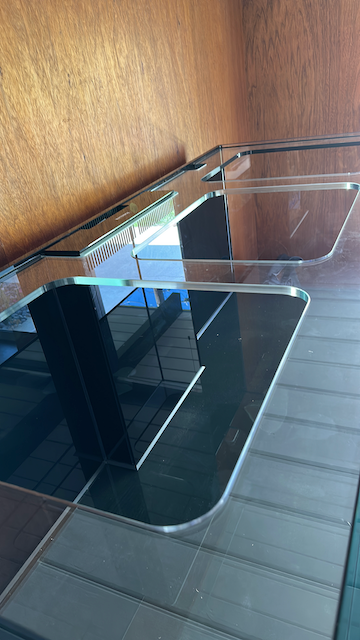
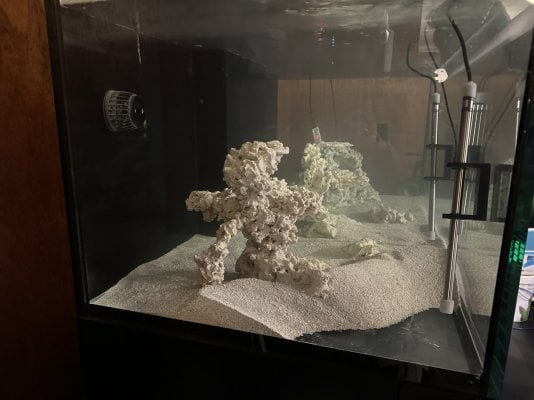
Substrate will just be Caribsea Reef Sand and Live Reef Rock.
Uncertain if we’ll re-setup the Pax Bellum ARID N18 for this. It’s likely not large enough for the tank, and we’d need to get the N24 if we wanted to go down this path. We may eventually set up the refugium, which would need it’s own light and such. Last crazy heat wave also may mean looking into a chiller as well.
Open to suggestions and feedback.
Ended up choosing the Waterbox Reef LX 290.6. The 340.7 just appears to always be out of stock and the extra foot seemed like it may be troublesome for our space.
Will be moving over and reusing some equipment that we got previously as we had already planned to upgrade after we moved and we’re now at a good place to make that change.
Equipment Plan:
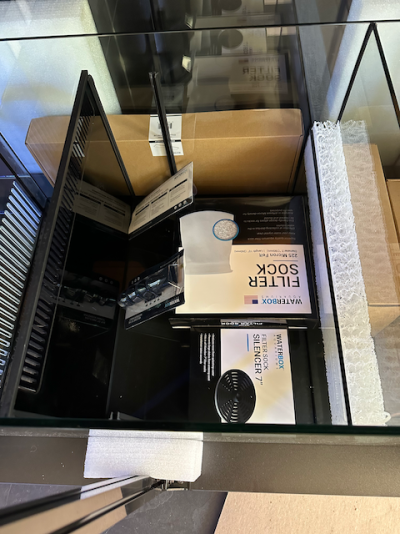
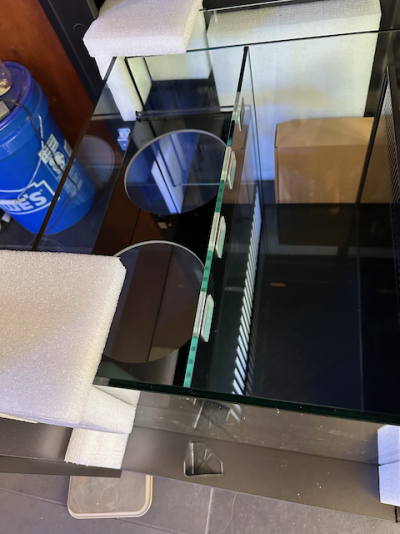
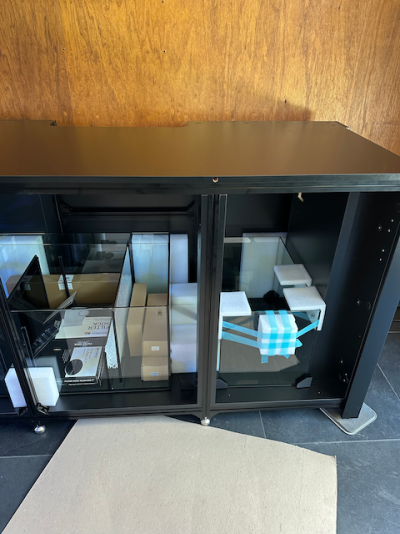
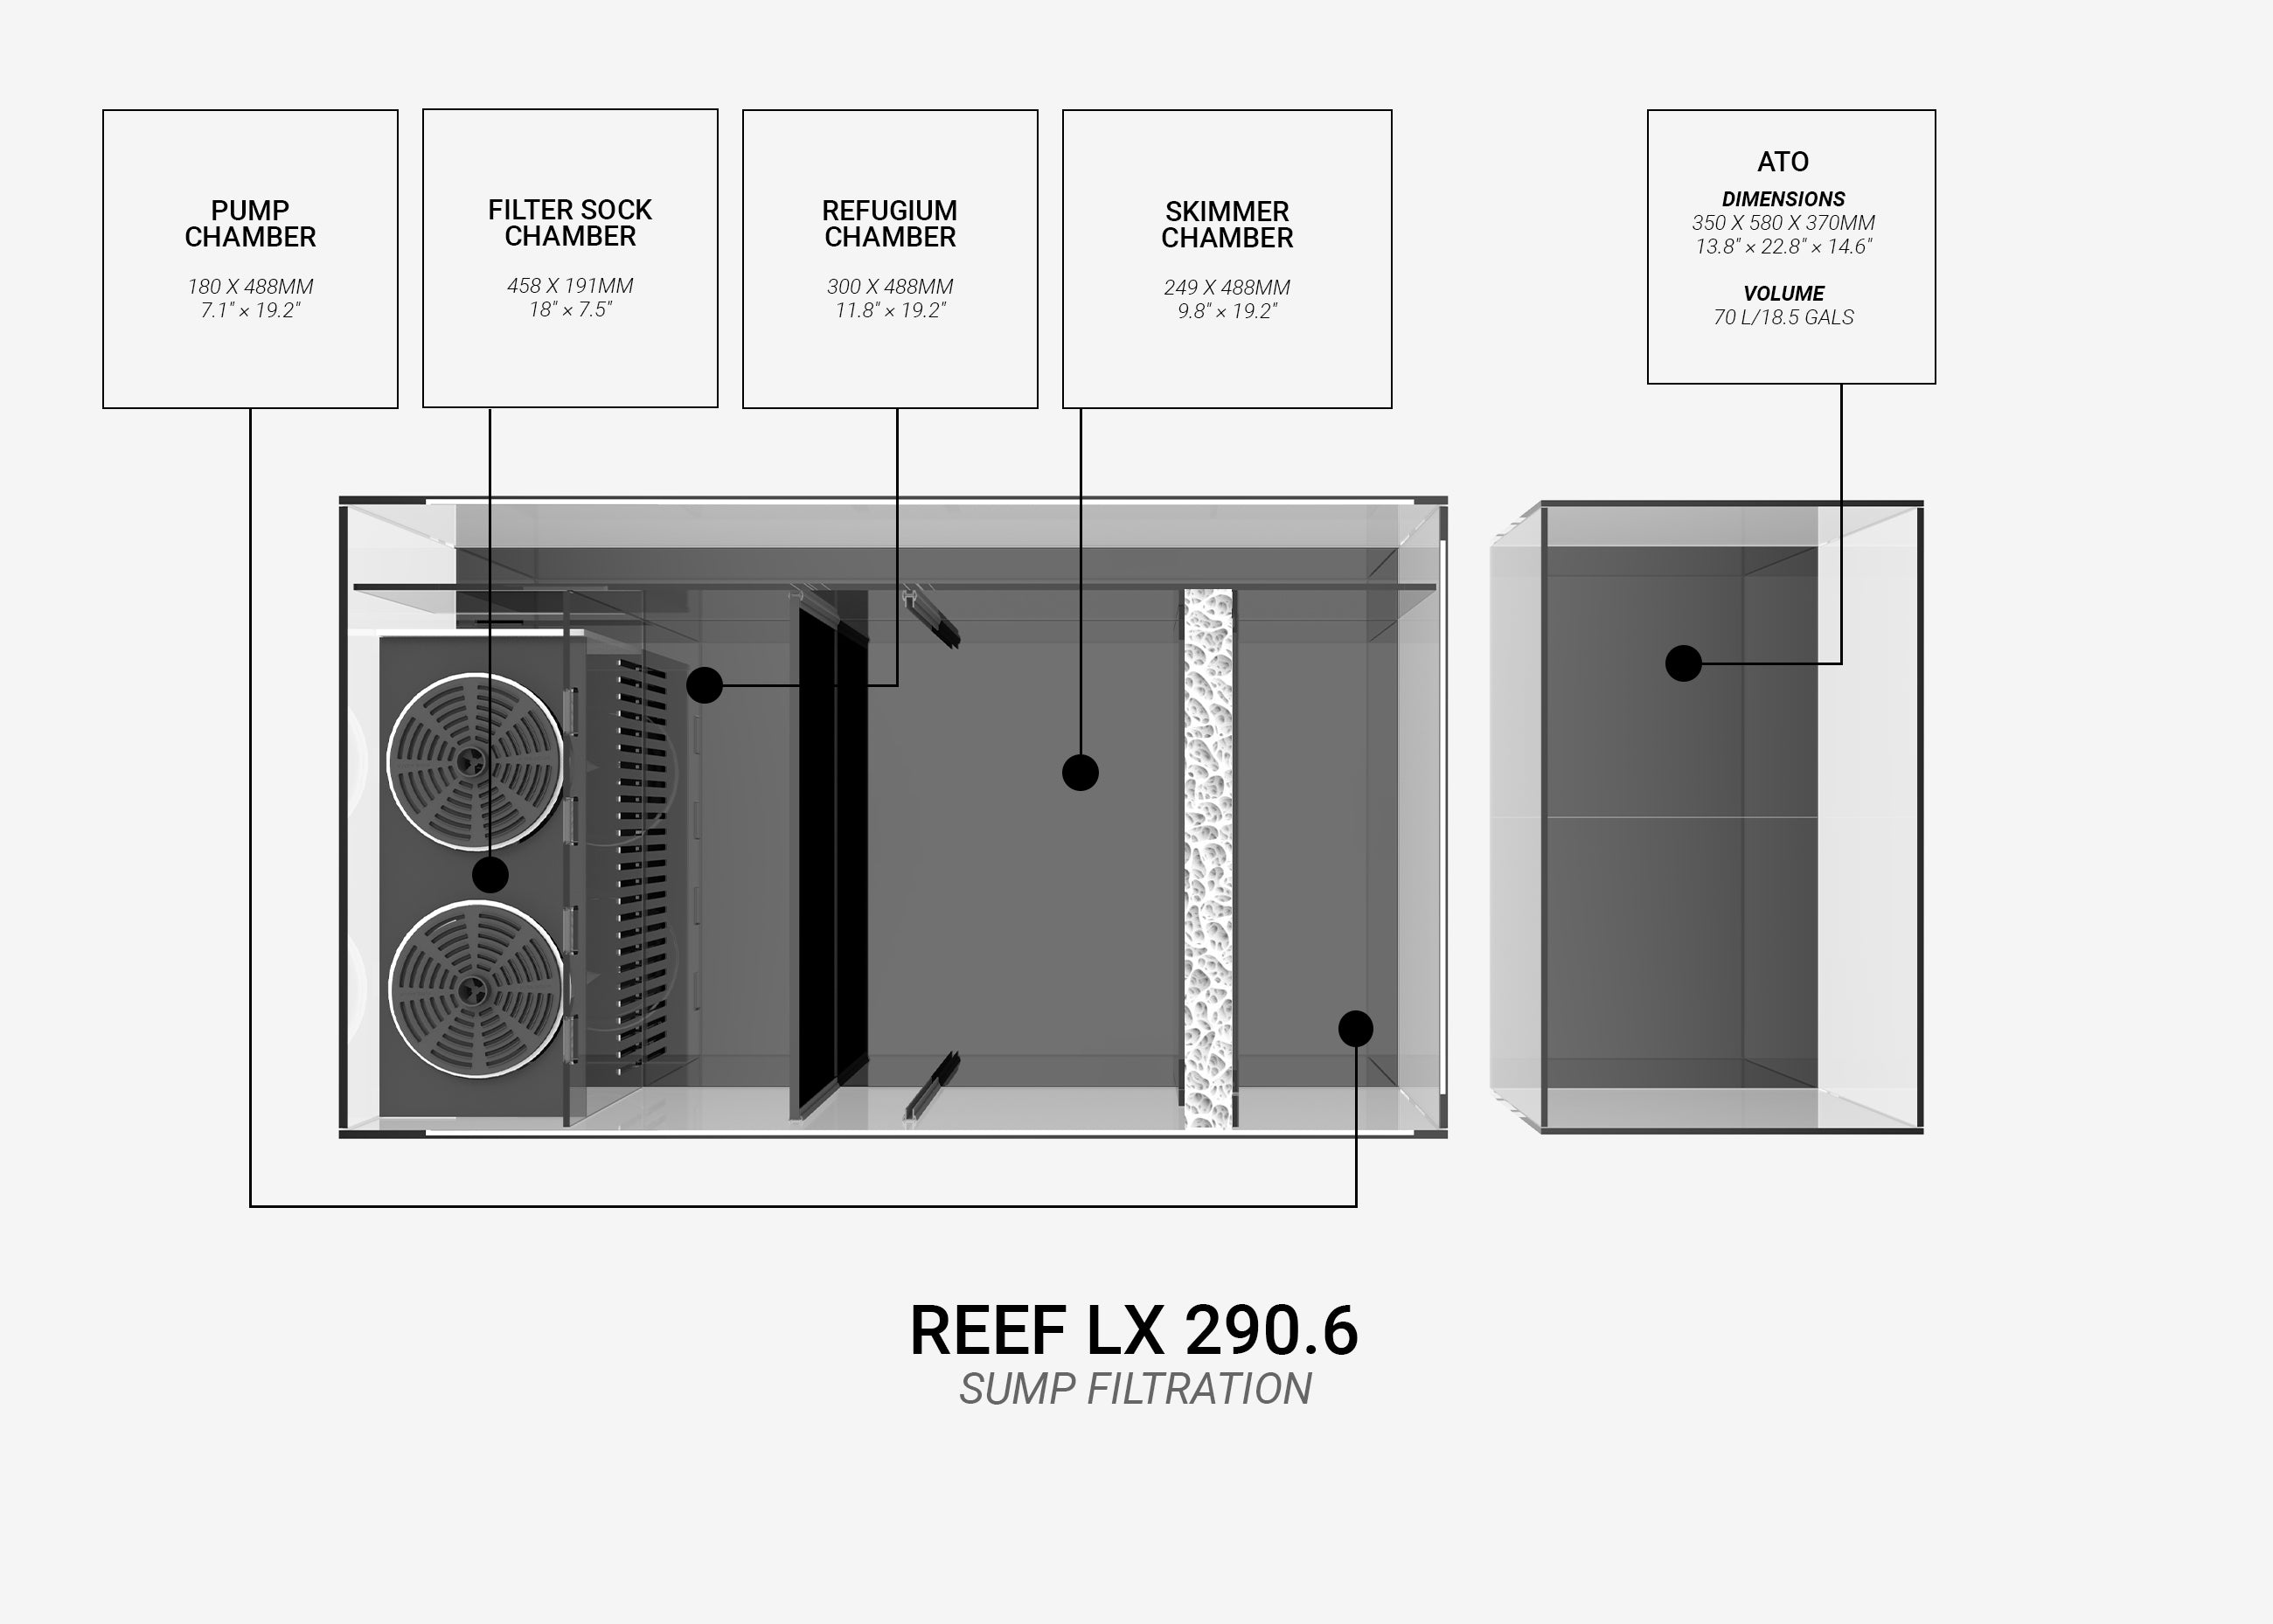
- Waterbox Reef LX 290.6
- Ecotech Vectra L2 pump
- Ecotech Radion G5 Blue ( x1 already have)
- Neptune Apex
- Neptune ATK
- Neptune Trident
- Neptune AFS
- Red Sea Reefmat 1200
- Reef Octopus Regal 250SSS Skimmer
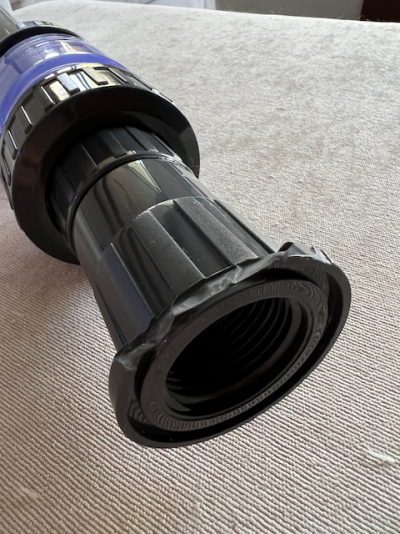
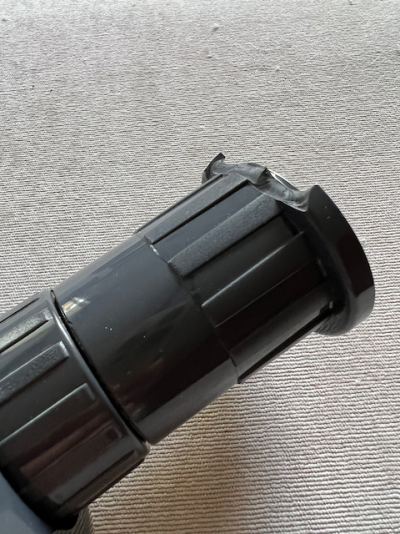
- Innovated Marine Helio 1000W PTC Heater
- Ecotech MP40s x2
Livestock:
- Biota blue mandarin dragnet pair
- Biota Yellow Tang
- 2x Blackstorm clown fish
- Tomini Tang
- Achilles Tang
- Purple Tang
- Flame Angel
- Red scooter dragonet
- Blue Hippo Tang
- Leopard Wrasse
Items in italics are the ones already have and moving over to the new build.
Substrate will just be Caribsea Reef Sand and Live Reef Rock.
Uncertain if we’ll re-setup the Pax Bellum ARID N18 for this. It’s likely not large enough for the tank, and we’d need to get the N24 if we wanted to go down this path. We may eventually set up the refugium, which would need it’s own light and such. Last crazy heat wave also may mean looking into a chiller as well.
Open to suggestions and feedback.