Help! Plywood tank seams leaking!

Valum

Active Member
View Badges
Joined
Jul 29, 2020
Messages
153
Reaction score
149
Location
Liverpool
Rating - 0%
0   0   0
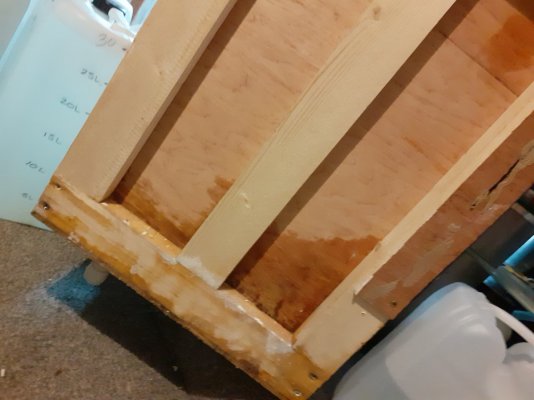
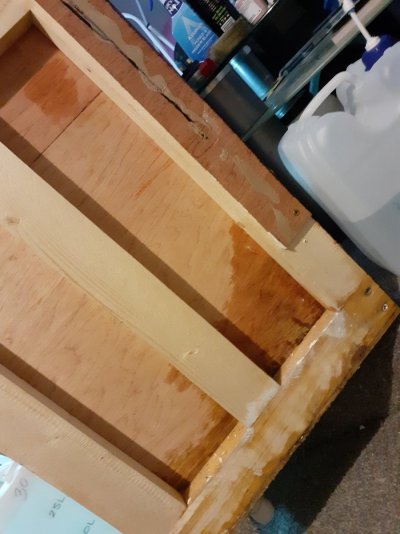
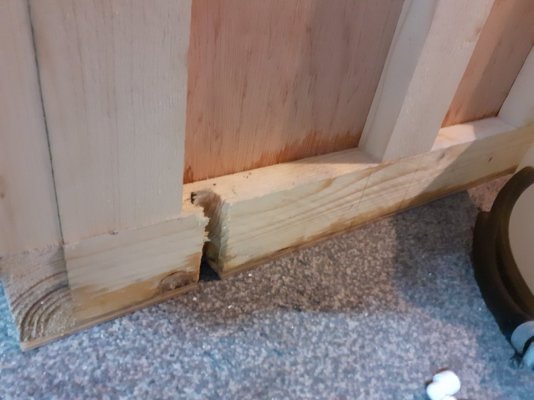
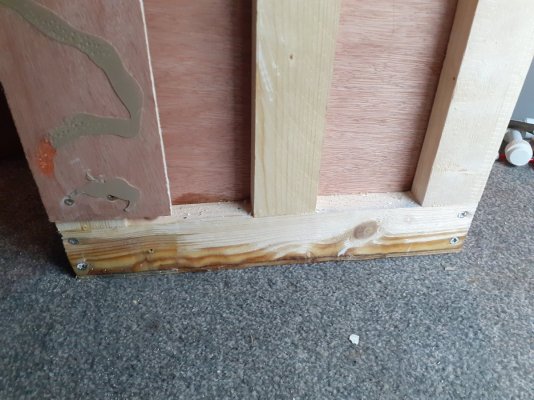
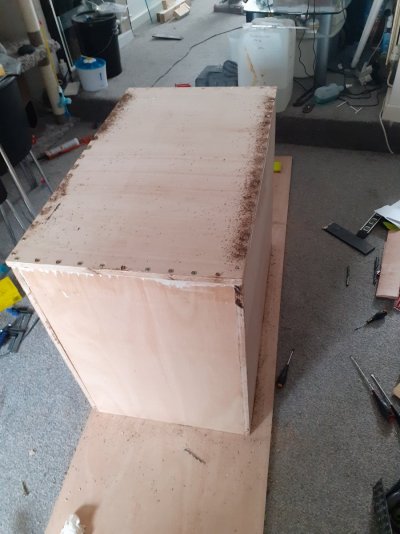
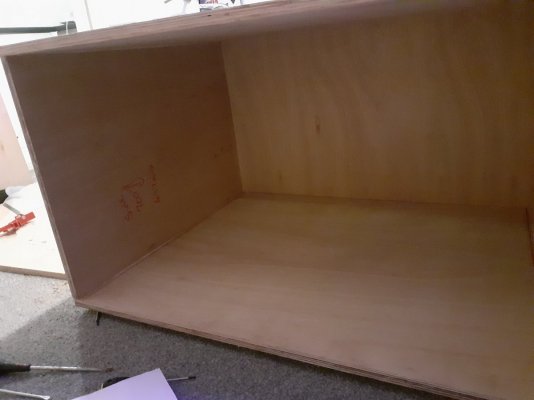
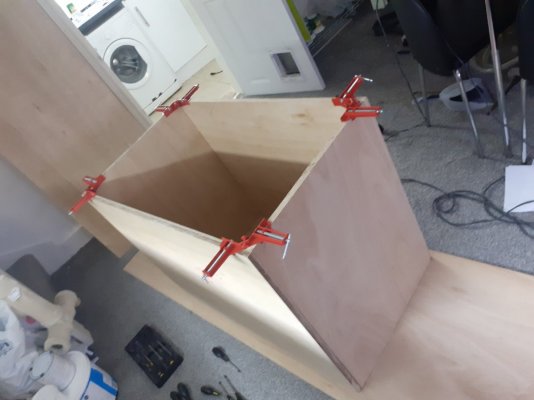
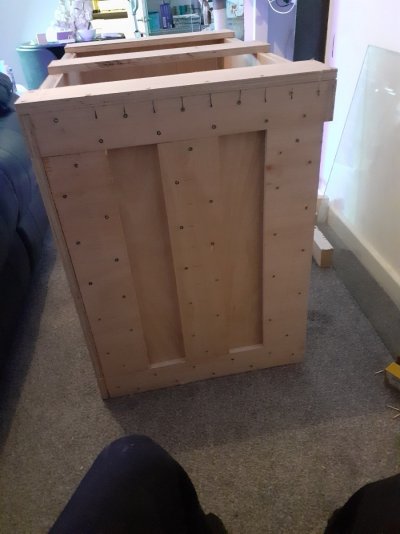
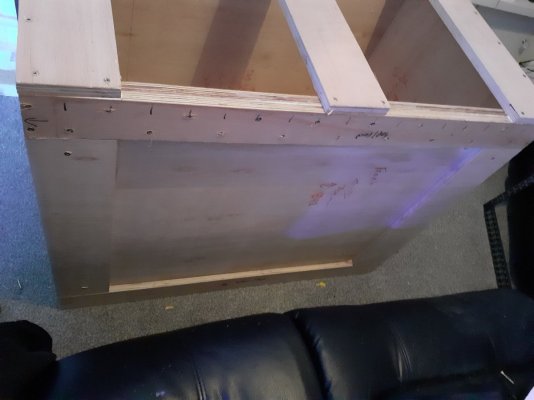
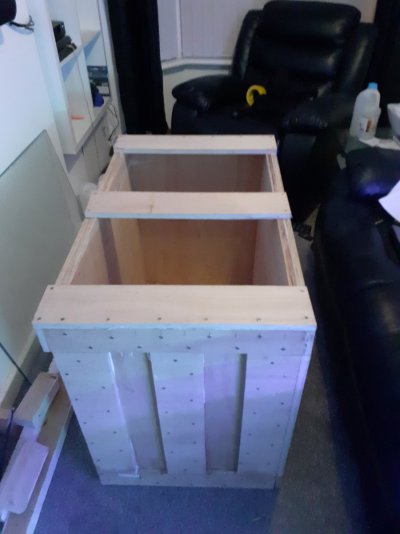
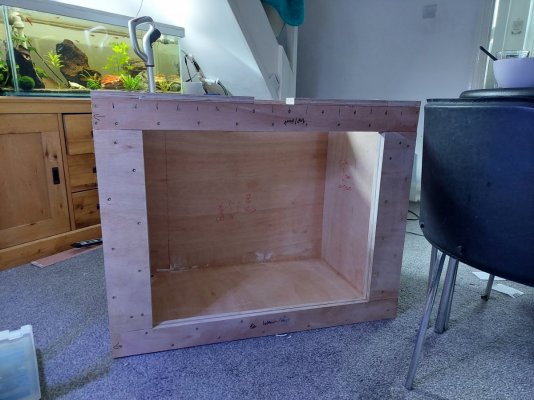
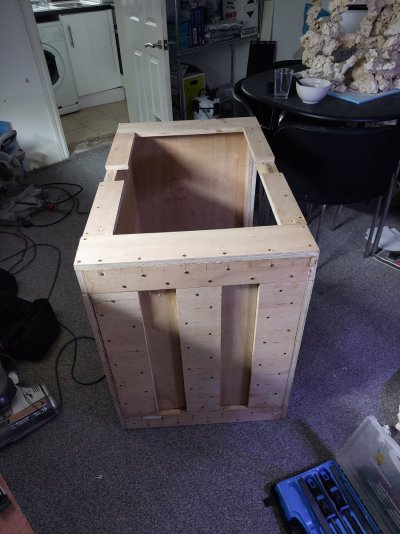
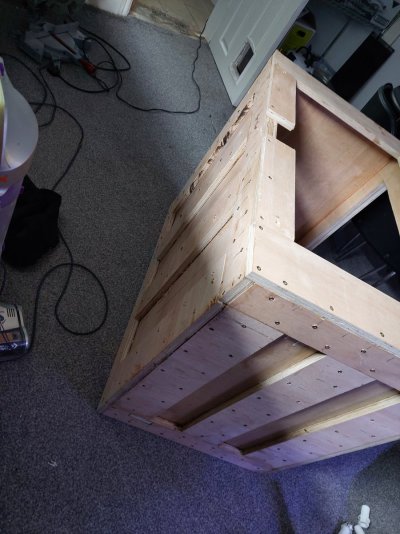
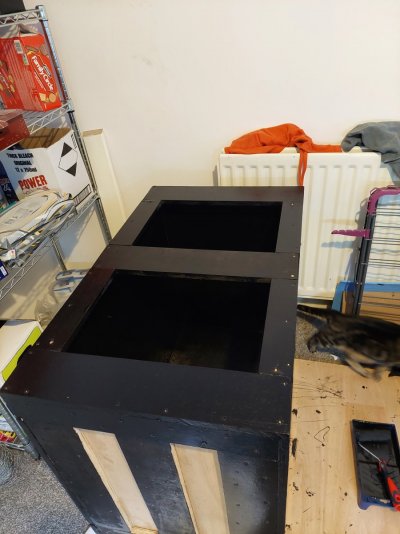
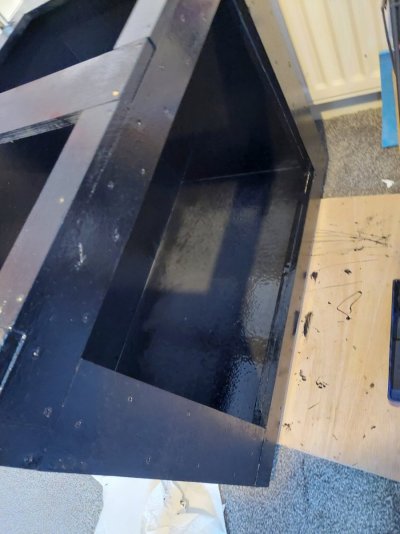
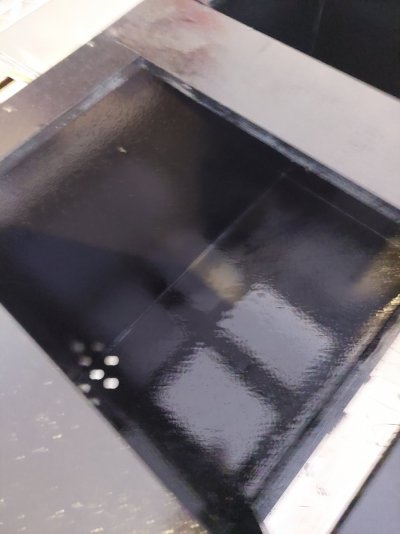
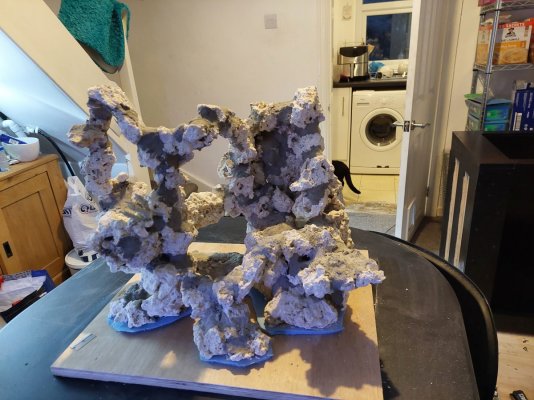
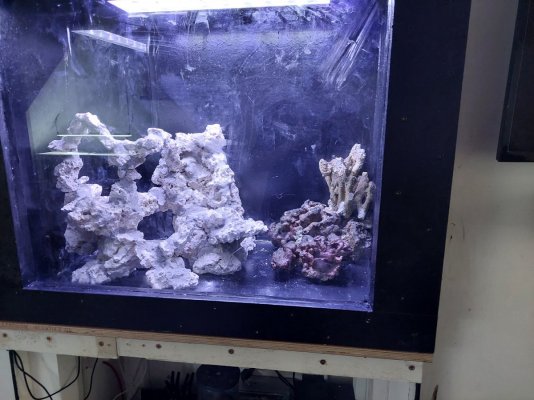
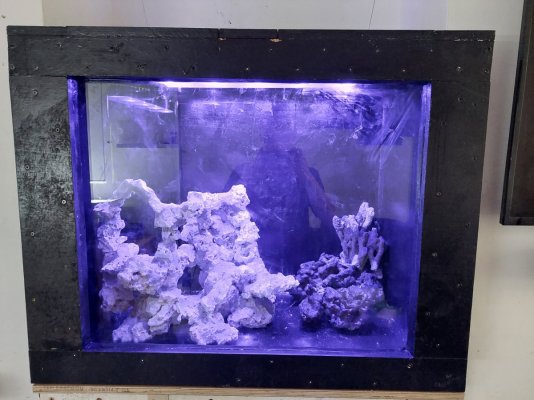
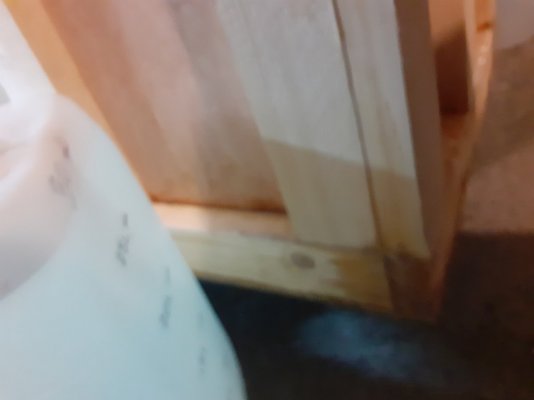
Advice needed I recently built this tank 90gallon plywood tank my seems appear to be leaking and capillary action is making it soak onto the wood

I've fibreglassed the seals and covered with pond paint, I've then used pond seal to try and stop the leak but this has failed

Please help I've had to put the fish in QT and corals in a box
20210310_232007.jpg 20210310_232004.jpg 20210310_232003.jpg 20210310_231953.jpg 20210310_231950.jpg
 
OP
OP
Valum

Valum

Active Member
View Badges
Joined
Jul 29, 2020
Messages
153
Reaction score
149
Location
Liverpool
Rating - 0%
0   0   0
Are you strengthening the bottom section. Of the wood where the glass meets the wood? Wood flexes and glass doesn't, if you don't overbuild in this section you can get a failure point along the bottom where it starts to delaminate even after waiting the proper cure time.
Not too sure how I would improve that now it's as strong as it could be put it that way not really following you I'm not entirely sure how this would be done since the last leak I doubled the plywood up so now it's 2 sheets instead of one
 
Upvote 0
OP
OP
Valum

Valum

Active Member
View Badges
Joined
Jul 29, 2020
Messages
153
Reaction score
149
Location
Liverpool
Rating - 0%
0   0   0
The issue for the last minor leak was due to not removing the glass on the initial fix, the silicone bead wasn't the best I didn't use the tip at all so the bead was about 1cm thick and due to the angle and lack of equipment u was unable to spread it by applying force to the glass, this time I intend on having spacers having the tank off the stand facing downwards
 
Upvote 0
OP
OP
Valum

Valum

Active Member
View Badges
Joined
Jul 29, 2020
Messages
153
Reaction score
149
Location
Liverpool
Rating - 0%
0   0   0
Just thought I'd update, everyone that said rebuild you where correct but probably not for the sole reasons you mentioned.

To the user that told me to take it slow best advice ever I slowed things down an realised things that have caused me to completely rebuild

Don't criticise me too harshly as im going to criticize myself here. I know what I did wrong and im going to address them here hopefully it helps someone else.

So mistake one thickness of plywood I used 9mm glass calculations said that 10-12 would be fine so I used some deduction to think that 9mm plywood would be ok, this is certainly not the case as the tank is quiet tall 27inch similar to the size of Joey's plywood tanks so I should have been mimicking his wood sizes even though mines 90gal and his is 300gal the height is the main contributing factor. If I built a glass aquarium 10-12 would have been ok

Second mistake not using wood glue/ seeing its value not only did I not screw the plywood together then brace the outside I didn't use any woodglue I built the outside structure then boarded the inside this probably serverly impacted the strength

Third mistake using many more than one piece of plywood per side on the back and side panel I used to pieces and the front panel I used a total of 4 sheets I noticed when I stripped it down the seam had cracked on the side panel. Obviously due to movement and even if I had waterproofed it successfully I don't think it would last longer than 12 months

Fourth mistake not focusing on a good seal on the glass this was highlighted above you really need to apply pressure to the glass untill it is sealed

So now I have my mistakes out of the way I'll go through my remedy

I'm going to use 18mm plywood screwed in together and all joins wood glued then I'm going to brace it again with 18mm plywood in strips like in Joey's older video on building these tanks 2x4s are not an option due to clearance issues/significant tank volume deduction

I'm going to lay the tank face down when placing the glass in place using 2x4s to hold it in place

Finally if you are looking to build one fo these tanks sit down plan it out and then run through what could go wrong don't just watch one plywood build video watch hours of them and rewatch them again.. don't let this put you off as they are great fun to build

So my insufficient materials did I save any money no.. not just because I have to rebuy but also because 2 sheets of plywood 18mm is £76 the 2x4s and 3 sheets of 9mm as they come in smaller sheets cost me £100 that's not including the extra sheet I had to buy to fix the bottom

So total costs
£5 woodglue
Screws maybe £15
Plywood £76
Glass £50
Pond paint £30
Silicone £20

£196

Obviously the real cost for me was higher because I've bought

Pond paint £90
Plywood £200
Glass £50
Silicone £100
Screws £15

£455

But the tank I wanted was £800 and still had less volume than the end result in this project and the end result of mine will make it look like its in the wall so I'm willing to take the £200 loss in the short term as it's gave me some really valuable skills

I've been blessed in this hobby that all of my tanks so far have cost me nothing so my sump was completely free
 
Upvote 0

Staghorn

Original Reef Gangster
View Badges
Joined
Feb 12, 2013
Messages
876
Reaction score
1,592
Location
West Palm Beach FL
Rating - 0%
0   0   0
Hey buddy this has been a learning lesson for you and even though sometimes the are expensive they are invaluable because you learn allot. I’ve been a carpenter for 25 years, I have never built a wood aquarium but if I was going to do it I would make sure to definitely use 18mm(3/4) plywood and I would absolutely use 2x4 framing in end just like the wall of a house like mentioned above on all 5 sided. With an aquarium the amount of pressure being exerted on the sides is astronomical and it only takes a small deflection to cause your paint or silicone to crack. Make sure all your joints are super tight pva glue won’t span a gap, if when your gluing your pieces together you have gaps use epoxy which will fill gaps. Use plenty of fasteners so your joints are very tight for a project like this I wouldn’t use more than 4” spacing. And I don’t know what commonly accepted for the glass attachment but make sure before silicon inc the glass in place that your glass mates perfectly with the front and just the wood before gluing, you want the glass to be touching evenly all the way around not have to add more silicone in some places than others, apply even pressure all the way around while the silicone is curing with some wood blocks that you can shim against the back of the tank. And pray! Just my .02. Good luck with everything.
 
Upvote 0
OP
OP
Valum

Valum

Active Member
View Badges
Joined
Jul 29, 2020
Messages
153
Reaction score
149
Location
Liverpool
Rating - 0%
0   0   0
Hey buddy this has been a learning lesson for you and even though sometimes the are expensive they are invaluable because you learn allot. I’ve been a carpenter for 25 years, I have never built a wood aquarium but if I was going to do it I would make sure to definitely use 18mm(3/4) plywood and I would absolutely use 2x4 framing in end just like the wall of a house like mentioned above on all 5 sided. With an aquarium the amount of pressure being exerted on the sides is astronomical and it only takes a small deflection to cause your paint or silicone to crack. Make sure all your joints are super tight pva glue won’t span a gap, if when your gluing your pieces together you have gaps use epoxy which will fill gaps. Use plenty of fasteners so your joints are very tight for a project like this I wouldn’t use more than 4” spacing. And I don’t know what commonly accepted for the glass attachment but make sure before silicon inc the glass in place that your glass mates perfectly with the front and just the wood before gluing, you want the glass to be touching evenly all the way around not have to add more silicone in some places than others, apply even pressure all the way around while the silicone is curing with some wood blocks that you can shim against the back of the tank. And pray! Just my .02. Good luck with everything.
I definitely appreciate your input and it's nice to have that advise from someone who has managed to stay in this kind of trade for 25years your input is very valuable and yeh it's been a tough learning curve but to be honest I'm not mad about the cost but I just hope that if even one person learns from this thread they might not be in the same position to loose £200

But on a positive the amount of hands on experience this project has gave me is worth that £200 at the end of the day I've paid myself £200 to learn skills in a trade because if I had of got someone like you to build it then it definitely would have cost more than that and it definitely makes me see the value in the work you do and would definitely consider getting a trades person to do work that isn't within my remit
 
Upvote 0

Staghorn

Original Reef Gangster
View Badges
Joined
Feb 12, 2013
Messages
876
Reaction score
1,592
Location
West Palm Beach FL
Rating - 0%
0   0   0
Unfortunately you do have to pay for experience in some cases. I will say that through trial and error, when you finally do achieve this it will a major accomplishment and something you can be proud of. Like you said thanks to this platform not only are you learning but allot of other people will benefit greatly from your project.
 
Upvote 0
OP
OP
Valum

Valum

Active Member
View Badges
Joined
Jul 29, 2020
Messages
153
Reaction score
149
Location
Liverpool
Rating - 0%
0   0   0
Here's an update so far taking my time and getting it right seems much stronger already
 

Attachments

  • 20210418_122040.jpg
    20210418_122040.jpg
    163.6 KB · Views: 115
  • 20210417_233837.jpg
    20210417_233837.jpg
    108.9 KB · Views: 97
  • 20210417_192236.jpg
    20210417_192236.jpg
    103.3 KB · Views: 89
Upvote 0
OP
OP
Valum

Valum

Active Member
View Badges
Joined
Jul 29, 2020
Messages
153
Reaction score
149
Location
Liverpool
Rating - 0%
0   0   0
Just got to brace the rear cut the viewing panel out and water proof and add a couple of braces on top
 

Attachments

  • 20210420_222044.jpg
    20210420_222044.jpg
    139.7 KB · Views: 81
  • 20210420_222024.jpg
    20210420_222024.jpg
    116.5 KB · Views: 83
  • 20210420_222026.jpg
    20210420_222026.jpg
    111.9 KB · Views: 67
  • 20210420_222033.jpg
    20210420_222033.jpg
    84.4 KB · Views: 72
Upvote 0
OP
OP
Valum

Valum

Active Member
View Badges
Joined
Jul 29, 2020
Messages
153
Reaction score
149
Location
Liverpool
Rating - 0%
0   0   0
I've used 5mm x 50mm screws on the primary structure then all braces are 4.5mm x 30mm screws obviously anything bigger than 36mm would have gone through the wood

For the 5mm screws they are self tapping but still require pilot holes which I drilled 4mm holes otherwise it splits the wood
 
Upvote 0
OP
OP
Valum

Valum

Active Member
View Badges
Joined
Jul 29, 2020
Messages
153
Reaction score
149
Location
Liverpool
Rating - 0%
0   0   0
Ready for a quick sand and pond paint/silicone
 

Attachments

  • 20210422_200812.jpg
    20210422_200812.jpg
    199.8 KB · Views: 65
  • 20210422_200819.jpg
    20210422_200819.jpg
    205 KB · Views: 60
  • 20210422_200822.jpg
    20210422_200822.jpg
    201.8 KB · Views: 72
Upvote 0

salty joe

Well-Known Member
View Badges
Joined
Dec 14, 2015
Messages
825
Reaction score
508
Location
Medina, Oh
Rating - 0%
0   0   0
People compare pros and cons of glass vs. plexiglas tanks here all the time. In this day an age, is there any benefit to a DIY plywood tank?
On a large tank, absolutely. On a custom tank, probably. I built a 700 gallon woody six years ago, no way could I afford a tank that size otherwise. Plus, like the OP mentioned there's the experience and satisfaction.

Valum, the box you built looks solid, make sure to treat the top edges of plywood and all sides of brace. Be sure to fasten and glue the brace so it stays put for keeps. Those areas will get wet. I don't like the idea of using silicone for the inside corners. More than one way to skin a cat but I nailed and glued fillets on inside corners, leaving 45 degree surfaces about 1 1/2 inches wide. Then, I used the pour method with epoxy. I'm not familiar with pond paint. BTW, once you put silicone on it, you can pretty much forget coating it with anything else, including silicone. Nothing it seems sticks to silicone.

Good luck!
 
Upvote 0
OP
OP
Valum

Valum

Active Member
View Badges
Joined
Jul 29, 2020
Messages
153
Reaction score
149
Location
Liverpool
Rating - 0%
0   0   0
Pond paint is similar to pond shield , that's the second coat I applied about an 2 hours ago have to wait 5 days now, that's too add water but to be on the safe side not installing glass untill it's fully set
 

Attachments

  • 20210425_175336.jpg
    20210425_175336.jpg
    152.8 KB · Views: 67
  • 20210425_175339.jpg
    20210425_175339.jpg
    137.1 KB · Views: 64
  • 20210425_175341.jpg
    20210425_175341.jpg
    108 KB · Views: 69
Upvote 0
OP
OP
Valum

Valum

Active Member
View Badges
Joined
Jul 29, 2020
Messages
153
Reaction score
149
Location
Liverpool
Rating - 0%
0   0   0
Oh also pond paint is a 2 part epoxy I've made sure the corners are well covered silicone is just added security I guess, everything is glued together apart from the centre brace due to the size of my aqua Scape I need to be able to get that in and out I could have missed out the centre brace maybe but I wanted it to be safe
 

Attachments

  • 20210425_204605.jpg
    20210425_204605.jpg
    206.2 KB · Views: 74
Upvote 0
OP
OP
Valum

Valum

Active Member
View Badges
Joined
Jul 29, 2020
Messages
153
Reaction score
149
Location
Liverpool
Rating - 0%
0   0   0
Only real thing that has annoyed me about this failure is my livestock the temp dropped in my bucket to around 20 degrees this went unnoticed as I'm focusing on the build and everything has been moved so much recently

I've lost 2/3 heads of my torch completely bleached and the remaining one doesn't come out

Lost a young clown

And my 2 RBTA are really looking bad they have stayed alive the past week but they are completely white and staying relatively shriveled

Once the tank is done I'm going to let it cycle completely with my my new reef rock before any livestock goes in
 
Upvote 0
OP
OP
Valum

Valum

Active Member
View Badges
Joined
Jul 29, 2020
Messages
153
Reaction score
149
Location
Liverpool
Rating - 0%
0   0   0
Upvote 0
OP
OP
Valum

Valum

Active Member
View Badges
Joined
Jul 29, 2020
Messages
153
Reaction score
149
Location
Liverpool
Rating - 0%
0   0   0
Here's a lesson for you save you a lot of swearing MAKE SURE YOUR GLASS DRY FITS

I've just had to rip my bracing off due to the glass's not fitting in while the silicone was curing
 
Upvote 0

salty joe

Well-Known Member
View Badges
Joined
Dec 14, 2015
Messages
825
Reaction score
508
Location
Medina, Oh
Rating - 0%
0   0   0
A long time ago, I had to learn that the hard way too. Not with an aquarium, same thing though. Ugg, hang in there.
 
Upvote 0
OP
OP
Valum

Valum

Active Member
View Badges
Joined
Jul 29, 2020
Messages
153
Reaction score
149
Location
Liverpool
Rating - 0%
0   0   0
I've got the tank up on the stand can tell the construction difference by how difficult it was to lift alone, stands not quite deep enough so I will have to extend it (bonus more water volume
 

Attachments

  • 20210429_185723.jpg
    20210429_185723.jpg
    201.5 KB · Views: 70
  • 20210429_185731.jpg
    20210429_185731.jpg
    191.4 KB · Views: 82
Upvote 0

Algae invading algae: Have you had unwanted algae in your good macroalgae?

  • I regularly have unwanted algae in my macroalgae.

    Votes: 44 35.2%
  • I occasionally have unwanted algae in my macroalgae.

    Votes: 27 21.6%
  • I rarely have unwanted algae in my macroalgae.

    Votes: 9 7.2%
  • I never have unwanted algae in my macroalgae.

    Votes: 10 8.0%
  • I don’t have macroalgae.

    Votes: 31 24.8%
  • Other.

    Votes: 4 3.2%
Back
Top