How Much did you spend on your LED fixture?

How Much did you spend on Each fixture (individual Unit)


  • Total voters
    478

XavierZ06

Active Member
View Badges
Joined
Jul 23, 2008
Messages
372
Reaction score
105
Location
NC
Rating - 0%
0   0   0
Roughly $1000 and unknown hours on my DIY fixture.

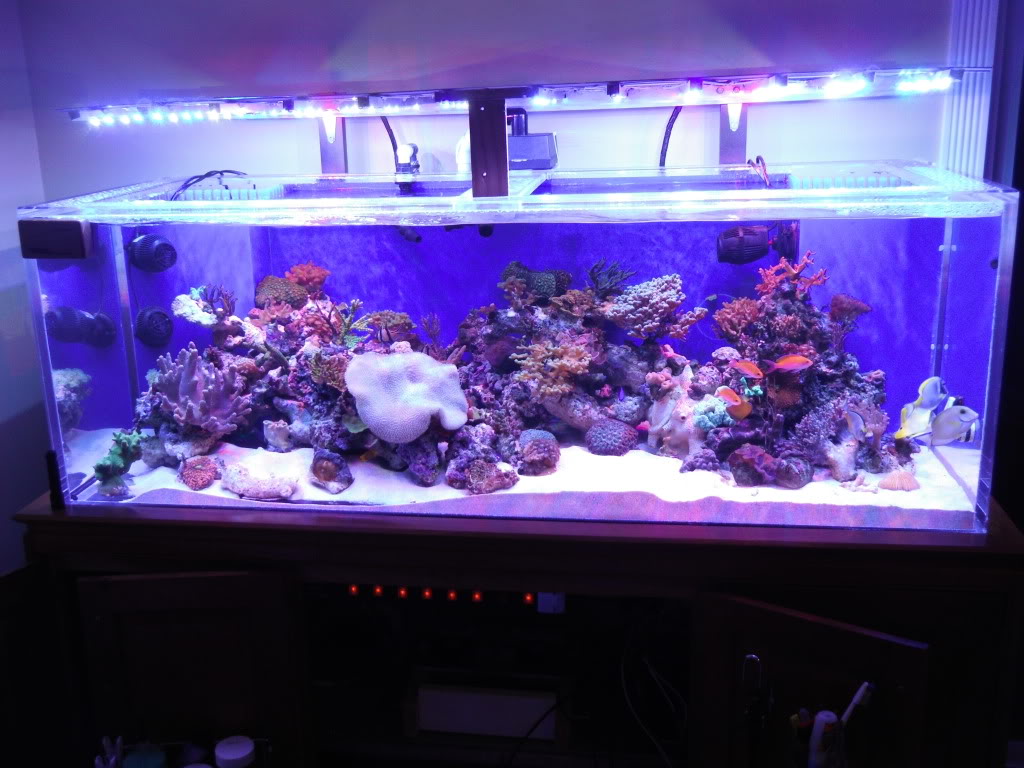
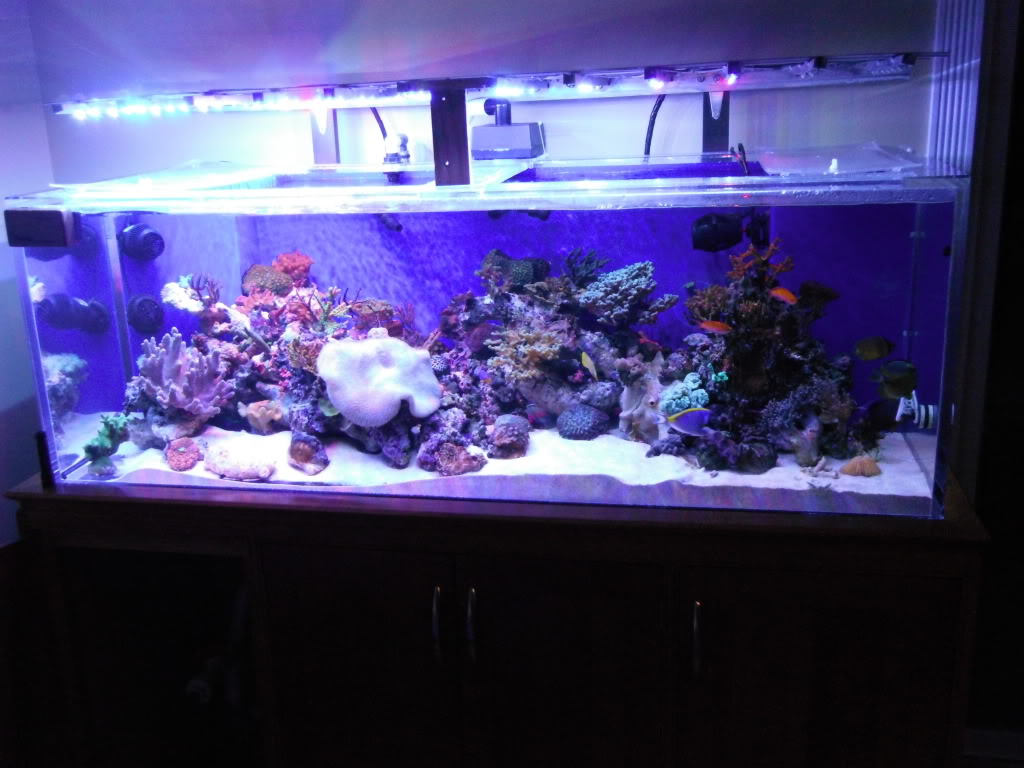
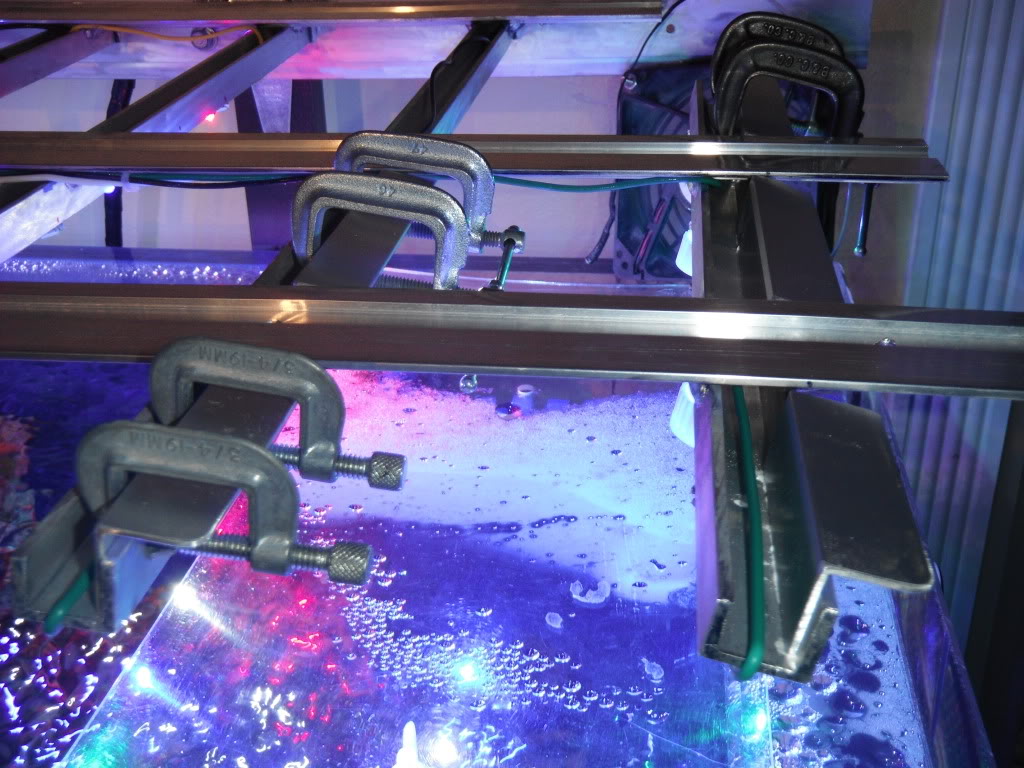
43"x 15"x3" (40x10 heatsink), 216w, Active Cooling, Fully Dimmable across 4 channels. All drivers are internal, Fan power supply internal, single power cord to fixture, 2 CAT5e cords for dimming via the Apex.

photo-6_zps07c94cf5.jpg

photo-5_zps3c40882f.jpg

photo-4_zpsd28ac51a.jpg

Wow. Very impressive. Do you have a diy thread anywhere? How did you keep only one power cord to the fixture? Looks awesomely clean
 

Daimyo68

Active Member
View Badges
Joined
Mar 1, 2010
Messages
254
Reaction score
39
Location
North Palm Beach, Florda
Rating - 0%
0   0   0
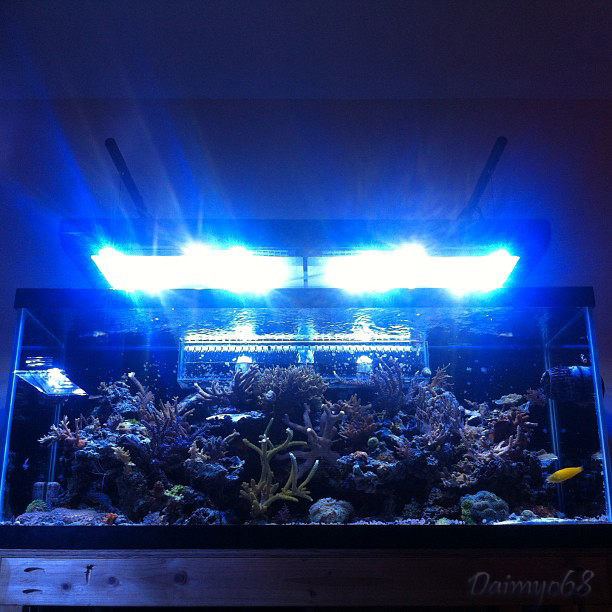
Still well done.

LEDLink offers some self adhesive 80 degree optics that are reasonable priced.

If you have 1/2" of room Carclo offers a very nice holder and given you have no hood their Ripple Wide Optics would over double your PAR on the sand bed with the fixture 18" above the water. I prefer these on my fixtures given the ability to hang the fixture 12-18" off the water. If you have to be close to the water their Wide Angle Reflectors (70-80 degrees) work quite well.

I've found over kill on the heatsink in some circles proper thermal management. The cooler the LEDs are the brighter they are and the longer they last.

Fans are always the finer point. Thousands to choose from. I've found the quieter ones are generally rated for a longer life. 30-50,000 Hours should be what your looking for.

One can go all day long on the advantage of in fixture or remote mounted...I went with in fixture as the HeatsinkUSA heatsink has the capacity to lower the temp of the LEDs and the Drivers which will increase their life span.


Heat always lowers the life of electronic components.

Cheers

Bill
I'm thinking about optics, as I will be moving to a 150g (48x30x24) soon, so I will see what numbers I get when this happens. Obviously, the extra height of the tank is definitely going to be a factor.

I'm very happy with the heatsink, it was money well spent ($160 shipped for a 10"x40" piece). I ran the fixture for several hours before I installed the fans, and could easily "lay my face" onto the fins without worry of being burned, as it was barely warm. The fans are added protection, and look cool too :)


The framing/channels (aluminum) I made to hold the drivers, is machine screwed to the sides of the heatsink, so much of the heat generated by the drivers is transferred to the heatsink, and then pushed/pulled away by the fans, so the heatsink does double duty in this area. The face of the drivers are in the curved sides, and when I designed the layout for the fans, I mounted the outer fans so that they would push/pull air across several areas. They blow onto/across the top and bottom of the sink, and also down the interior of the curved sides. Those 4 outer fans provide a ton of service!

Wow. Very impressive. Do you have a diy thread anywhere? How did you keep only one power cord to the fixture? Looks awesomely clean

I took some pictures (when I remembered), but never did a build thread. I designed this for myself, and threw it at my buddy, who owns a LFS here where I live. He's been in the led scene longer than led's have been mainstream in the hobby. He builds tons of custom sized fixtures for customers, and I wanted to add some "elegance" to his design.


As for the "one power cord": Anyone who DIY's an led fixture with internal drivers can do this. The drivers use little to no power (when the leds are off), even when power is supplied to them. So with that in mind, there's no reason to run several power cords, using up sockets on power strips or a controllers outlets (Apex Energy Bar in my case). All the drivers take 110vac in, so the use of "push-in wire connectors" solves the problem of "multiple cords".

I have 6 drivers in my fixture, and used 6 push-in connectors total (2 off of the plug to supply power to both sides of the fixture, and then 2 on each side to supply power to the drivers. They also supply power to power supplies for the fans, which inturn, convert the AC voltage to 12v DC out to the fans.

The female socket (Power Inlet) that the cord plugs into, also supplies a ground for the entire fixture, as well as the fan power supplies.

I've attached an image here of the channel/frame that the drivers are in on one side. At the top of the channel, and in-between the top and middle drivers, you can see the "push-in connector" (it's yellow).

IMG_0277_zps282539ed.jpg
 
Last edited:

vetteguy53081

Well known Member and monster tank lover
View Badges
Joined
Aug 11, 2013
Messages
91,848
Reaction score
202,833
Location
Wisconsin -
Rating - 100%
13   0   0
Nice to see an actual creation of lighting!!
I'm thinking about optics, as I will be moving to a 150g (48x30x24) soon, so I will see what numbers I get when this happens. Obviously, the extra height of the tank is definitely going to be a factor.

I'm very happy with the heatsink, it was money well spent ($160 shipped for a 10"x40" piece). I ran the fixture for several hours before I installed the fans, and could easily "lay my face" onto the fins without worry of being burned, as it was barely warm. The fans are added protection, and look cool too :)


The framing/channels (aluminum) I made to hold the drivers, is machine screwed to the sides of the heatsink, so much of the heat generated by the drivers is transferred to the heatsink, and then pushed/pulled away by the fans, so the heatsink does double duty in this area. The face of the drivers are in the curved sides, and when I designed the layout for the fans, I mounted the outer fans so that they would push/pull air across several areas. They blow onto/across the top and bottom of the sink, and also down the interior of the curved sides. Those 4 outer fans provide a ton of service!


I took some pictures (when I remembered), but never did a build thread. I designed this for myself, and threw it at my buddy, who owns a LFS here where I live. He's been in the led scene longer than led's have been mainstream in the hobby. He builds tons of custom sized fixtures for customers, and I wanted to add some "elegance" to his design.


As for the "one power cord": Anyone who DIY's an led fixture with internal drivers can do this. The drivers use little to no power (when the leds are off), even when power is supplied to them. So with that in mind, there's no reason to run several power cords, using up sockets on power strips or a controllers outlets (Apex Energy Bar in my case). All the drivers take 110vac in, so the use of "push-in wire connectors" solves the problem of "multiple cords".

I have 6 drivers in my fixture, and used 6 push-in connectors total (2 off of the plug to supply power to both sides of the fixture, and then 2 on each side to supply power to the drivers. They also supply power to power supplies for the fans, which inturn, convert the AC voltage to 12v DC out to the fans.

The female socket (Power Inlet) that the cord plugs into, also supplies a ground for the entire fixture, as well as the fan power supplies.

I've attached an image here of the channel/frame that the drivers are in on one side. At the top of the channel, and in-between the top and middle drivers, you can see the "push-in connector" (it's yellow).

IMG_0277_zps282539ed.jpg
 

vetteguy53081

Well known Member and monster tank lover
View Badges
Joined
Aug 11, 2013
Messages
91,848
Reaction score
202,833
Location
Wisconsin -
Rating - 100%
13   0   0
Holy cats, what some have spent on lights. I am Now Double LED and the results are fantastic !
 

flowflezy

Valuable Member
View Badges
Joined
Mar 30, 2013
Messages
1,432
Reaction score
242
Location
Texas
Rating - 0%
0   0   0
Another rapid led got it on special at Macna this year paid 250 usually 335 plus remote. Like it so far corals look really happy also.
 

miyags

Valuable Member
View Badges
Joined
Apr 12, 2009
Messages
1,750
Reaction score
804
Location
Erie PA
Rating - 0%
0   0   0
I just got a 120watt Dimmable Tao Tronics for $139.00. I don't know much about this light, but it's what I can afford right now. It seems well built and very bright. I still have to hang it, and not sure how I'm going to . Seen a lot of different ways to hang them.
 

vetteguy53081

Well known Member and monster tank lover
View Badges
Joined
Aug 11, 2013
Messages
91,848
Reaction score
202,833
Location
Wisconsin -
Rating - 100%
13   0   0
Do you have order info on the TAO unit ?
I just got a 120watt Dimmable Tao Tronics for $139.00. I don't know much about this light, but it's what I can afford right now. It seems well built and very bright. I still have to hang it, and not sure how I'm going to . Seen a lot of different ways to hang them.
 

vetteguy53081

Well known Member and monster tank lover
View Badges
Joined
Aug 11, 2013
Messages
91,848
Reaction score
202,833
Location
Wisconsin -
Rating - 100%
13   0   0

miyags

Valuable Member
View Badges
Joined
Apr 12, 2009
Messages
1,750
Reaction score
804
Location
Erie PA
Rating - 0%
0   0   0
I am getting laptop batteries on this suggestion. Is this all one word and/or spelled correctly??
Sorry its sunvalleyus find there store and look to the left and you will see a list. look for aquarium led lights there and click.
 

vetteguy53081

Well known Member and monster tank lover
View Badges
Joined
Aug 11, 2013
Messages
91,848
Reaction score
202,833
Location
Wisconsin -
Rating - 100%
13   0   0
Still led to a computer manufacturer ???
Sorry its sunvalleyus find there store and look to the left and you will see a list. look for aquarium led lights there and click.
 

gacolt

JEEP STUFF
View Badges
Joined
Jun 27, 2013
Messages
1,217
Reaction score
507
Location
cumming,ga
Rating - 0%
0   0   0
i spent around 600.00 for my two hobbiebug led fixtures on my 120g mixed reef happy with them and the customer service so far.might get one of the buildmyled uv led fixtures in the rear future
 

TJ's Reef

Valuable Member
View Badges
Joined
Oct 26, 2013
Messages
2,454
Reaction score
289
Location
Everett, WA
Rating - 0%
0   0   0
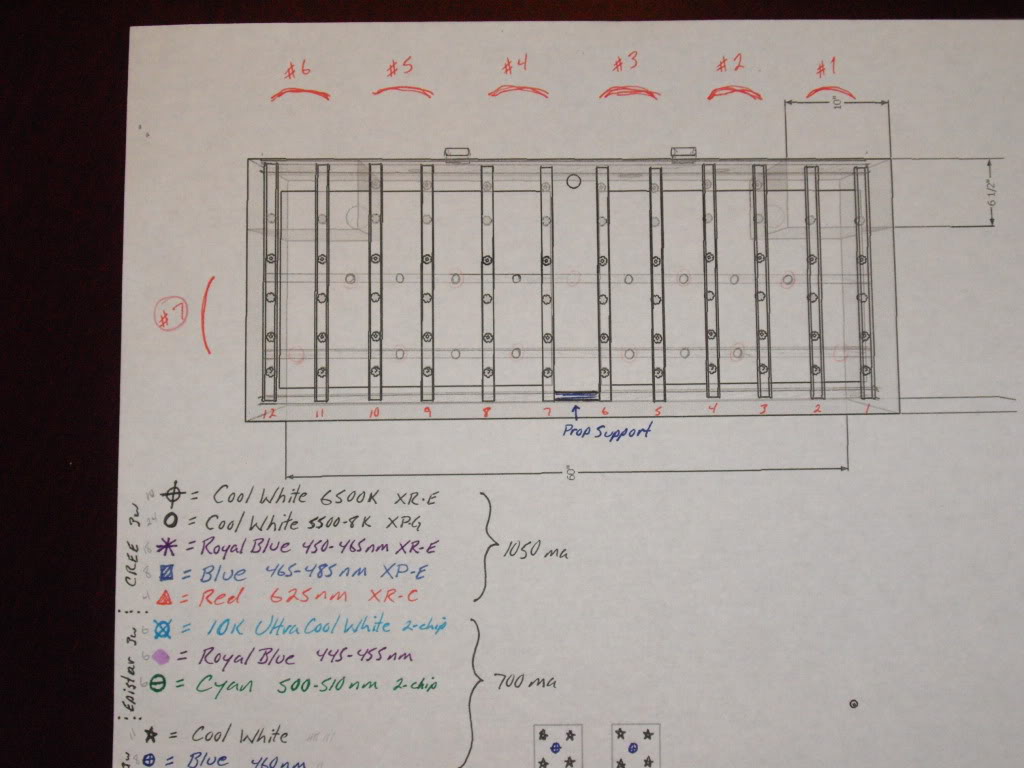
I was close to a $1000 total on my DIY build for my 60x24x20 125g DT. Started with the 48 Ultra Premium kit from Rapid LED then added significantly to the color mix of emitters. Total of 96 3w chips consisting of 6500K, 8000K and 10,000K Whites - 450nm, 460nm and 470nm peak Blues/Royal Blues - 510nm and 520nm Green/Cyan - 625nm Red and Violet in a ratio to best match a Phoenix 14K lamp
It is a true East -to-West linear six circuit setup with each ramping up for 20 minutes before next kicks on then ramping down in same order at end of day. I also have 12 XM-L 6500K on a Noonday circuit spread across framework plus a Neptune 5 Lunar light array on module.

initial drawing plans from 2009
/
custom welded aluminum framework/heatsink hinged off back supports

wiring and testing circuits, Noonday circuit on

1st circuit ramping up for the morning

All circuits on and about 60%

ramping down for the night

acess panel in back of stand for remote Drivers open/closed


added fins to end circuits for more passive cooling because of cutouts for overflow boxes


Cheers, Todd
 

TJ's Reef

Valuable Member
View Badges
Joined
Oct 26, 2013
Messages
2,454
Reaction score
289
Location
Everett, WA
Rating - 0%
0   0   0
WOW! Very impressed with (Daimyo68) DIY buid above. Great Job!

Cheers, Todd
 

inetjnky

Well-Known Member
View Badges
Joined
Nov 3, 2013
Messages
555
Reaction score
295
Location
Pennsylvania
Rating - 0%
0   0   0
I just got a 120watt Dimmable Tao Tronics for $139.00. I don't know much about this light, but it's what I can afford right now. It seems well built and very bright. I still have to hang it, and not sure how I'm going to . Seen a lot of different ways to hang them.

That unit is not dimmable. The dimmable units are going for between $169 and $179 right now.
 

quickreefer

Active Member
View Badges
Joined
Sep 19, 2013
Messages
370
Reaction score
62
Location
Macomb twp. Michigan
Rating - 0%
0   0   0
I spend close to 500$ on my 32' evergrow it2080. It sits on my 50 Breeder and I couldn't be more happy. Programmable and dimable . Haven't even turned the whites past 35% and it's brighter than my old ecoxotic led.
ImageUploadedByReef2Reef Aquarium Forum1384267711.517507.jpg

ImageUploadedByReef2Reef Aquarium Forum1384267738.434557.jpg
 

mainereefer

Valuable Member
View Badges
Joined
Nov 2, 2011
Messages
1,880
Reaction score
184
Location
maine
Rating - 0%
0   0   0
I have the dimmable china led fixtures and love them but I am upgrading....
the new lights are from the manufacture so no name (I could just put my name on them)
24" 176w fully programmable and controllable with remote only $155 each!!
 

Boa1277

Community Member
View Badges
Joined
Aug 11, 2013
Messages
54
Reaction score
40
Location
Tucson
Rating - 0%
0   0   0
2199.00 3X150 X 4 X 54watt t-5 Pacific Sun Pandora. Covering 60X 30X 21 Lee Mar Starphire!
 

High pressure shells: Do you look for signs of stress in the invertebrates in your reef tank?

  • I regularly look for signs of invertebrate stress in my reef tank.

    Votes: 41 32.0%
  • I occasionally look for signs of invertebrate stress in my reef tank.

    Votes: 29 22.7%
  • I rarely look for signs of invertebrate stress in my reef tank.

    Votes: 25 19.5%
  • I never look for signs of invertebrate stress in my reef tank.

    Votes: 33 25.8%
  • Other.

    Votes: 0 0.0%
Back
Top