- Joined
- Apr 24, 2019
- Messages
- 101
- Reaction score
- 82
Well the day is finally here.
For over a year I have been sourcing components reading reviewing and searching for the best deal possible to stretch my budget as far as I could. I’m not going to make some crazy long list of everything I decided on rather I will post additional write ups and my initial thoughts here as I install each item.
Here is the brief back story 7 or 8 years ago I had a 75gal mixed reef that I absolutely loved. I Picked everything up on Craigslist for $300. The last fish tank I had before that was a 10gal goldfish tank when I was 12.
But I had a buddy who had a bio cube29 he said “put in a deep sand bed and Change the water ever couple weeks and you will be fine”. So I did religious 20% water changes every other week and put in a 3” sand bed. I ran a protein skimmer and two canister filters and never owned a test kit. (I was lucky beyond belief) I kept that reef running for a few years that way. I had awesome growth and a few hiccups along the way. But five years ago (almost six now) we moved and to avoid the stress of moving the reef I sold everything for $1500. But I missed it.
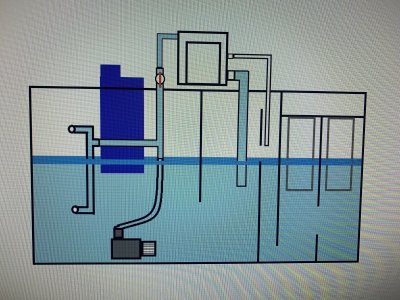
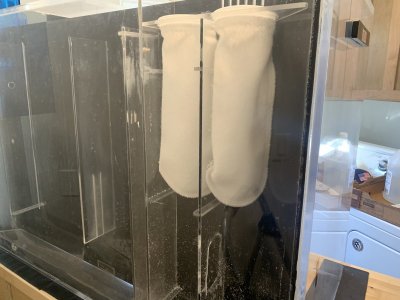
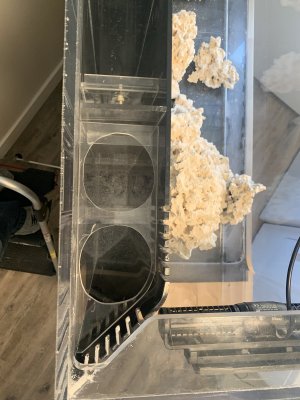
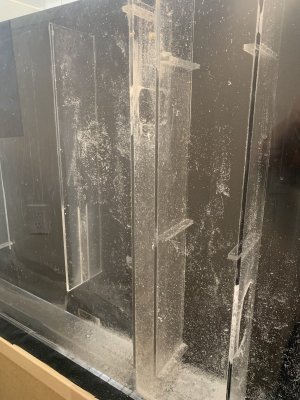
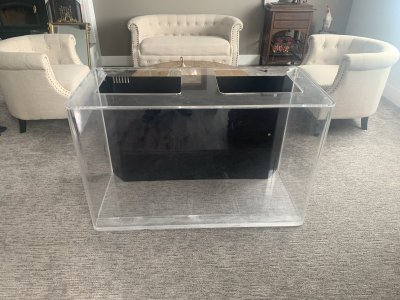
Last September while browsing Craigslist (for a fish tank) I found a 120gal acrylic AIO tank in Phoenix for $200 I drove 16 hours round trip to grab the tank. A few months later we sold our house and moved but this time I insisted that we buy a house that had a spot for my tank. My wife who had heard on a regular basis how much I missed my tank over the last few yearsagreed that a spot for it was a priority.
Well obviously because I am posting a build thread my hopes came true and here I am.
Today it’s the stand.
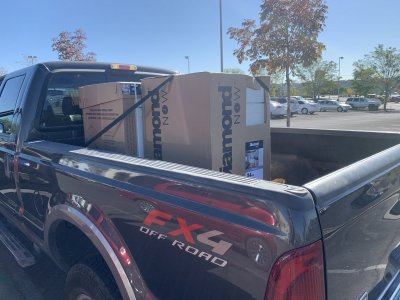
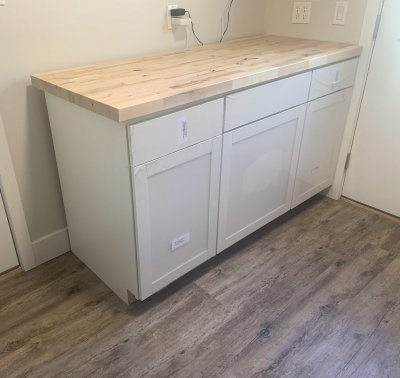
I purchased three base cabinets from Lowe’s, two 18” and a 24”and a 8’0” piece of butcher block counter top. That I cut down to 62”.
I joined all the base cabinets together and am applying polycrylic sealer to the top (4 coats) just to keep the water out.
I feel confident that this base will provide a strong foundation for my build


