Isaac's CADE 1500s2/ Peninsula Reef Build

kinetic

Valuable Member
View Badges
Joined
Oct 22, 2009
Messages
1,264
Reaction score
935
Location
Albany, CA
Rating - 0%
0   0   0
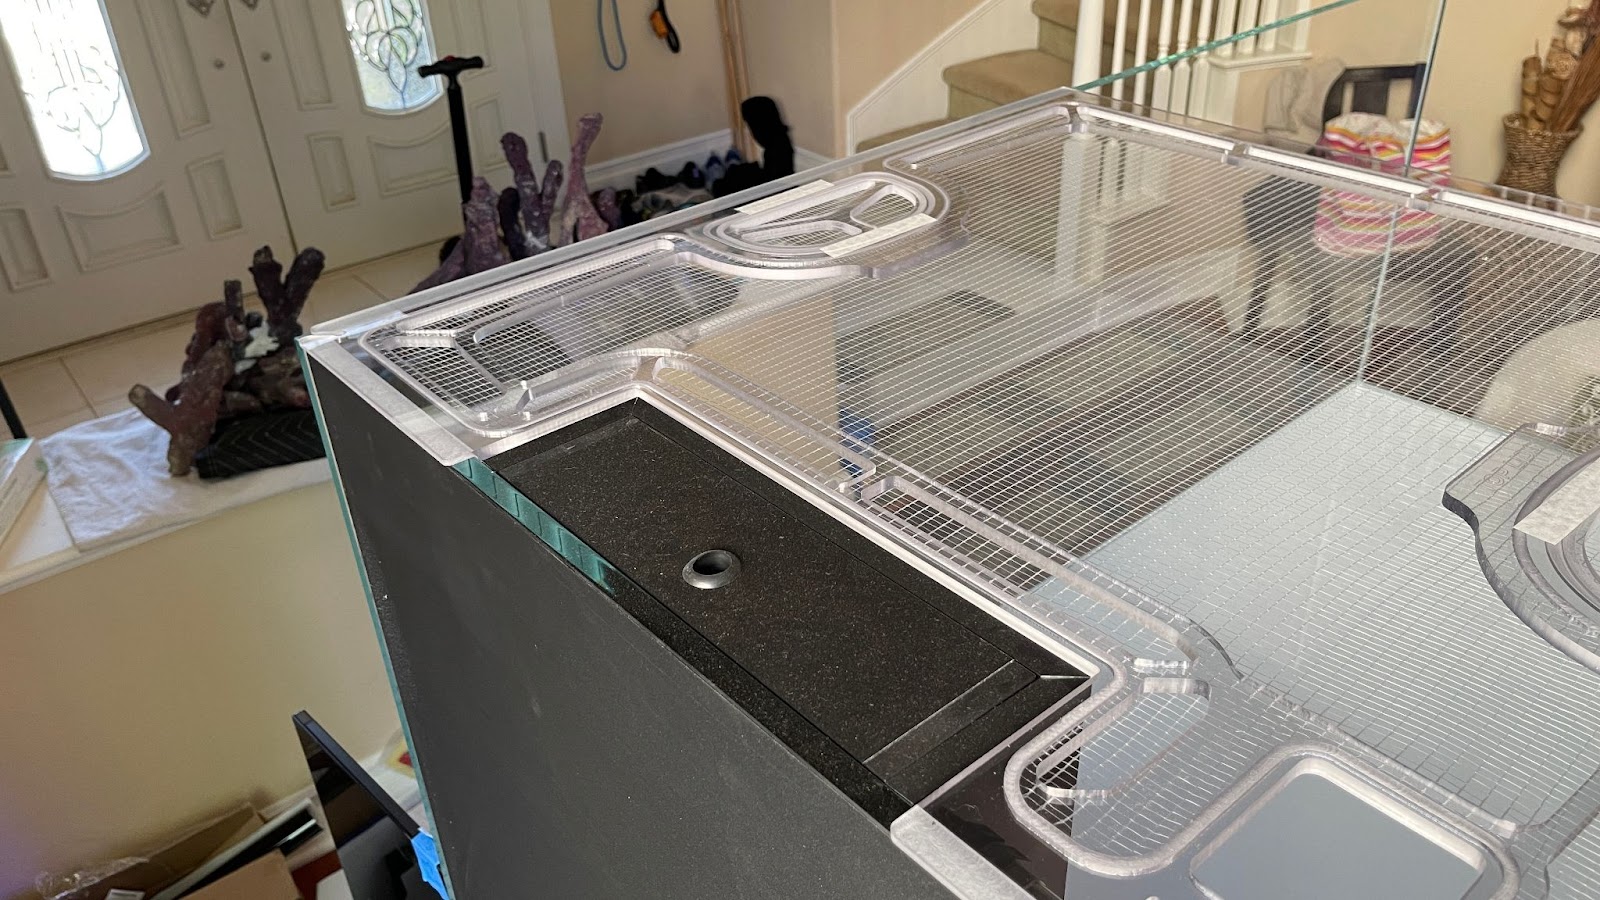
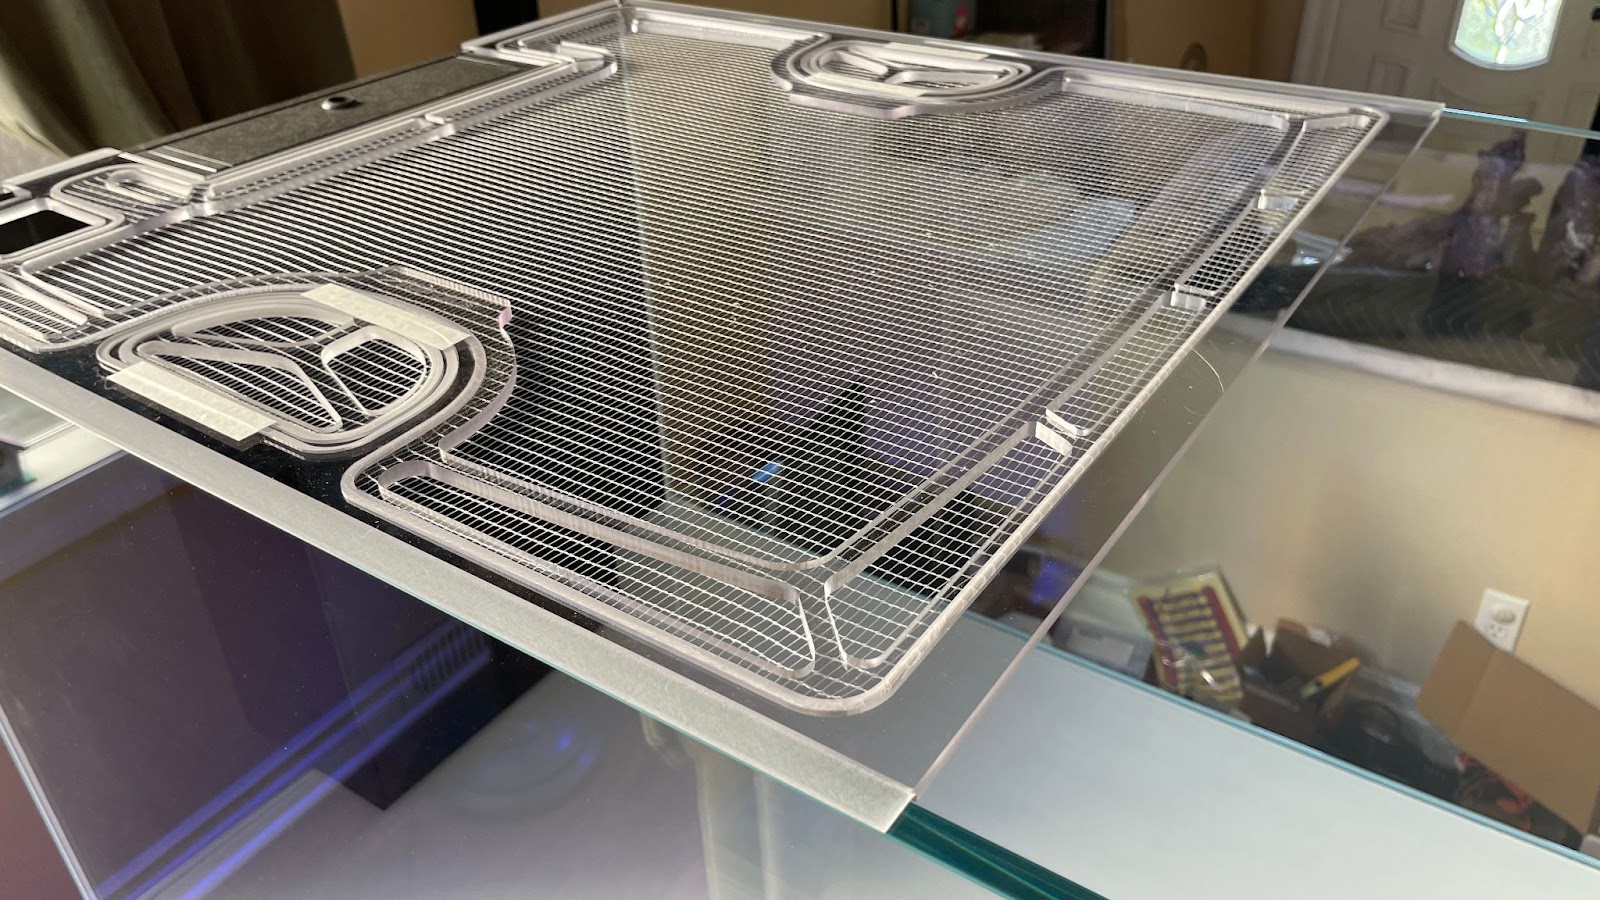
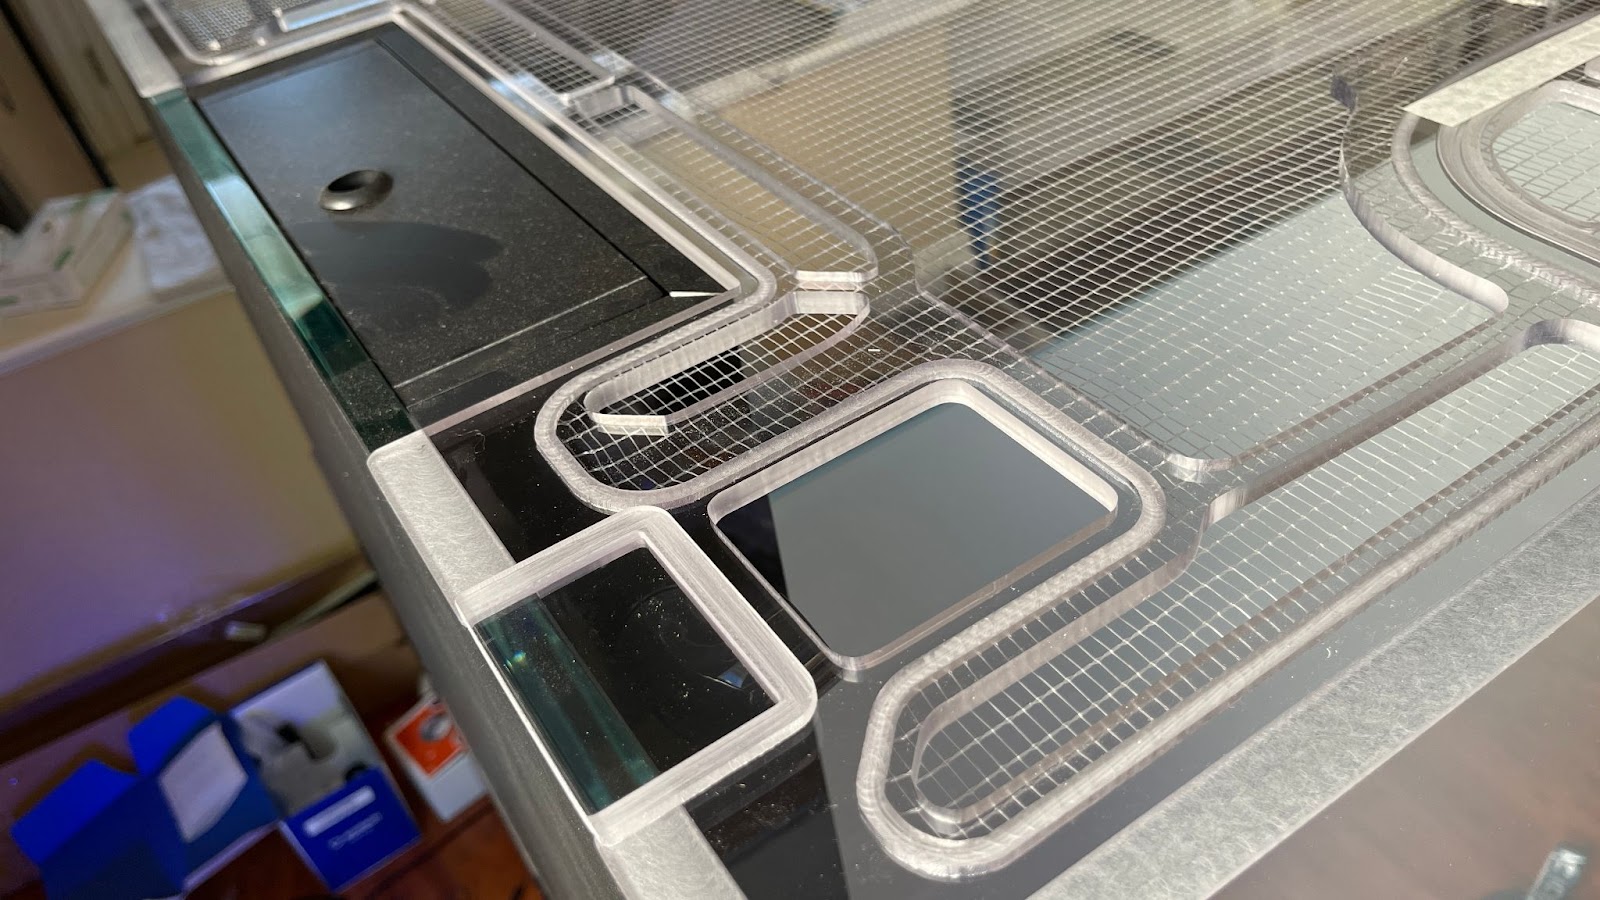
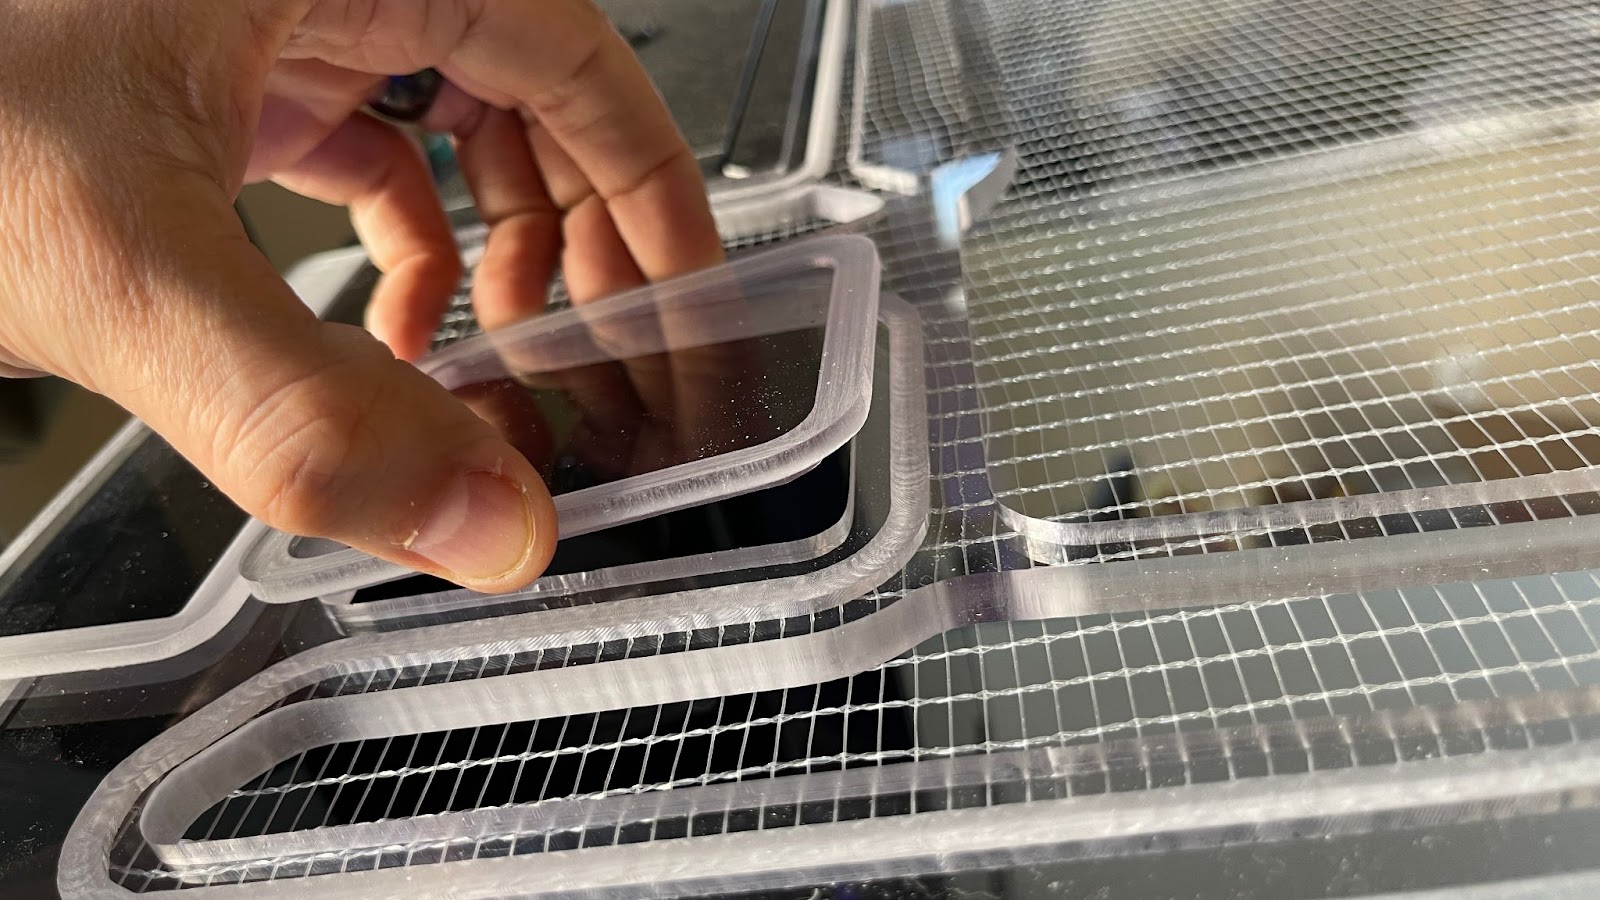
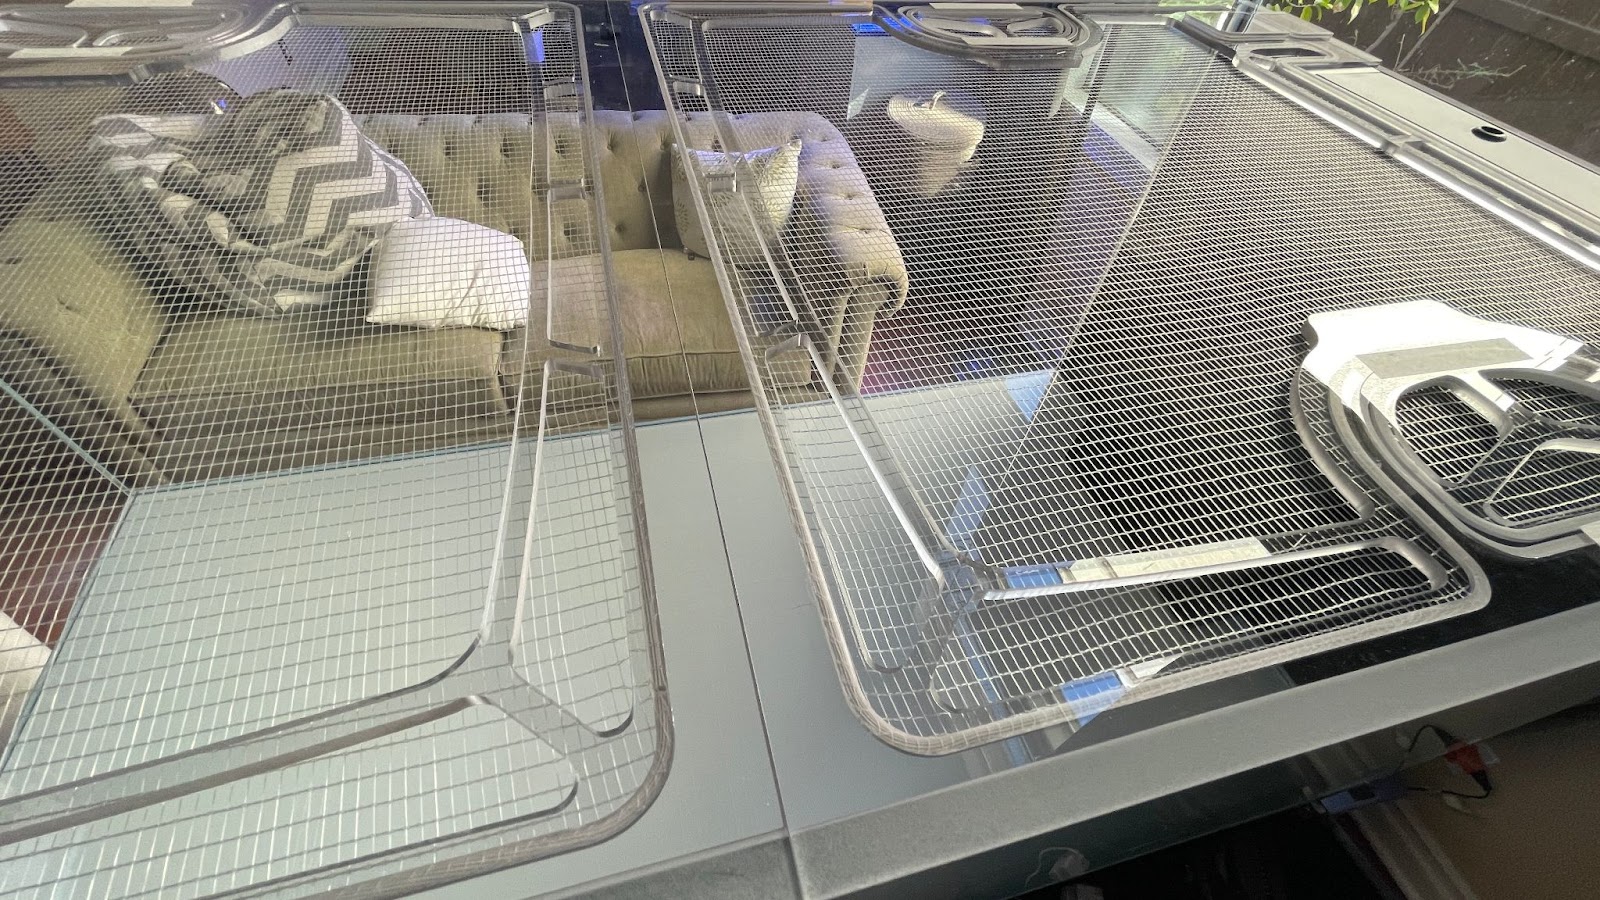
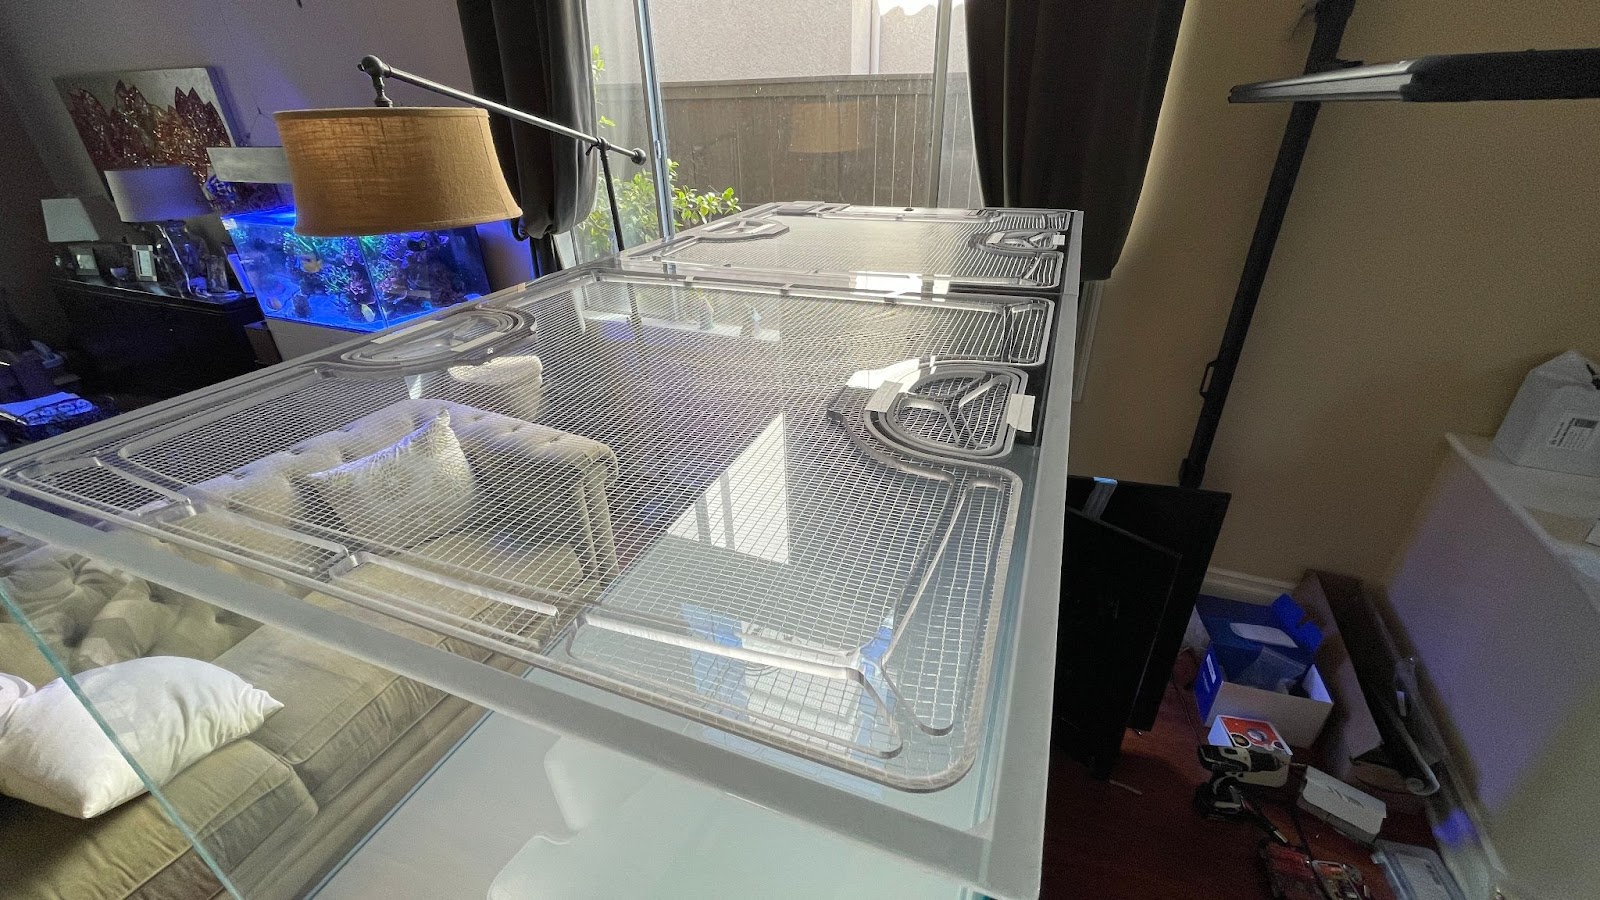
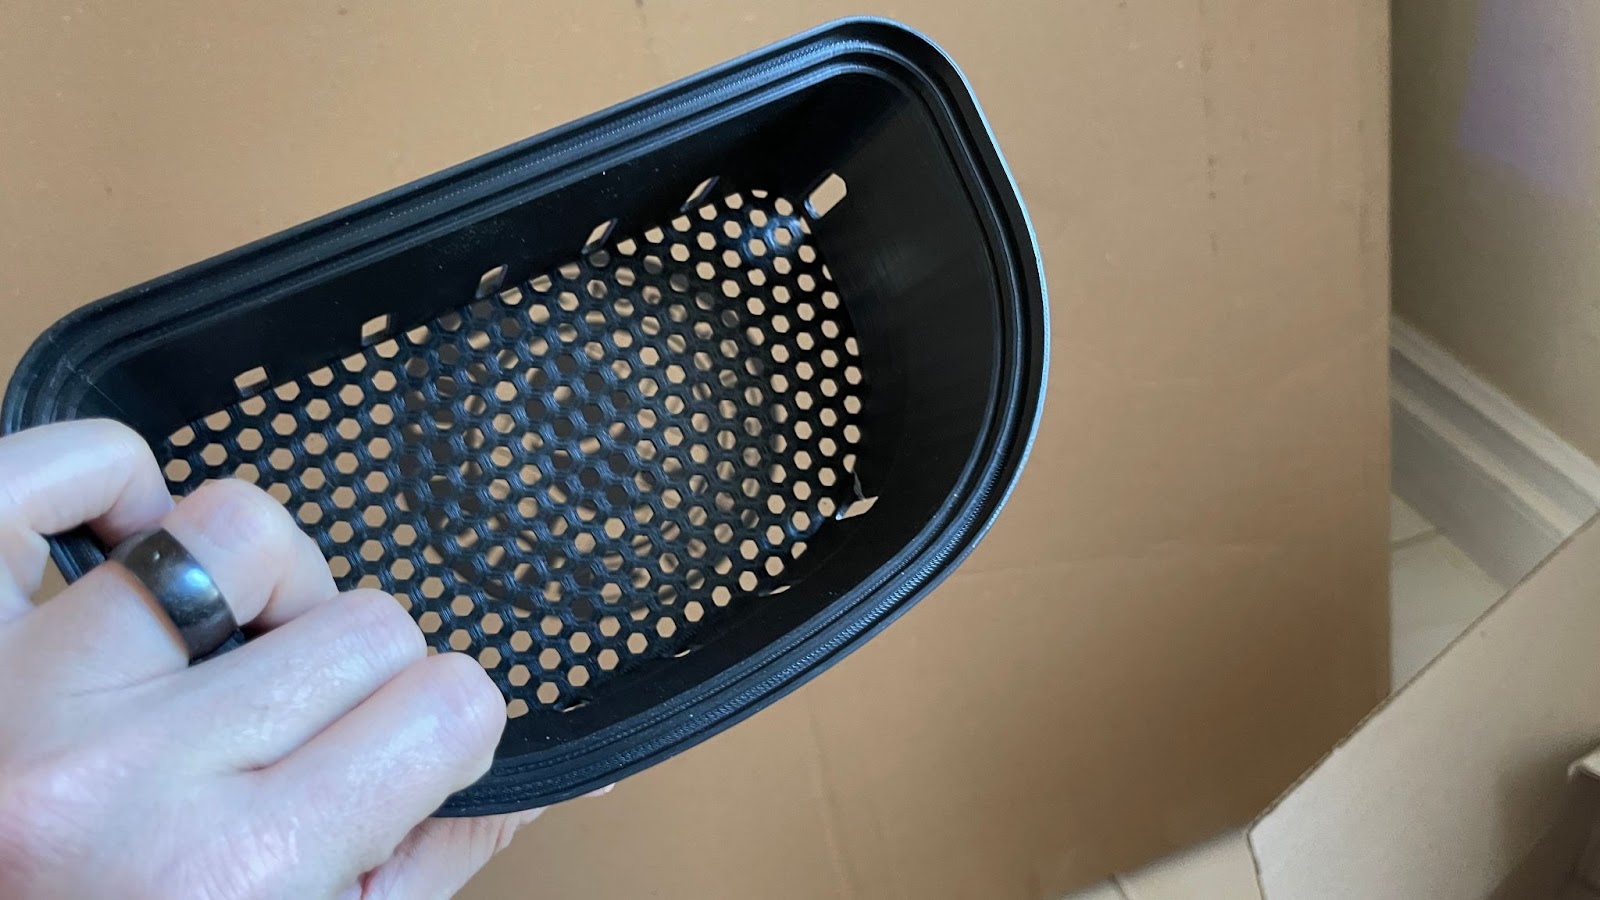
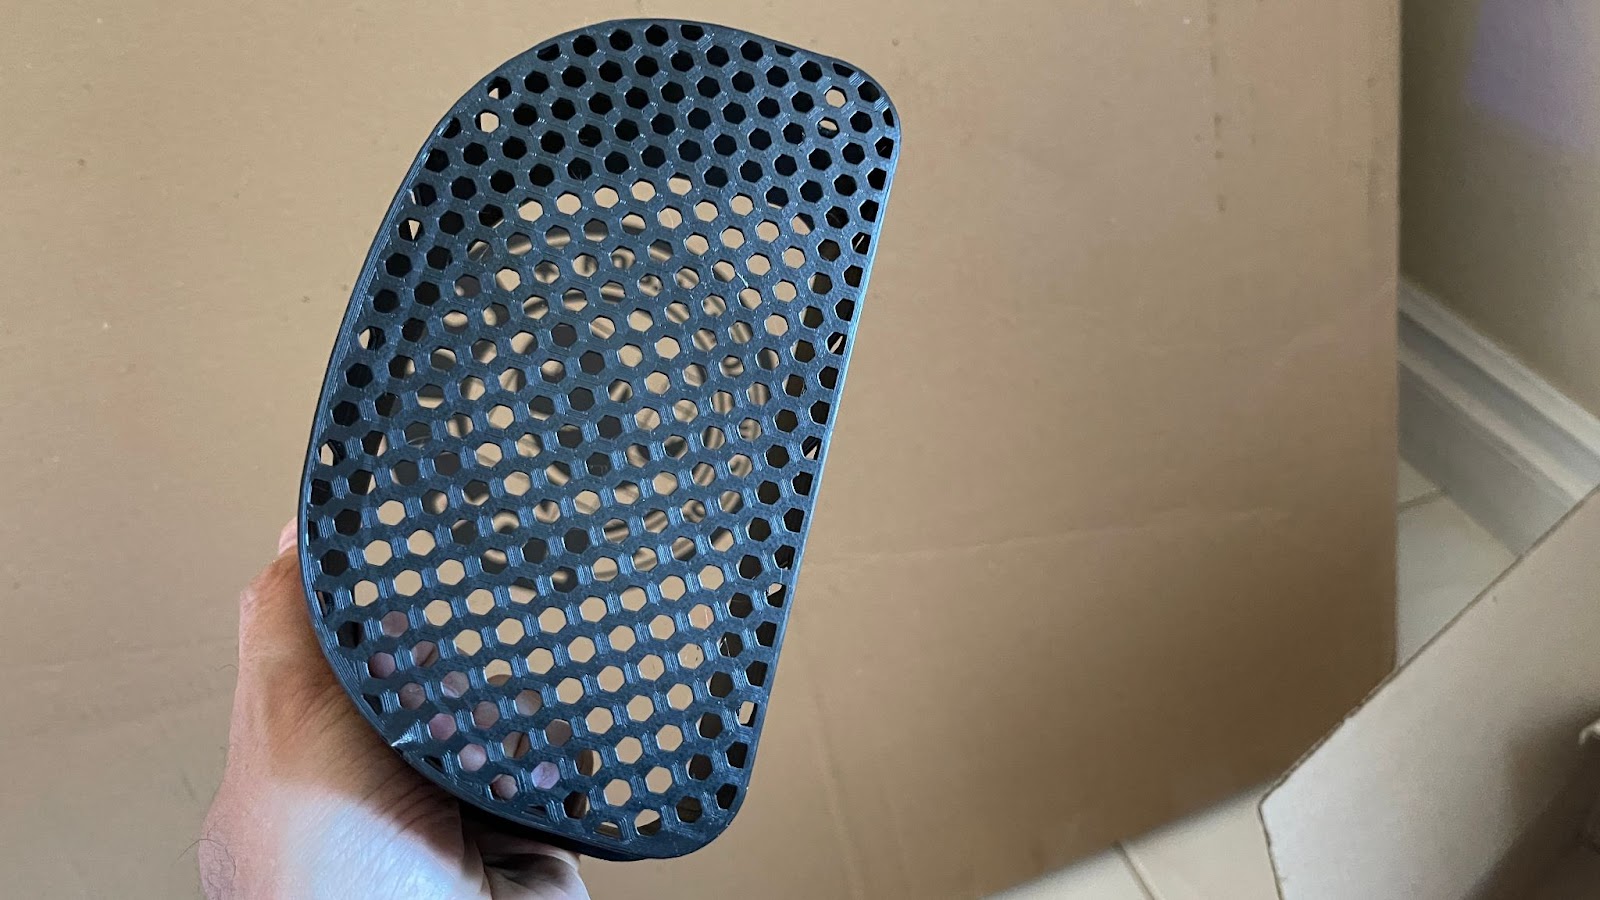
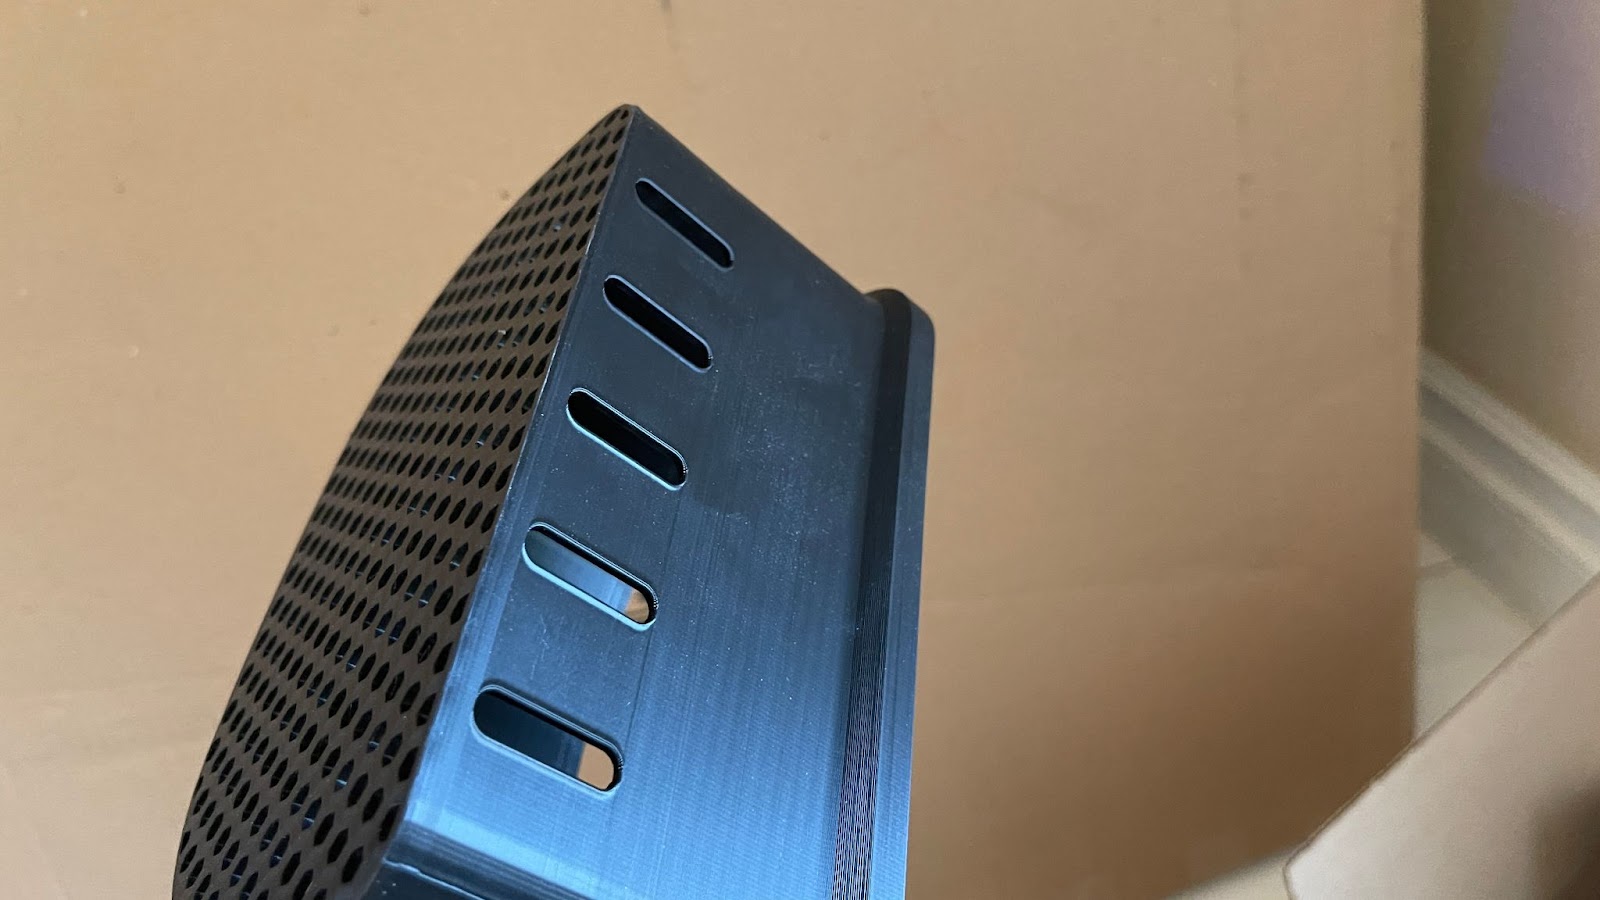
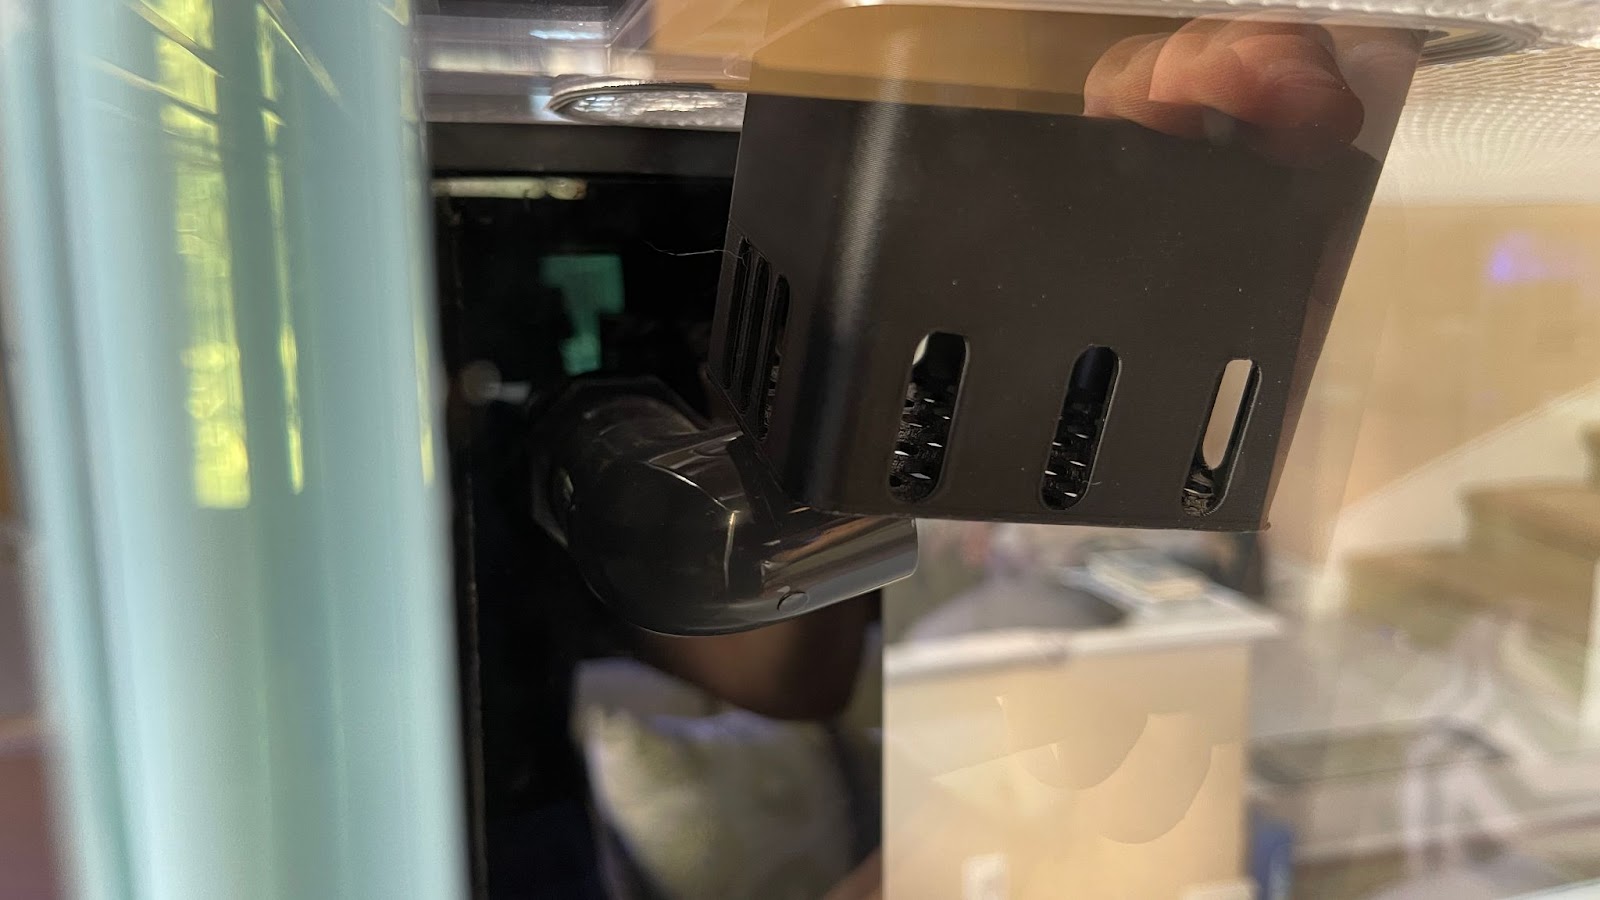
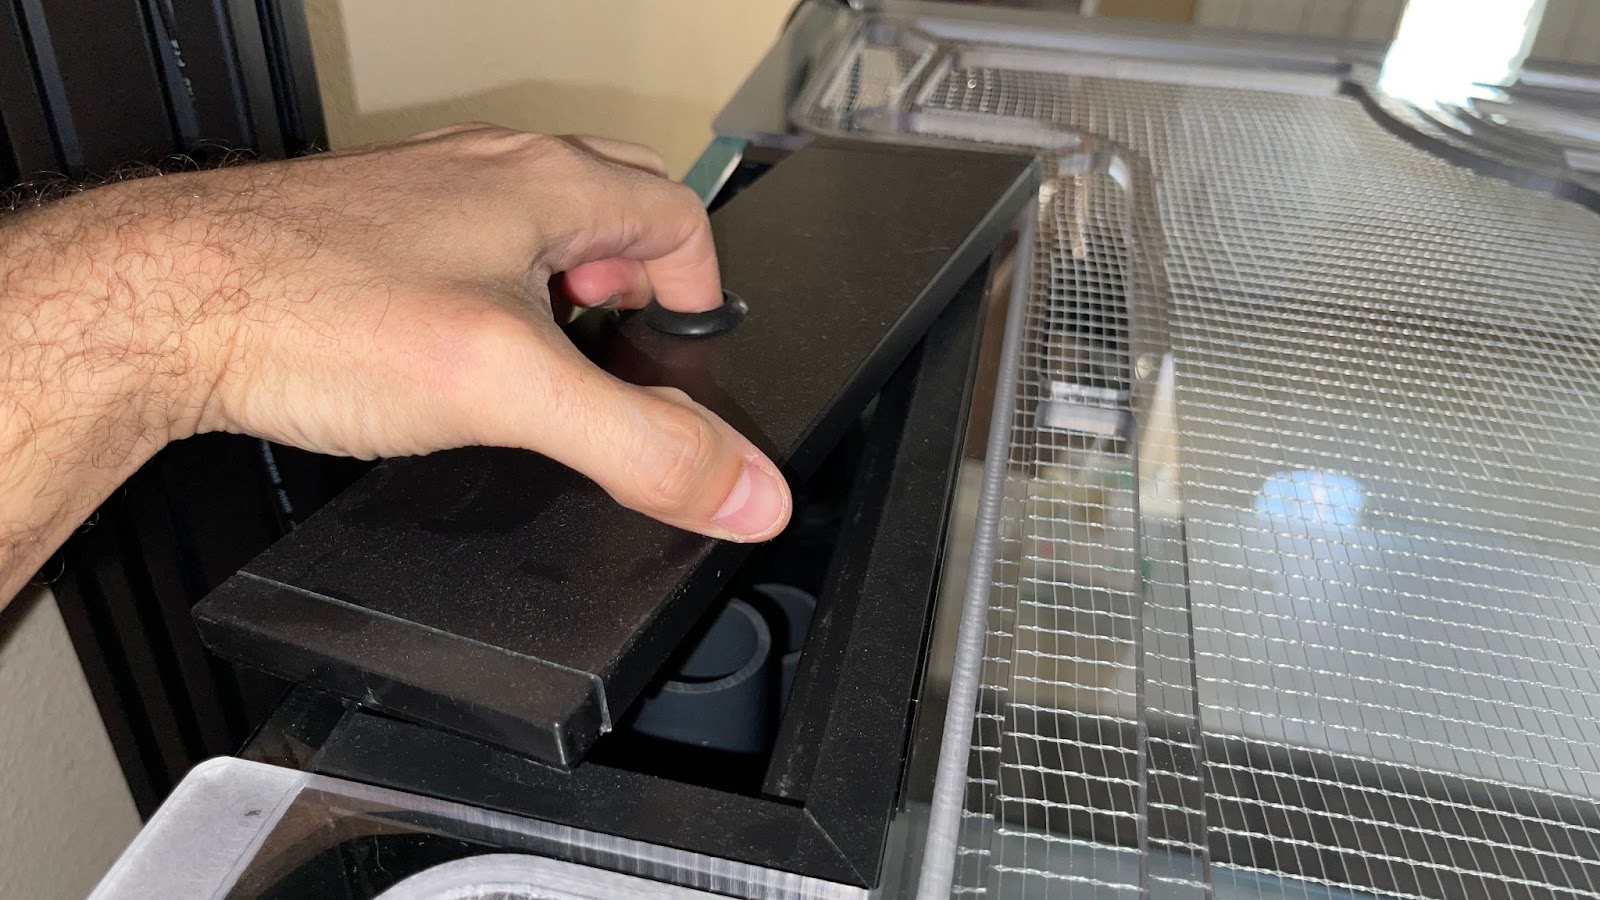
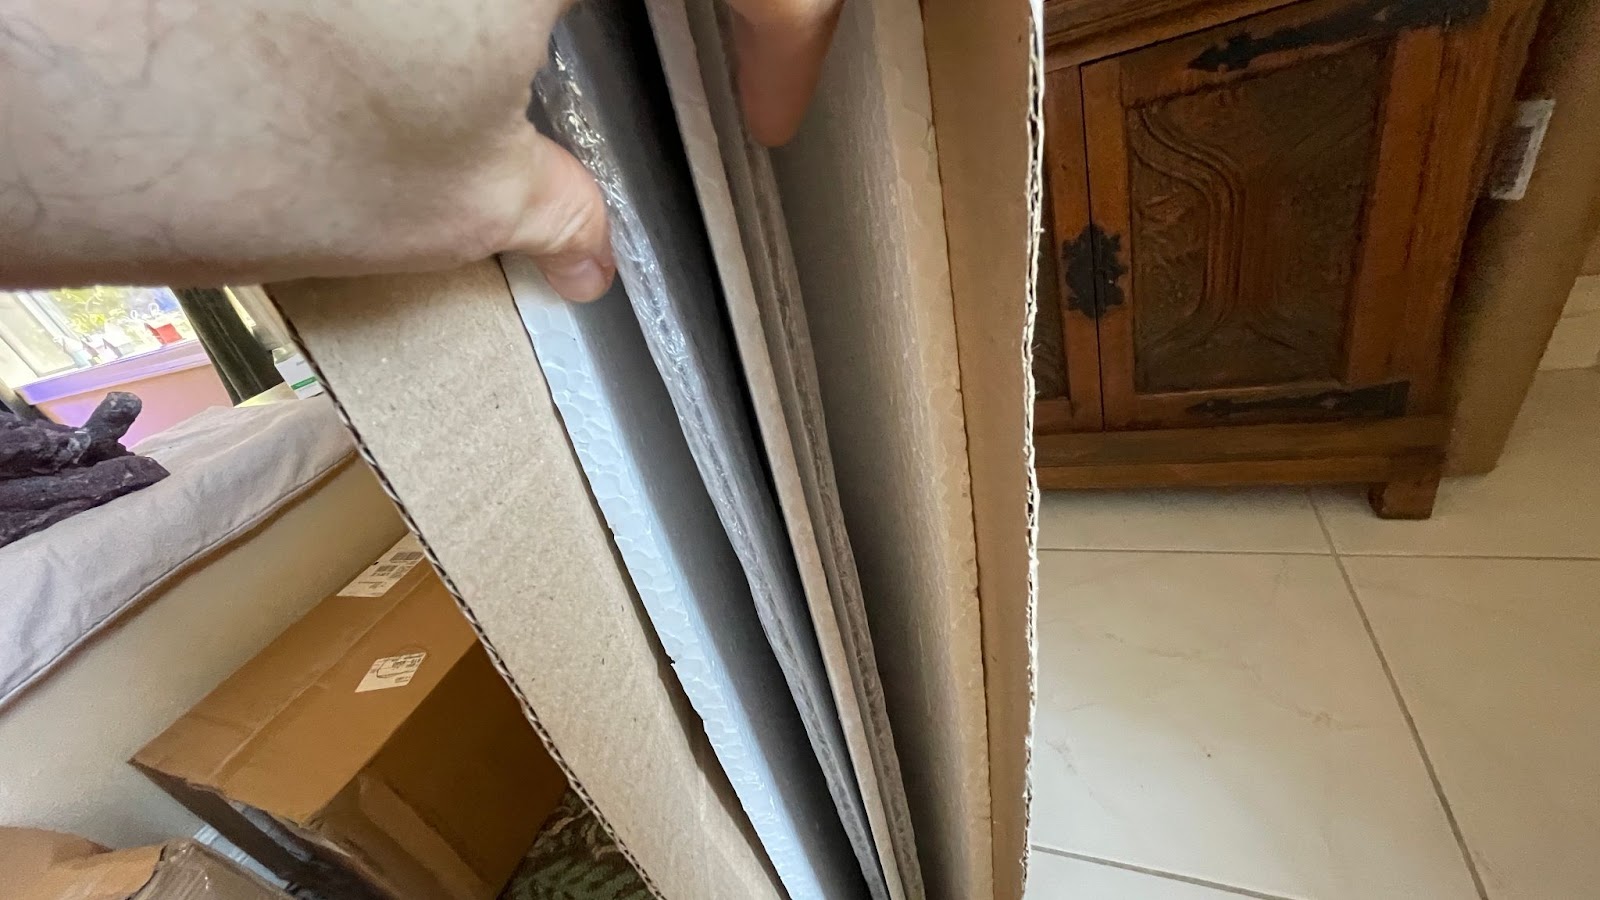
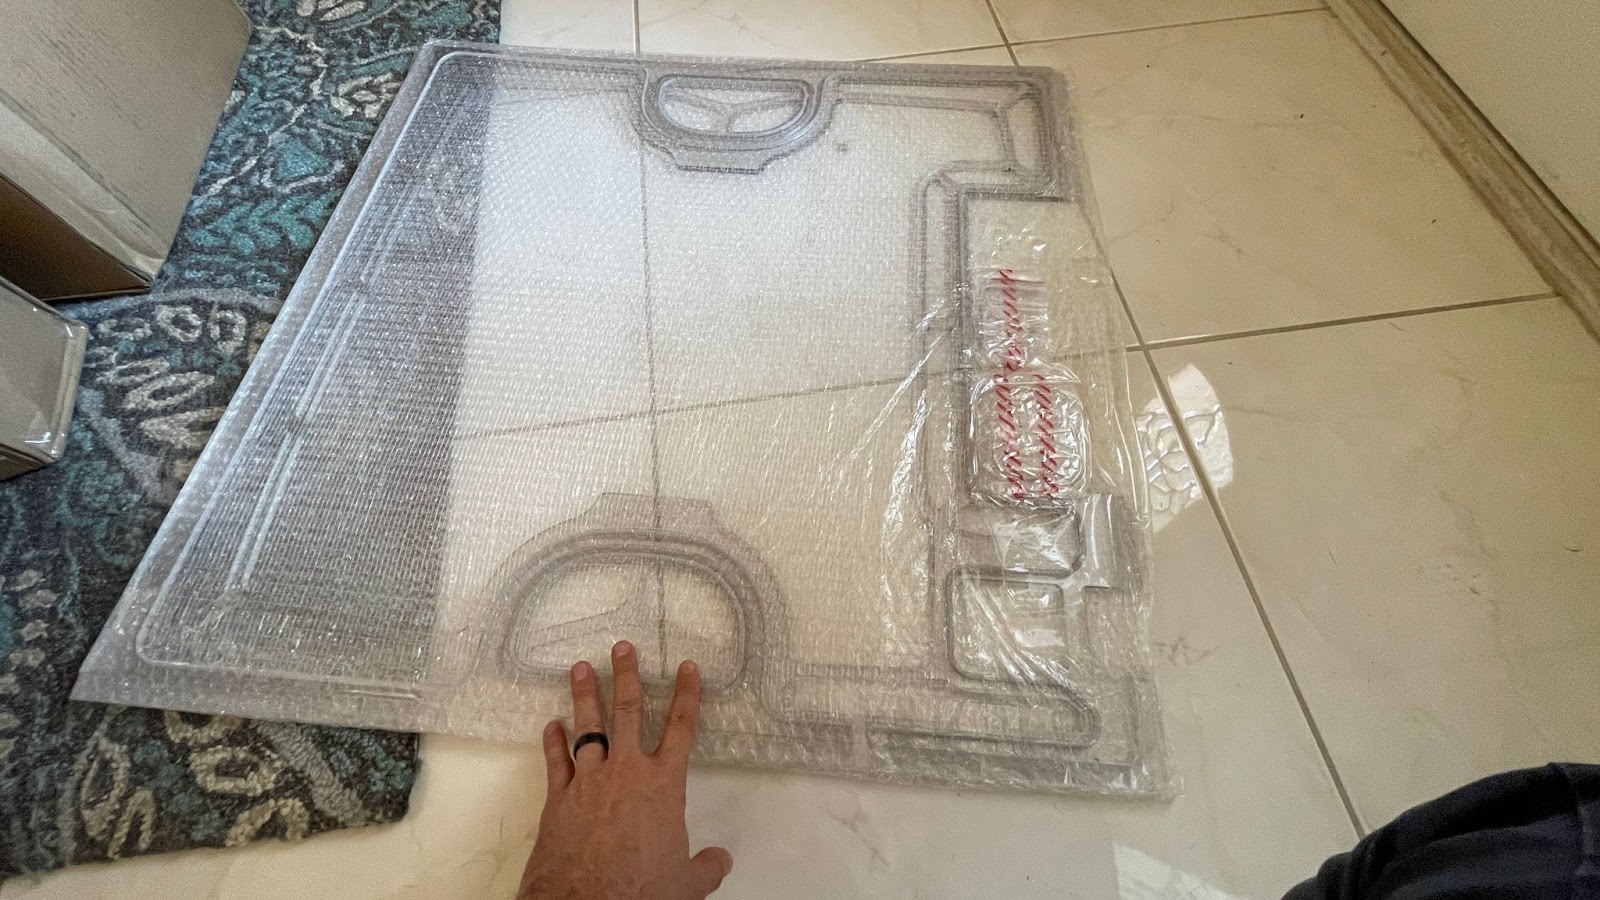
The question I have is: how do I mount things to the thin plastic walls without pointy screw ends jutting out on the opposite side?

I can’t find anything on R2R from other CADE owners regarding mounting techniques….

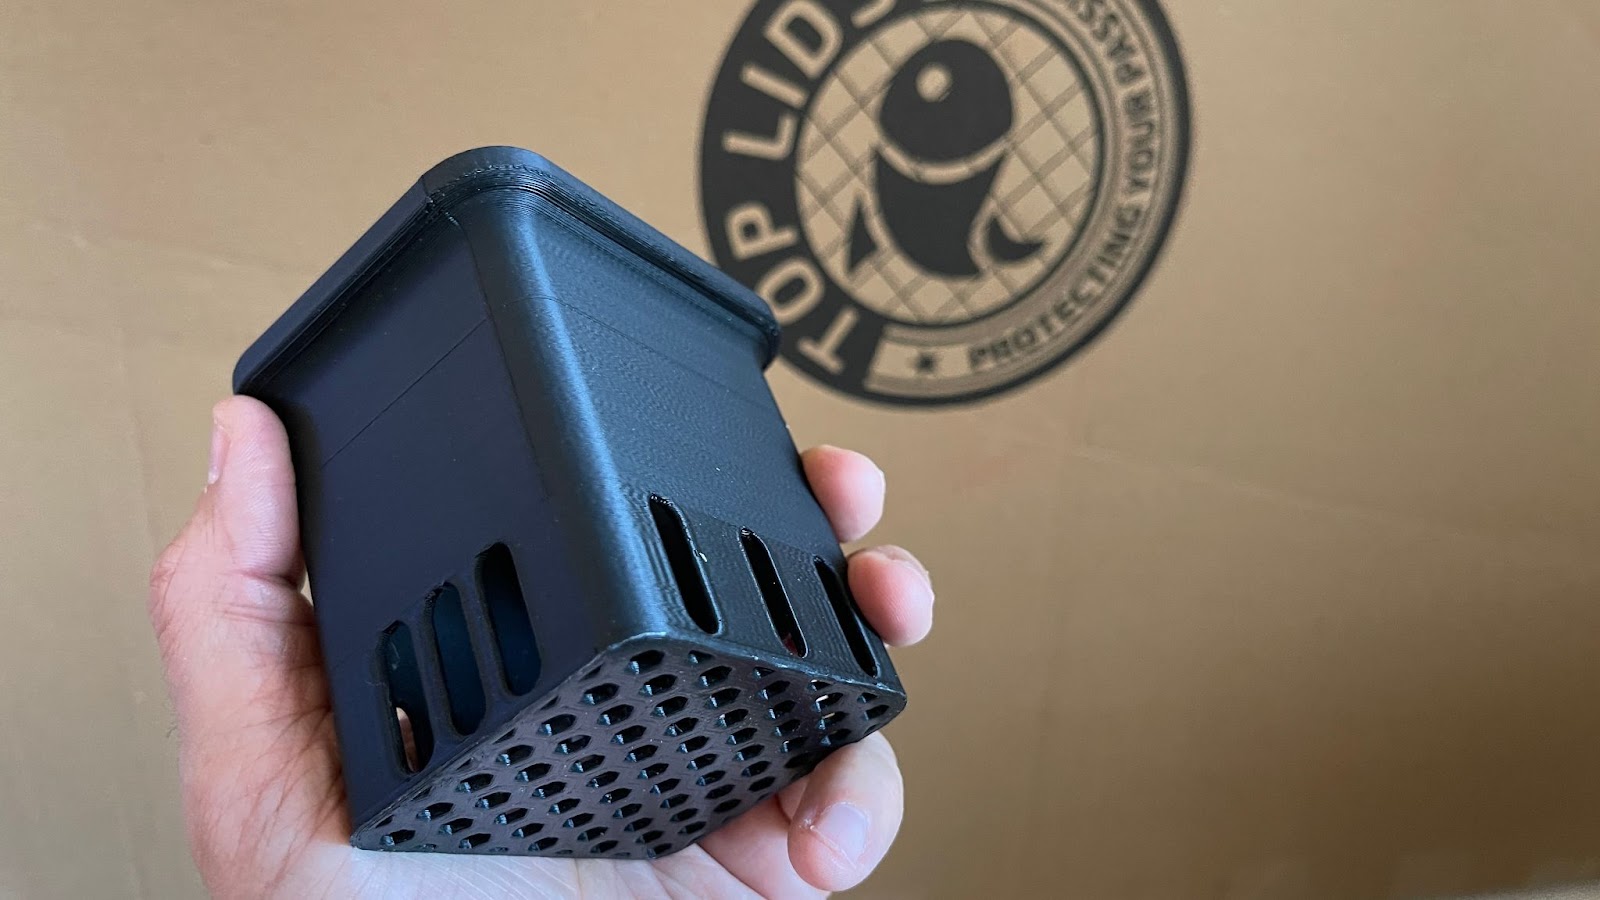
Don't have a CADE, but using 3M double sided tape works really well. I use the velcro ones so I can put them on/off. Just make sure surfaces are clean when sticking.
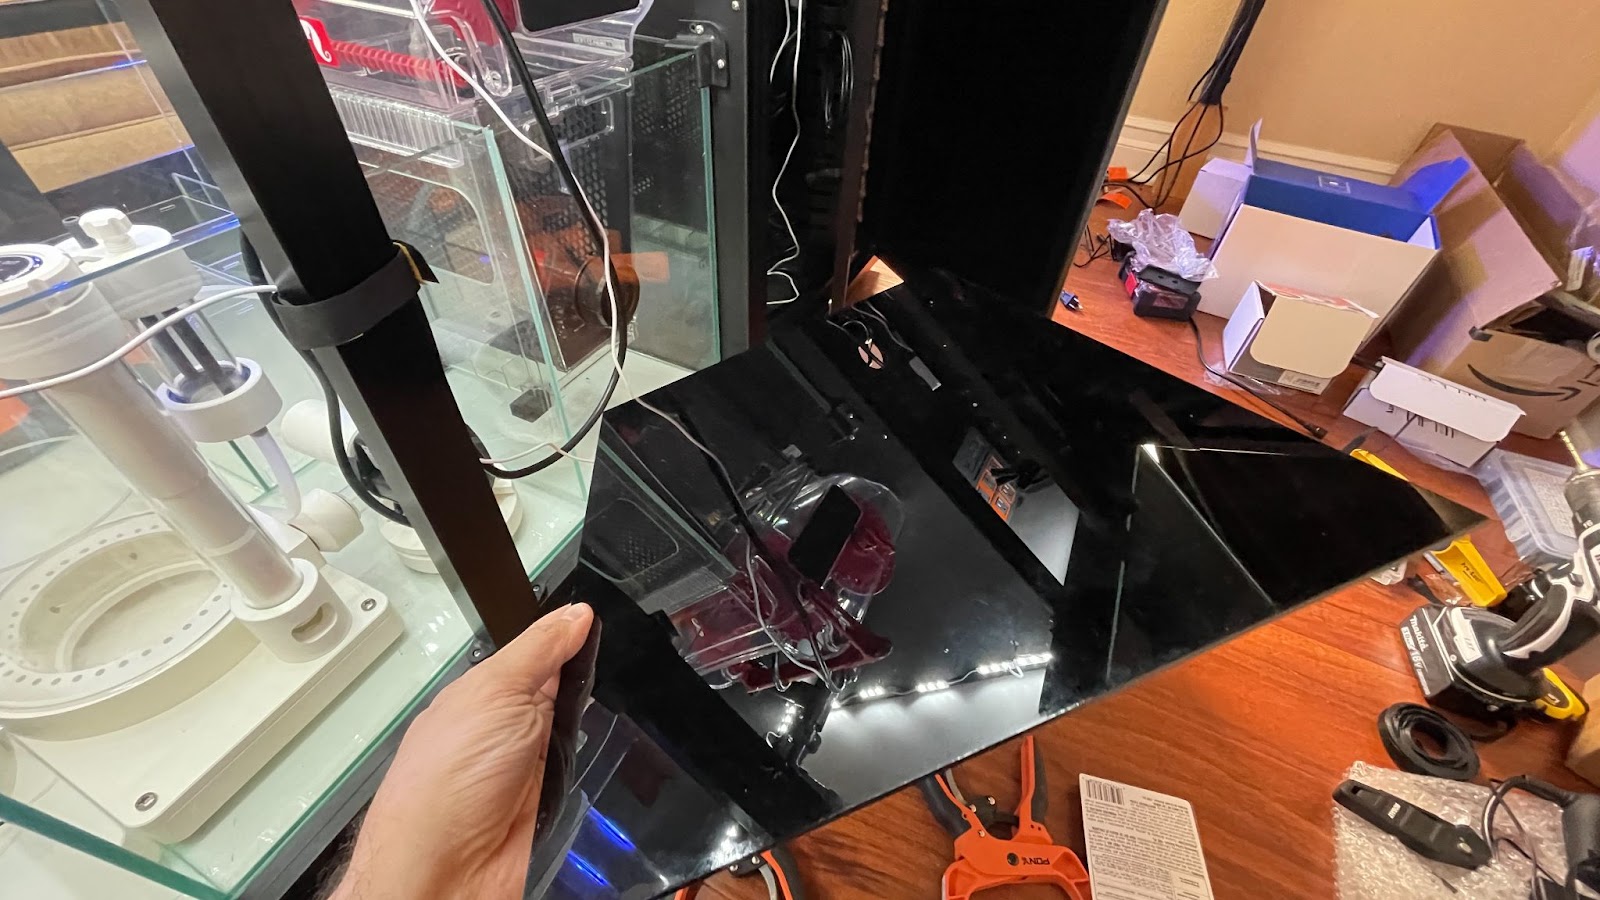
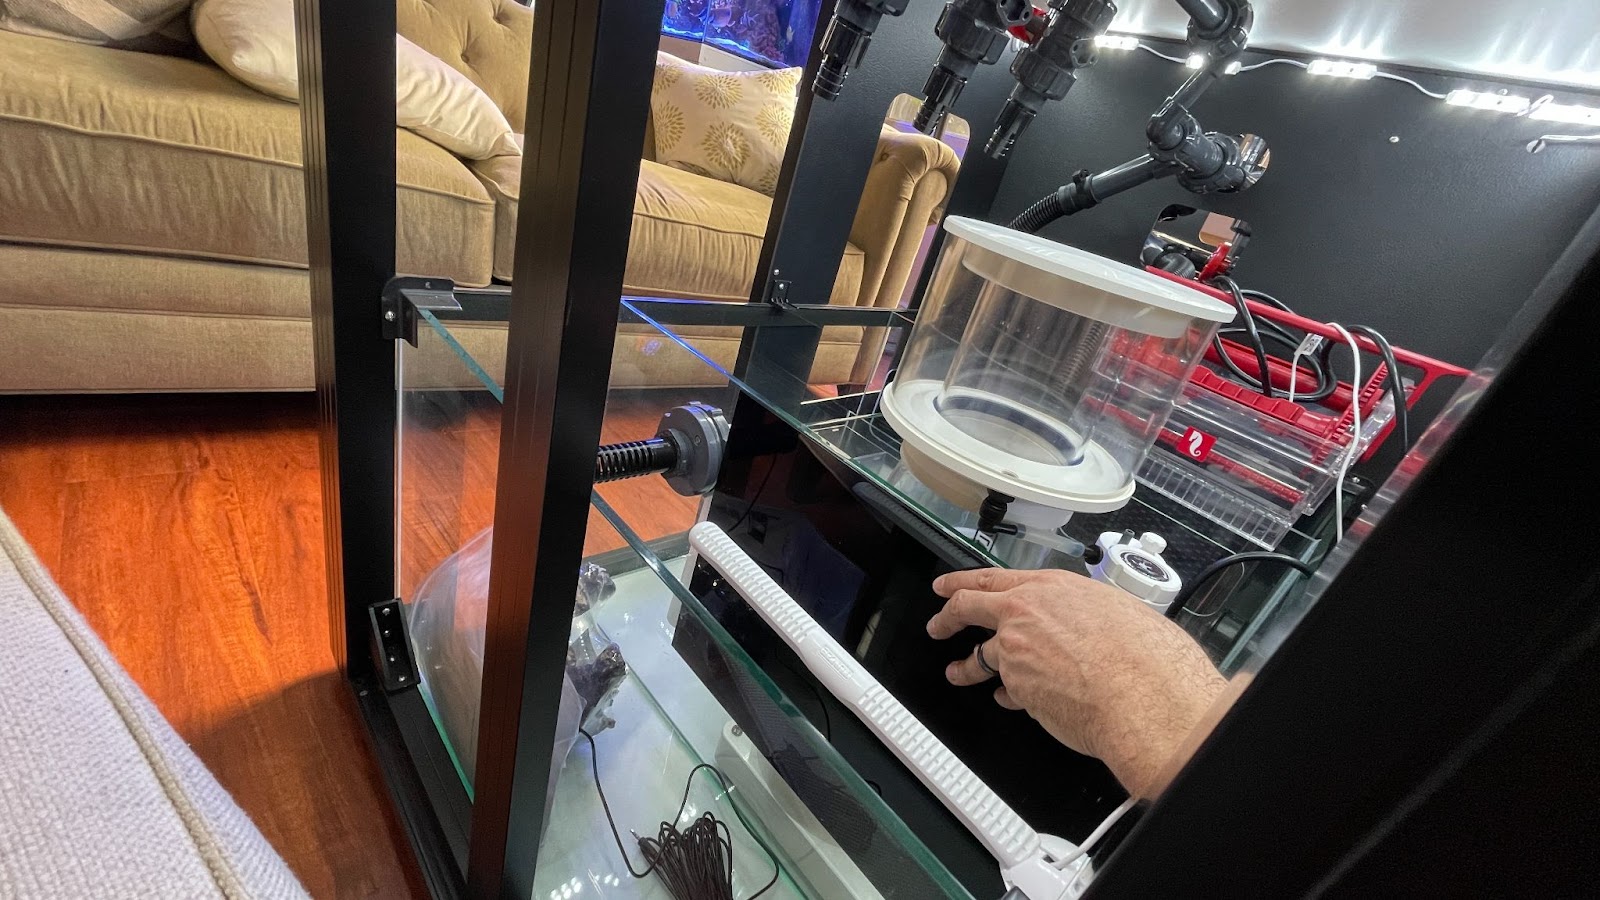
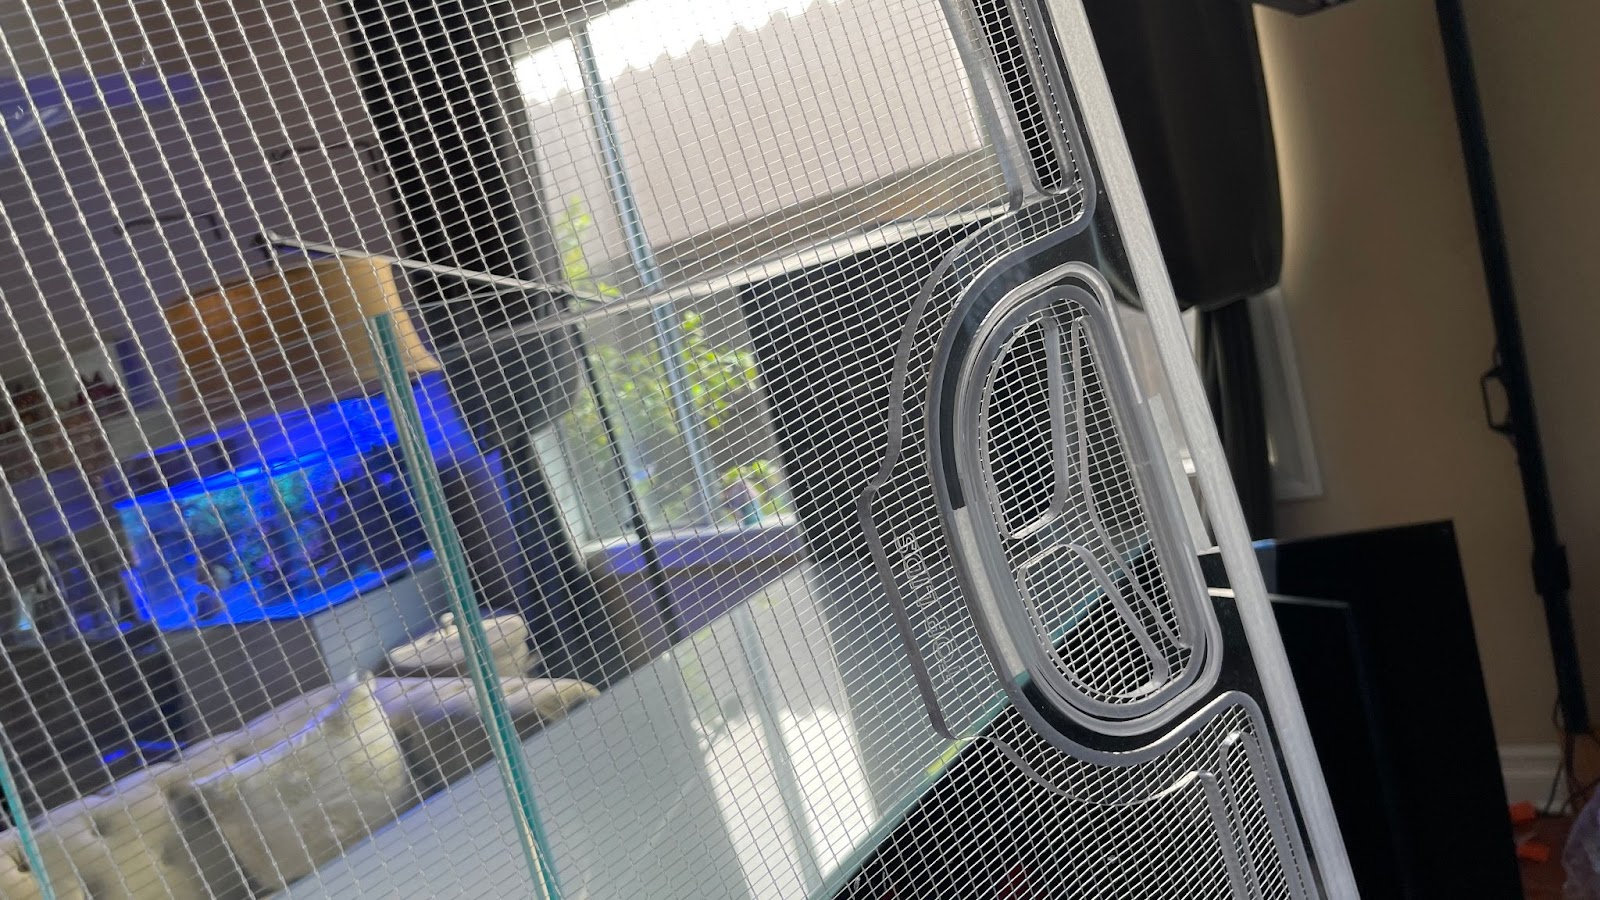
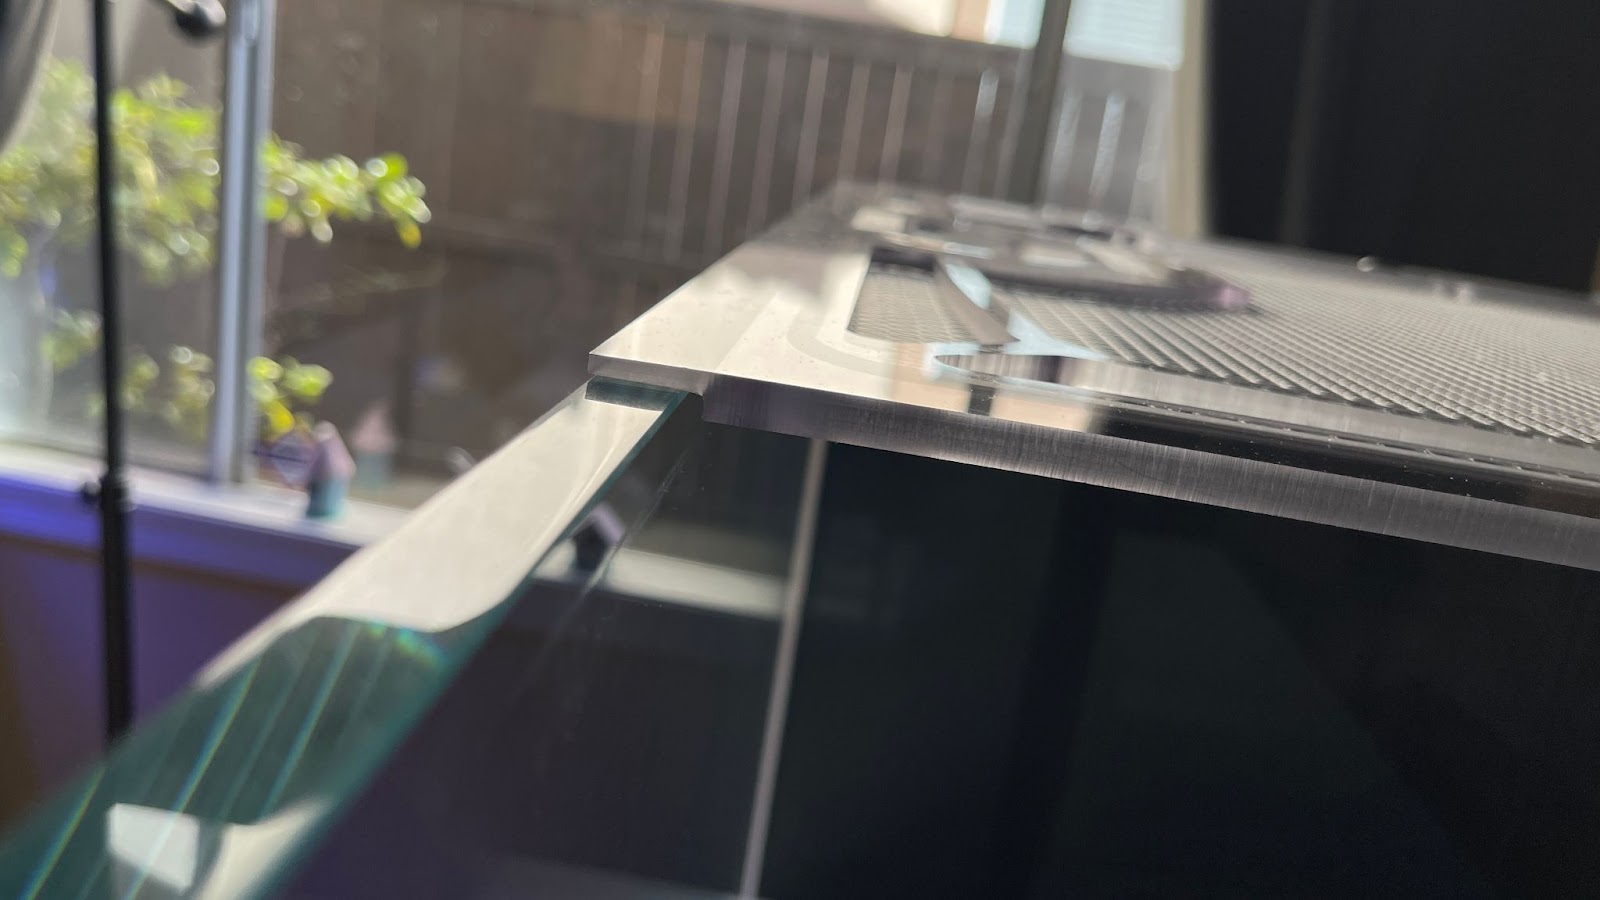
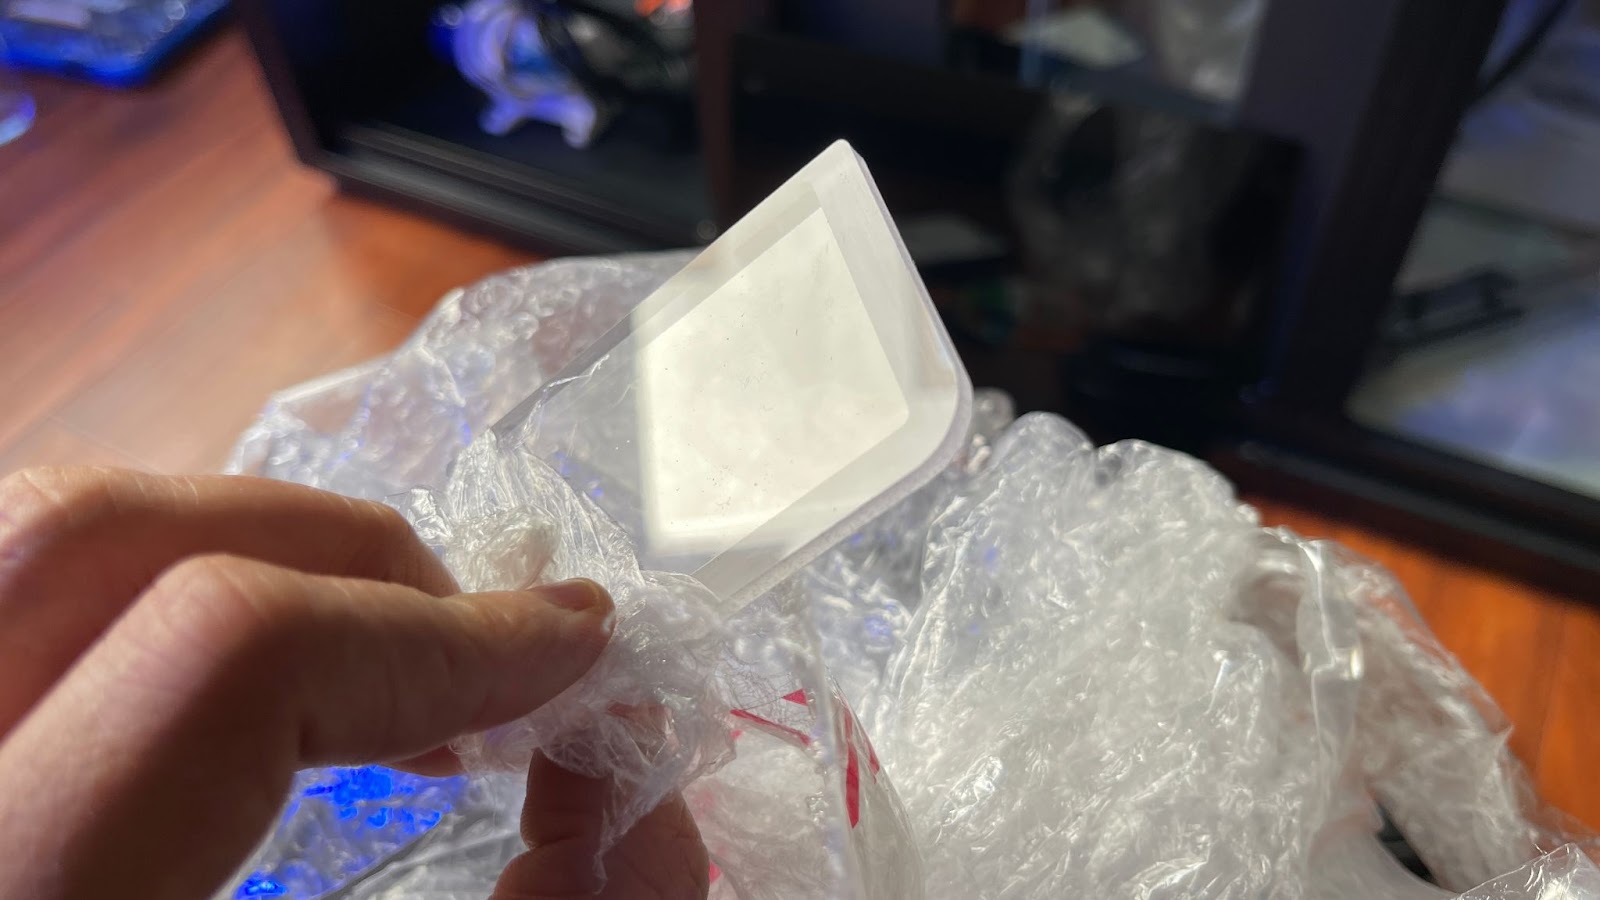
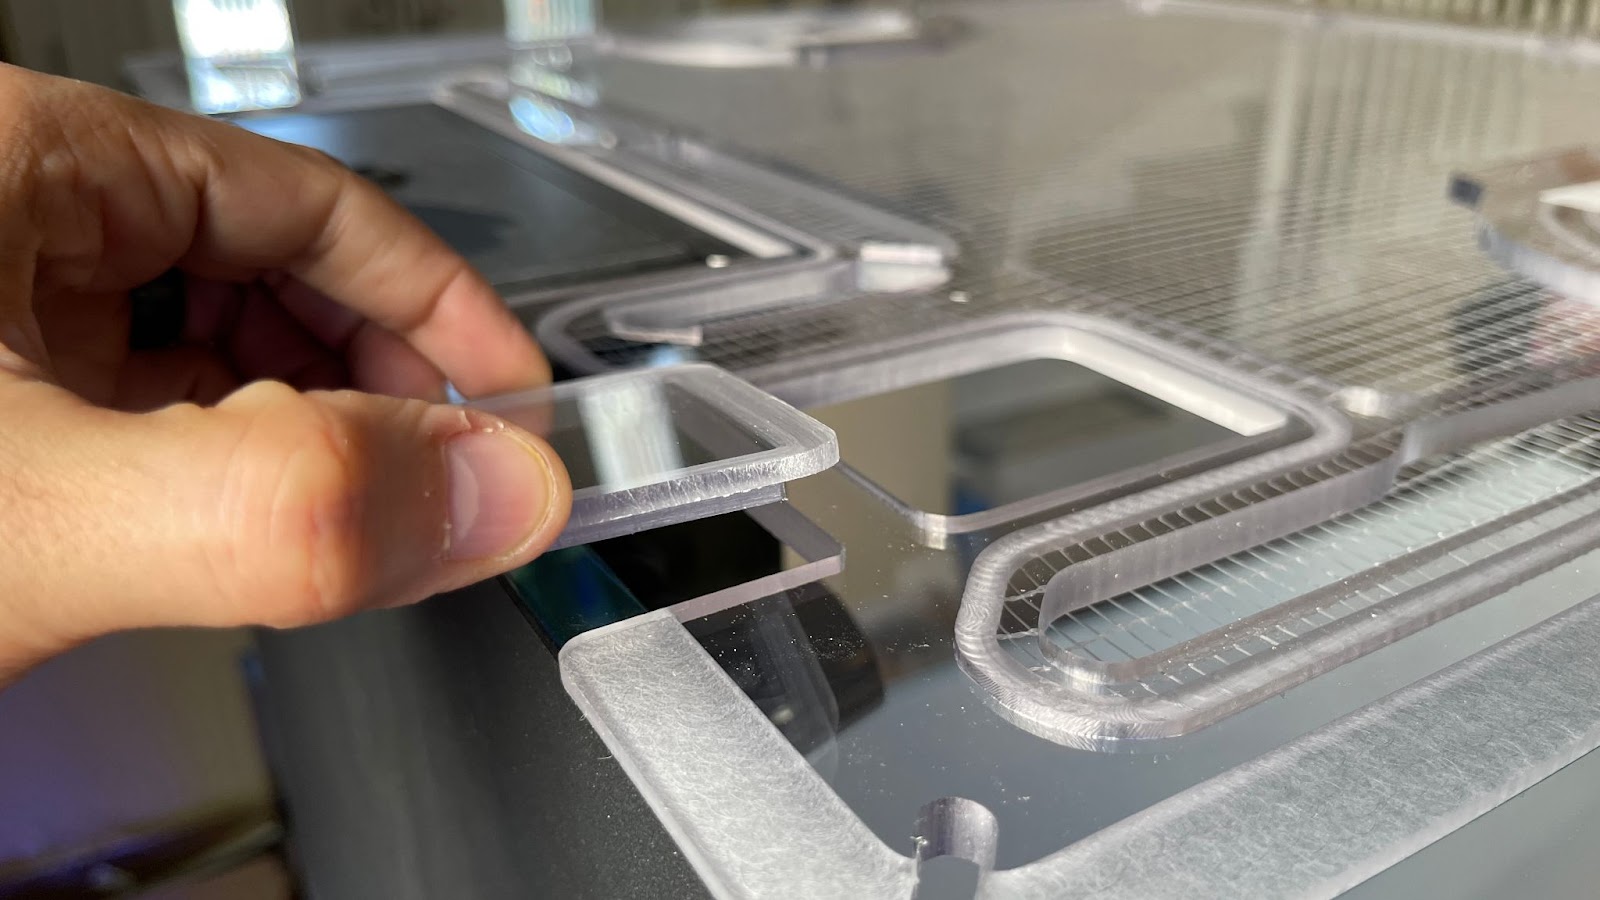
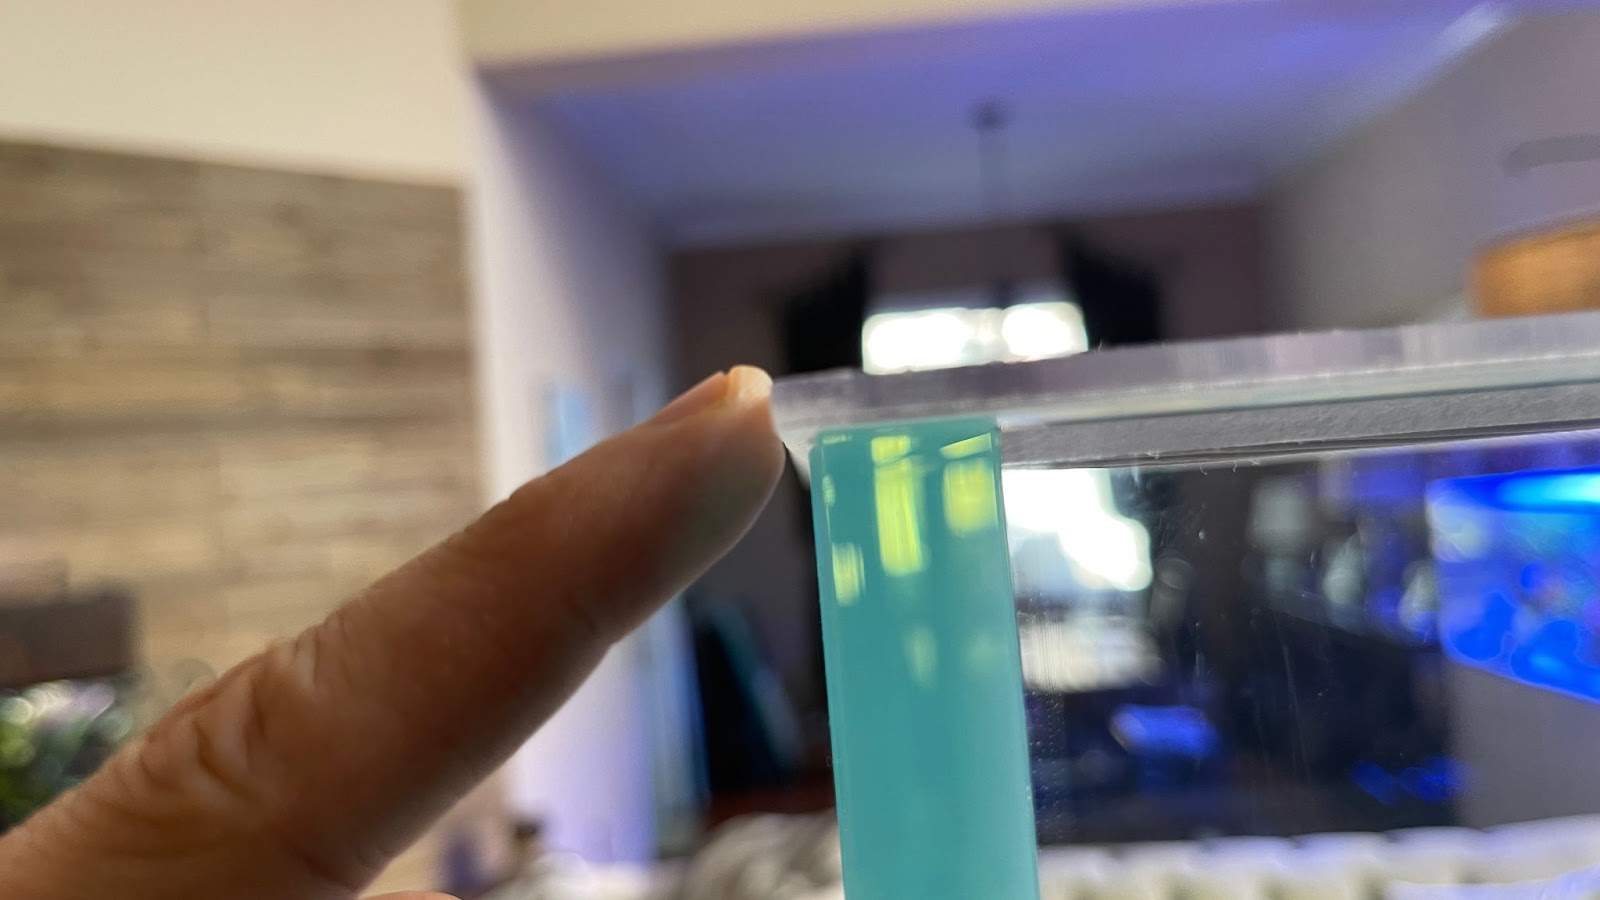
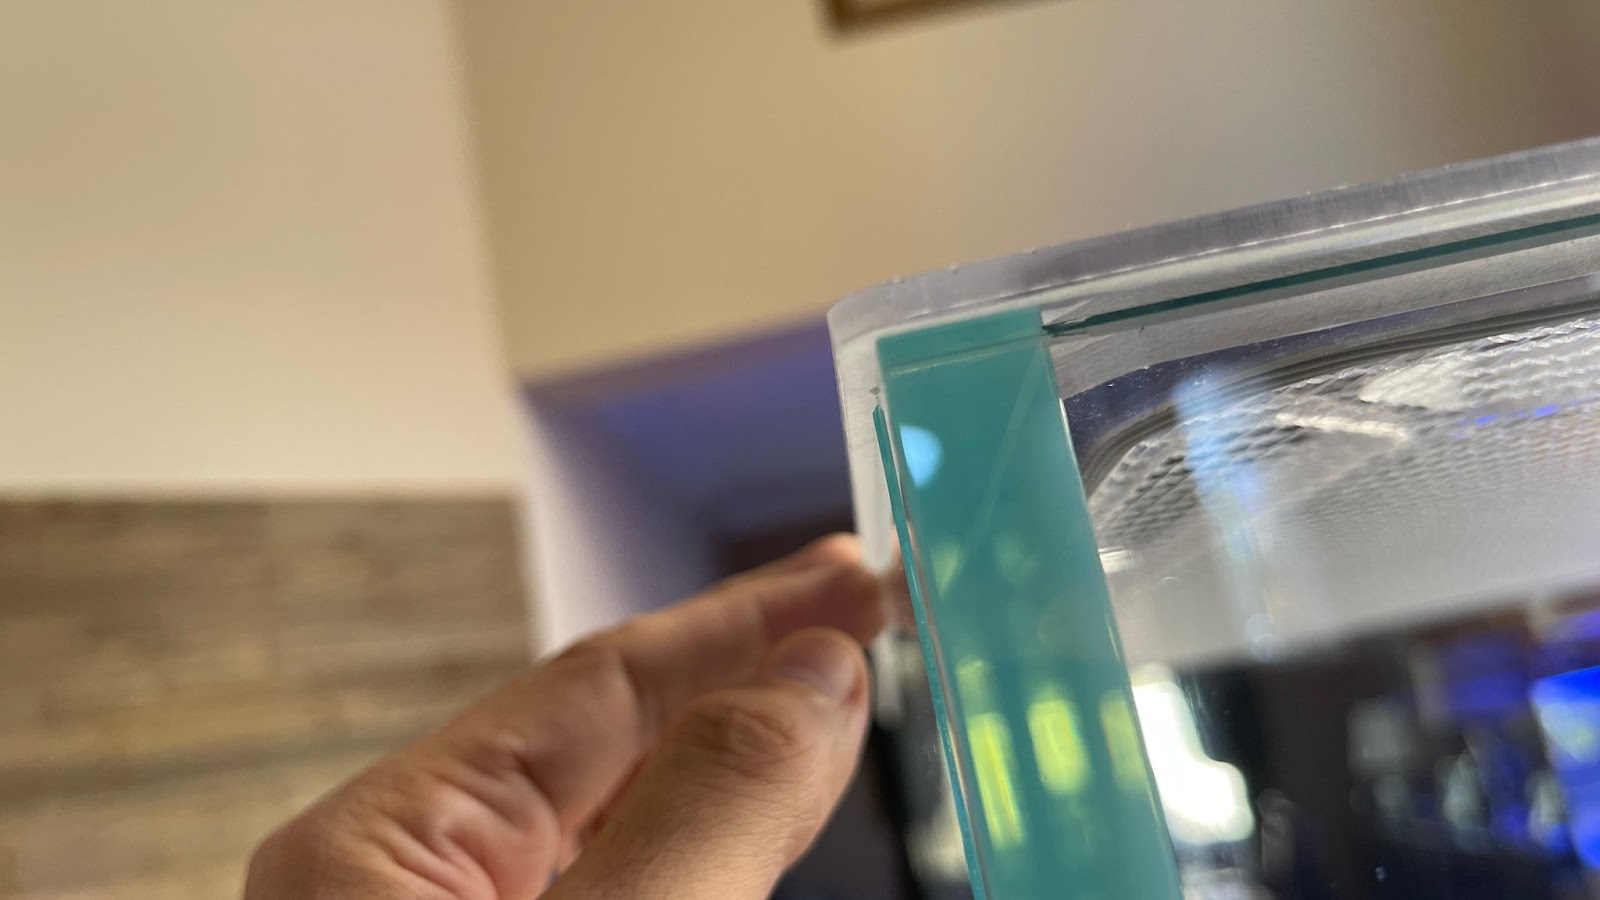
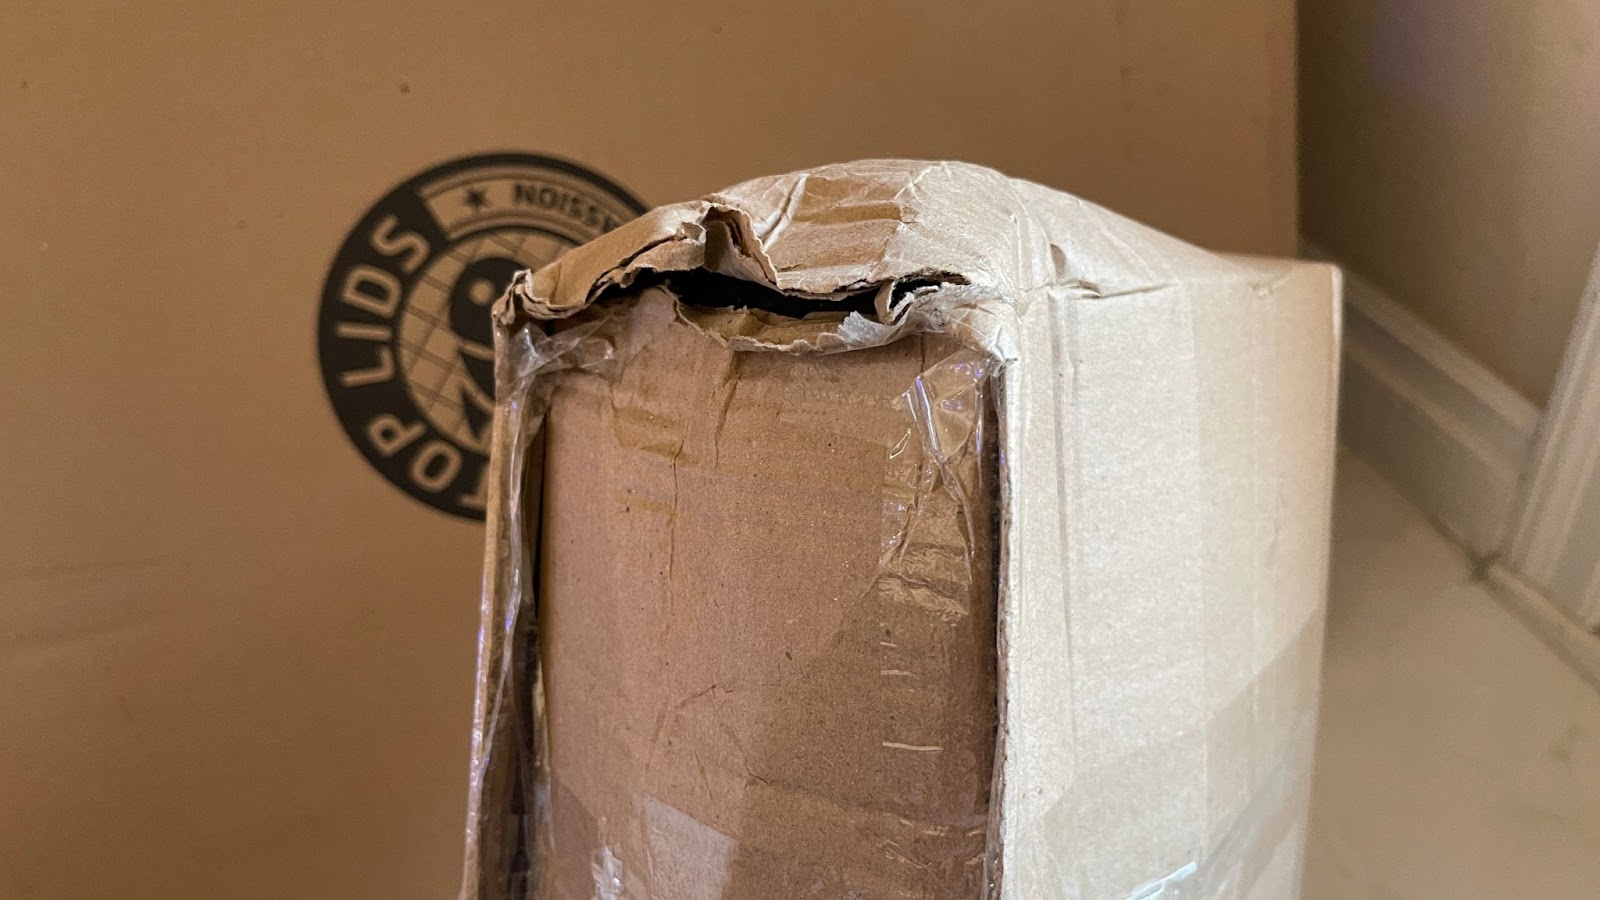
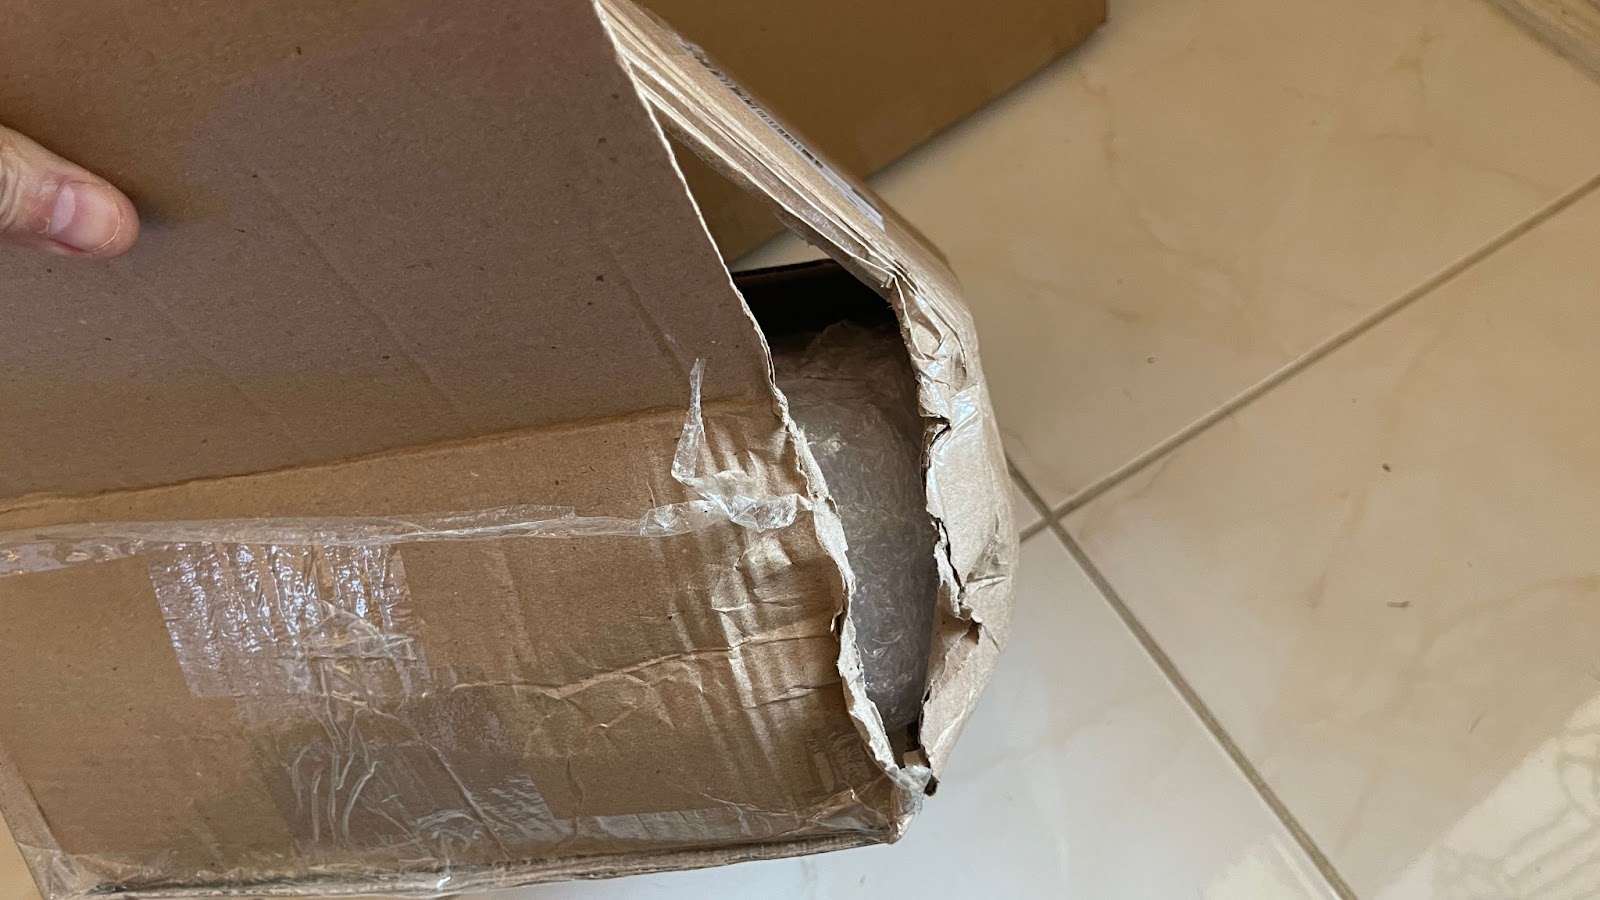
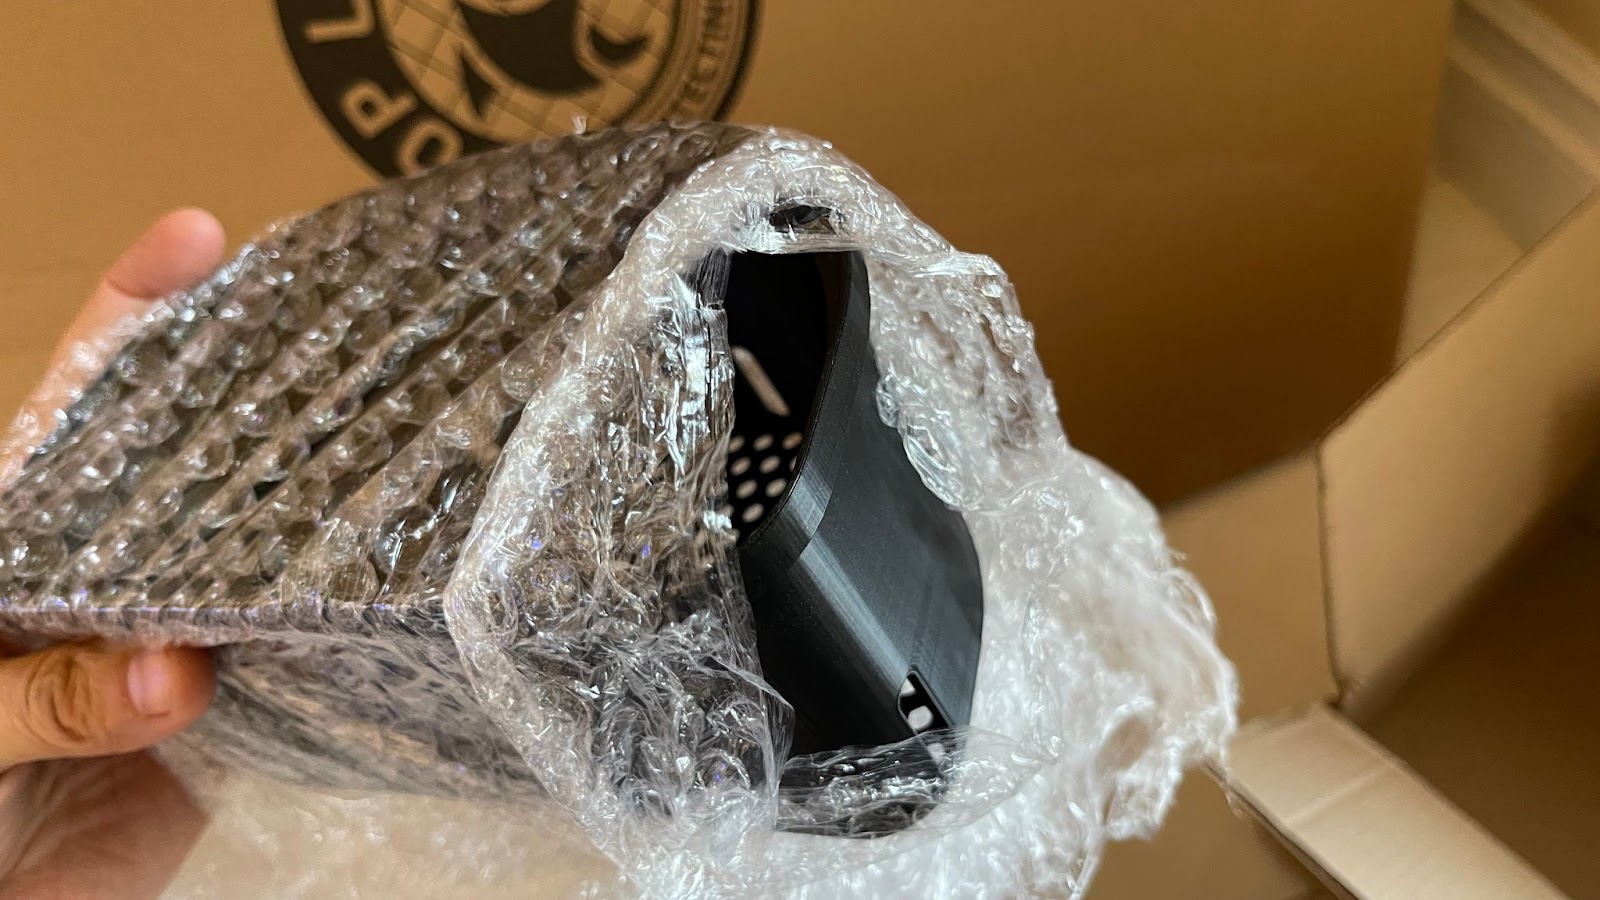
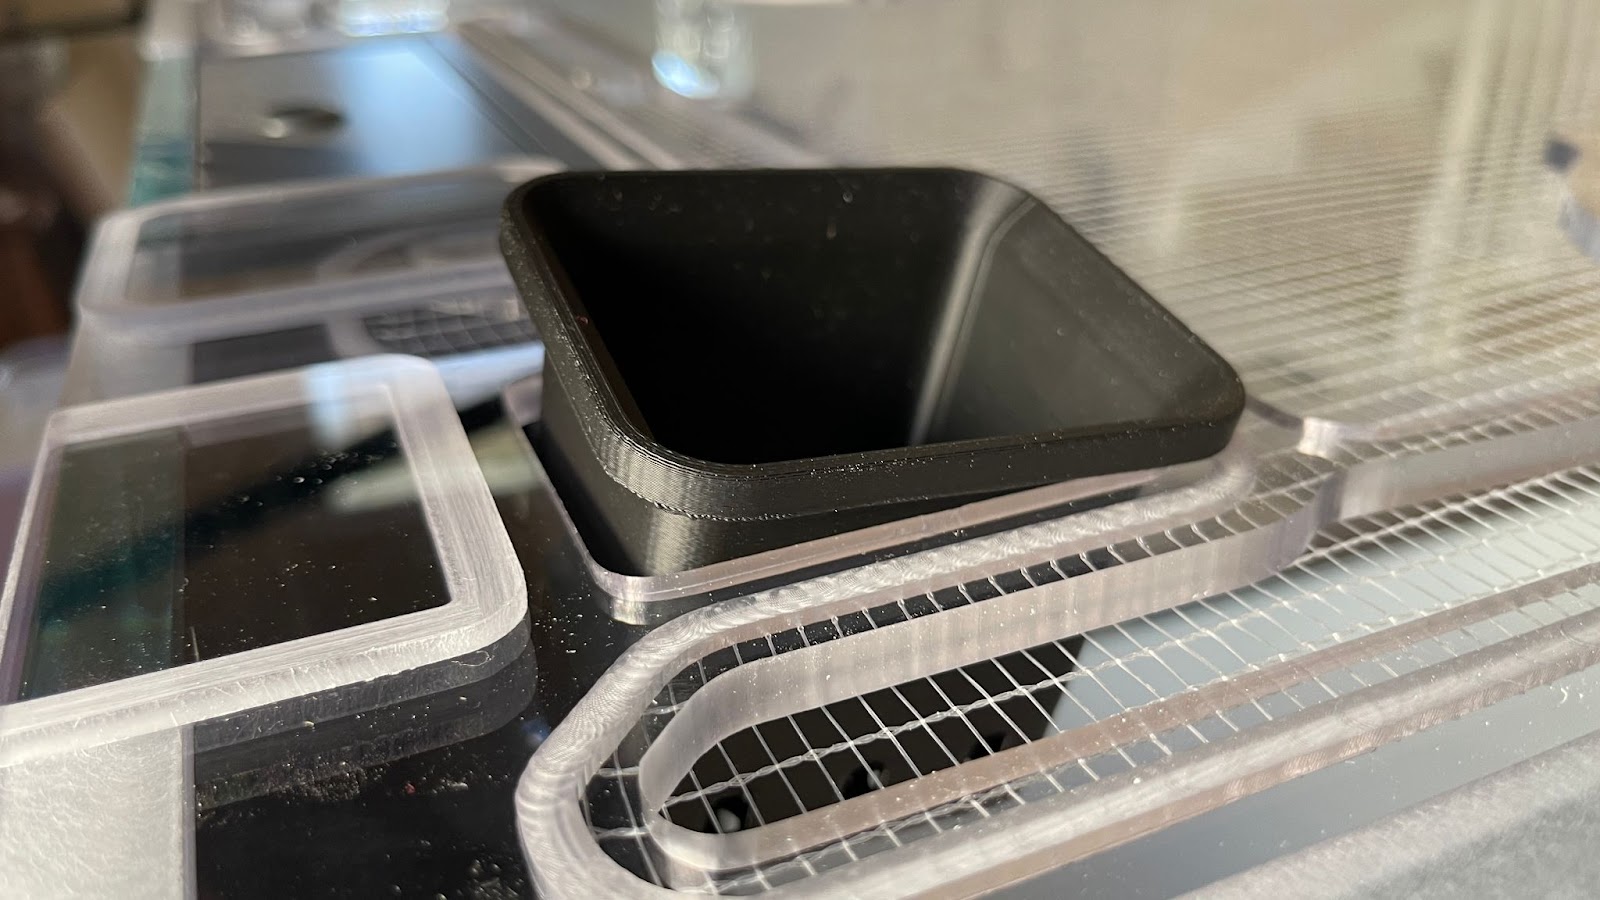
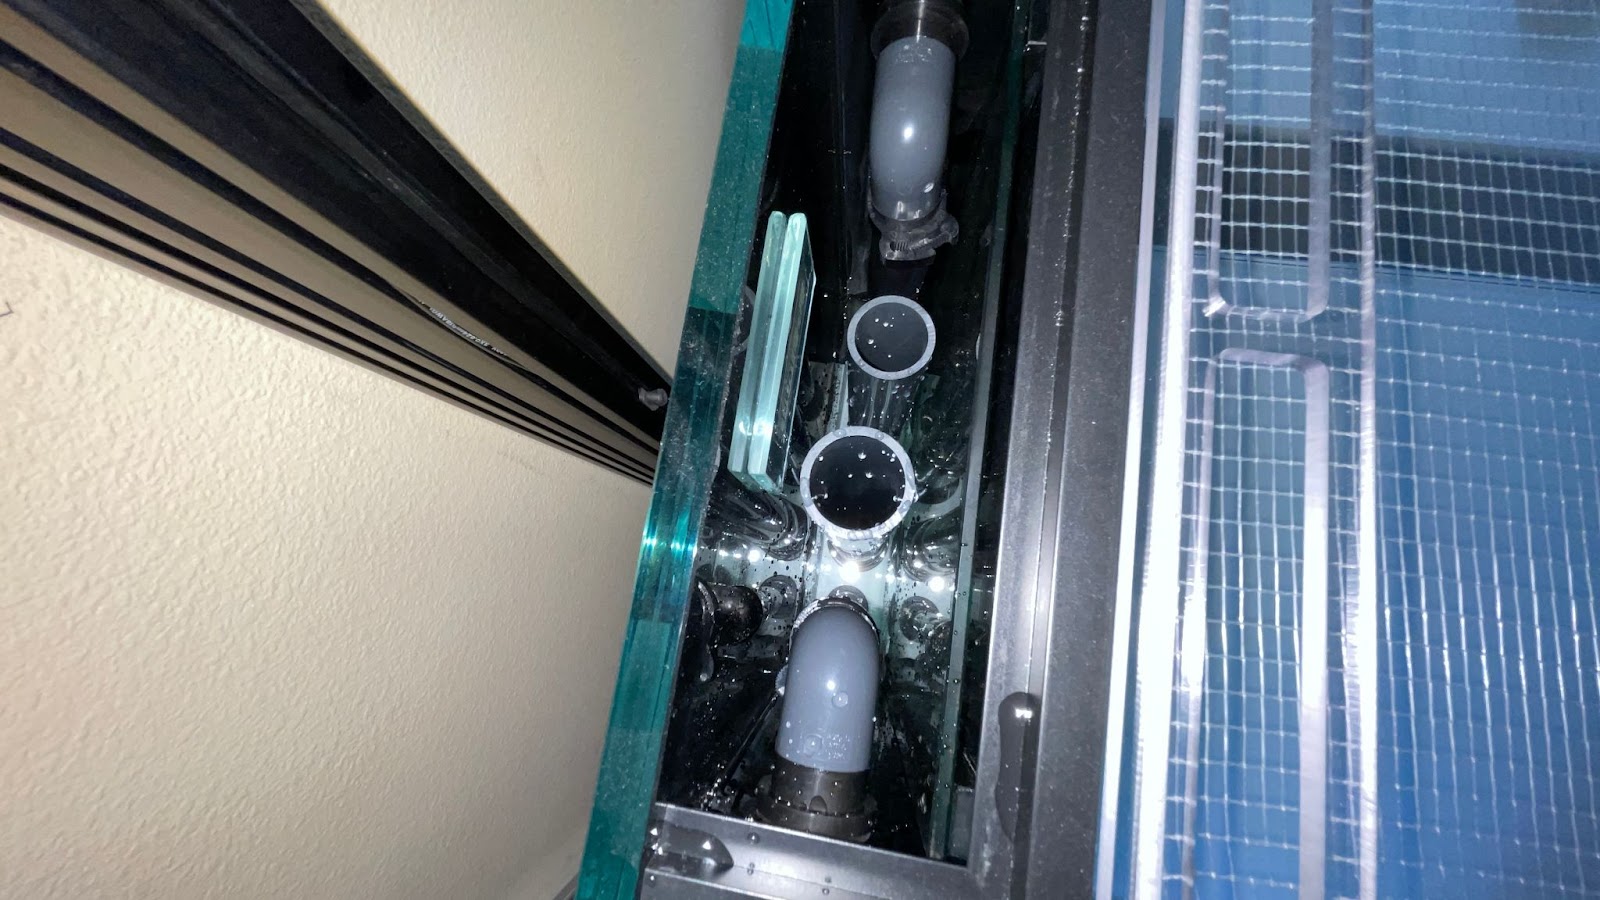
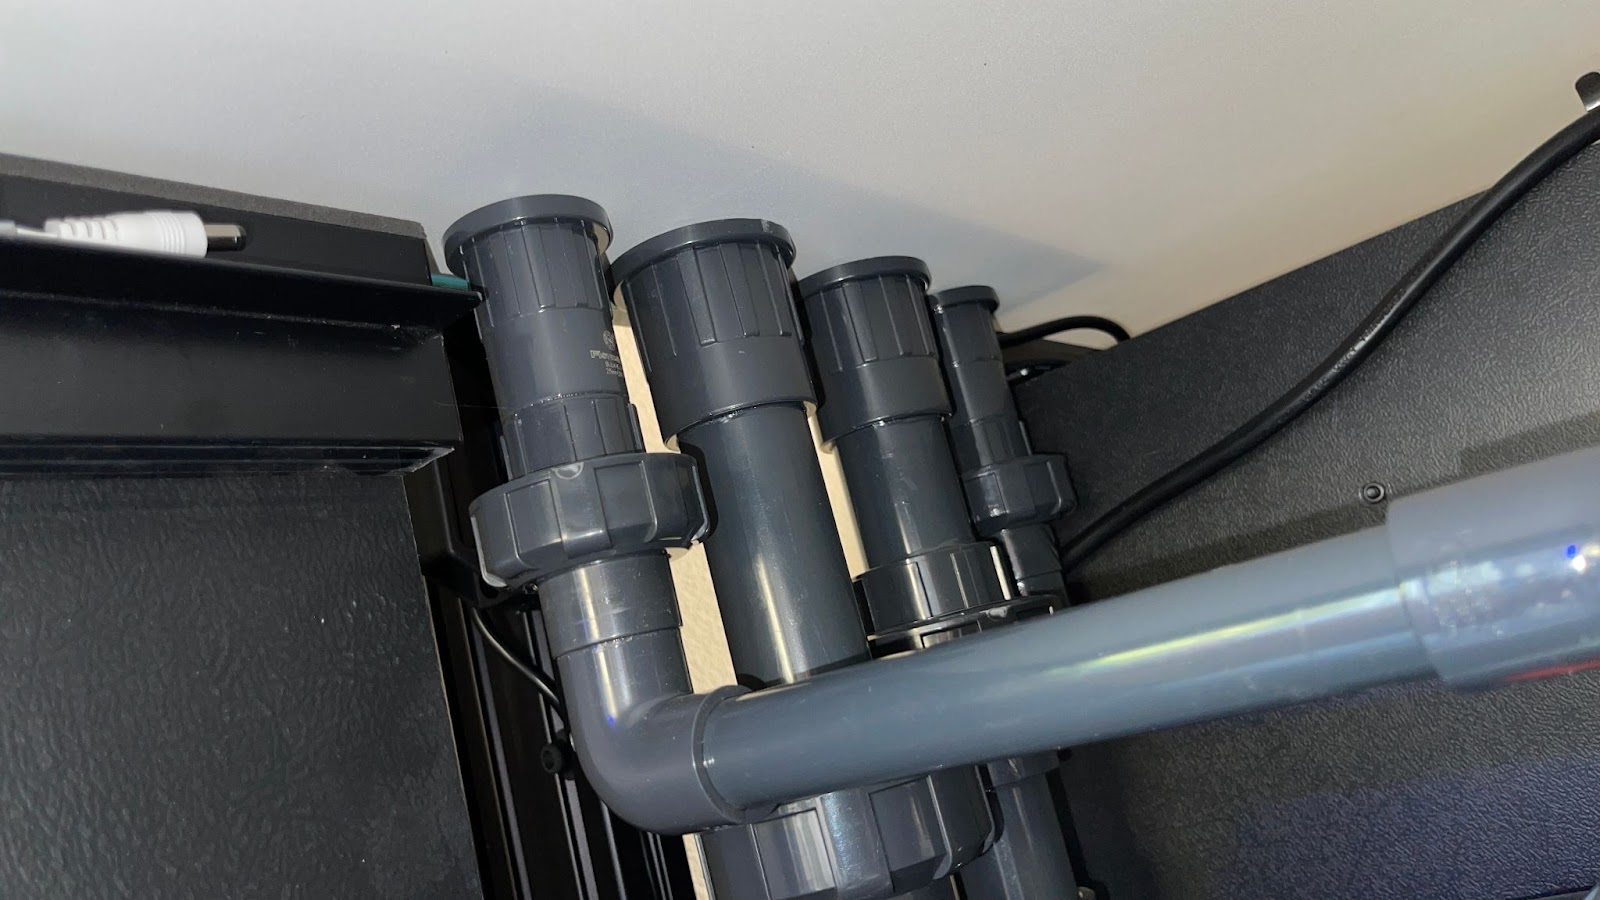
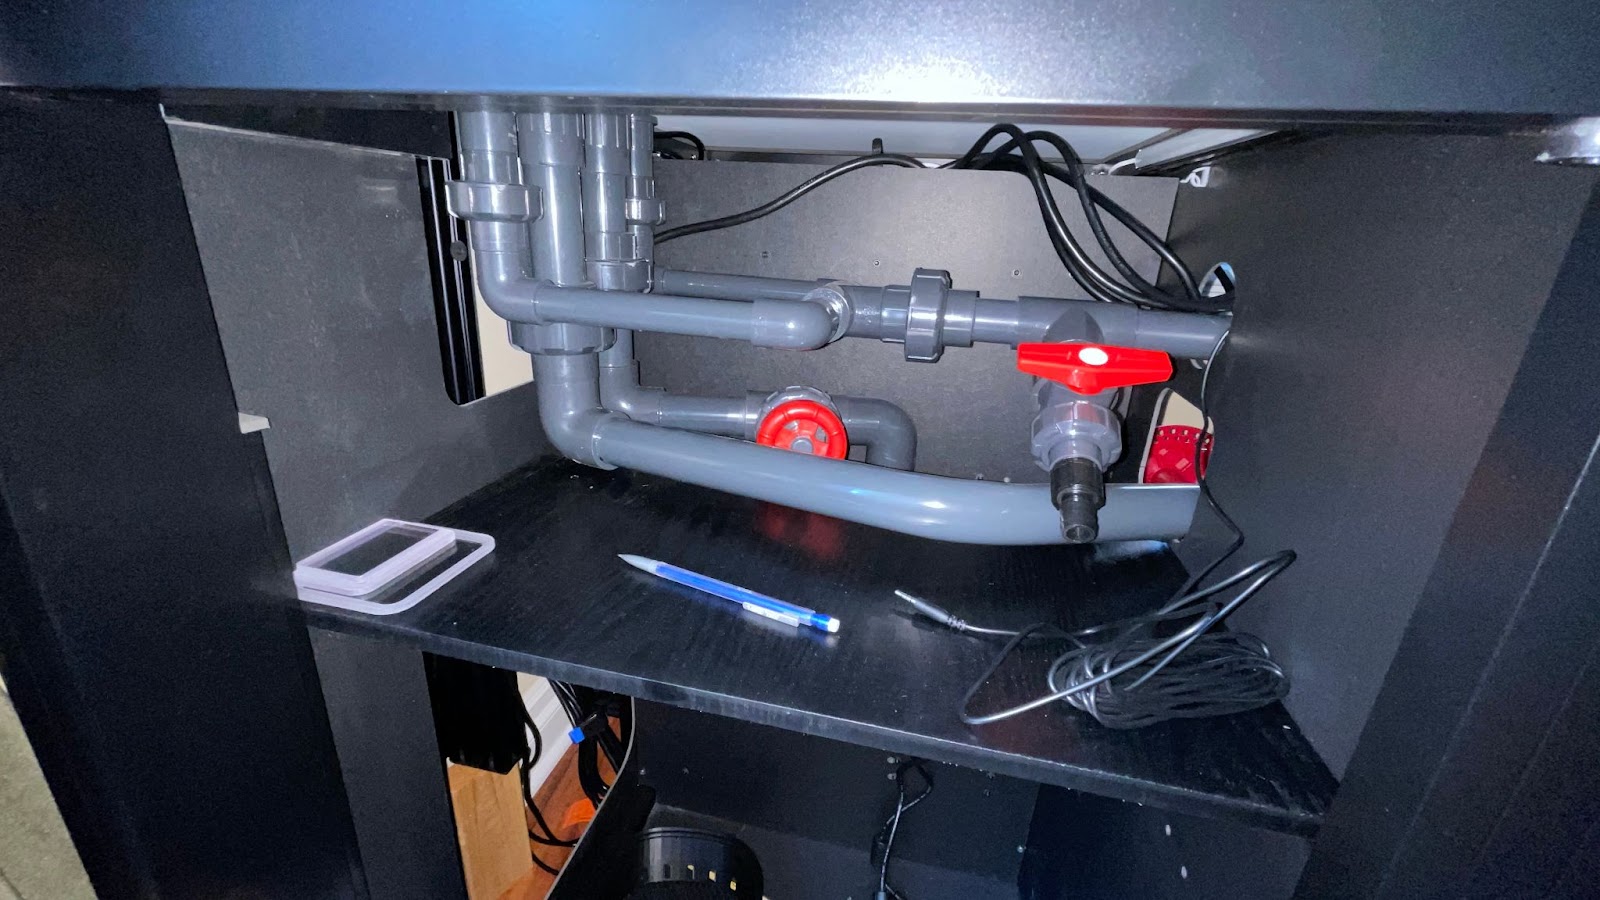
 
OP
OP
Isaac Alves

Isaac Alves

www.instagram.com/theloneaquarist/
View Badges
Joined
Nov 22, 2015
Messages
2,101
Reaction score
1,305
Location
Rancho Santa Margarita, CA
Rating - 0%
0   0   0
As I build out the Cade system, it’s future inhabitants , still live in the Cadlight 70. Today is water change, and wave maker cleaning day.


1511A88A-21C6-4393-A723-7235CDDB966D.jpeg
 
OP
OP
Isaac Alves

Isaac Alves

www.instagram.com/theloneaquarist/
View Badges
Joined
Nov 22, 2015
Messages
2,101
Reaction score
1,305
Location
Rancho Santa Margarita, CA
Rating - 0%
0   0   0
Using these m4 1/2” hex screws with a bolt to start mounting these heavier items…

1A136019-D482-4E0B-B968-3F2BD92294B6.jpeg


Put one of the Apex EB8 on the side

8AD803C9-C1A0-4D08-8D22-6C5A03F92496.jpeg


on the opposite side of the wall the bolt just slightly pop out…

9DDAD2F5-4FDC-4B16-911F-EAFF3DC14429.jpeg


Mounting plate mounted for the EB32:

6670B755-3306-4535-A8DD-787B301BE27E.jpeg
 
OP
OP
Isaac Alves

Isaac Alves

www.instagram.com/theloneaquarist/
View Badges
Joined
Nov 22, 2015
Messages
2,101
Reaction score
1,305
Location
Rancho Santa Margarita, CA
Rating - 0%
0   0   0
Just using a 11/64 bit to carefully make the holes.

image.jpg


Mounting is actually a bit easier than I thought it would be. APEX brain and EB32 mounted…

7F382392-03D7-43D4-B81A-DB9D6805E8B7.jpeg
 
OP
OP
Isaac Alves

Isaac Alves

www.instagram.com/theloneaquarist/
View Badges
Joined
Nov 22, 2015
Messages
2,101
Reaction score
1,305
Location
Rancho Santa Margarita, CA
Rating - 0%
0   0   0
The first partition in the electric panel is a dark stained plywood.

here’s my technique for mounting stuff to it.

I first check to make sure the electronic component actually has clearance away from the glass door. There is unfortunately not much space between this plywood portion and the glass door.

I’m thinking of putting the Maxspect Gyre controller here at the top…

image.jpg


so I position the unit in place:

image.jpg


to make sure it’s straight I use a pencil, tape measure and level.

image.jpg


I make sure I have enough room on top to easily remove the controller from the mounting plate.

I then measure the space from the top of the controller to the first row of holes on the mounting plate…

image.jpg


And mark that with a pencil tik on the ruler.

then I mark the position on the mounting wall…

image.jpg

Then mark the tik from the ruler to the board:

image.jpg


mark in place I can make a line with the level to use as a guide for the mounting plate…

image.jpg


image.jpg


image.jpg


image.jpg


once I have these marks the rest is quick. But, its quicker with a self drilling screw, and these PowerPro 6x1/2” self drilling coated screws from Loweare awesome…

6B32B427-3F67-483E-B6B9-218F6E0CC2E4.jpeg


BE42E1FC-848C-4C91-9C76-256D9881215F.jpeg


easy breezy with a good impact drill…


B54FB523-C7AD-44C3-8EA0-6C7B0E67A450.jpeg


18A38C7F-DEF6-430D-84A6-AA2714444C7E.jpeg
 
OP
OP
Isaac Alves

Isaac Alves

www.instagram.com/theloneaquarist/
View Badges
Joined
Nov 22, 2015
Messages
2,101
Reaction score
1,305
Location
Rancho Santa Margarita, CA
Rating - 0%
0   0   0
Refugium-conversion update

I wanted to try and block some of the light that will be coming from the refugium. So I got a piece of black acrylic that should cover the area next to the skimmer. I'm simply using silicone to adhere it to the inside wall of the converted ATO-to-fuge section. I still plan on hanging some foam material to prevent more light spill.

Here’s the acrylic sheet:

mmGTYa8M7Np9T4Mk0BpA_4Op6Vab980m_XG3uVqpCCT5zh3DSMY6yOqmnwdwlzYTZ8zZX40R1FhhIkQBxZF-XUTk47y_pPmwjJCmtXwJn50ZQ-6rPq_cdv8Z8DnPBkOVaNPNyOCm8BznY9R-kcOK_DI7gMs7oPmTRGaNUdyfggKo6eXHjz_cAAcf9g


Want to position it here…maybe a tad lower

B4qmcC64vB4sAfG4UXJ9RUZFMx9zn9thuQOgZMHoi2iAy1-nnKSZ4LAbXVyqnqY5p61s-L7pEfK_U_3vA0NluexiyIvvMhDMfsNTJ9eT-6rgQZPXmjwPlaZaFPgUgQSzriQiPno4XwHDgsHA_VMHg4asNQZ0n9jNATNig6uxkhZYpmIvkc87sps5NQ


wx9C0LuXGA8GCOLefmtQw9O-B_Vtj_EMFzpqoaR55l7qWdnhbEE5yat-39I56RDe59FSggv_LkhIYqYNtGLbr7WOTQuHu3SNHdXDw8ymjeJVs0LTMEi5nVbCsIuTuB0TUvPG8z6gHKhfUQekoOiEniLnyYMM67cNC4xpjq2Wb9UoltmktNNNtBimWQ


Siliconed and clamped:

360QXLz6x5pw32IeaQtTSIuECzVovPzGAYwZnJsXwvUNZocPm2hwvcbqaFzBKbJHNy0Q_wv-lAUza-YT3JIImtNimEI2WDIHZzL5Wv6fTEy_-fJm20T6X6_ujfiTN0GiEk-amaBPzl9t5ERNRmF5GVIx2WgLJeXy4P7PRAYcK6zGdblf2MRblEQ_sA
 
OP
OP
Isaac Alves

Isaac Alves

www.instagram.com/theloneaquarist/
View Badges
Joined
Nov 22, 2015
Messages
2,101
Reaction score
1,305
Location
Rancho Santa Margarita, CA
Rating - 0%
0   0   0
I decided to place the power bars suspended and up against the inner wall of the electronics compartment. The Ecotech G6 XR30 bars are huge.

33E2CBAF-9B51-4A40-8AA0-A11A28CD664B.jpeg


I’m using these cheap 3D printed generic bar mounts with Velcro straps that I found from a seller on Ebay. I had to use two for the XR30 bars.

3050FD49-EE62-4B34-AE55-78BE69398EF7.jpeg


0A0017B7-277B-4F55-8206-1E956B120E52.jpeg


They do hold well though.

__

I also started mounting the Ecotech pump drivers on the inside of the wooden door. I think I’ll line them up here at the top.

1C72087B-9373-4EA0-85CE-EC9EDEAFAC6B.jpeg


I’ll be running two MP40s and two Maxspect Gyres in the display. There will be one MP10 in the Refugium. In any case, I think 4 Ecotech drivers will fit nicely in a row: 2x MP40s, 1x MP10, 1x Vectra L1.

Definitely slow going, but almost there once the electrical is done.
 
OP
OP
Isaac Alves

Isaac Alves

www.instagram.com/theloneaquarist/
View Badges
Joined
Nov 22, 2015
Messages
2,101
Reaction score
1,305
Location
Rancho Santa Margarita, CA
Rating - 0%
0   0   0
Jump Net / Screen Cover

My Top Lids screen top order just got delivered. Fitted to the Cade 1500 peninsula. Will open shortly to make sure everything looks good on it.

41C6FE83-3D08-4A10-870C-F48491AA22DA.jpeg
 
OP
OP
Isaac Alves

Isaac Alves

www.instagram.com/theloneaquarist/
View Badges
Joined
Nov 22, 2015
Messages
2,101
Reaction score
1,305
Location
Rancho Santa Margarita, CA
Rating - 0%
0   0   0
The Top Lids cover is pretty nice. It’s very lite compared to my 70 Gallon’s Clearview custom screen top -- I would say it’s nowhere near as heavy or thick -- but that could be a good thing.


Packing is fairly straightforward. Again, not as dense or reinforced as Clearview lids (aka Artfully Acrylic) were when I received it.

chASHUwyfCOhbHswt2EzFAhHaroR4rZ3Z2Jv1DgwLGGV7IZLVRrKSAwAkamv8uiuLfH4jJVca2-LIrhEeFSNeT6lo0CmJseWySXr2eg639E-S6bAhcBo-KcwQTixiMBit5efwkebqhhxpCg8bYB9-Cx3STNctPwKxWwJsOPF1T9YFOir0MSJHIp5yQ


The screen top is split into two sections for this tank to prevent sagging in the middle. I appreciated the customer hand holding by Top Lids to get measurements and special requests just right.

QwzctWfGi8pcNHH1I3qmycNW5eUr_Php7x6DBKmiXLz0dDTl4Aq7JyN5508I-wlmNCazxpGt5oVRcsiB5Hfq1h2ZYDBFy2DW_jJi4OtQIeeotKQkMkbPYqpJUjIrwXXh3MvcBXsxseuQhkWin1avEGy39-En0zMPJnuLU-o6xSaBusmnejCAg2B91w


After removing the packing tape and bubble wrapping I’m inspecting the mesh and finish of the overall product. The mesh is pretty good. Seems about the same quality as the Clearview screen. I do appreciate the frosting around the perimeter as well as the use of a clear piping.


5hkfIZmFgKC_0oRZkfQPE3IXQRoleffCpIq-yp6eNdELUrQRLm9RTCFP1aJf7Rgw5Q7iKbowDiEOaQo-A7-zPqQV0Y0yr0E16qTHE0YLsAGPSu-_PoZeQO1muEkjk7JBj-ztNhVRVr7VvFewi2JnB1CH6urm6ySI7YZM1qKZbBFmvZQwalhZCOV85Q


W0GqebqN9T9842pAJZiesNVZPmQZOgaF0oZQWpKLk2275UIx6gC65BKhcHfAn273ugoMq8ADk9jW8izlldobL626ND9fgtXLwJichr23hcOAfCKE9BQ-LqEKBVTFFNF5VaVd10Q7Z2trf4_aqwg4dOV7jOhvgrOGo1K9pGnQHpvjE0jHVu_KxfrMLw


Again, I keep thinking that it's not a very thick product. To be honest, I’m more comfortable with this thickness on the longer tank...I think. Definitely can't put a heavy fan on this like I do on the Clearview lid:

gUdh8XdBEpbor8NCt2G7-an2ZZw1kIIhvJTBxYKbvSK3wzY4LhV3lVNe1Of36U2vsJQRkpfKIAx4vloiY_xwKf03tRTZNGxLnCVW_BkyvNZbwG6LeTHZYLCpyFCSBeXbaYUjJnyaG-abnTSGlqDM3LT9x5gYSnbOP2IB-P6oOnFL7j6z5qd2bUMtww


Did not realize how large the feed ports would be :) But a good fit so far.


1iDBcmbJeW0p7P94Fxic071NYvbjU6s5heRhWLeC9IzGj5RDwmV4fW4eL9TC5xARN6h7gnHPXF8CHa1UbWX_WtFHMT1vioqYBBaYu84lkLfX7Eat35o-c04-Ij0CVeE5_ovQntg-AXHHPVPOr6OXACw3J8KRSoB4UixUlTjvzgnm11-aTXAEOc1D_Q


First half fits great:

mYDwfnN7-WzLI3hkdWEpNnb4vYkKrvXK-vQmlqhIs0gtaeeQnzQW6oGAIb5x81VxmtkGY8gu2ldbehW9i0xJT4844EG4cyOL2oYMzjYa6WXgju_nQzJ_-mSKKzKRxvTbc3I8LH9ccSBkFlw8feUUslzz2gh_XMj0dqhmp7SXOrbMcldfoOVMu6fbnA


Good lip to hold the screen securely:

R4mDj8COQV163Wyr-JpWwgabeqBeW49PxTxjNGTdwaUq3S8jDLvff3Q3kcZv4mi0dPsMKPCHK6a4XTmKokCbpTYD2_QTvWhv9epjlVx5s_ysconwmLKtB_2a0EXG0Hd5nNQUBeSeXjjSfx3M-LuTiFkWj9bPrJNf9c9fFkbFnDRtzD3PeYV16IgdIw


I did have them cut for an Eheim feeder -- I might see if the @AVAST Marine Plank Feeder will fit :beaming-face-with-smiling-eyes::beaming-face-with-smiling-eyes::beaming-face-with-smiling-eyes:.

cIJgPzTmW-LxoyJDMPng2gt9-6kAF-dL-2JcZW7MhZicy294oCFflILDFM9YvdIC4rUUQpXBZzOqLPbcyxITuSFyIhzjpAvNA7kAib7FcdP2dU-MRXqmBl1DK5dkJ9m4MK0x6cArYbyin6P3__t57nSALbY6-8u6rO_Tsdwx_rV9LU69zeBxRvCCtQ


Top Lid's provided fitted cutout covers if you don’t use the Auto Feeder ports and that’s what’s probably in this attached pouch:

FVjCTb74sgv2tdxFv-lUvudFls1zWy013gJhEcKbpZuYa4E80asNhvUNyZBRQePFjmFdhoZN0e40rMorhkpZvTQxagJ7f1nFzTaAKs4Pj5gVI71I21-K0PNGnwLOhOMsW0dznOfLa0fMF1sORBHtp4XkCwnc_rhreW0P4M4SS_Ry62rM60WXKI7j2g


yup…

GmxuNXY1YxS1t2Bc7En2-PAEOit9ctgiz9NxdptmGt2exwYj0Wd78BeIsWh18I8-z7qTRQjY2quY6ReEe4pot7GwCpHWSXmnLMcT0wniOQipoDW5_6gIH6kHuN-QM1mvI4fqmJPNXHKx3-Ddv60FPVYFYihtmrG1C-p_IPV9g1qvBGTPyP8D5UXelg


iJYqEQYnEo3rkImsbKwk6PG1ZTtcwTk_KMob3PwBFp2bRsXsa_s59i4GM9_GJQrlkKygVB7OjN6t6ub73tOSKkY8VVbNpBaRnxMGw-uQSmxxGnNVgcxZoKGDJ-6HbC-XvgT_IjSzZCkIVrYCWfhS57HODD30b2umO2OZtcFcjk0JwAgu9ESr4MaD6w


ZUePs7VmwbfpCtr1rwFkXnGgJWetjoIkaiE1sM_dYseMs9AJptWvENWuwTEMsp1Rk9xY2c7n-B52q92VvKdHSr8x7-jKo8eXR5E7I_N7osxRgCcTyD9wdutkSXZRPuipFgYM3kOUkAADkzCOr_3RaNiFYjDi-gfAftSysAA4_bRNq8YOy0TmFqFkkg


N84IMqzedXywvMwzCDW1bCxP0quklJBpSuHWHx8HASDhwN614d4UuNBkmnHDgfb_VKMn_hgI8P-1yoDdU1wGl8nTALAAValnSnJ5NNXCzq06WoADBMStLBC54QmKLt0XYrmw9HpDCb1G1jl1h2rpoyXdw3hpE8-ZuLbbLSJZvnRaLs2BeDY0n_u0ig


Nice tight fit in the center:

e-v5Wzy3zyJSaqcFM97Q5mXOxhpEkUb-ruqk78hkAwDj5ngMQq9TQrtr_P1tdGKK7UUkiQuREHXPTTaFNVBezsX2yfePvtti-_qPAkaaHP3srupqiXDO5f7OTKqGpF-W6WPNjWq3fvdA9Z1jdkKzAgwo38tbT1k-lvmfg9sKejvY_Wmrgw_TwkttBA


I like the final product overall:


U8R0jAXyuKYGa59AjNcwl22w4c6XLoQARgotp7IOmMHh8Z9XsdvdMcS4SDYiBtxzB0ylpzN9YfWsp42SELb1PhA0eVA7pT7tSawWyvgBA05uRfGkAXmyW-vmYfrNJGrv3TF7qwI1JE-lGvhfWsVMU9r8DWqsYaRcI9AVRKqW9UZ7kkeoISRBvAcMIA


__
The only slightly "off" thing, or nit, and this is probably my fault, is that the second piece slightly over-hangs on the front end of the peninsula. It’s so slight I don’t truly notice:

RZ3cU2oeJ76mVGNaINN1U8FaYp6Y0Oc_xR0S4wk7MmCnLETvZMjvjeUZ91mG047dmkPBTtzj0y6ApIKzo6usjAWn7EiLMVpT6su5Wzc9NYmknmHOlplU7fZISX-aKTFAqsbInRKKtsvEtjHP-mdIQdLtH4oHU4j7Iv8GmFMr7lVuW8MJlCorJ2HdZQ


BKBLEayZ7QY_bavAgGpOkr-tBnPWL8On2eLmfBMUwMdY1NRJbevesiLbna0WfIM4c7NzfY5ovh2I1Cof7lZty4m7hoSNGpMO1aBZb_Wu2x8_DEQKGVe6c9AryOfsxJf0MzI7P9v8jB6ABrxqA-ID0FvCWvWnNcrmYYaSeRxM5yPYZ7Xv-CASjnHAkw


The side measurements are spot on…trying to show that in this blurry image of the side straight down:

oTiDPK_mMyzoZflykoQftdV29AQyssQZoZtAhx54RFyiPD6vOjpb4q27X8fynH2S2Qv7GxI4bzWca8w3tfE9yW_mEeHWt-Fe08VvILti2A57SOe0mqtjNmS1RMNnfg3un-pbjJaMmfOfjA0Ue3dJMMMtvNZ83-nVs1GGfcg8HHiPMBq1j5T11Rq_sw


__
I did get a couple of Feed trays that slide into the feed ports of the lid. That box looks like it got into a few brawls on the way here…

ewwTn8oVrkdARMd9SuOgBe4V-6ikLRZGZWPlmYwdbyP1l6iTtf8KgmfT4Qn-bQ6-bhd0IiHYf_KIlFEOpomdLtdtNn--rlDkK44cnIBNYeSKL20gaKlxoe90S8DZhC3qgDCa-cD8waXK3Q-sROkJ-7PUkfpvuTlqqtaoKfWnAELcmf0ncbon8CW3DA


oYkXUIm7Wos_wogcHMF93ON7ca9i0a0X9l00G5VeQTd5afcHoulg7rHbC0CpZkn_so3otp-bhXsA_qupvUxGfKd40Abkne2AXdBTQN2N8Dx3iqO9lzljof_L2M1cdnzvYD-jFmndbOHhEUe3-j4rsp8KFHmmytY8UbZFMoHWpChwKjeqGmGbFeTtSg


Stuff inside looks undamaged. Top Lids really packed a ton of bubble wrap into this box.


Eheim Auto Feeder insert:

BbgmMYR8IoubEOPKS3vv-Ij-LDMc1j-O0Gb3C0NFMX7hv-30VGAL55UUGT2B5oBgbiMI6I1H3V5mEkHRoqjFYTZIszGQjUOoYqmJRlQkOqA3qZ0tXFo2L6Ko_1bcN2o1RLHrOMnlZy6Ax9pHcwMMMqhl0DVWDjfuyNsg2MfcSjmlUNvJJHoJgee_kg


And one frozen feeder insert.
This thing is seriously massive. Could drop in a whole tray of Rod’s Food into it!

qWTDRNMhuPzoAumm0gSkCpxC5gHdtZXaaji-vKoGf8SMTyPmX3Dm-ozaIzhrzVAMm8rTNnHg9heFzx2ZWqDbOCafy-A99oDHsS6udQS6AE_T1hkcIaMN6p3cWsY2z_GsdQPhfEWszX8zzHhPFOzU3bQl9W_cdgktl7G4nAcmRPHNVDIs_6kE6zwVGQ


DWoLkD2nNLBcfztGcXM-H3LE-LkYZY8t6IksyPLXzatnaJQxE4eyqXaV9AEUtCbBlijiRQE8EfQfWAtqLd0fOWDKndAuizX0xwwOTPCkao77jGzec8yW7z4MJ2sZXkKZZ6fMKoQGj-Ng0XOlajUjSJOaAFtX7HKuDxt27rXZMvmgkh3h7CV5ZDky4Q


MZKnLBnR-Fqq95VegstMF1pgzo9pCgOMMQ63KXxgVnW7Kax1z425F5_iZt4XAQguvBV7AKxPbPoYs4moNL_w7LqpUOEVL9sS8rA5qy2Mwcdwml4priGE5ne9S7hmIH_F0NFPMwkdNlGA54goUoPlo-3uZQxRs0fo2SC7TtM08q6JLtTrAhX2j10AHA


-evuarc1d-_RkMgd1AzjbTGEHvAMNsM4R3_jFZixmDpMelCeFrZeMKNKX1nO_jE1k4RAE4fkFHoVly3MeRoHYXjG08qaaJGmA20RX0p6NCJsWEOq9B0eKTdGK8nohWUKpO-90FTO56sWwwUGYiZ_Z0cXL7Mlp9kJzb2kUhwWJA9yA0vuq5PfA_4LTw


The frozen tray fits great. Even the port cover fits into it nicely which is a nice touch.

6ayaPeJ9n5_E3gzVTBFFfbFRp6KNj3tS0fWueiKuBDMlmEQCtq35ZsL-MQeoTdEPbA92YiA7acTa72VUZq7lAnDOuSobDEb_L9waw6SocJmcof2_ZPn9wjlZijRGBe-WPVt3URg5ikYxKorqfuf8_640dsJu8zUp_2Z_vGwLdfrSIhV0_BGcU1Igwg


One issue...

The Eheim feeder fits into the port but is too tall. Seems both myself and the Top Lids consultant didn’t consider where the Cade 1500 S/P's return outlet is in relation to things sticking down past the surface:


ToVj8Iuyj3kb1PDfZLN7SAUuhUdBVXsvztSWrtctzIzihCAAg9IiCAENP3ichP4WK0GEEI9JDGdpfjYeW-wJv-Ki69e0nScUfcBv4hEINJSlN_pH11_L5iC4ek-n9HdFI-sHVqx-hKgRkO6umEUMsTSSw9o8e-q4uS14JmKU-2K9Xh64OKEeSFnGKw


Well…this one’s a bummer.


jQ0_UbFFud4rH3PU-mSYdnKfs3nUPJvuTfHSzInKvmrZy4jSWB1uecqRch-7WX5NTzAL9r13rnDE_lEm4FnxkmiGrTuQlemSdrf29PJKbfc6mhCy9xk82qkUQ7NOI4vZ7jH5ryCZ_6WrNSRoLzK9Fs_sQpjw1i8LEs4bBlrP6pVqD53xOTzG28jB2w


Overall though it's slick. A nice upgrade from the aluminum frame one piece that comes with the Cade.

Very happy with this purchase.
 
OP
OP
Isaac Alves

Isaac Alves

www.instagram.com/theloneaquarist/
View Badges
Joined
Nov 22, 2015
Messages
2,101
Reaction score
1,305
Location
Rancho Santa Margarita, CA
Rating - 0%
0   0   0
Surge Protection


I want a solid surge protector and a single point of entry so that my battery backup can power everything if needed. In Southern California we have issues with fire, heat, and rolling blackouts. Although the grid has gotten stronger in socal. No power outages yet even with the massive heat wave we had a couple weeks ago.

The California Independent Systems Operator has a great iOS app to monitor the grid, and provide a lot of up to the minute energy data.


In any case, I wanted a good 3500 joule power protector that wasn’t too Expensive. And I found one from Amazon Basics that seemed pretty good:

66FA33F1-3A3B-402C-9589-69BE8BB4C3B1.jpeg


Amazon Basics 12-Outlet Power Strip Surge Protector | 4,320 Joule, 10-Foot Cord https://a.co/d/4toE58Z

I wanted to mount this up off the ground.

E153F637-7E17-4456-9923-3D35CD83A9EA.jpeg


0B4CBCE7-7798-4CE3-B427-7674DFB2C630.jpeg


The trace, paper and pencil rub is my go to…

6A2429E9-F6FD-4ECB-86A9-789A6AEEAA12.jpeg
 
OP
OP
Isaac Alves

Isaac Alves

www.instagram.com/theloneaquarist/
View Badges
Joined
Nov 22, 2015
Messages
2,101
Reaction score
1,305
Location
Rancho Santa Margarita, CA
Rating - 0%
0   0   0
Mounting this was a pain in the butt since I’m using small bolts with a nut on the inside of the plastic wall. But using scotch tape to hold down the bolt on the inside helped…solid mount:

BC52246C-4F15-4650-B9BB-F82EBE4406F1.jpeg
 
Last edited:
OP
OP
Isaac Alves

Isaac Alves

www.instagram.com/theloneaquarist/
View Badges
Joined
Nov 22, 2015
Messages
2,101
Reaction score
1,305
Location
Rancho Santa Margarita, CA
Rating - 0%
0   0   0
Electrical wires and runs almost complete… taking much longer than I hoped. I want to get these wires all tidied up before moving the tank into position.

B7BF496B-C403-482B-9BFD-B746251A1FEC.jpeg


even trying to tag wires…

image.jpg
 
OP
OP
Isaac Alves

Isaac Alves

www.instagram.com/theloneaquarist/
View Badges
Joined
Nov 22, 2015
Messages
2,101
Reaction score
1,305
Location
Rancho Santa Margarita, CA
Rating - 0%
0   0   0
Ecotech Vortech driver mounts added to the inside of the door. I forgot the Vortechs don’t come with driver wall mounts…a bit odd. The L2 pump driver had a mount.

anyways…used a cheapo laser level to not mess with rulers and marks.

B4D6E6C9-21B4-49B3-8530-699CE3091430.jpeg


C2C15C24-5855-4862-BE83-3CB9DEC56DAF.jpeg
 
OP
OP
Isaac Alves

Isaac Alves

www.instagram.com/theloneaquarist/
View Badges
Joined
Nov 22, 2015
Messages
2,101
Reaction score
1,305
Location
Rancho Santa Margarita, CA
Rating - 0%
0   0   0
These Vortech mounts are great quality and fit snug so the drivers aren’t rattling when I open and close the door. I found them on Amazon, off all places, when I was doing a Google search for 3D printed mounting brackets.

Extremely inexpensive for a set of four. Seems to be some left:

2C671D26-19C1-452F-B787-A5FC11D89377.jpeg


HorseRack 4 Pack Bulk Ecotech Marine Vortech Controller Bracket Mount https://a.co/d/9TMdldt
 
OP
OP
Isaac Alves

Isaac Alves

www.instagram.com/theloneaquarist/
View Badges
Joined
Nov 22, 2015
Messages
2,101
Reaction score
1,305
Location
Rancho Santa Margarita, CA
Rating - 0%
0   0   0
Doing the first leak test on the bulkheads of the overflow chamber this morning. Figured I can poor a bit over a gallon of RO water and let that sit for a few hours while I’m at work:

rGa-pV59Qxu-gln2kAU7st_BWafCklS8LU27btdS-elT1Q2tteuRc1LeL4OB8_dDHJJrcZeEtgymWXTaFtzvcsJV-oZQ3J0emXI9RYs6KkPXMzpcPzzt2GRO9WCDlaBA7wPax-Hu4xQ_XdDIexrIxaK4r8LFilg7GsUXBEcfBpNdz_ixcjQQ6CWRMA


Closing the gate valve for the main overflow for now.

w1UTmpmwXJwVA0eqMQtE5W14IeqMVwcb-XqHjVbmJIPlQzaZ4dobYgPKRSD2OoREbFJVfD9X7ipF1qHmH6pu41X4TSn6fOjE4HSc8znW2QUJP-4ftxjWhblSxhKKci27DZ2mXK34GZekJelFf37xFNaxTrUFhXDECBKjG4Zpvpk7gtwtLNzk2R61Ug

slSBLHcMUPFwLwF5rmHeHH_vB_4vzruwiICHWs51gI8bU1VJiXF45Zw0aBAt0bNzyVvKzoHET3svUR8ifp51gcdd0PG3t-Y2in-pZckdQ0xt1h2cnoduFRhwtSaHHpMso7t3E7S2em_m2uzGzxsCo15pcsZm9V7BHWOCcr-JBwZhKCIHK6x51MIhYw


Pouring right around the drains….

0BTyel-xz5gVPe9px4AKWRb-KtCvJTTk5baJIiTQ9lwrELljOXtAUYvdbXbuwyNX5Js7jAwBzeO4EeEnaf4R3NFJtL5sMiYKILlVu6mGrWpqzYuIeV-SYHg9QwNlDYgV2OzRBkiPPlKlJ19RjS-XEiwh4MuMmsbmIHHo-7cZv4WVGrNVy2tc2DBAzg


And then letting this water sit for a couple hours to ensure that any leaks have time to reveal themselves.
I’m wondering if I should put in more water to increase pressure?

zhlM35PsWPPbSJZfwPQKEyU_MeZPsOL4MyBmhtIxCG5fMNdLfr-qa0Dkp4sDza9V85fe9swQ-Xqud-FBOQ4QvznSh94_k6x9yenoPtq4n3bNDzcWJ19pgBnWuoFbFlYrIfOBKRnjx00tokNz9KosX5fbXaYJn5zwaxKwxyM0A-79wb11t0Zi2DQnMw


I am anxious to test out the main pipes too…cause I got all my weird bends and joints….

kUxP2DZ-5D_xkw4jeSdwzyl9brso5ogeMMhtra1qu4lT2FoKrraiTTngI2zaLCvrOsw9GXJ3wQOY9aXHHvzjLgq8MsndARADLBakCXZF2vaRcHRXc_yToQBn2QrekzR40Dc6hm2sOO3cX8wDlG-T9fDsWslKI1uV8YfX3lWwqQ786RPy0GF_AiMSsA


I'll update in a few hours...
 
OP
OP
Isaac Alves

Isaac Alves

www.instagram.com/theloneaquarist/
View Badges
Joined
Nov 22, 2015
Messages
2,101
Reaction score
1,305
Location
Rancho Santa Margarita, CA
Rating - 0%
0   0   0
Also just received my new DOS. Seriously heavy and hefty. Definitely bigger stepper than I was expecting. But similar in size if I put two Versas or two BRS 1.1ml dosers together.

4D410122-9456-4F55-9DD6-175730A08C3E.jpeg


Going with these for the main Alk and Ca dosing.
 
OP
OP
Isaac Alves

Isaac Alves

www.instagram.com/theloneaquarist/
View Badges
Joined
Nov 22, 2015
Messages
2,101
Reaction score
1,305
Location
Rancho Santa Margarita, CA
Rating - 0%
0   0   0
The DOS is pretty large and was too large to fit into the electronics side of the cabinet. So I mounted it to the “chiller” side. I think I’ll use this entire area for all of the tank’s dosing and additive equipment.

18DB6B51-0C73-43DD-9EE3-043E257B0110.jpeg
 
Last edited:
OP
OP
Isaac Alves

Isaac Alves

www.instagram.com/theloneaquarist/
View Badges
Joined
Nov 22, 2015
Messages
2,101
Reaction score
1,305
Location
Rancho Santa Margarita, CA
Rating - 0%
0   0   0
Building some CaribSea Life Rock Tonga branches. Goal here is to build some structure that leads to the front of the tank from the rear (where the overflow resides). The rear is where I want to place my current displays rock and coral and then have the rock lean toward the front.

I’m using thin liquid CA glue with crushed Marco rock dust to quickly build out and solidify the joints. Then I went back in with E-Marco Mortar to add more stability and seal some joint sections. Impressed with the powder with thin CA glue.


1638DD44-5F75-487C-B172-387DACA2C2D6.jpeg


93E13ABC-022C-4FE7-A8F1-208814A39038.jpeg


I’m thinking this will be the looking down the length of the tank:

6AA922E7-CB3A-4BE4-931F-8B785D19F118.jpeg


and top down…hopefully it hold solid.

A80A46A0-6ED7-447F-A356-7F35F8742A4B.jpeg


I’m this provides coral placement, and fish blinds.
 

Being sticky and staying connected: Have you used any reef-safe glue?

  • I have used reef safe glue.

    Votes: 22 88.0%
  • I haven’t used reef safe glue, but plan to in the future.

    Votes: 1 4.0%
  • I have no interest in using reef safe glue.

    Votes: 1 4.0%
  • Other.

    Votes: 1 4.0%
Back
Top