@Eight Have you used the SKADIS pegboard yet? Is it easy to work with? I would like to drill it with hole saws for makng holes to route cords behind the board. Would this work or would it crack or shatter?Building out the dry side!
So on Friday I had a very successful Ikea run. I found three very inexpensive pieces to serve as the basis for my dry side frame, controller board(s) and a temporary top off container. Here's what I purchased:
EKET Cabinet with door and 2 shelves: $45
(The deeper 13.75" one, not the 9" one.)
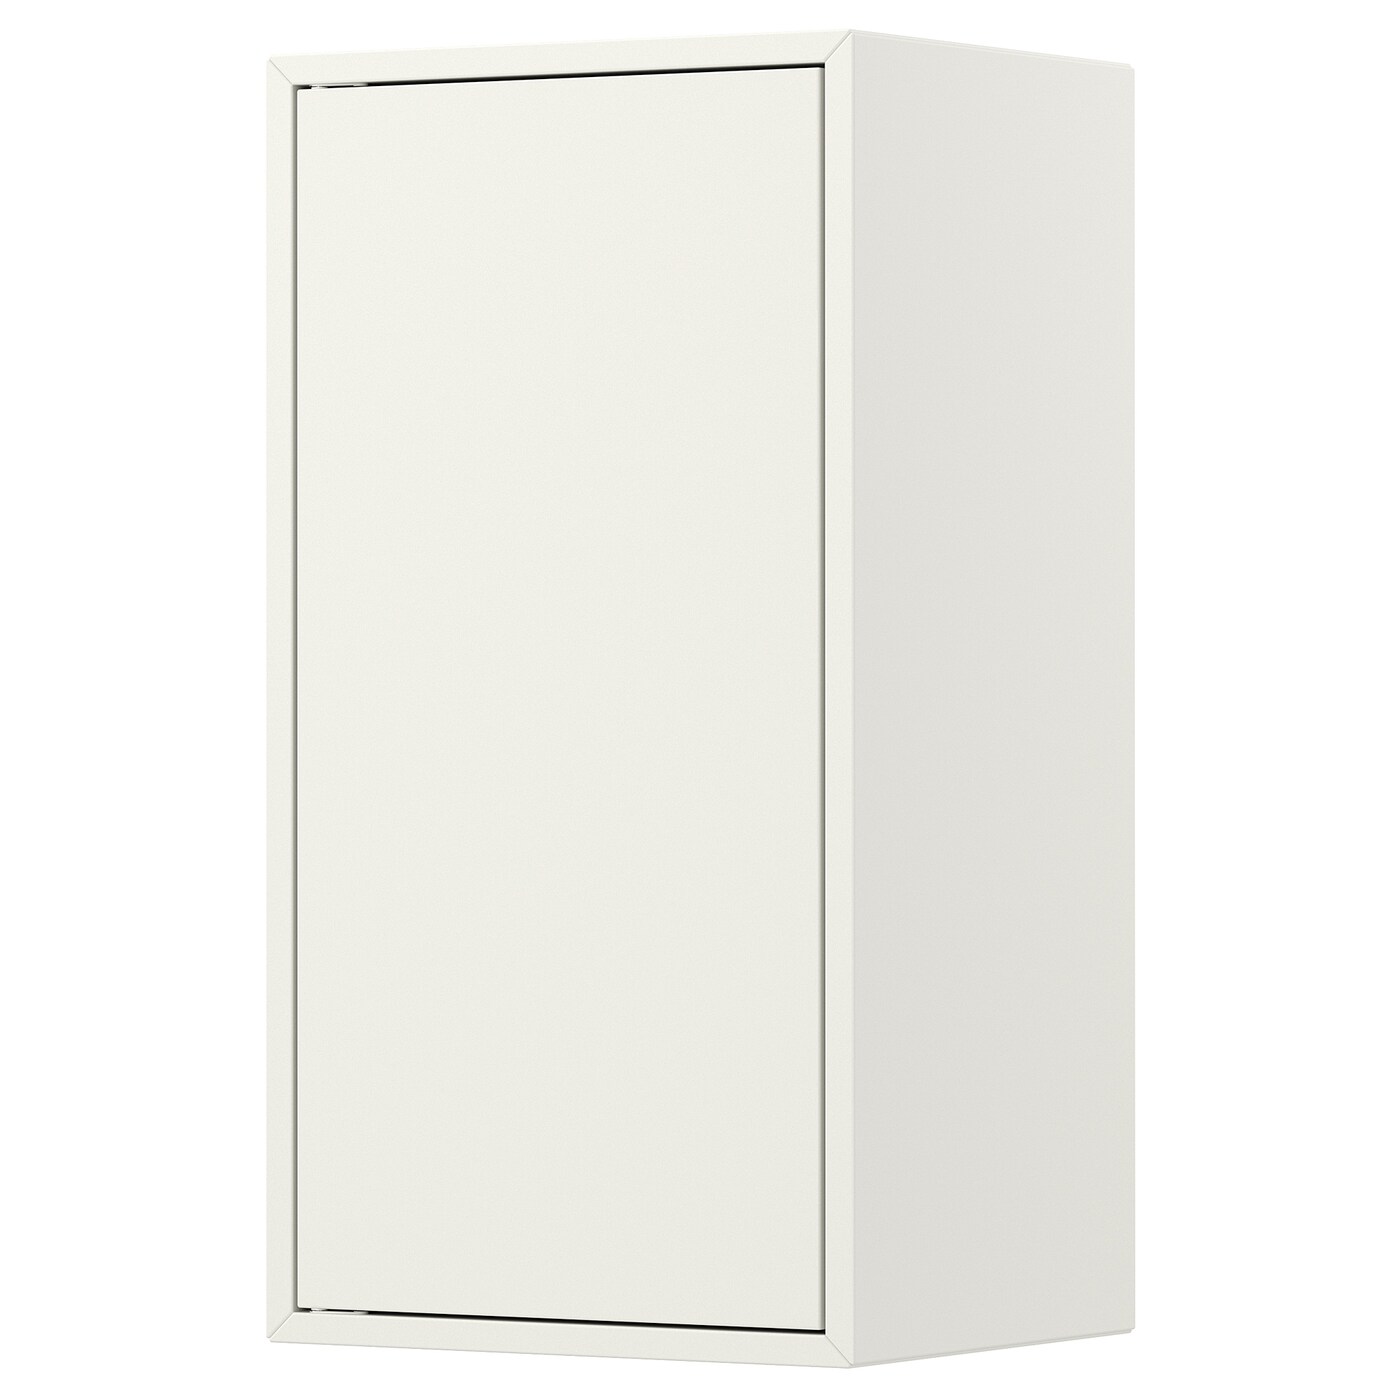
EKET cabinet with door and shelf, white, 133/4x133/4x271/2" - IKEA
EKET cabinet with door and shelf, white, 133/4x133/4x271/2" With the EKET series you can create great storage with small cabinets. You decide. And if your space or needs change, you can easily change your EKET solution too. A movable shelf makes it easy to adapt the space to your storage needs.www.ikea.com
SKADIS Pegboard (Small size): $9.99

SKÅDIS Pegboard, white, Width: 14 ¼" Height: 22" - IKEA
SKÅDIS Pegboard, white, Width: 14 ¼" Height: 22". Great next to your carpenter’s bench but serves just as well in the bathroom, entrance or office, keeping smaller items close at hand. Add SKÅDIS accessories to create the best storage for your needs.www.ikea.com
HALLBAR 6 Gallon Bin (To use as a temporary ATO until I figure out a custom one): $9.99
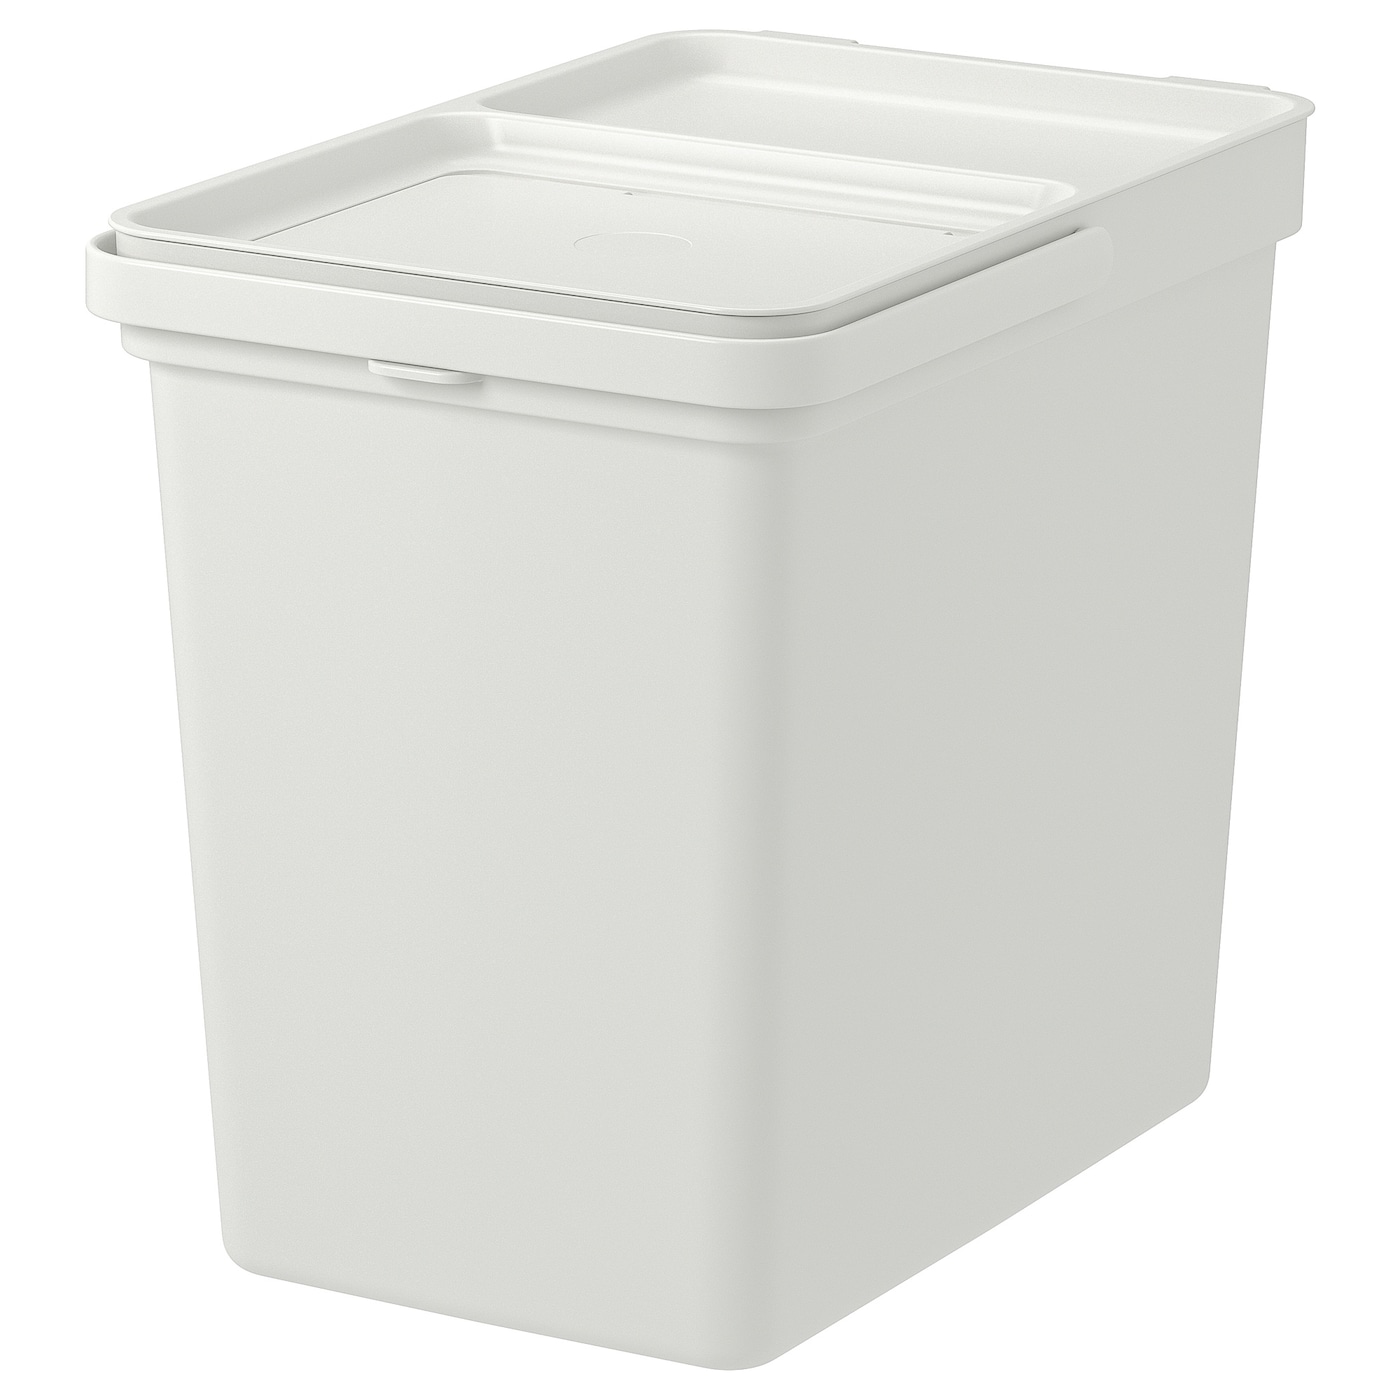
HÅLLBAR Bin with lid, light gray, Lower outer measure depth: 12 5/8" - IKEA
HÅLLBAR Bin with lid, light gray, Lower outer measure depth: 12 5/8". Are you curious about how your waste can become new resources? HÅLLBAR series helps you sort different materials into different bins – a simple action and the first step towards giving waste a new life.
Now, the slight shame is that the EKET cabinet is literally 1/2" too wide to fit in perfectly. I suppose if you were running your Reefer 250 without the doors and door hinges, you might be able to get the EKET cabinet to fit perfectly, but assuming you want the doors, the hinges are just too wide. (Trust me, I tried every which way to get this cabinet to fit, but it just doesn't.)
No matter as I was planning on modding whatever cabinet I built anyways. I ended up using a circular saw to cut off the top piece of the cabinet and effectively remove the whole right wall. I then used L brackets to turn the right side of the Reefer stand into the right side of the cabinet. I also omitted the base panel of the cabinet since I don't need the extra structural integrity and it just takes up more precious space. Here's the EKET cabinet and the top of the cabinet I cut off.

It's all an extremely tight fit, even after modifying the top, so you actually need to assemble the cabinet inside the stand. You can't put the cabinet together and squeeze it in with the sump running. (I suppose if you plan all this ahead, you could do the dry side first and then slide the sump in, but I focused on plumbing and wasn't about to take out my sump.) Thankfully the cabinet is easy to assemble inside the stand since there are no screws. You just line up the pegs and use a lot of strength to snap them together.

At standard height, the EKET cabinet (without the base comes just to the bottom lip of the Reefer 250 front. It's nice because you could add a hinged door if desired (I might do this using leftover wood from the cabinet) and it also leaves a little bit of space on top of the cabinet to tuck away power bricks. I also drilled tiny holes halfway into the Reefer cabinet (aligned to the ones on the left side) so I could use the existing shelf mounting pegs at the EKET cabinet stock height.

The Hallbar 6 gallon waste bin fits PERFECTLY and even has a hinged front lid so you can fill it easily! Honestly, this is a pretty darn good solution for $10 that will hold me over until I'm ready to go for a nice custom acrylic ATO.
The last step for the dry side is to cut and add the SKADIS pegboard to which I will mount my electronics. I'll be doing this today and will hopefully post photos later tonight/tomorrow. Overall, since I'm not a super skilled wood worker, I was a little concerned about the dry side, but so far, finding this cabinet and making the modifications has been easy and I'm really happy with the results.

A slight modification to my approach is to use the square Eket cabinet with door which is essentially the same thing I used but chopped in half. Then you could suspend this box from the top of the Reefer 250 stand top. This has the advantage of freeing up 1/2" more space next to the sump, but I liked the physical separation between the wet and dry sides.
Navigation
Install the app
How to install the app on iOS
Follow along with the video below to see how to install our site as a web app on your home screen.
Note: This feature may not be available in some browsers.
More options
You are using an out of date browser. It may not display this or other websites correctly.
You should upgrade or use an alternative browser.
You should upgrade or use an alternative browser.
Jason's Reefer 250: Fish added! Sump Mod, Clarisea, custom plumbing, aquascape w/E-Marco, IKEA cabinet mod. (Pic heavy!)


I have both the H160 and the Tuna sun 160 over my fuge... they are great!!@Eight How do you like the Tunze fuge light? Also looking at the more powerful and $$$ Kessil H160.

I have both the H160 and the Tuna sun 160 over my fuge... they are great!!
Do you think the kessil H80 would work too or under powered for a reefer 250 sump?
Last edited:
You know... i have had the H80 and its a fine light, imo it doesnt give enough flexibility or output for the future growth. I would get the most powerful fuge light you can afford thats also adjustable.... if you need extra power later you got it, if not adjust it down. One reason i chose a horticultural light and a daylight light, was for that very reason and also a wider spectrum. I have no regrets what so ever and i can grow just about any type of algae in my fuge.Do you think the kessil H80 would work too or under powered for a reefer 250 sump?
- Joined
- Jan 22, 2020
- Messages
- 956
- Reaction score
- 1,018
I am in the planning phase for a Red Sea 350 or xl425 and been using your build thread as a guide for the directions I want to go in compiling my initial purchase order. Two questions. First, did you wind up adding in any type of barrier between the Clairsea and the refugium? The best I could tell from the photos on page 8-ish was that the space between is open? Second, I love the idea of using a DJ strip for easy power on/off vs unplugging, etc. Do you power things through that and the Apex, and if so, is there any added hassle in controlling them through both potentially?

So is it correct that when ordering this colored Sch 40 PVC and Colored Fittings, it indicates its furniture grade? This is for both Aquarium Specialty and PVCfittingsonline. Is this ok to use?So after two weeks, most of my plumbing has arrived just in time for me to go away for the weekend. Sigh.
1/2" 90 degree elbows should be coming in sometime next week, but I might start measuring stuff out and dry fitting before then.
I have 50 percent more fittings and pipe than I need, but the expensive extra gates I can return to BRS and I'll just hang on to the red pvc fittings for future work. Excited to finally get started!

I believe “furniture grade” is essentially the same thing as regular sch40 just without any numbers etc printed on it, and it’s got a nicer finish. Long story short, yes it is 100% safe for reefs.So is it correct that when ordering this colored Sch 40 PVC and Colored Fittings, it indicates its furniture grade? This is for both Aquarium Specialty and PVCfittingsonline. Is this ok to use?
OP
OP
@Eight Have you used the SKADIS pegboard yet? Is it easy to work with? I would like to drill it with hole saws for makng holes to route cords behind the board. Would this work or would it crack or shatter?
HI! Everyone so sorry for the extended delay. Things have been going absolutely great with the tank and I'll post some updated photos soon. I work at Hulu and there's been quite a lot of things happening so got pretty caught up with work. Not reef related, but I'm responsible for improving our UI, and this article sums up what I've been working on along with a quote.
")
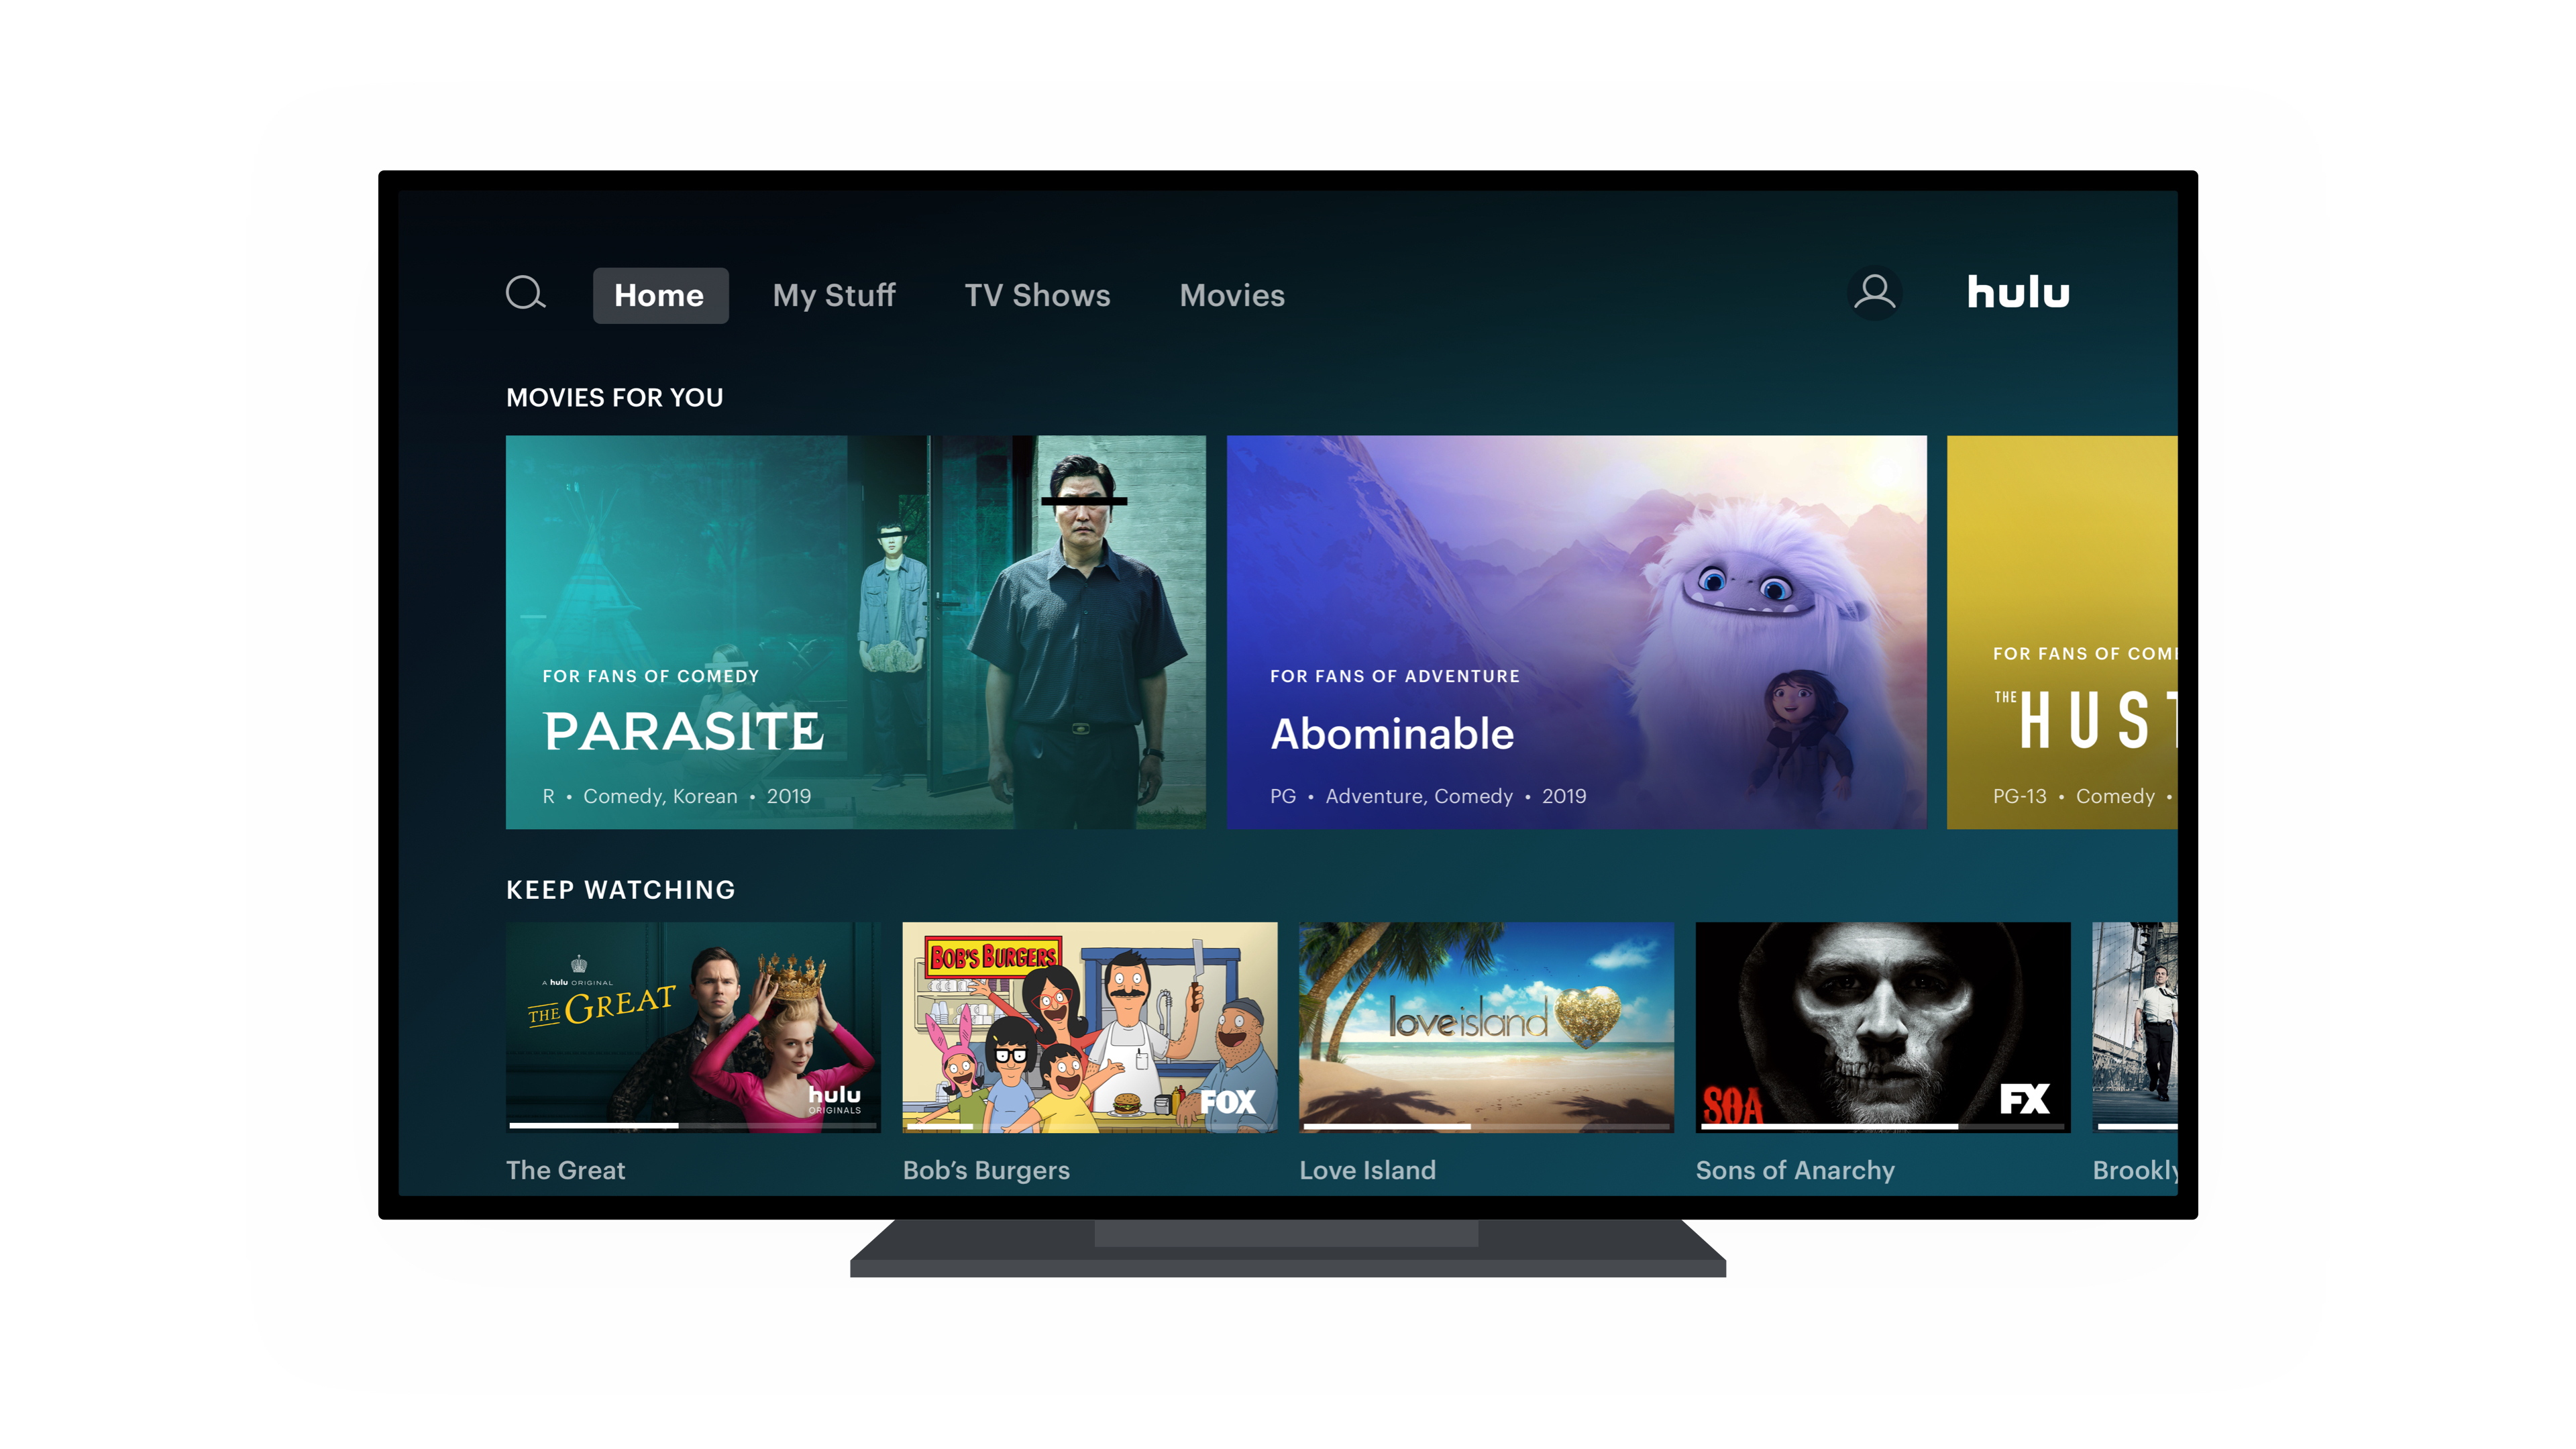
Hulu's biggest redesign in years offers a more standardized experience, improved navigation and discovery | TechCrunch
Hulu today will begin rolling out its largest redesign in years. The company is moving toward a more standardized, even Netflix-like user interface,
 www.google.com
Powers, I do use the skadis but only half heartedly. I basically cut it into small pieces and use it to provide some minor organization inside the white storage compartment in my stand. It's fine, although cutting it cleanly is hard because the white laminate/paint tends to flake off.

OP
OP
In regards to the fuge light... Personally I have been extremely happy with the tunze. I love Kessil lights (I run 2 x 360s for the main display), but IMHO, for the reefer 250 sump and this size of tank I think the Kessils are overkill as a fuge light. I actually did debate getting the kessil fuge and went with the tunze for a few specific reasons:
1) The Tunze is a perfect fit for the Rsr 250. It literally takes up almost zero space and I don't have any space to spare underneath the cabinet. The kessil would have to be suspended which would have to be moved everytime I went to service the skimmer.
2) The Tunze can be submerged which improves light efficiency since you're not getting light reflected off the surface of the water and you don't need to clean salt creep off it. (I occasionally wipe algae off of it, but it's very easy.)
3) Cost... The Tunze is a lot cheaper and worth a shot to see if it fits the bill.
4) The last reason was Light spill. This was probably the biggest thing for me. With a Kessil suspended you're going to be growing algae not only in the fuge, but also in your skimmer chamber, on your clarisea, in your skimmer. That's all extra work to clean. With the Tunze, the light is low in the refugium and there is minimal to zero light spill where you don't want it.
I've emptied the fuge of chaeto multiple times already. It grows so thick that the whole refugium is almost a block of vegetation and I get worried about water flow through it.
But if you have the space under a larger tank I might have gone Kessil. They are great lights.
(Or maybe even two Tunzes... You can always double or triple up on them.)
Last edited:
OP
OP
I am in the planning phase for a Red Sea 350 or xl425 and been using your build thread as a guide for the directions I want to go in compiling my initial purchase order. Two questions. First, did you wind up adding in any type of barrier between the Clairsea and the refugium? The best I could tell from the photos on page 8-ish was that the space between is open? Second, I love the idea of using a DJ strip for easy power on/off vs unplugging, etc. Do you power things through that and the Apex, and if so, is there any added hassle in controlling them through both potentially?
HI! Congrats on the new tank build! I did not put a barrier between the clarisea and the refugium. There no need to really. I did leave the small bits of glass that act as a minor separator on the bottom when I modded the sump, but otherwise didn't add anything.
As for the DJ strip... Highly highly recommended to use both. APEX outlets are expensive and also sometimes you just don't want to have to go through the menus to turn something off and on. I go from the wall to the DJ strip and then have the apex off of that. All the stuff I need to control comes off of the Apex DC8. Skimmer, lights, Tunze powerheads, heaters, etc.
But a few things come directly off the DJ strip like the under cabinet Led closet light, the Clarisea, the power supply for the mp40 (which is controlled wirelessly by the apex), and also a great tip is I leave a little short extension cord plugged into the DJ strip that I can pull out when doing water changes. This way I can flip the DJ strip on and off quickly when I am filling or emptying buckets.
OP
OP
So is it correct that when ordering this colored Sch 40 PVC and Colored Fittings, it indicates its furniture grade? This is for both Aquarium Specialty and PVCfittingsonline. Is this ok to use?
Yup its furniture grade. There's absolutely nothing wrong with it that I've encountered.

revhtree
Owner Administrator
View Badges
Staff member
Super Moderator
Reef Squad
Partner Member 2024
Excellence Award
RGB
Photo of the Month
Article Contributor
R2R TV Featured
Hospitality Award
Article Administrator
Black Friday Sponsor
Partner Sponsor 2023
Industry Professional
My Aquarium Showcase
- Joined
- May 8, 2006
- Messages
- 47,740
- Reaction score
- 86,912
Very nice and super cool build!
Although I am not using a Clarisea, I ended up modding the sump as well and removing the glass partitions as well to create a larger fuge section. I even shifted the black plastic baffle leading into the skimmer chamber to give my sump a true 50% fuge section. This was a tedious task indeed, especially cleaning up all the scraps of silicone.
I wanted to address light spill as well and added black plexi glass (that is a reflection of the opposite side and my rug even tho it appears to be looking right thru) to the glass wall that is shared with the return pump section. Also, applied matte white vinyl to 3 sides and bottom of sump for better detritus/algae visibility, leaving the front clear to view the macroalgae growth.

I wanted to address light spill as well and added black plexi glass (that is a reflection of the opposite side and my rug even tho it appears to be looking right thru) to the glass wall that is shared with the return pump section. Also, applied matte white vinyl to 3 sides and bottom of sump for better detritus/algae visibility, leaving the front clear to view the macroalgae growth.
Last edited:
HI! Everyone so sorry for the extended delay. Things have been going absolutely great with the tank and I'll post some updated photos soon. I work at Hulu and there's been quite a lot of things happening so got pretty caught up with work. Not reef related, but I'm responsible for improving our UI, and this article sums up what I've been working on along with a quote.
Hulu's biggest redesign in years offers a more standardized experience, improved navigation and discovery | TechCrunch
Hulu today will begin rolling out its largest redesign in years. The company is moving toward a more standardized, even Netflix-like user interface,
I don't have a Hulu subscription but very cool! Directly impacting millions of people. I work in finance and my work is a zero sum game, contributing zero to society, but supports my very expensive hobby! =(

Part 3: Build sequence and getting the main pieces in place
After completing the manifold and the reactors, I secured it to the top of the stand with a 1" plastic pipe clamp and some toilet washers to make up for the extra gap. The whole manifold is held up by the Redsea return bulkhead and the PVC clamp. I will add a second PVC clamp when I am confident there will be no more changes.

Here are the 1" PVC return, the 1" emergency drain line and the 2 x 1/2" reactor outputs dry fit in place. I will likely convert at least half of the 1" PVC return line to flexible tubing to dampen pump noise.

Here is the main drain attached. You can see the Clarisea in the foreground, ready to be attached with the union. As you may have seen in older photos, I had the union and gate on the far left originally. After thinking this through, however, I think the gate valve and union are better on the horizontal run, this way you can pull the whole Clarisea and majority of the drain line out for easy access to the rear of the tank stand.

... and here is everything attached.

Here's a video, so you can get a better feel for the layout:
What screws did you use to screw (type/size) the plastic 1" U pipe hangers into the top of the stand? Also looks to be some sort of black spacer between the u bracket and the stand?
can you give me clear measurements of the inside width and length of your 250 stand (clear from the little rubber matting that goes about an 1" up the walls. I'm working to have a custom sump built. I haven't received my tank/stand yet, but wanted to get a jump on the sump custom build.
Last edited:

OP
OP
What screws did you use to screw (type/size) the plastic 1" U pipe hangers into the top of the stand? Also looks to be some sort of black spacer between the u bracket and the stand?
HI sorry for the delay, I don't recall the exact screws I used. Generally I used marine grade wood screws when possible (but not always) and lined them up next to the wood thickness to ensure it wouldn't overpenetrate the panel. Be sure to drill pilot holes, otherwise there's really not much to screwing into the stand.
I think I used some black washers to push the hangers off the stand ceiling because my pipes were just a tiny bit low and I didn't want to torque the joints.
OP
OP
Everything in this thread is beautiful great setup hope to reach this level someday!
You're way too kind! I will share some photos of the tank later this weekend. The corals have been growing out nicely!
Similar threads
- Replies
- 5
- Views
- 102


