
OP
OP
So, as usual, here's what I had planned to get done, and we'll go through them to see where each one stands.
No pictures of #1 but rest assured, it is finally done and tested. Works like a charm. My girlfriend is not entirely pleased with the 'industrial' look of it, as this last outlet is outside of the wall, but given my limited options this was what was available to me. In the future when we re-do the basement, I'll make it nicer. For now, it's functional.
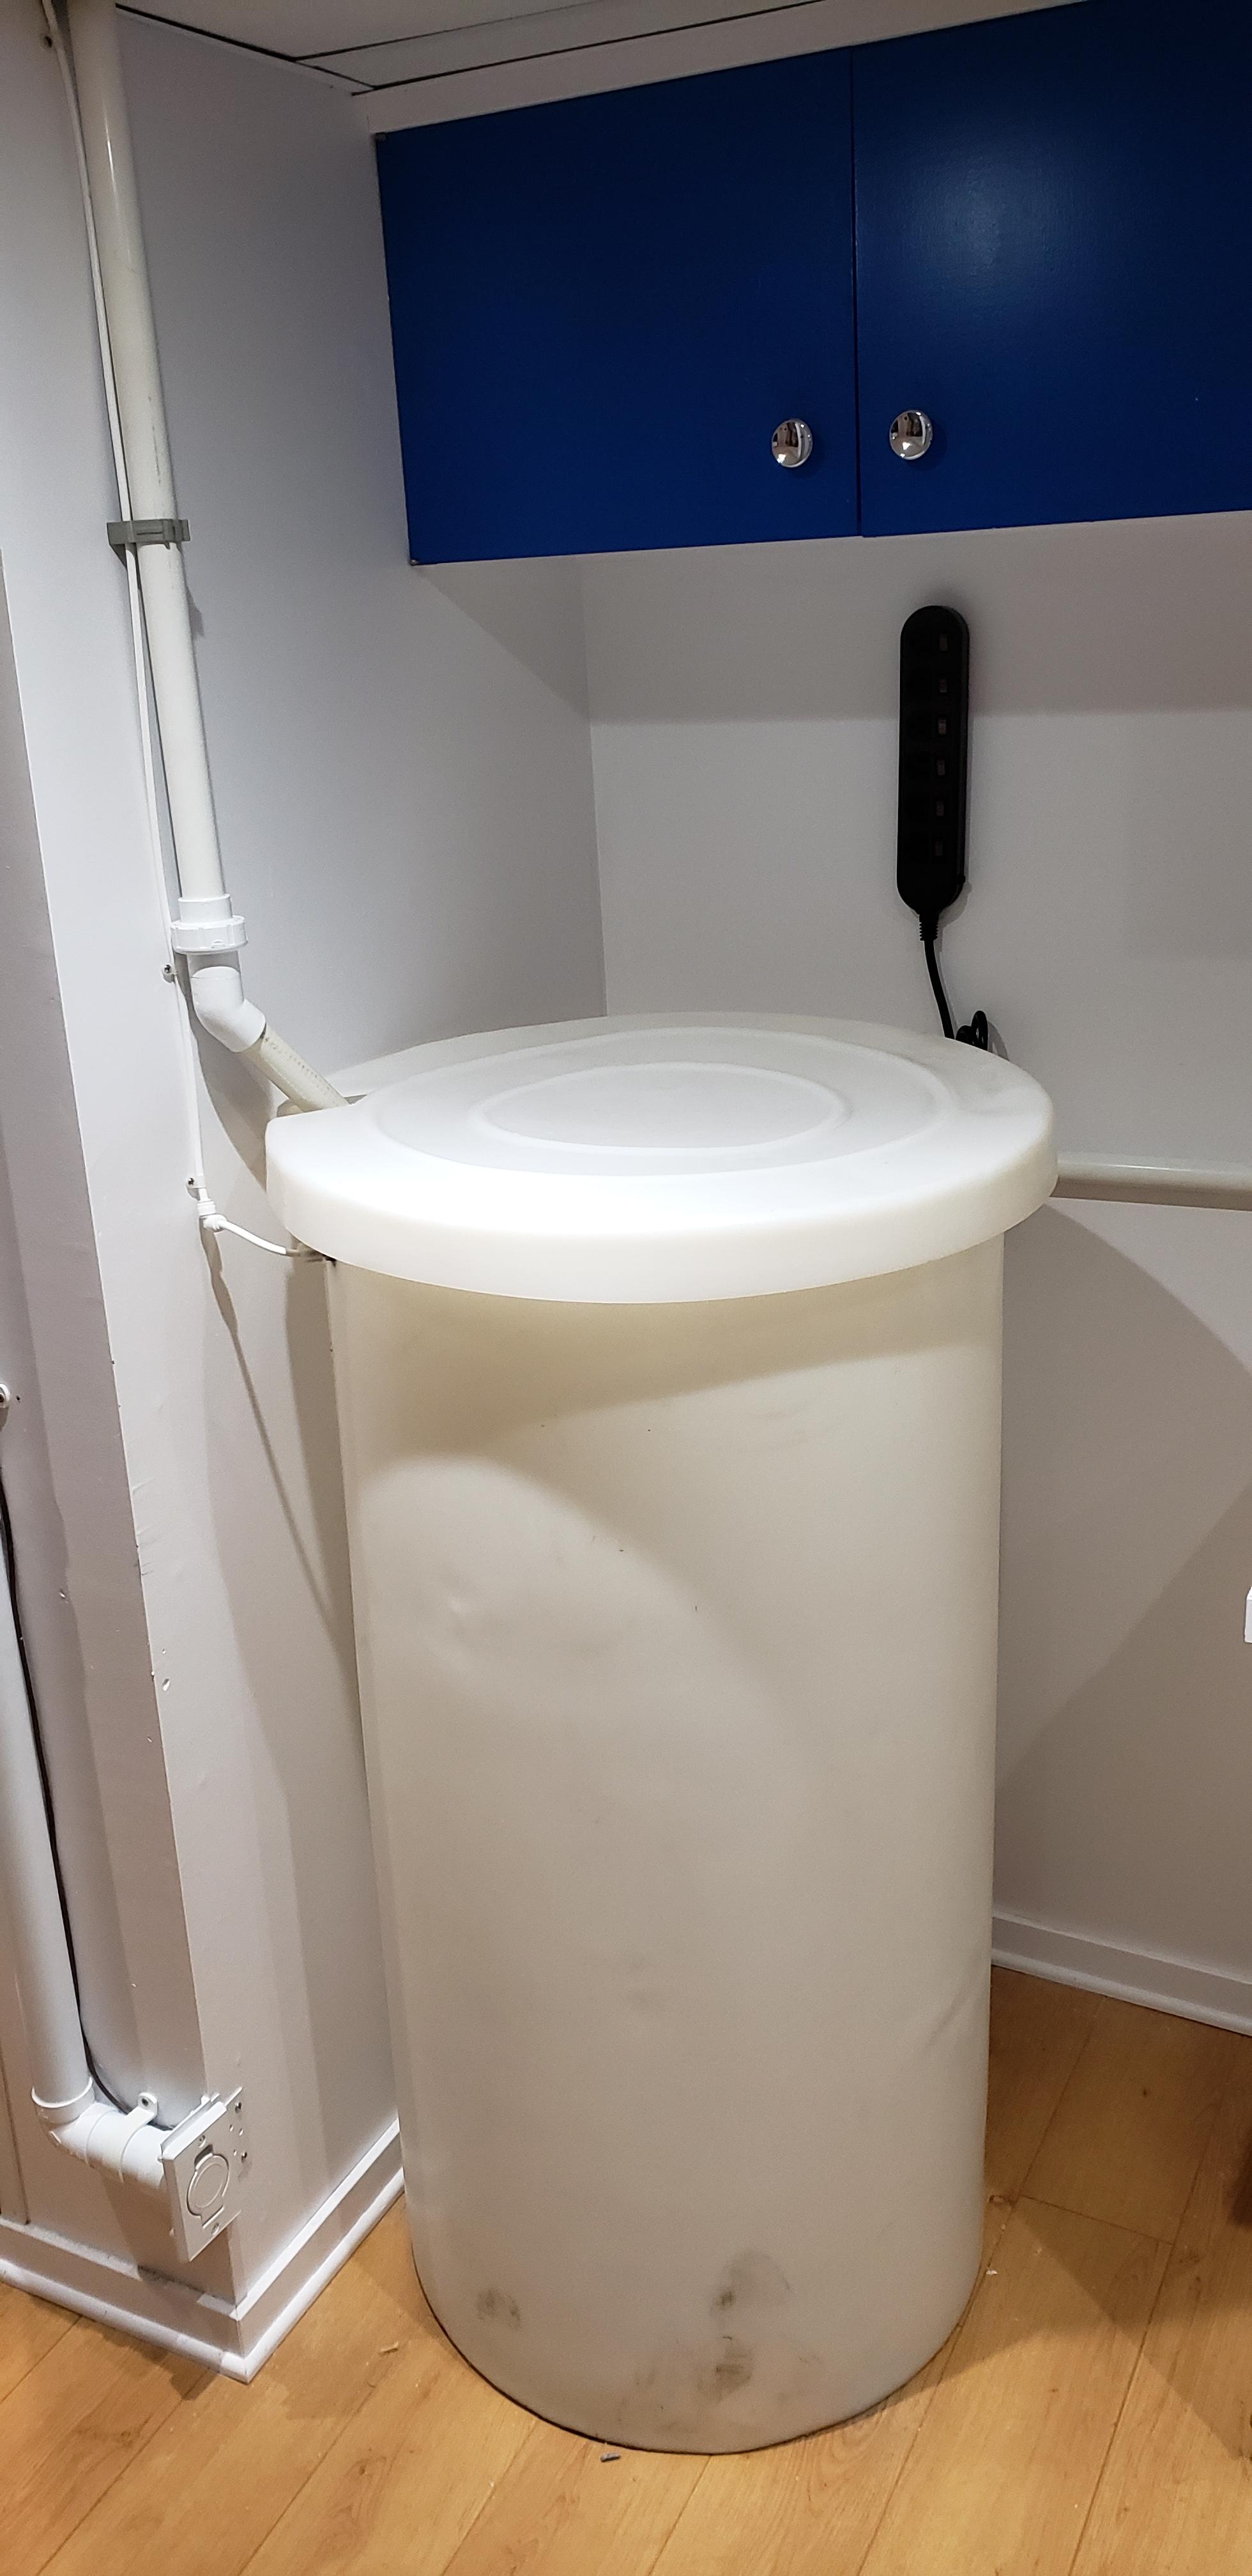
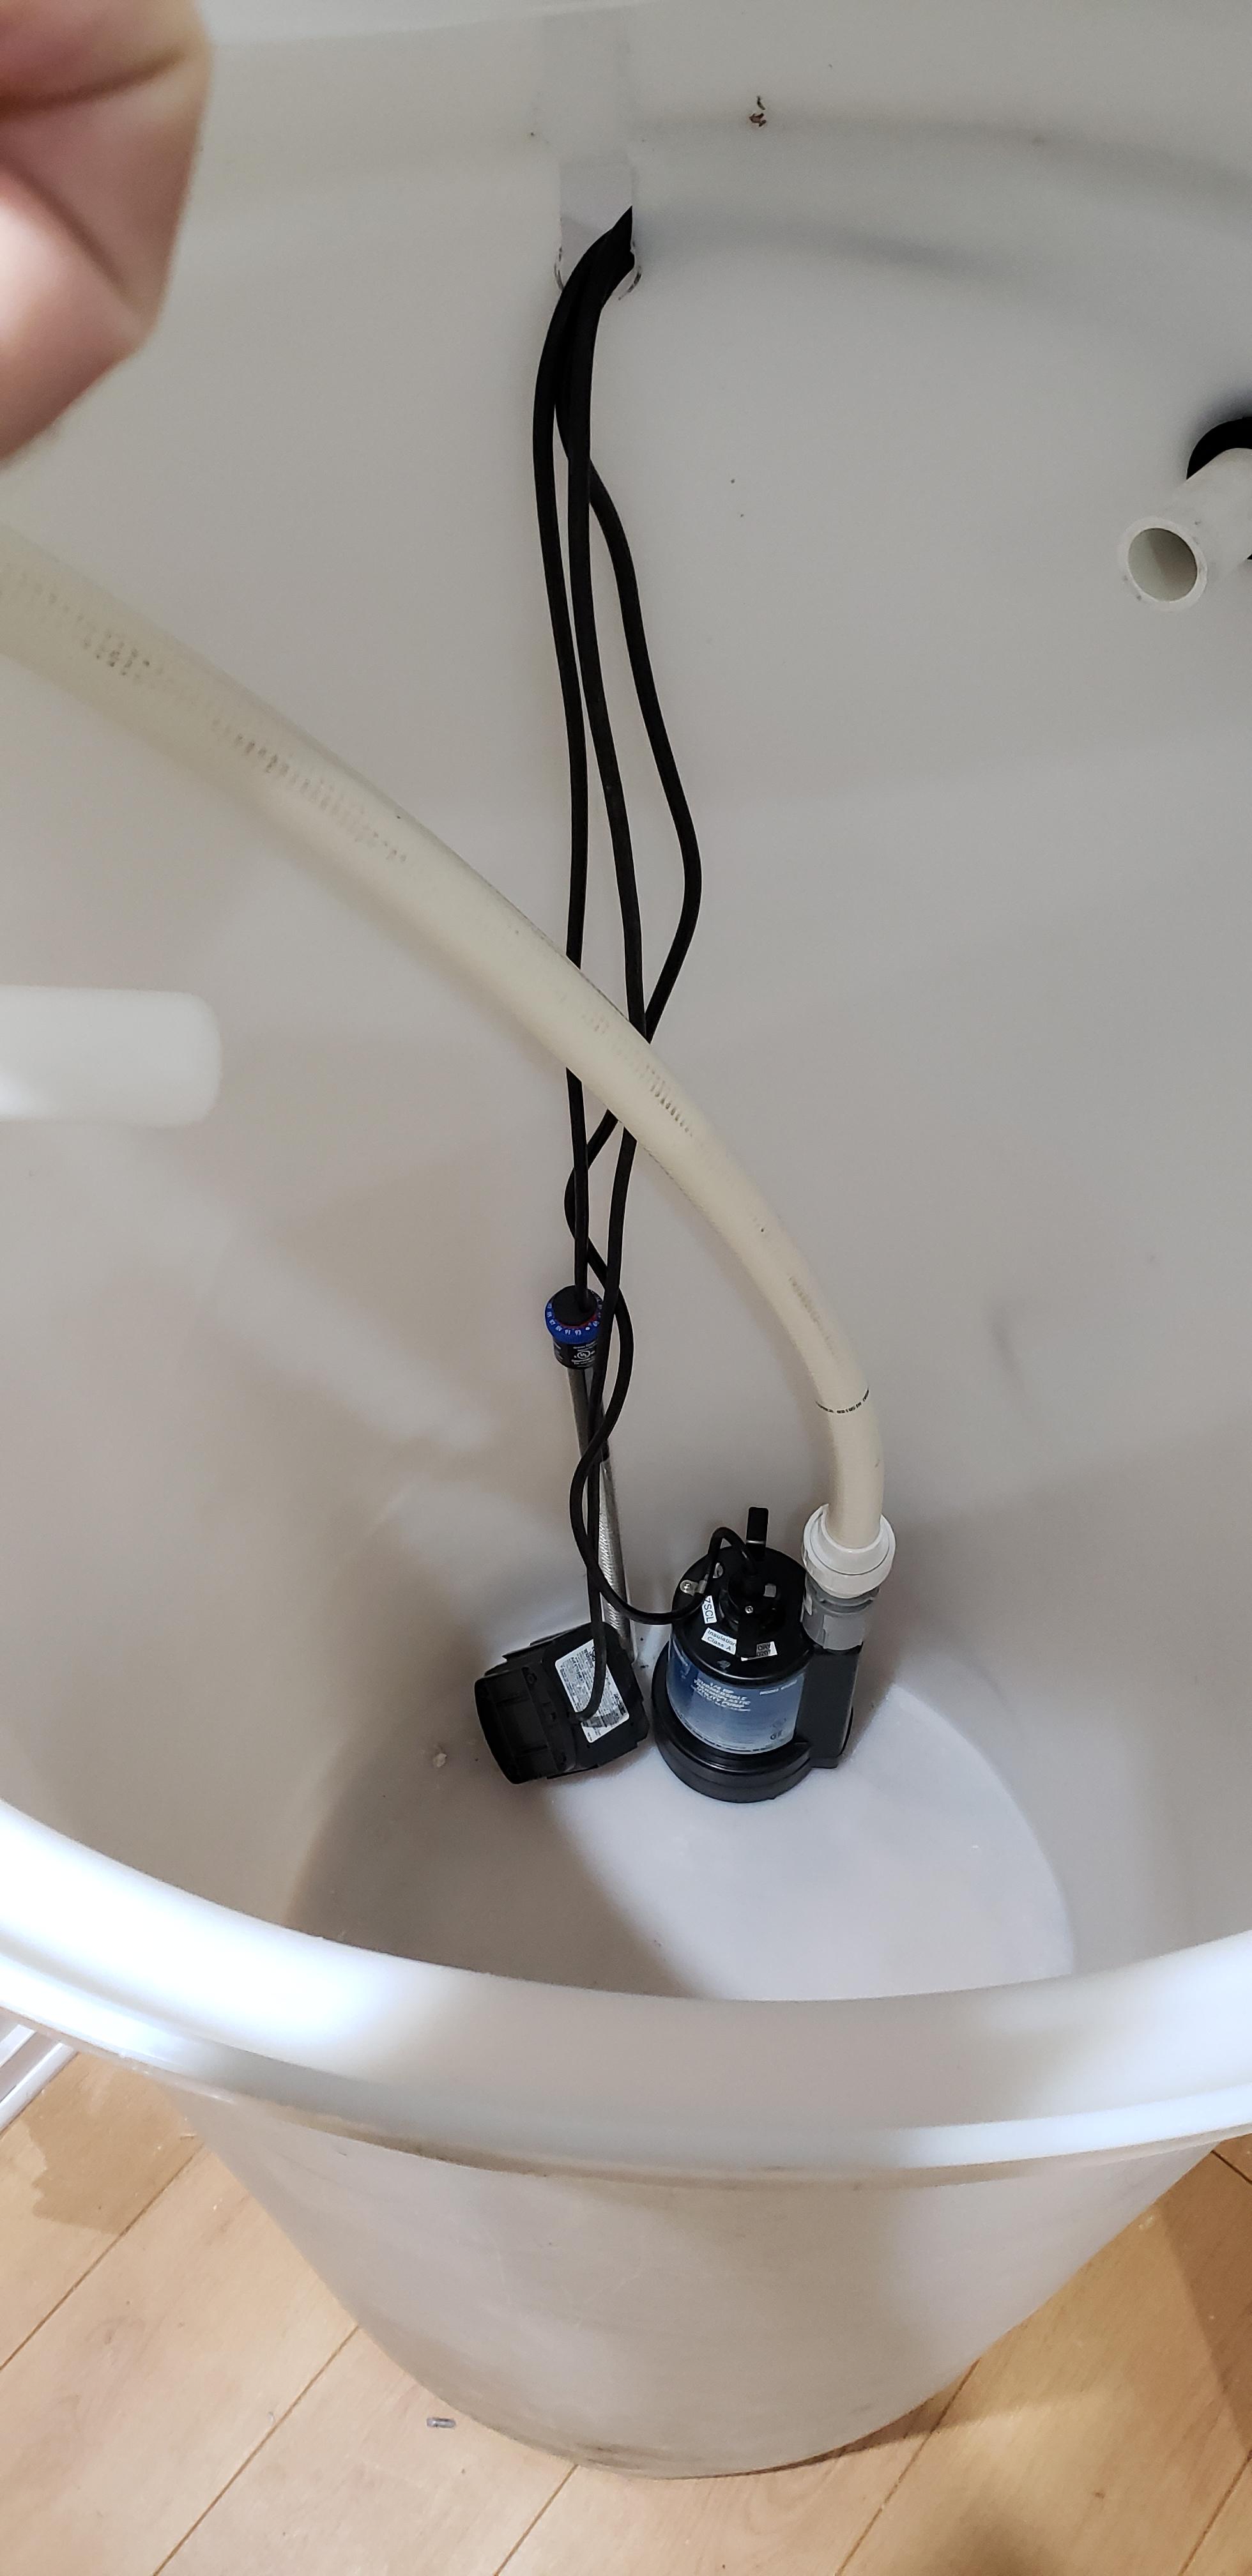
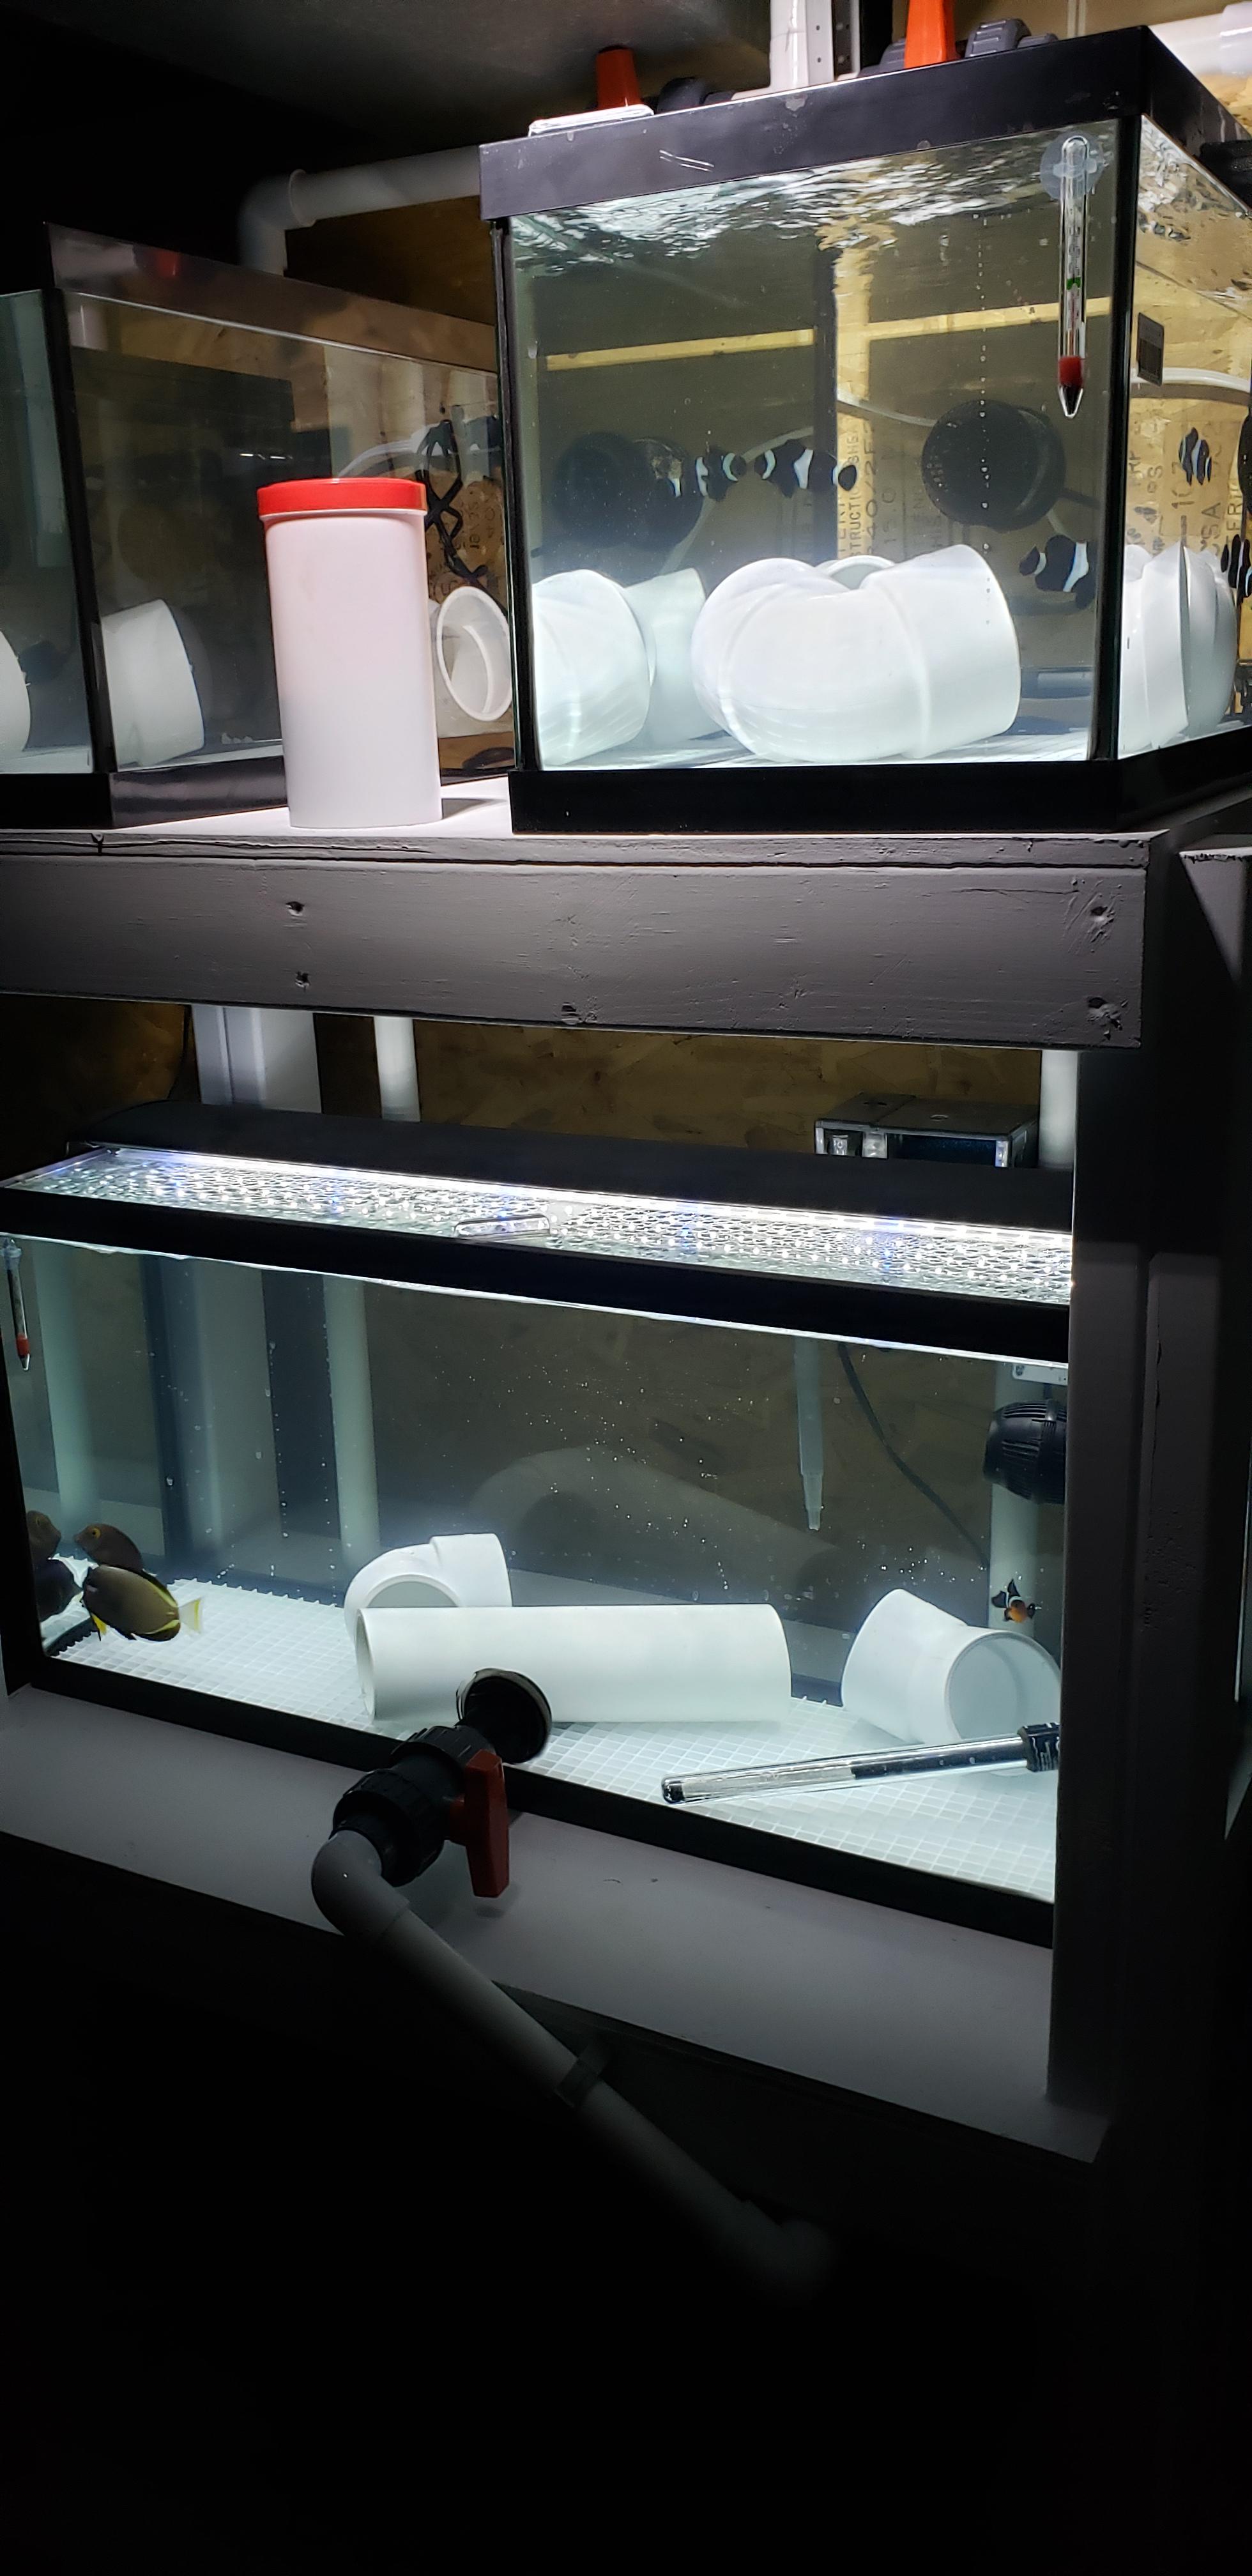
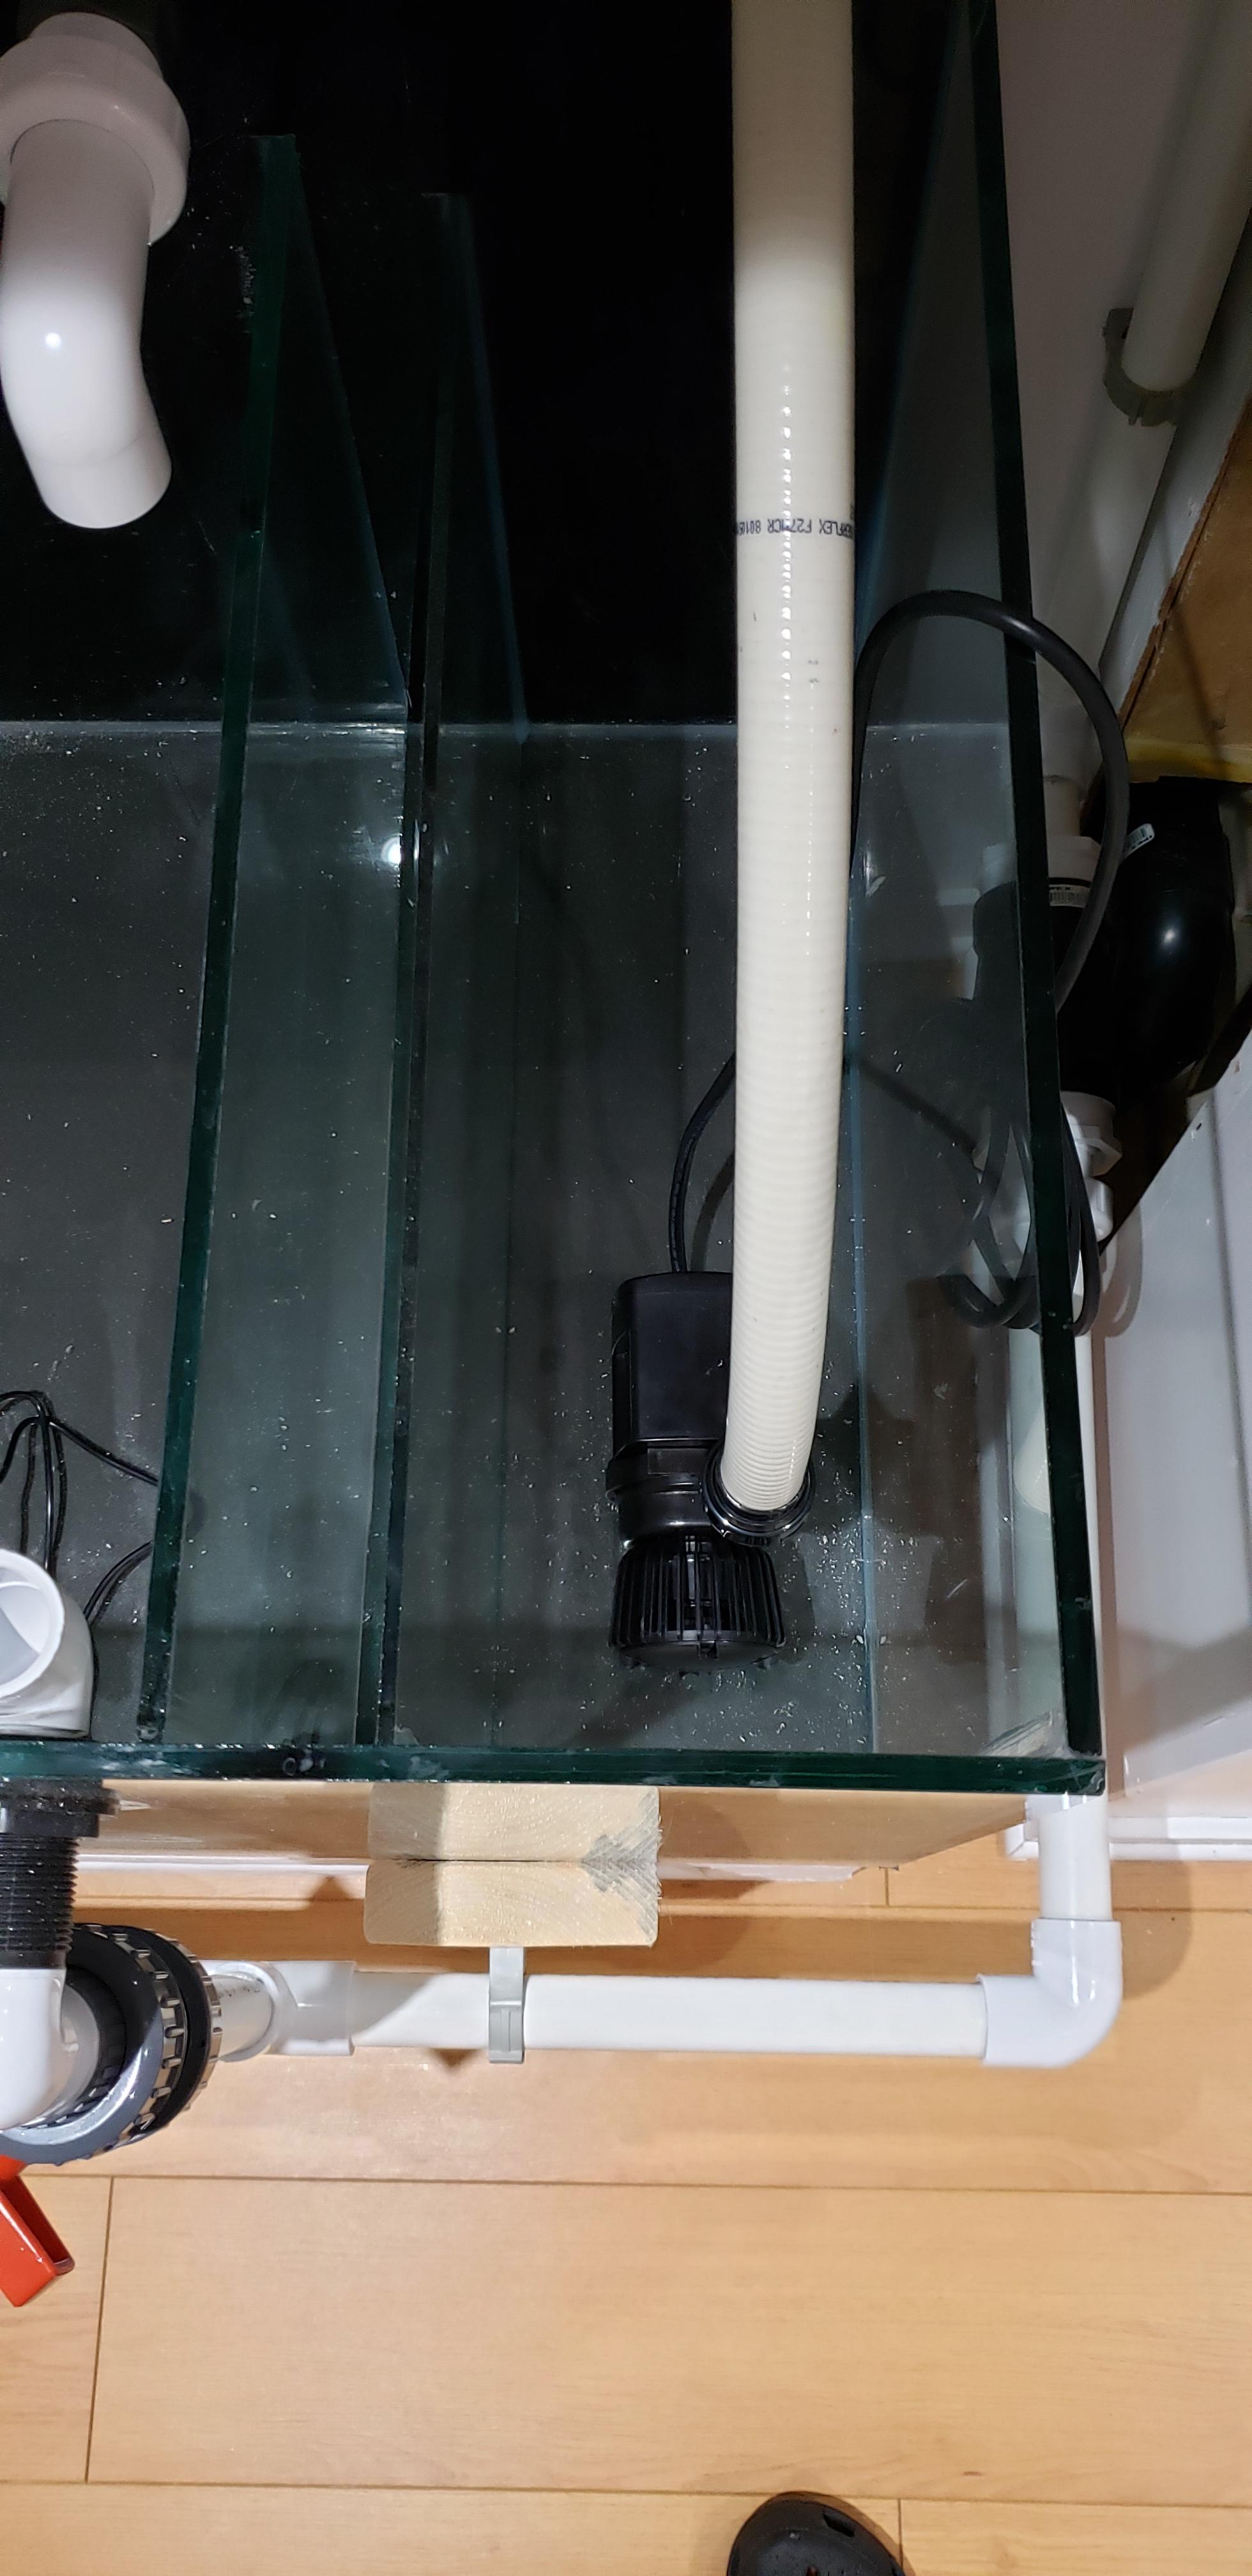
#2 is done for all intents and purposes. The unit itself is completely plumbed, and attached to all relevant lines. I've added in the DI to my new refillable canister, and put a new membrane in it. The only thing that's missing is attaching the fill lines to the RODI holding tank above my sump and the W/C bin, as well as the drain line. I've yet to do the fill lines final attachment because I'm still moving those two things around a bit, and the drain line will wait for the drain manifold.
I did also complete the emergency overflow on the W/C bin. I used a Uniseal for the first time ever, and hopefully they work as advertised. If it doesn't, I have an industrial reverse threaded bulkhead which I'll put in its place.
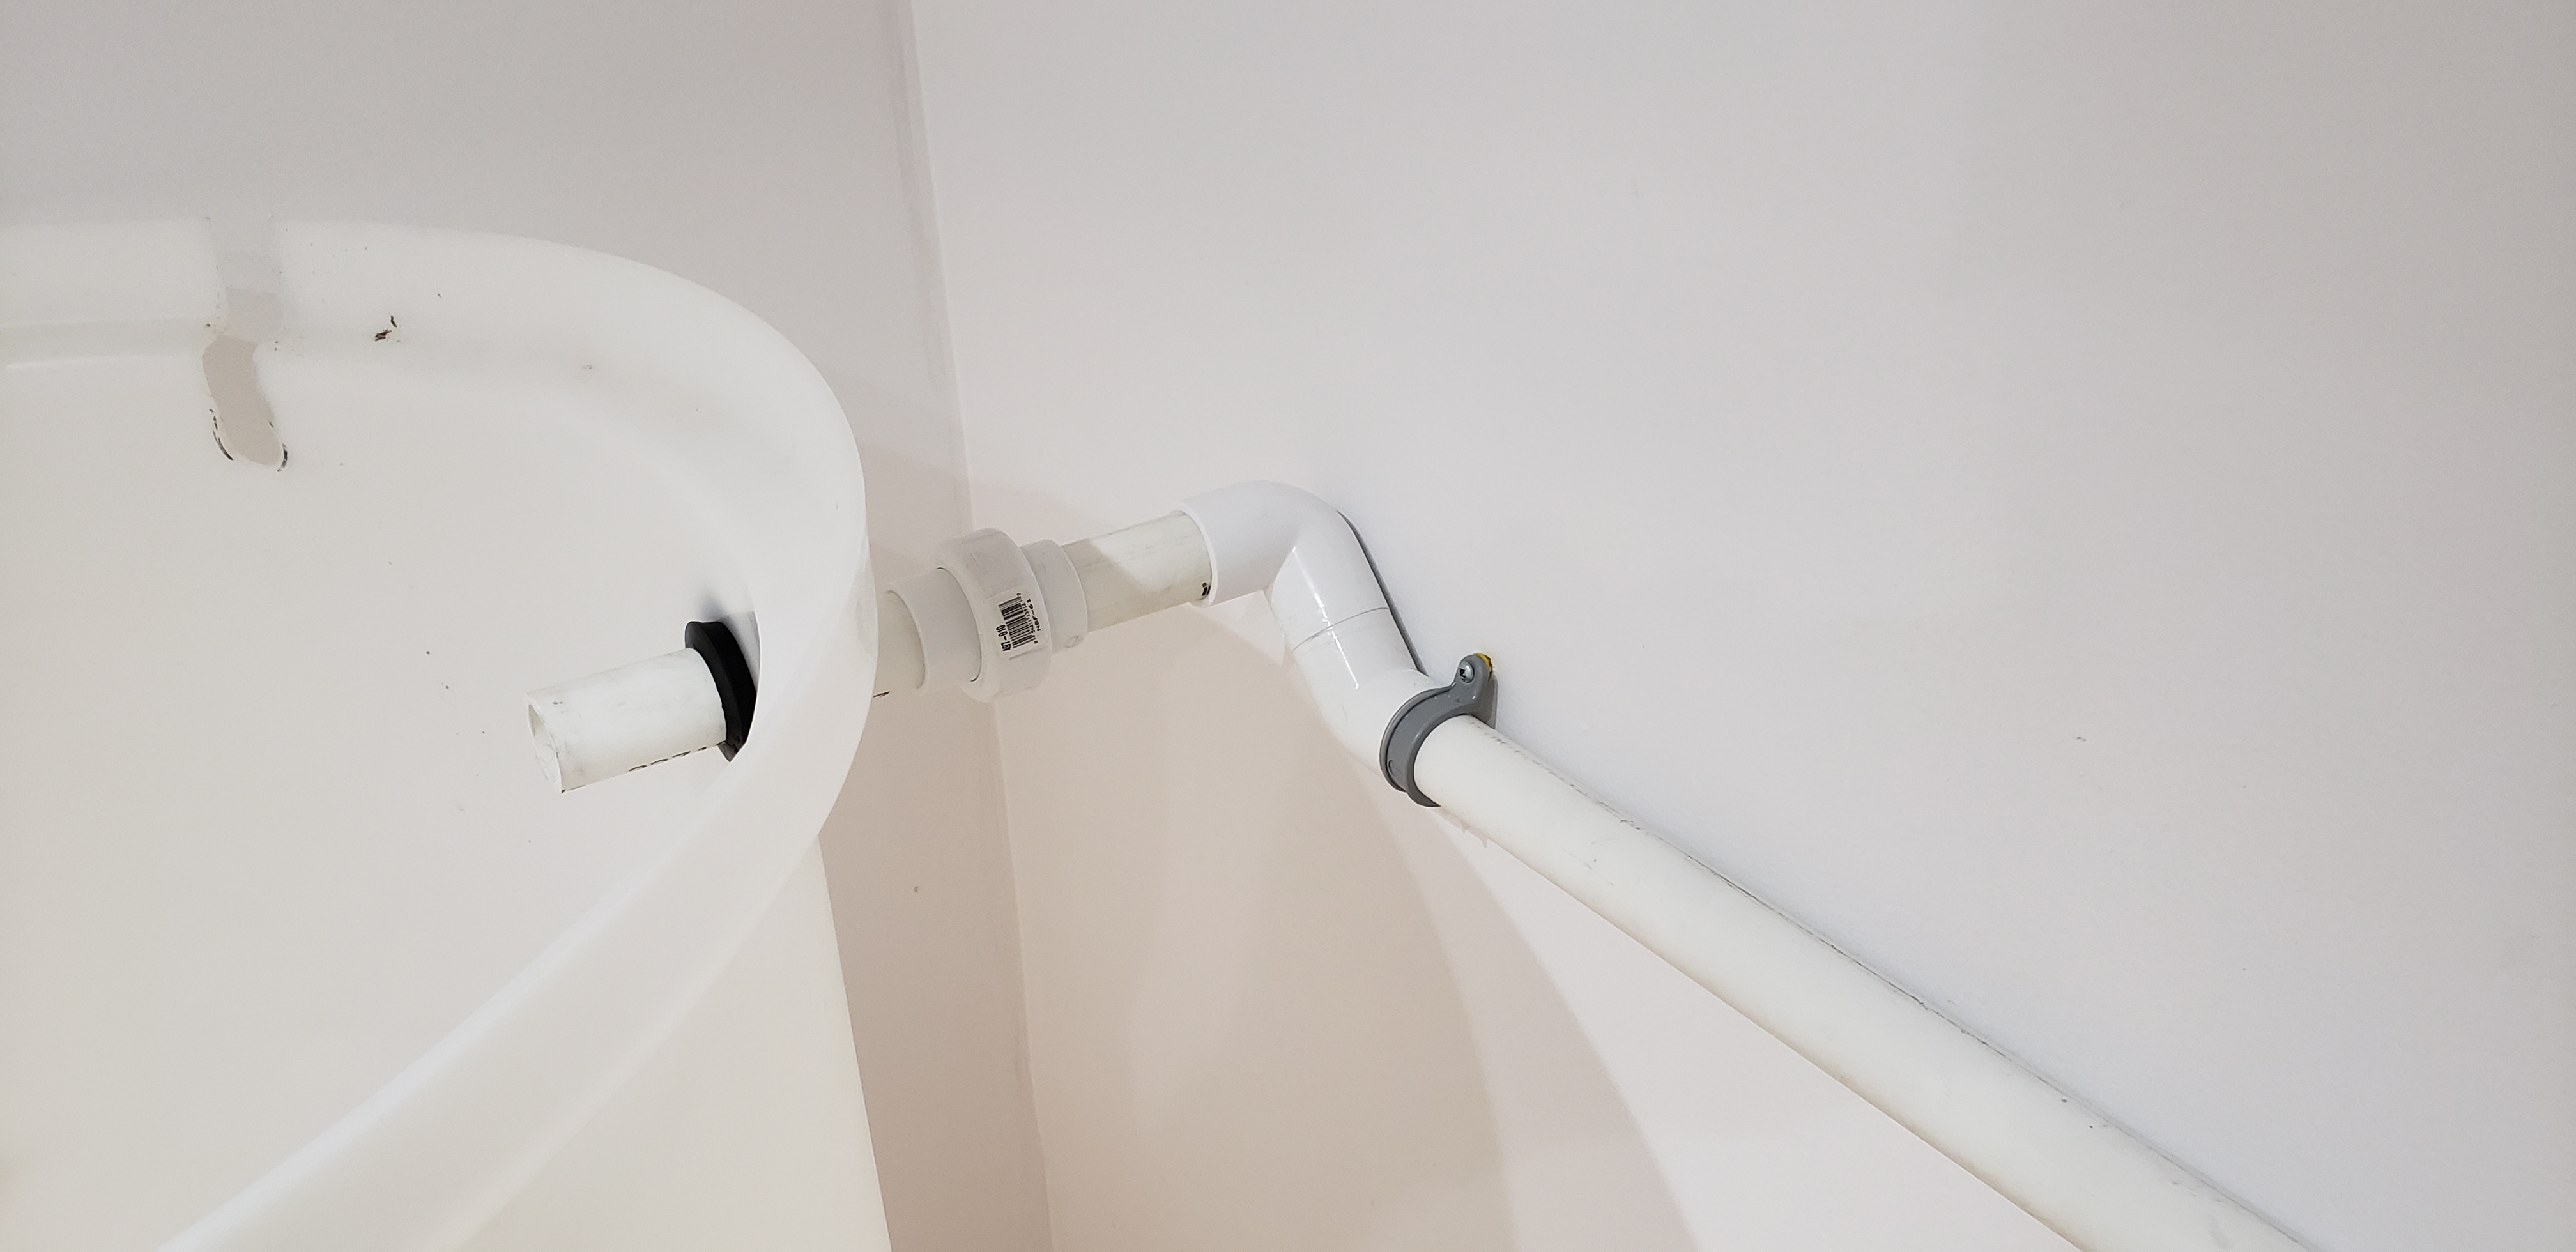
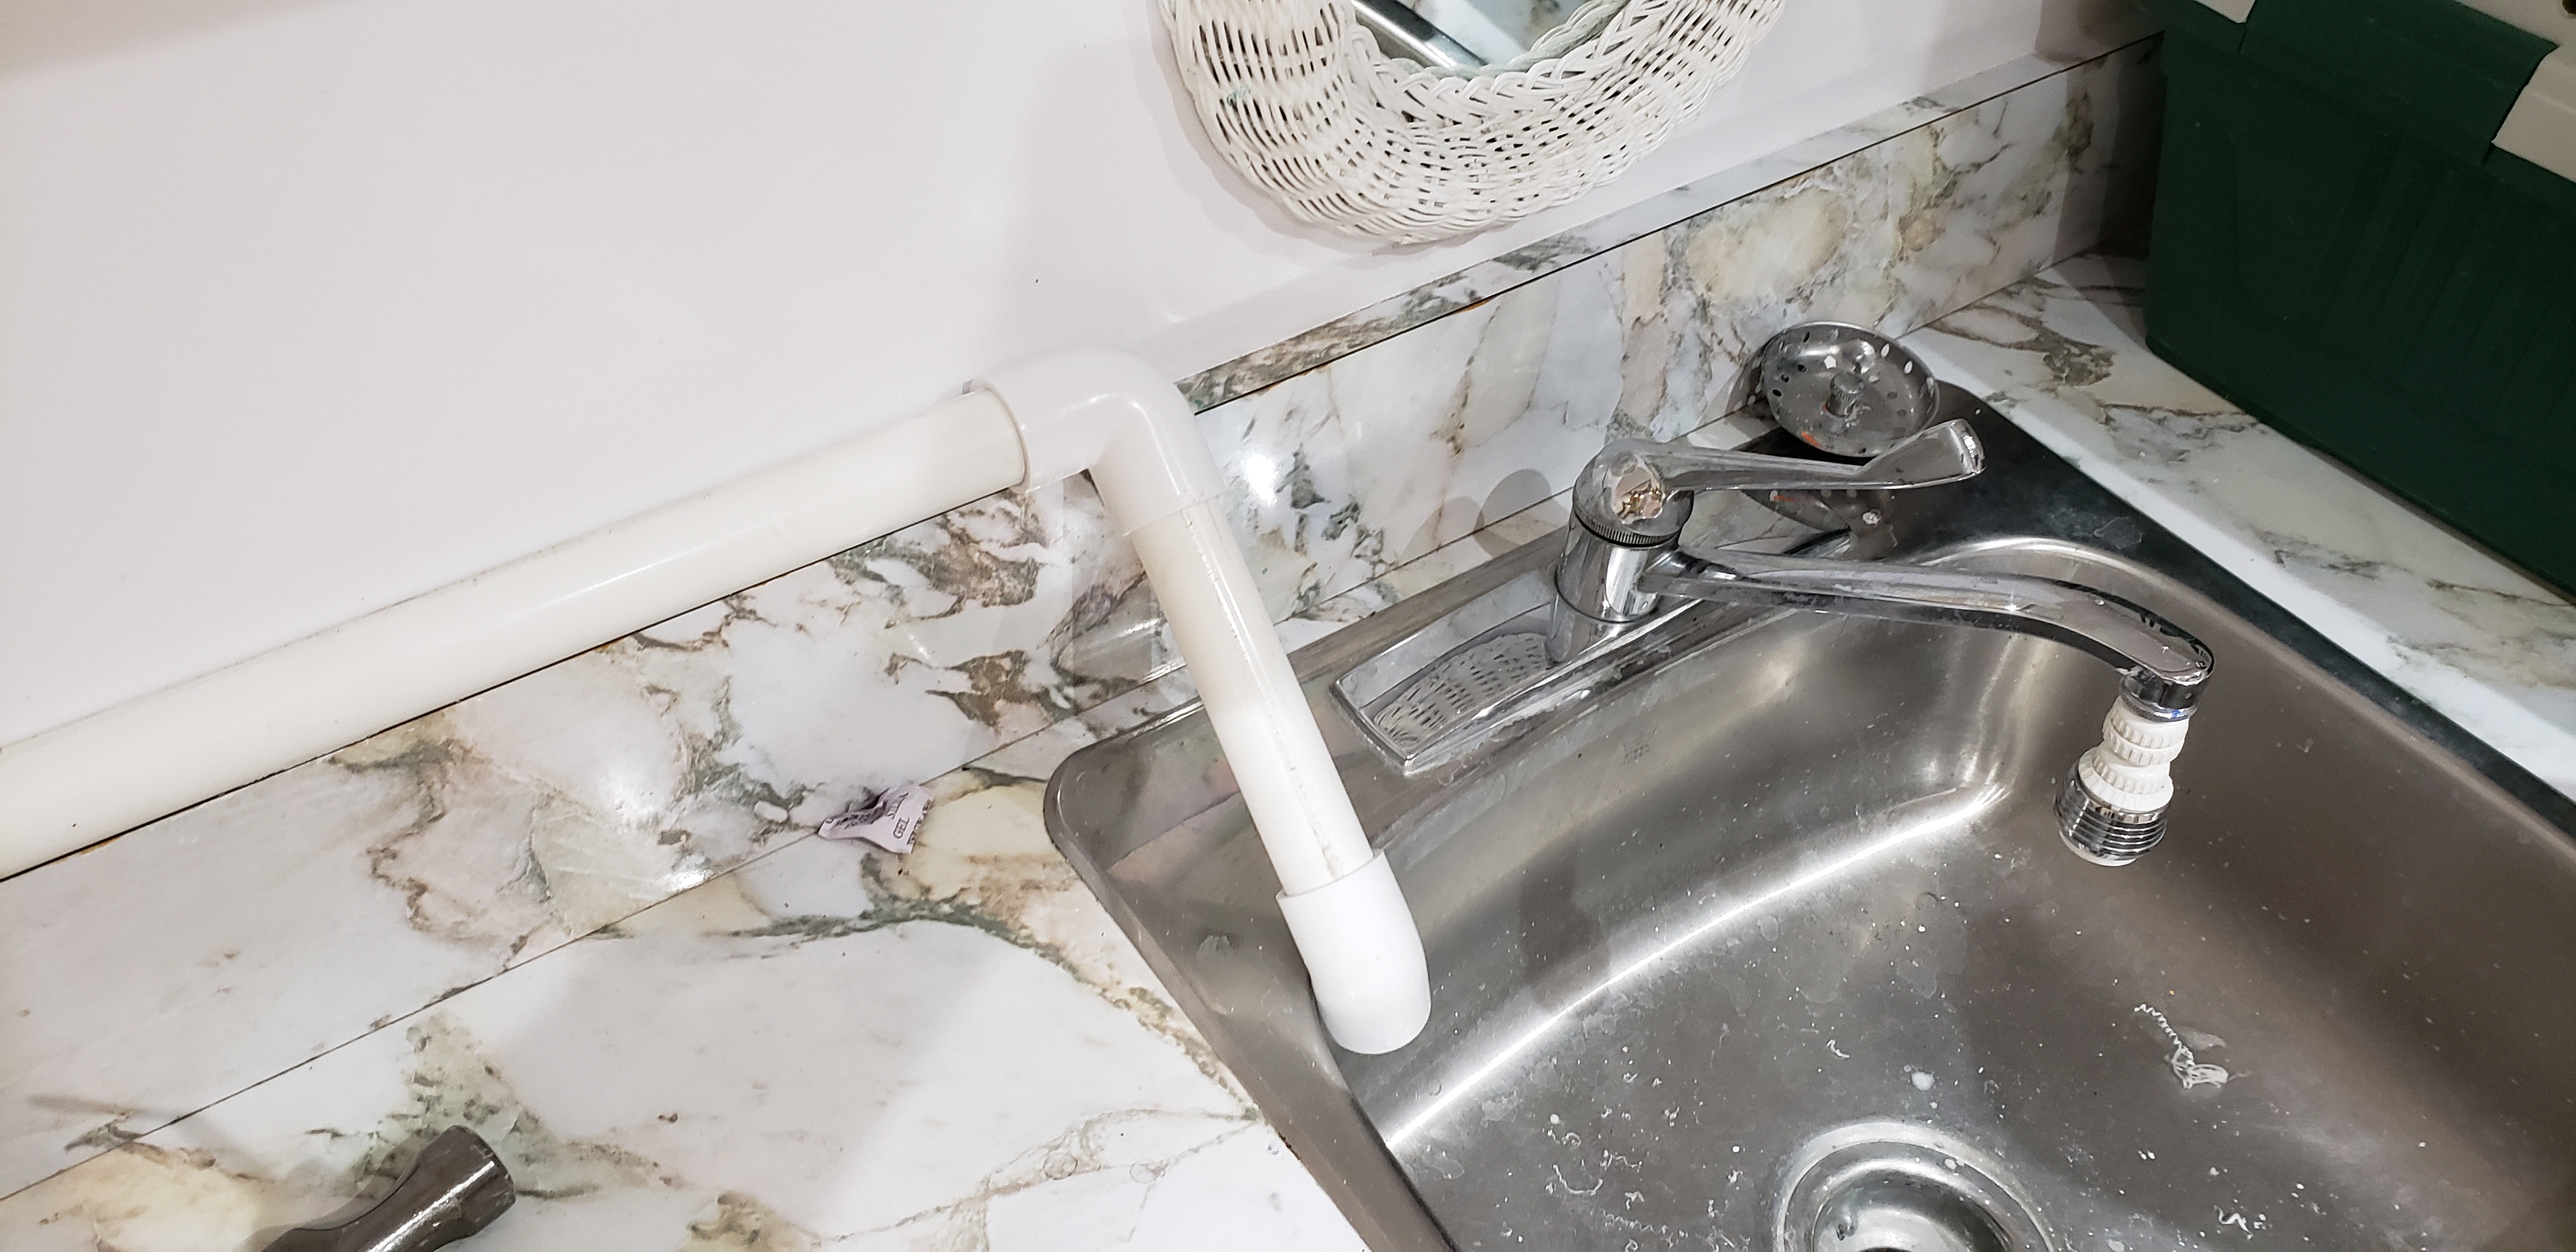
I wish the emergency overflow wasn't exposed like that, but unfortunately, the ABS drain is not really accessible for this sink. And while it's not strictly necessary, I have a finished basement with no floor drains, so I can't risk a flood. Everything fails eventually.
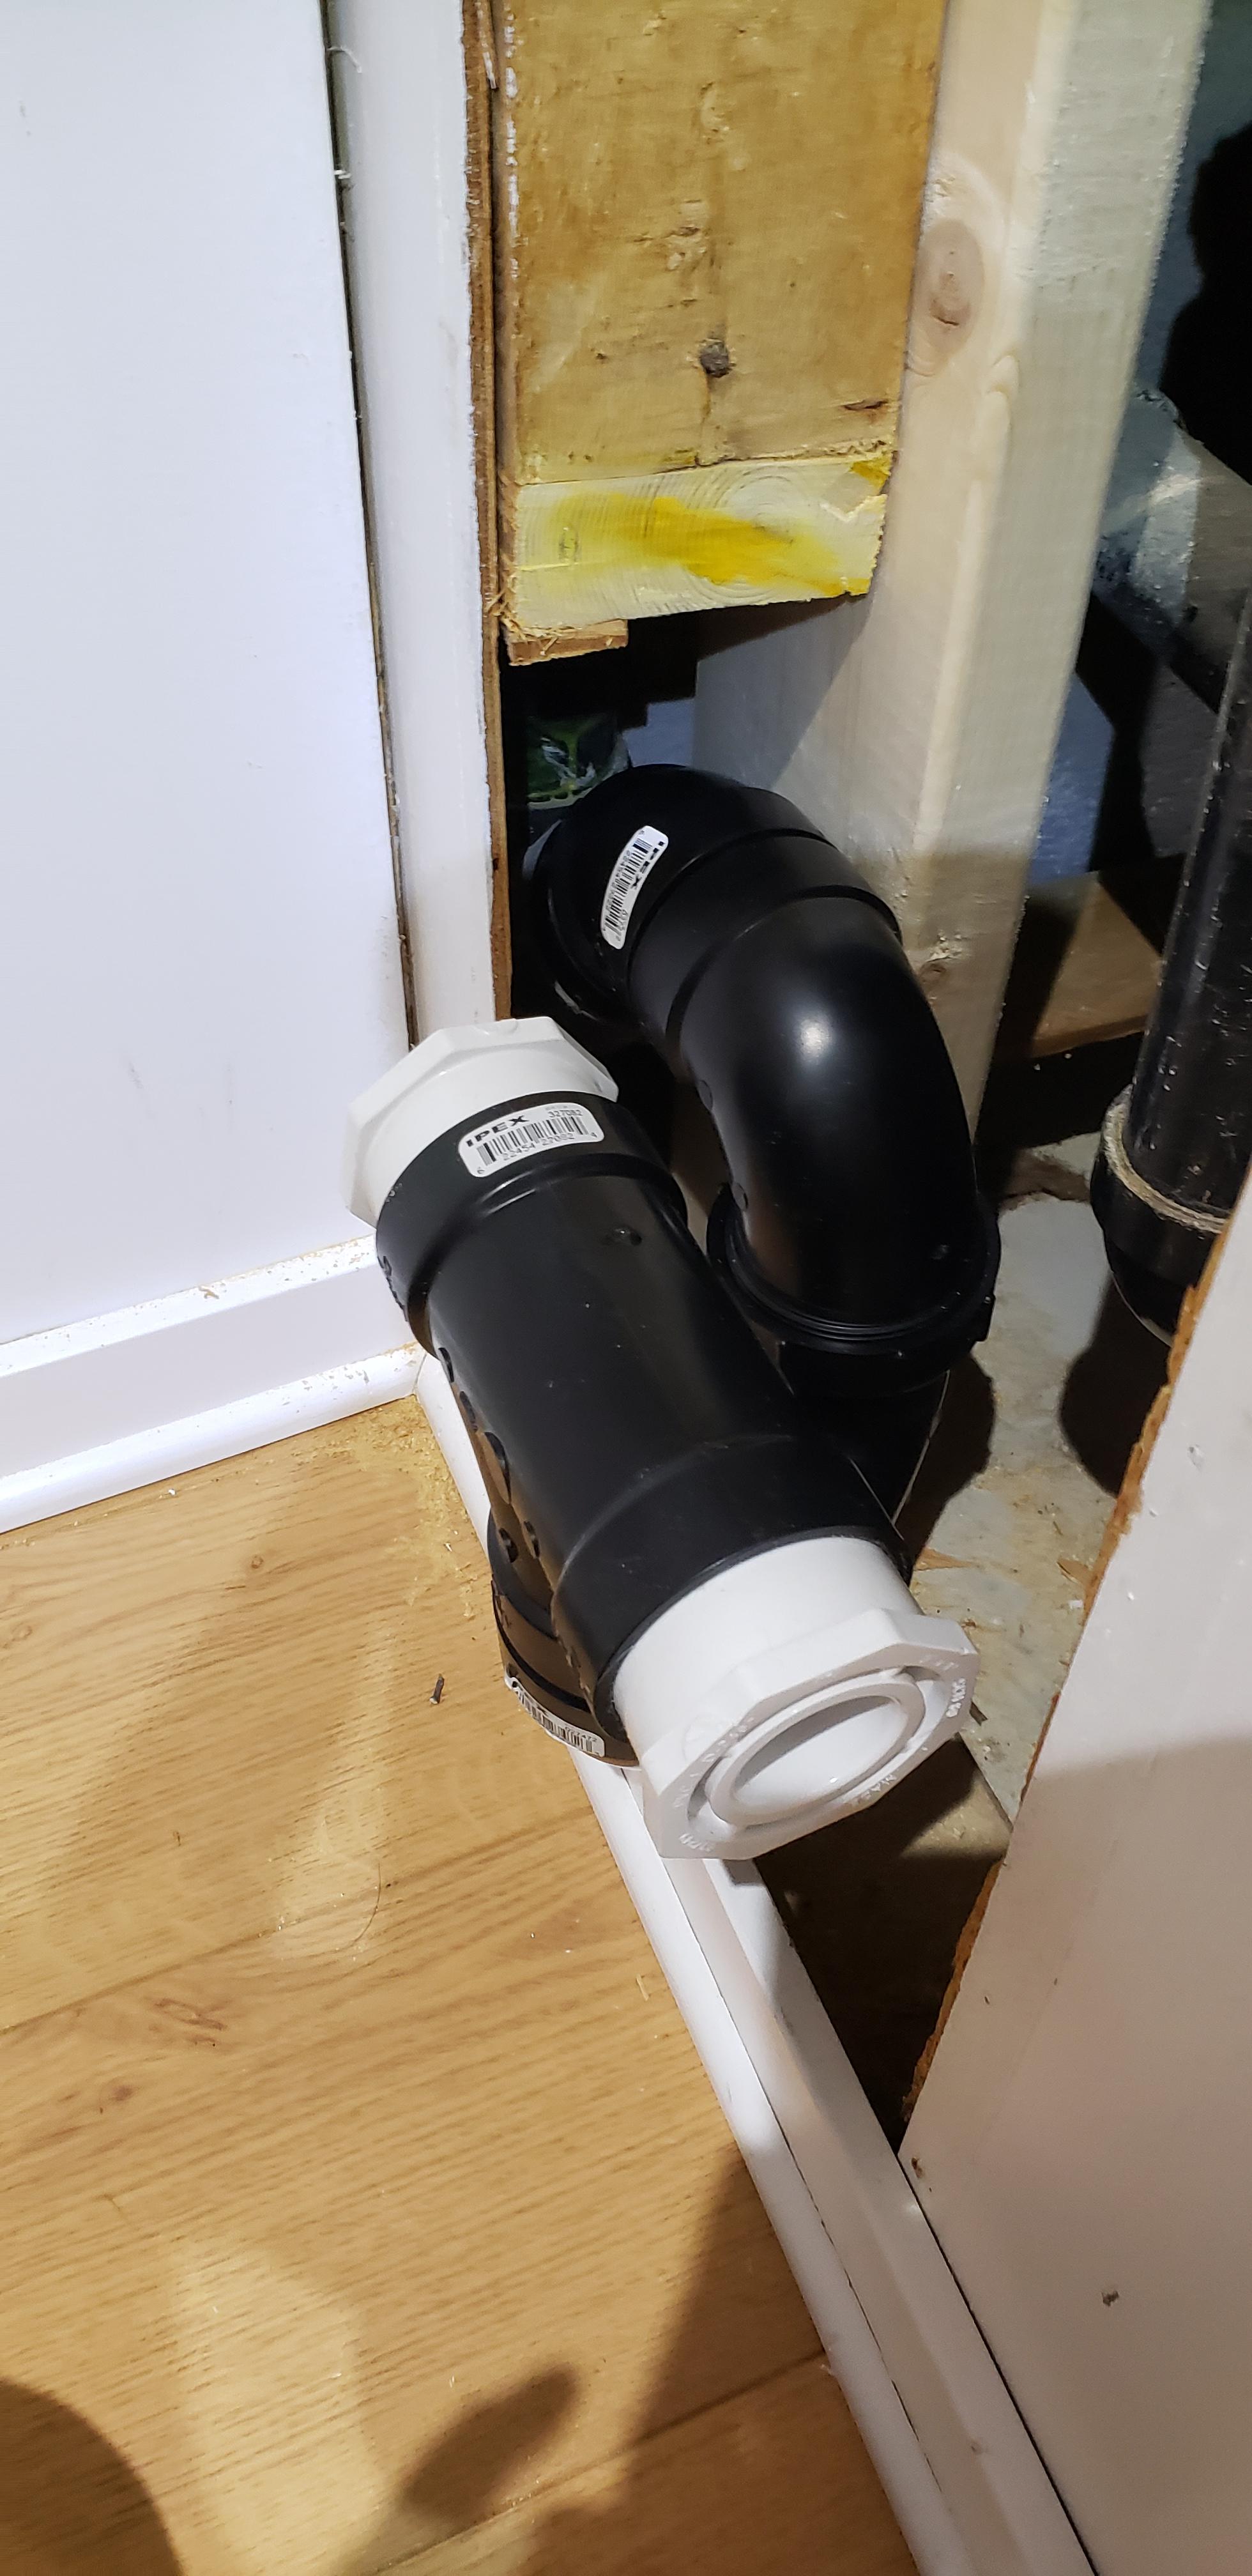
#3 was the big project this weekend, which I'm happy to report was completed in full. I've run and glued all the necessary plumbing in the suspended ceiling, as well as fixed everything in place with clamps. I've left myself access to the outlets for all of the areas it needs to go, but I stopped short of running anything down from the ceiling. It's not pretty everywhere, but sadly there were obstacles I didn't foresee causing issues, so there's some interesting avoidance with 90 and 45 elbows in some places. Also, gluing everything at the correct angles even with marks is difficult when your head is in the ceiling.
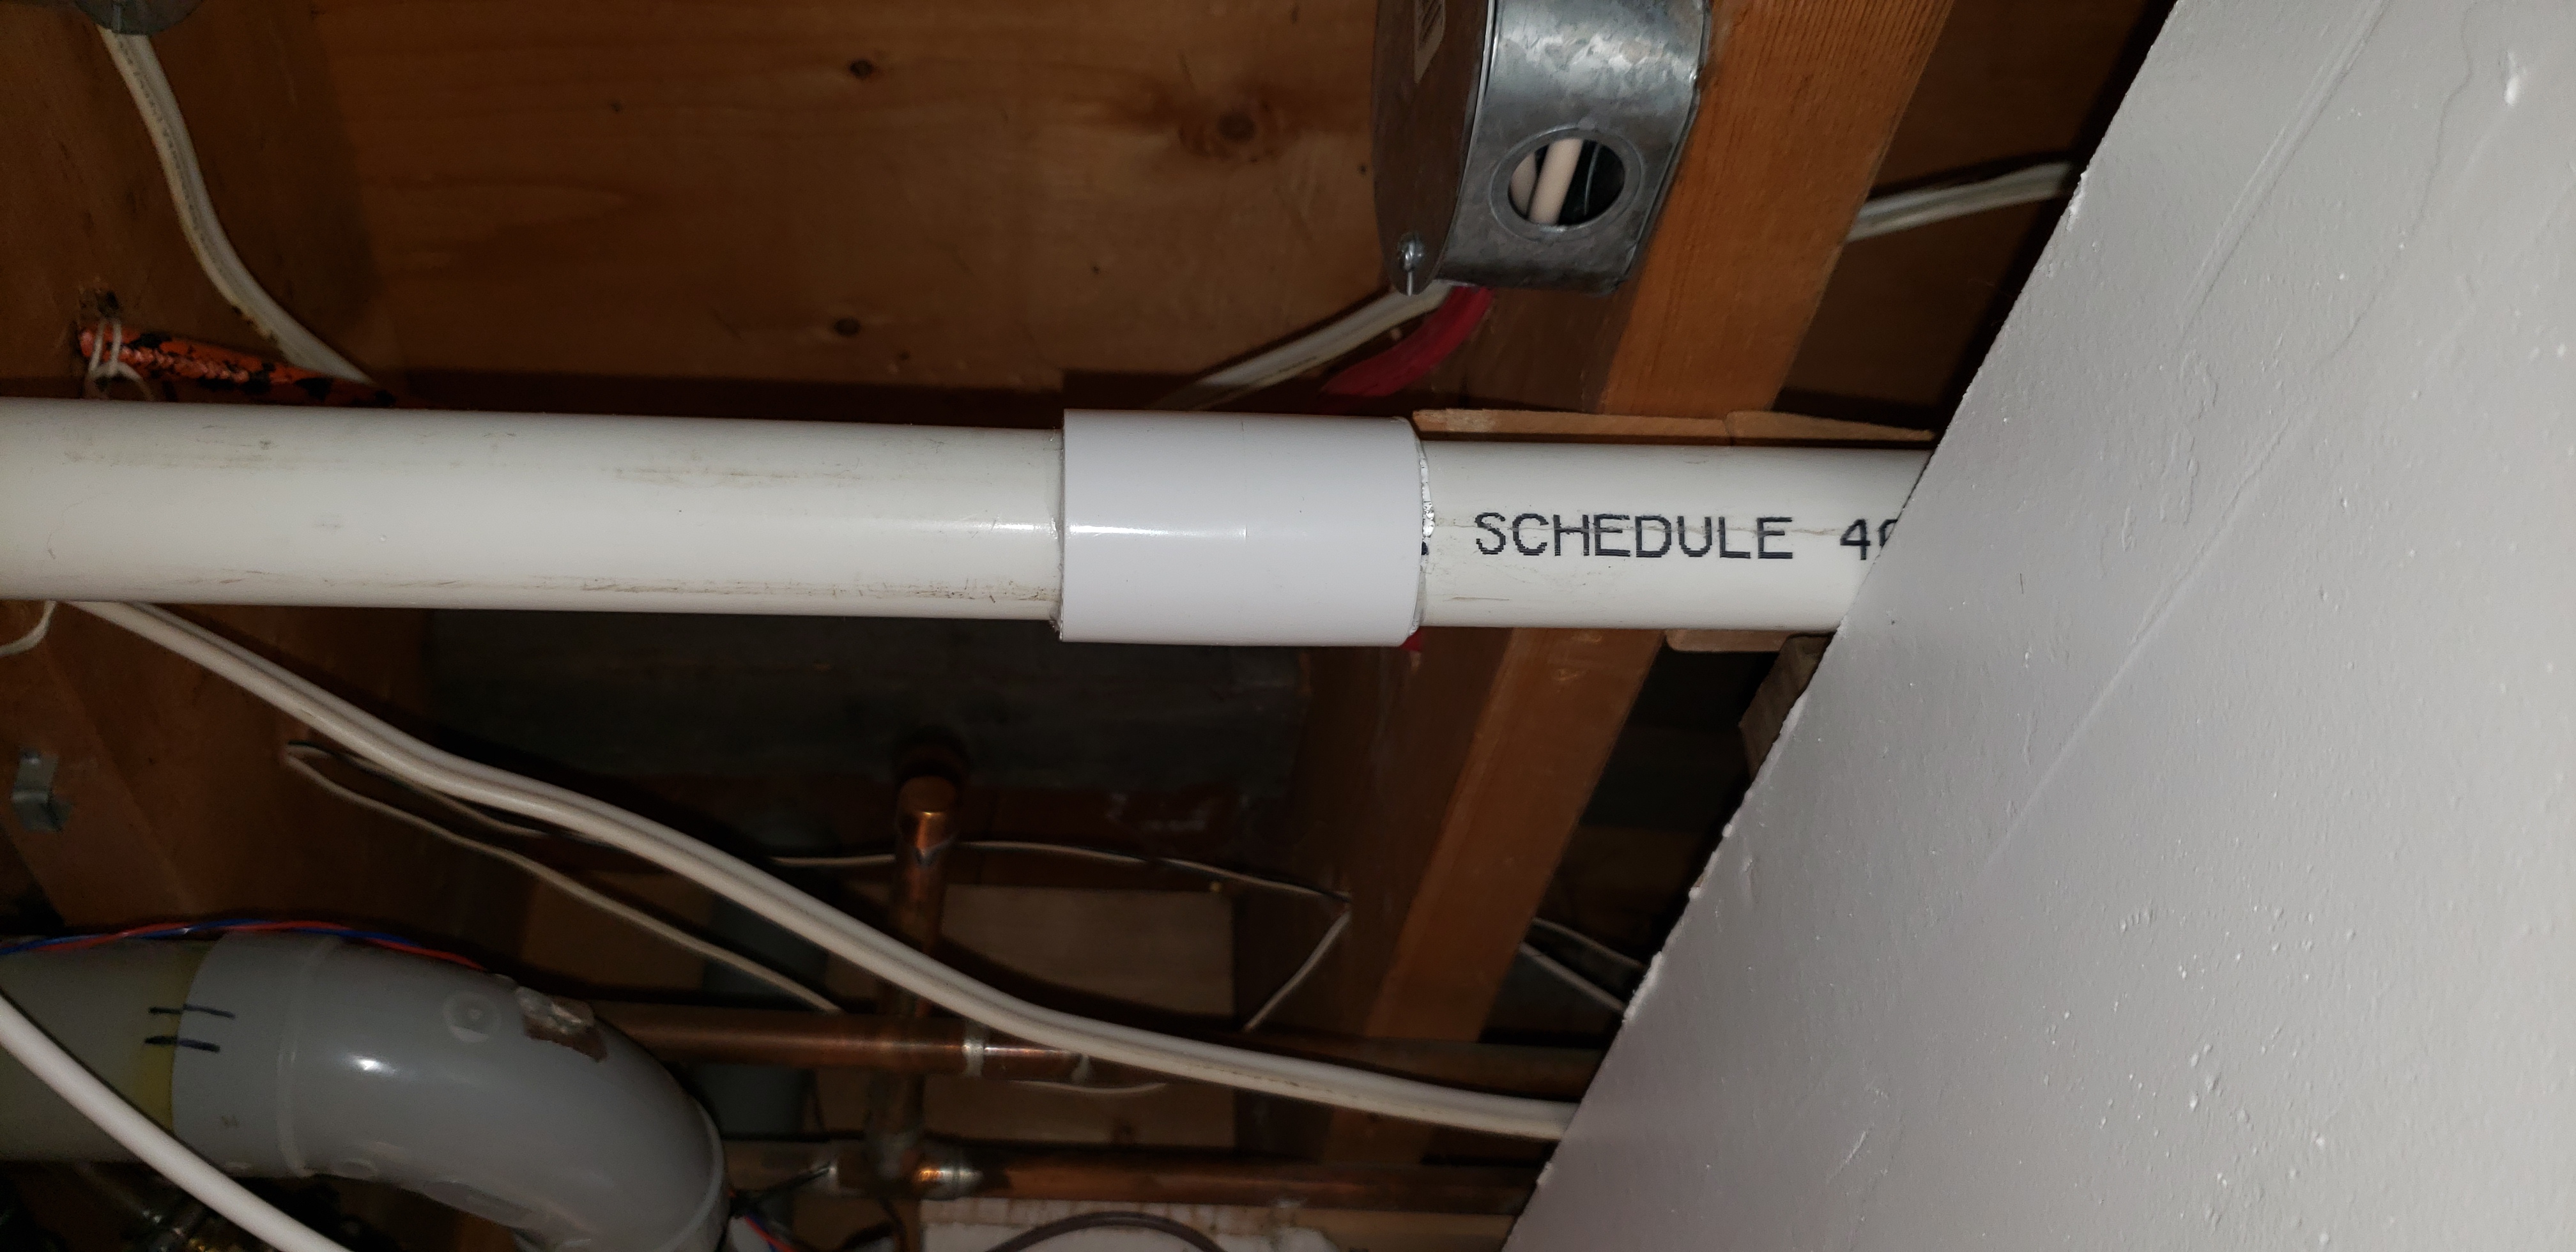
That's the first glued joint on the whole project. Success.
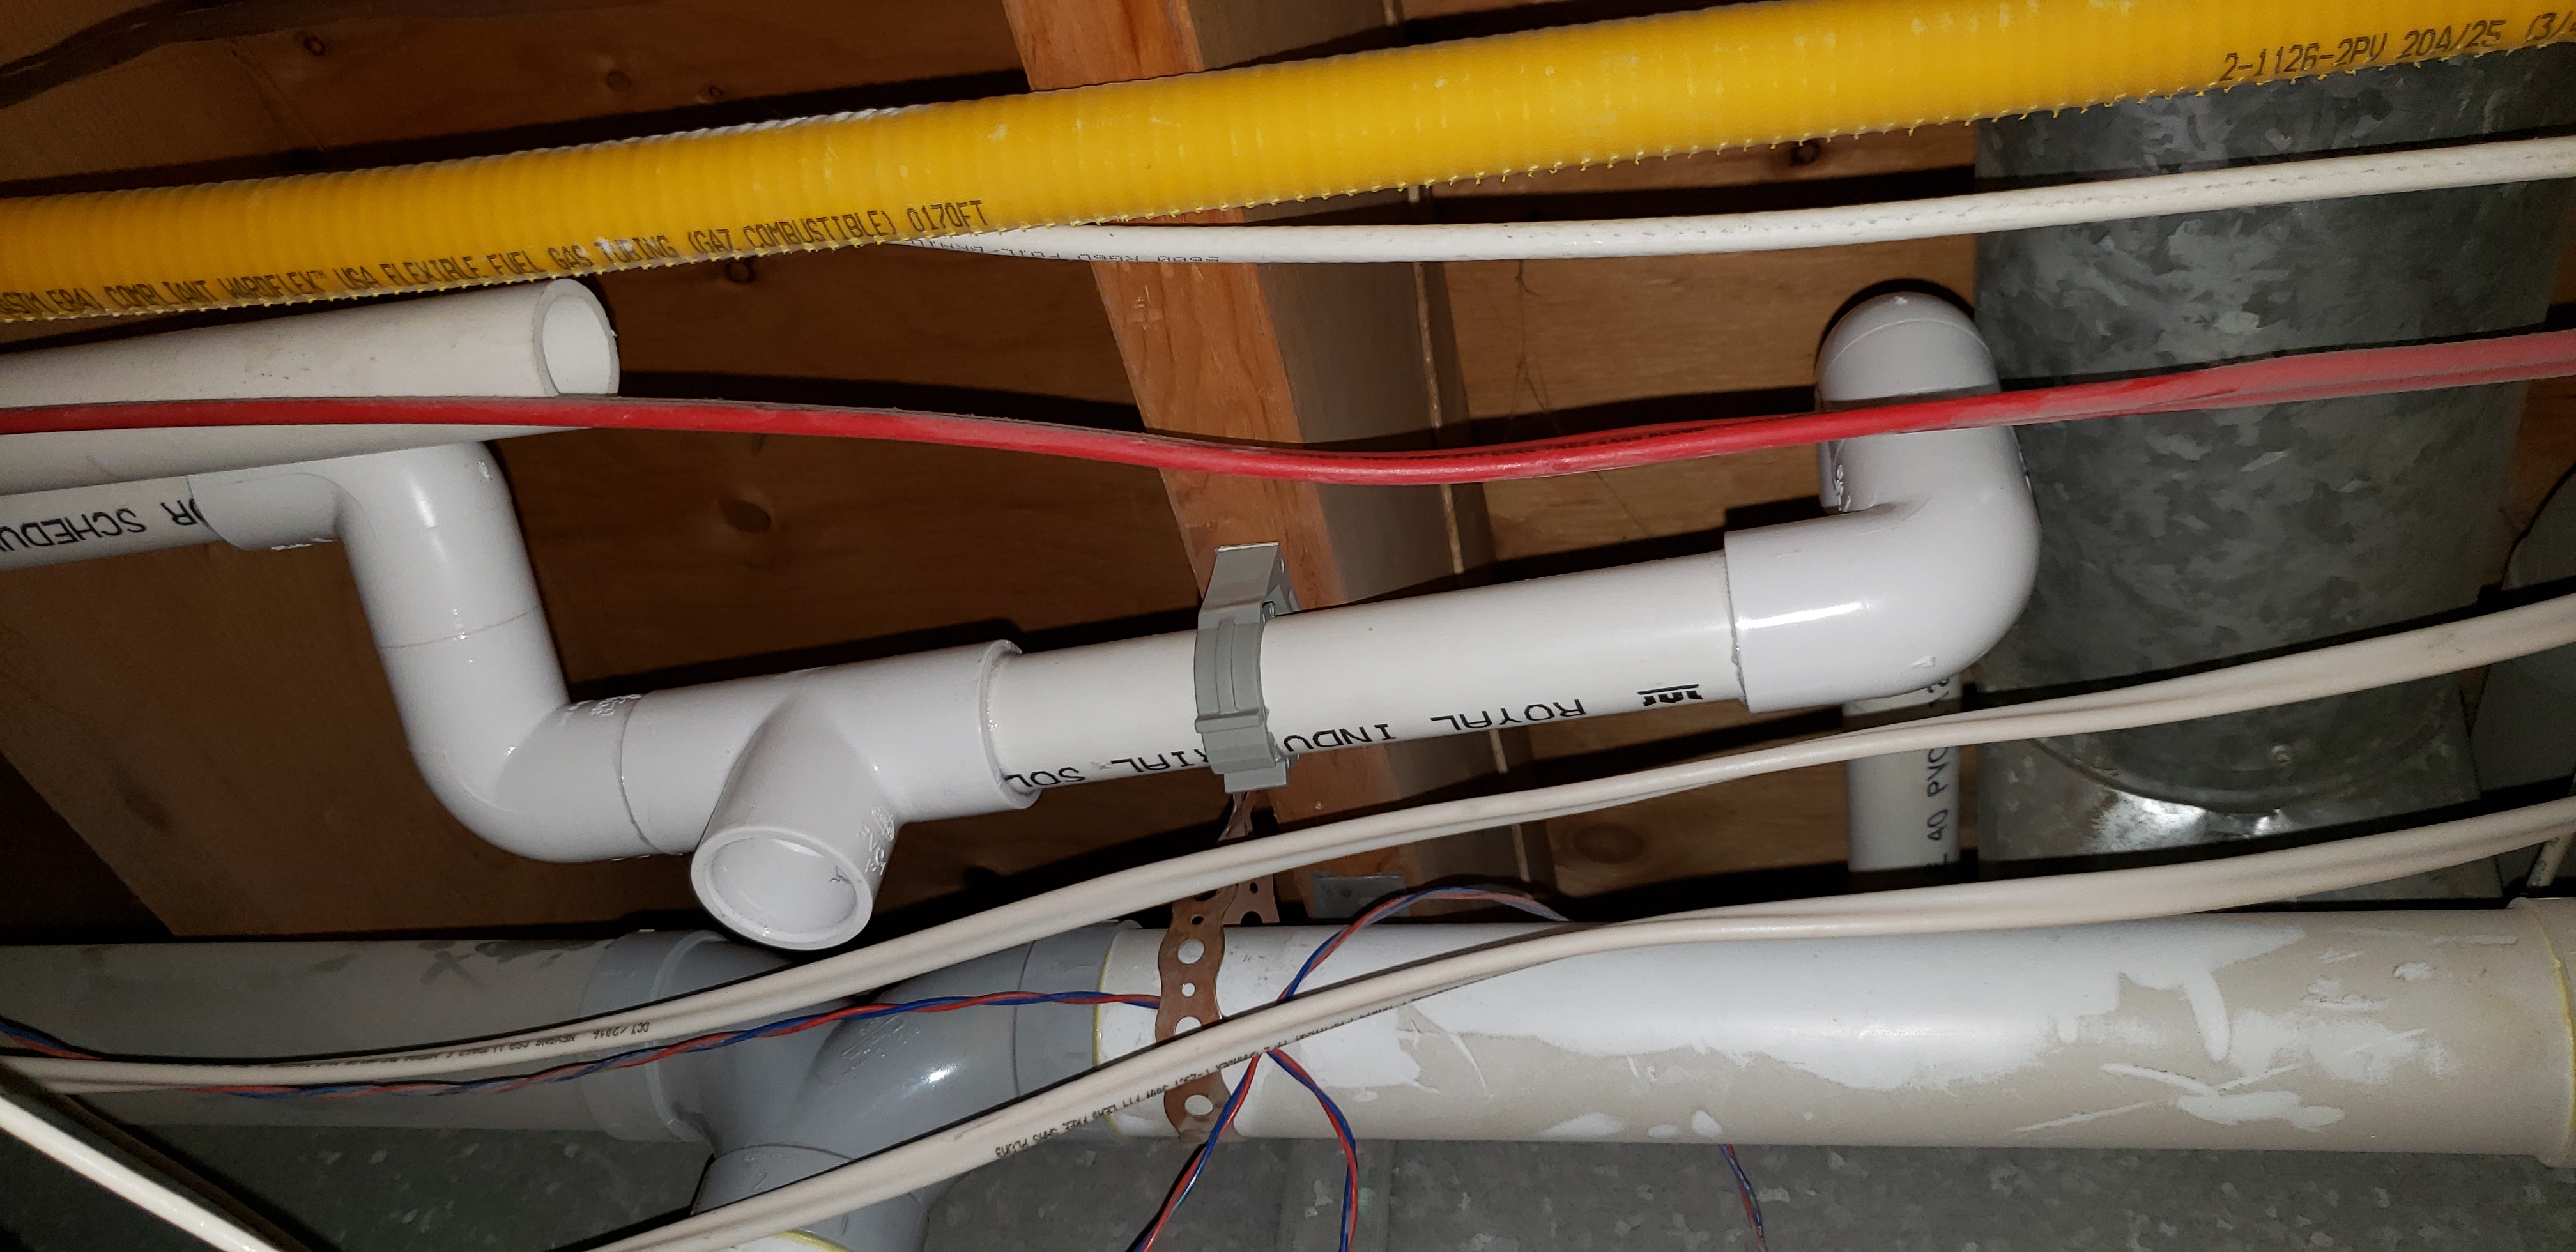
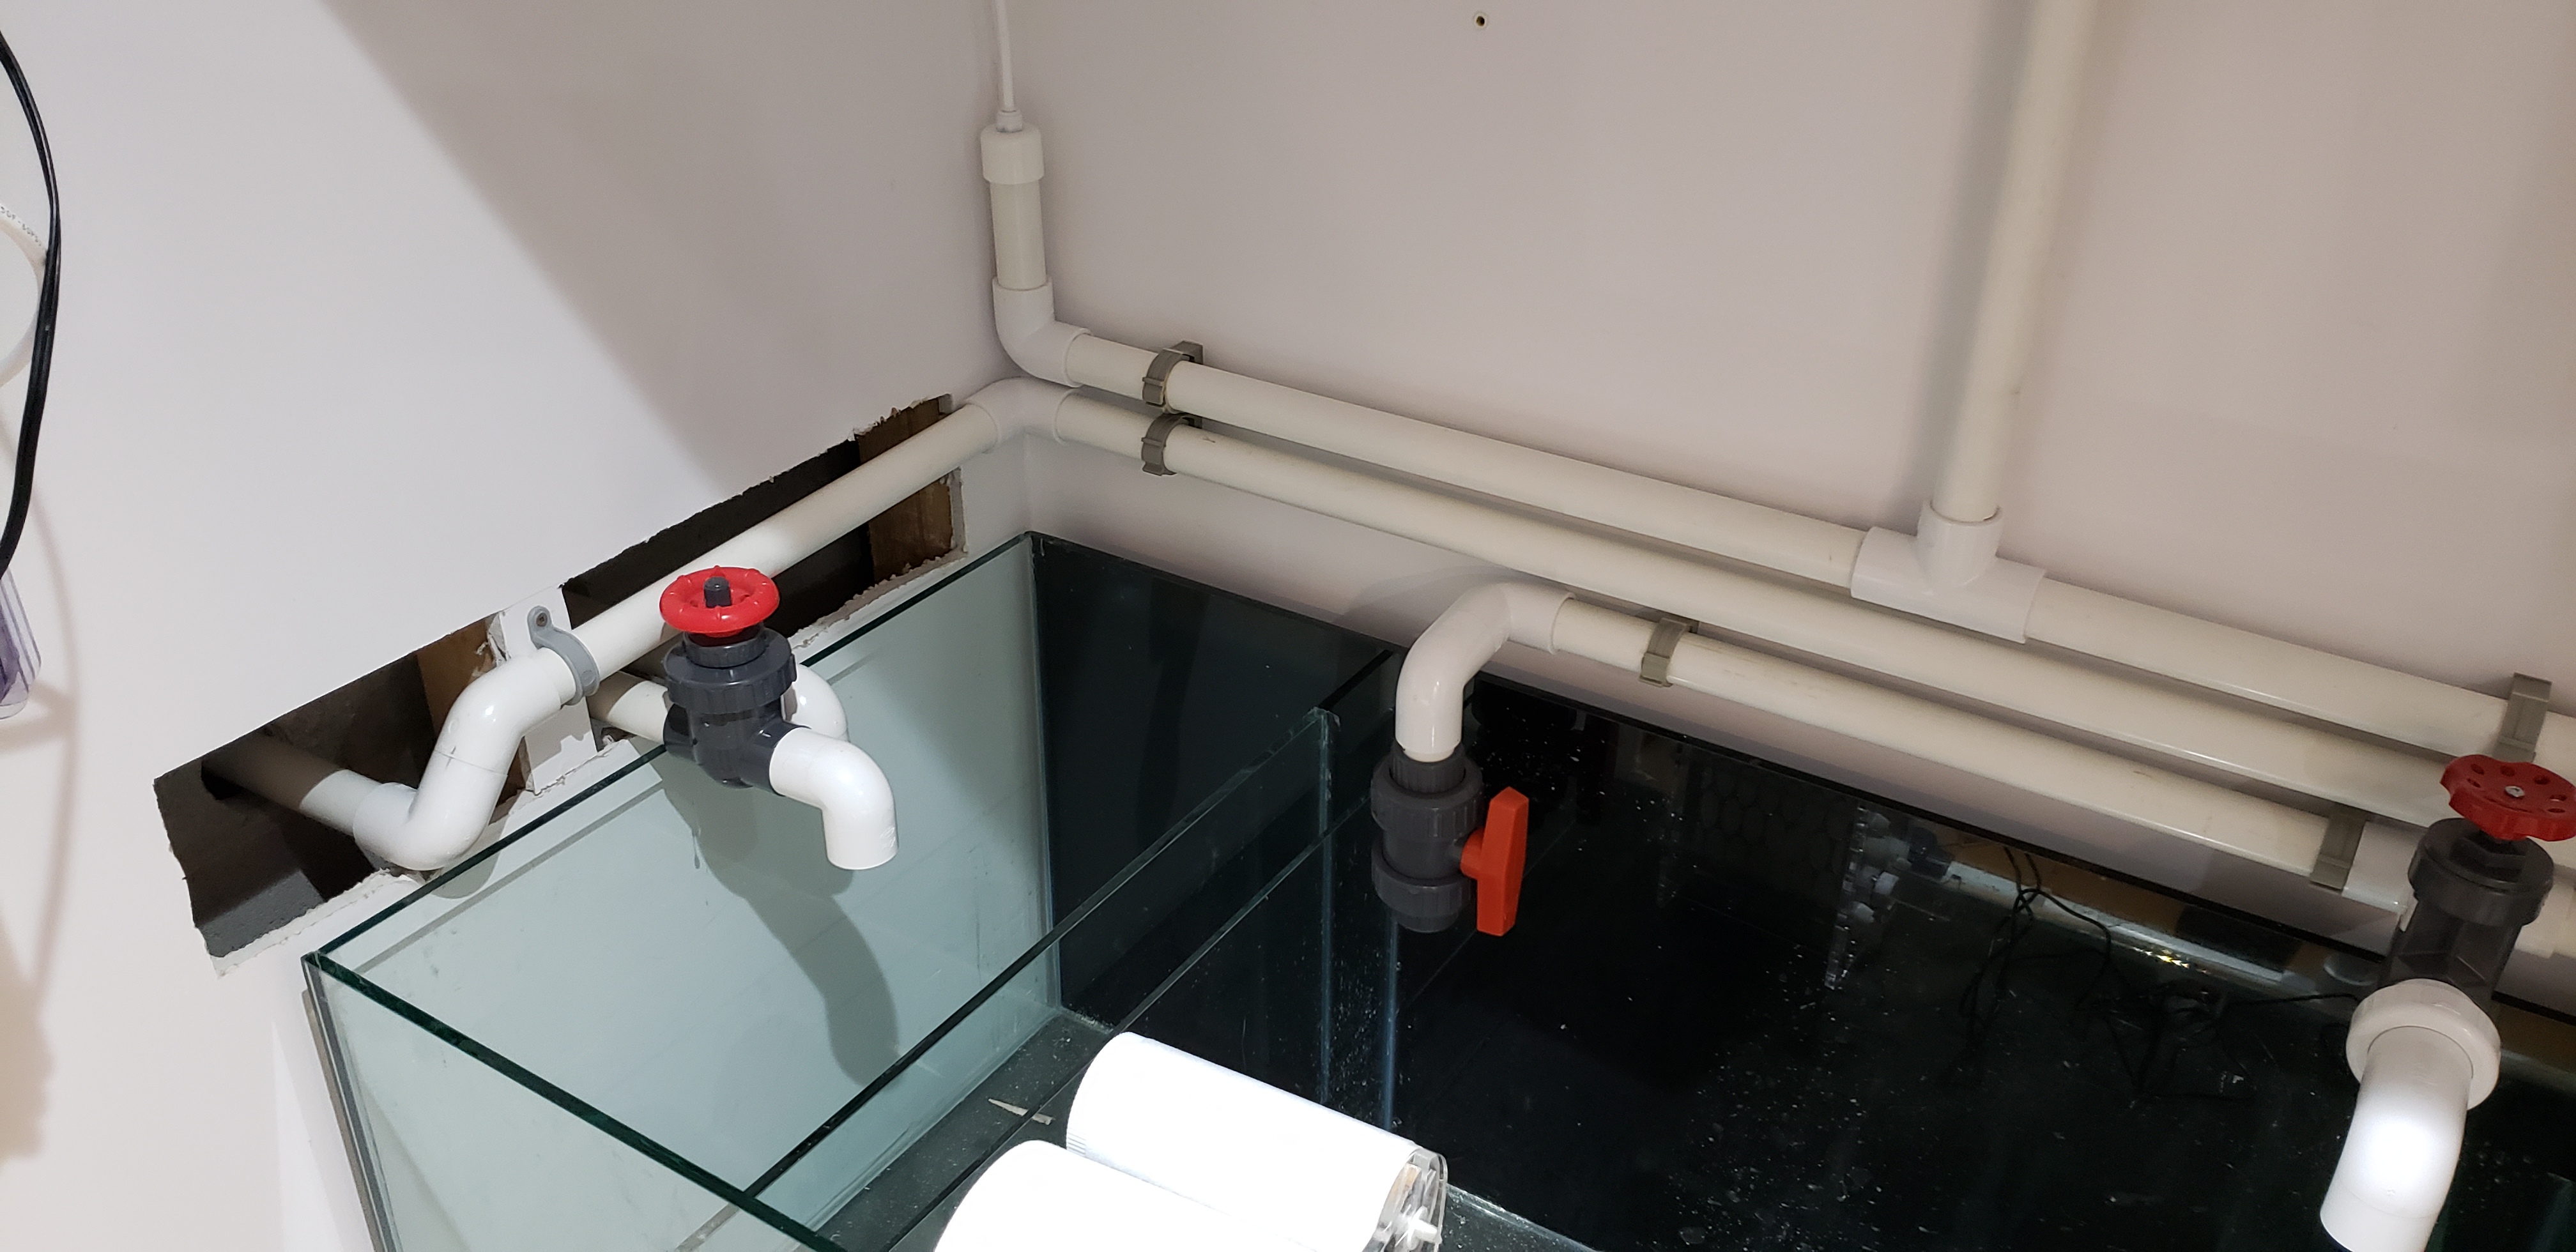
That's the outlet which fills the sump from the w/c bin, and the drain line from the QT area. The 90-90-tee jog you see on the left is because I discovered that about 6 feet to the left of this photo, there's an added piece of 2x4 on the joist which they used to support the central vacuum tubing at some point, which is invisible unless seen from the perfect angle. My suspended ceiling is done in such a way that I couldn't get in there to remove the 2x4, so I had to work around it.
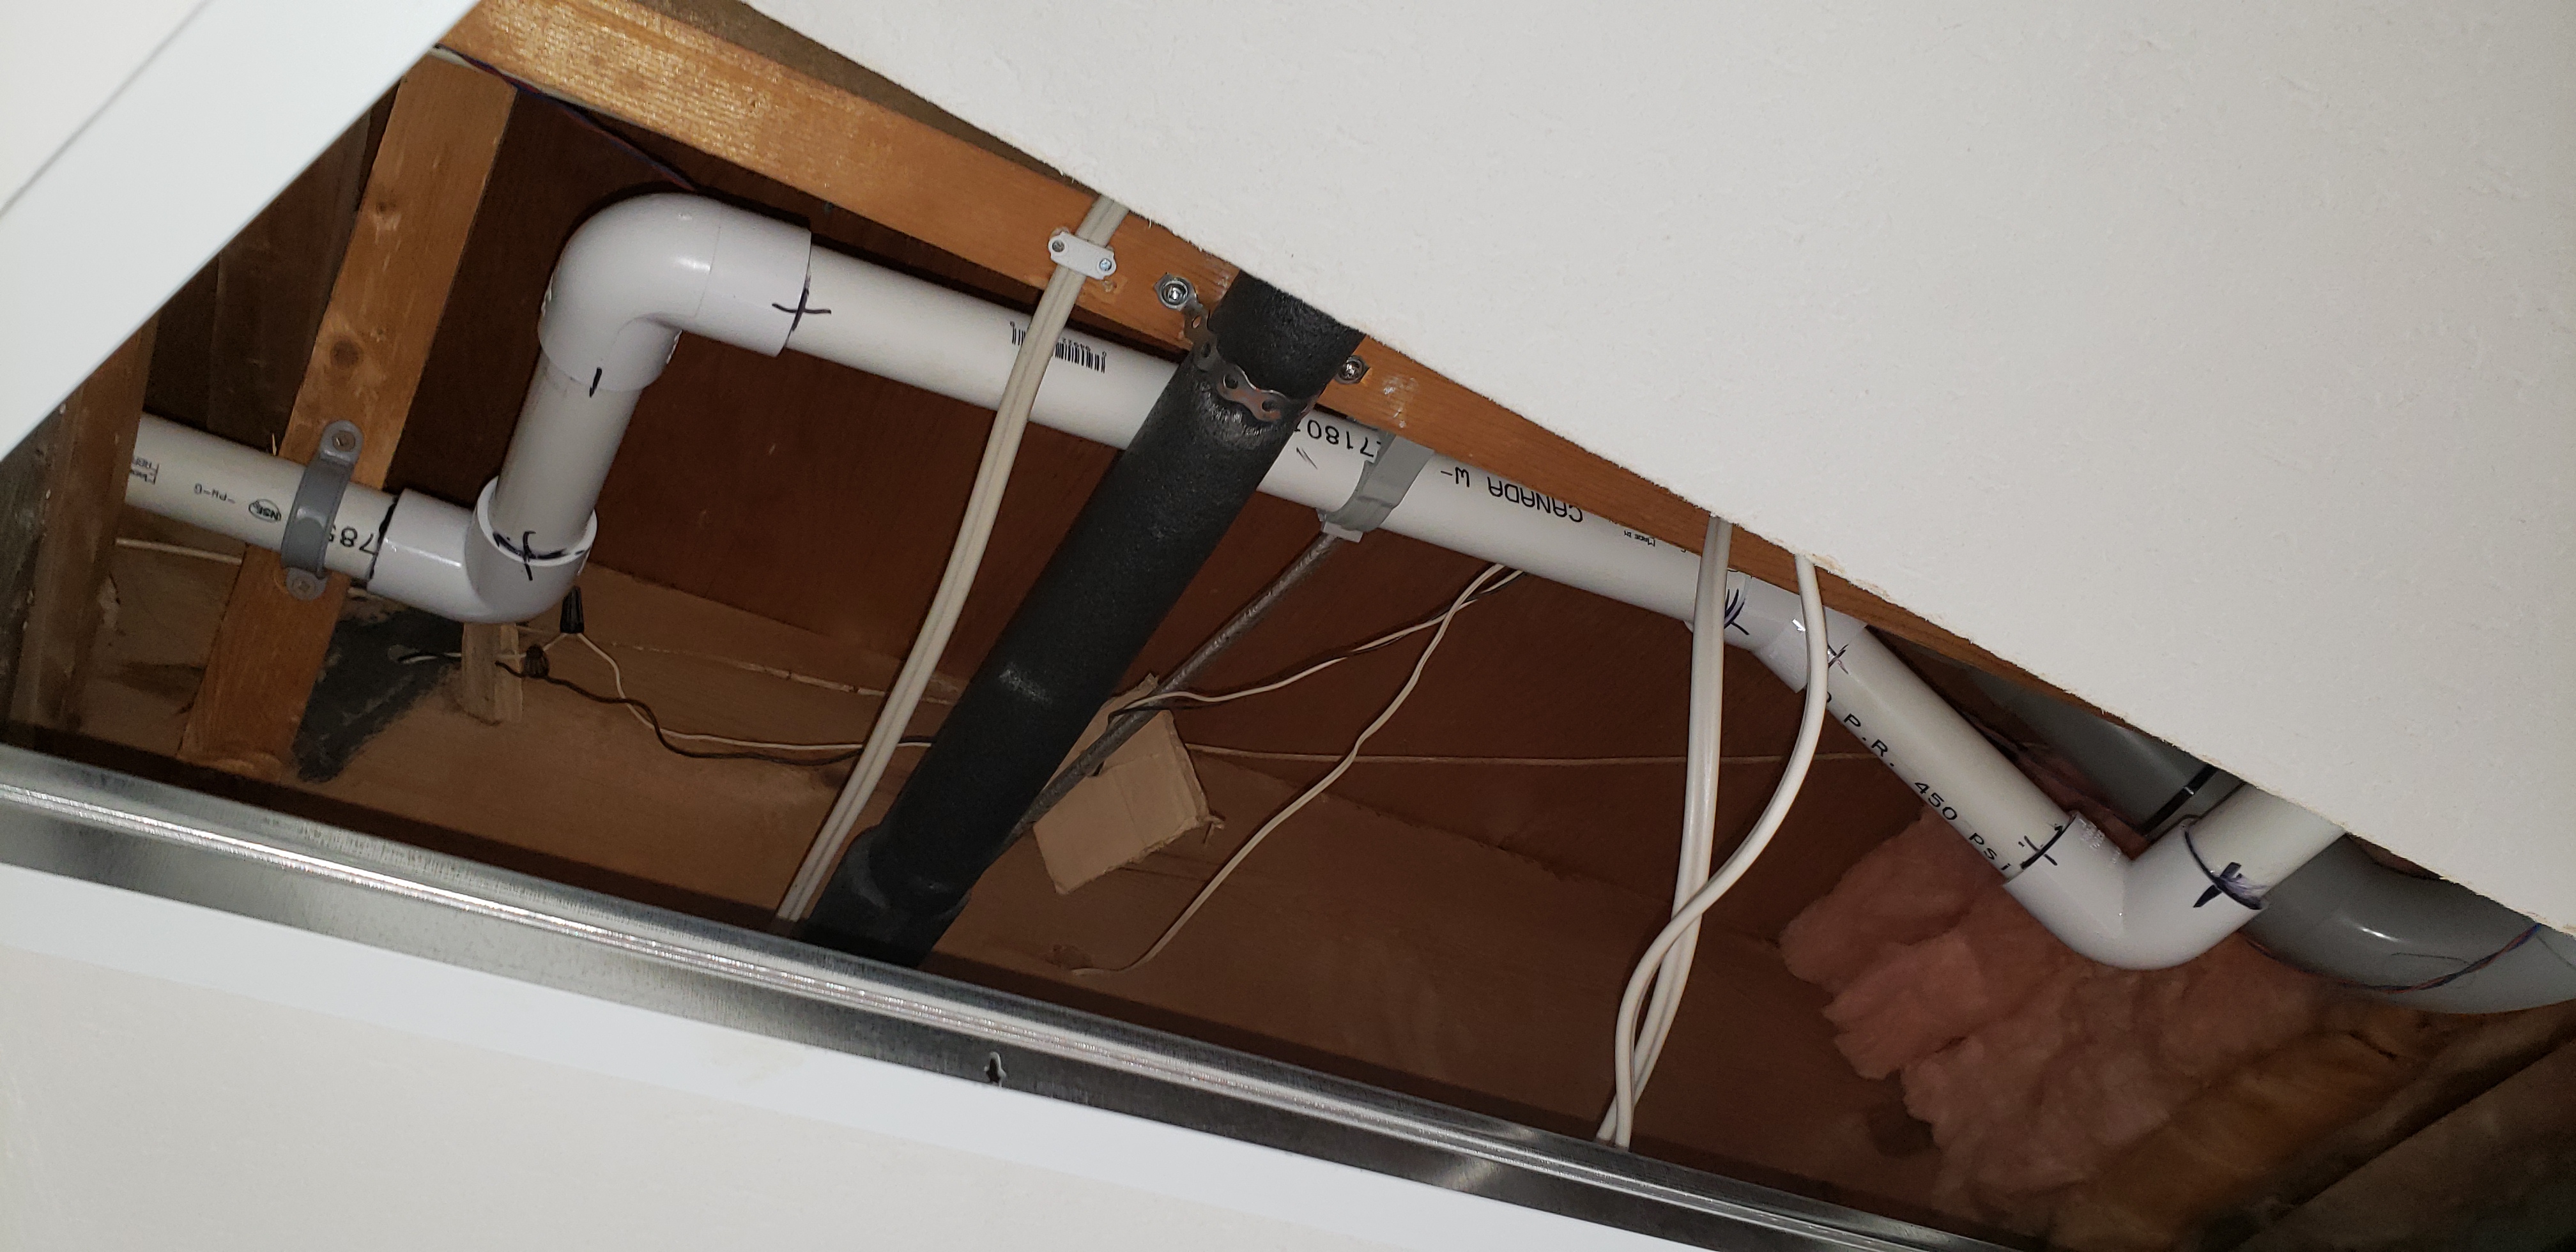
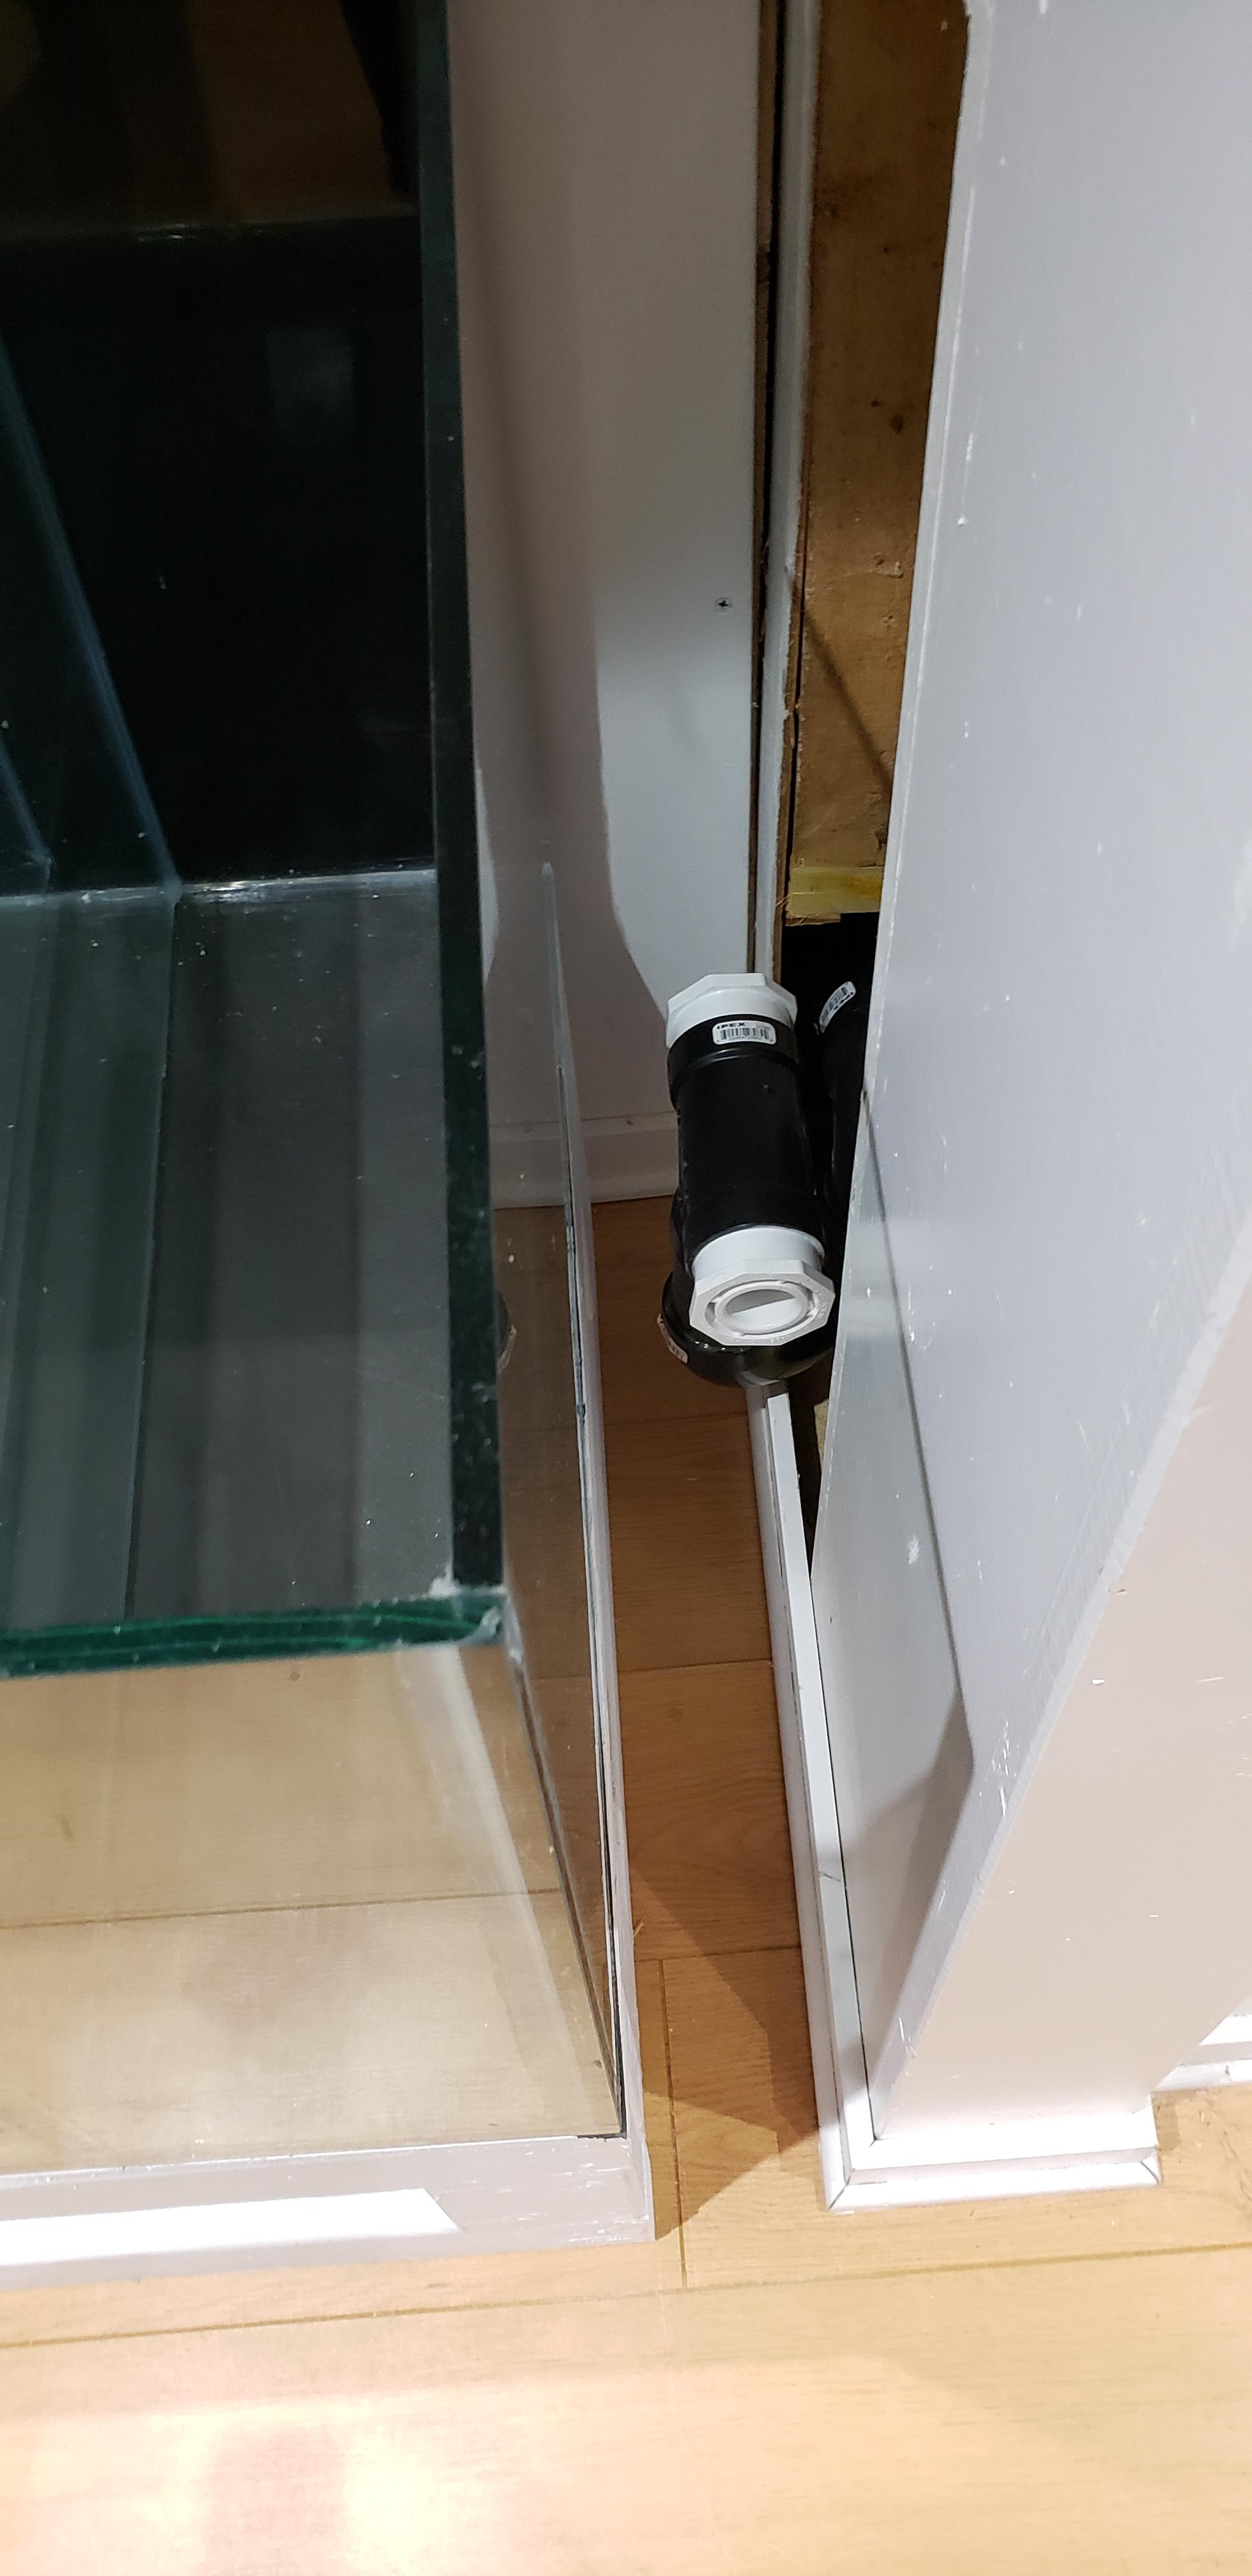
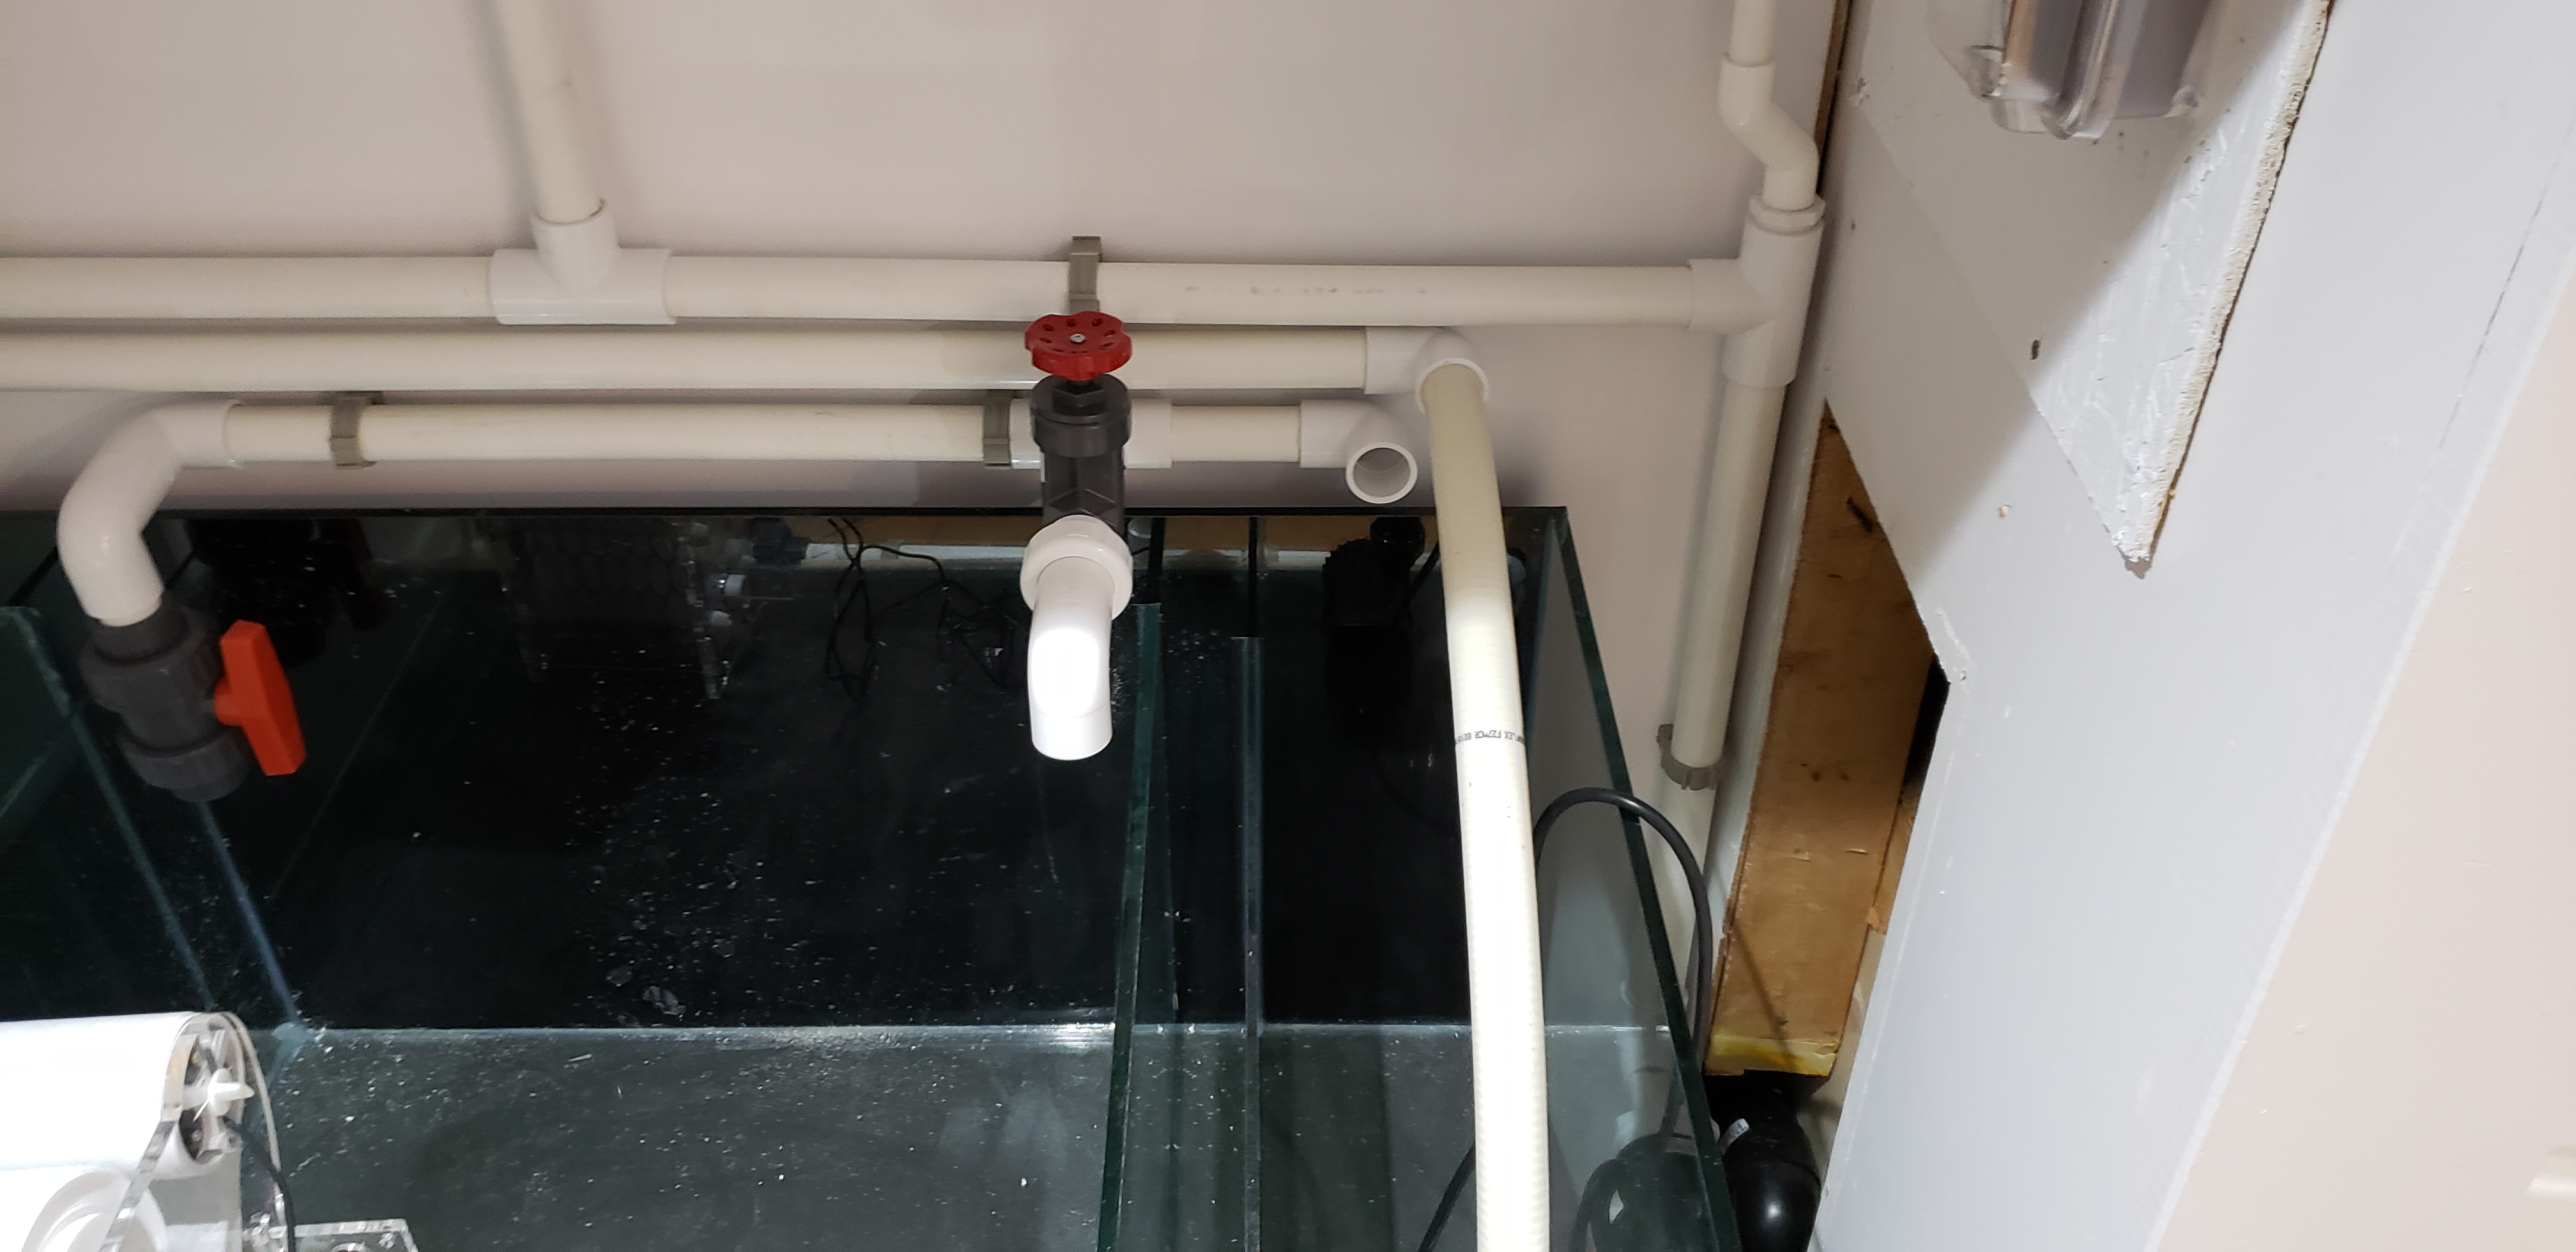
This is from the W/C bin going over the central air ducting to the sump. Because there's already the central vacuum tubing, I had to do some interesting angles to fit it through the X-bracing between the floor joists.
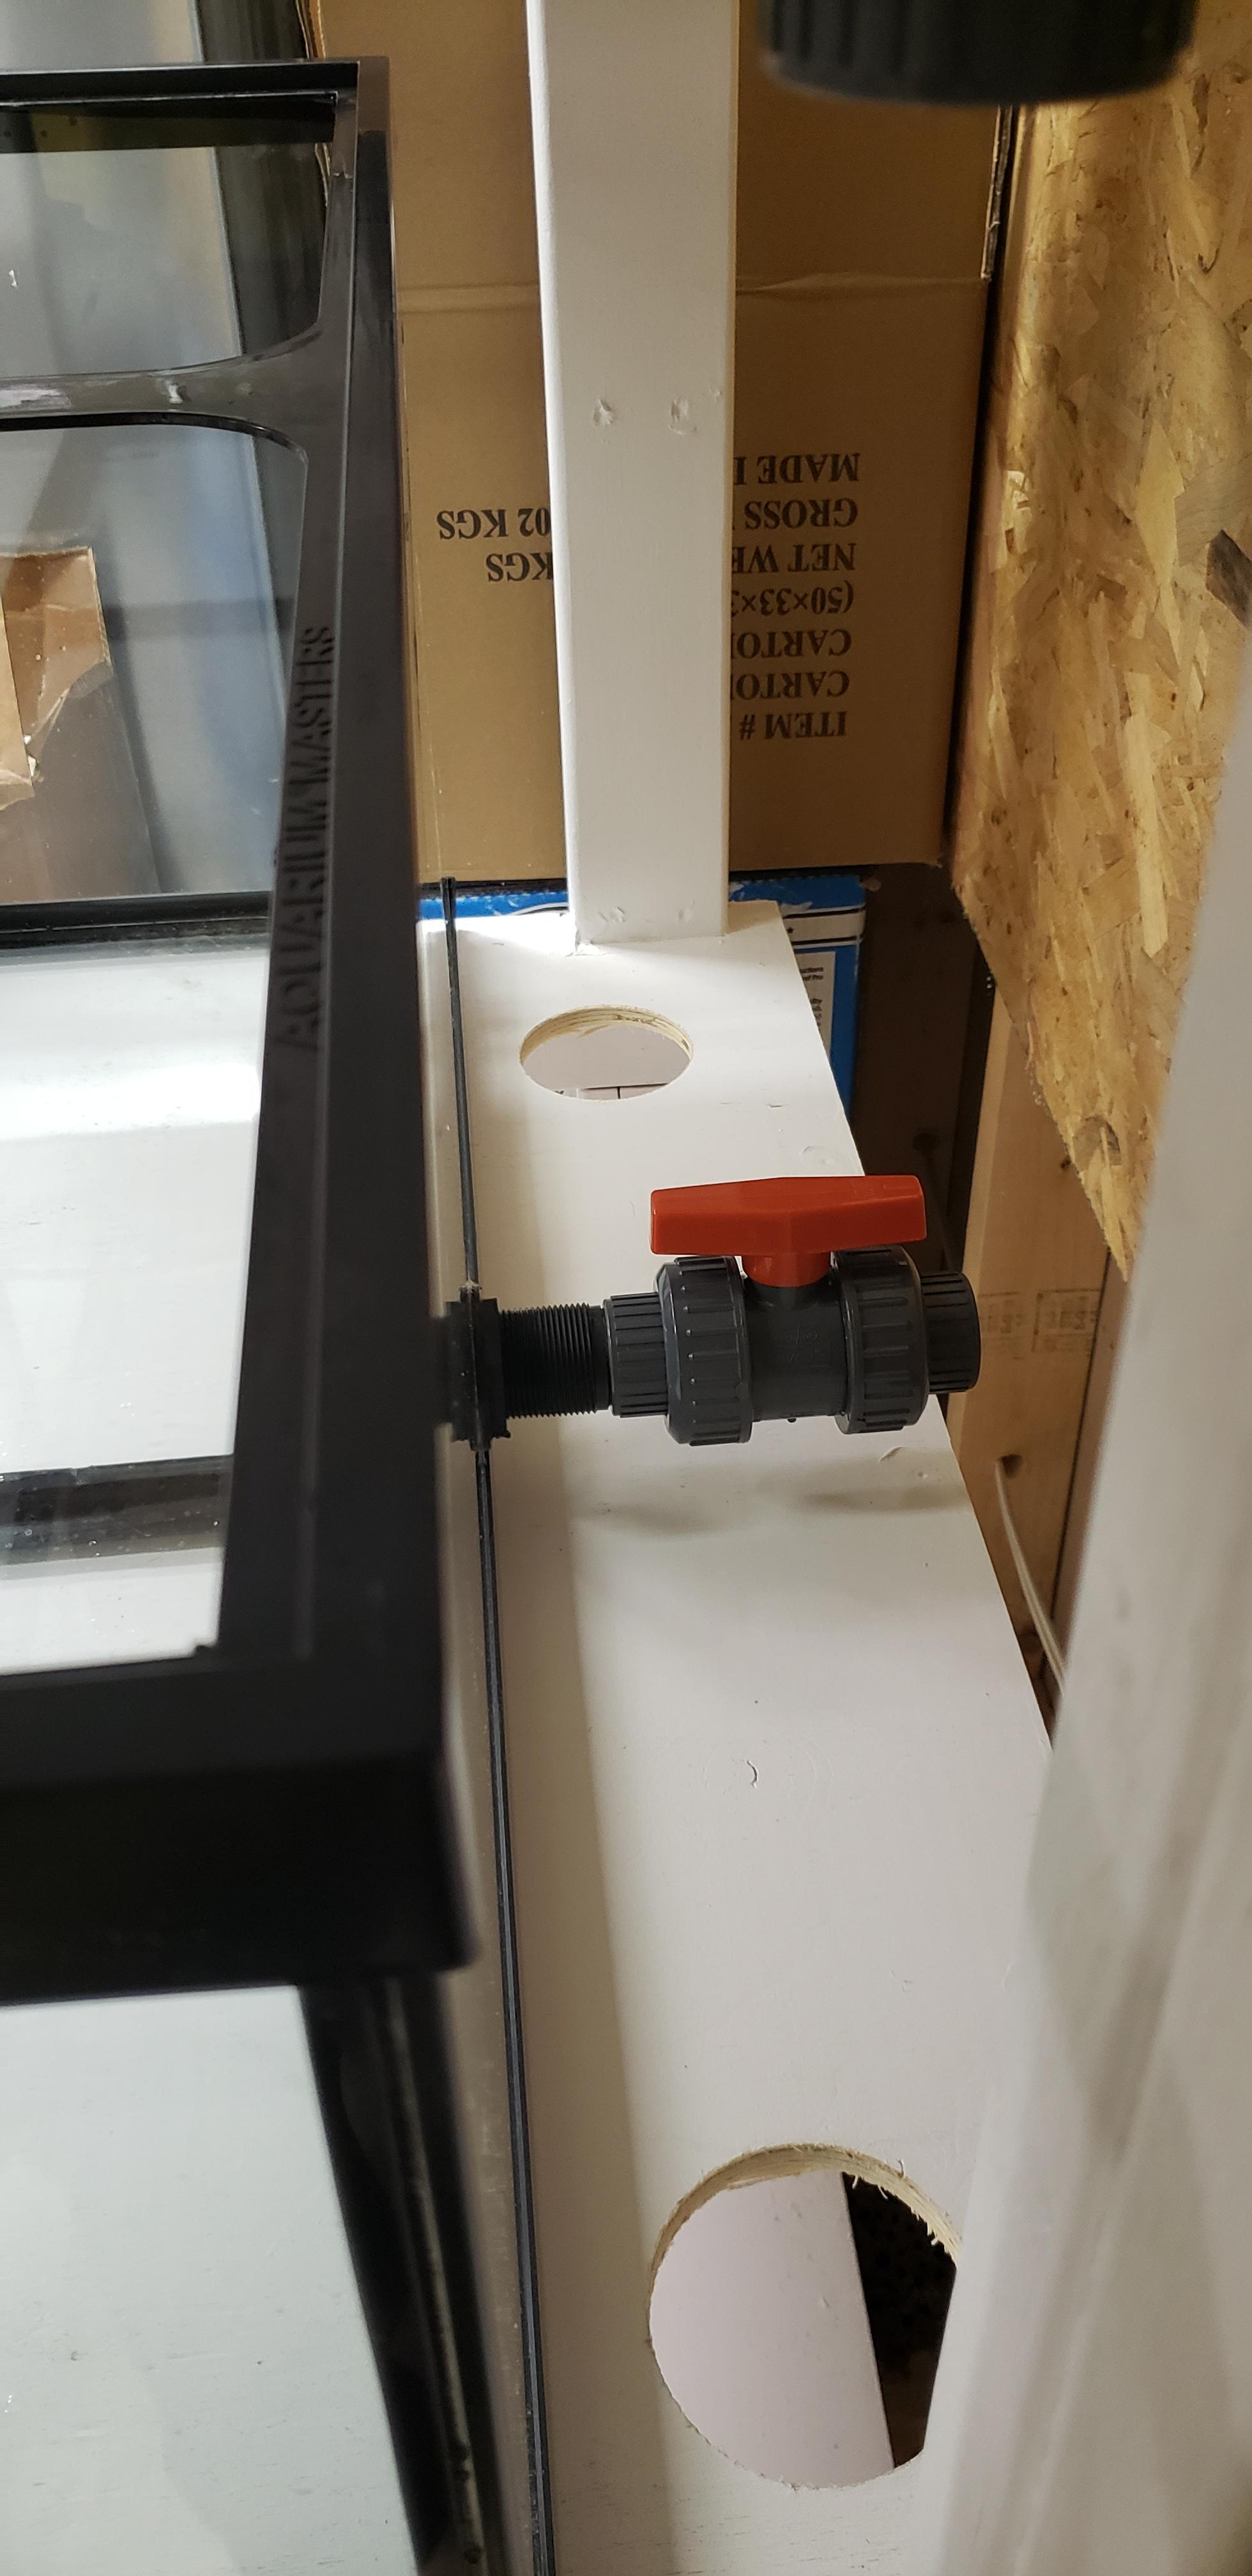
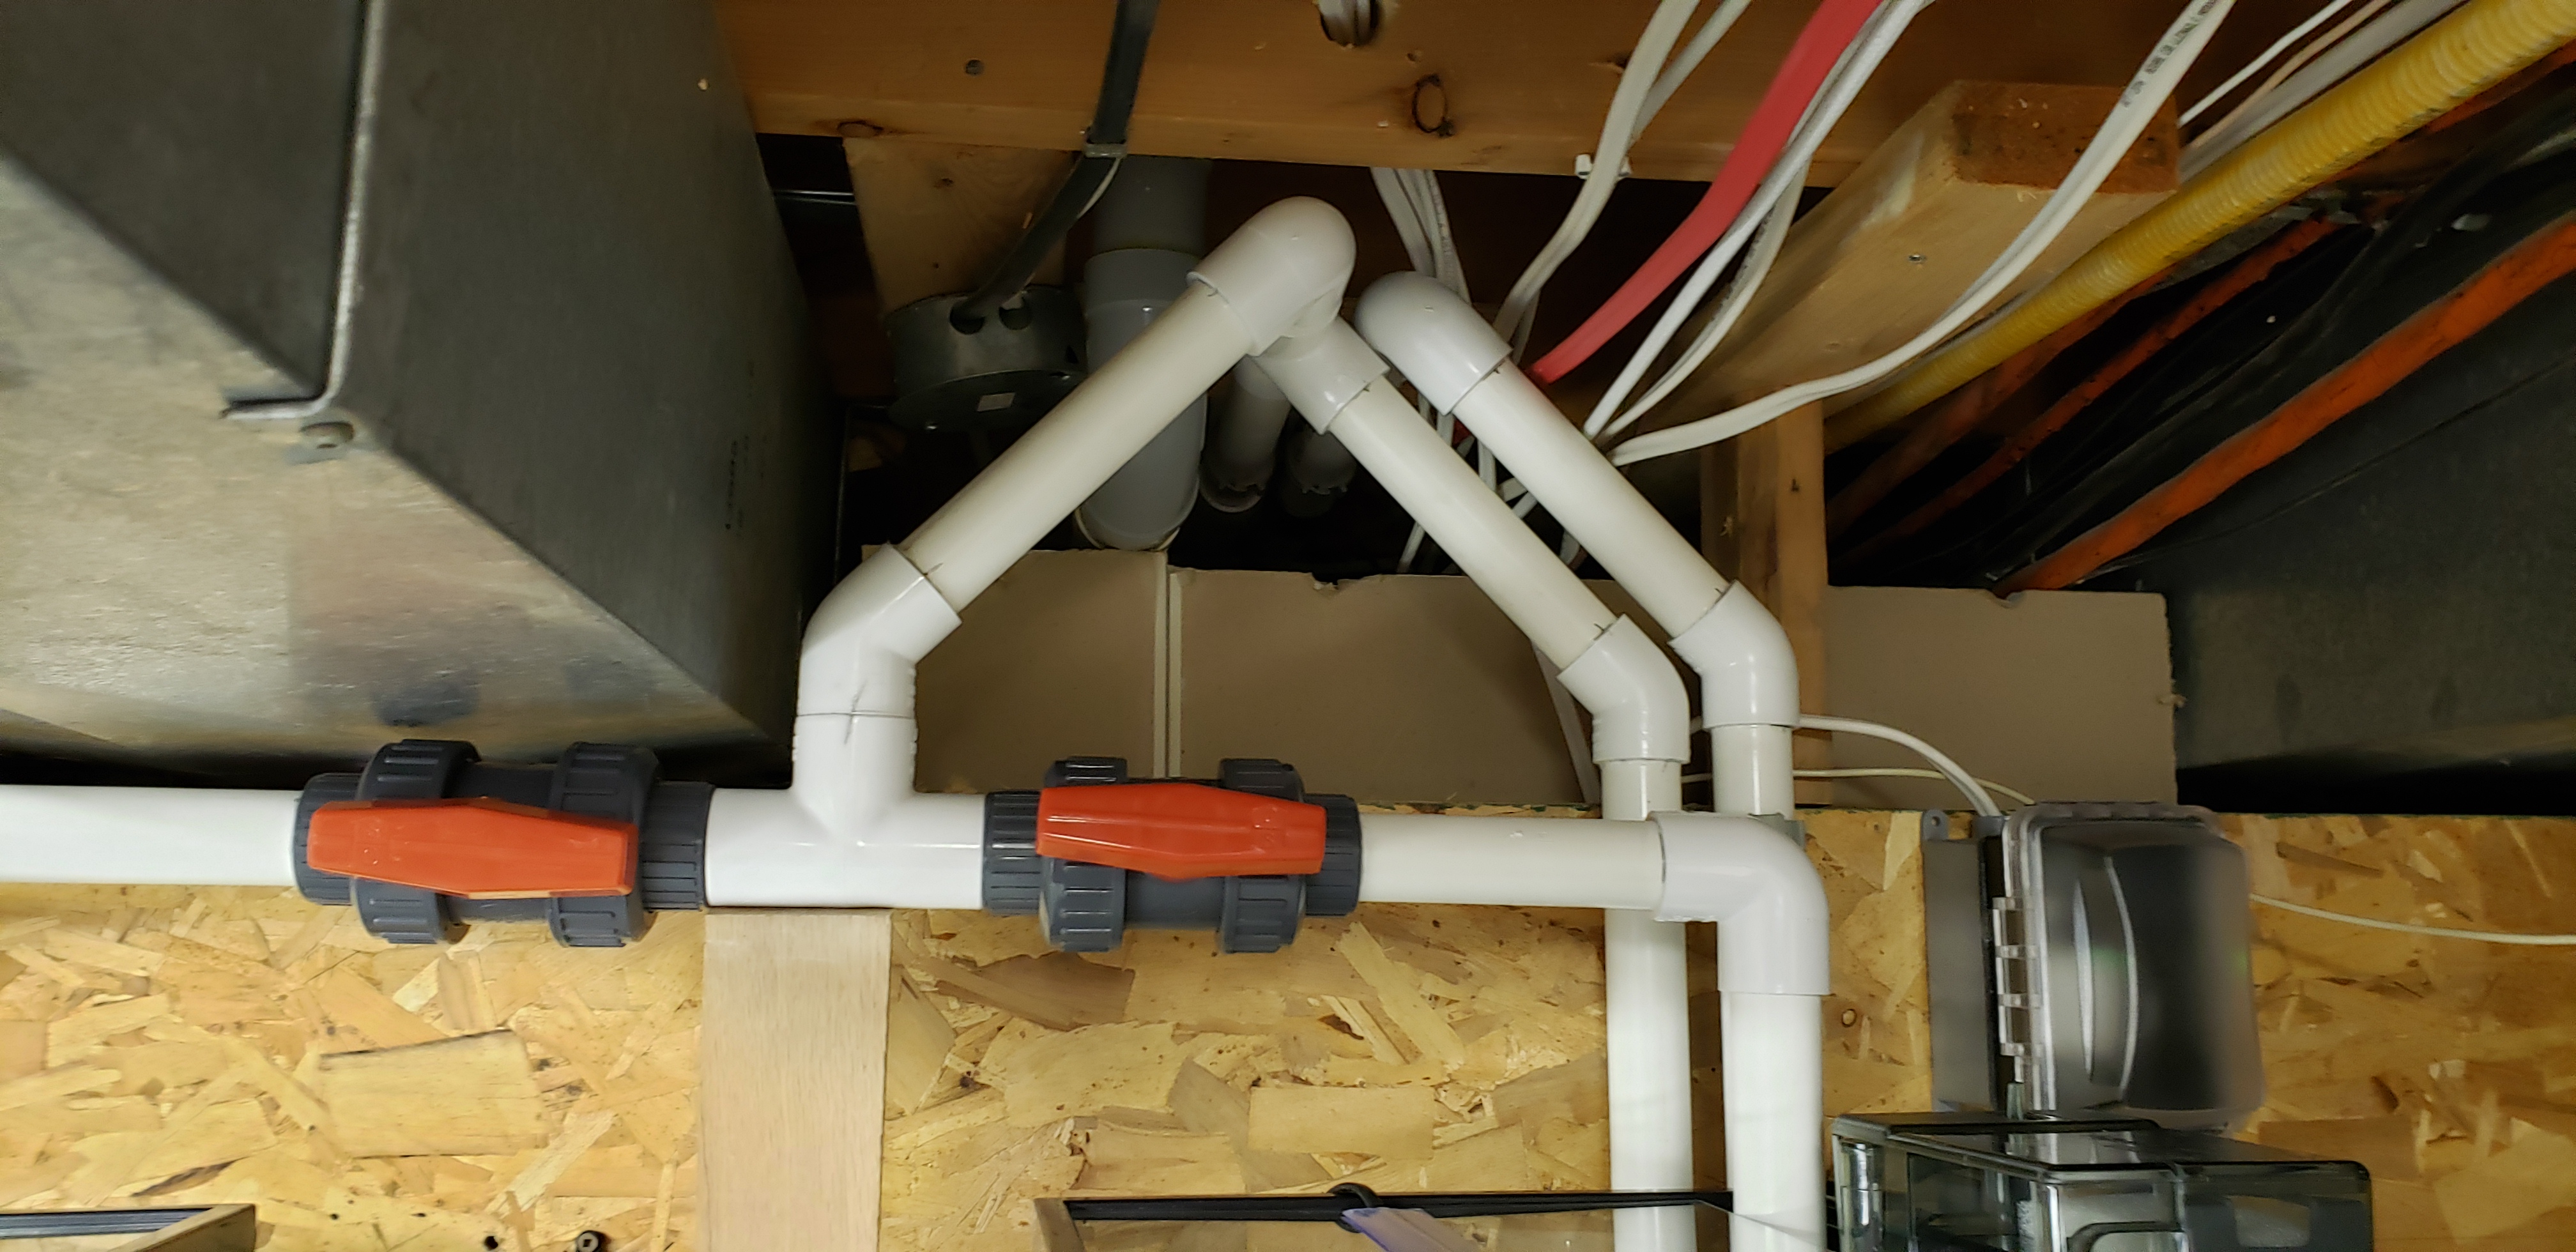
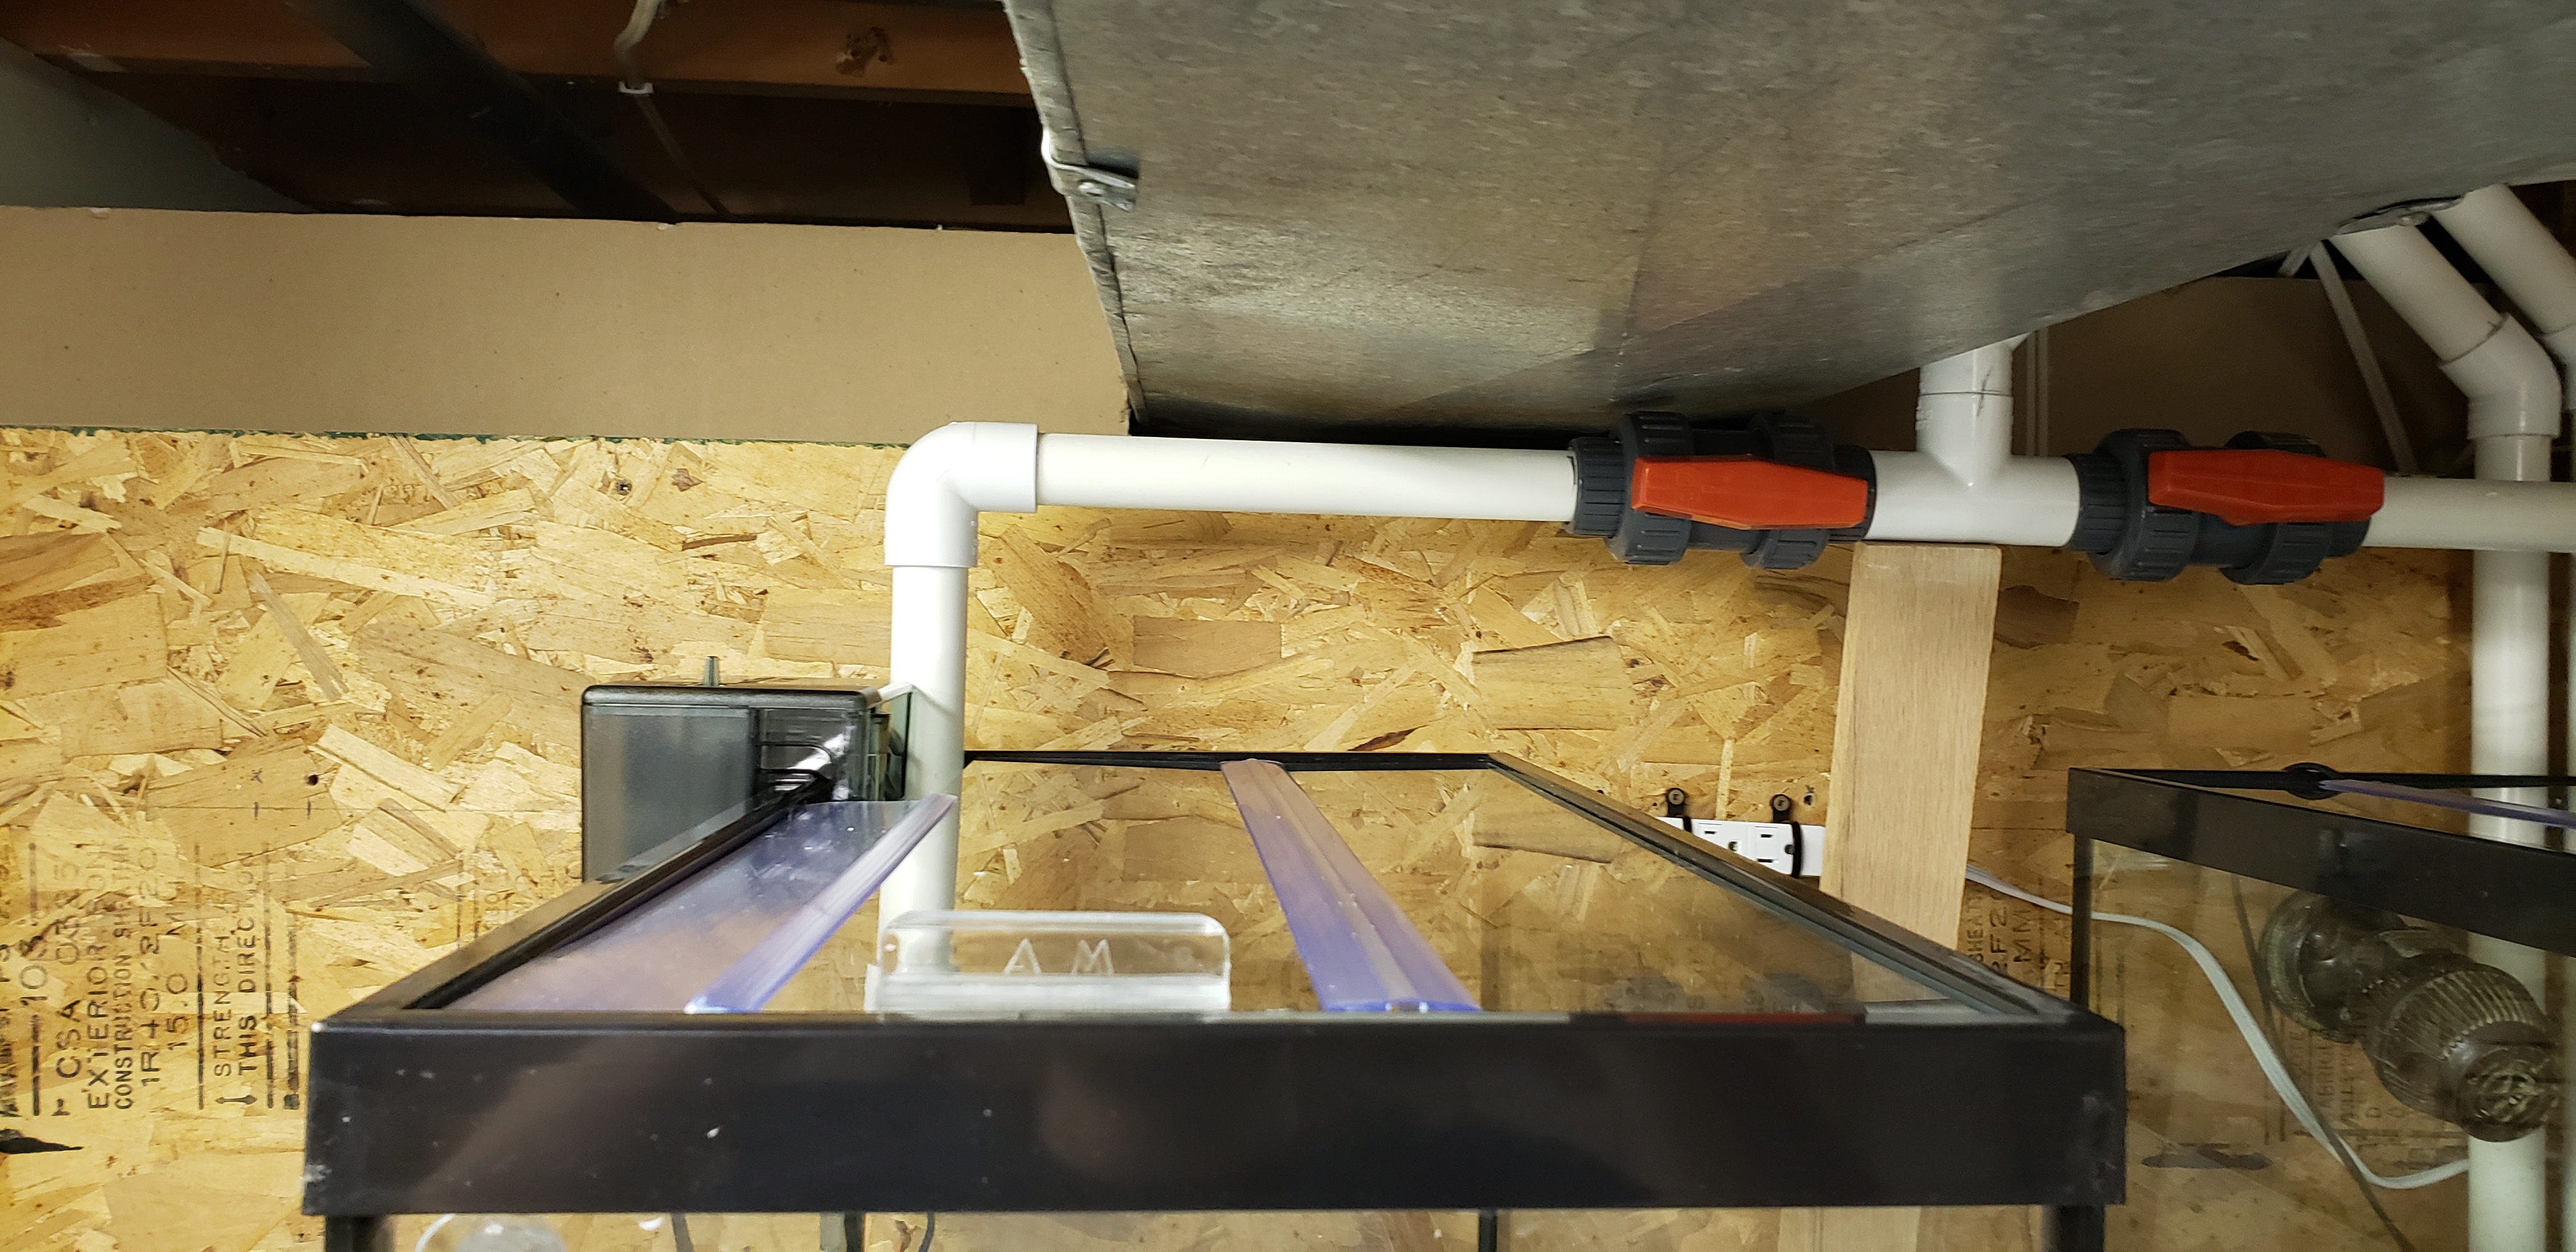
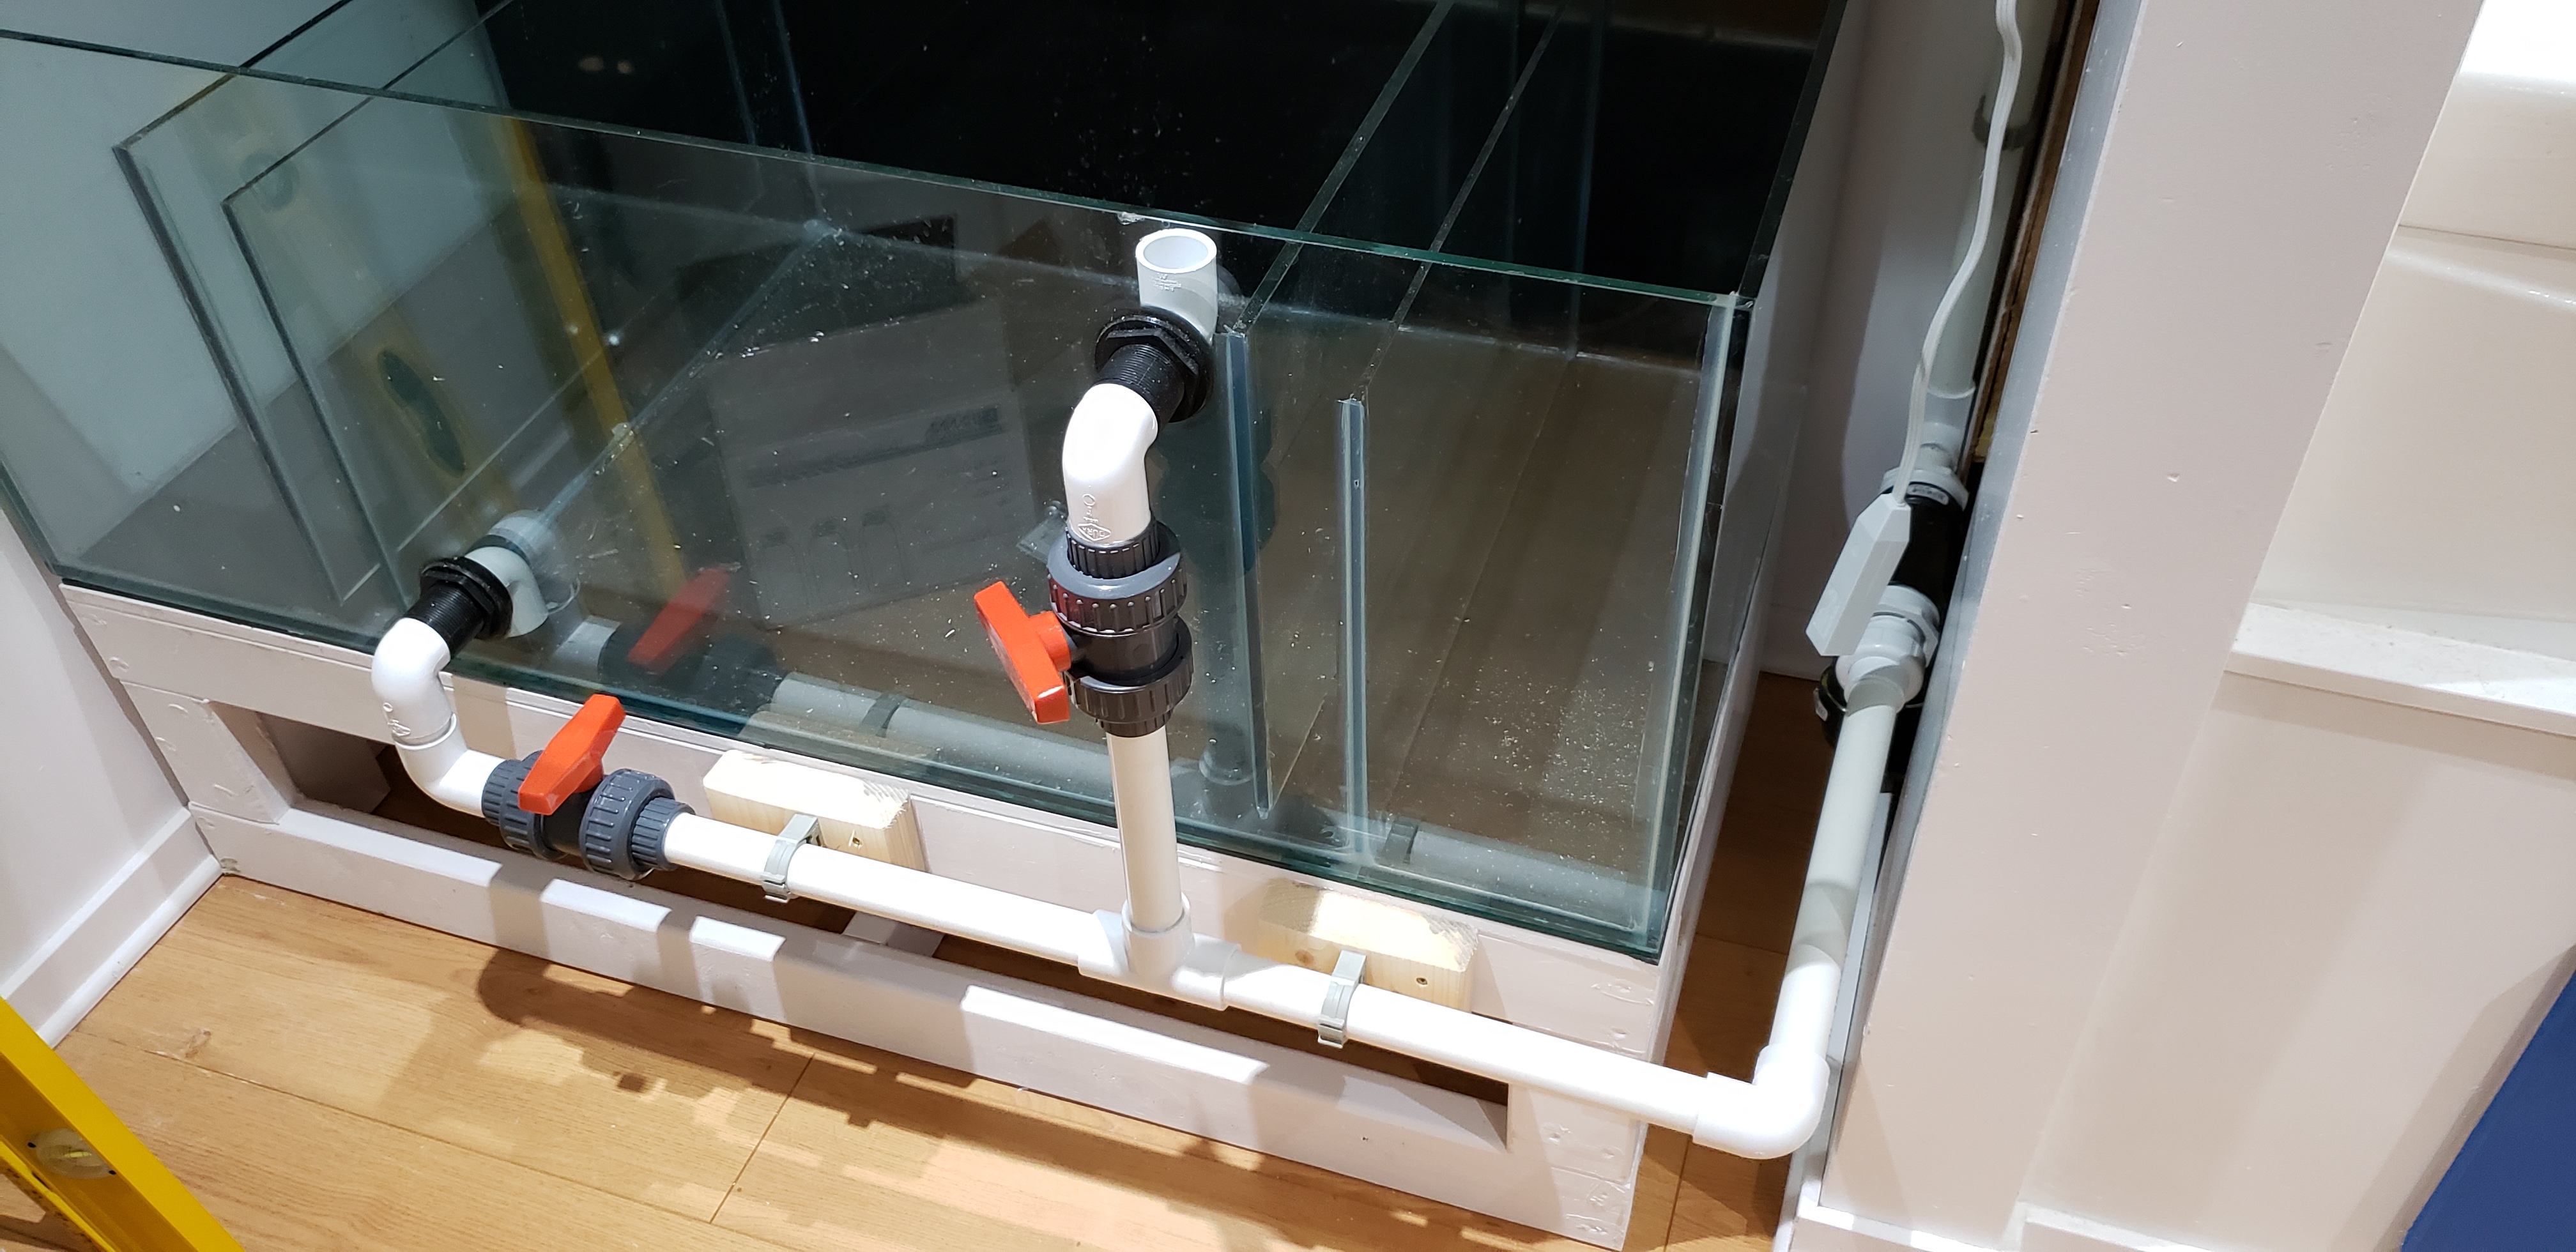
#'s 4 and 5 were not done. I spent more time on the ceiling plumbing than I thought, so it didn't get finished. I did do another couple of small things. I drilled some of the holes in my QT stand for the plumbing, as well as drilled the hole in the new 30g QT tank that I picked up this week, and glued in the unions for the true union ball valves on the bulkheads.

This is a pretty straightforward finish. Should not take very long.
I made a small error with the plumbing on the 30g, and I'm not willing to fix it by destroying a bulkhead and a $20 valve. I made the decision to put the valve behind the tank, rather than send a 90 elbow downwards, then put the valve, because I don't want to reach under that tank to open the valve every time. But I also didn't realise how little space I'd have to reach that valve. I'm tall, so it's not the end of the world, but I'm debating if I send the plumbing behind the stand, or if I turn the tank around and have it sticking out the front. That's to be decided next weekend though.
That's it for this week, but here's the plan for next weekend.
If the stars align, and I get all of that done, I estimate that we'll be 70% finished. Beyond that, we will have the following things to do to achieve 100% completion:
I'm probably forgetting some stuff, but when I lay it out, it doesn't seem so daunting.
Until next time, my friends.
- Finish the danged central vacuum once and for all.
- Finish attaching the RO lines to the unit, w/c bin and RODI holding tank above the sump.
- Run the pipes through the ceiling for the w/c bin to the main sump and to the QT area, as well as the QT drain line back the other way. This is the biggest priority.
- Plumb the drain manifold. My friend and I came up with a much more elegant solution than I had planned, which should make my life far easier than anticipated. I estimate this to not take too much time, and I may do this ahead of the ceiling plumbing.
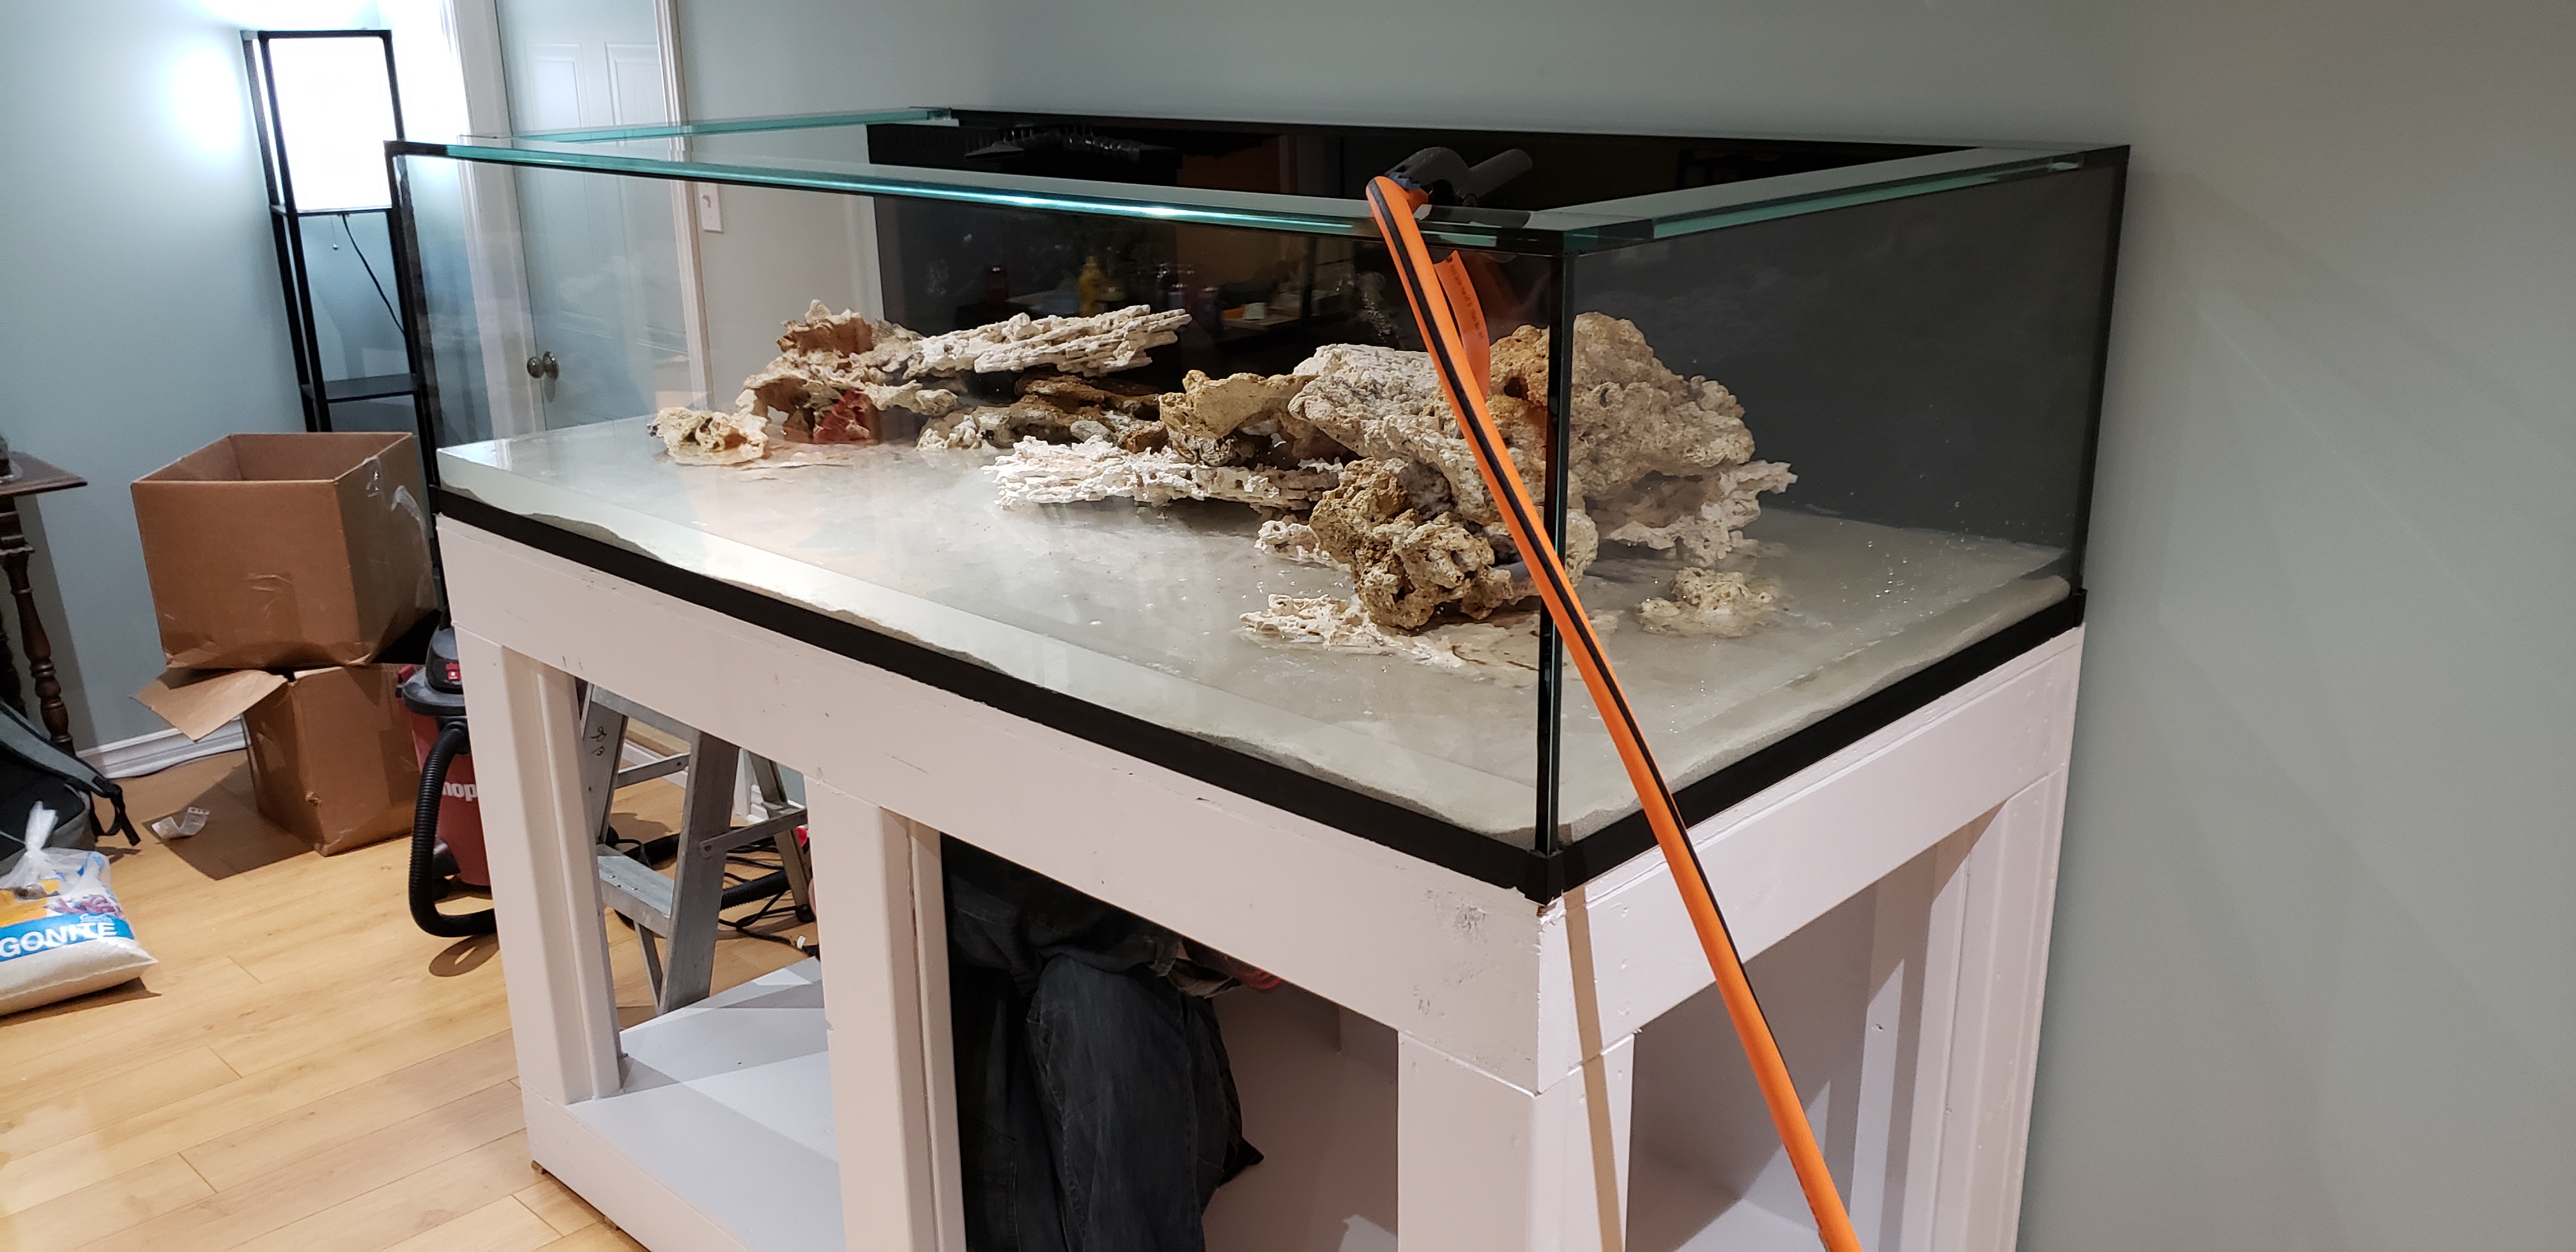
- I think next weekend the tank will finally go in its resting place. If I do this, I will finish the waterproof box for the outlet, and shim the tank to make it level.
No pictures of #1 but rest assured, it is finally done and tested. Works like a charm. My girlfriend is not entirely pleased with the 'industrial' look of it, as this last outlet is outside of the wall, but given my limited options this was what was available to me. In the future when we re-do the basement, I'll make it nicer. For now, it's functional.
#2 is done for all intents and purposes. The unit itself is completely plumbed, and attached to all relevant lines. I've added in the DI to my new refillable canister, and put a new membrane in it. The only thing that's missing is attaching the fill lines to the RODI holding tank above my sump and the W/C bin, as well as the drain line. I've yet to do the fill lines final attachment because I'm still moving those two things around a bit, and the drain line will wait for the drain manifold.
I did also complete the emergency overflow on the W/C bin. I used a Uniseal for the first time ever, and hopefully they work as advertised. If it doesn't, I have an industrial reverse threaded bulkhead which I'll put in its place.
I wish the emergency overflow wasn't exposed like that, but unfortunately, the ABS drain is not really accessible for this sink. And while it's not strictly necessary, I have a finished basement with no floor drains, so I can't risk a flood. Everything fails eventually.
#3 was the big project this weekend, which I'm happy to report was completed in full. I've run and glued all the necessary plumbing in the suspended ceiling, as well as fixed everything in place with clamps. I've left myself access to the outlets for all of the areas it needs to go, but I stopped short of running anything down from the ceiling. It's not pretty everywhere, but sadly there were obstacles I didn't foresee causing issues, so there's some interesting avoidance with 90 and 45 elbows in some places. Also, gluing everything at the correct angles even with marks is difficult when your head is in the ceiling.
That's the first glued joint on the whole project. Success.
That's the outlet which fills the sump from the w/c bin, and the drain line from the QT area. The 90-90-tee jog you see on the left is because I discovered that about 6 feet to the left of this photo, there's an added piece of 2x4 on the joist which they used to support the central vacuum tubing at some point, which is invisible unless seen from the perfect angle. My suspended ceiling is done in such a way that I couldn't get in there to remove the 2x4, so I had to work around it.
This is from the W/C bin going over the central air ducting to the sump. Because there's already the central vacuum tubing, I had to do some interesting angles to fit it through the X-bracing between the floor joists.
#'s 4 and 5 were not done. I spent more time on the ceiling plumbing than I thought, so it didn't get finished. I did do another couple of small things. I drilled some of the holes in my QT stand for the plumbing, as well as drilled the hole in the new 30g QT tank that I picked up this week, and glued in the unions for the true union ball valves on the bulkheads.
This is a pretty straightforward finish. Should not take very long.
I made a small error with the plumbing on the 30g, and I'm not willing to fix it by destroying a bulkhead and a $20 valve. I made the decision to put the valve behind the tank, rather than send a 90 elbow downwards, then put the valve, because I don't want to reach under that tank to open the valve every time. But I also didn't realise how little space I'd have to reach that valve. I'm tall, so it's not the end of the world, but I'm debating if I send the plumbing behind the stand, or if I turn the tank around and have it sticking out the front. That's to be decided next weekend though.
That's it for this week, but here's the plan for next weekend.
- Now that I've started the plumbing for the QT, my intention is to finish it, with all the drains, returns, and put the electrical in place. I'll also have to shim the stand, and fix it to the OSB wall behind it so it doesn't rack.
- I will connect the ceiling plumbing to the w/c bin, and the RODI line to the w/c bin float valve. I will probably also at this time jig out the lid to accommodate the line coming from the ceiling into the bin, and fix the plumbing from the sump pump in there. And if I get that far, I'll finish this aspect and get the electrical done here.
- The drain manifold will get done next weekend. This necessitates me fixing the sump in place, which means I have to shim the sump to make sure it's level. Once that's in place, I can connect up the RODI holding tank above the sump to the drain (for the emergency overflow), as well as the QT drain line to the manifold, and get the RODI waste water line done up. Of course, I will also connect the main and emergency drains from the sump to it.
- If all that gets done, I will put the display tank into its final position and shim it. This also requires me jigging out the hole in the back of the stand for the plumbing going from the sump side of the wall to under the display, as well as making the hole for the wiring grommit that we'll pass the ATI wires through, and the hole for the waterproof box.
If the stars align, and I get all of that done, I estimate that we'll be 70% finished. Beyond that, we will have the following things to do to achieve 100% completion:
- Plumb the main return line, reactor manifold (which for now will have only the Clarisea and a bypass on it) and display tank drain lines.
- Fill QT tanks with saltwater and run them in order to receive my current fish for re-QTing them.
- Run all the electrical for the main sump.
- Hang the light fixture.
- Acid and bleach the rock from my current tanks.
- Water test the tank.
- Install MP40s.
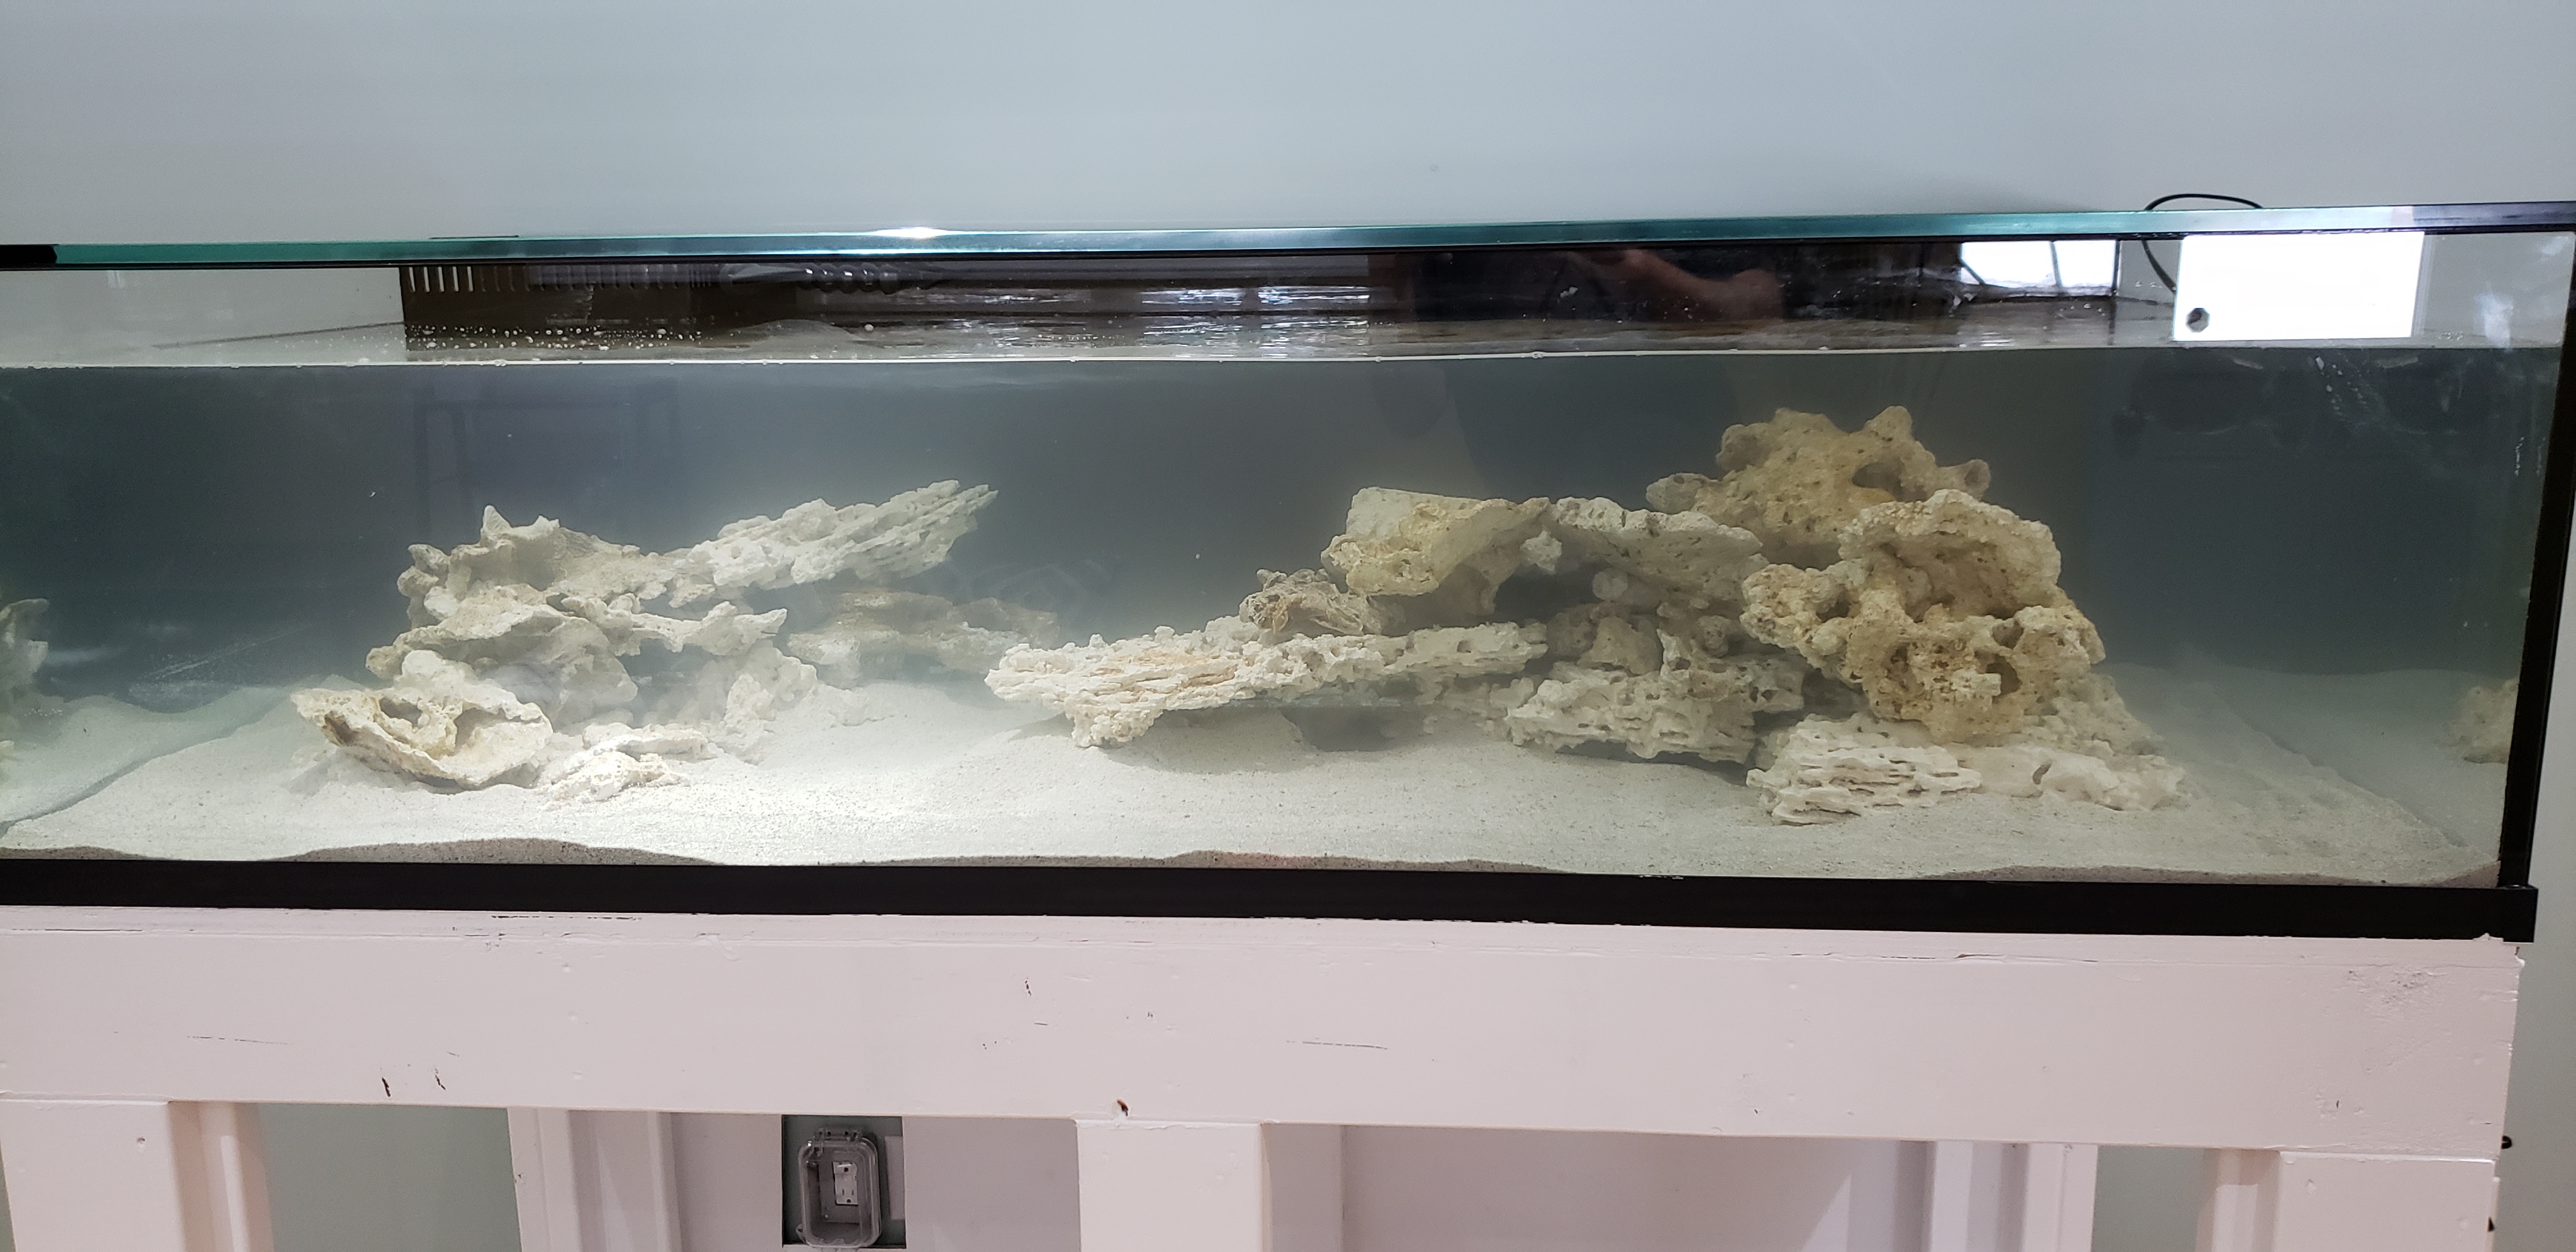
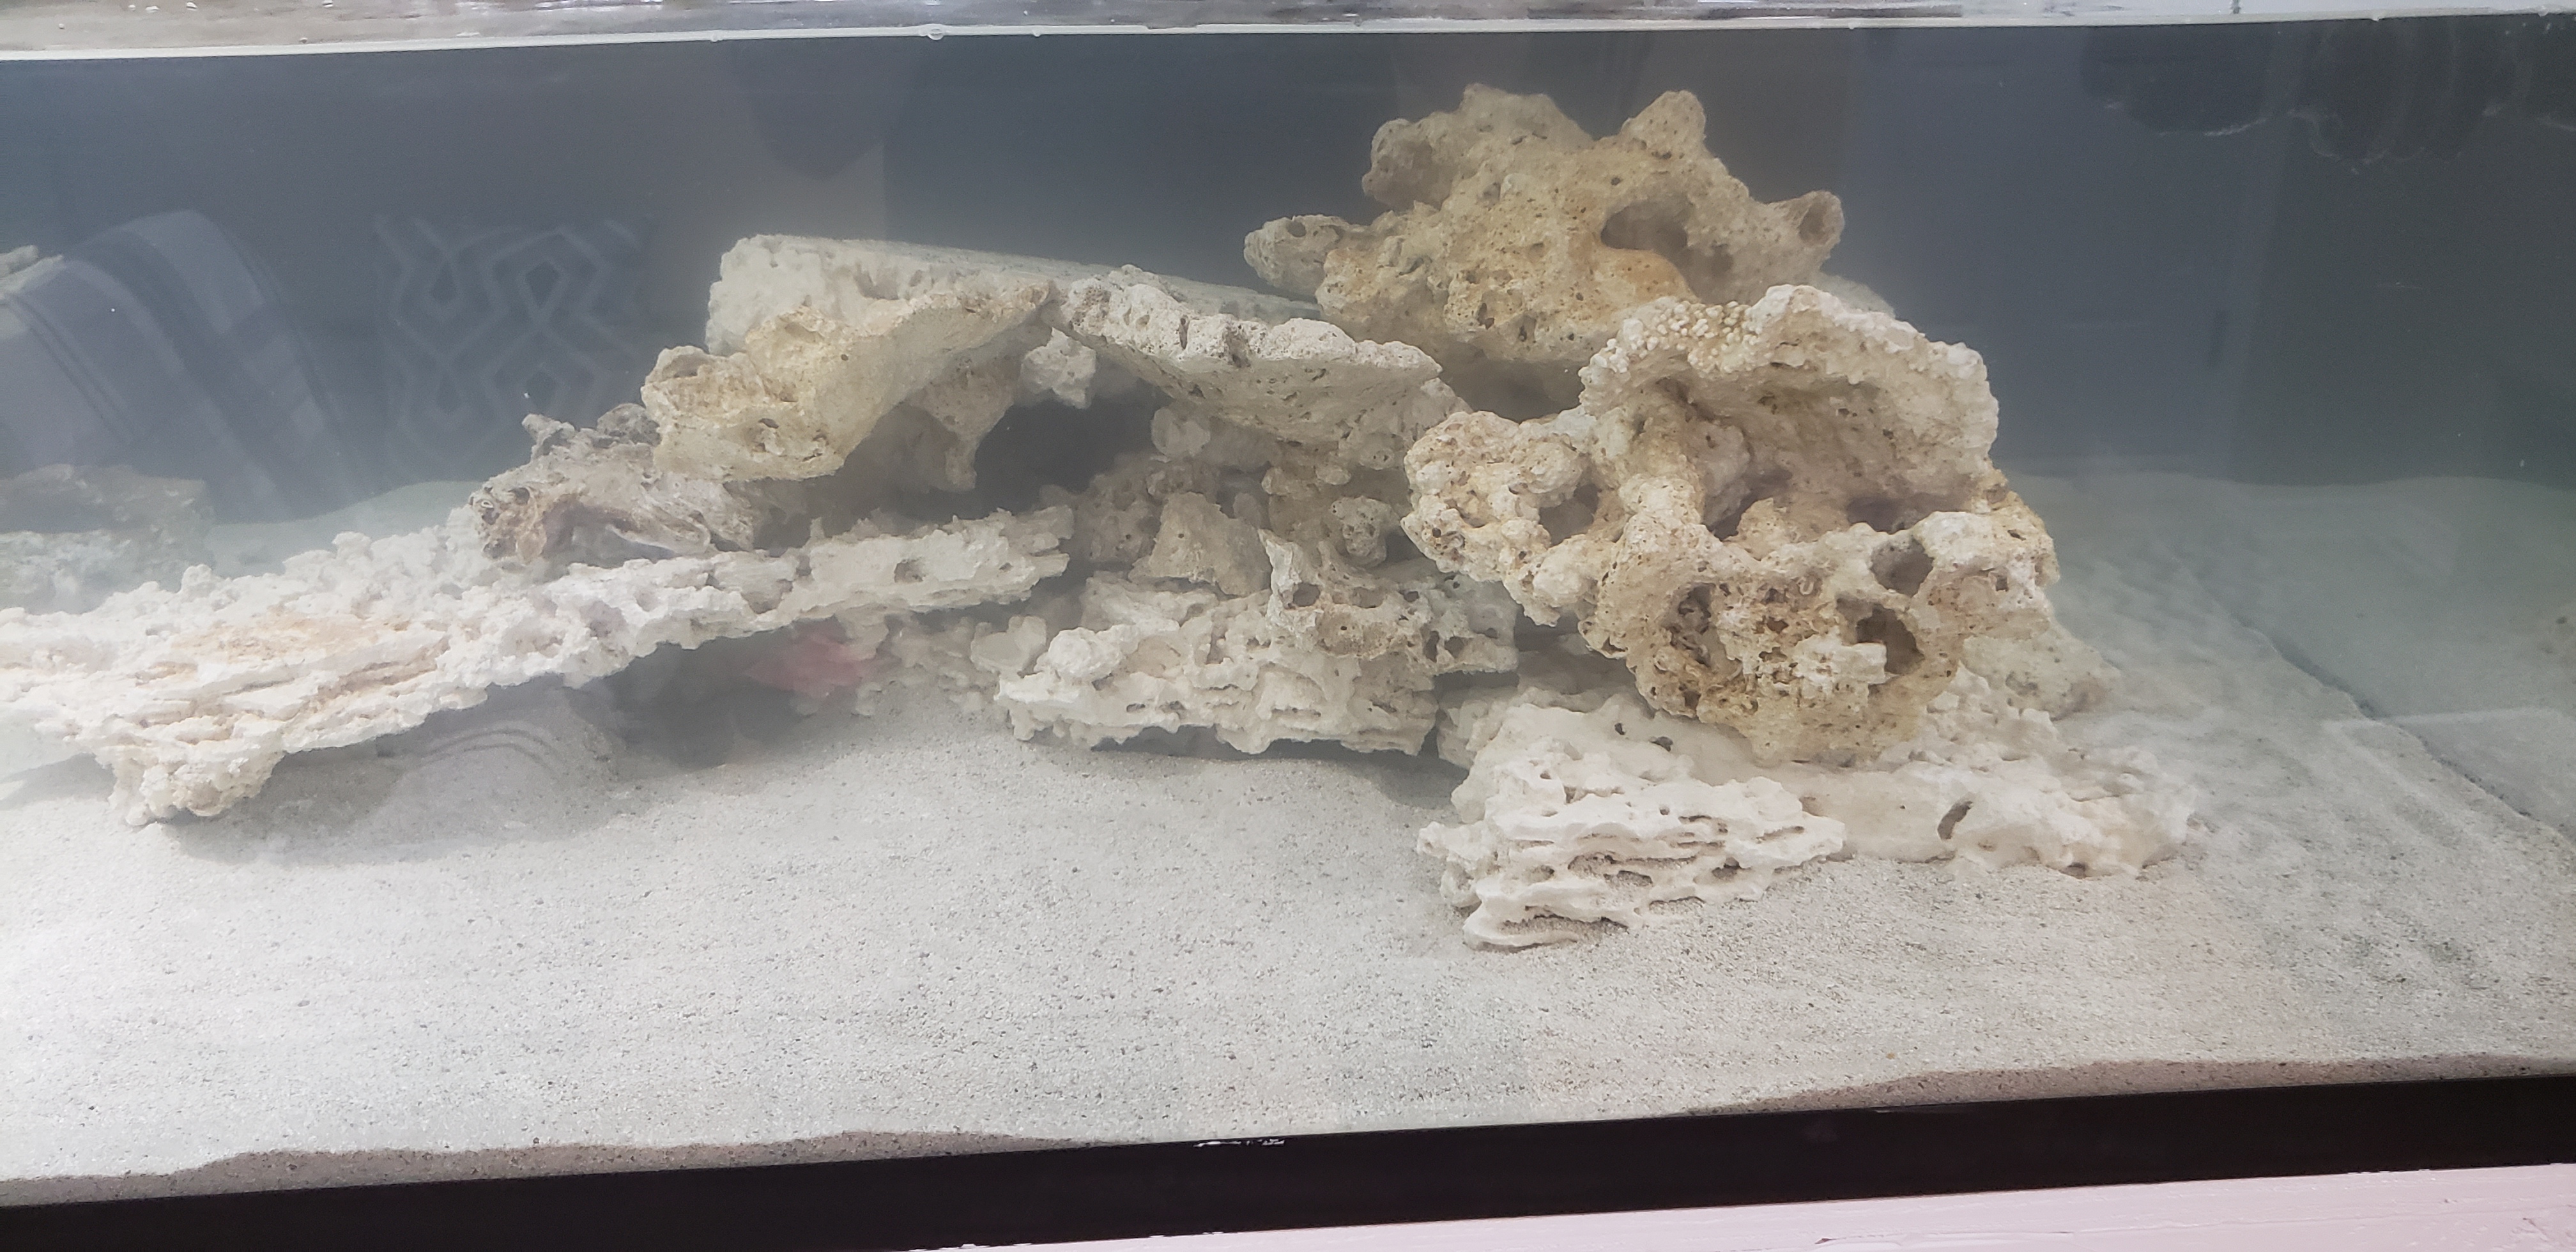
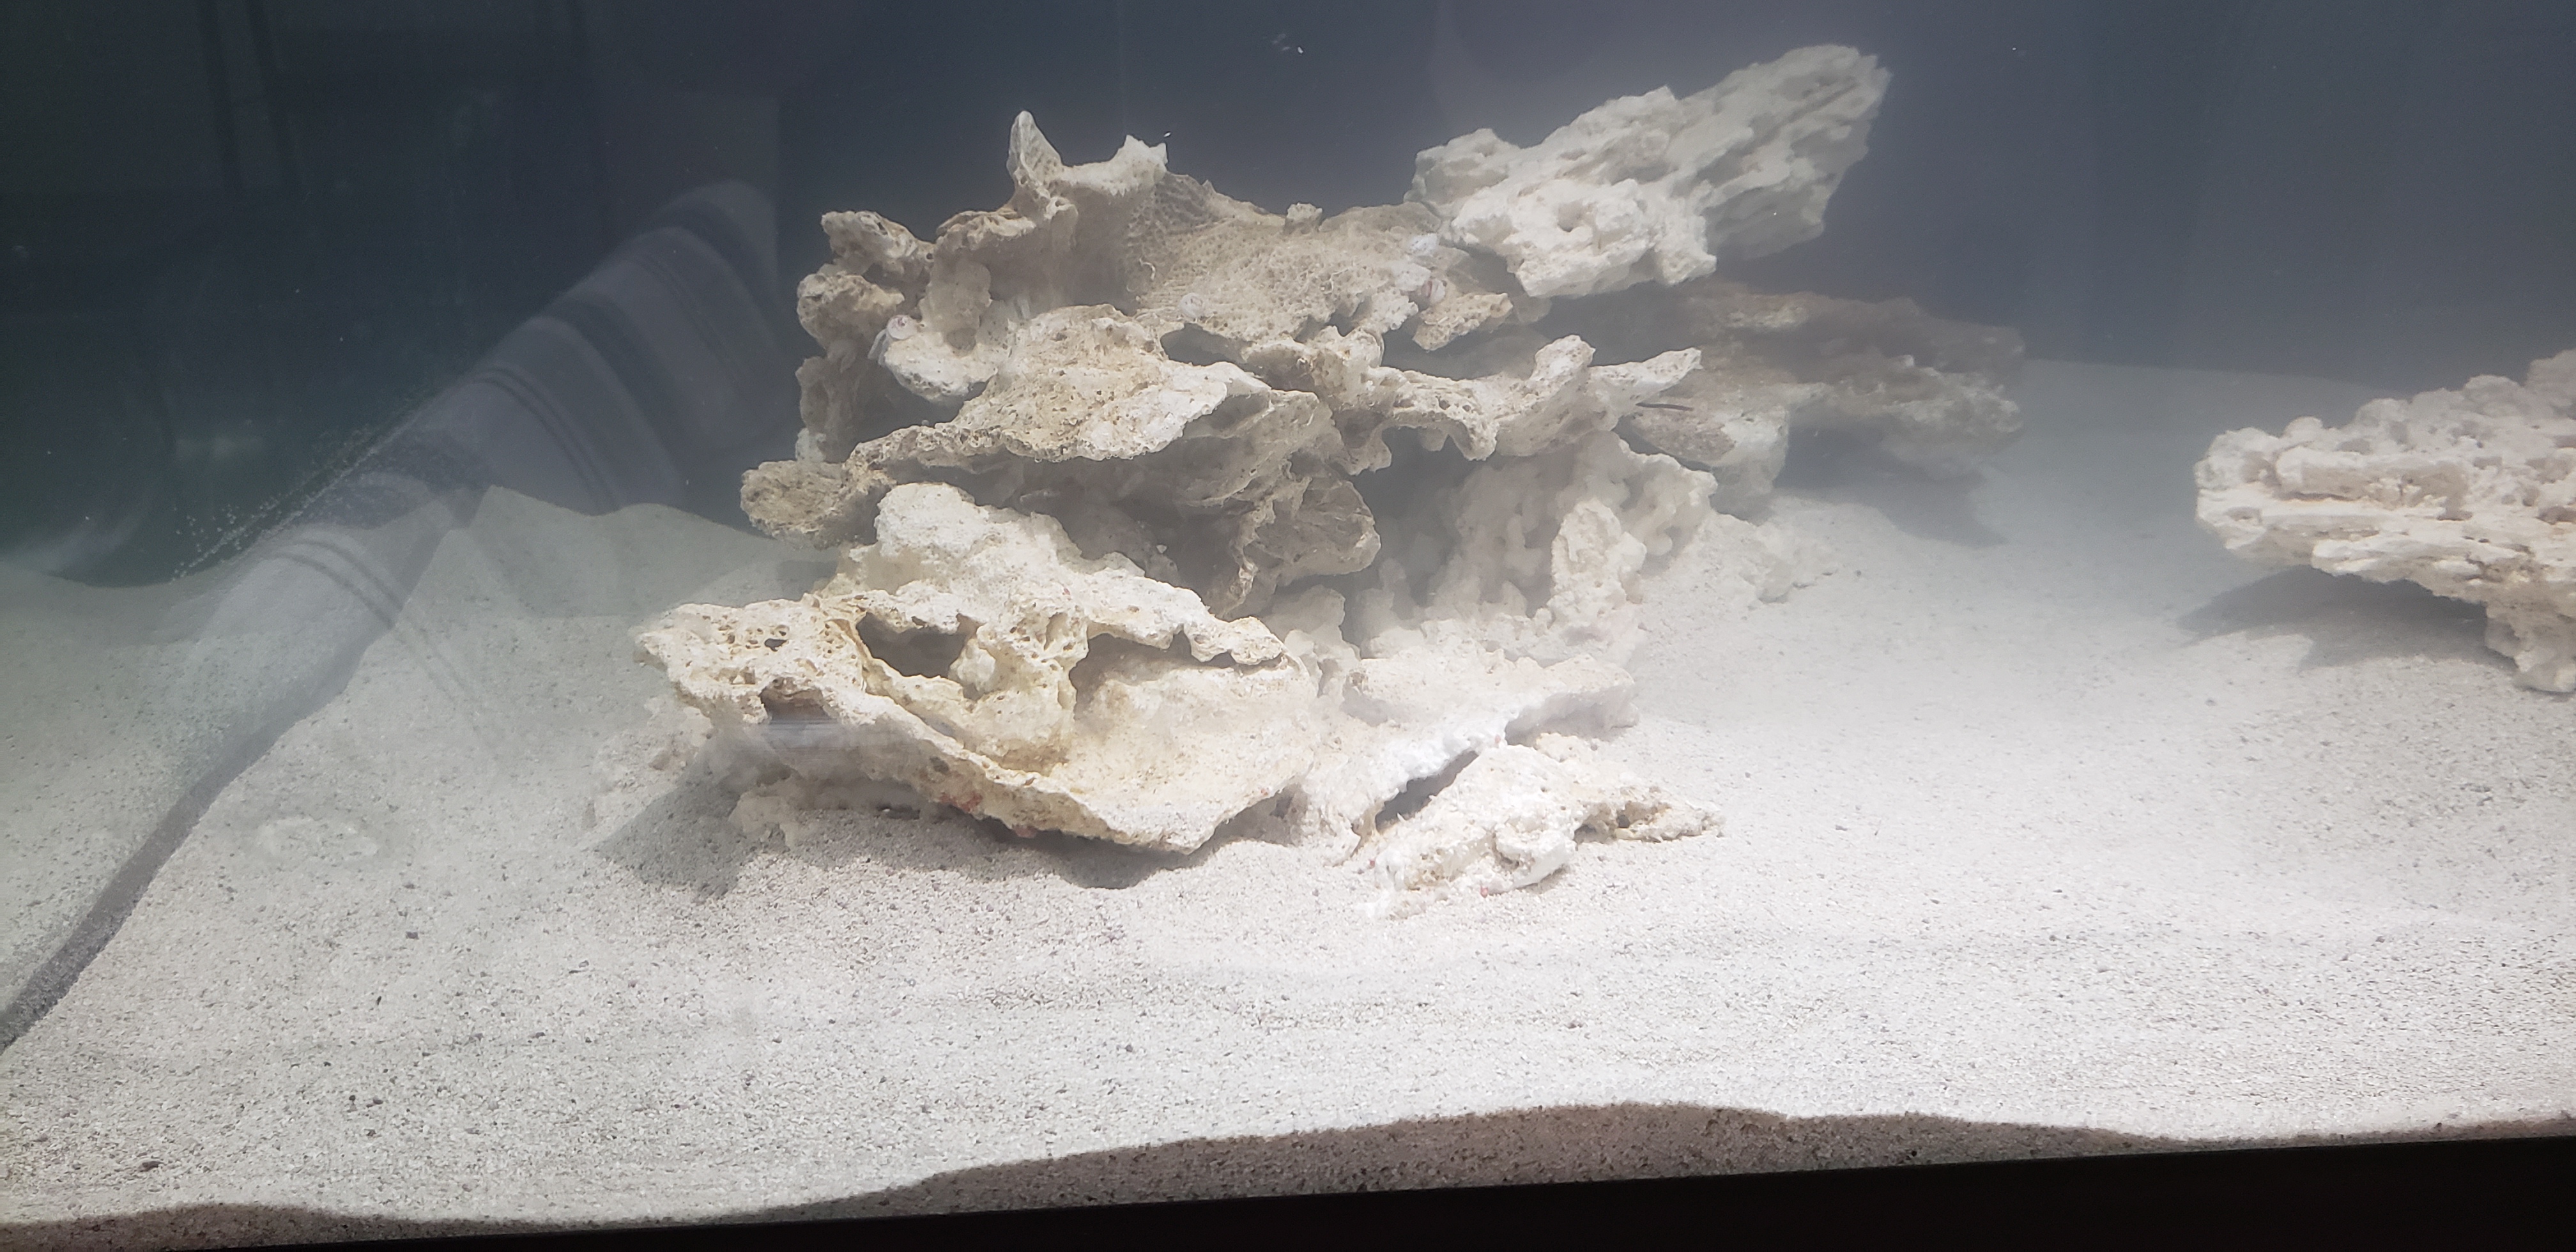
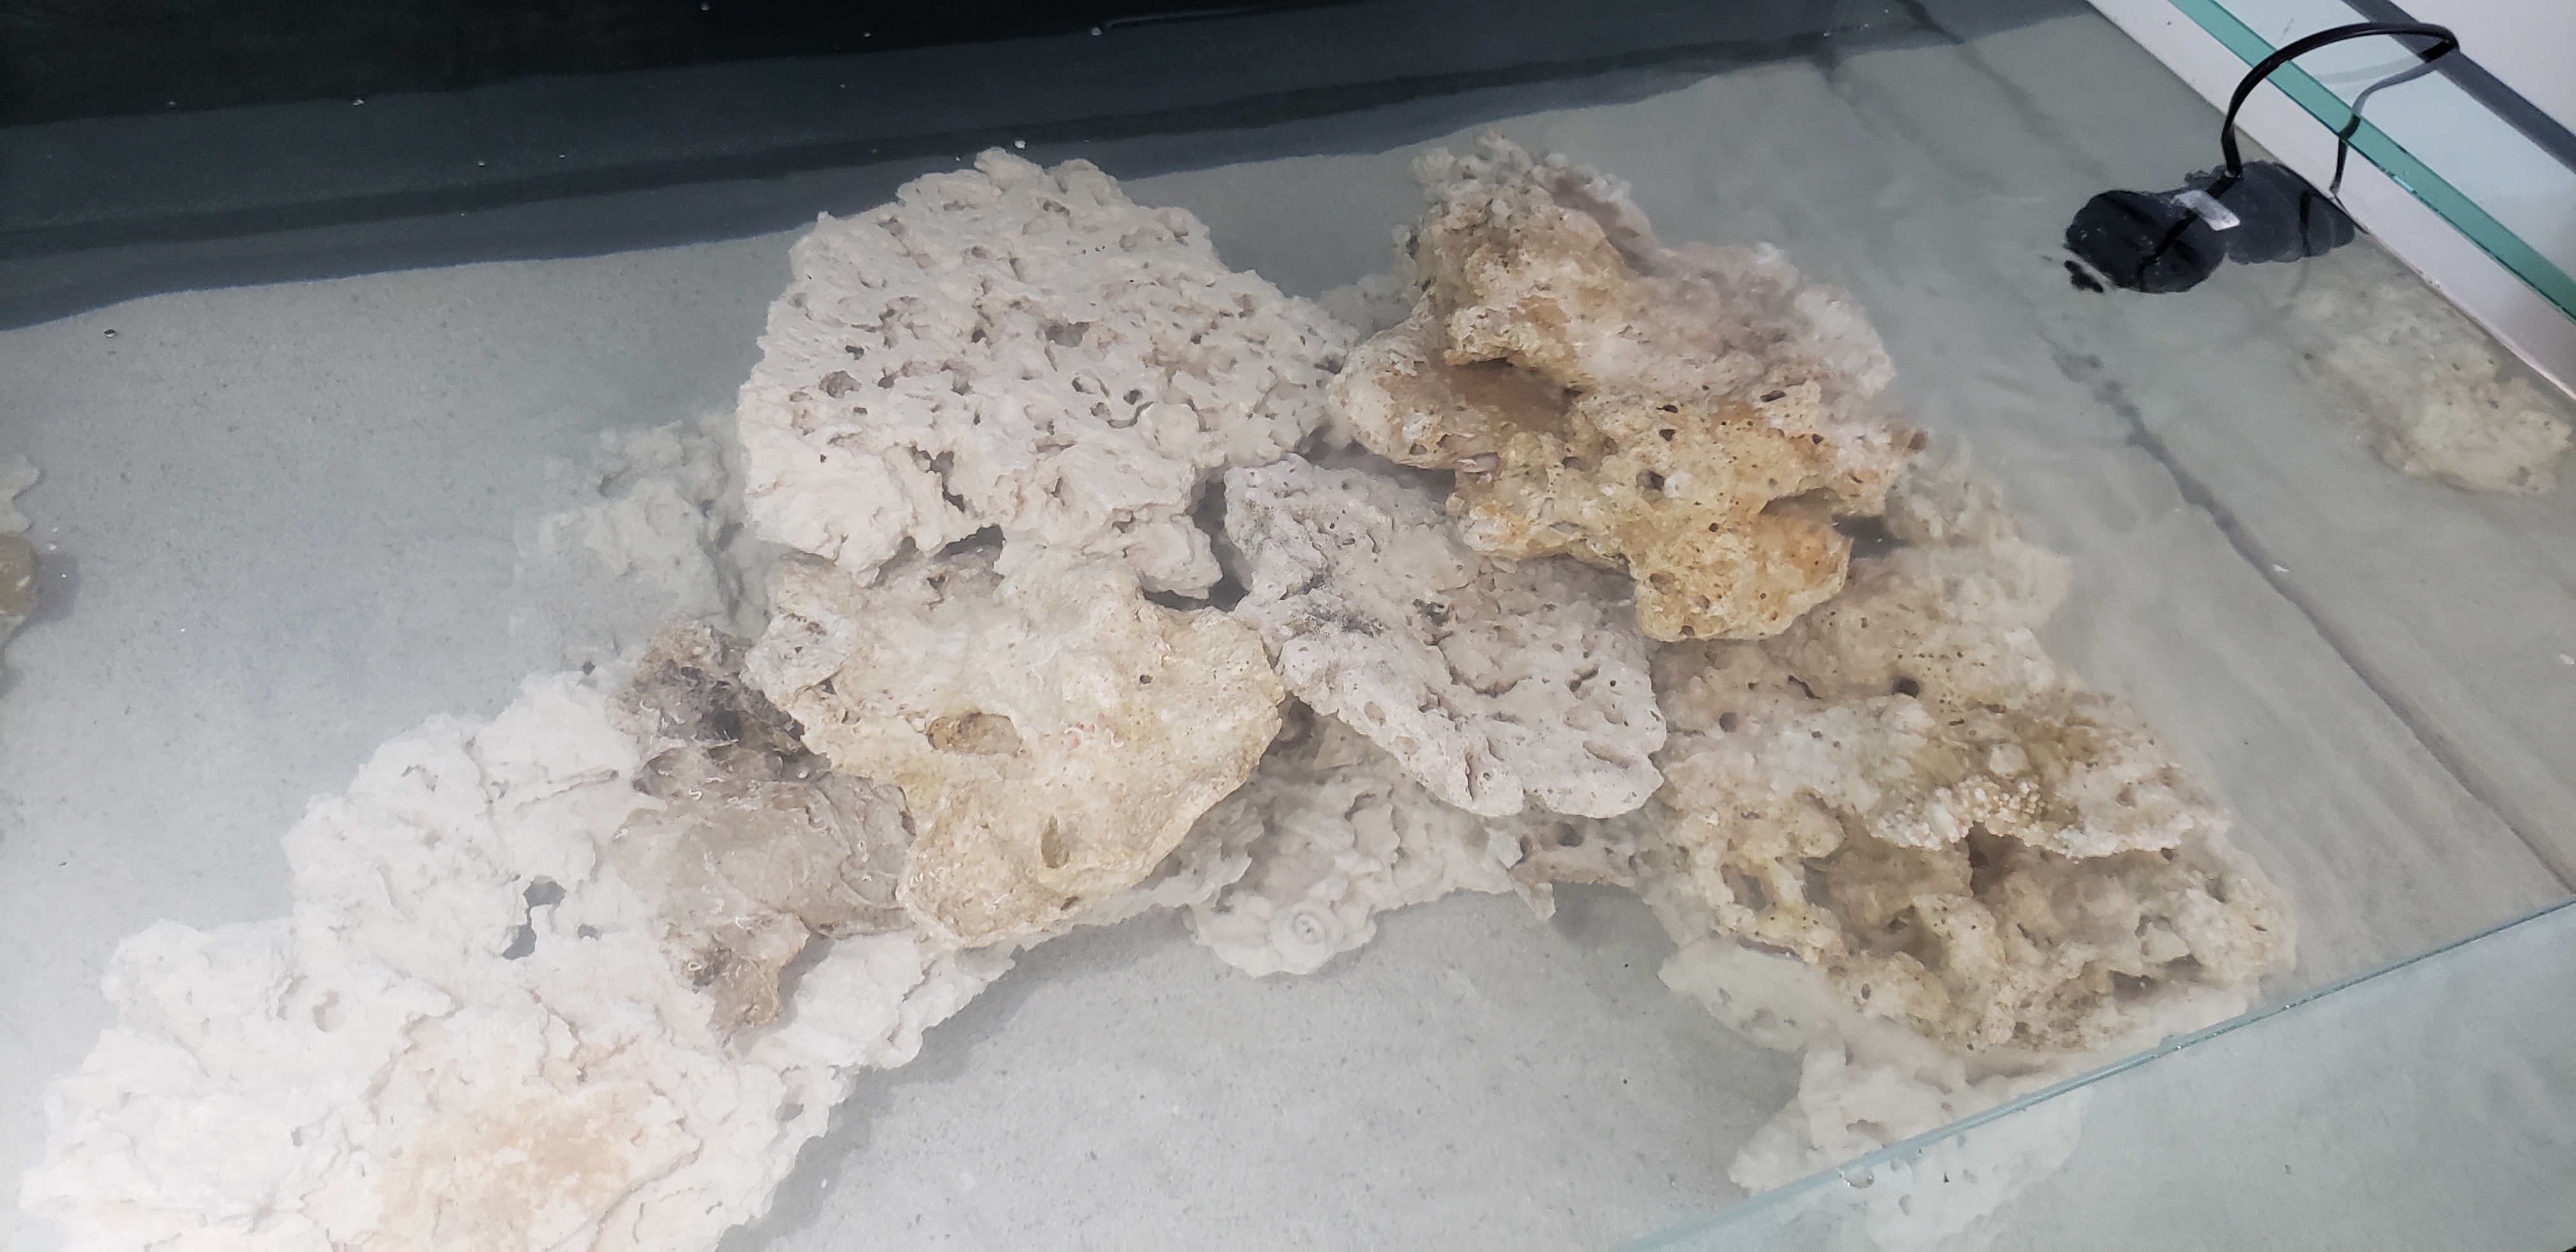
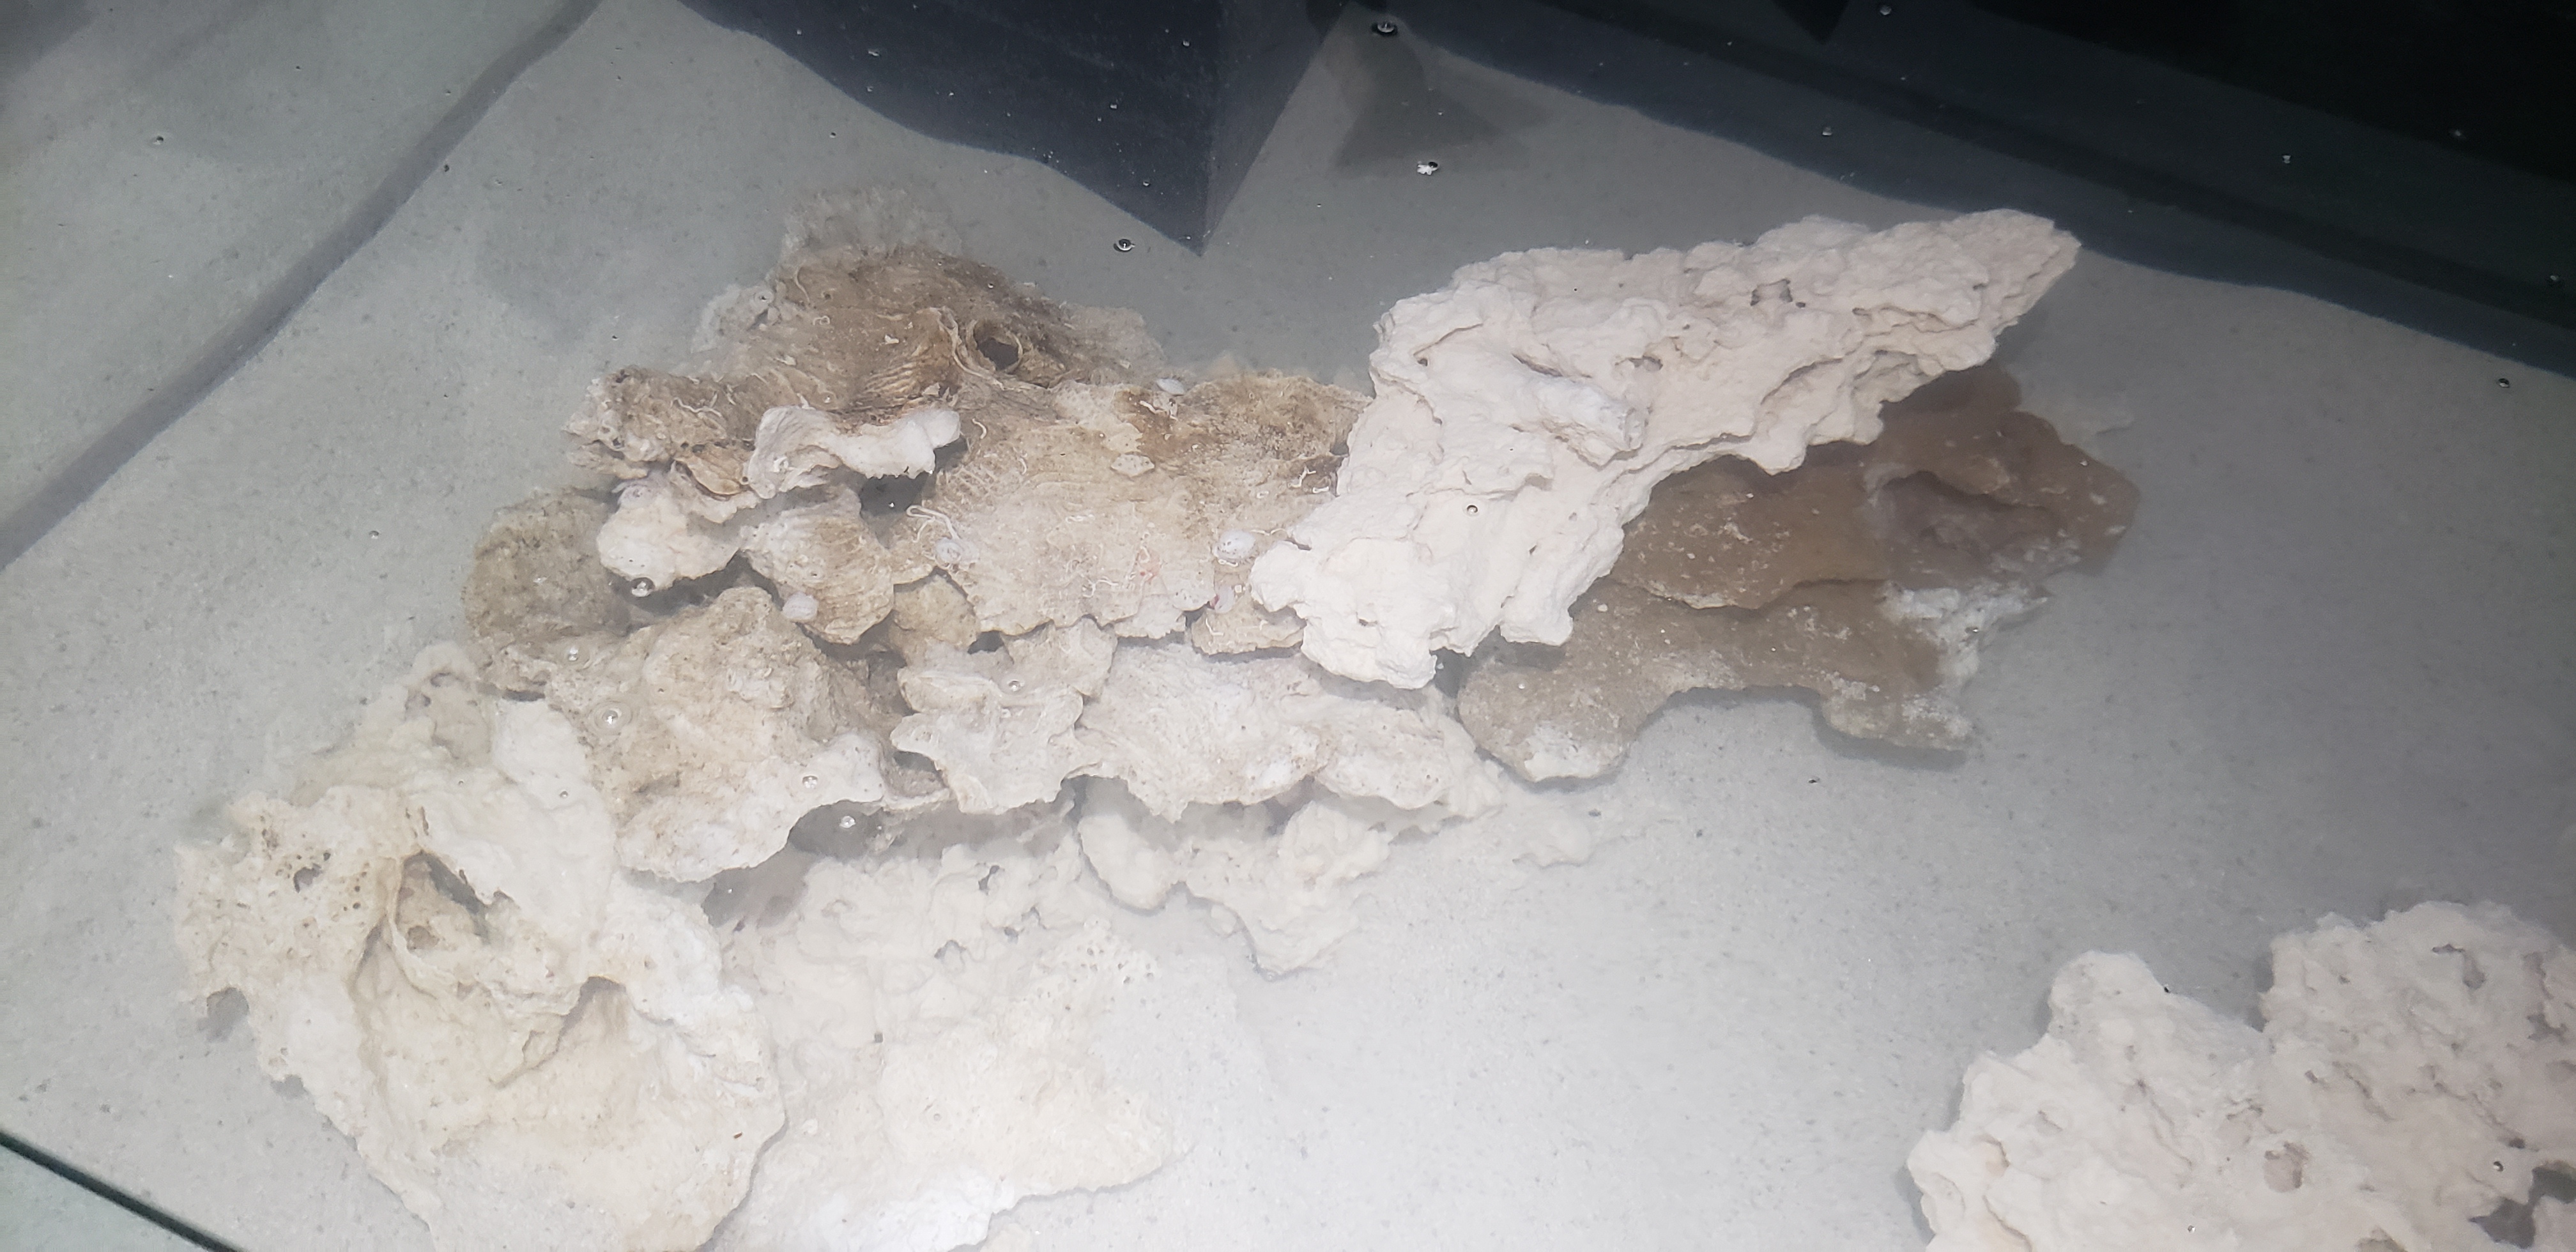
- Scape the tank.
- Fill the tank.
- Build and install the mesh top for the tank.
- Put the facing on the stand (But I don't expect this to happen until the fall, at earliest. My cabinet maker friend is getting married at the end of August, so he won't have time until at least October, I think).
I'm probably forgetting some stuff, but when I lay it out, it doesn't seem so daunting.
Until next time, my friends.


")


