- Joined
- Nov 27, 2019
- Messages
- 145
- Reaction score
- 108
Such GREAT information in this thread! I'm so excited to start this project. Two questions....
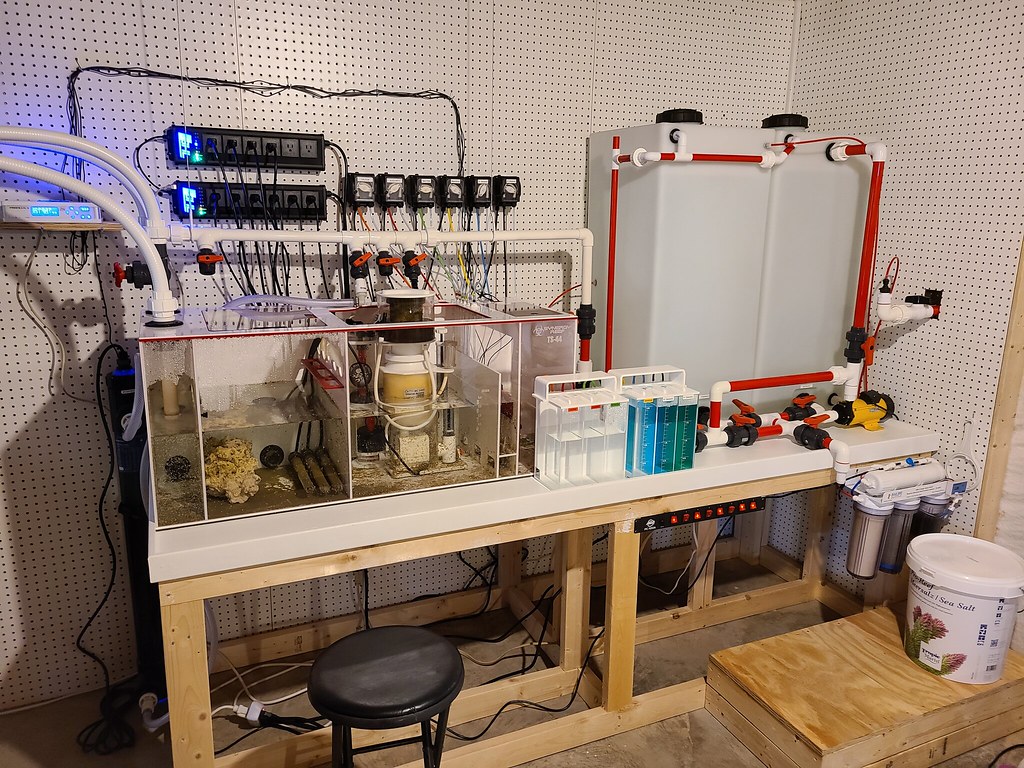
1. Where the plumbing goes into the top of the SW container, what do you do with that on the inside of the tank? Just a few inches of pipe and it shoots onto the top of the water? Plumb it down to the bottom so it stirs up the bottom? Does that question make sense?
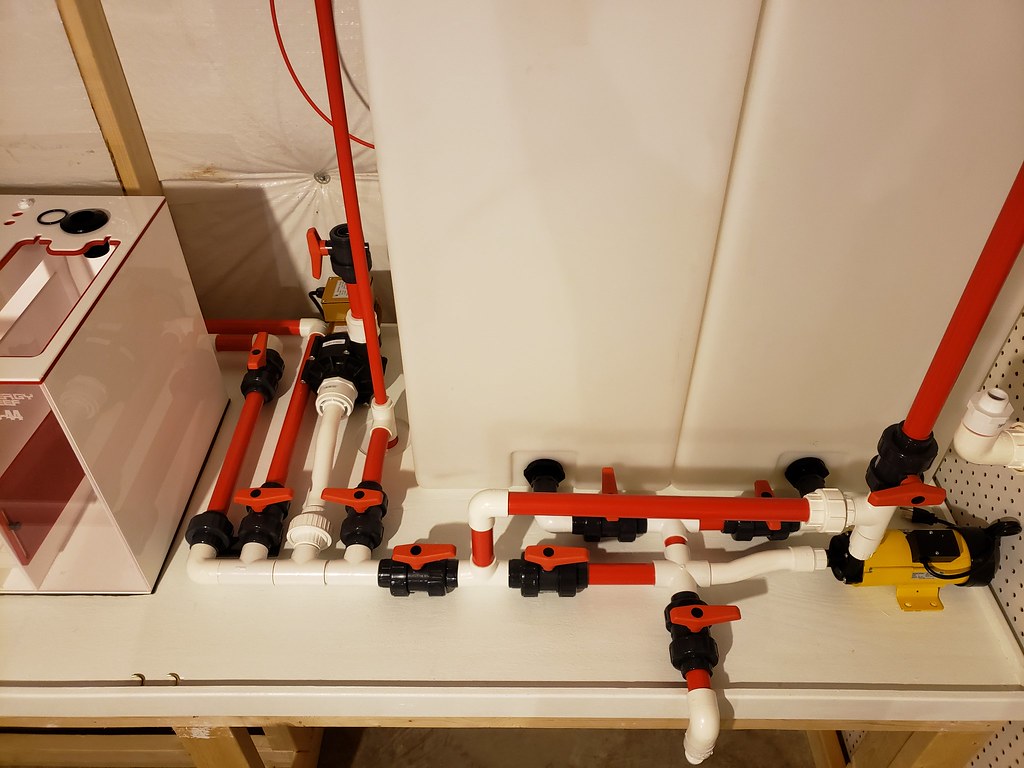
2. What is the recommended brand of ball valves? And, I've read through this entire thread, and I can't quickly find it again, but I think I saw that you needed 4 of one type of valve and two of a different type?
Thank you!
1. Where the plumbing goes into the top of the SW container, what do you do with that on the inside of the tank? Just a few inches of pipe and it shoots onto the top of the water? Plumb it down to the bottom so it stirs up the bottom? Does that question make sense?
2. What is the recommended brand of ball valves? And, I've read through this entire thread, and I can't quickly find it again, but I think I saw that you needed 4 of one type of valve and two of a different type?
Thank you!


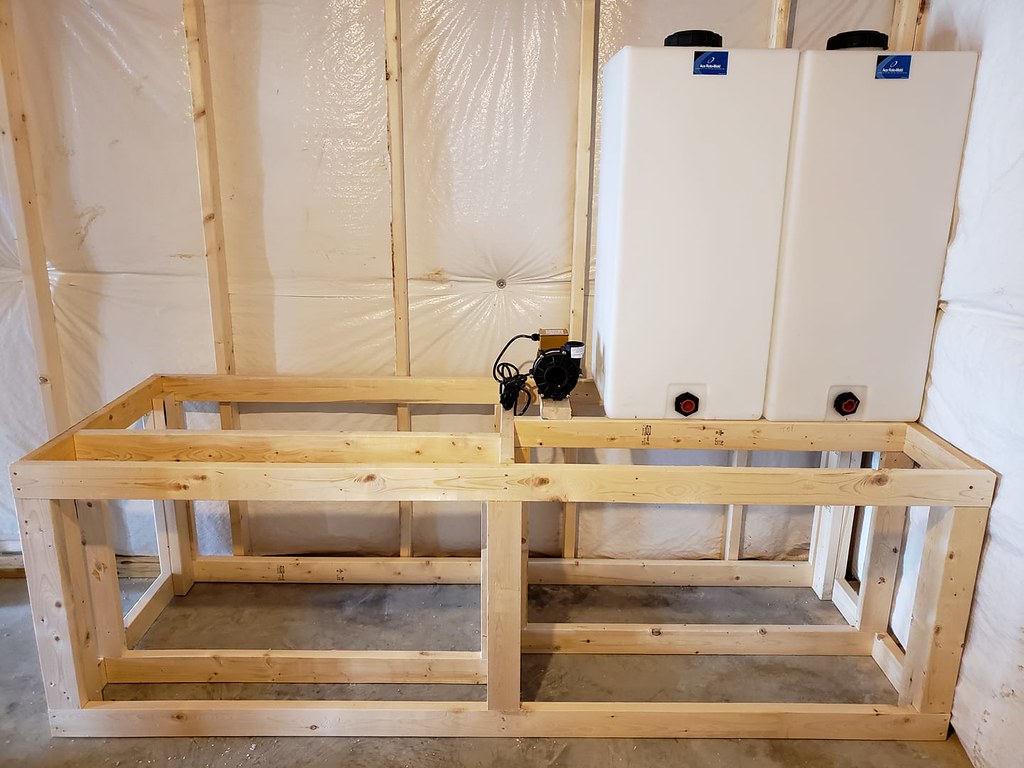
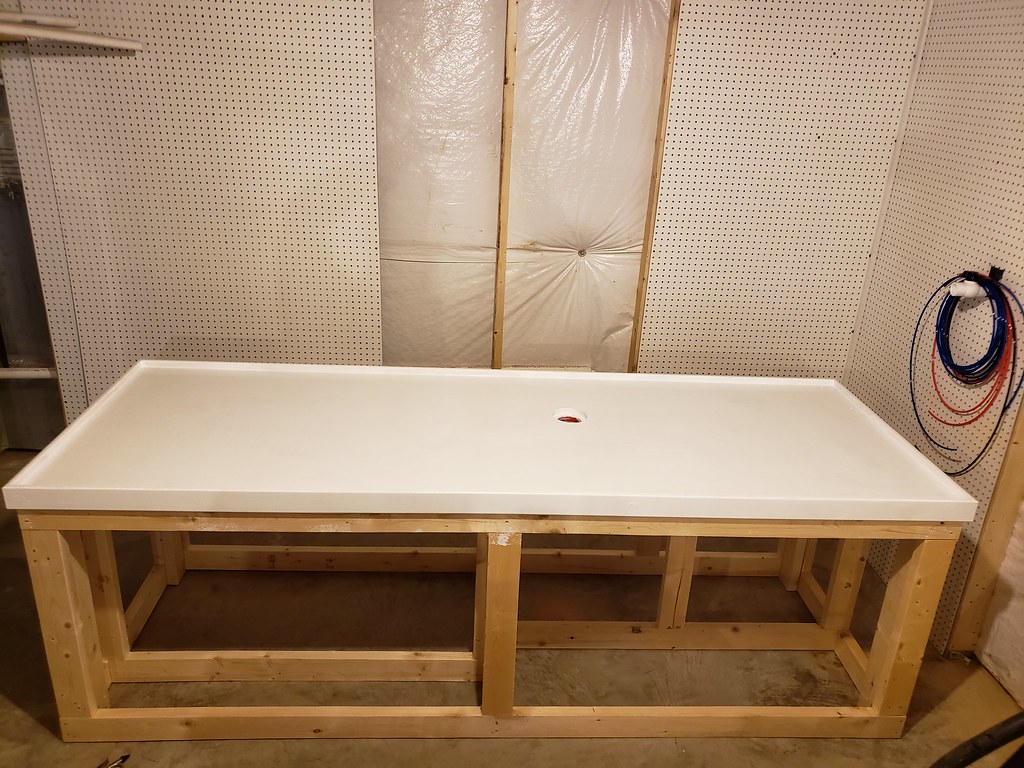
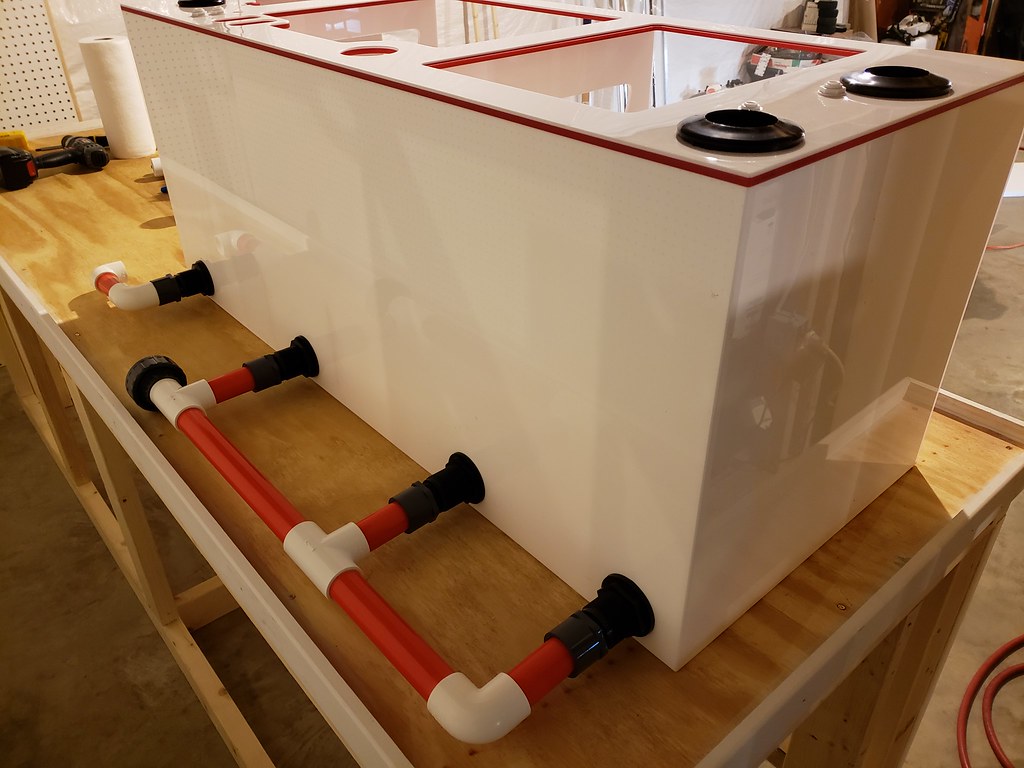
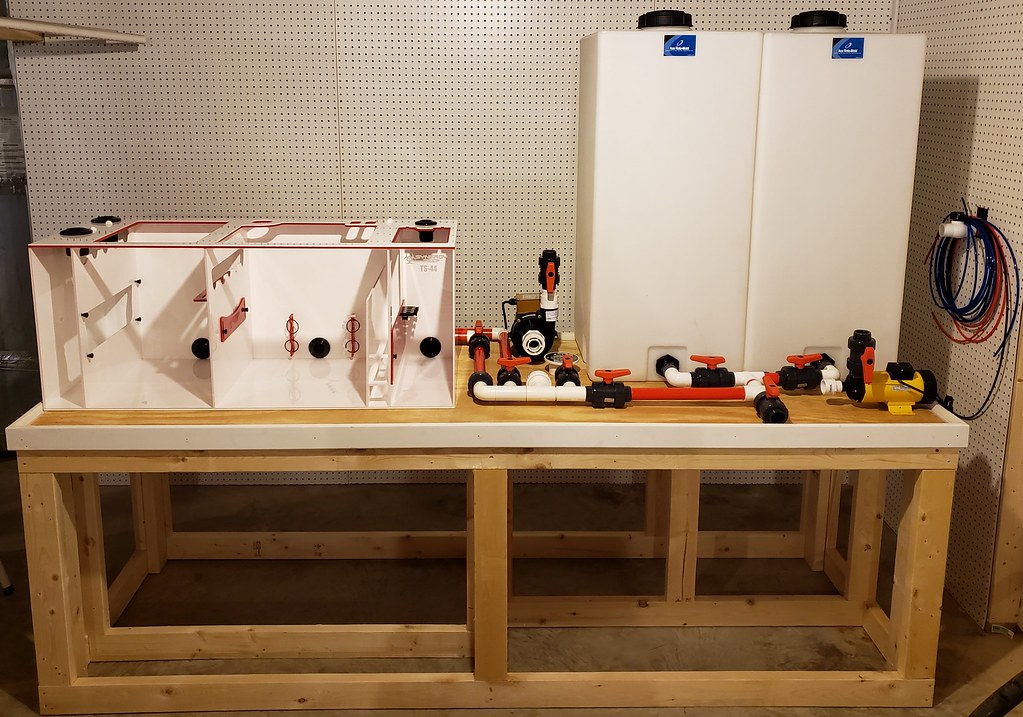
") I worked really hard on it to make it as clean and nice of a setup as possible. I also plumped the inside of the saltwater container to actually stur the saltwater as well. Pipe comes in the side... 90 degree elbow down to the bottom...T's off to both sides...elbow on each side facing opposite directions. Keeps kind of like a tornado effect in the container. Works really really well at keeping the salt from collecting at the bottom
I worked really hard on it to make it as clean and nice of a setup as possible. I also plumped the inside of the saltwater container to actually stur the saltwater as well. Pipe comes in the side... 90 degree elbow down to the bottom...T's off to both sides...elbow on each side facing opposite directions. Keeps kind of like a tornado effect in the container. Works really really well at keeping the salt from collecting at the bottom