With them ontop of each other and being closed off, I'm not sure.
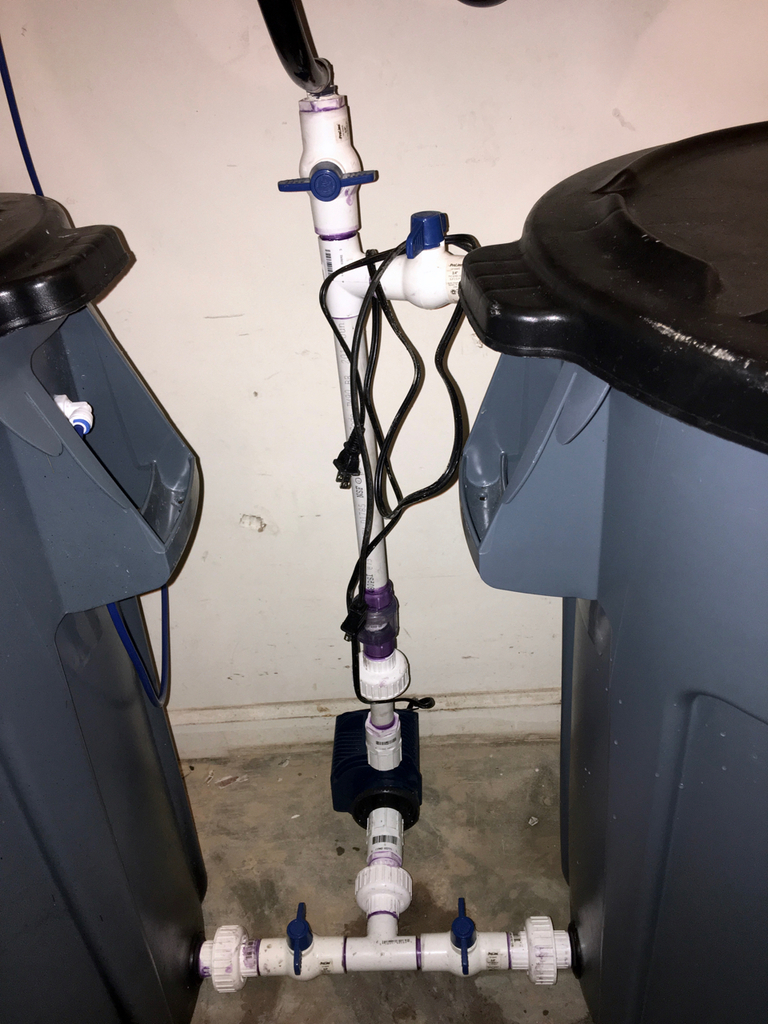
perhaps put another T with a ball valve, below B and above C. Slowly add water butt you add salt so it washes into the container? Not sure how this would work in practice, but sounds good in theory.
perhaps put another T with a ball valve, below B and above C. Slowly add water butt you add salt so it washes into the container? Not sure how this would work in practice, but sounds good in theory.