- Joined
- Nov 14, 2019
- Messages
- 195
- Reaction score
- 202
New build topic even though the DT is far from finished.. Ive been having some fun with the nano frag tank upstairs, collecting zoa's and making frag racks. I have a little workshop with my brother where we have a couple of lasers, 3d printers and since a few months a big CNC.
Now the frag tank is getting full and i cant find any second hand shallow frag tanks, but i do have a cnc and some scratched 10mm acrylic though... so i guess we're building a custom frag tank. No experience in tank building so this should be fun ;Happy Did make some cool acrylics pieces in the past so ill show them off instead.
This is the current situation, waterbox mini peninsula on a floating audio rack (bit sketchy but looks cool), reefled 90, kore 5th, ato, 9001 skimmer and some jeboa pumps


And the idea for the new tank. Need more space for frags, but dont need the height so it will be a shallow tank at 25cm (10 inches) tall, 120cm wide and 50 deep. Ive also been collecting some cool clownfish in the past year and i would like to breed them at some point. So it needs space for both. So im thinking of building 4 separate areas withing the tank, using black acrylic so they remain peaceful. The idea here is that i can use thin acrylic with a hole of slot patterns so the flow can go through the entire system. 1 gyre + pump for the entire thing, and the clowns can get some much needed nutrients to the corals while they are growing up.

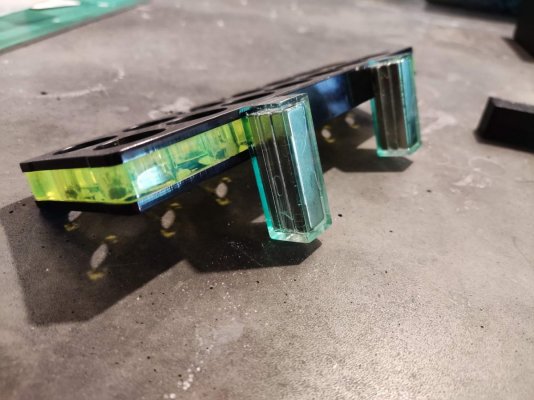
Im currently making the frag racks for the nano and this new system with multiple layers (16MM total). Looks and feels better, and the plugs are held better, but they are heavy so need more magnet power. And sanding/polishing is very time consuming. Thinner pieces makes everything easy, but plenty of people are doing that so i wanted something a bit different.


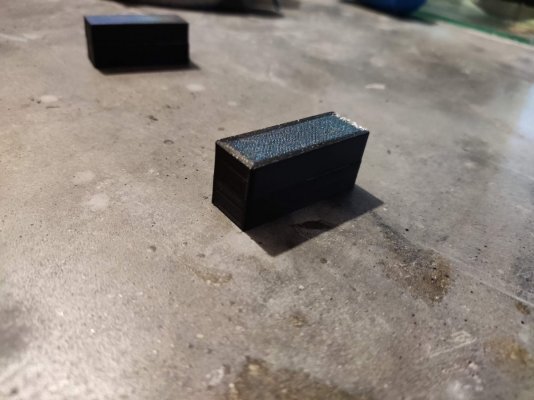
Ive also been making some acrylic cases for the magnets, so they are air tight even after years of use. And clear so any defects are immediately visible. PETG 3D printed black cases for the outside magnets.


So now its time for the big leagues Never used the CNC for acrylic so that took some trial and error. I have a couple of m2 of used 10mm clear acrylic that i picked up a while back so that should form the main structure. Probably needs a lot of polishing but it was cheap so..

Cut some smaller pieces and trying different methods to get a good bond. Sanding the edges first with 240 grid, then scraping it with a razorblade. After that some solvent and a syringe. Dont have pins thin enough to use the pin method, so only tried the Capillary action method.

Not perfect so might still need the pin methods, or maybe just more practice.

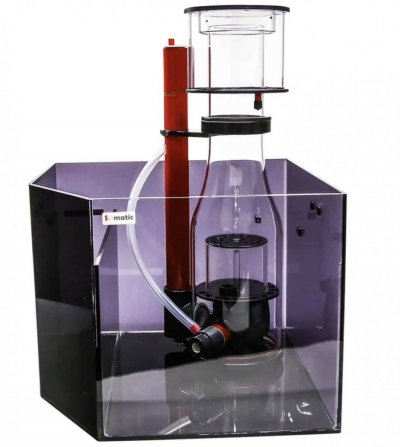
I wanted a AIO design to begin with but i traded a nice acrylic small sump a while back so thats going in. Have some old reactors laying around and a new algae reactor, sump is small but should be manageable (and free,so that swaying my opinion a bit )
)

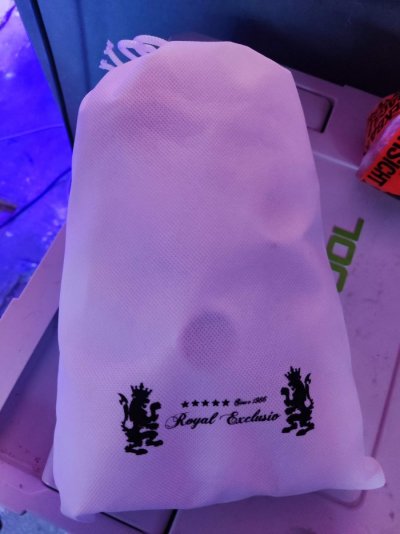
Now i just need to order some plumbing parts, im using the white fittings from Royal Exclusiv. Made a little sketch to get an idea on what to order. Thinking of a single pump, dual return, wide overflow/weir on a custom acrylic box with bean animal setup (all 1 inch/25mm). Using ball valves for the equipment and a gate valve for the overflow.

Any thoughts on this plumbing design would be welcome because im probably forgetting something!
Now the frag tank is getting full and i cant find any second hand shallow frag tanks, but i do have a cnc and some scratched 10mm acrylic though... so i guess we're building a custom frag tank. No experience in tank building so this should be fun ;Happy Did make some cool acrylics pieces in the past so ill show them off instead.
This is the current situation, waterbox mini peninsula on a floating audio rack (bit sketchy but looks cool), reefled 90, kore 5th, ato, 9001 skimmer and some jeboa pumps
And the idea for the new tank. Need more space for frags, but dont need the height so it will be a shallow tank at 25cm (10 inches) tall, 120cm wide and 50 deep. Ive also been collecting some cool clownfish in the past year and i would like to breed them at some point. So it needs space for both. So im thinking of building 4 separate areas withing the tank, using black acrylic so they remain peaceful. The idea here is that i can use thin acrylic with a hole of slot patterns so the flow can go through the entire system. 1 gyre + pump for the entire thing, and the clowns can get some much needed nutrients to the corals while they are growing up.
Im currently making the frag racks for the nano and this new system with multiple layers (16MM total). Looks and feels better, and the plugs are held better, but they are heavy so need more magnet power. And sanding/polishing is very time consuming. Thinner pieces makes everything easy, but plenty of people are doing that so i wanted something a bit different.
Ive also been making some acrylic cases for the magnets, so they are air tight even after years of use. And clear so any defects are immediately visible. PETG 3D printed black cases for the outside magnets.


So now its time for the big leagues
Cut some smaller pieces and trying different methods to get a good bond. Sanding the edges first with 240 grid, then scraping it with a razorblade. After that some solvent and a syringe. Dont have pins thin enough to use the pin method, so only tried the Capillary action method.
Not perfect so might still need the pin methods, or maybe just more practice.
I wanted a AIO design to begin with but i traded a nice acrylic small sump a while back so thats going in. Have some old reactors laying around and a new algae reactor, sump is small but should be manageable (and free,so that swaying my opinion a bit

Now i just need to order some plumbing parts, im using the white fittings from Royal Exclusiv. Made a little sketch to get an idea on what to order. Thinking of a single pump, dual return, wide overflow/weir on a custom acrylic box with bean animal setup (all 1 inch/25mm). Using ball valves for the equipment and a gate valve for the overflow.
Any thoughts on this plumbing design would be welcome because im probably forgetting something!


