Luc Vogels's 600+ gallon CoralCare Reef

OP
OP
Luc Vogels

Luc Vogels

Active Member
View Badges
Joined
Dec 27, 2015
Messages
159
Reaction score
550
Location
Netherlands
Rating - 0%
0   0   0
New chapter... planning the new display tank.

The new house allows us to place a bigger display tank :D and so we will do!
The original idea was to build an "aquarium room" next to the house and making a cut-out for the aquarium so we could view it from the living room. After discussion with construction workers; understanding the risks and finally hearing about the cost we decided it was not realistic for us. Therefore I decided to place the aquarium in the living room and the filter system in a "filter room" next to the house.

This was the first sketch of the tank:

Luc2.jpg


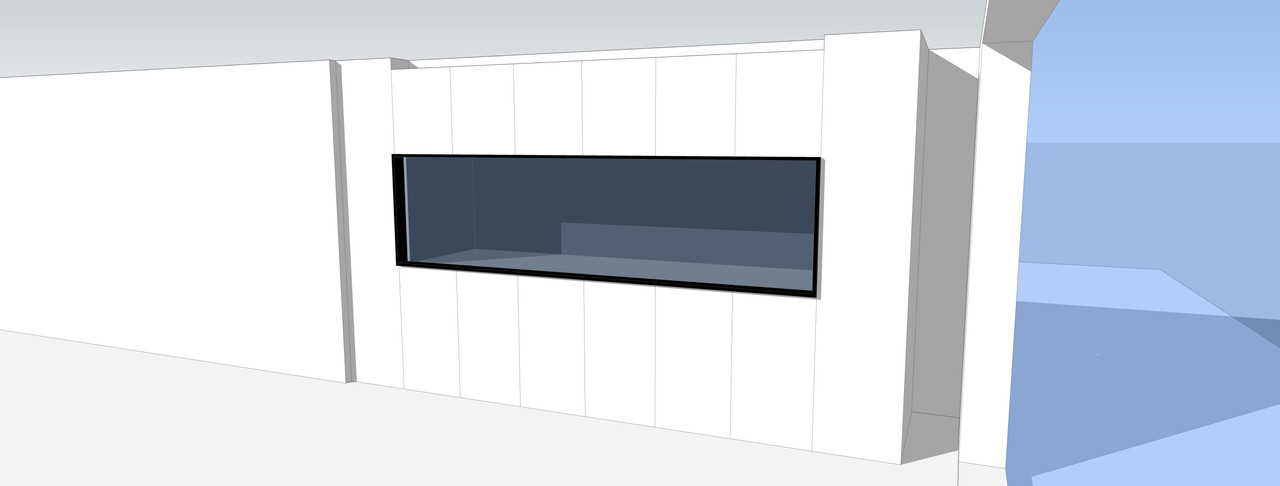
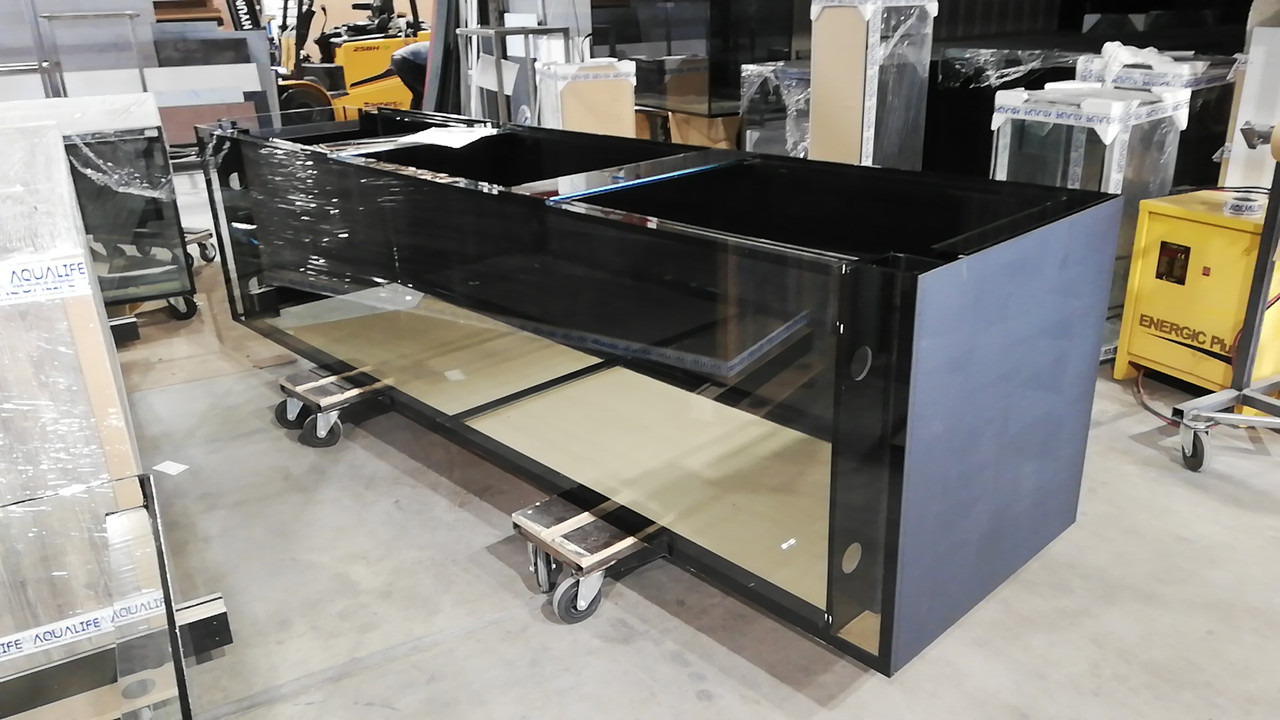
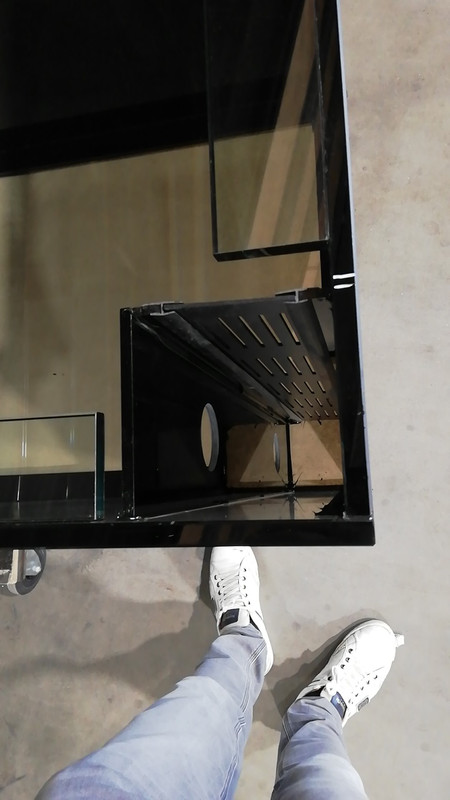
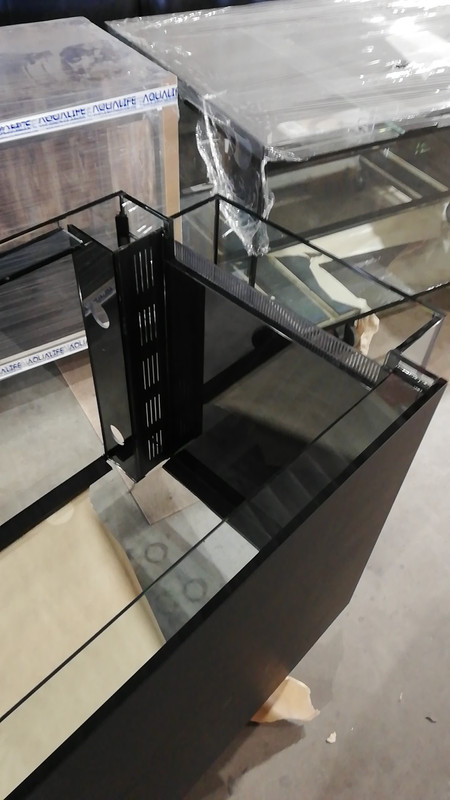
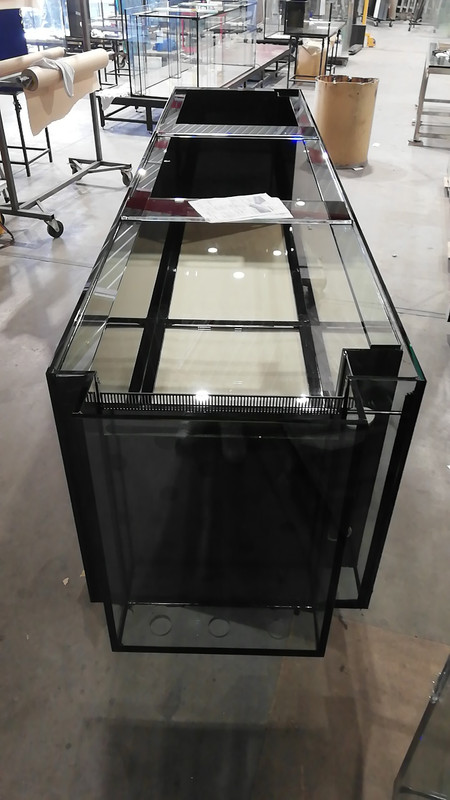
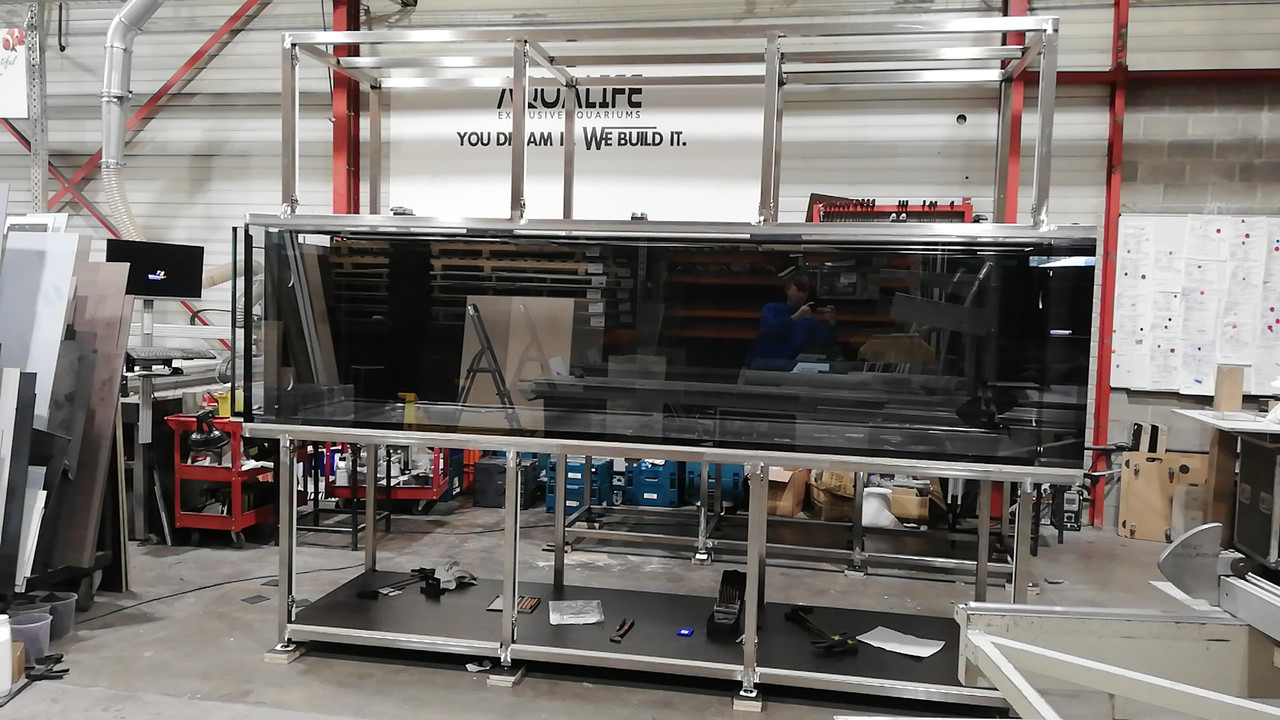
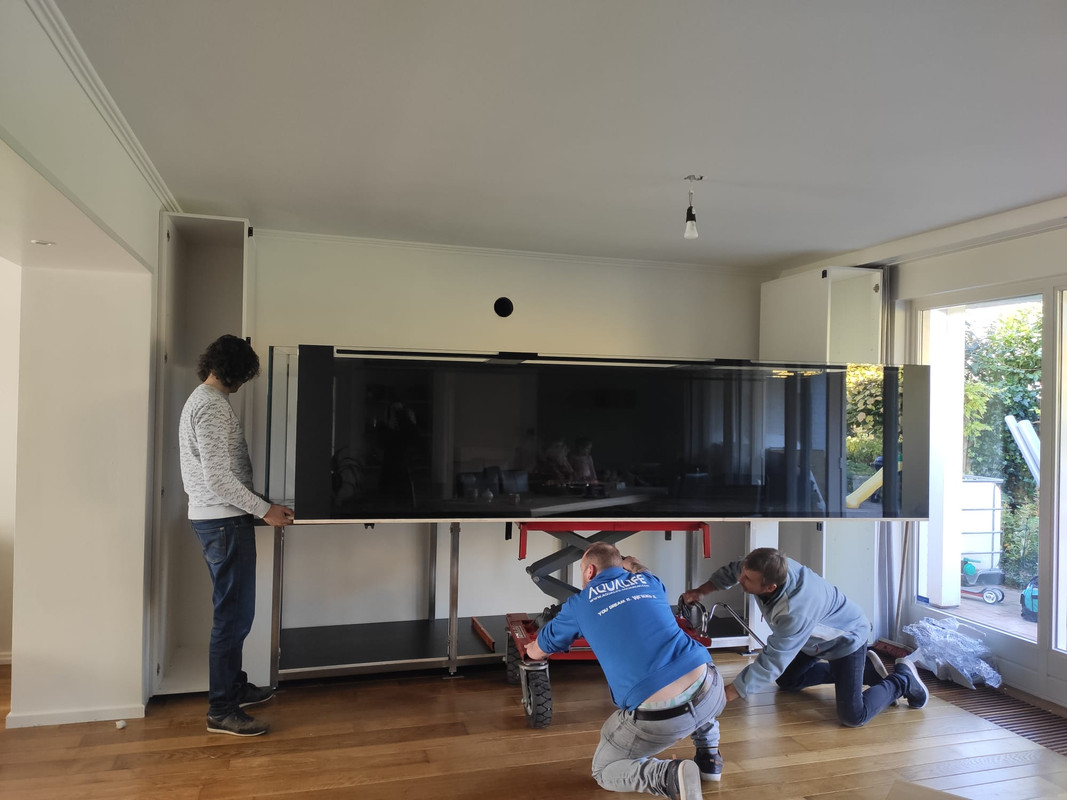
Dimensions: 3.21 meter (the biggest they can cut from a single piece of standard aquarium glass)x80x80. ~2000 liters.
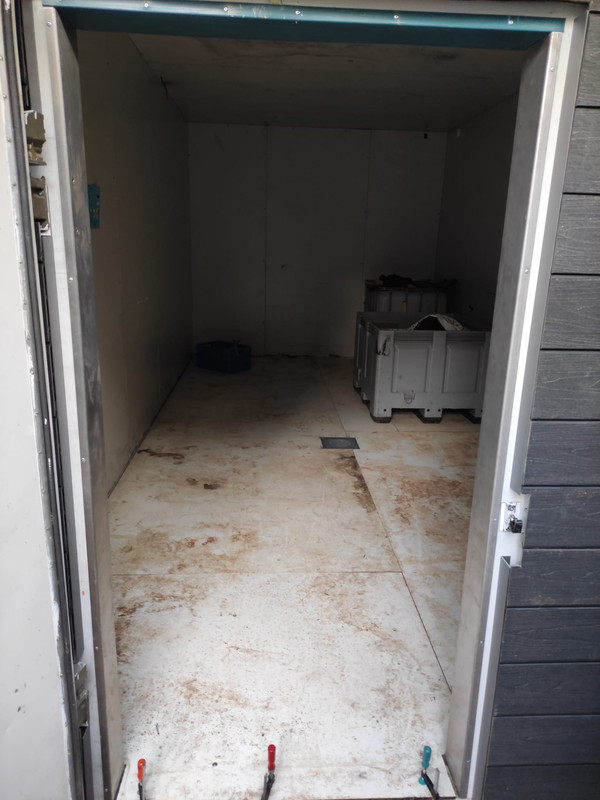
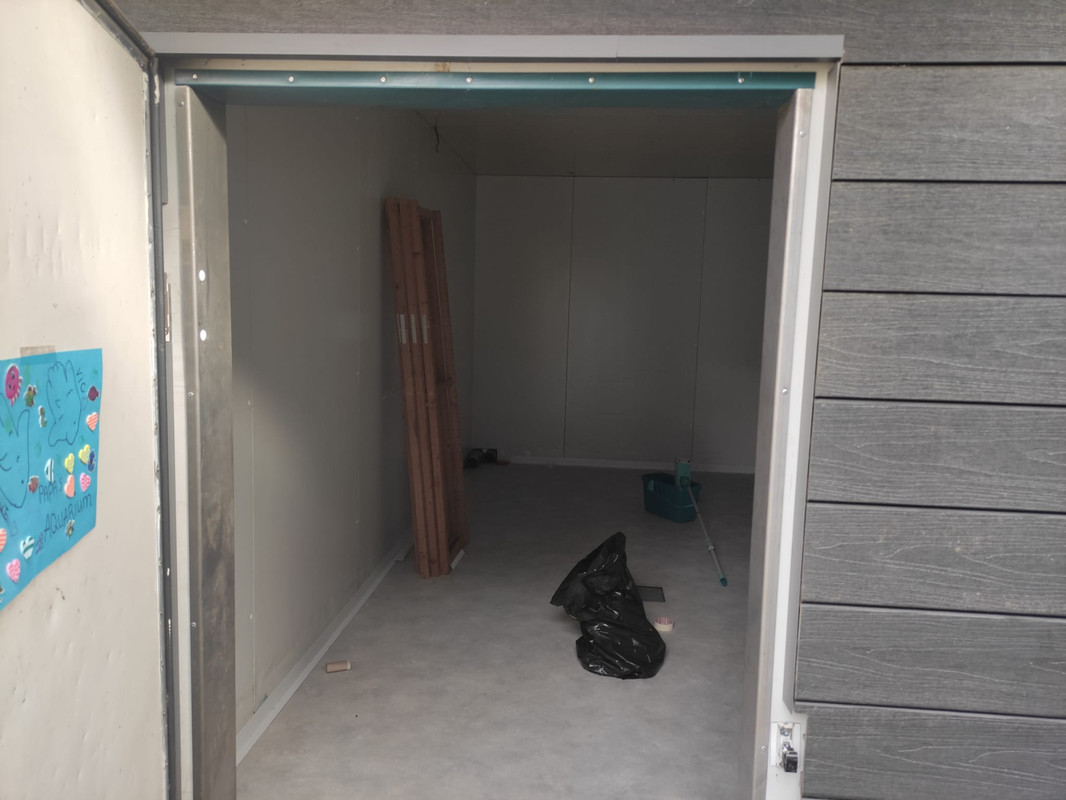
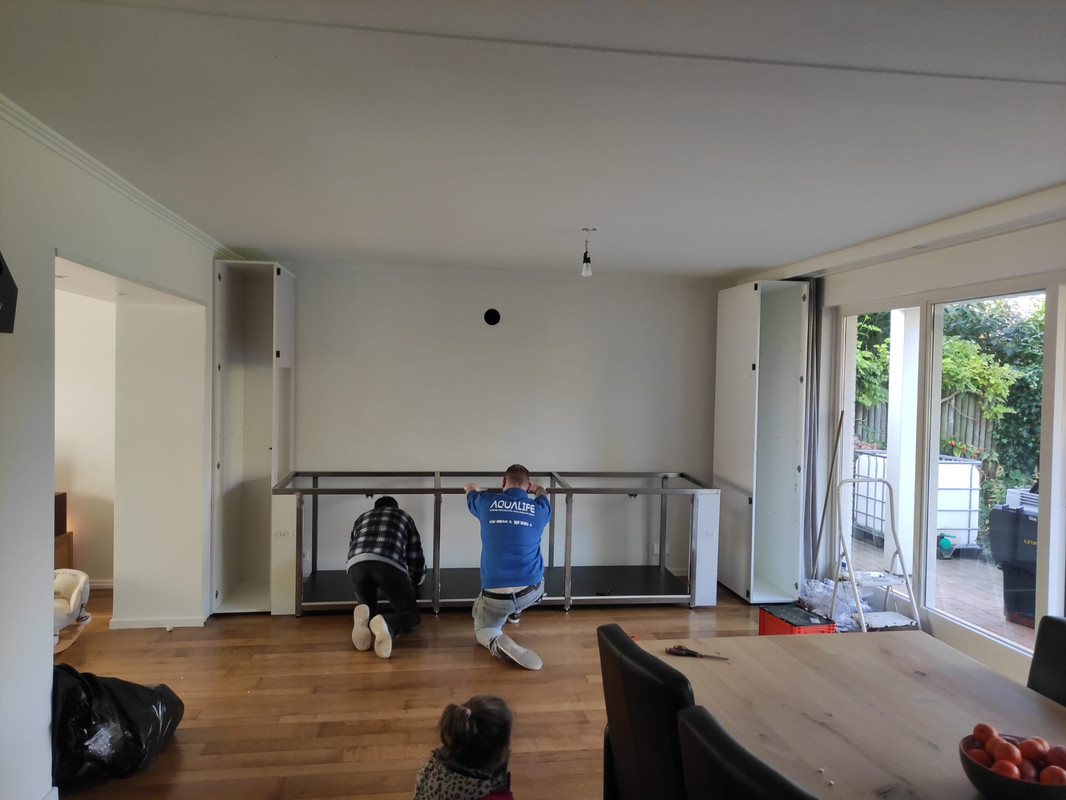
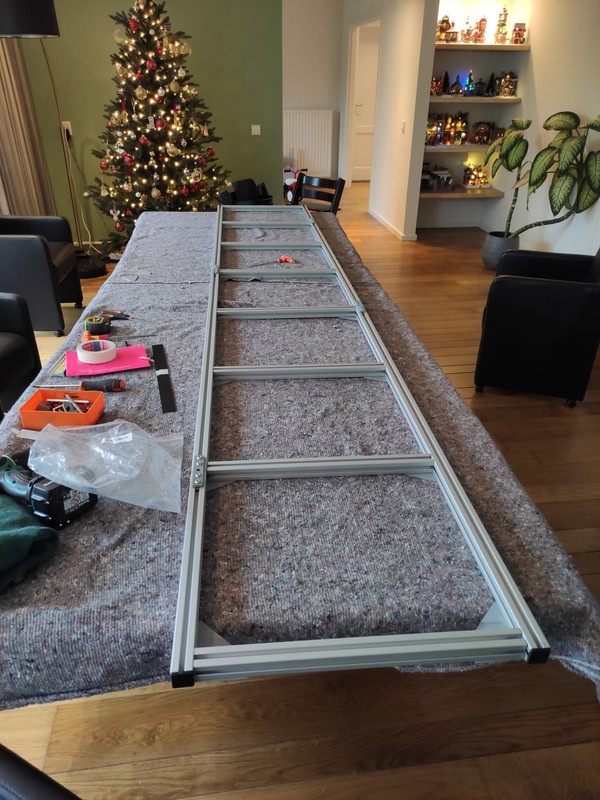
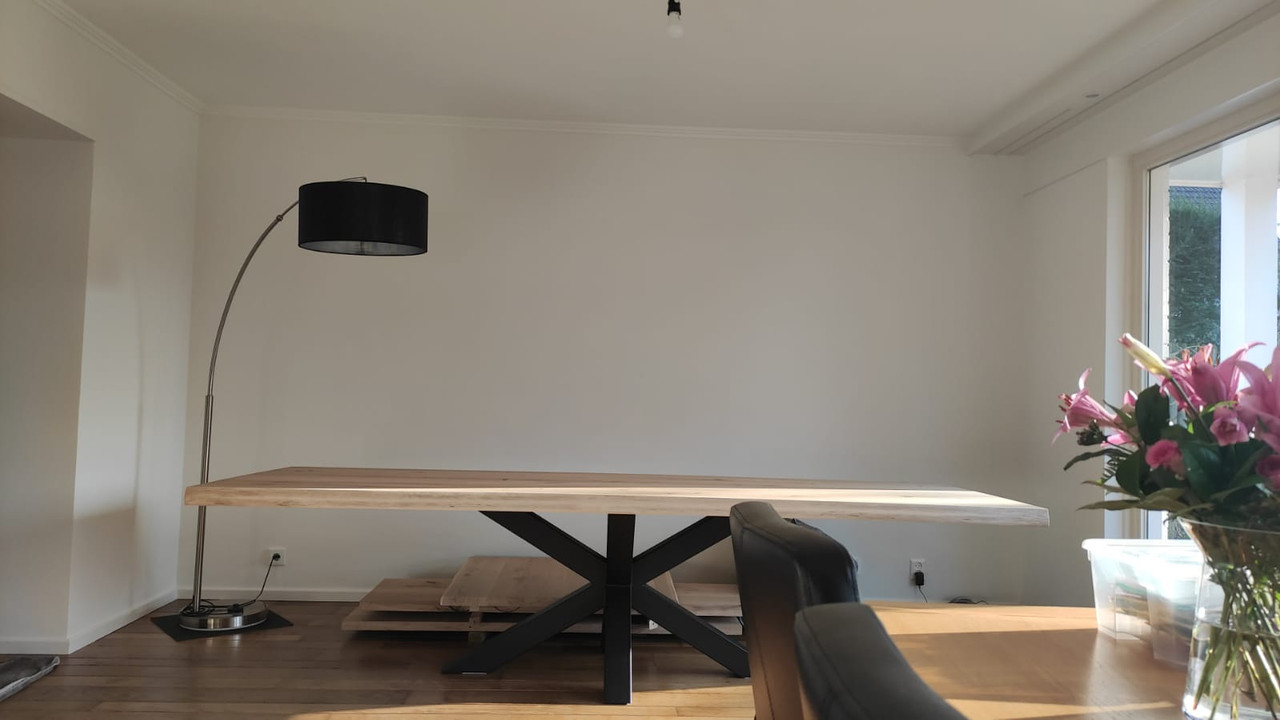
And a photo of the actual place (ignore the table and wood; I was still working on the living room furniture)

Whats-App-Image-2021-04-23-at-10-32-20.jpg


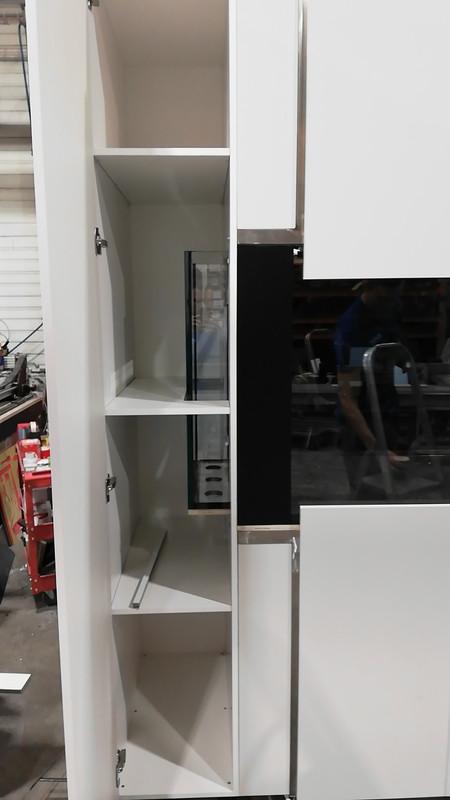
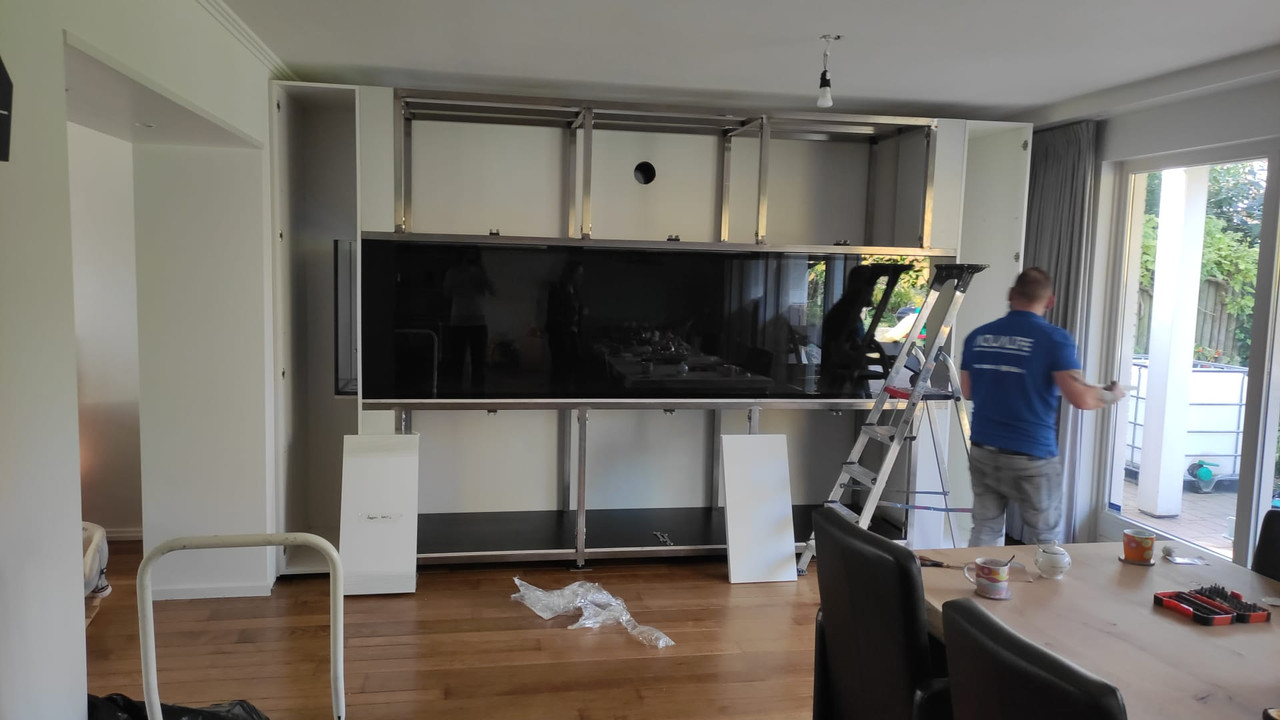
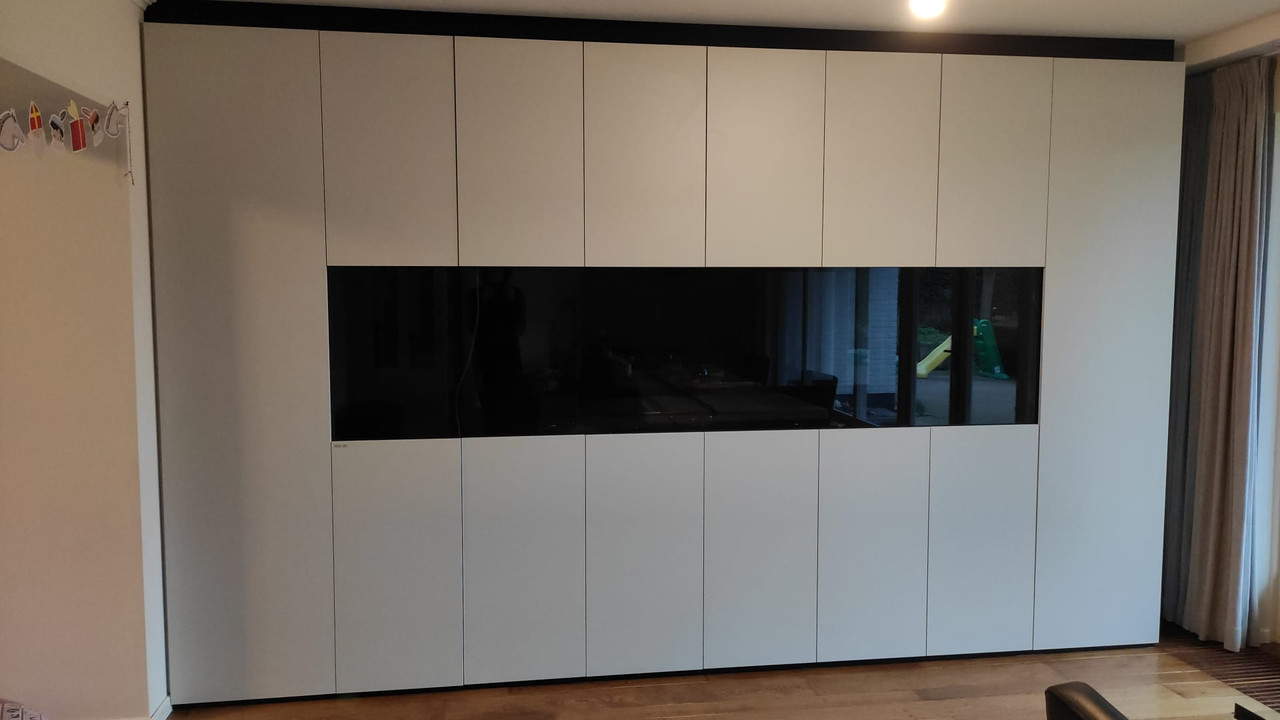
I agreed on the size of the tank and cabinet and continued planning the filter room.

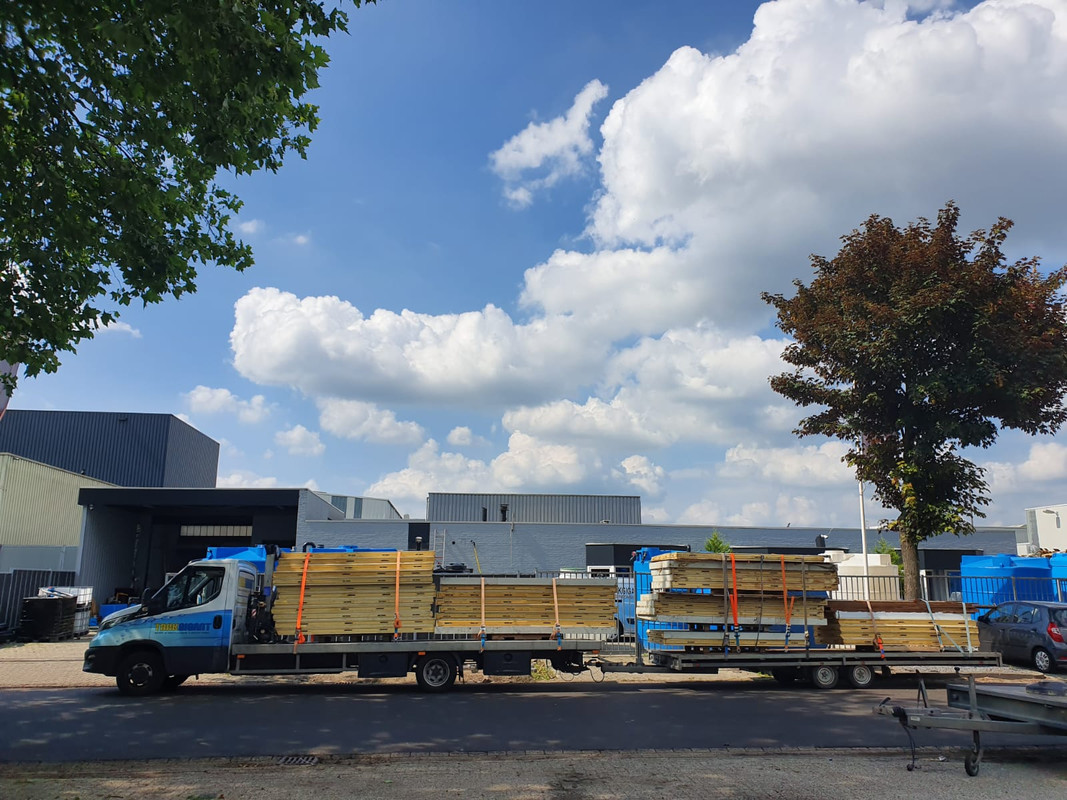
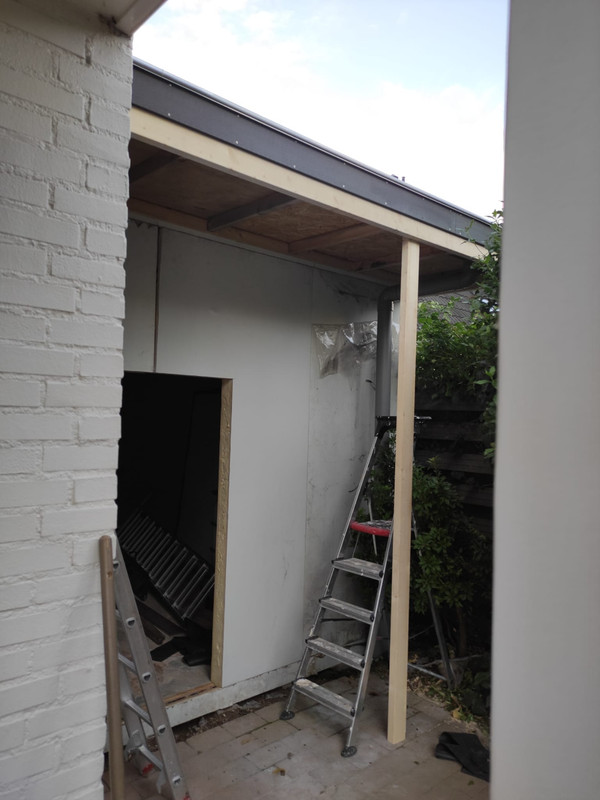
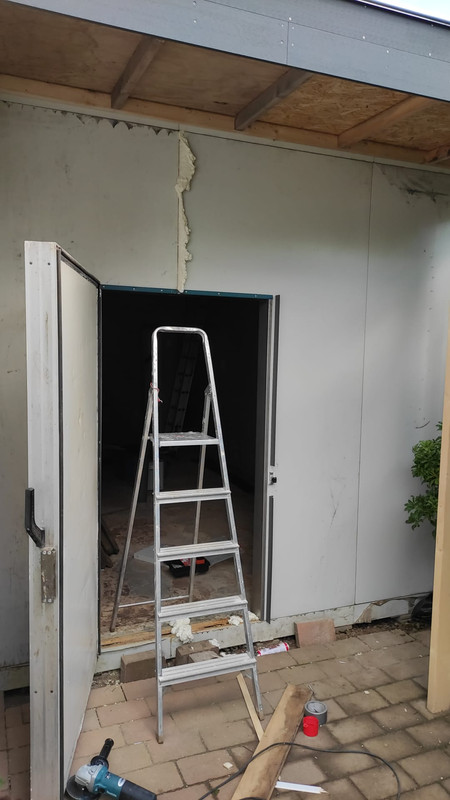
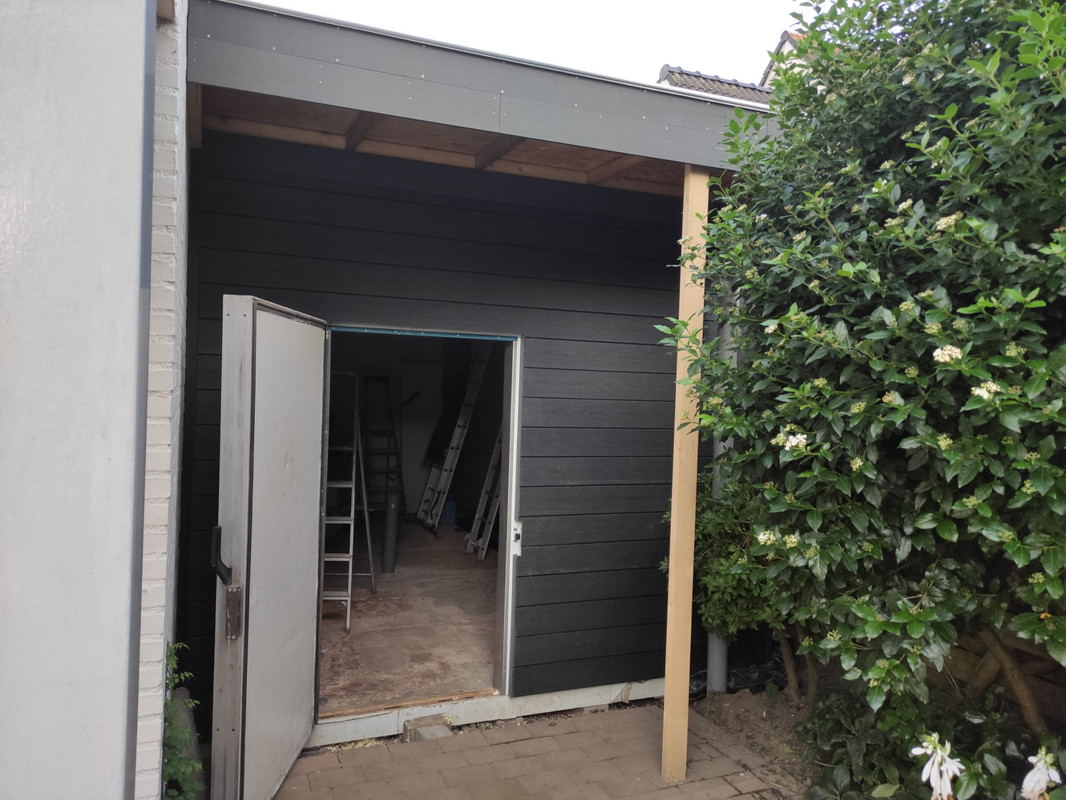
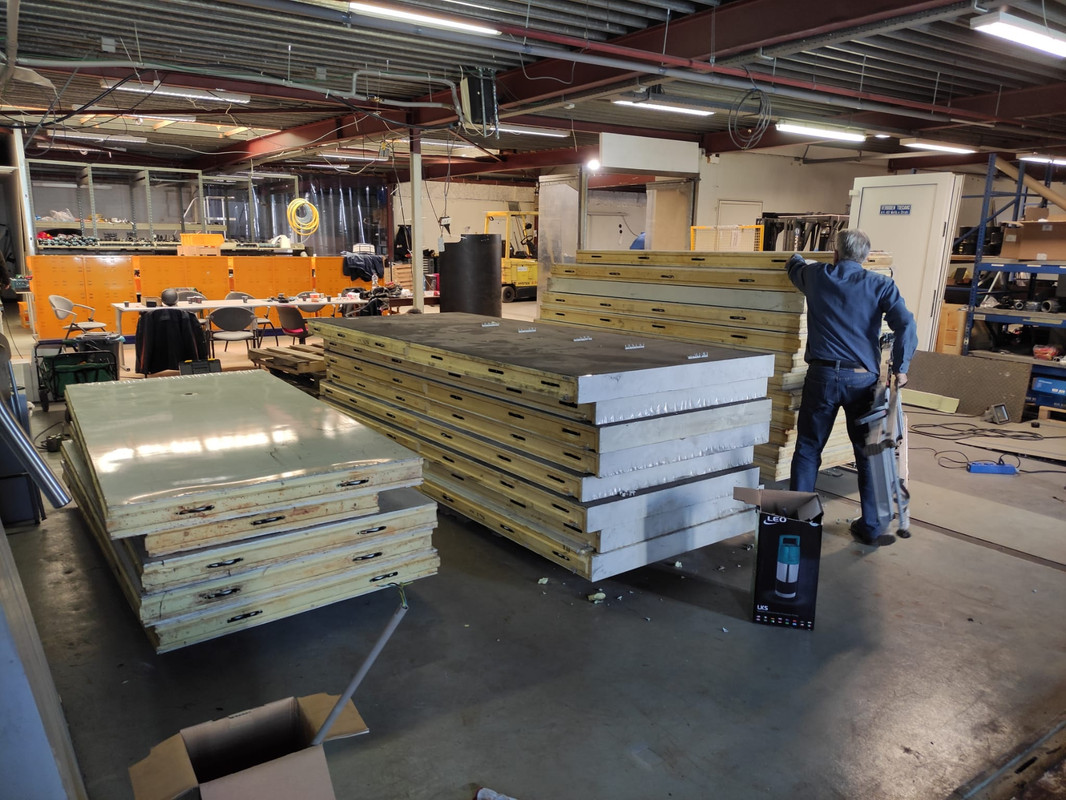
I have a ~25m^2 area next to the house which was used for some garden waste and thought.. why not build the filter area over there. I start thinking about a simple construction and came across these pre-fab professional freezers. I managed to find one second hand (it was huge ~40m^2) but since it is modular i could reduce the size easily. Isolation properties are fantastic (15cm wall thickness) and the construction was strong enough to place it without additional support. It only had to be made wind/water proof with an outer shell.

So I bought it cheaply and dismantled it

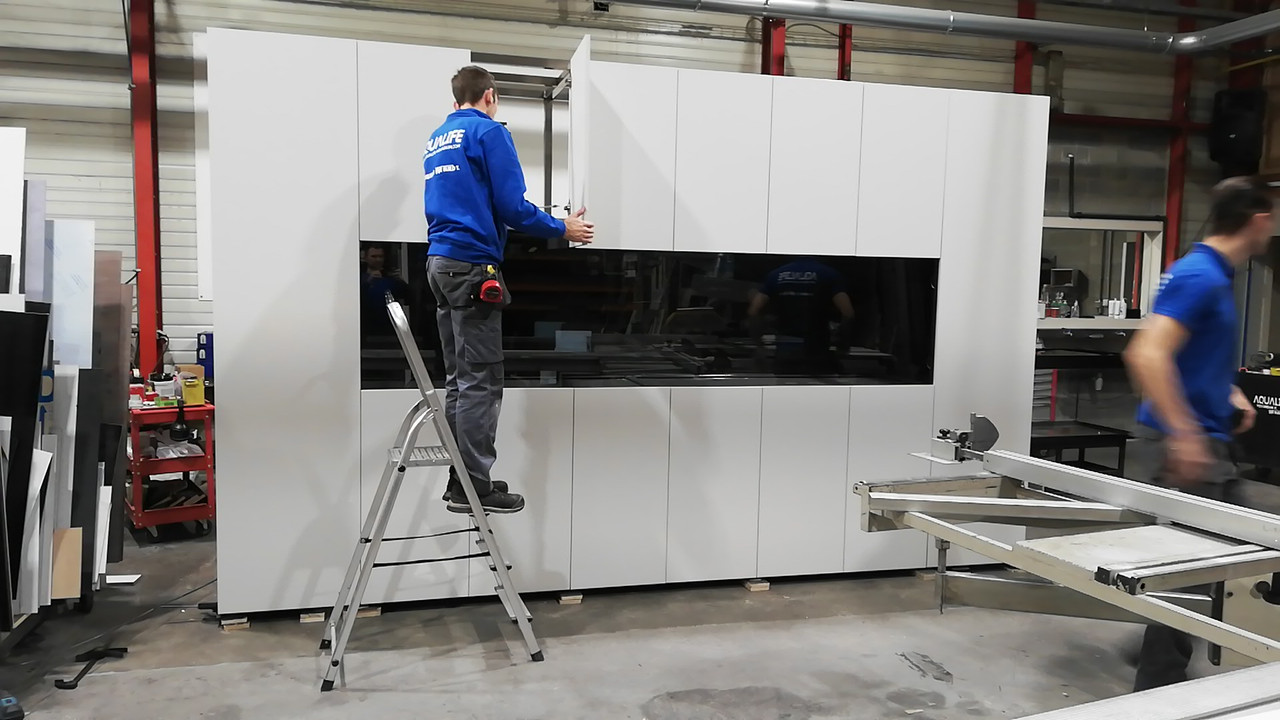
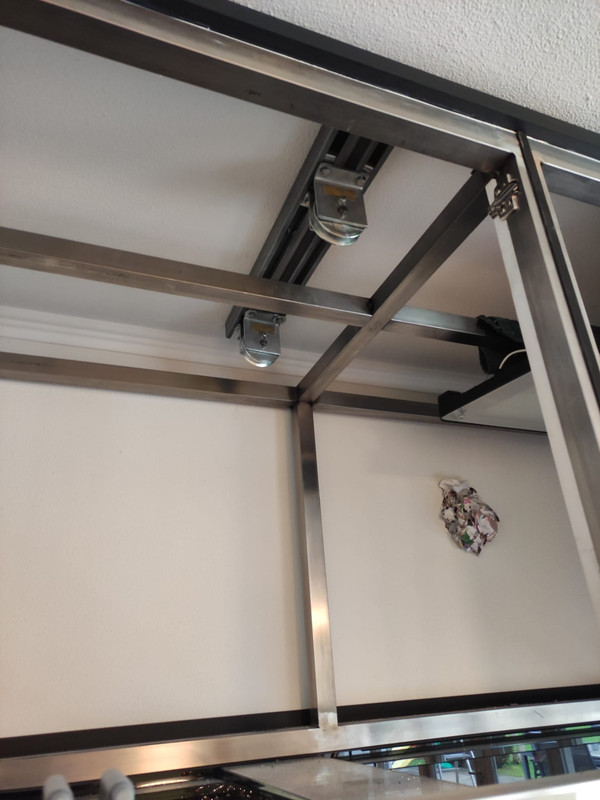
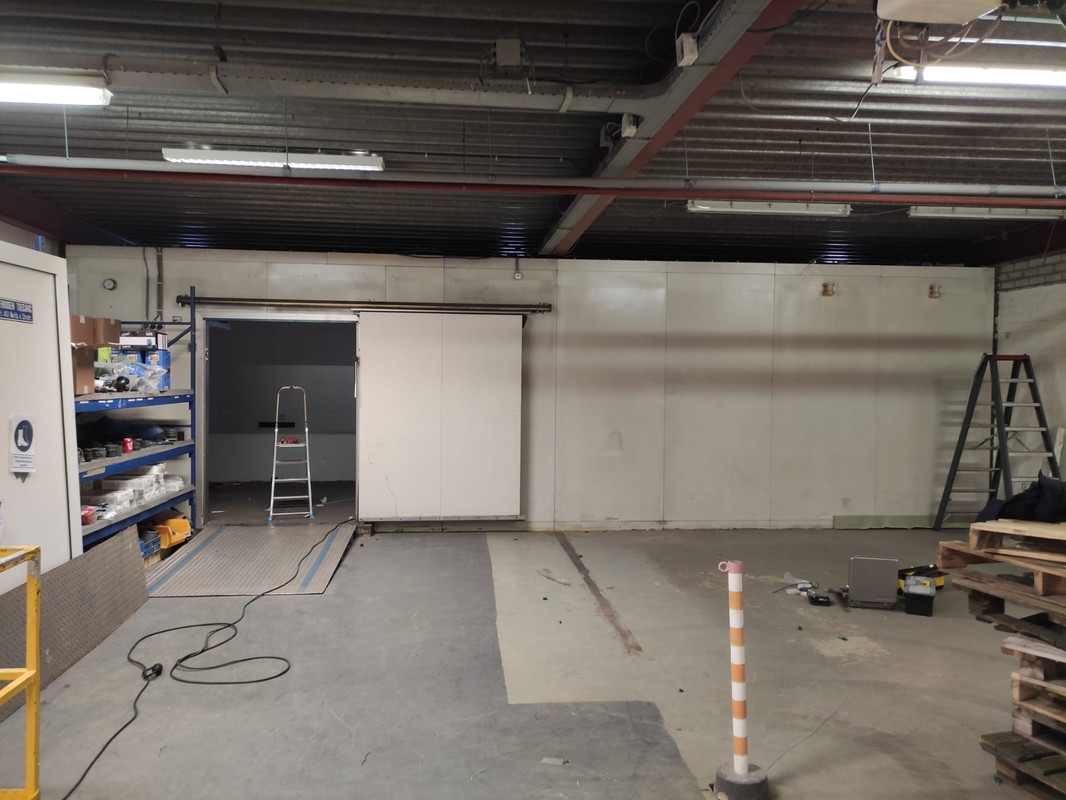
The freezer still in the factory:
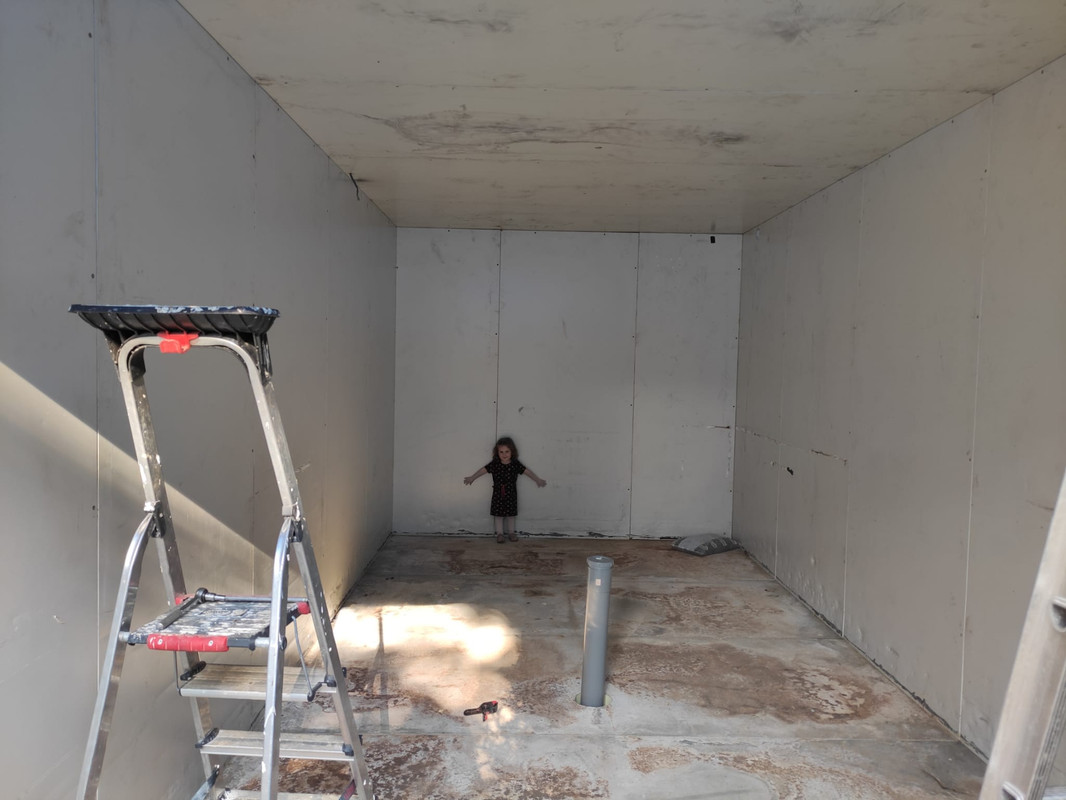
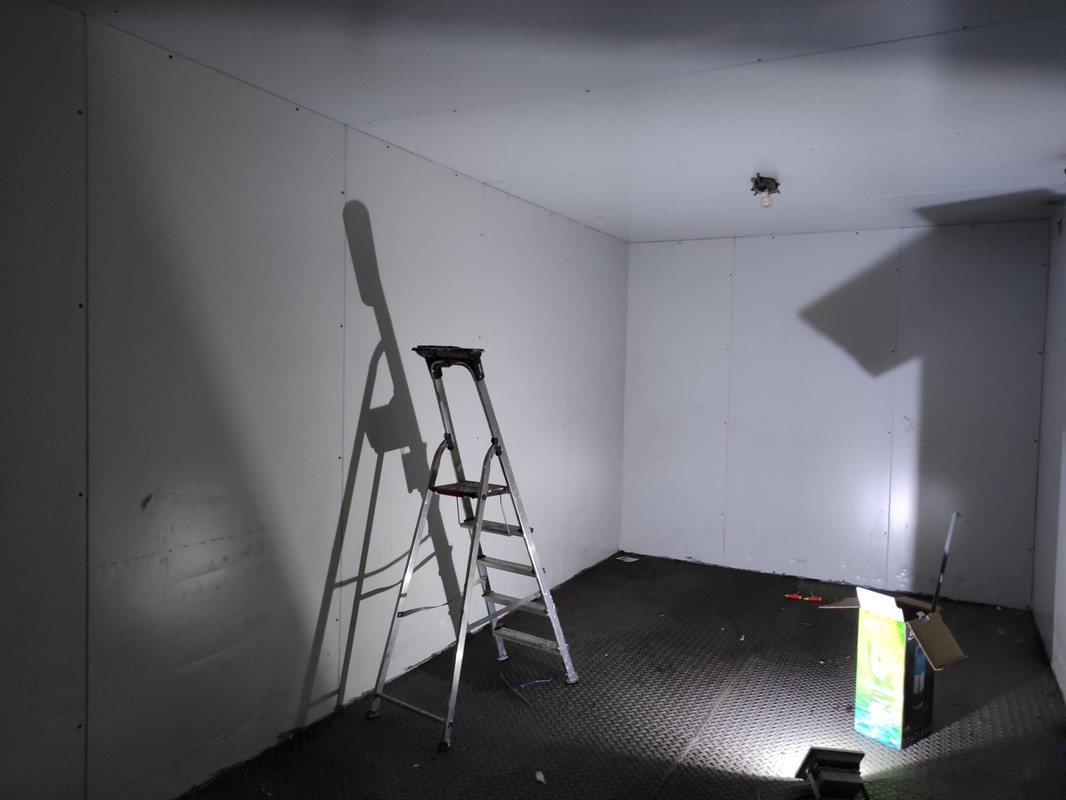
Whats-App-Image-2021-09-15-at-17-43-42.jpg


Inside the cell:
Whats-App-Image-2021-09-15-at-17-43-42-1.jpg


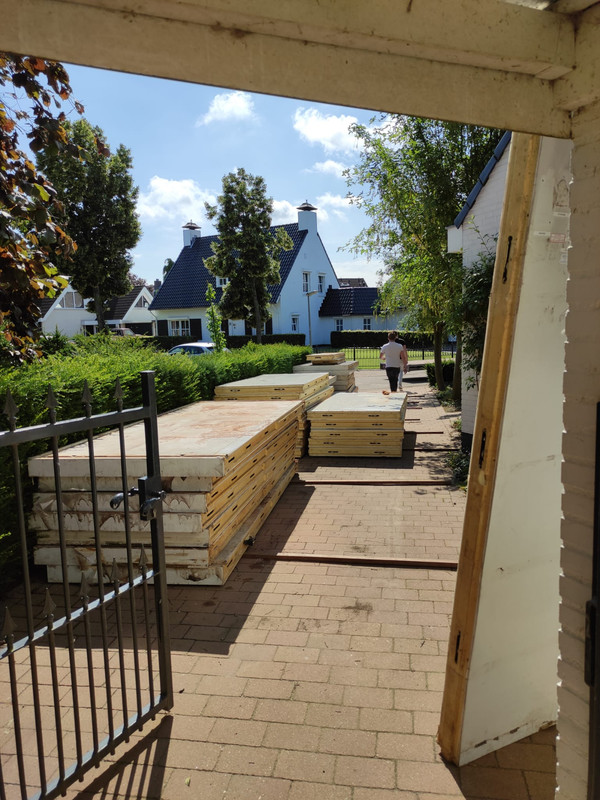
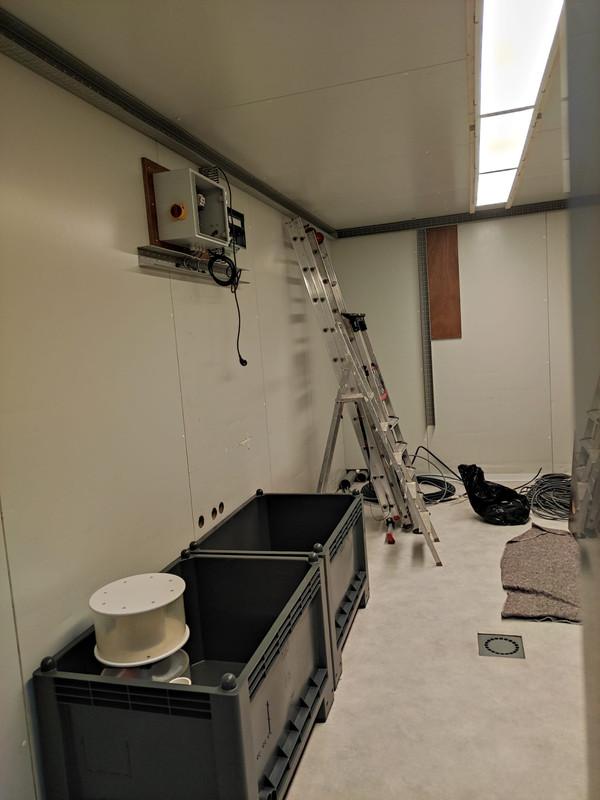
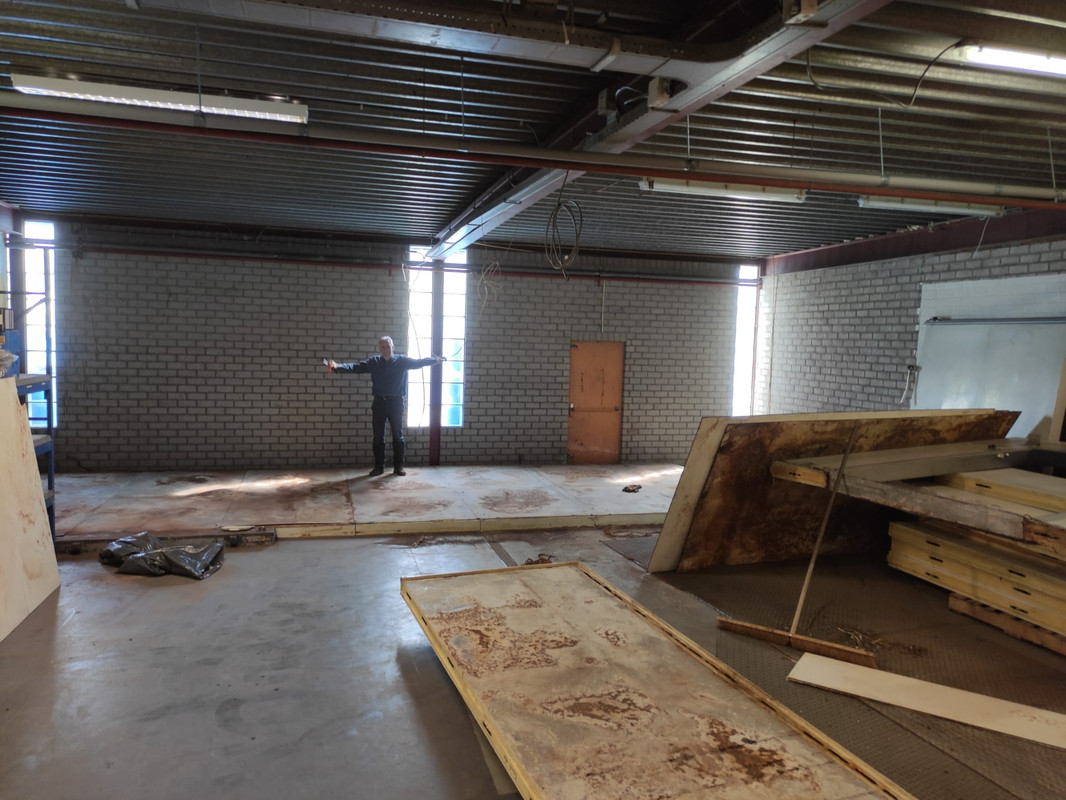
Disassembly was easy. Took us 2 days with 3 persons:
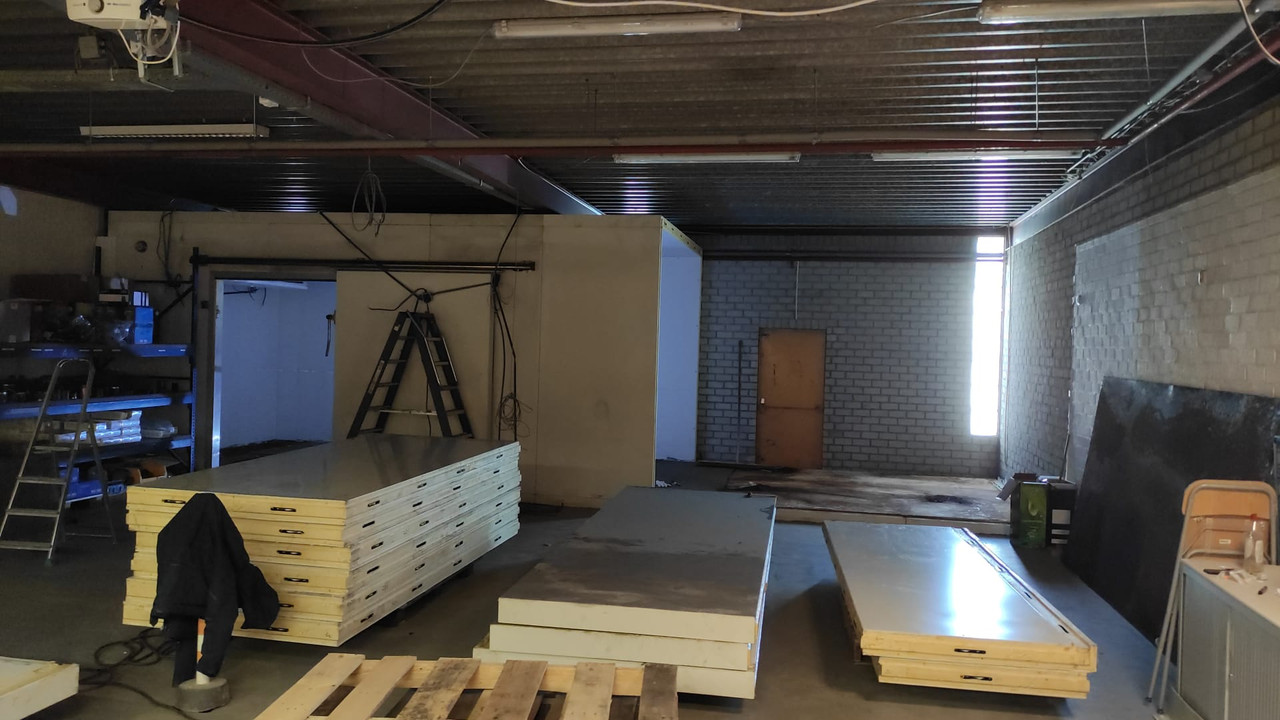
Whats-App-Image-2021-09-15-at-17-48-44-3.jpg


Whats-App-Image-2021-09-15-at-17-43-41-1.jpg


and almost done:
Whats-App-Image-2021-09-15-at-17-43-41.jpg


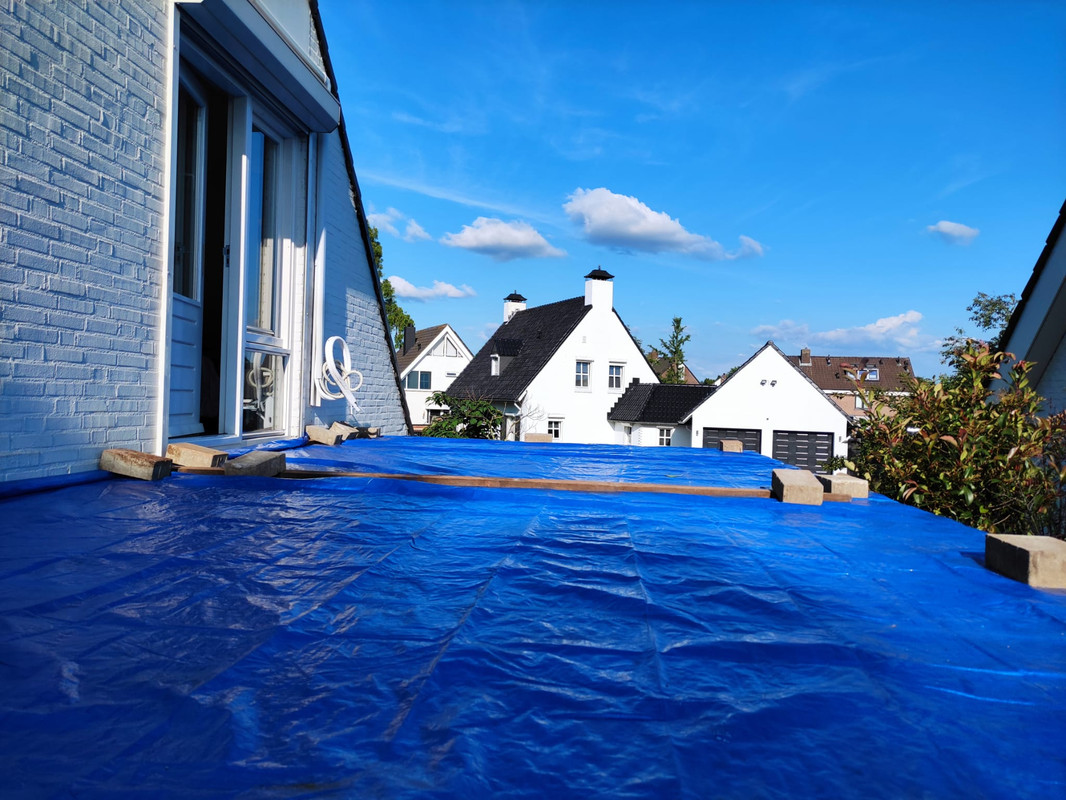
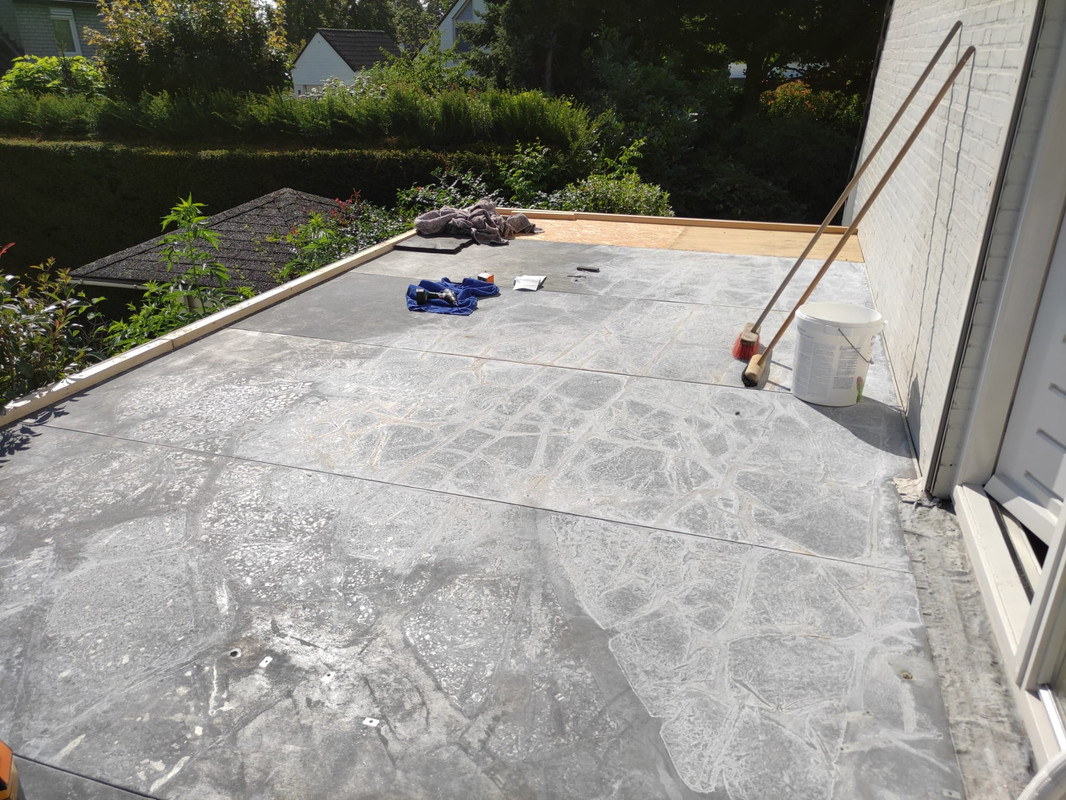
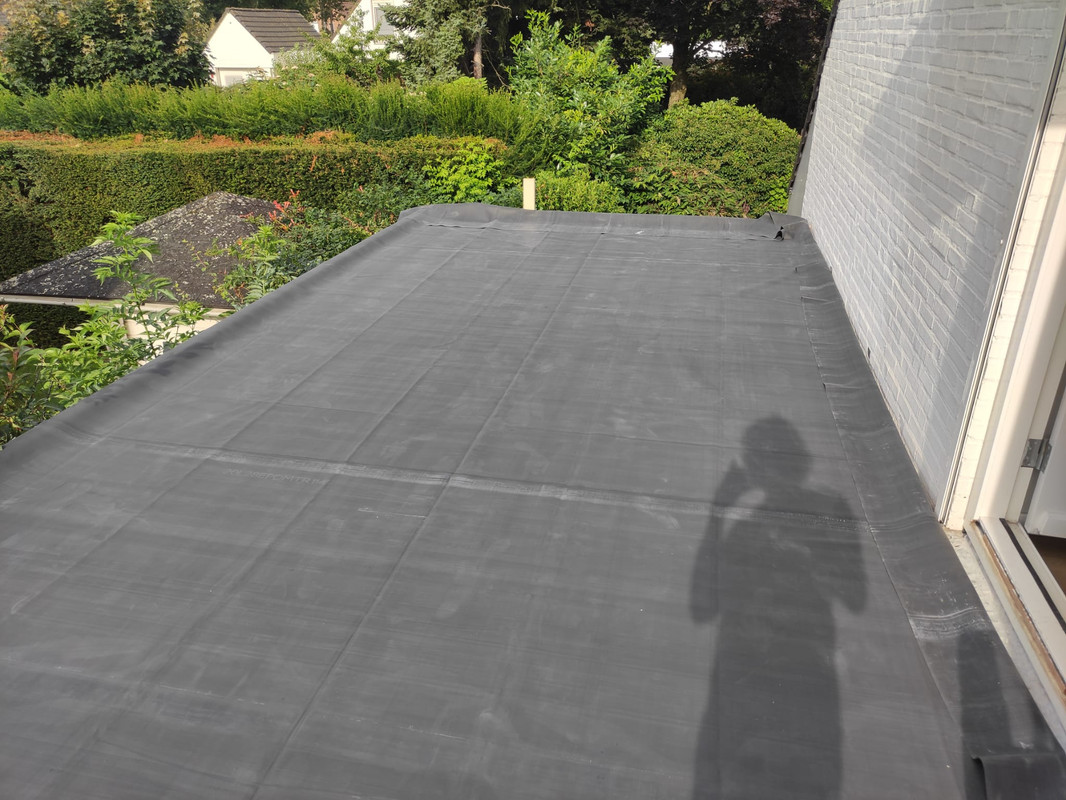
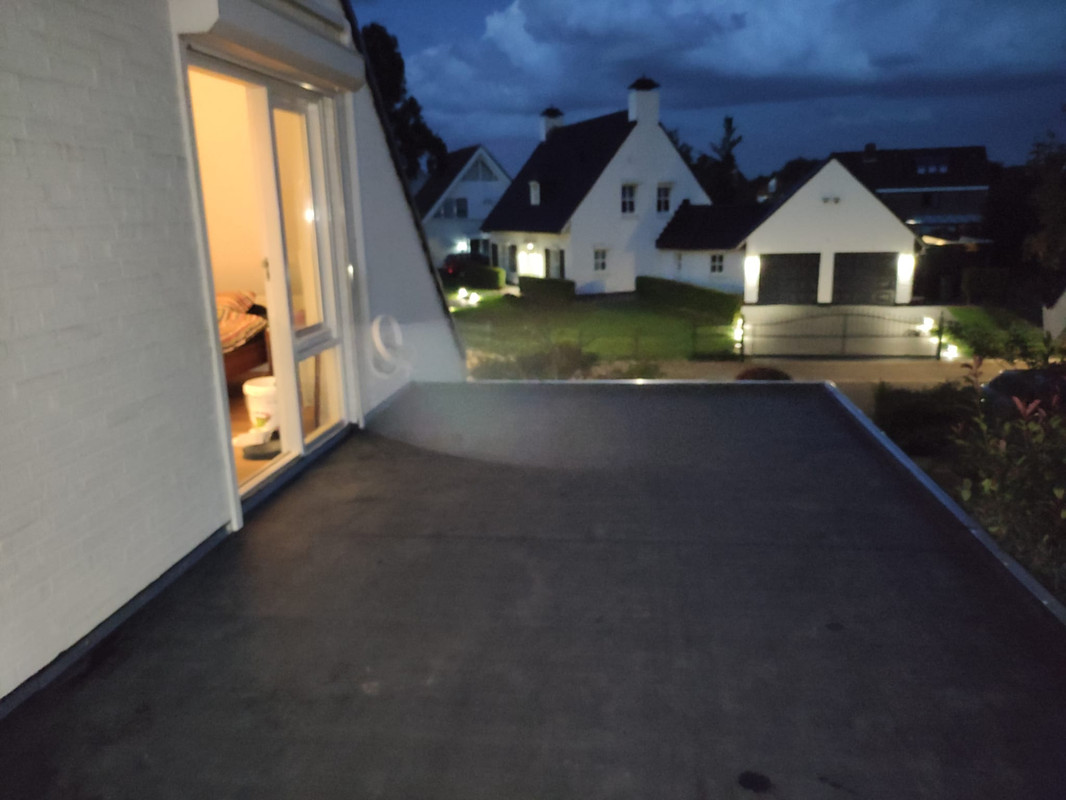
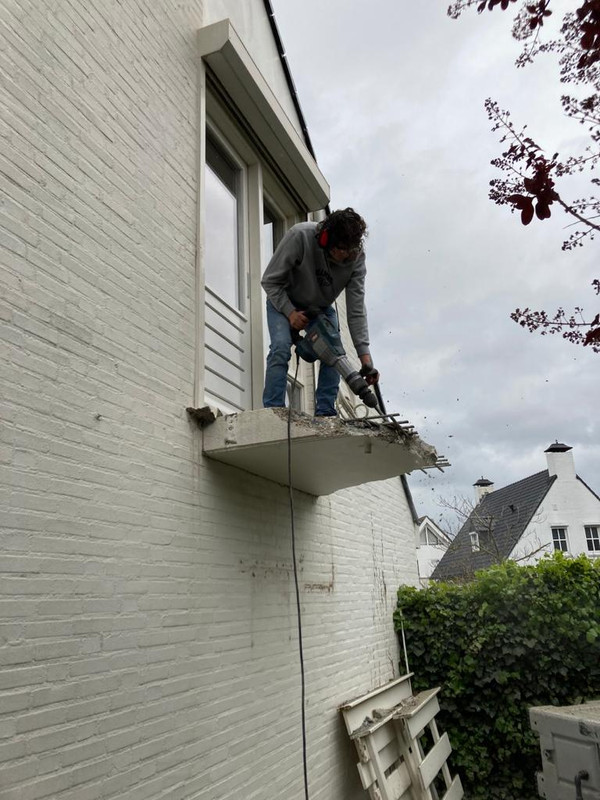
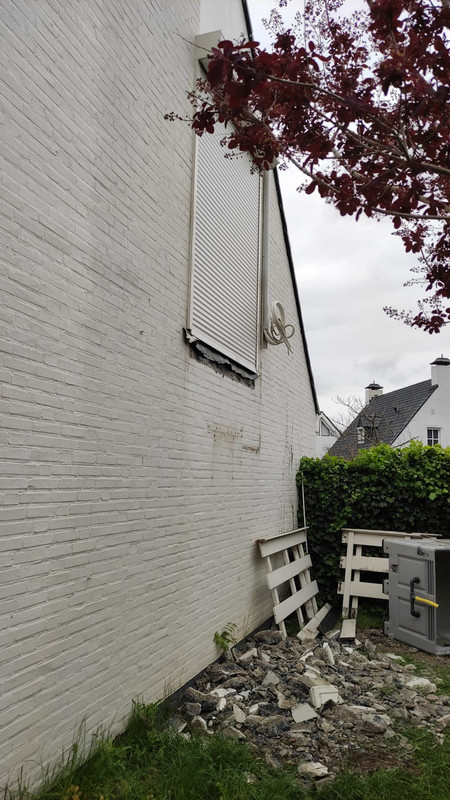
I also had to remove a small balcony next to the house because the height of the cell was ~3meters.
It was re-enforced concrete.. so it took some effort:
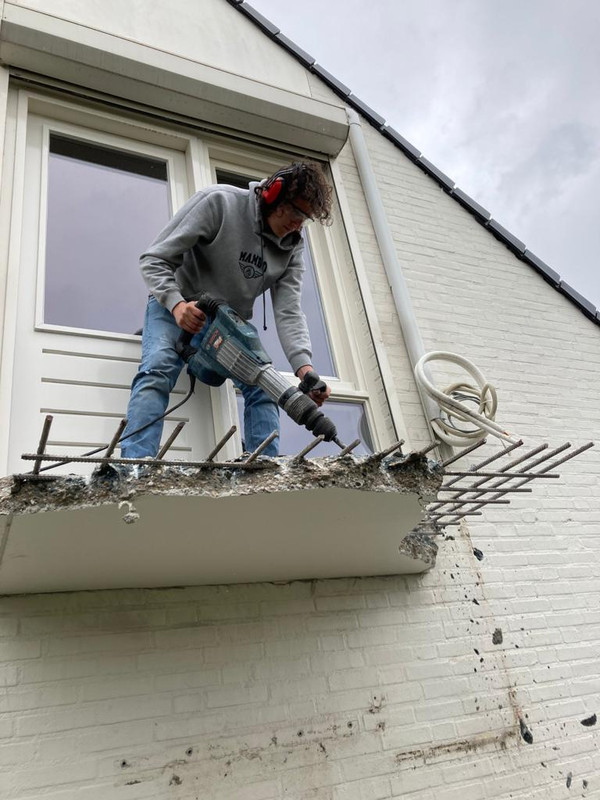
Whats-App-Image-2021-09-15-at-17-48-44-2.jpg


Whats-App-Image-2021-09-15-at-17-48-44-1.jpg


3 hours later:
Whats-App-Image-2021-09-15-at-17-48-44.jpg


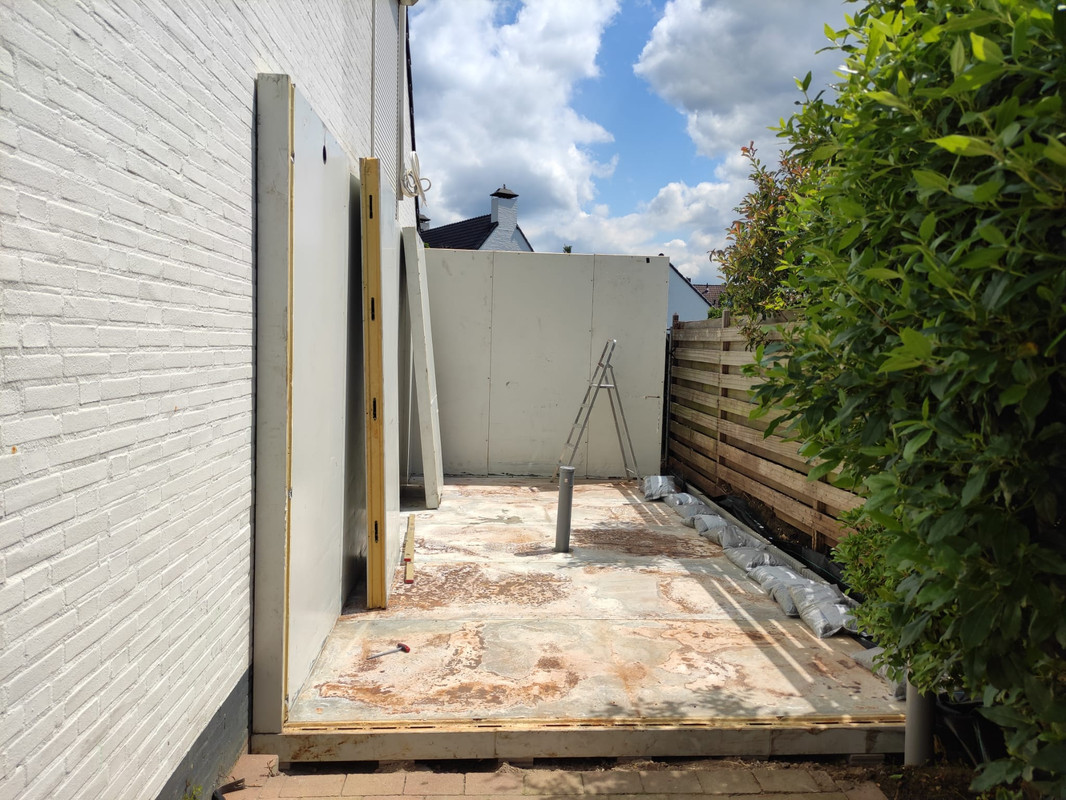
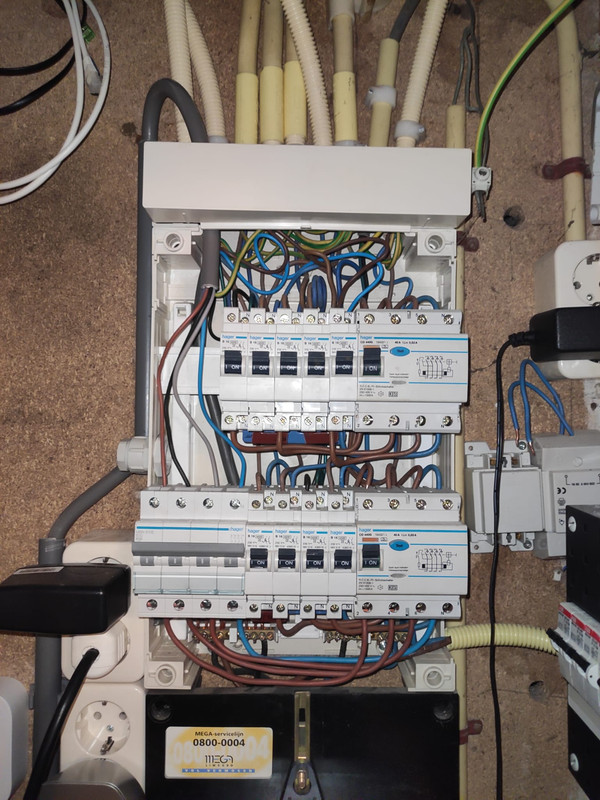
We then started with the base of the cell. We had to remove some sand (to stay under the starting point of the window on the first floor) and placed a cement gravel mix to harden the ground. I also made sure to add all plumbing for water (rain water/waste water); electricity etc.

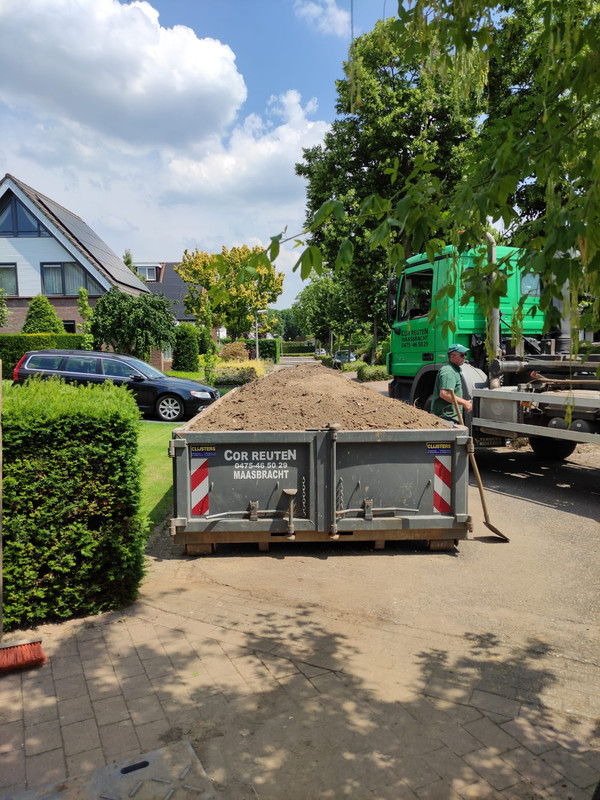
Removal of the ground (~15kubics)
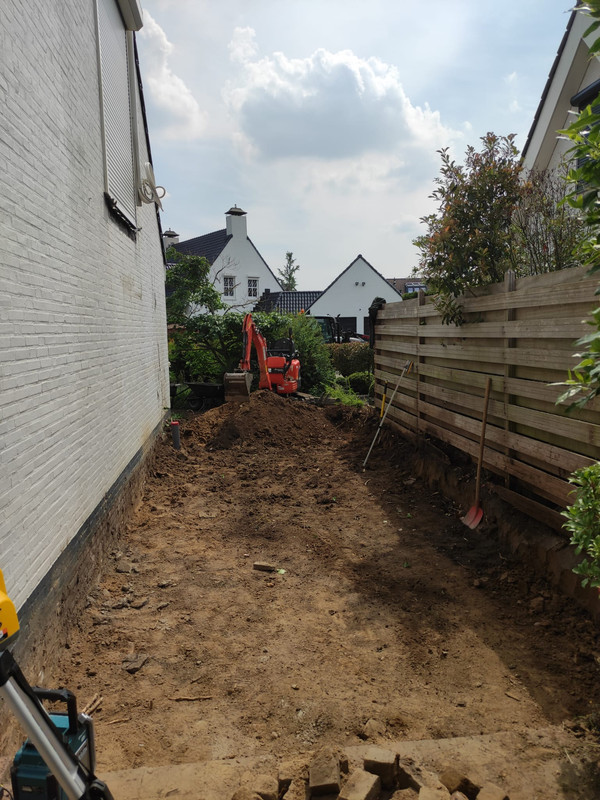
Whats-App-Image-2021-09-15-at-18-07-40-3.jpg


removed ground
Whats-App-Image-2021-09-15-at-18-07-40-1.jpg


pipework in place:
Whats-App-Image-2021-09-15-at-18-07-40-2.jpg


Gravel mix added:
Whats-App-Image-2021-09-15-at-18-07-40.jpg


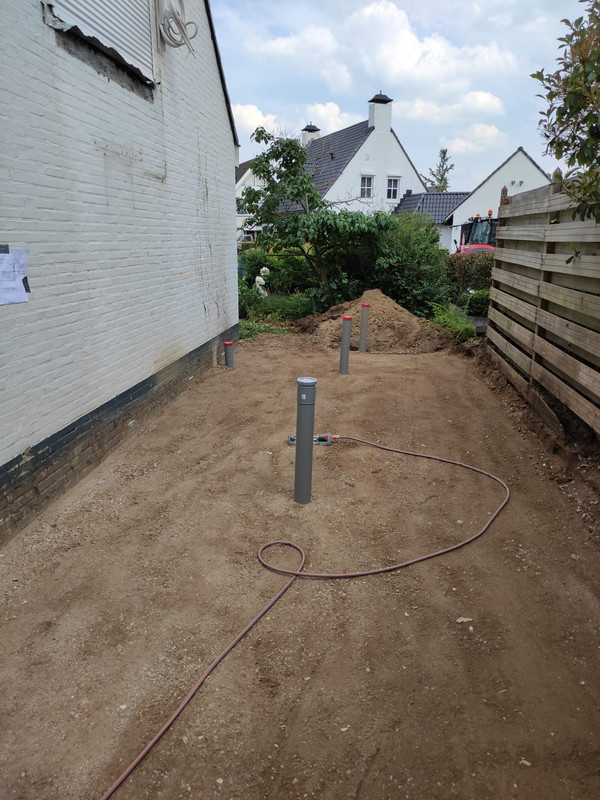
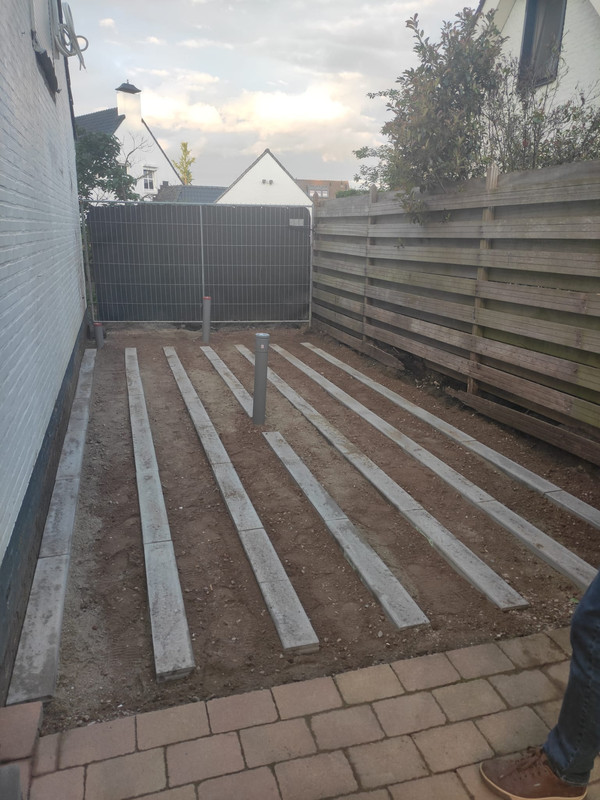
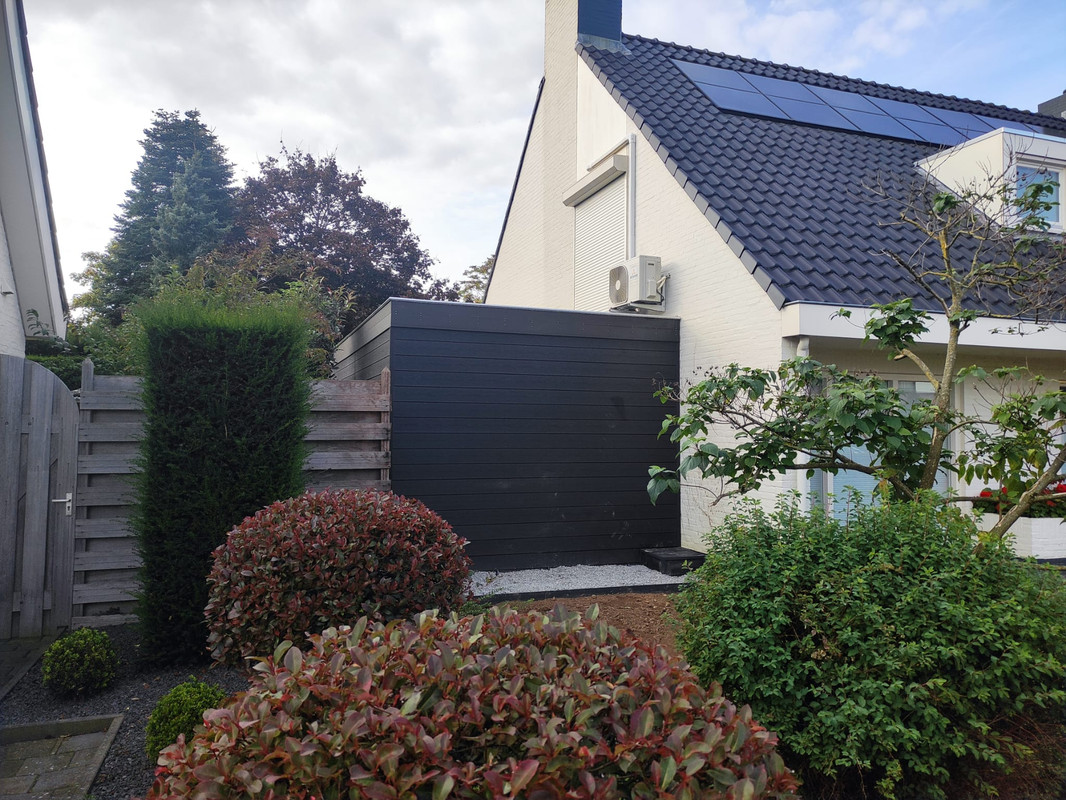
and the final result including tiles which act as support for the construction
Whats-App-Image-2021-09-15-at-18-07-39.jpg


To be continued later!
 

jhuntstl

Valuable Member
View Badges
Joined
Apr 21, 2021
Messages
2,257
Reaction score
5,004
Location
St. Louis
Rating - 0%
0   0   0
Those prefabbed freezer sections are really thinking outside the box. How'd you even come across something like that? I can only assume it's more cost efficient to use them than framing and insulating your own walls. Do you plan on just a simple shed/lean to style roof above? Can you attach directly to them on the outside or will you have to add framing for the exterior finishes? This is really interesting. You've got me very curious!
 
OP
OP
Luc Vogels

Luc Vogels

Active Member
View Badges
Joined
Dec 27, 2015
Messages
159
Reaction score
550
Location
Netherlands
Rating - 0%
0   0   0
Those prefabbed freezer sections are really thinking outside the box. How'd you even come across something like that? I can only assume it's more cost efficient to use them than framing and insulating your own walls. Do you plan on just a simple shed/lean to style roof above? Can you attach directly to them on the outside or will you have to add framing for the exterior finishes? This is really interesting. You've got me very curious!

When I was younger I used to work at a food wholesaler. There I saw one of these for the first time.
These cells are typically build inside a building and therefore the structure needs its own support. This unit is a bit more special because it also has an isolated floor. I will update the thread later so you can see how I solved the roof and wall construction. But in short: The roof (EPDM foil) was directly placed on top of the constuction; it is really strong and no additional frame was needed. The walls are covered with "composite", a material which is a blend of wood and plastic. They are screwed on a wooden frame which was screwed (with special screws) directly to the cell.

Very cool! (sorry, couldn't resist) Looking forward to the next update!
I always like it when people comment so please do! :)
 
OP
OP
Luc Vogels

Luc Vogels

Active Member
View Badges
Joined
Dec 27, 2015
Messages
159
Reaction score
550
Location
Netherlands
Rating - 0%
0   0   0
Next post! assembling the freezer cell back together.

That morning I received this image from the transport company..
Whats-App-Image-2021-09-16-at-17-21-44.jpg


I was a bit shocked and scared.. Am I really able to pull this of?
Luckily my volleyball team proposed to help offload the truck and assemble the cell (in exchange of some beers :)).
One hour later, truck offloaded :
Whats-App-Image-2021-09-16-at-17-21-43-2.jpg


Within 3 hours half of the construction was already in place. The system works really modular and fast. On the side you can see a retractable hook system which keep the panels in place.

Whats-App-Image-2021-09-16-at-17-21-43-1.jpg


And by the end of the day the majority of the construction was done! Daughter for scale ;). It now still looks dirty but I was able to clean almost everything.

Whats-App-Image-2021-09-16-at-17-21-43.jpg


Since the construction is not weather proof I had to temporarily shield it from the weather conditions and placed a foil (later this was replaced by EPDM). I was now able to access the roof from my bedroom.

Whats-App-Image-2021-09-16-at-17-21-42-1.jpg


Next post: making it weather proof!
 
OP
OP
Luc Vogels

Luc Vogels

Active Member
View Badges
Joined
Dec 27, 2015
Messages
159
Reaction score
550
Location
Netherlands
Rating - 0%
0   0   0
At first I considered to place an additional wooden beam construction on top of the cell to strengthen the roof; but after the construction was placed I concluded it was not needed and a waste of materials and space.

Since I was about to apply a glued EPDM rubber I started by scrubbing the top surface. I then placed a wooden frame around the edges for the roofing trims. I have also added a small roof extension in front of the cell and included the rain water drain inside this extension.

Whats-App-Image-2021-10-08-at-14-49-02.jpg


Applying the EPDM (not glued yet)
Whats-App-Image-2021-10-08-at-14-49-01-1.jpg


This was the first time I worked with this material. Within a day we were able to glue the EPDM and place all roofing trims. Not bad for the first time...

The final results
Whats-App-Image-2021-10-08-at-14-49-00-3.jpg


I also made a start with the exterior of the cell. The original door did not fit anymore (it was a sliding door on the side and could not be used). I bought a second hand door which I was able to fit.

Creating the hole for the door

Whats-App-Image-2021-10-08-at-14-49-01.jpg


It fits!
Whats-App-Image-2021-10-08-at-14-49-00-1.jpg


And with the "composiet" material applied; (still have to clean and paint everything and finalize the inner part of the roof extension)!
Whats-App-Image-2021-10-08-at-14-49-00.jpg
 

revhtree

Owner Administrator
View Badges
Joined
May 8, 2006
Messages
47,740
Reaction score
86,936
Rating - 100%
1   0   0
AWESOME! This is some serious reefing going on here! :p
 

infinite0180

Valuable Member
View Badges
Joined
Apr 25, 2018
Messages
1,821
Reaction score
1,096
Rating - 100%
1   0   0
Hi Luc, i just ordered the CC gen 2. Are you still running the shallow reef profile? Looking for some advice on programming my new light! Thanks!
 
OP
OP
Luc Vogels

Luc Vogels

Active Member
View Badges
Joined
Dec 27, 2015
Messages
159
Reaction score
550
Location
Netherlands
Rating - 0%
0   0   0
AWESOME! This is some serious reefing going on here! :p
Thanks Rev... Can't wait to start with the real reefing part! The tank is coming in next Friday
Hi Luc, i just ordered the CC gen 2. Are you still running the shallow reef profile? Looking for some advice on programming my new light! Thanks!
Something simular to that indeed. Just keep the following guidelines in mind. I recommend 4-6 hours of intens white lighting during the day and a choice based on personal perception for the remainder of the day (for some it's white for other extreme blue). Do not extend the photo period for over 12-14 hours. If you follow these rules and scale the intensity based on you alkalinity consumption and coral colors you will always find a schedule which fits both you and your corals!
 
OP
OP
Luc Vogels

Luc Vogels

Active Member
View Badges
Joined
Dec 27, 2015
Messages
159
Reaction score
550
Location
Netherlands
Rating - 0%
0   0   0
I hereby want to share an image of the finalized externals of the freezer cell.

Street side:

Whats-App-Image-2021-10-11-at-15-47-56.jpg


flooring inside the freezer cell:

I started with 1cm thick trespa sheets (they were originally also in the cell, that's why they are so dirty).
Whats-App-Image-2021-10-11-at-15-43-41.jpg


I finished the floor by applying a linoleum floor:
Whats-App-Image-2021-10-11-at-15-47-54-1.jpg


Now I can dump a bucket of water on the floor without having to worry about it (everything will flow towards the drainage in the middle). I still need to paint the door and than all construction work is done!!
 
OP
OP
Luc Vogels

Luc Vogels

Active Member
View Badges
Joined
Dec 27, 2015
Messages
159
Reaction score
550
Location
Netherlands
Rating - 0%
0   0   0
A new update regarding the progress of my new aquarium build!
I hope to make some big steps in the upcoming Christmas holidays..

When the house was build; a so called "broodjesvloer" method was typically used in the Netherlands. It is not that strong and suitable for heavy weights. Therefore I decided to brace/fortify the floor from below.
Also very common in the Netherlands is the so called "kruipruimte"; an area under the house used for pipework.
Normally it is rather height: ~70cm; but this one is isolated and the height to only 50cm.
So it was a huge challenge to get all the stuff in place but I needed to go in there anyway because I had to make the water/electronic supply to the cooling cell.

In the end we had spend over 4 hours in there.. what a job :D.

This is one of the pathways which was extra low.. we had to crawl through there with all the equipment..
Whats-App-Image-2021-12-20-at-12-53-46.jpg


The fortifications

Whats-App-Image-2021-12-20-at-12-53-47-1.jpg


And me being happy I was done :)

Whats-App-Image-2021-12-20-at-12-53-47.jpg


I also had to replace the metering cabinet since it was outdated and had no expansion options

old situation:
Whats-App-Image-2021-12-20-at-12-50-21-2.jpg


and new:

Whats-App-Image-2021-12-20-at-12-50-21-1.jpg


And I want to end with some images of the installation of the tank (done by Aqualife):

Whats-App-Image-2021-12-20-at-12-50-22-2.jpg


The installation went rather easy.. but it helped they brought good equipment for the lifting.
Whats-App-Image-2021-12-20-at-12-50-22-1.jpg


Whats-App-Image-2021-12-20-at-12-50-22.jpg


And finished:

Whats-App-Image-2021-12-20-at-12-50-20.jpg
 
OP
OP
Luc Vogels

Luc Vogels

Active Member
View Badges
Joined
Dec 27, 2015
Messages
159
Reaction score
550
Location
Netherlands
Rating - 0%
0   0   0
It's over two months since my last update but I made a lot of progress in the meantime!

I have spend most time building the control room but first would like to share the progress I made with the automated lift for my lighting system. My wish was to be able to move the lighting frame up and down (so I have enough access to the tank when I want to work in it). Our company was in the middle of an internal move and by change an automated lighting system was destined for scrap! I was able to buy it for a nice price so I could use it for my tank. The system is completely over designed for my application.. but I was to tempted to include this tech in the system.

The frame (housing 7 CoralCare fixtures) was made from 3030 aluminium.
(In practice this was actually not strong enough.. later some more information about that).

Whats-App-Image-2022-02-18-at-09-55-17.jpg


I needed to drill some holes between the living room and the control room (outer brick walls + 15cm isolation from the control room)

Whats-App-Image-2022-02-18-at-09-55-17-2.jpg


It was a real hassle to get this motor in place. It was over 40 kilograms and took 4 hours.
Whats-App-Image-2022-02-18-at-09-55-17-1.jpg


The pulleys for the frame (right side):

Whats-App-Image-2022-02-18-at-09-55-18.jpg


Left side:

Whats-App-Image-2022-02-18-at-09-55-18-2.jpg


The control box in the control room

Whats-App-Image-2022-02-18-at-10-08-08.jpg


Whats-App-Image-2022-02-18-at-10-08-08-1.jpg
 

Caring for your picky eaters: What do you feed your finicky fish?

  • Live foods

    Votes: 20 31.3%
  • Frozen meaty foods

    Votes: 52 81.3%
  • Soft pellets

    Votes: 10 15.6%
  • Masstick (or comparable)

    Votes: 7 10.9%
  • Other

    Votes: 3 4.7%
Back
Top