Luc Vogels's 600+ gallon CoralCare Reef

OP
OP
Luc Vogels

Luc Vogels

Active Member
View Badges
Joined
Dec 27, 2015
Messages
159
Reaction score
550
Location
Netherlands
Rating - 0%
0   0   0
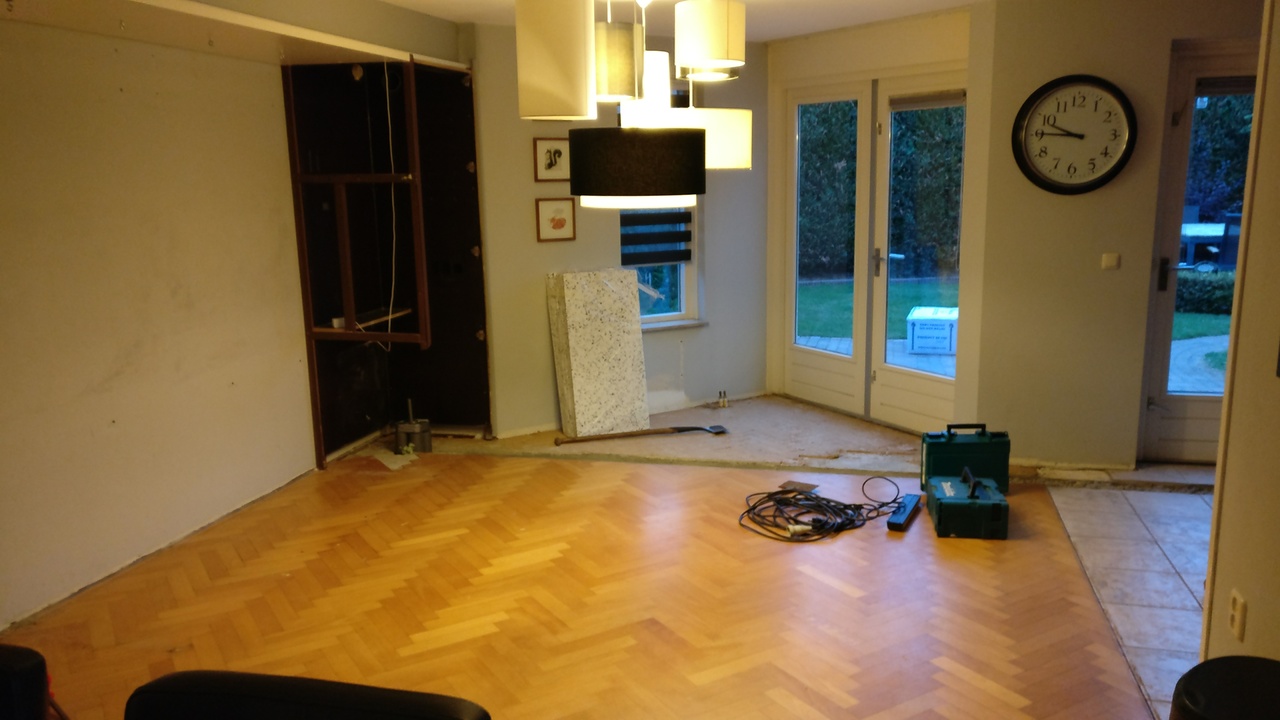
I hereby want to share some images of the renovation!

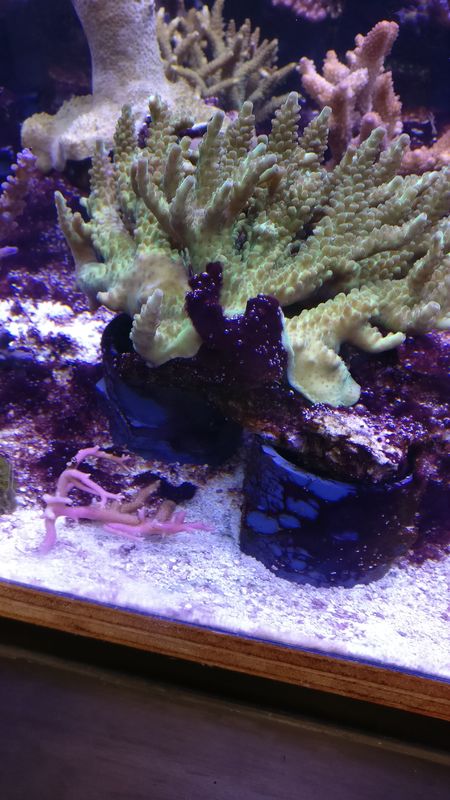
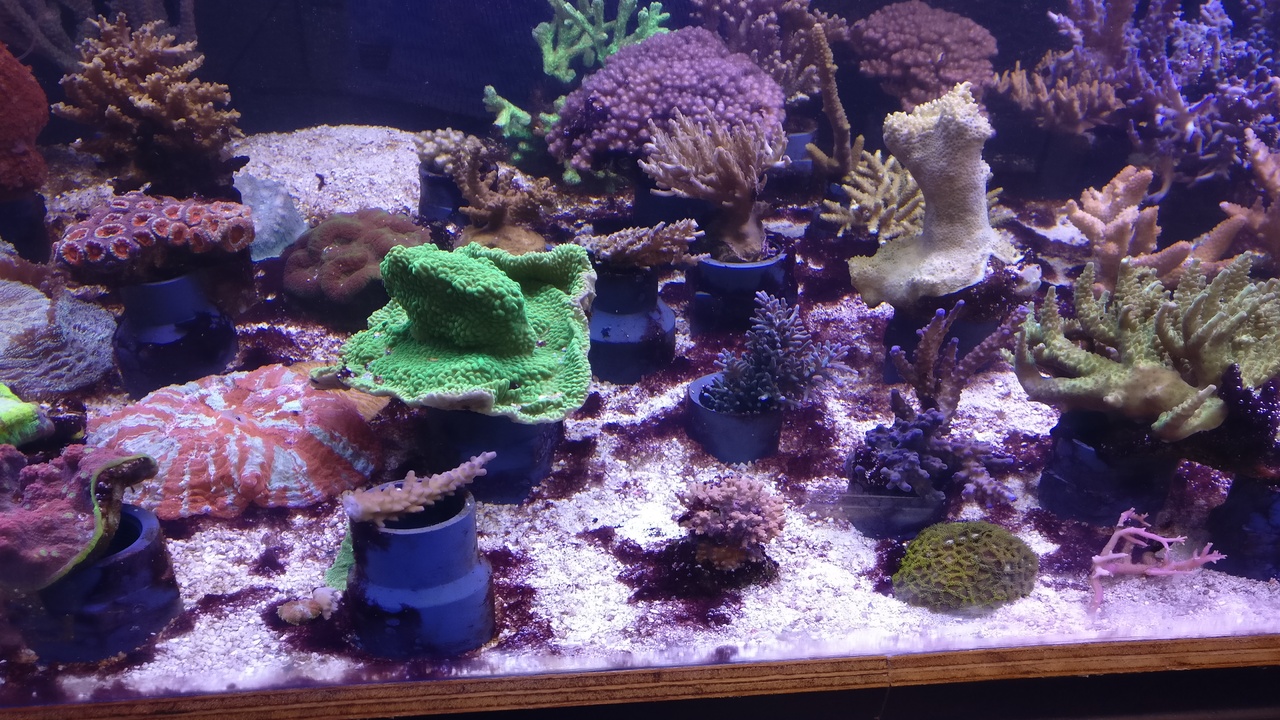
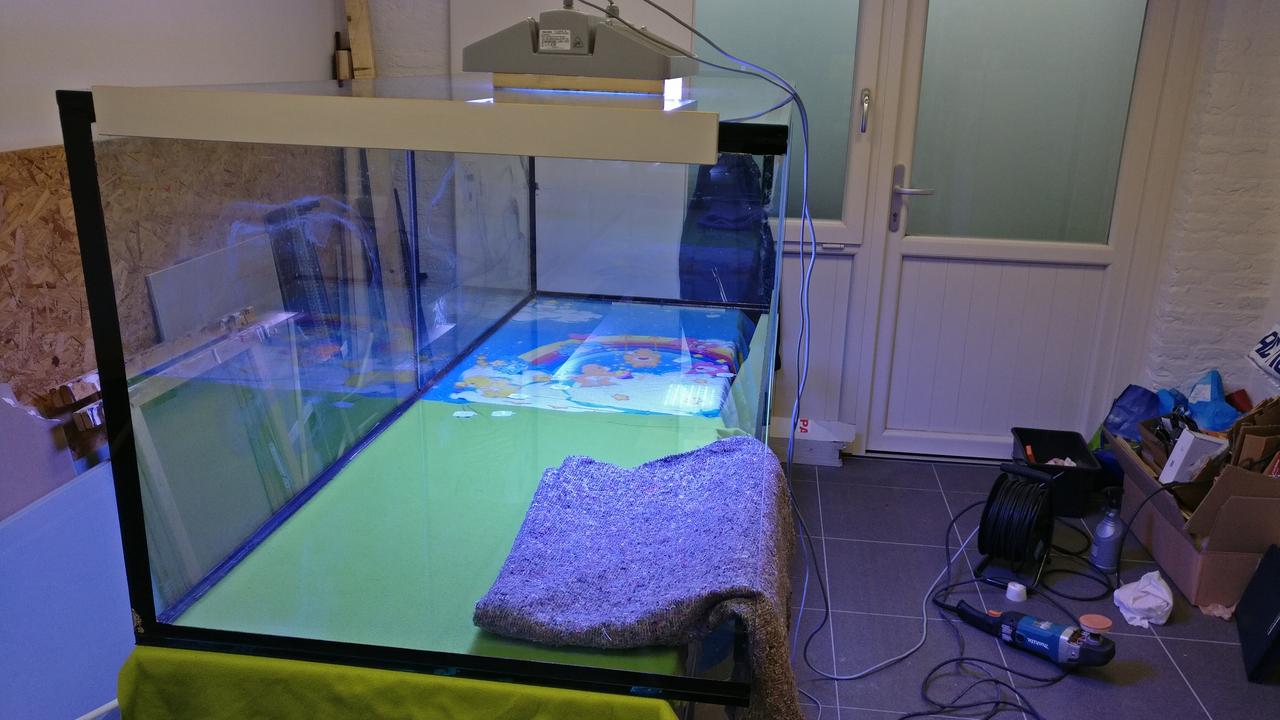
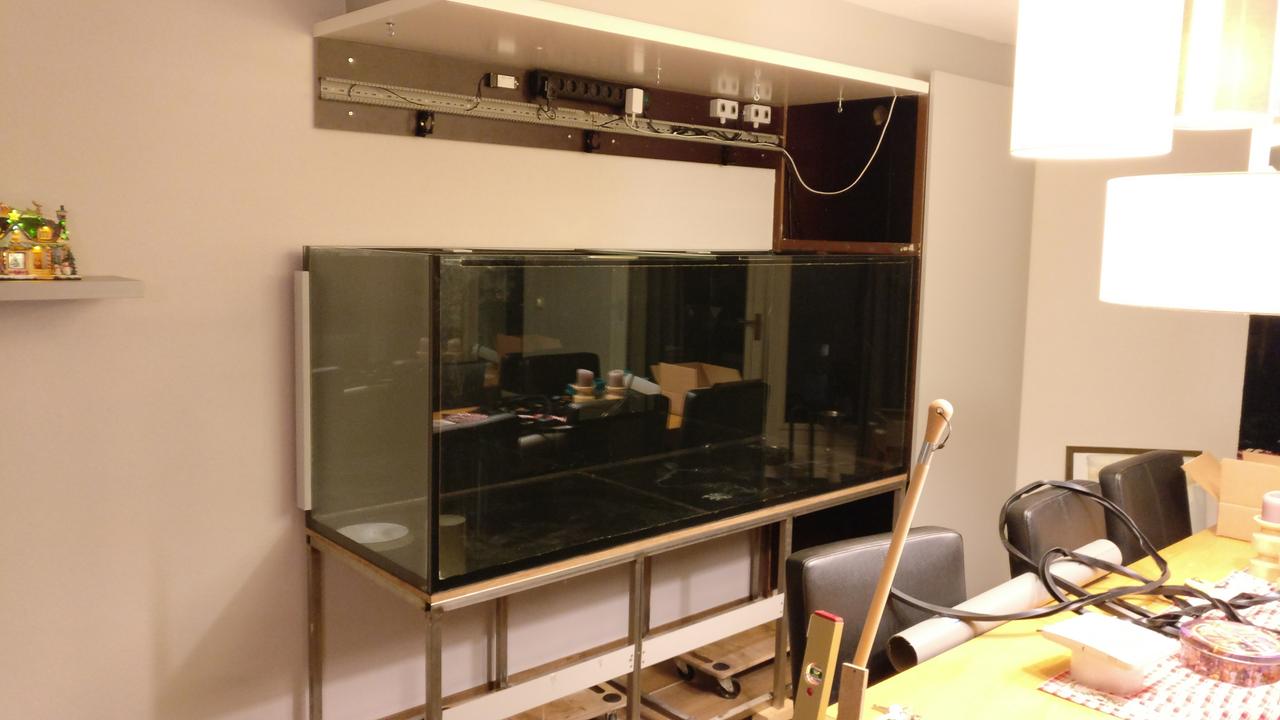
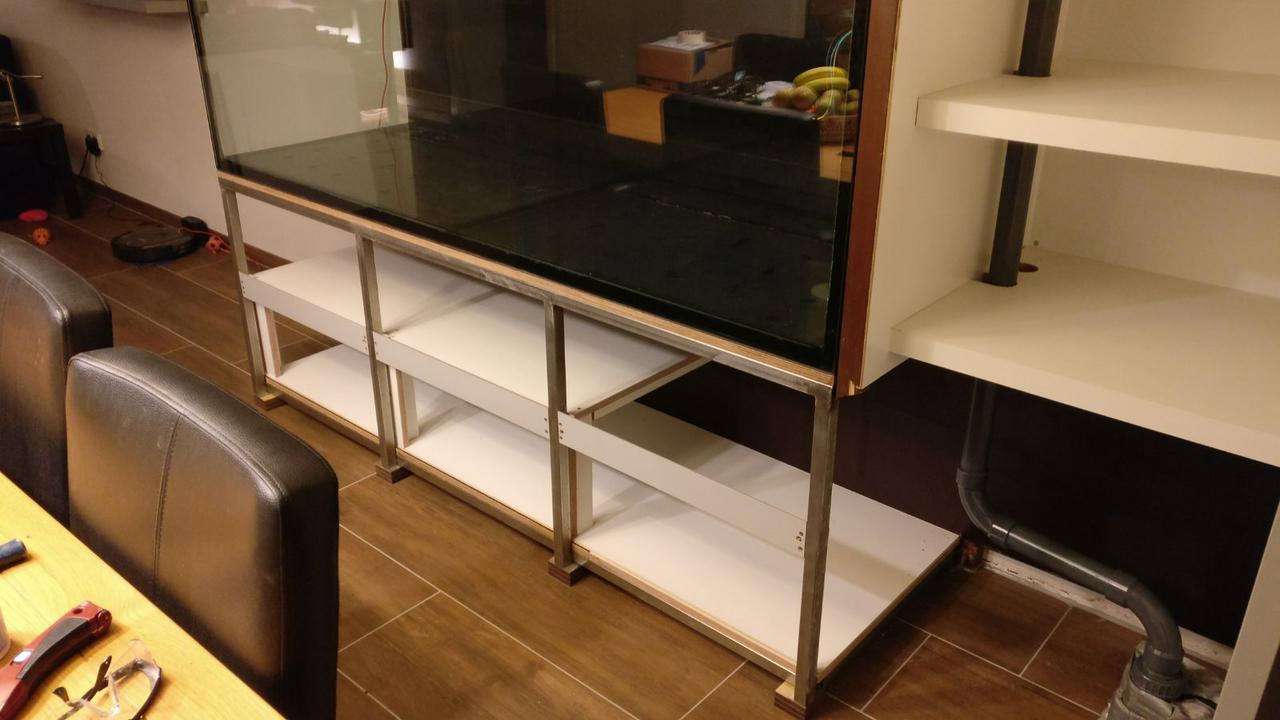
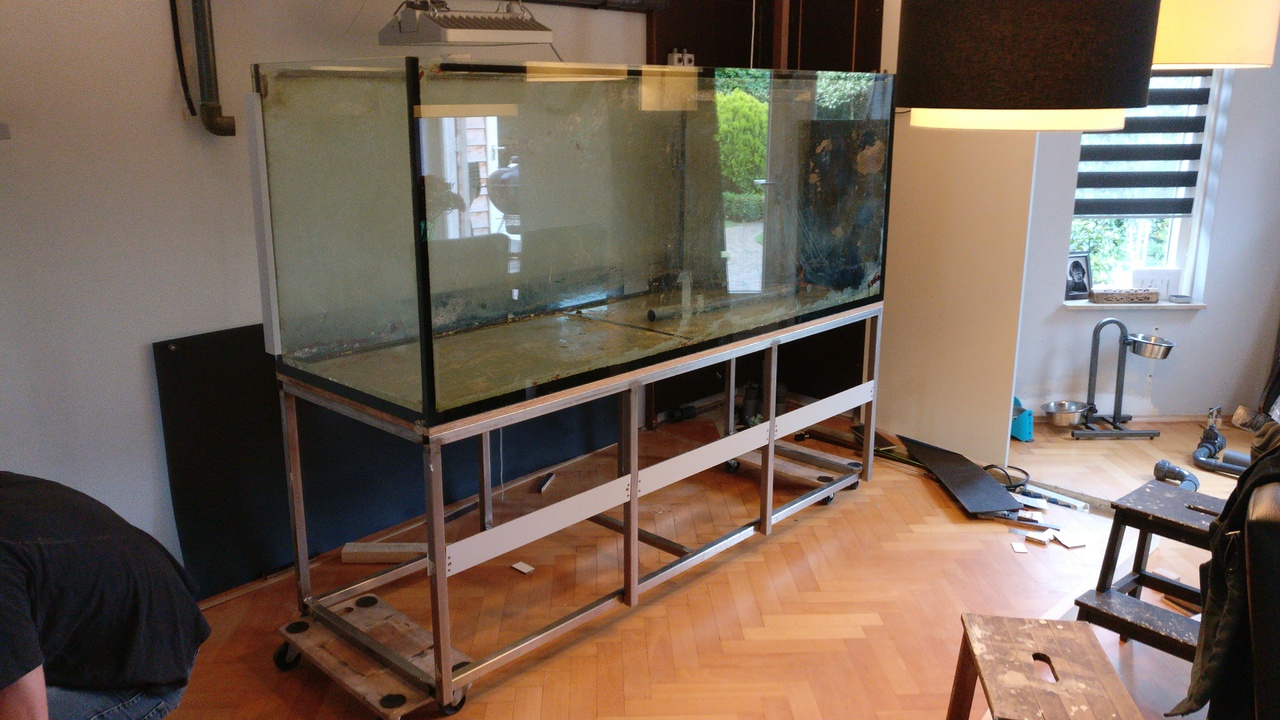
The aquarium is emptied :(
The move of the tank (from living room to garage) went rather smooth.
With 3 men we lifted each side of the tank stand and placed a small rollerboard below it so we could easily role it to the garage.
The tank is now ready for a good cleaning...

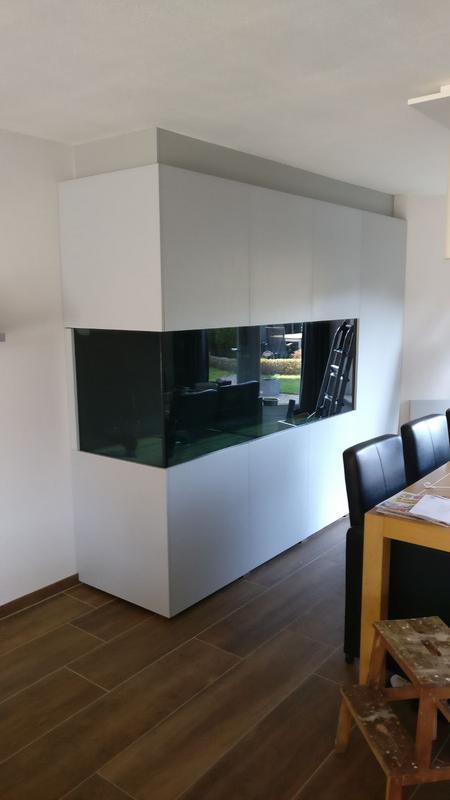
I still have to decide what to do with the front window...

It contains some scratches that annoyed me when it was full of water.
I can replace the front window (with the risk the glass construction is weakened) or polish it (with the risk of optical deformation... what would you do?

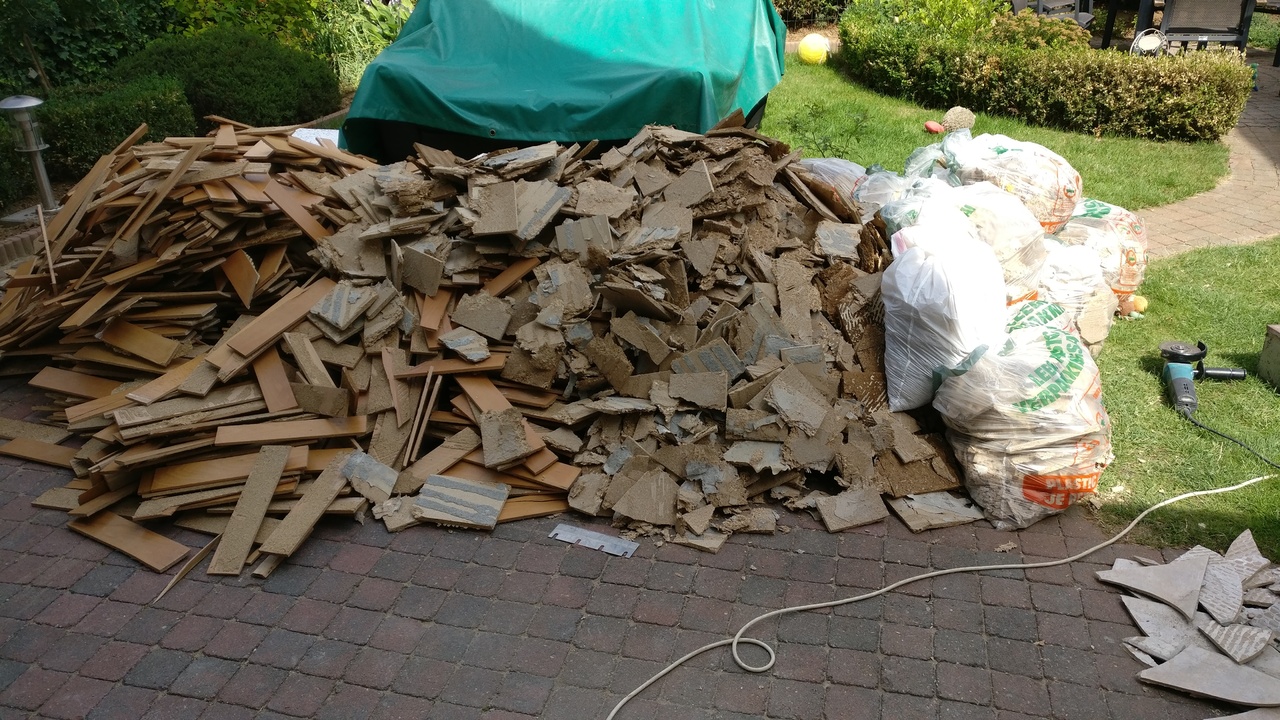
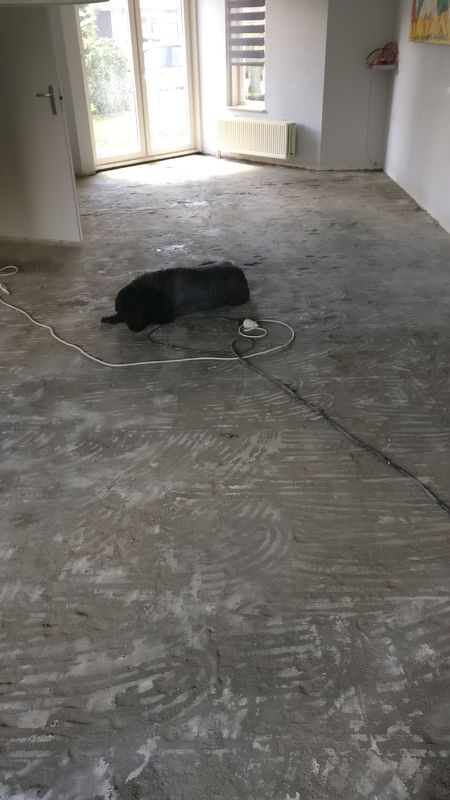
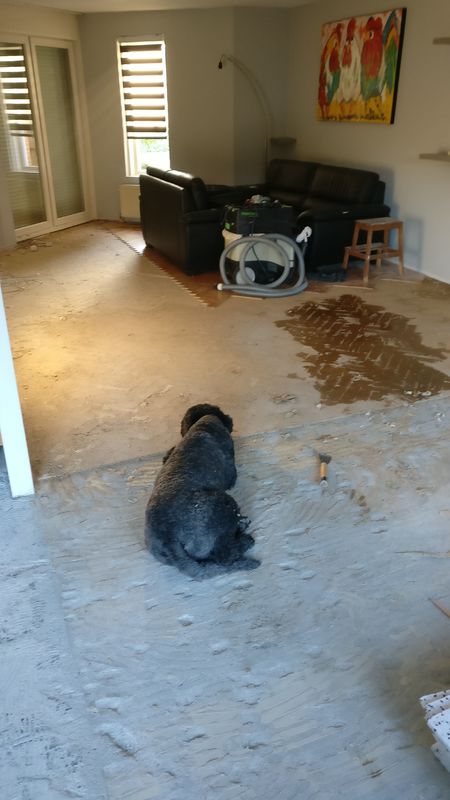
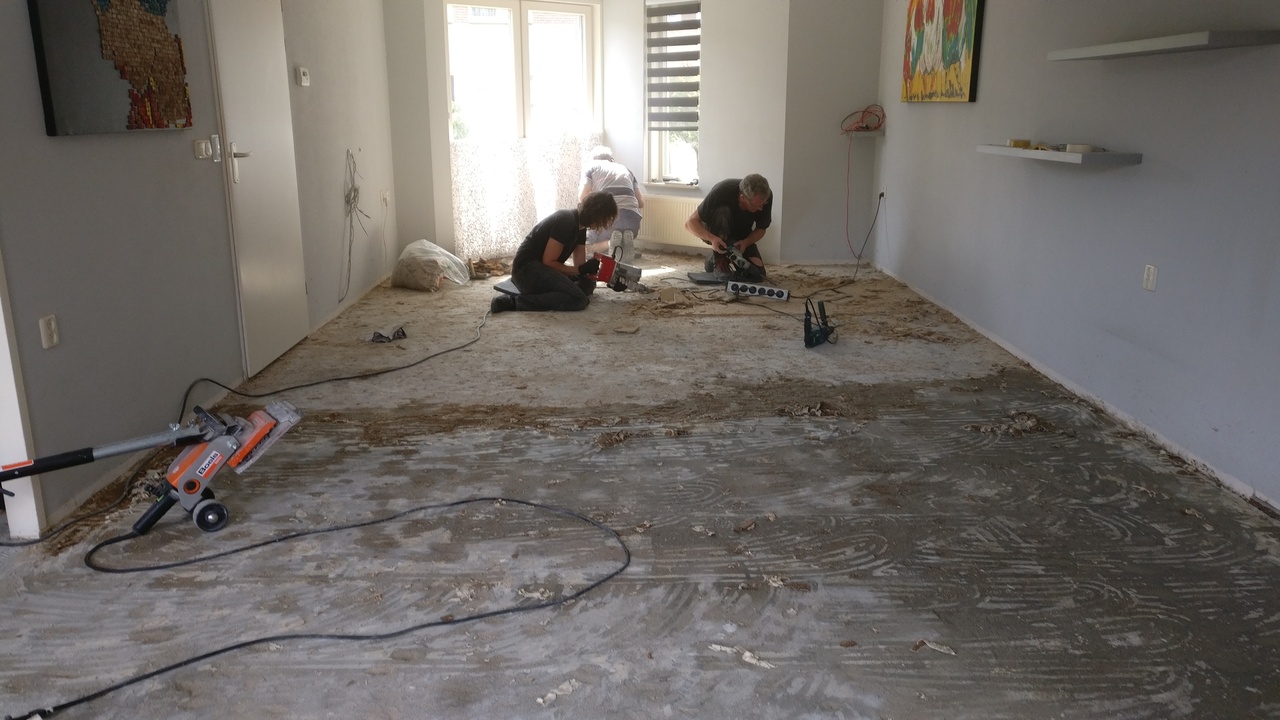
We also started with the removal of the wooden floor. It was really difficult and a lot of work.
It was easy to remove the top layer, but the OSB boards below it were glued to the floor.
We tried everything to simplify the work but in the end it took us 3 days with 4 men :(.

Next project is the demolishing of the toilet and hallway... what a party :p

IMG_20170713_195251.jpg


IMG_20170714_214358.jpg


IMG-20170718-_WA0003.jpg


IMG_20170722_161104.jpg
 
OP
OP
Luc Vogels

Luc Vogels

Active Member
View Badges
Joined
Dec 27, 2015
Messages
159
Reaction score
550
Location
Netherlands
Rating - 0%
0   0   0
IMG_20170722_161113.jpg


IMG-20170723-_WA0005.jpg


The dogs are not that happy with this change :p

Unfortunately I also have some bad news.
I really have troubles with cyanobacteria in my fragtank.
The sandbed is covered and start to consume the base of all the corals (very slowly).
The tank that runs in parallel with the fragtank has no problems with cyano and I cant find a real root cause (water parameters are OK and the waterflow is excellent).

I already received some treatment tips, but more are welcome!


IMG-20170724-_WA0005.jpg
[/QUOTE]
 
OP
OP
Luc Vogels

Luc Vogels

Active Member
View Badges
Joined
Dec 27, 2015
Messages
159
Reaction score
550
Location
Netherlands
Rating - 0%
0   0   0
@reefwiser ; thanks for the video's!
After validation I decided to start using Chemiclean.
Today I applied the product and in two days I will start adding fresh bacteria perform a water change and add fresh carbon media.
I will make some pictures during the different phases.
 
OP
OP
Luc Vogels

Luc Vogels

Active Member
View Badges
Joined
Dec 27, 2015
Messages
159
Reaction score
550
Location
Netherlands
Rating - 0%
0   0   0
I want to share an update regarding the cyano bacteria:

Before adding Chemiclean:

IMG_20170726_192123.jpg


IMG_20170726_192126.jpg


Last week I added the Chemiclean product to my fragtank.
I following the following procedure:

On the day I added the Chemiclean product I started by removing most of the cyano (suction with hose). I disabled all filtering elements (UV filter, absorbers, carbon .....).
After adding the product the skimmer was instantly overflowing (within 2 minutes!).
I had to remove the returnpipe (what determines the waterheight in the skimmer) to keep the foam production under control. It is not advised to disable the skimmer because a healthy oxygen level is required for successful treatment.

This was the result after 48 hours:

IMG_20170728_172834.jpg


IMG_20170728_172839.jpg


In the meanwhile (after the 48 hours) I exchanged 2x15% of water, added carbon media and dosed bacteria on daily basis (special blend products).
The nitrate and phosphate values are elevated a bit (No3 from 1 to 3-5 and P04 from 0.048 to 0.09) but this is luckily slowly dropping again.

Is this problem solved now? I am rather sceptic about it.
The extreme cyano problem is solved. But I expect that it returns in a few weeks (now after one week I se the first brown spots on the sand bend (this could be from the elevated nutrition values, but could also be the start of cyano)).

So in the meanwhile I am looking for a better way/product to add bacteria (that compete with the cyano). Why? I have the impression the special blend product contain some degree of contamination that increase the P04 values while dosing.
 

MaccaPopEye

Well-Known Member
View Badges
Joined
Jan 5, 2016
Messages
697
Reaction score
1,232
Rating - 0%
0   0   0
In the first months I used a PH controlled calciumreactor from Schuran but I decided to build a new one based on the extremely reliable and innovative DaStaCo principle.
I have designed everything from scratch (from software to hardware choice) and had much fun building this!
The reactor does not need an active PH probe which measures the PH value, but functions with a dissolved CO2 saturation limit. The dosing pump then determines how much of this calcium enriched water is dosed to the aquarium. It also includes protection and alarms against malfunction (empty C02 bottle, faulty pressure or level valve ...)
image.jpg

Today (~3 years later) it still works very well and has more than sufficient capacity for my system.
I finished the installation of my DIY calcium reactor.
The reactor now holds about 25 kilogram of media and keeps the Kh/Calcium levels extremely stable.
Something about the reactor:
The system runs on a 8-bit Atmel microcontroller and steers 3 channels (1 dosingpump, 1 C02 valve, and the circulation pump).
All control decisions are based on two inputs; A potentiometer to set the speed of the dosingpump (ml/hour) and a float switch to read the c02 saturation status in the chamber.
By knowing when you enable the outputs and reading back the status of the float switch you can determine if the system is working properly.
A simple example.. if you enable the C02 valve you expect that the saturation chamber is getting filled with c02 (and eventually hit the float switch so it changes state).
If this does not occur within a few minutes we know that the c02 bottle is empty.
Another example... We detected that the saturation state of the chamber is reached... then we wait i.e. 5 minutes so the c02 level in the chamber should be reduced.
If we check after 5 minutes that the state of the float switch is not changed, we know that the c02 valve is still open --> malfunctioning valve
based on these simple rules (and some additional logic to prevent false triggers during e.g. startup) the system works reliable and maintenance free.
The noticed that the new reactor of pacific sun also use the same principles.
IMG_20170308_195317.jpg

Hey Luc,

Amazing tank and well done with the progress of the move so far! It looks like the coral care lights are really doing a great job.

I really like your DIY calcium reactor, it looks really well built, easy to use and very reliable (the best designs are simple yet effective). Did you have any plans to release the software and any build instructions? I'm going to be building a DIY controller in the next couple of months using instructions and software (ReefPi) being developed by a fellow Reef2Reef user and I was thinking that if I manage to do that without to many issues I could look into a DIY calcium reactor for my next project.

Cheers,

Macca
 
OP
OP
Luc Vogels

Luc Vogels

Active Member
View Badges
Joined
Dec 27, 2015
Messages
159
Reaction score
550
Location
Netherlands
Rating - 0%
0   0   0
Hey Luc,

Amazing tank and well done with the progress of the move so far! It looks like the coral care lights are really doing a great job.

I really like your DIY calcium reactor, it looks really well built, easy to use and very reliable (the best designs are simple yet effective). Did you have any plans to release the software and any build instructions? I'm going to be building a DIY controller in the next couple of months using instructions and software (ReefPi) being developed by a fellow Reef2Reef user and I was thinking that if I manage to do that without to many issues I could look into a DIY calcium reactor for my next project.

Cheers,

Macca
Hi Macca, Thanks for the kind words!
The calcium reactor concept is indeed simple, effective and very reliable.
The design is based on the DaStaCo reactor; it is unique and all the credits go to this company.
I build the reactor and control as a sort of Friday afternoon experiment and do not intent to share this with anyone.
I hope you understand this :)

Good luck designing your own controller... it is surely a lot of fun to do!
 

MaccaPopEye

Well-Known Member
View Badges
Joined
Jan 5, 2016
Messages
697
Reaction score
1,232
Rating - 0%
0   0   0
Hi Macca, Thanks for the kind words!
The calcium reactor concept is indeed simple, effective and very reliable.
The design is based on the DaStaCo reactor; it is unique and all the credits go to this company.
I build the reactor and control as a sort of Friday afternoon experiment and do not intent to share this with anyone.
I hope you understand this :)

Good luck designing your own controller... it is surely a lot of fun to do!

Thanks for the reply and I completely understand mate! I'm teaching myself programming slowly in my spare time so I'll look into how the DaStaCo reactors work and might have a go at it myself after the controller build is done :)
 
OP
OP
Luc Vogels

Luc Vogels

Active Member
View Badges
Joined
Dec 27, 2015
Messages
159
Reaction score
550
Location
Netherlands
Rating - 0%
0   0   0
My last build thread update was about 2 years ago...oops.
I am still having a lot of fun with this hobby and kept photographing my reef every once in a while.
So what the heck... why not start posting again!

so.... stepping back to August 2017.
I had just emptied my display tank due to the planned renovations in the living room.
The move itself went well and I was able to successfully transport all corals to the tanks in the garage.

Unfortunately it went downhill from that moment and lost 1/3rd of my corals!
This was caused by the non ideal conditions in the garage, an outbreak of cyano and as a final blow: AEFW!

I have battled this wretched plague for months and experimented with various methods
IMG_20170829_214814_arrow.jpg


I learned that dipping corals is not really effective (the moment you already have a large outbreak) because it also affects the health of the corals. The corals are weakened from the dip, start losing tissue and provide excellent new conditions for the AEFW to lay more eggs. So I started to look for less time consuming (dipping 50 corals 3 times a week was also a lot of work) and more natural solution to my problem.
Fast forwarding to the final method which worked --> one of the main reasons the AEFW kept coming back was the fact that i used PVC parts to support the corals in the frag tanks. This prevented the fish to access and clean the bottom parts of the corals. Eventually i bought Aqua Medic Coral Holders :

aquamedic-coral-holder-basetta-per-coralli.jpg


These holders are able to clamp a coral while ensuring small wrasses are able to access the bottom parts of the coral.
I also started to experiment with various fish species to determine which has AEFW on its daily menu.
It turned out that a pair of synchiropus ocellatus and a shool of pseudocheilinops ataenia proved to be most effective.

synchiropus ocellatus
Synchiropus_ocellatus_13.jpg


pseudocheilinops ataenia
Pseudocheilinops_ataenia.jpg


Within days they were able to clean the corals and prevent the AEFW from spreading.
After some additional weeks the corals regained health and were able to fight of the flat worms themselves (increased coral slime production prevented to flat worms from nesting on healthy tissue).

So after some months I was able to control the AEFW and ready to rebuild my display tank!
In the meantime I finished the renovations in the living room; the next post will show some of the steps (re polishing the front window of the tank, rebuilding the cabinet and rebuilding the rockscape)
 
OP
OP
Luc Vogels

Luc Vogels

Active Member
View Badges
Joined
Dec 27, 2015
Messages
159
Reaction score
550
Location
Netherlands
Rating - 0%
0   0   0
After the renovations in the living room I started to think what to do with the my display tank.
The tank had some scratches in the front glass panel (both on the inside and on the outside).
I discussed with a tank manufacturer if they could replace the front window.. but the offer they gave was shockingly expensive. They explained the removal of the kit is a very time consuming activity and also could not give any warranty.
This did not sound attractive to me and searched for some alternatives. Eventually I came on contact with a glass polishing company (which normally polish glass windows of shops). For them, polishing an aquarium was a first time but they were confident to take up the challenge. It took them 7!! hours to polish the both sides of the glass. It proved to be more time consuming then accounted for (and also quite heavy work because they need to push on the glass). But the final result was amazing.. the small scratches were gone and the very deep cuts reduced to almost negligibly cuts.

IMG_20171220_141454.jpg


While the tank was laying on its side I used this opportunity to paint the back part black. I also added an extra plexiglass bottom in the tank to prevent the rocks scratching the glass.

IMG_20171225_163941.jpg


Ignore the Care Bears blancket this was the only one I could find :) :)
 
OP
OP
Luc Vogels

Luc Vogels

Active Member
View Badges
Joined
Dec 27, 2015
Messages
159
Reaction score
550
Location
Netherlands
Rating - 0%
0   0   0
After polishing the tank it was time to rebuild the cabinet in the living room.
Due to the system expansion in the garage it was no longer needed to reserve filter space below and next to the aquarium . So in the living room I kept the amount of electronics to a minimum and only placed a 24V and 230V bus to power the lighting, pumps and ventilation.

IMG_20171227_205706.jpg


(24V supply and separate 230V group directly from the metering cabinet).
IMG_20171228_192443.jpg


and a new interior for the cabinet next to the tank (which is now used for storing groceries :) ).
Whats_App_Image_2018-02-22_at_12.37.53_2.jpg


and after finalizing (part of the) pipework (connecting the tank to the system in the garage)

Whats_App_Image_2018-02-22_at_12.37.53_1.jpg


Below the tank I have also created some more storage space.
This is now used for the fancy glasses and tableware (hence this will be used once a year during Christmas ;) )

Whats_App_Image_2018-02-22_at_12.37.52_3.jpg


and the final result (with finished cabinet, aquarium and flooring) :

Whats_App_Image_2018-02-22_at_12.42.11.jpg


And what do you think?
 
OP
OP
Luc Vogels

Luc Vogels

Active Member
View Badges
Joined
Dec 27, 2015
Messages
159
Reaction score
550
Location
Netherlands
Rating - 0%
0   0   0
OP
OP
Luc Vogels

Luc Vogels

Active Member
View Badges
Joined
Dec 27, 2015
Messages
159
Reaction score
550
Location
Netherlands
Rating - 0%
0   0   0
After finalizing the cabinet in the living room it was time for the reefscape.
My previous build included a large bridge.
This creates a lot of free swimming space for the fish but also provides limited space to house corals.
So this time I went for a rather simple scape which just serves as a basic structure to house the corals.

Whats_App_Image_2018-02-26_at_16.40.55.jpg


Whats_App_Image_2018-02-26_at_16.40.55_1.jpg


In March 2018 I decided the reef was ready and transferred the majority of the animals back to the display tank:

image2.jpg


Honestly... at that time... I felt like I made a huge mistake emptying the tank for renovations..
Before the renovations the tank looked beautiful and maintenance was very easy.

DSC_0434.jpg


Now I was again had to battle with standard startup issues such as unstable water parameters and algea development.
But eventually (now ~1.5 year later) it all ended up OK and we are happy we did this project.

Due to the new available space in the fragtank I also start creating frag rocks
This is a fun activity to do and I was able to create over 400 pieces in a single day.

Whats_App_Image_2018-02-22_at_12.37.52.jpg


I used 1/5 black sand, 2/5 shell fragments, 2/5 basic 3mm sand. This was mixed with 2/1 of white cement.
It takes about 1 day for them to harden and than about 4 weeks to be sure the chemical process is fihished (This is done by placing the frag rocks in a bath of RO/DI water).
 

maroun.c

Moderator
View Badges
Joined
Feb 13, 2011
Messages
4,132
Reaction score
6,435
Location
Lebanon
Rating - 0%
0   0   0
Tank looks.amazing Luc. Looking at it after it was refilled with corals one wouldn't guess it's a "new" tank.
What lights u going with this time ;)
 

Daniel@R2R

Living the Reef Life
View Badges
Joined
Nov 18, 2012
Messages
37,477
Reaction score
63,857
Location
Fontana, California
Rating - 100%
1   0   0
Amazing!!
 

Fusion in reefing: How do you feel about grafted corals?

  • I strongly prefer grafted corals and I seek them out to put in my tank.

    Votes: 3 4.0%
  • I find grafted corals appealing and would be open to having them in my tank.

    Votes: 43 57.3%
  • I am indifferent about grafted corals and am not enthusiastic about having them in my tank.

    Votes: 21 28.0%
  • I have reservations about grafted corals and would generally avoid having them in my tank.

    Votes: 5 6.7%
  • I have a negative perception and would avoid having grafted corals in my tank.

    Votes: 3 4.0%
Back
Top