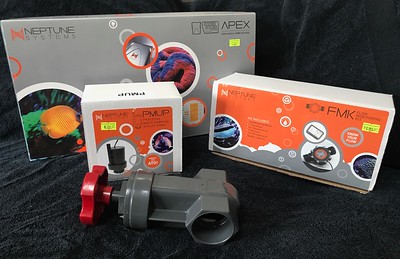
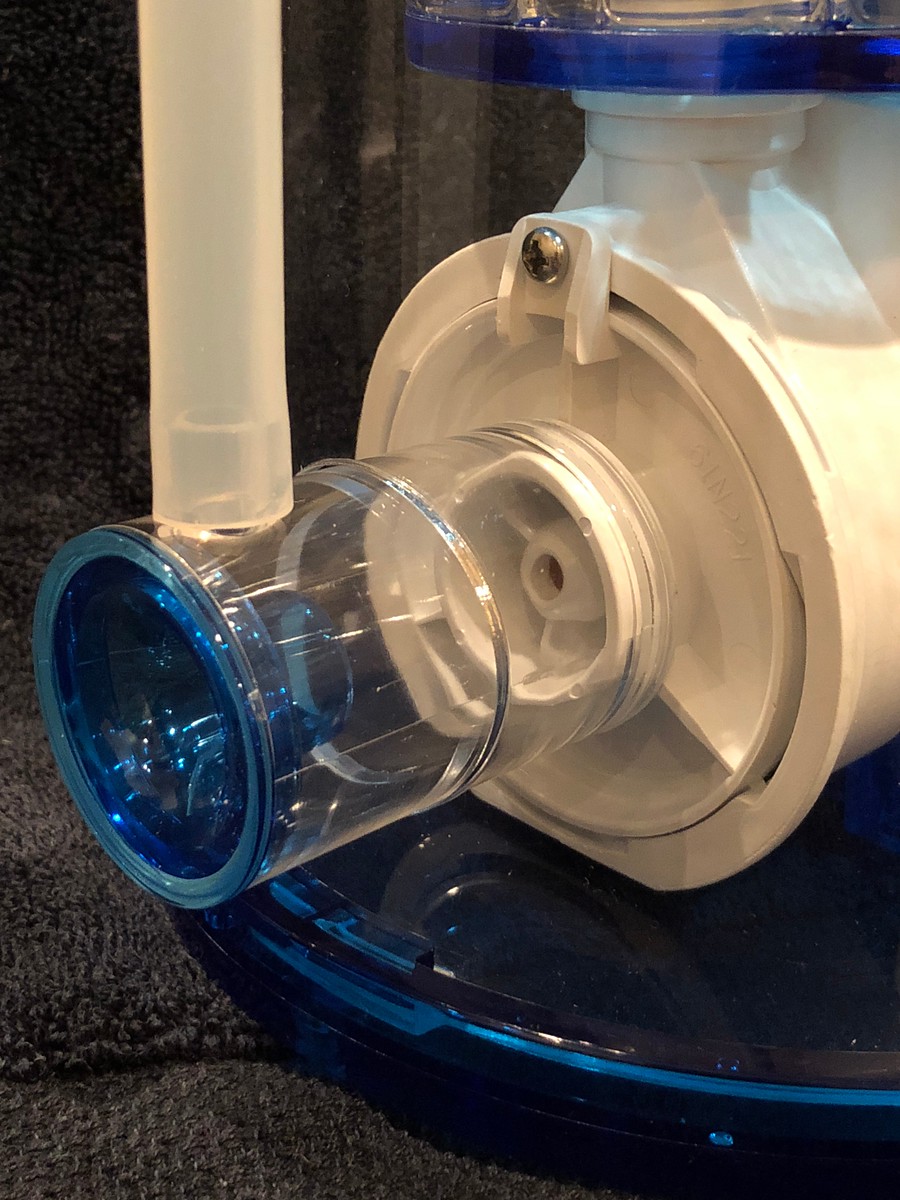
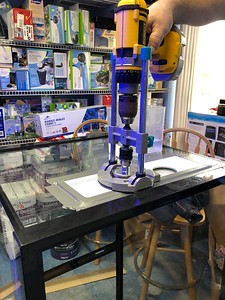
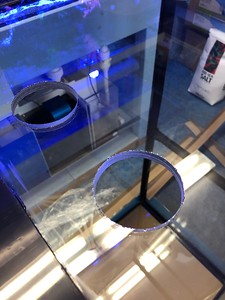
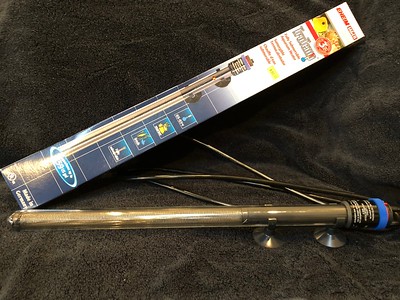
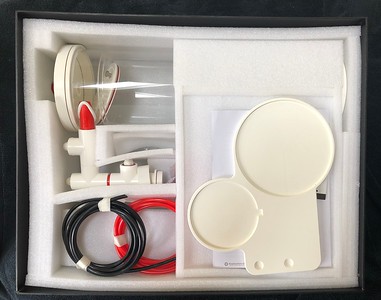
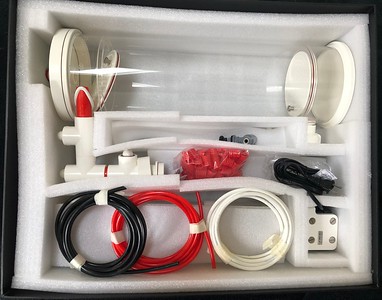
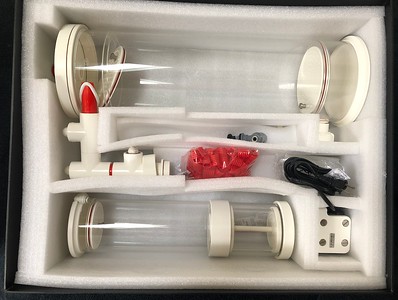
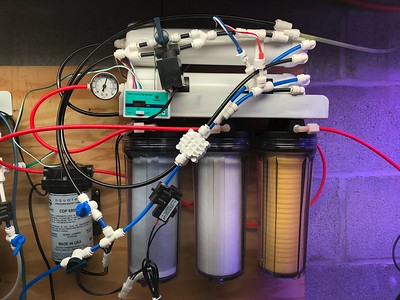
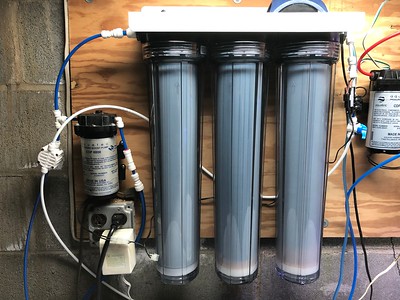
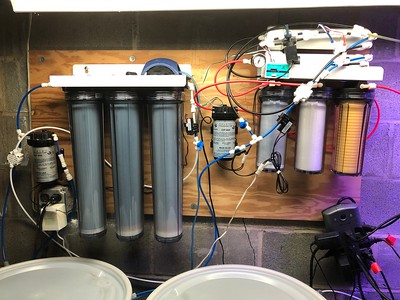
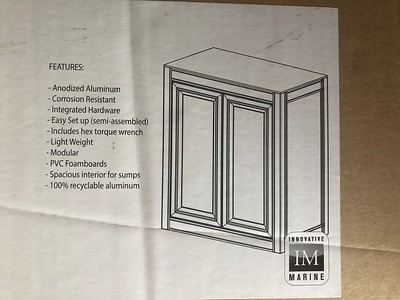
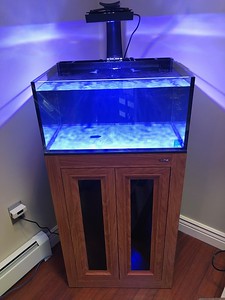
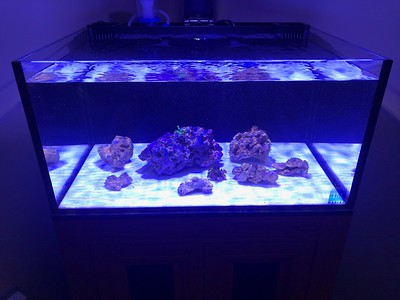
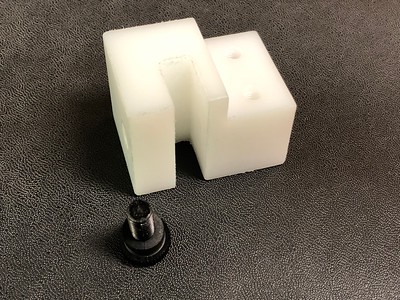
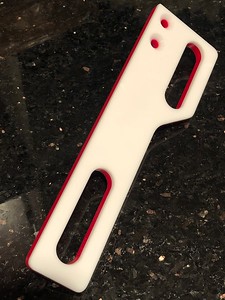
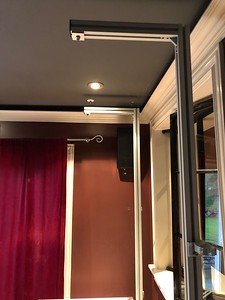
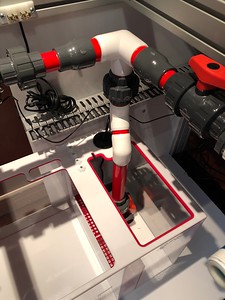
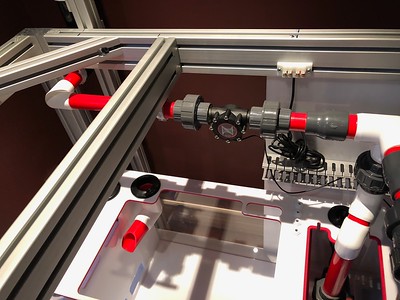
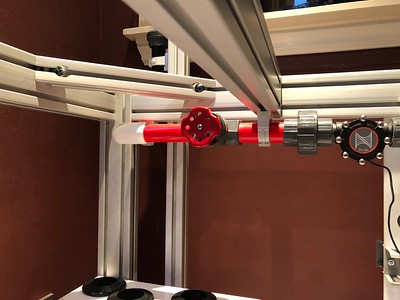
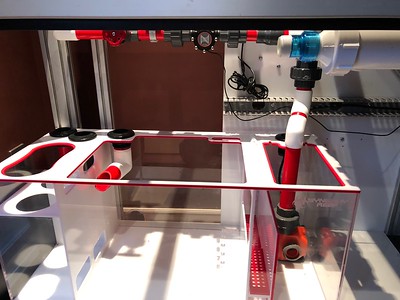
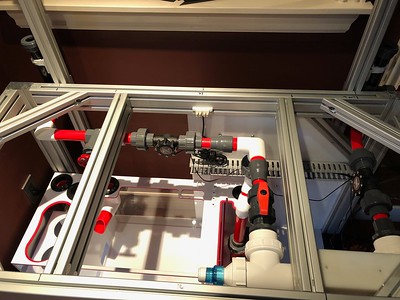
Ok, not much to see. This will be more of an ongoing diary vs a build thread.
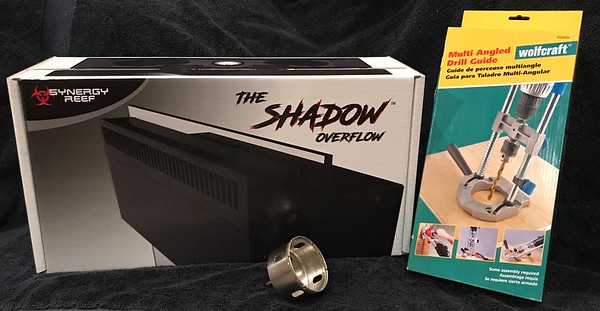
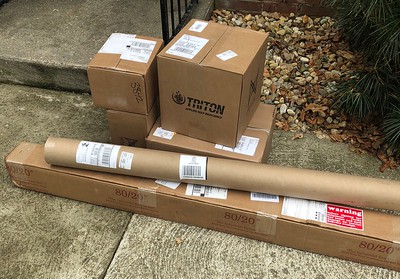
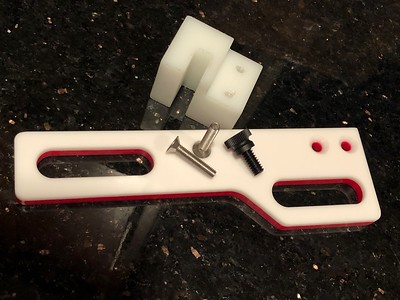
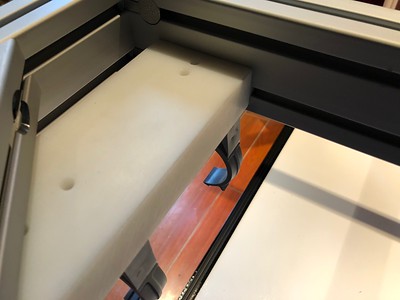
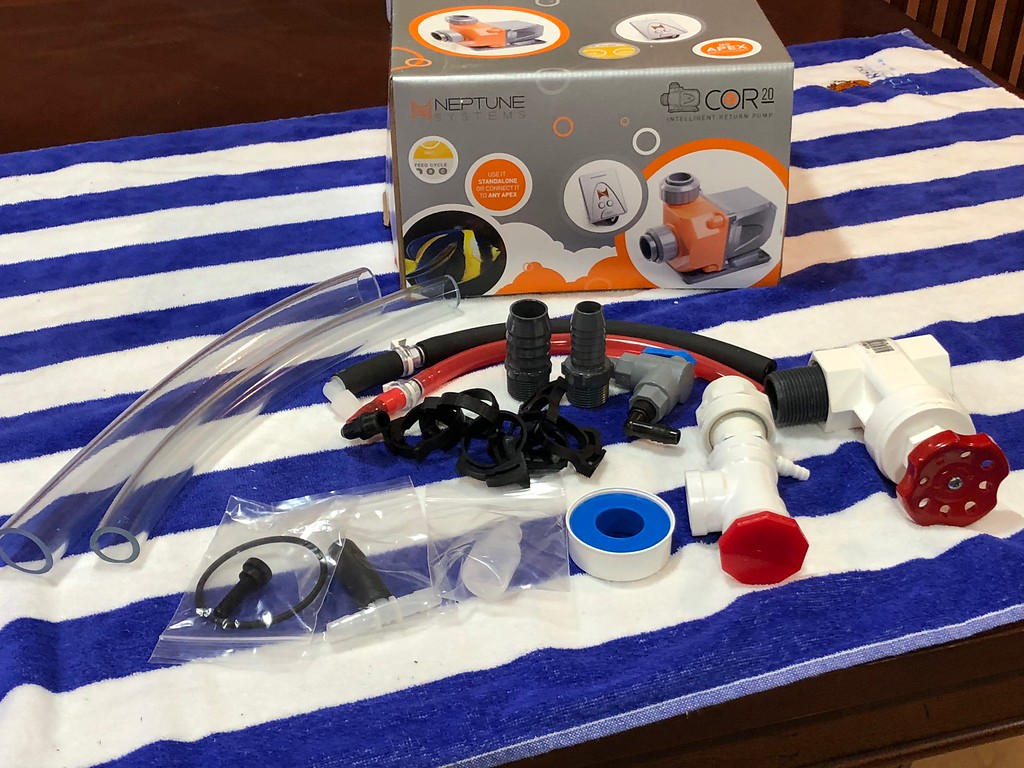
More details to come soon.
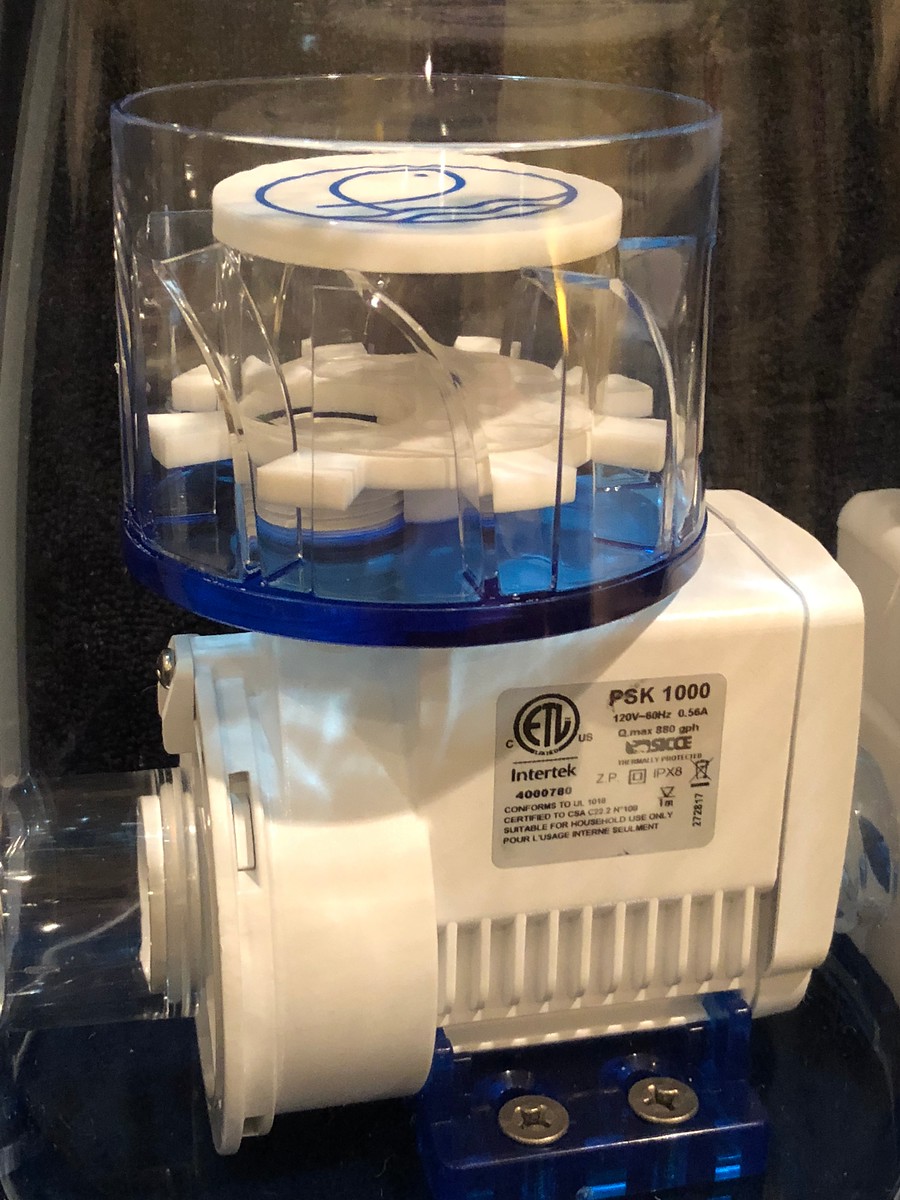
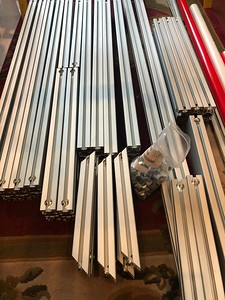
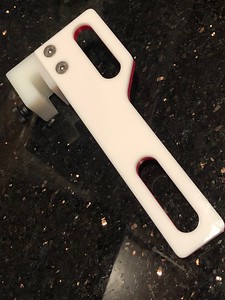
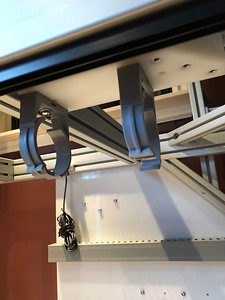
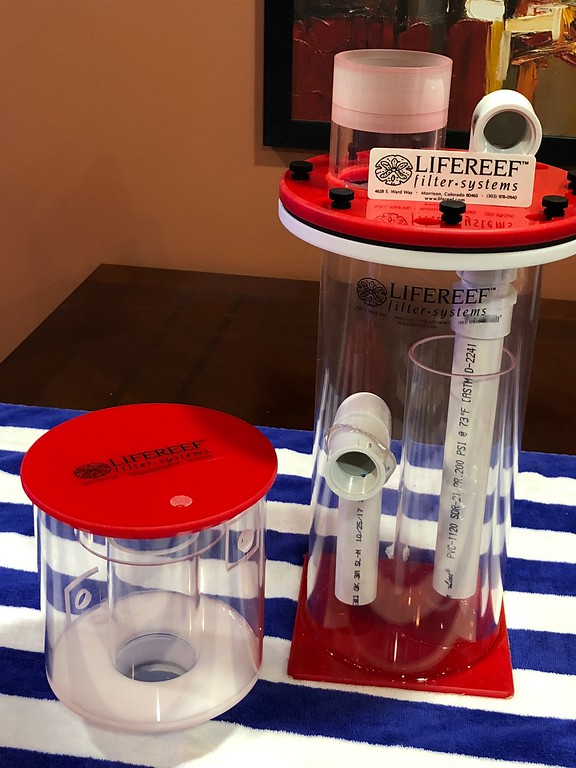
More details to come soon.
Follow along with the video below to see how to install our site as a web app on your home screen.
Note: This feature may not be available in some browsers.


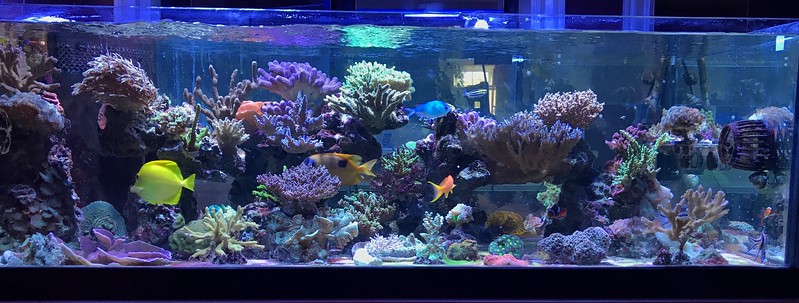
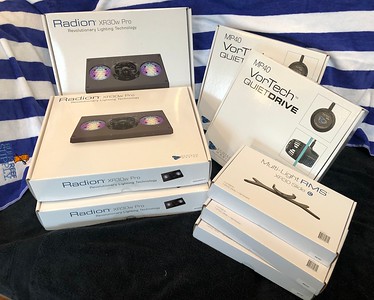
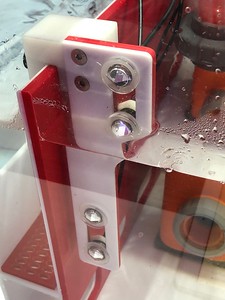
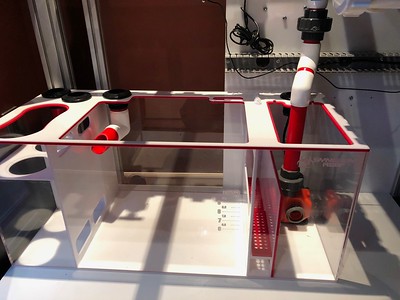
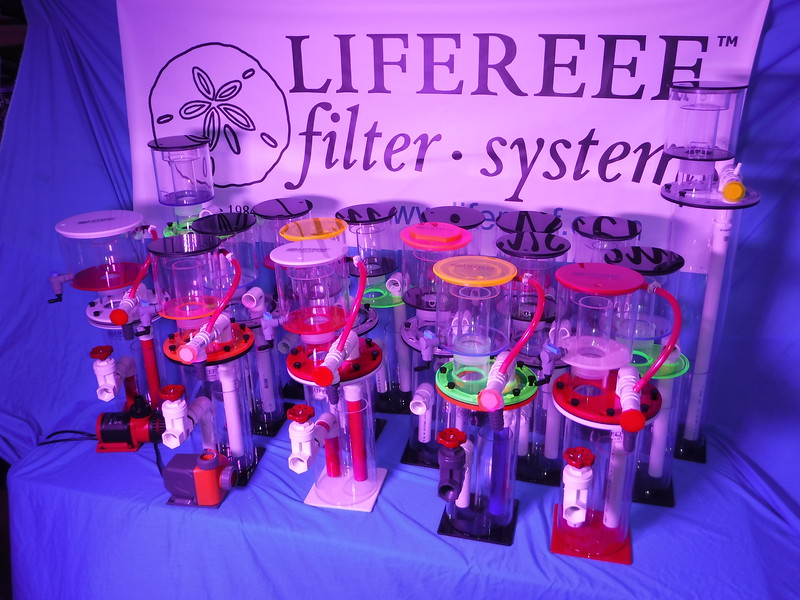
I did a build thread on another forum, I haven't updated it in quite a while. I'll cross post here, and try to stay current.Details?