Alright, I've put this off long enough. I started typing this up a few weeks ago but never posted. It became like the person you were supposed to call back but did not... after a while, you feel a stupid because you let so much time pass by. Well, time to put my big boy pants on and type this.
A little about me. I'm Paul and I've always loved this hobby. I've had a freshwater planted tank, discus tank and a few month old "reef" tank that insisted it needed to be broken down by popping a seam on the side and spilling 30+ gallons all over the floor. Now, we have since fixed said floor, moved out of the apartment and purchased a home. So, after 3 years out of the hobby I figured it's time to convince the ol' lady it was time.
Now, on to the build. Like I said, I've already started typing this out previously and never posted so some things have already been taken care of but I'll try to document it non the less.
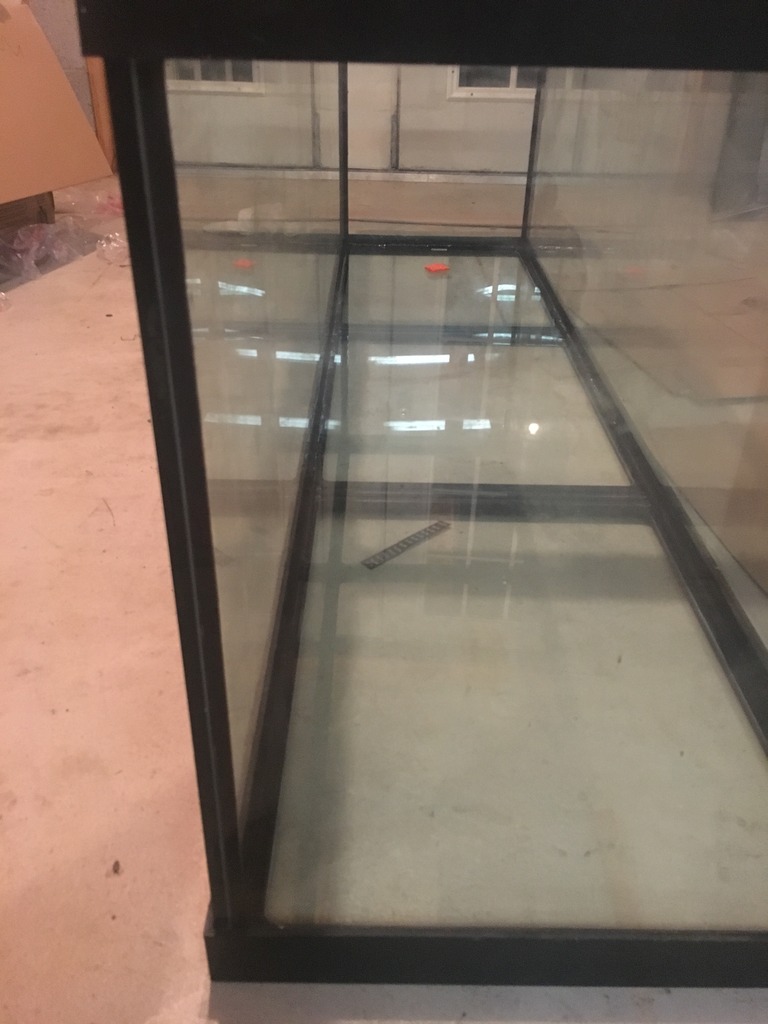
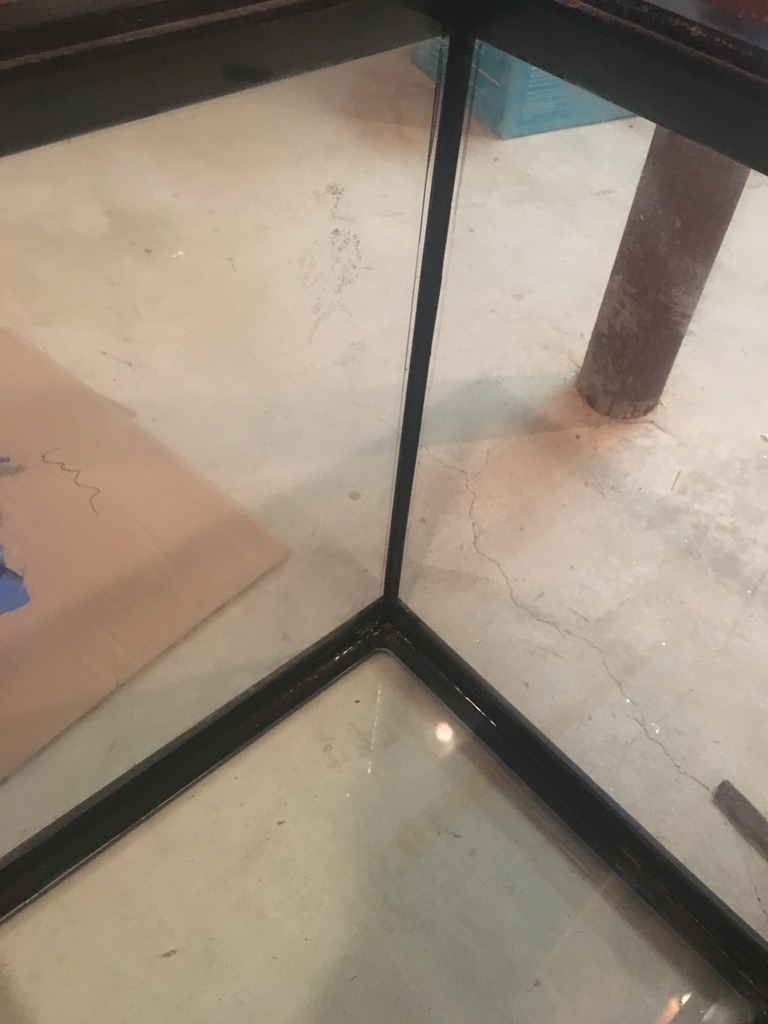
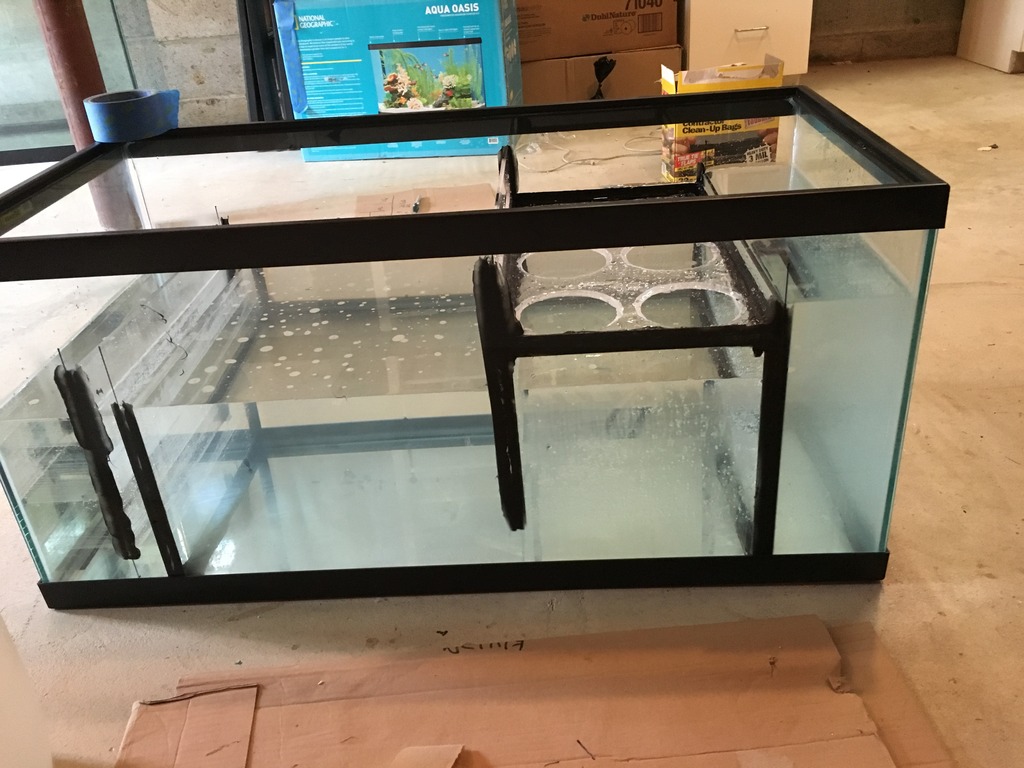
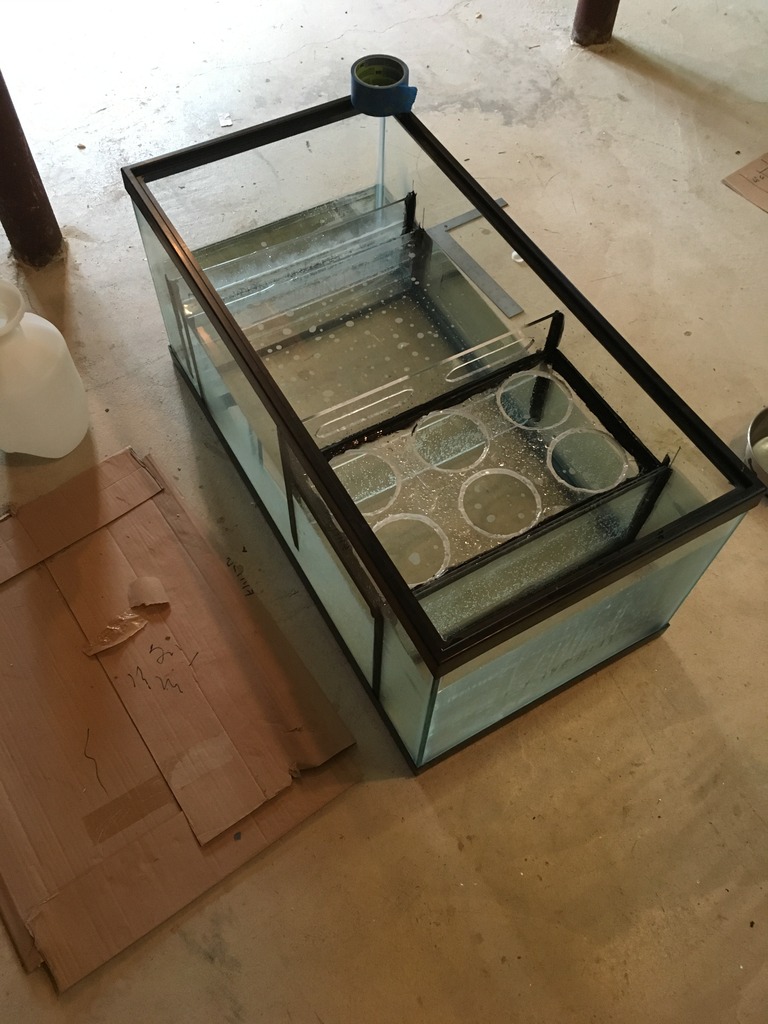
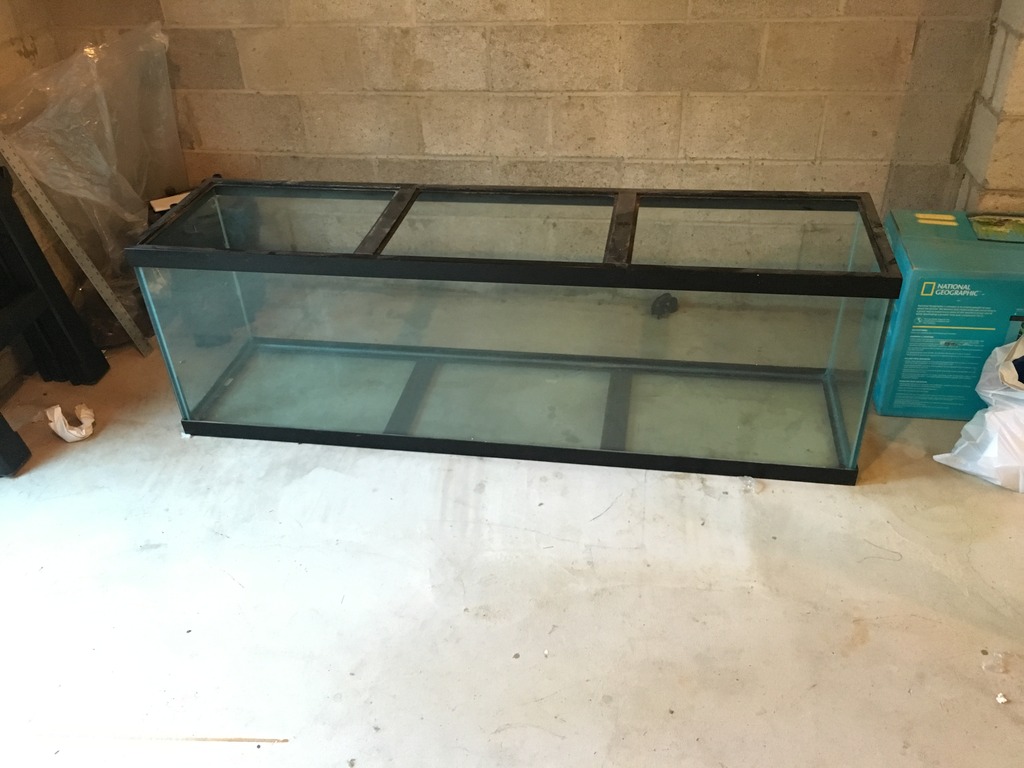
THE TANK is a 125 gallon (72x18x24).
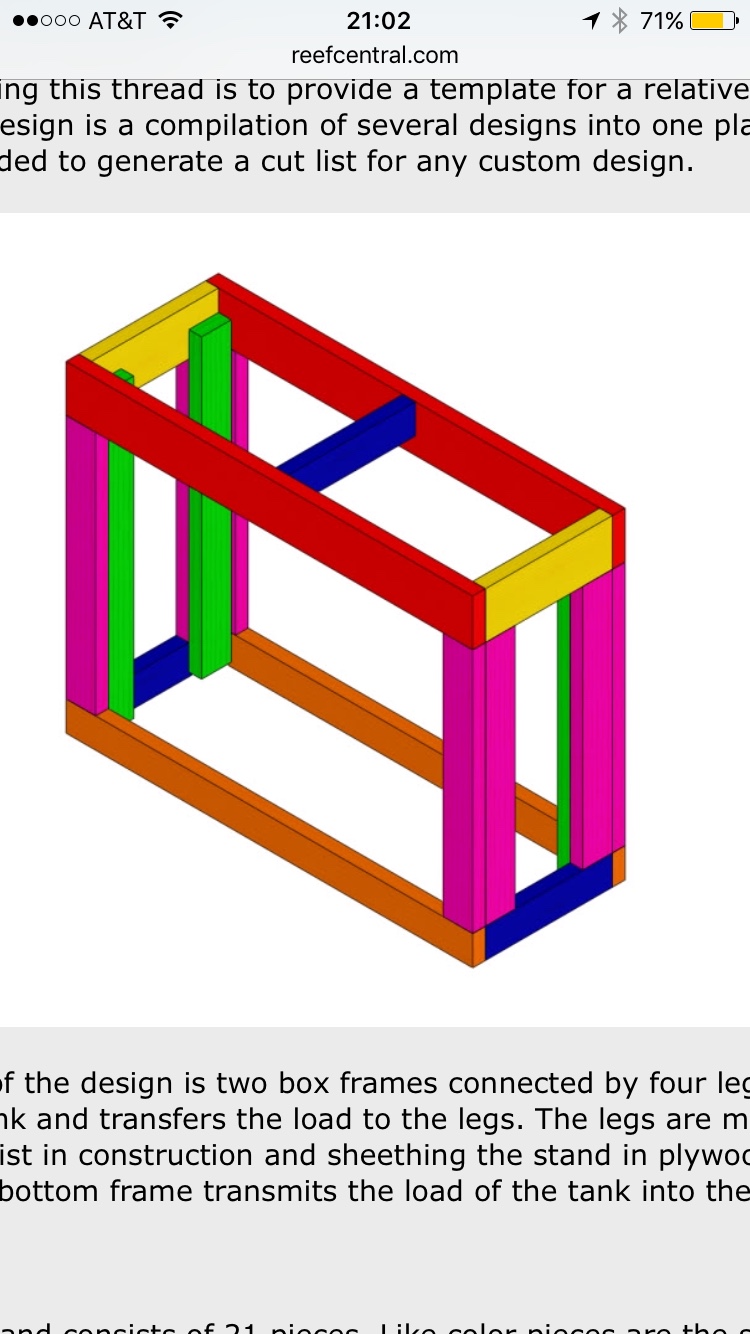
THE STAND will be a DIY attempt and hopefully resemble a built in/book case.
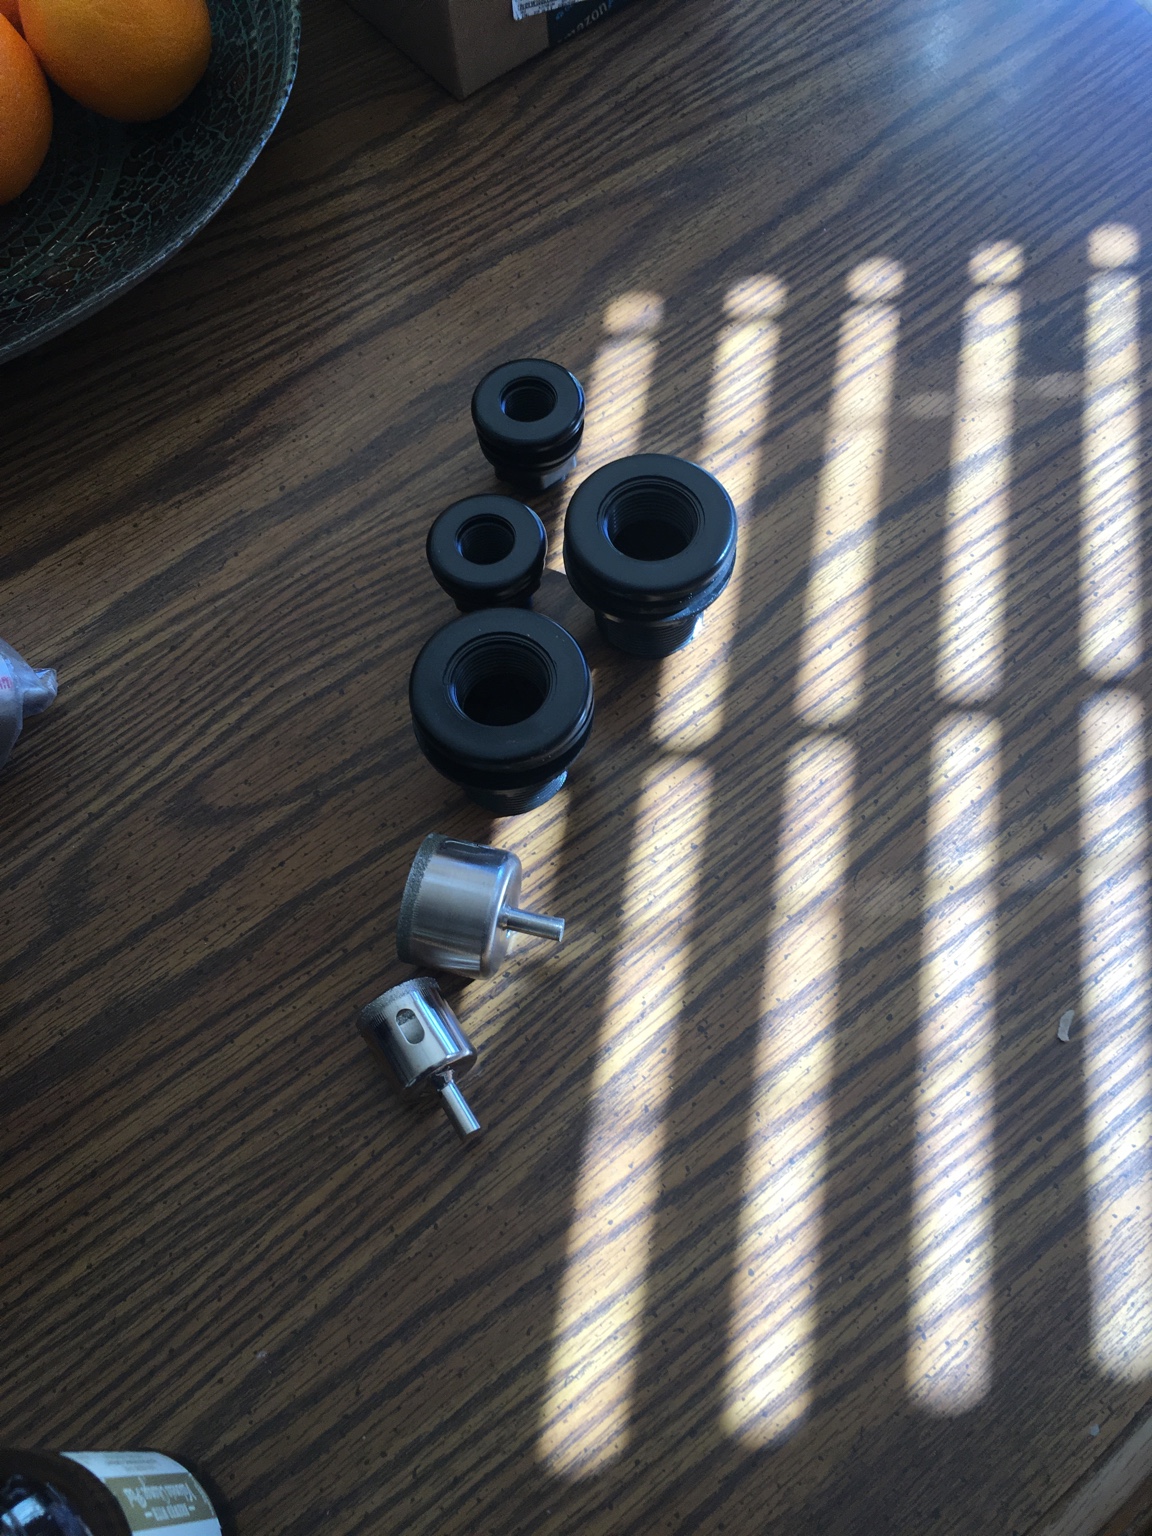
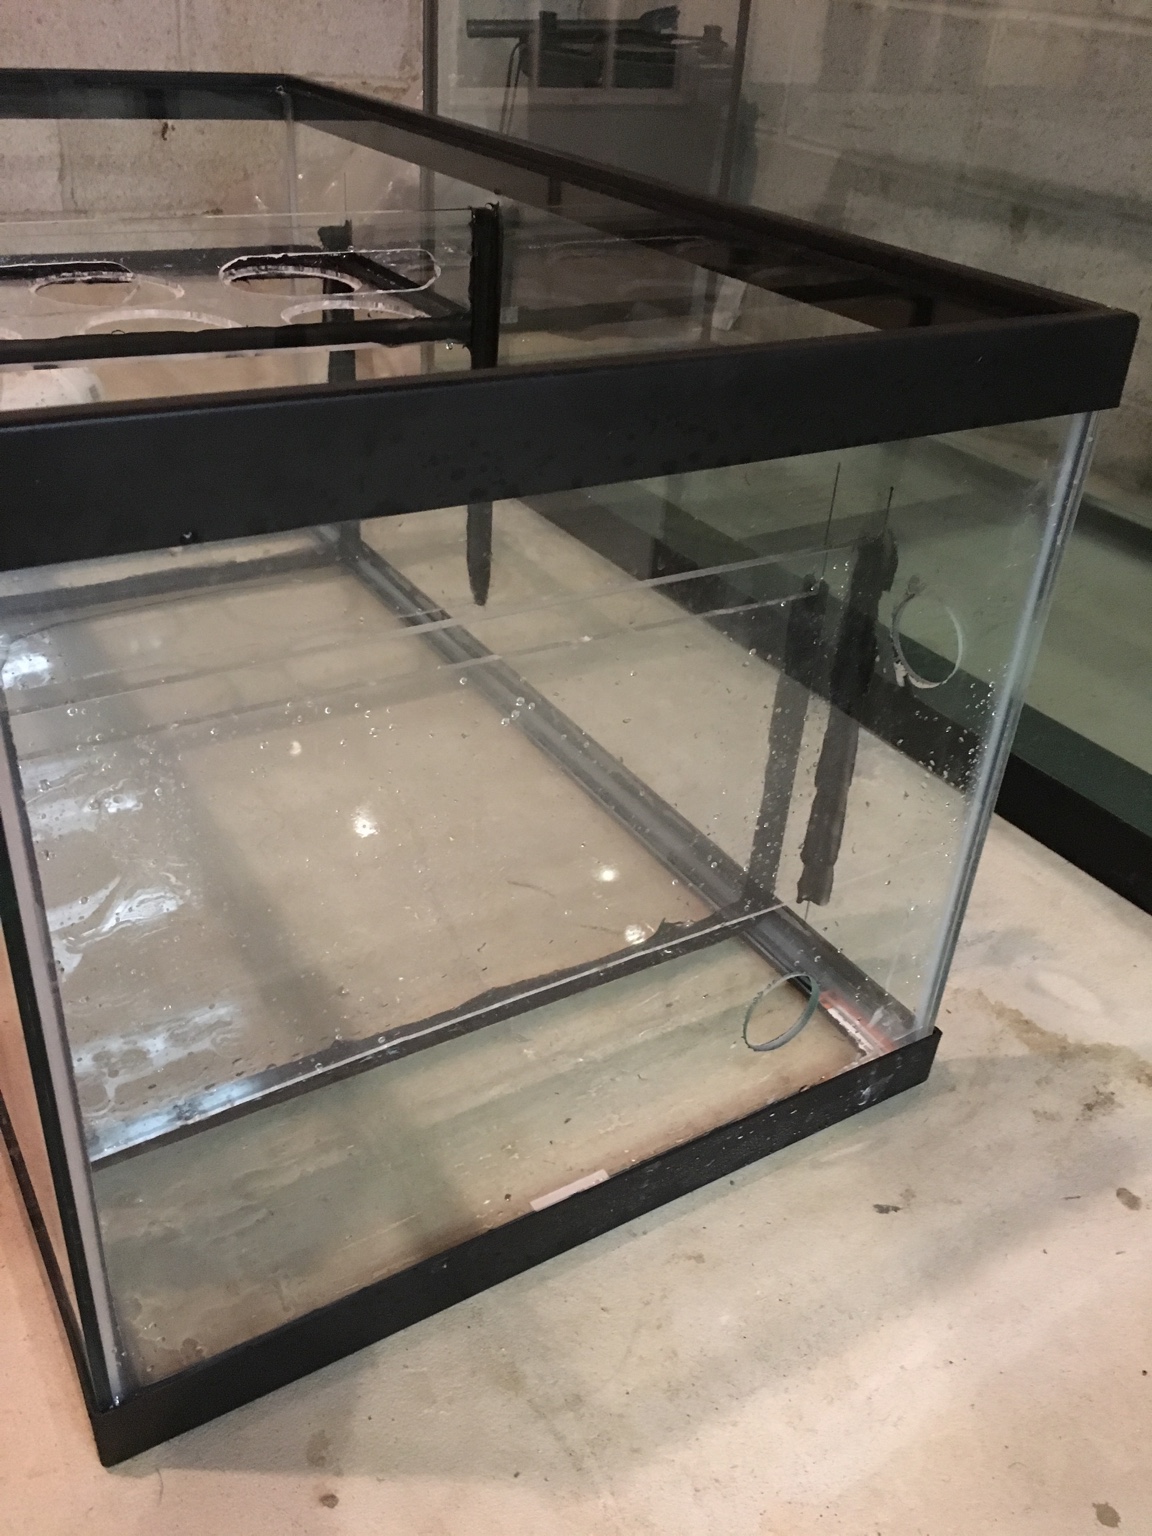
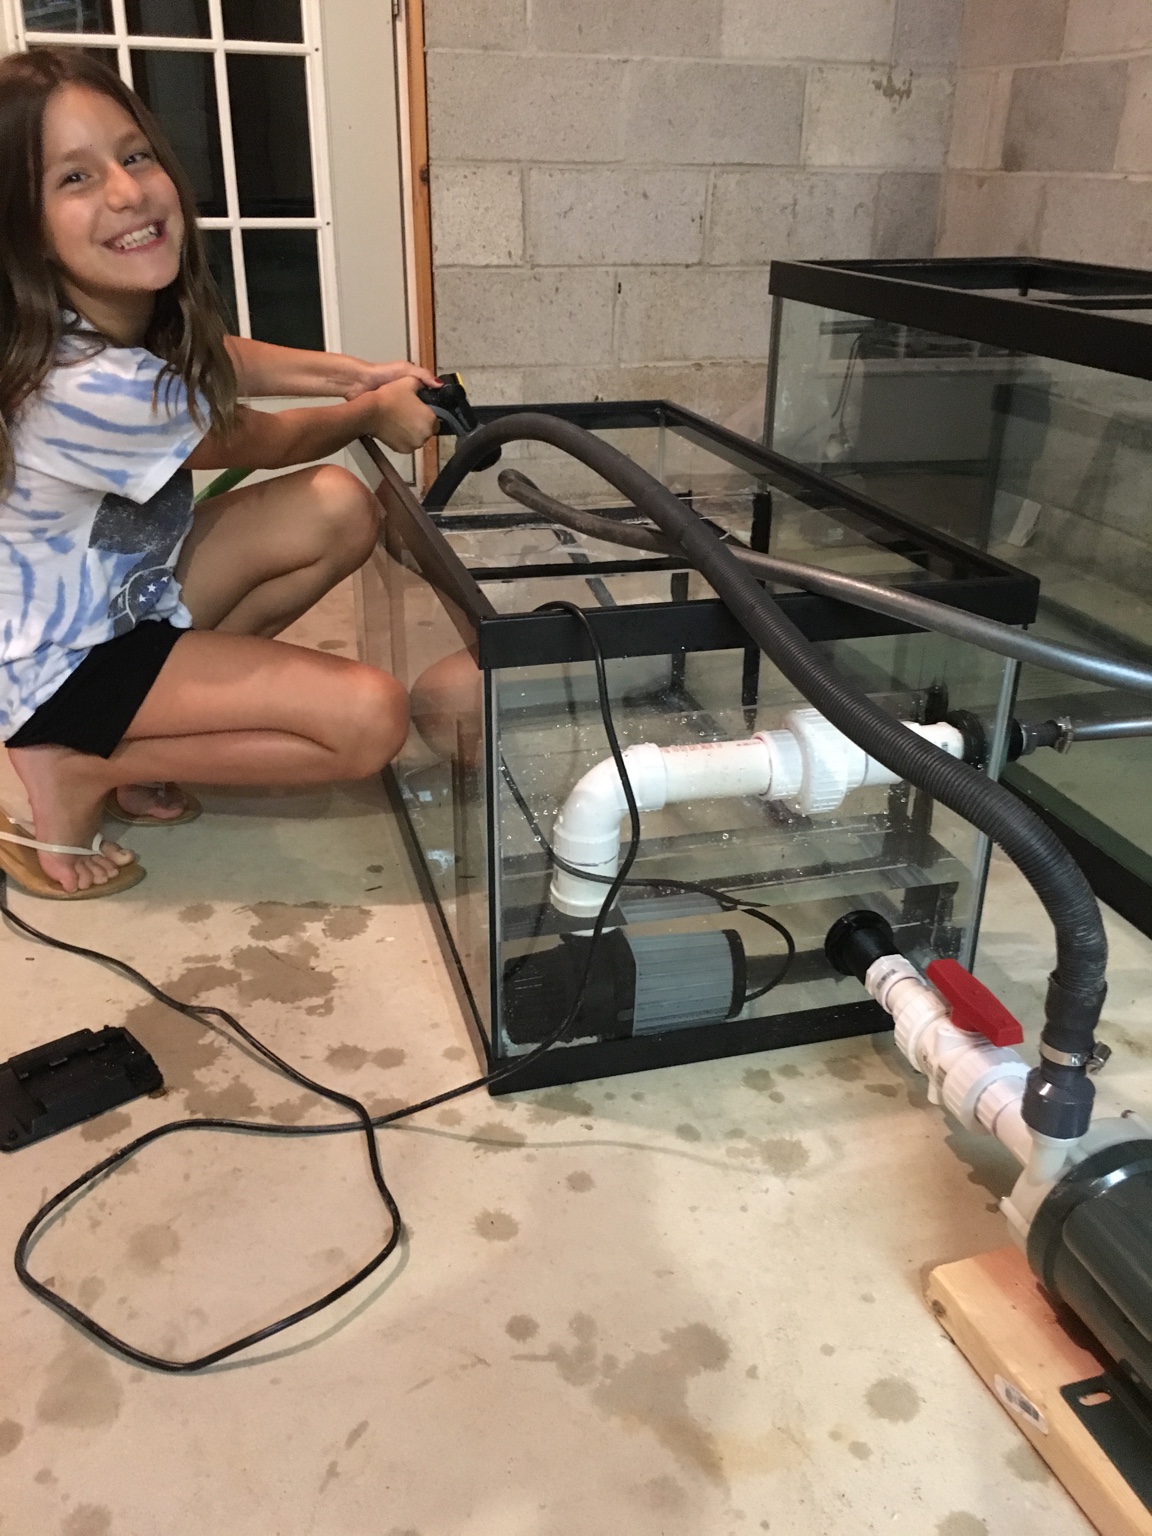
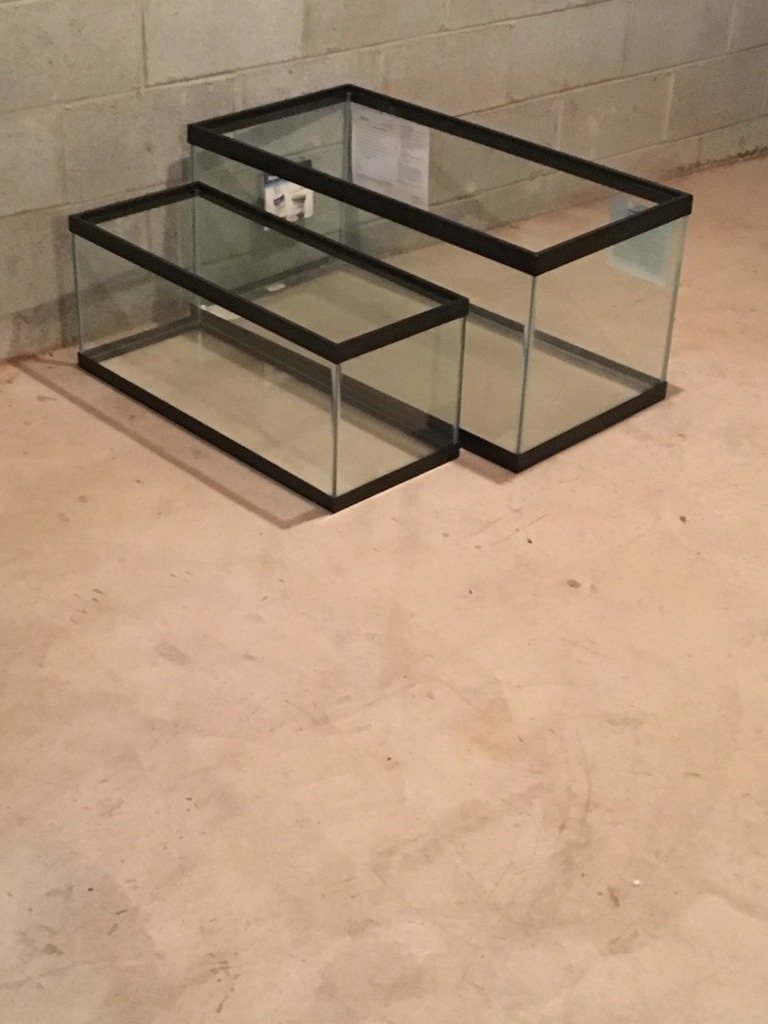
THE SUMP will be a 40b configured as follows (drain, filter socks, skimmer, return). I'll also have a 30g fuge and two 20longs plumbed into the system for easy water changes. Essentially turn valve and done.
THE PUMP is a Iwaki RLT75. I'm hoping to get 1000' gph through the sump from the basement up to the first floor. I also have a Jebao DCT 8000 feeding various reactors and UV sterilizer.
THE CONTROLLER- Undecided. When I first started entertaining the idea of another tank, I was dead set on the Reef Keeper Elite but now I'm torn between the RKE, Apex and Cerebra.
THE LIGHT I'm thinking a T5/LED hybrid. Still undecided.
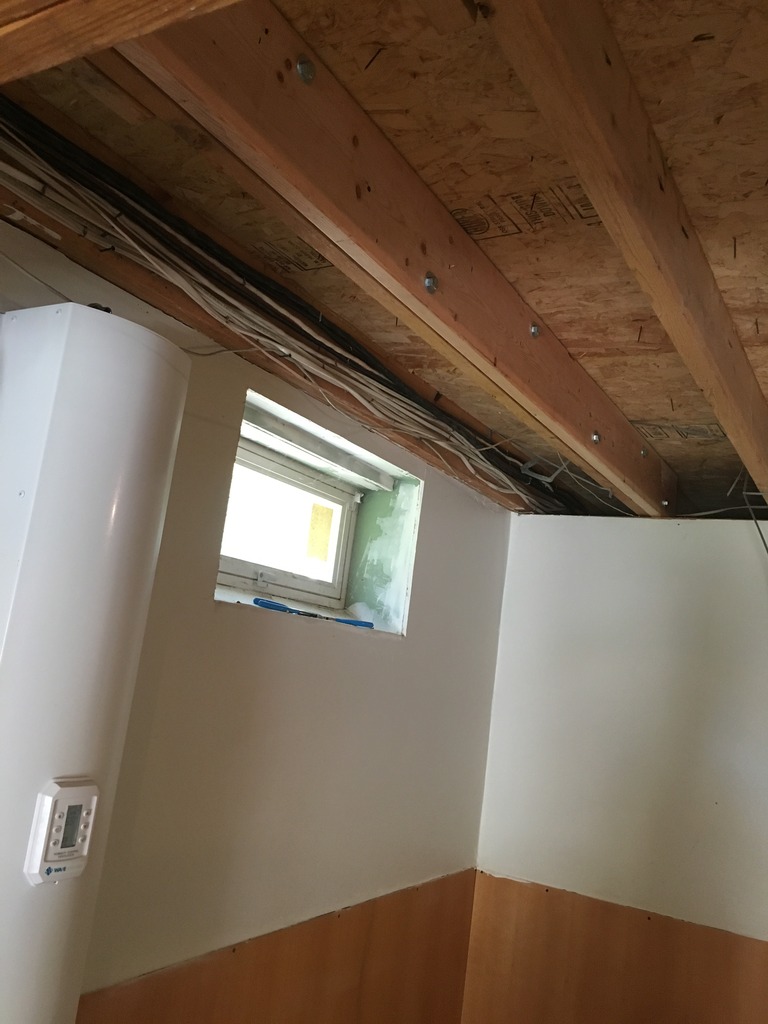
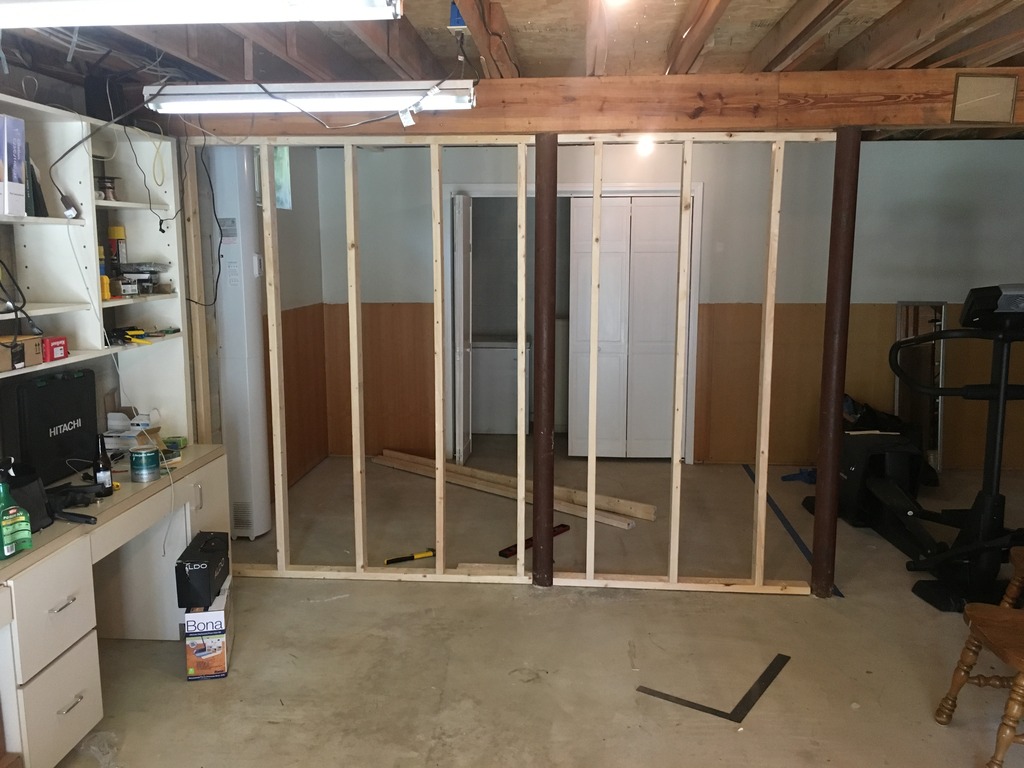
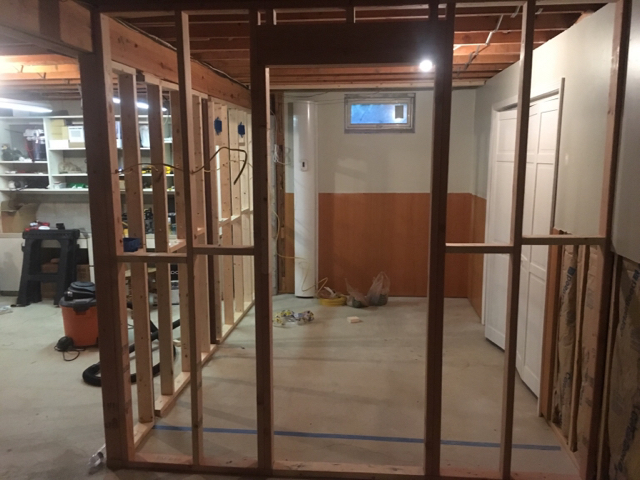
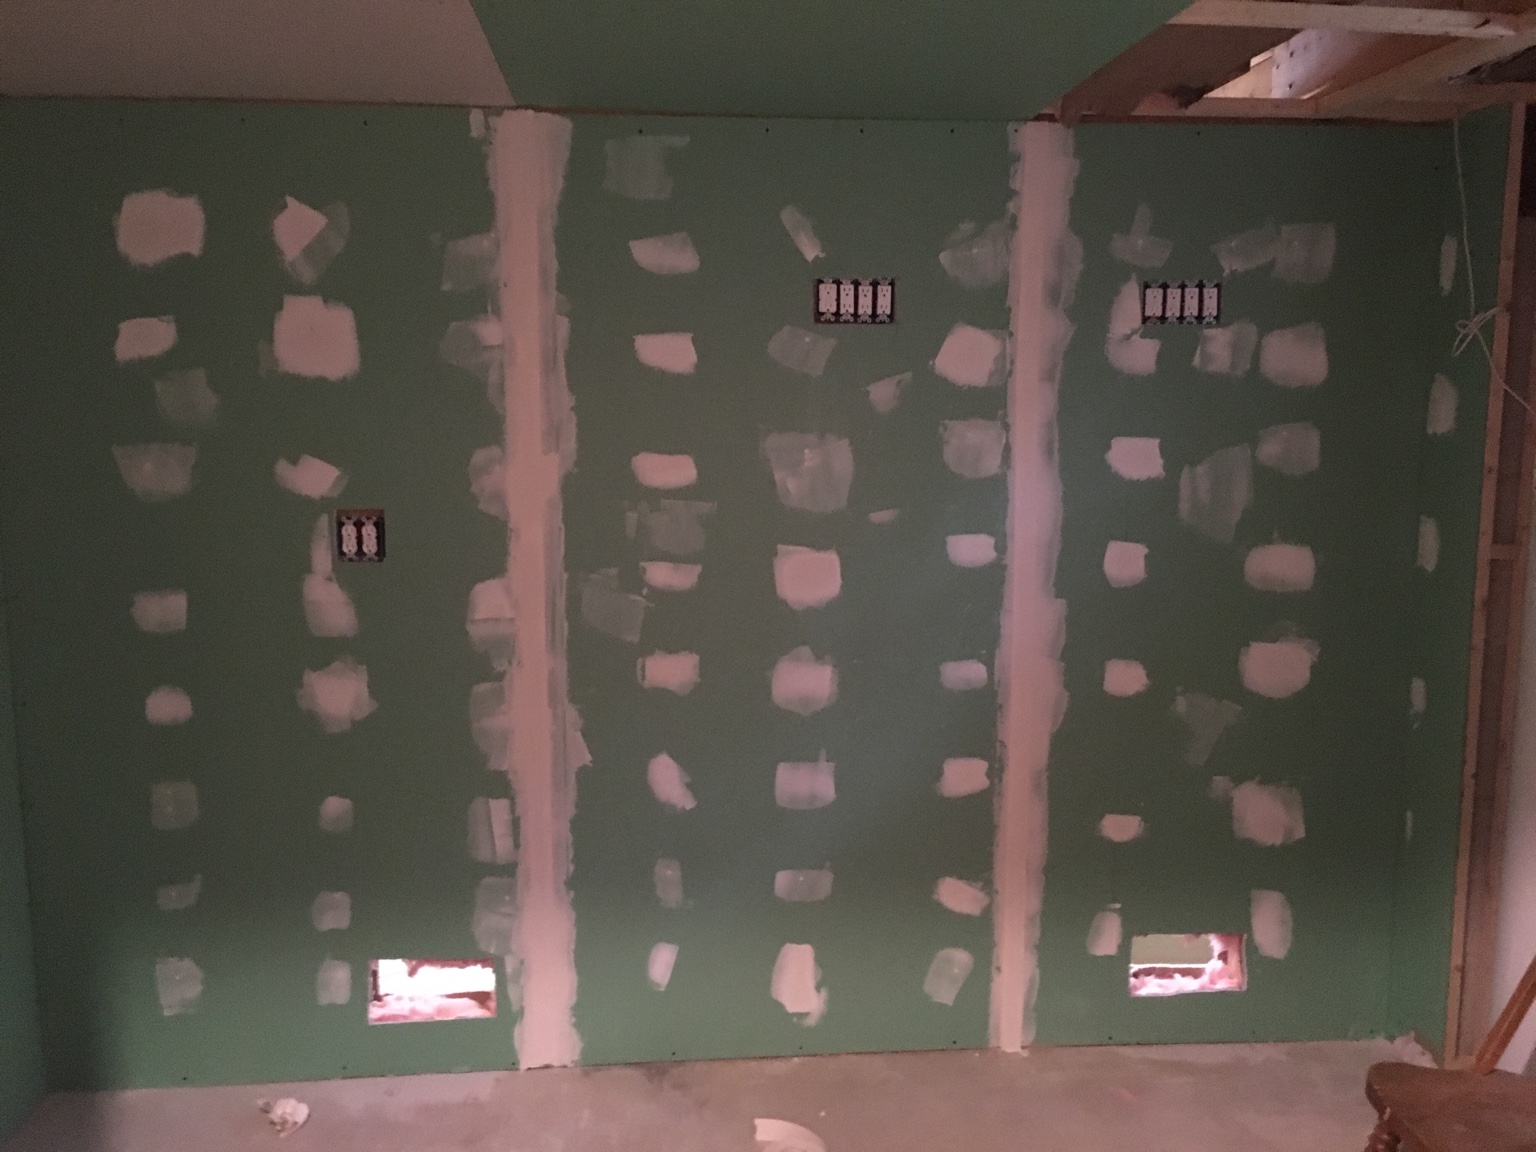
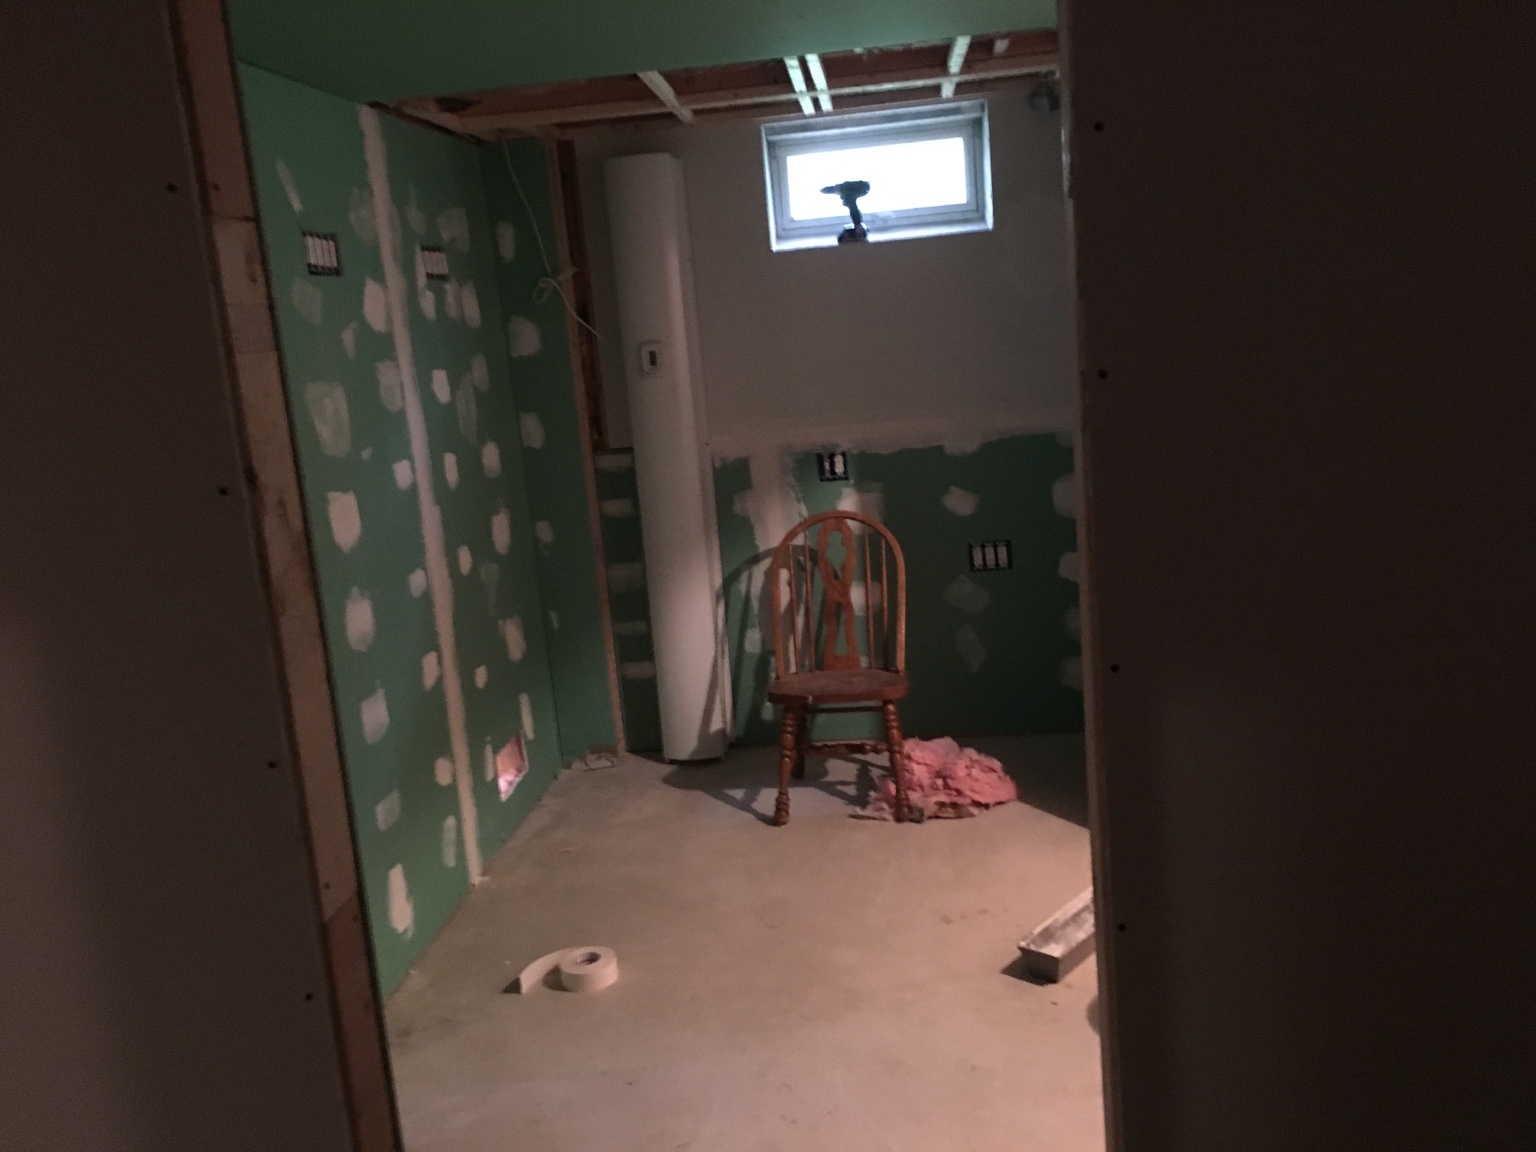
The fishroom is located directly below where the aquarium will be located. I'm in the process of building an 8'x12' room in the basement. Here is the location of the aquarium.
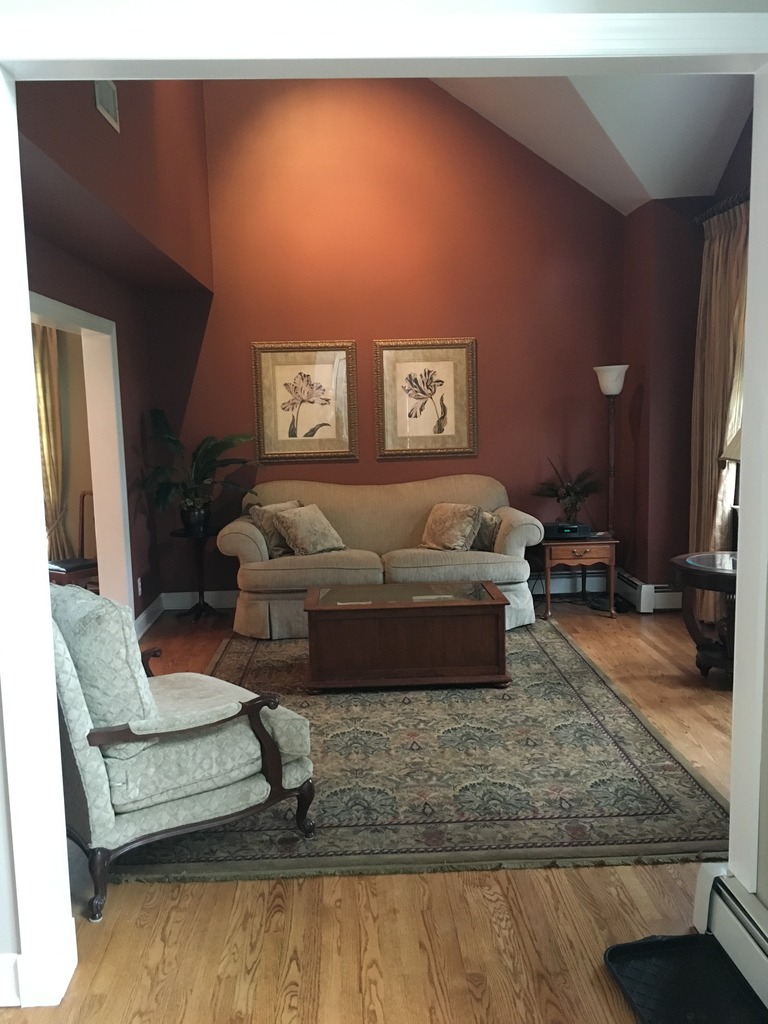
The plan is to sit the tank right where the couch currently is. Build a stand/bookcase/picture case/whatever the boss finds acceptable and plumb directly into the basement. Easy enough. But wait!
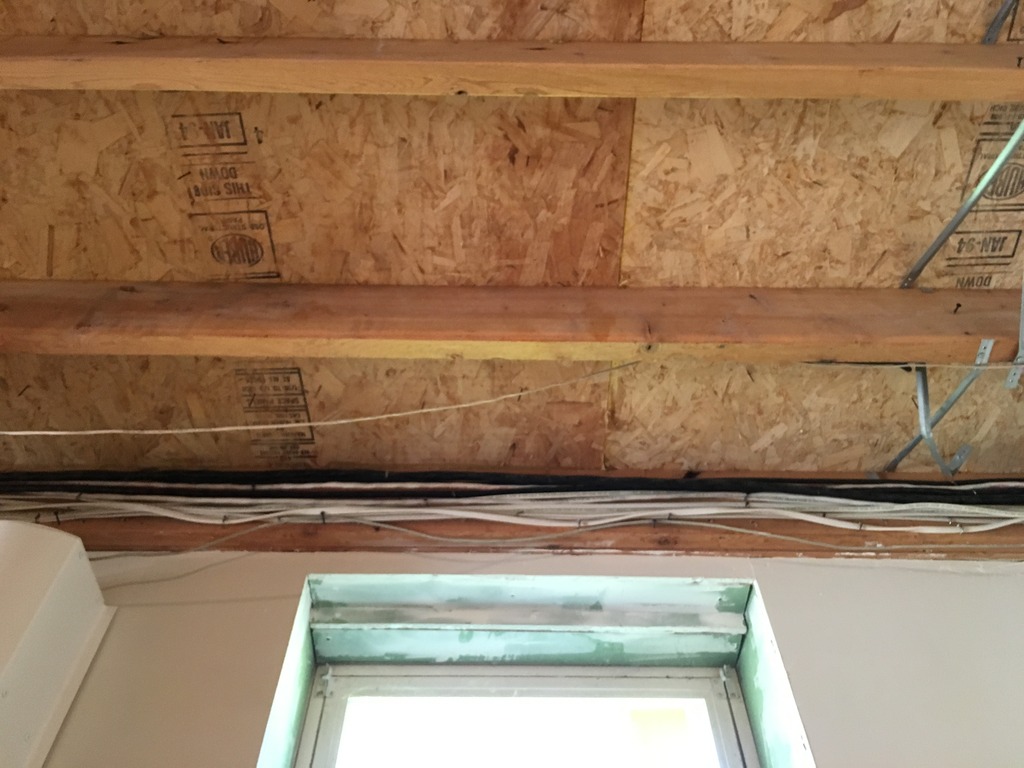
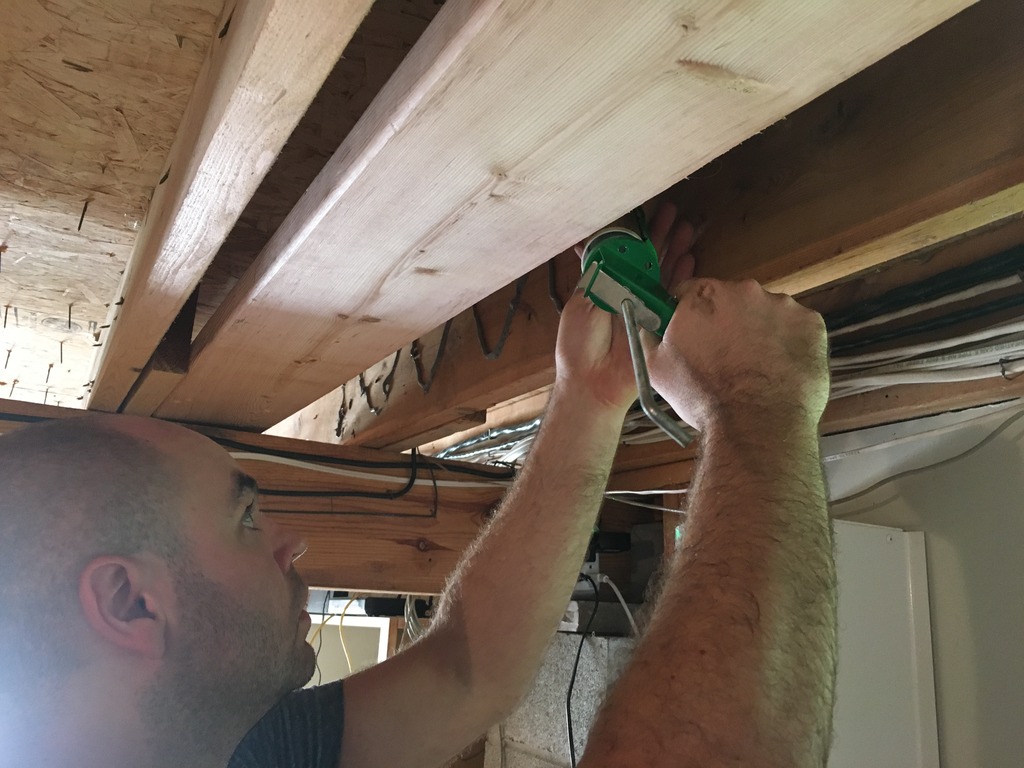
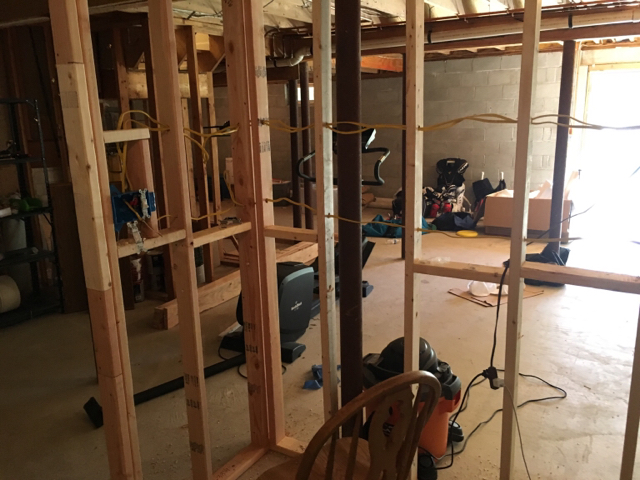
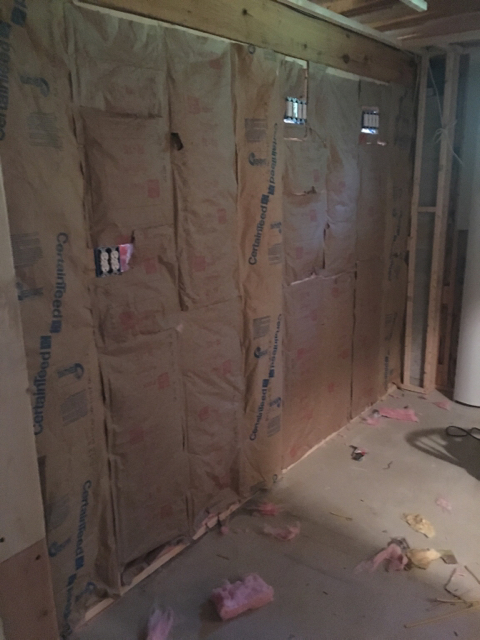
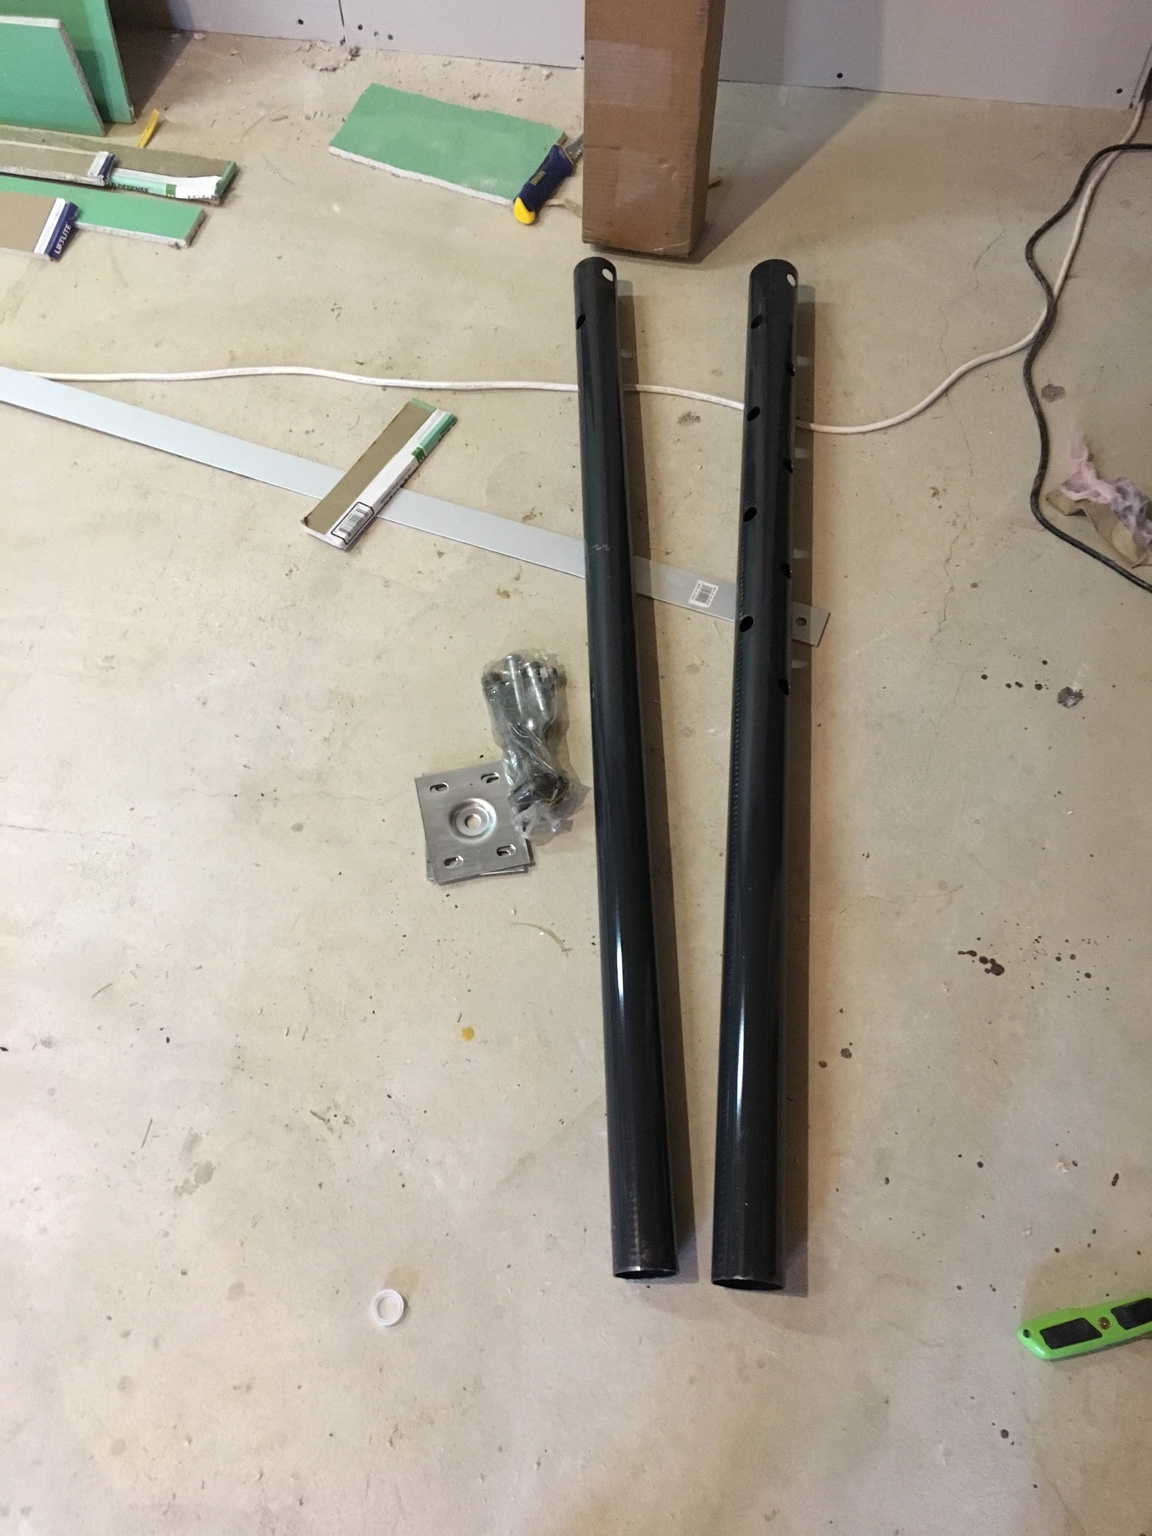
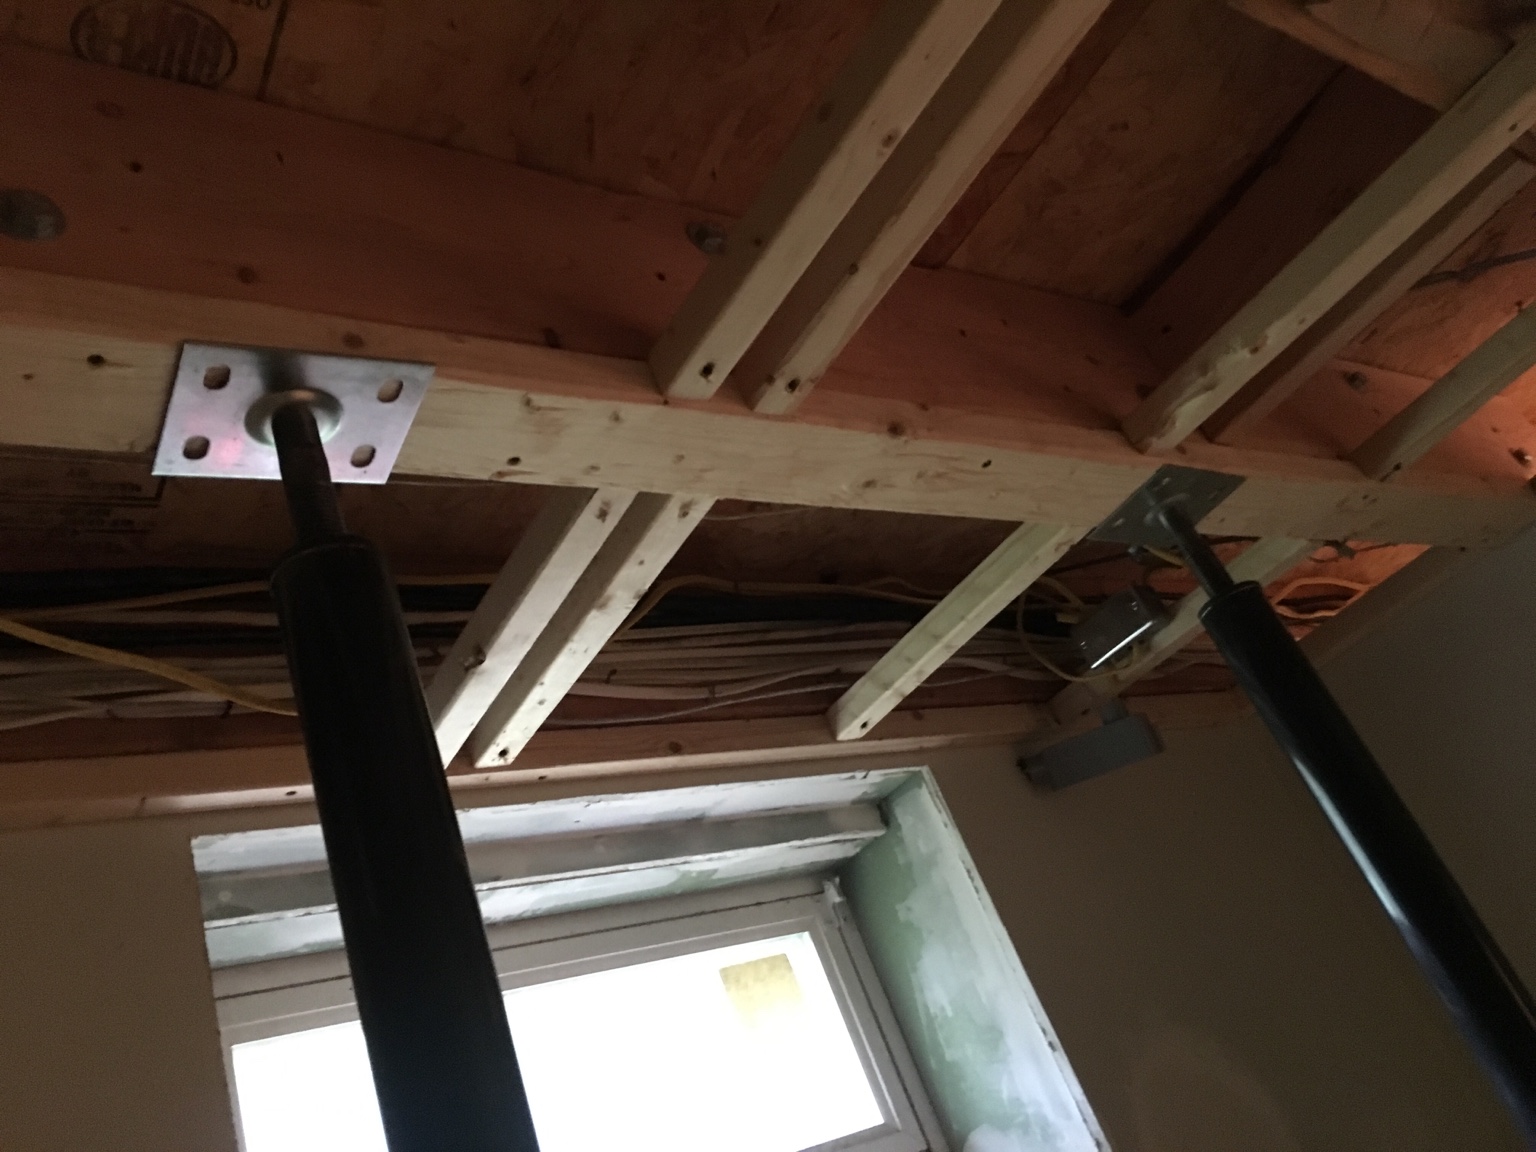
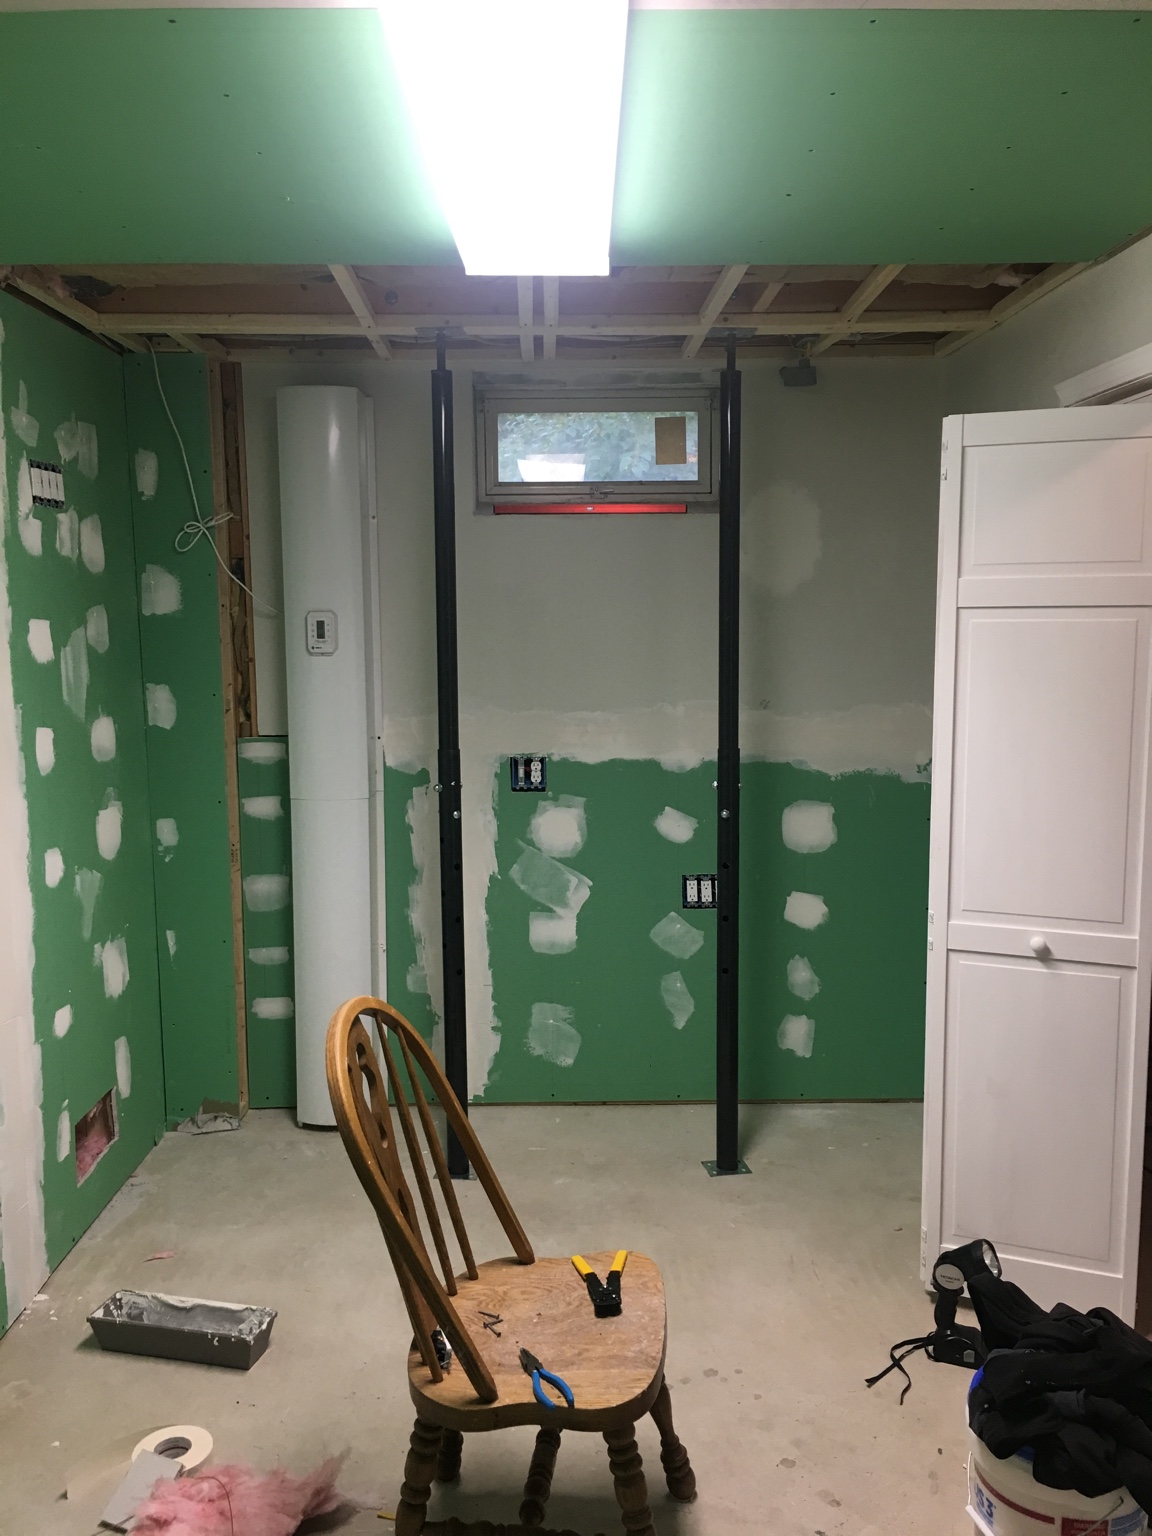
Doh! Running parallel with the joists below! :mad: So, the solution. I measured out where the tank would be sitting and it appears as though it will be sitting on the first joist (with all the electrical running along its side) and the second joist. The first one is already sistered and sitting on a 2x4 studwall. The second I'll sister and support with 2x4 spanned a long the bottom held up with two 10000lb jacks. I'll also add blocking to the entire area below the aquarium plus additional two joists to keep me asleep at night. As mentioned above, I've already completed a lot of this and will post pictures of my progress. Anyhow, that's enough for one post. Time to clean the chimney I'll post a bit later today to catch you guys up. Please me know if you think my plan to reinforce the floor below is a good one and if I should do anything different. Also, any help with the stand/bookshelf would be greatly appreciate it. Help me sell this!")
-Paul
A little about me. I'm Paul and I've always loved this hobby. I've had a freshwater planted tank, discus tank and a few month old "reef" tank that insisted it needed to be broken down by popping a seam on the side and spilling 30+ gallons all over the floor. Now, we have since fixed said floor, moved out of the apartment and purchased a home. So, after 3 years out of the hobby I figured it's time to convince the ol' lady it was time.
Now, on to the build. Like I said, I've already started typing this out previously and never posted so some things have already been taken care of but I'll try to document it non the less.
THE TANK is a 125 gallon (72x18x24).
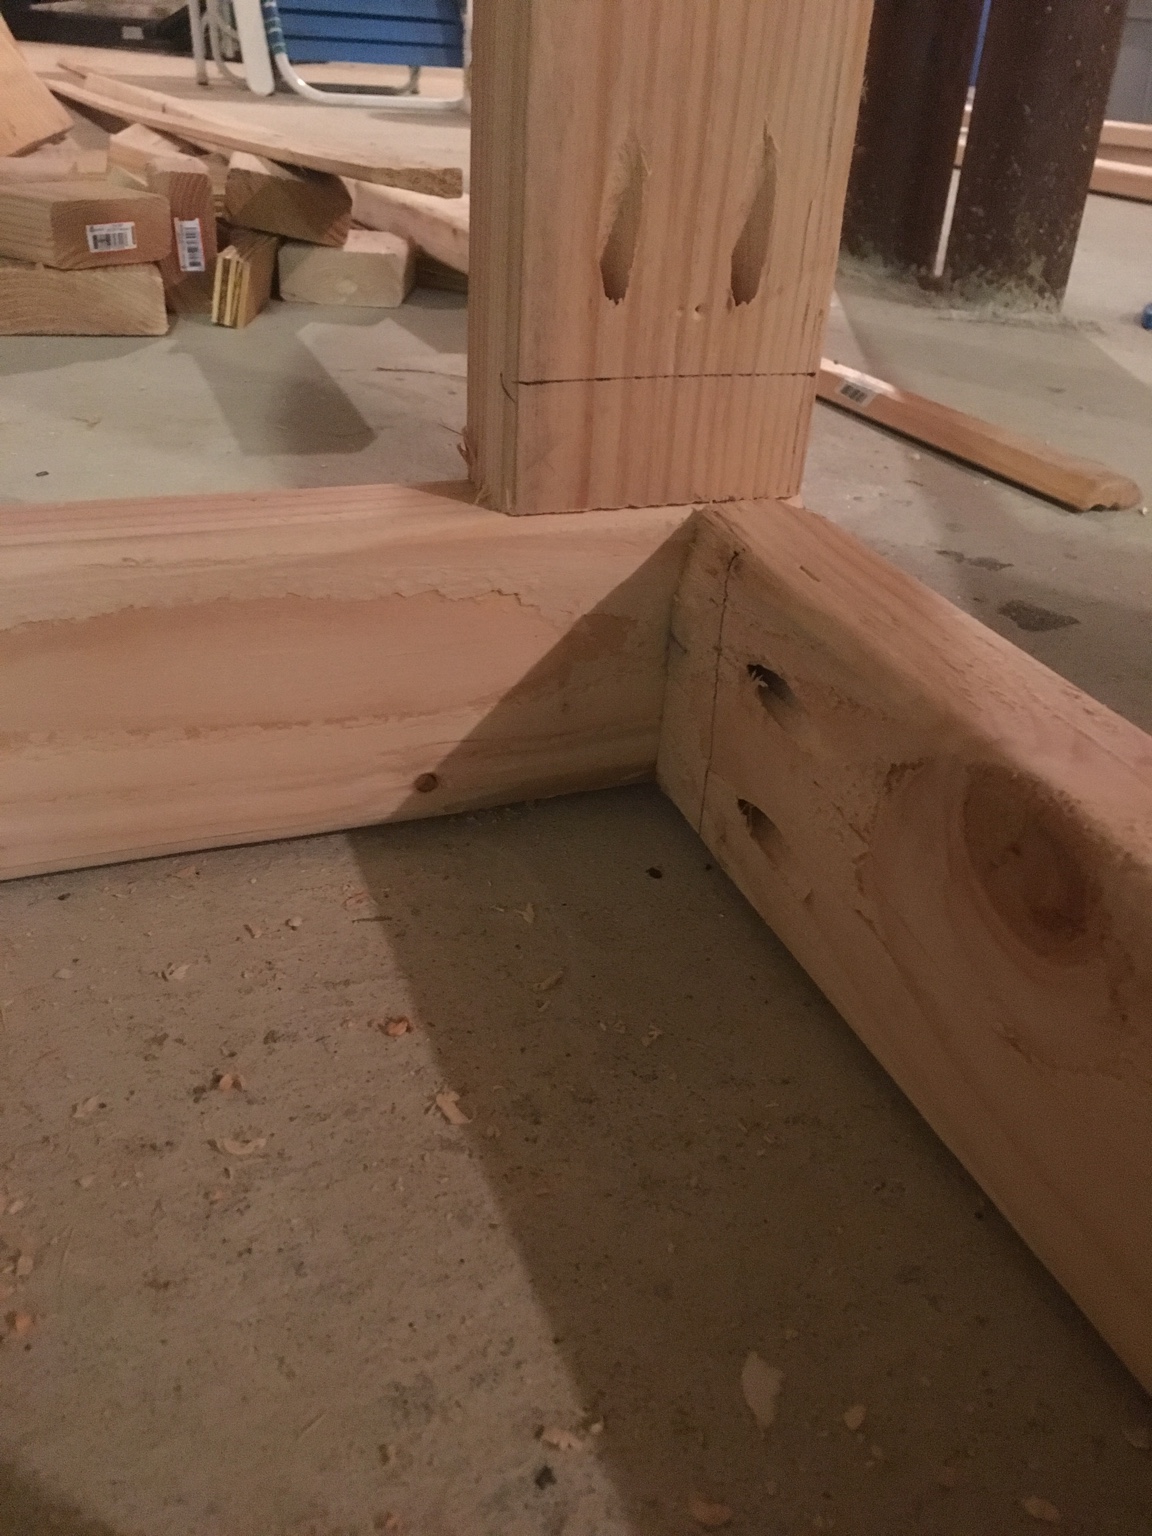
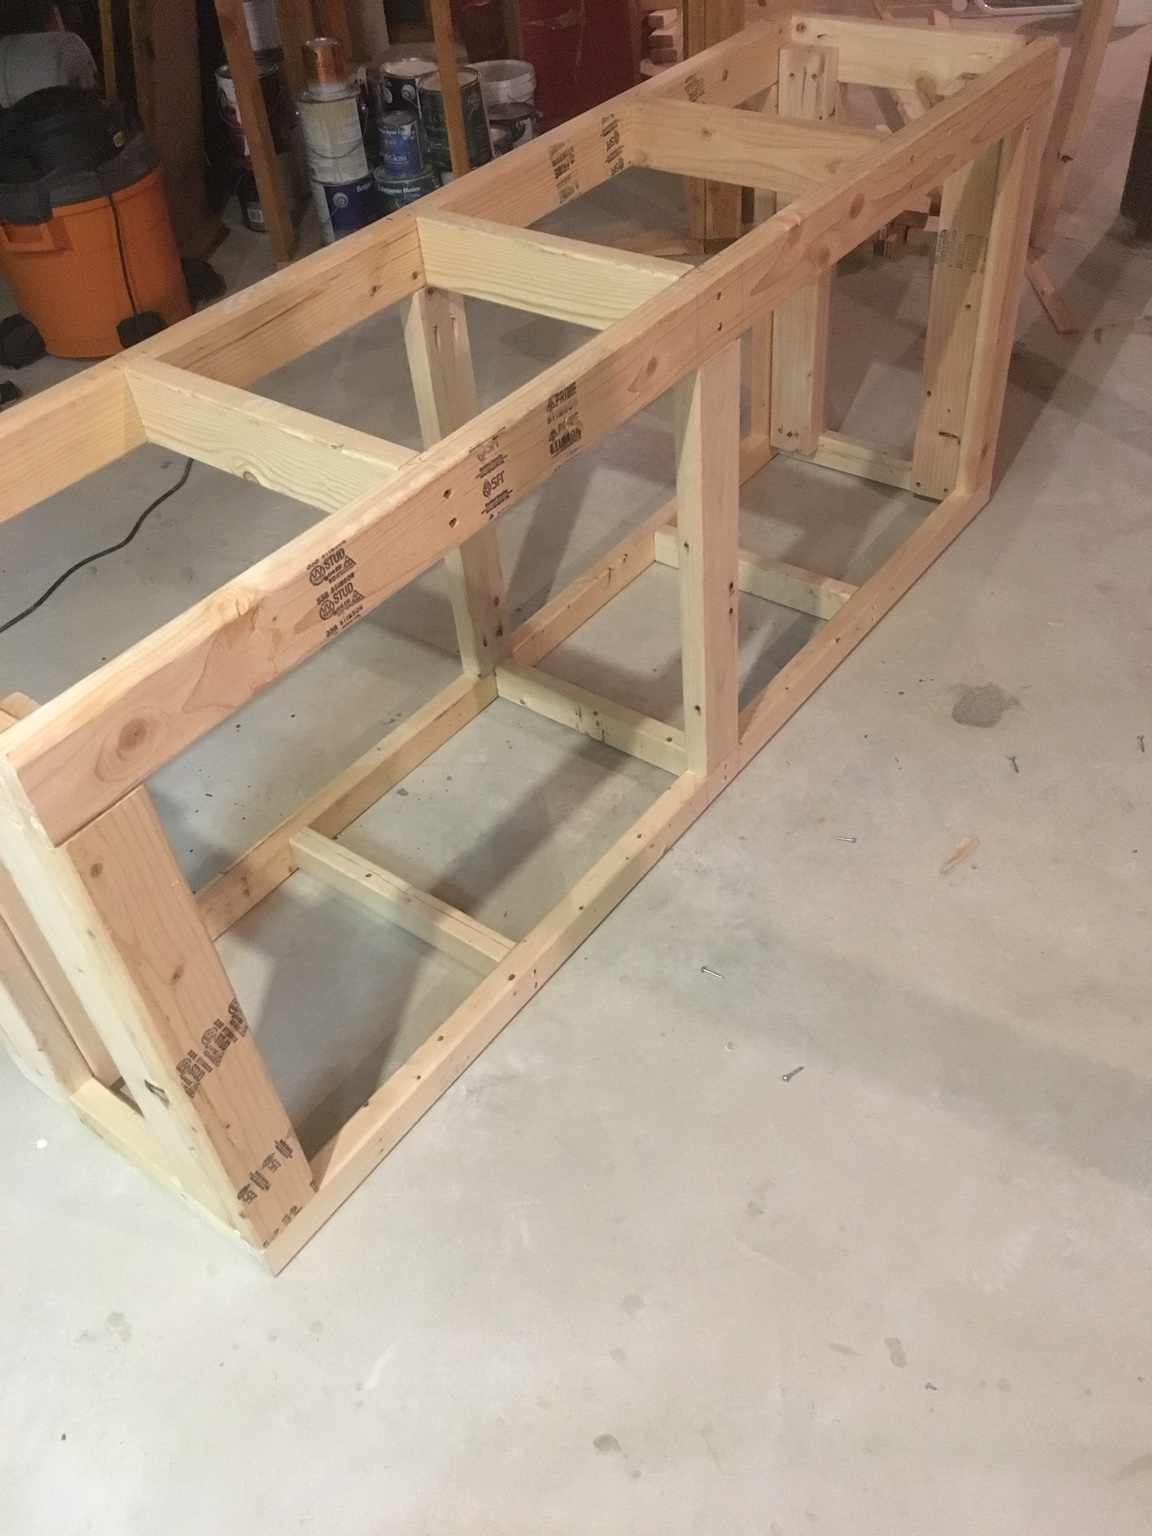
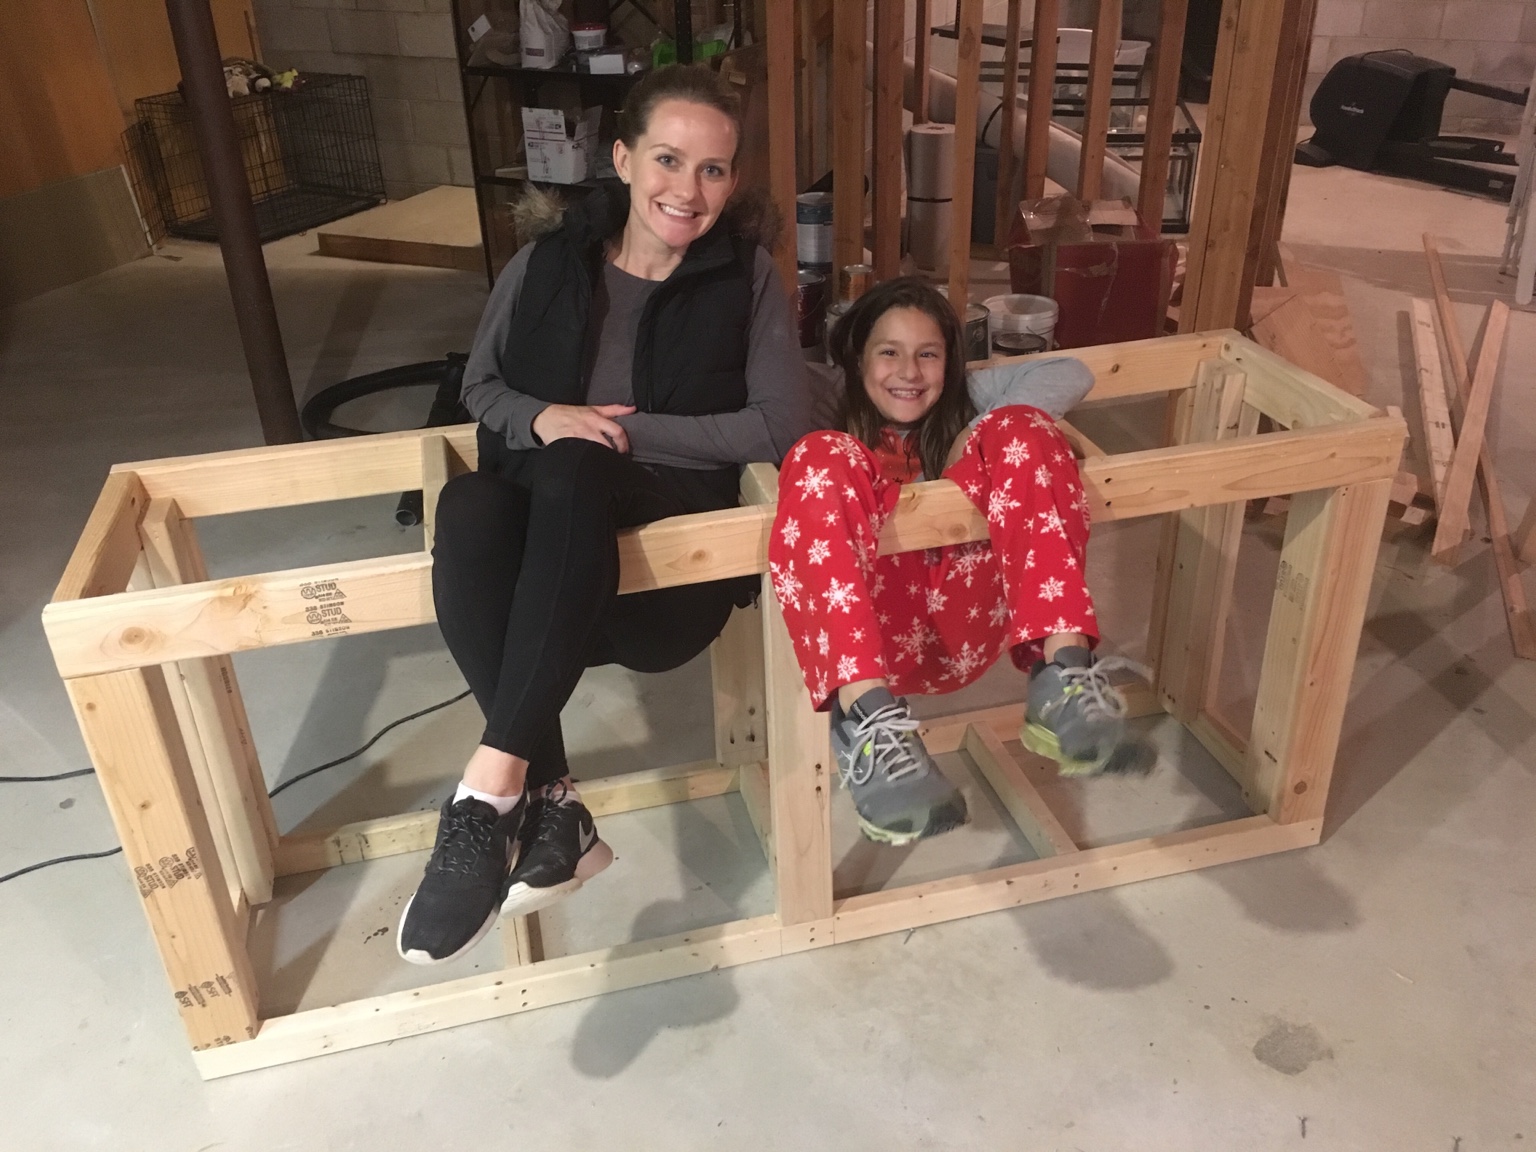
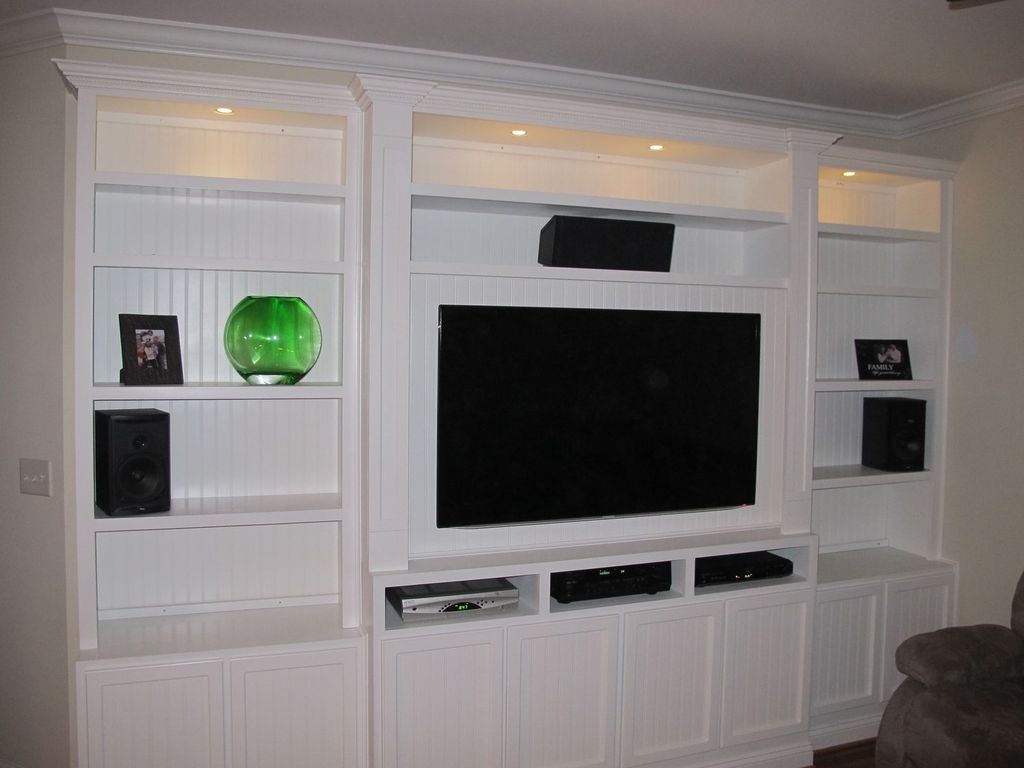
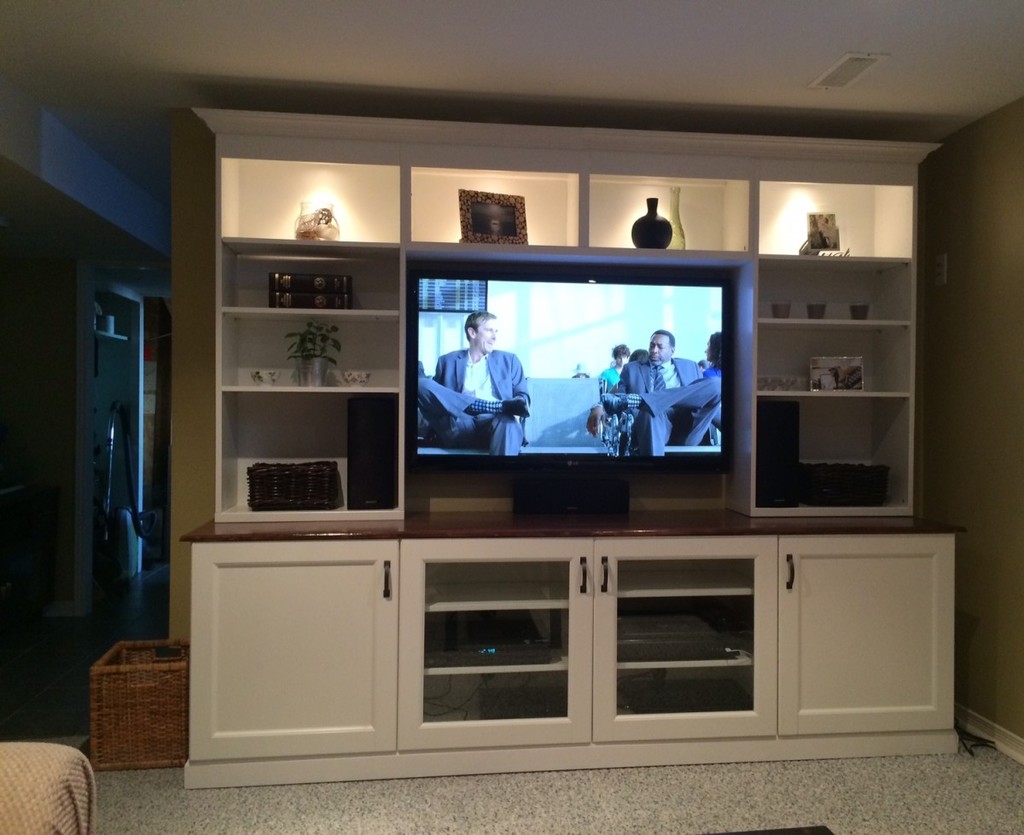
THE STAND will be a DIY attempt and hopefully resemble a built in/book case.
- This will most likely be the most time consuming considering it will be displayed in the living room and MUST go through girlfriend approval.
- Here is what we've been thinking about. Obviously not an entertainment unit but in a similar style
THE SUMP will be a 40b configured as follows (drain, filter socks, skimmer, return). I'll also have a 30g fuge and two 20longs plumbed into the system for easy water changes. Essentially turn valve and done.
THE PUMP is a Iwaki RLT75. I'm hoping to get 1000' gph through the sump from the basement up to the first floor. I also have a Jebao DCT 8000 feeding various reactors and UV sterilizer.
THE CONTROLLER- Undecided. When I first started entertaining the idea of another tank, I was dead set on the Reef Keeper Elite but now I'm torn between the RKE, Apex and Cerebra.
THE LIGHT I'm thinking a T5/LED hybrid. Still undecided.
The fishroom is located directly below where the aquarium will be located. I'm in the process of building an 8'x12' room in the basement. Here is the location of the aquarium.
The plan is to sit the tank right where the couch currently is. Build a stand/bookcase/picture case/whatever the boss finds acceptable and plumb directly into the basement. Easy enough. But wait!
Doh! Running parallel with the joists below! :mad: So, the solution. I measured out where the tank would be sitting and it appears as though it will be sitting on the first joist (with all the electrical running along its side) and the second joist. The first one is already sistered and sitting on a 2x4 studwall. The second I'll sister and support with 2x4 spanned a long the bottom held up with two 10000lb jacks. I'll also add blocking to the entire area below the aquarium plus additional two joists to keep me asleep at night. As mentioned above, I've already completed a lot of this and will post pictures of my progress. Anyhow, that's enough for one post. Time to clean the chimney I'll post a bit later today to catch you guys up. Please me know if you think my plan to reinforce the floor below is a good one and if I should do anything different. Also, any help with the stand/bookshelf would be greatly appreciate it. Help me sell this!
-Paul