My DIY light hood for Waterbox 230.6

Onewolf

Active Member
View Badges
Joined
Jul 23, 2019
Messages
331
Reaction score
363
Location
East Central Florida
Rating - 0%
0   0   0
About a month ago I had started theorizing about the possibility of a larger saltwater aquarium (current is 90 gal) and then I found one on Facebook Marketplace with a "make it go away, now" price (it was neglected and they were moving). I decided to purchase the whole aquarium system which had all nice components for about 1/3 the $ cost of new. The only issue is that it's a "rimless" style aquarium and the issue I have with rimless aquariums is that they tend to have huge amounts of 'light spill' with the very bright reef lights (and no hood/canopy to contain the light).

Cornea burning "light spill" would be a bad thing in the location I would like to place the aquarium in the family room so I decided to build hood/canopy to try to contain the light spill.

I used 'select' pine boards from Home Despot and T-track rails to mount the lights. Once I am ready to setup the new aquarium I will suspend the light canopy from brackets on the wall or from the ceiling.

With the five Radion XR15 G4 lights installed it weighs 34.5 lbs. Not light, but workable.

It's 66" long, 13.5" wide, and 7.5" tall (1x8 boards).

20210907_164634.jpg


20210907_164644.jpg


20210907_164718.jpg


Filling screw holes, sanding, filling, sanding, etc.
20210909_160139.jpg


A prototype of how the lights will mount to the T-track. These are 45mm bolts, but I ended up using 18mm bolts to get the lights up higher (keeping in mind it's upside down in this photo).
20210910_102419.jpg


"Paint it Black". Great song
20210912_062216.jpg


T-tracks mounted.
20210912_104625.jpg


5 lights fit comfortably on 14" centers.
20210912_110853.jpg


I need to add some cable management mount points.
20210912_111734.jpg


20210912_111746.jpg


This shows how the lights sit up in the canopy.
20210912_111759.jpg


20210912_111851.jpg


These lights put out a lot of heat when running in "daytime" mode so they need ventilation. No problem with ventilation here...
20210912_112007.jpg
 

Gedxin

Valuable Member
View Badges
Joined
Jun 11, 2021
Messages
1,004
Reaction score
2,345
Location
SoCal
Rating - 0%
0   0   0
Awesome woodwork and extremely well designed. Excited to see it above the tank! I assume you're hanging it from the ceiling?
 
OP
OP
Onewolf

Onewolf

Active Member
View Badges
Joined
Jul 23, 2019
Messages
331
Reaction score
363
Location
East Central Florida
Rating - 0%
0   0   0

jhuntstl

Valuable Member
View Badges
Joined
Apr 21, 2021
Messages
2,257
Reaction score
5,005
Location
St. Louis
Rating - 0%
0   0   0
Function over form. :)

Haha I can't blame you. That's a lot of canopy to come crashing down. How high will it be mounted? Are you worried about it being in your way during routine maintenance?
 

Dan_P

5000 Club Member
View Badges
Joined
Sep 21, 2018
Messages
6,675
Reaction score
7,169
Rating - 0%
0   0   0
About a month ago I had started theorizing about the possibility of a larger saltwater aquarium (current is 90 gal) and then I found one on Facebook Marketplace with a "make it go away, now" price (it was neglected and they were moving). I decided to purchase the whole aquarium system which had all nice components for about 1/3 the $ cost of new. The only issue is that it's a "rimless" style aquarium and the issue I have with rimless aquariums is that they tend to have huge amounts of 'light spill' with the very bright reef lights (and no hood/canopy to contain the light).

Cornea burning "light spill" would be a bad thing in the location I would like to place the aquarium in the family room so I decided to build hood/canopy to try to contain the light spill.

I used 'select' pine boards from Home Despot and T-track rails to mount the lights. Once I am ready to setup the new aquarium I will suspend the light canopy from brackets on the wall or from the ceiling.

With the five Radion XR15 G4 lights installed it weighs 34.5 lbs. Not light, but workable.

It's 66" long, 13.5" wide, and 7.5" tall (1x8 boards).

20210907_164634.jpg


20210907_164644.jpg


20210907_164718.jpg


Filling screw holes, sanding, filling, sanding, etc.
20210909_160139.jpg


A prototype of how the lights will mount to the T-track. These are 45mm bolts, but I ended up using 18mm bolts to get the lights up higher (keeping in mind it's upside down in this photo).
20210910_102419.jpg


"Paint it Black". Great song
20210912_062216.jpg


T-tracks mounted.
20210912_104625.jpg


5 lights fit comfortably on 14" centers.
20210912_110853.jpg


I need to add some cable management mount points.
20210912_111734.jpg


20210912_111746.jpg


This shows how the lights sit up in the canopy.
20210912_111759.jpg


20210912_111851.jpg


These lights put out a lot of heat when running in "daytime" mode so they need ventilation. No problem with ventilation here...
20210912_112007.jpg
This is a fine piece of furniture
 
OP
OP
Onewolf

Onewolf

Active Member
View Badges
Joined
Jul 23, 2019
Messages
331
Reaction score
363
Location
East Central Florida
Rating - 0%
0   0   0
Haha I can't blame you. That's a lot of canopy to come crashing down. How high will it be mounted? Are you worried about it being in your way during routine maintenance?

Yes, I assume it will be in the way. :) My plan is to mount the mount brackets high enough (on the wall or ceiling) that I will be able to push the canopy back towards the wall and have velcro on the back of the canopy and on the wall for it to 'stick' to the wall for most maintenance tasks. The tank will be 3" off the wall and the canopy is 13.5" deep so when it's 'stuck' on the back wall it should cover just the back 10" of the tank. It's my theory/plan for now. :)
 
OP
OP
Onewolf

Onewolf

Active Member
View Badges
Joined
Jul 23, 2019
Messages
331
Reaction score
363
Location
East Central Florida
Rating - 0%
0   0   0
Yes, I assume it will be in the way. :) My plan is to mount the mount brackets high enough (on the wall or ceiling) that I will be able to push the canopy back towards the wall and have velcro on the back of the canopy and on the wall for it to 'stick' to the wall for most maintenance tasks. The tank will be 3" off the wall and the canopy is 13.5" deep so when it's 'stuck' on the back wall it should cover just the back 10" of the tank. It's my theory/plan for now. :)

I forgot, my initial plan for 'sticking' the canopy to the wall for maintenance will be to use powerful magnets. Velcro is option #2.
 
OP
OP
Onewolf

Onewolf

Active Member
View Badges
Joined
Jul 23, 2019
Messages
331
Reaction score
363
Location
East Central Florida
Rating - 0%
0   0   0
I currently have two obstacles before getting the new tank setup:

#1) I need to do a two tank "shuffle". Move current 65 gal FW tank in home office to 'sitting room'. Move current 90 gal SW tank to home office.

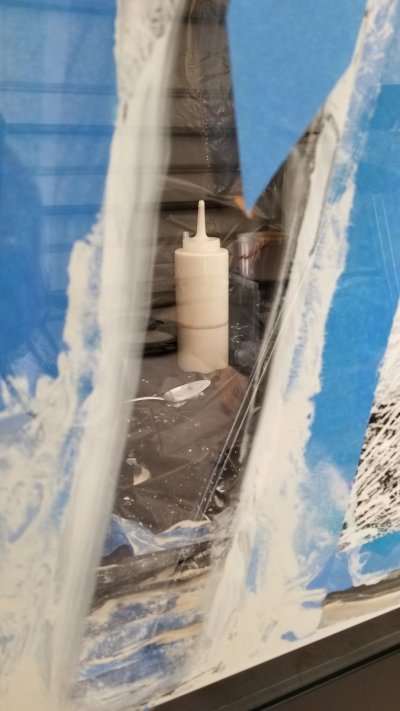
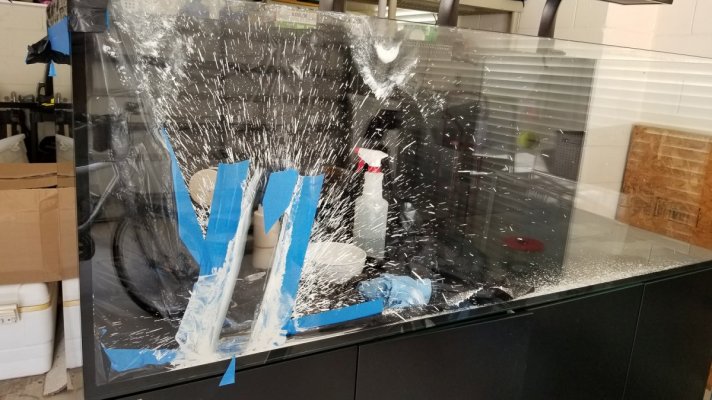
#2) Even though I tried to be very careful while cleaning the Waterbox 230.6, I managed to put a 6" scratch on the front of it. D'oooooh! I have spent about 1.5 hours using cerium oxide and a 3" wool bonnet polishing the scratch, but so far I see no improvement. Double D'oooh!

20210822_131647.jpg 20210822_131619.jpg
 

jhuntstl

Valuable Member
View Badges
Joined
Apr 21, 2021
Messages
2,257
Reaction score
5,005
Location
St. Louis
Rating - 0%
0   0   0
Just wanted to make sure you had thought of it. :) I was thinking some sort of rail system for back and forth. So many ways to do it.
 

High pressure shells: Do you look for signs of stress in the invertebrates in your reef tank?

  • I regularly look for signs of invertebrate stress in my reef tank.

    Votes: 36 31.3%
  • I occasionally look for signs of invertebrate stress in my reef tank.

    Votes: 28 24.3%
  • I rarely look for signs of invertebrate stress in my reef tank.

    Votes: 21 18.3%
  • I never look for signs of invertebrate stress in my reef tank.

    Votes: 30 26.1%
  • Other.

    Votes: 0 0.0%
Back
Top