I have long awaited this water box having been out of the SW game for some years now. Time for a build thread. A lot has changed in several years. Here we go, hopefully I don't miss anything in my list.
Tank specs;
72"L x 40"W x 27"H Penisula style 3 sides veiewable, low iron / starfire.
Sump specs;
72" x 24" x 18" (chambers and water depth TBD)
General equipment;
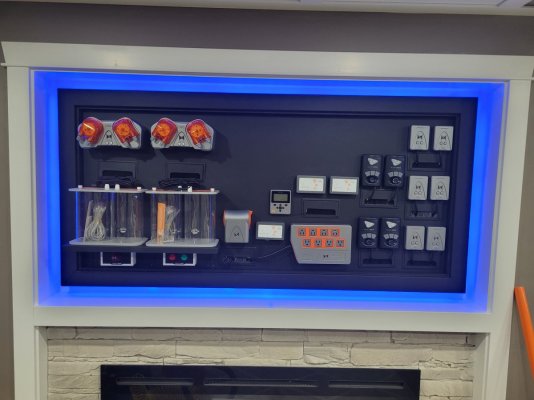
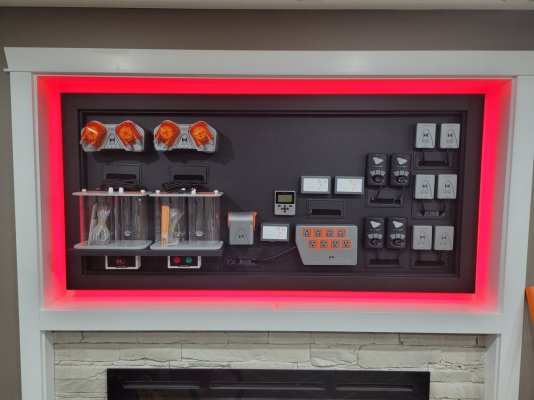
1 x Neptune Apex
2 x Neptune EB832
3 x Neptune DOS
2 x Neptune DDR
1 x Neptune AFS
1 x NeptuneFS100
1 x NeptuneTrident
1 x Neptune ATK
1 x Neptune FMM
1 x Neptune FMK
1 x Neptune LDK
1 x Neptune MPR
2 x Neptune Solenoid
2 x Neptune Optic sensors
1 x Neptune Breakout
3 x BRS 600w titanium heaters with 2 inkbird controllers
1 x Pentair 80w Smart HO UV
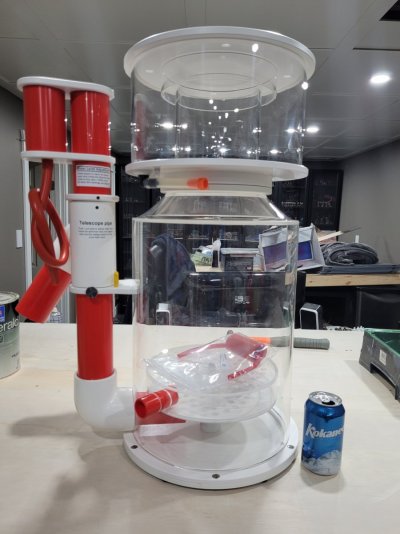
1 x Bubble King Supermarin 250 (maybe, UPS has lost this at the moment)
1 x 200GPD BRS 7 Stage RO/DI
4 x Brightwell "lego blocks" with microbacter 7
Flow;
2 x Vortech MP60QD
2 x Vortech MP40QD
1 x Vortech Battery back up
2 x WAV with 1 Link
1 x Maxpect Gyre XF350
2 x Neptune COR 20
Lighting;
3 x Neptune SKY
2 x Giesemann Stellar 4 x 39W T5HO
1 x Netune GRO Refugium light
My overall plan is to have the tank about a 12" from the wall with the exteral overflow on the wall side, bean animal overflow 1" drains (perhaps 1-1/4"). It is going to separate my "theater" room and my other hobby (warhammer) / office area of the basement. All of the vortechs will be on the 40" overflow side, 2 x MP60 at the top, 2 x MP40 closer to the bottom, returns from the sump will also be on this side. The Gyre will be on the opposite 40" viewable end, and the 2 WAV will be mounted in the middle of the 72" side for directional flow 2 and 4 foot mark depding on aquascape. The wall side backs on to my laundry / furnace room. All the water change storage, ATO storage, QT, and future frag tank will be located in that room.
Not sure what Im going to do with the Giesemann lights, I will probably have to mod them. The SKY wont fit beteewn them nicely. So, I will either put them end to end on the 72" side, 4 bulbs on each 72" side. Or stager them between the SKY on the 40" side. I'd hate to not use them, they're brand new in box and have been sitting in my basement waiting for me to get a water box.
As much as it pains me to say this, I love the look of sand so much, it will be a bare bottom tank. Some wrasse, and other other sand dwellers will have to be sacrificed out of my wish list of fish. I do like me some wrasse, luckily lots of species don't need sand. Needless to say, with the bare bottom and rediculous flow SPS is my end game. Having said that, I also have about 400lbs of Marco rock, epoxy and glue in transit that I will smash up and create an HNSA aquascape.
Sorry to all the folks that were hoping to see pics, I will get them up in the coming weeks as I move some things around and start building the stand.
Advice and thoughts always welcome. I have never done a peninsula tank. I would like to avoid a closed loop, so hopefully my flow ideas will be effective for the end game. Peninsula folks please chime in on mistakes and what you would have done different.
Thanks Scott.


