Your new shipment of Zs-n-Ps is on the way, its time to think about what precautionary measures you are going to use prior to introducing it into your system. How are you going to handle the new corals when they arrive. With all the wild collected frags in the hobby that may be headed our way, having some type of precautionary measures in place to prevent the arrival of unwanted pest organisms into our Display Tanks becomes critical. Aiptasia, Algae, Flatworms, and Nudibranchs are only a few of the unwanted pests that we may face.
If you have the ability to do so, some type of quarantine tank and a vigilant waiting period for anything living is a strongly recommended precaution. If however a QT is not an option for you, there are some other precaution measures you can take to minimize the risk of introducing undesirables into your DT.
The following described precautionary measures are not new, nor are they 100 percent fool proof. They have been collected and put together based on the input of many different reefers over the years, and have been used both by myself and by many different hobbiests on many different frags with great success. I'm sure that you also will find them to be both safe and relatively effective. I use these precautionary measures on all new corals, regardless of whether I will be quarantining or not.
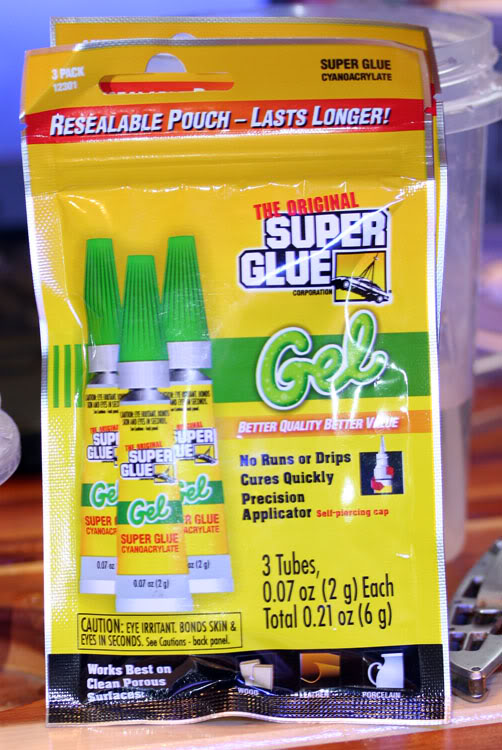
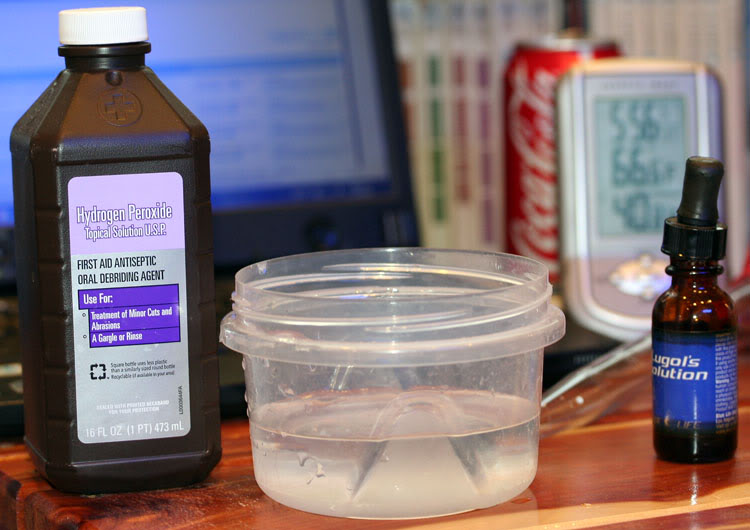
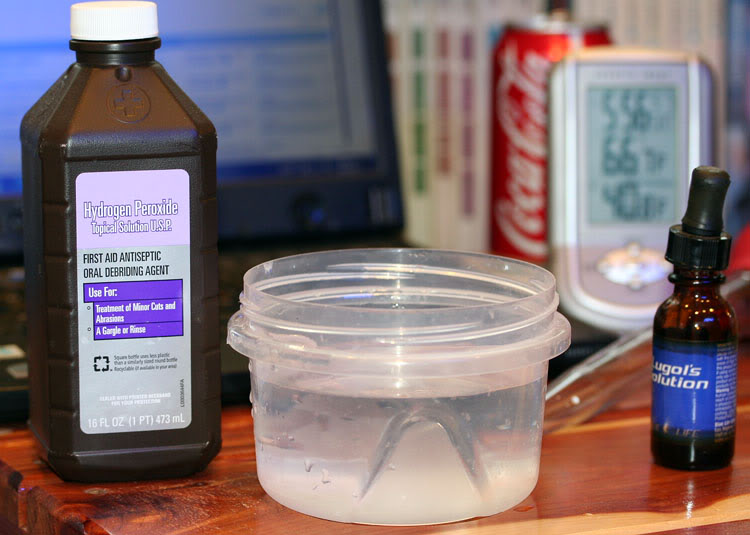
The first thing you will need to do is have a number of supplies and some treatments already on hand. I recommend several different sizes of plastic containers from a smaller 1 cup size up to a five gallon bucket. A magnifying glass, some plastic tweezers, a good knife, a pair of side cutters, a turkey baster or pipette, a portable clock of some type, some tubes of Superglue Gel, and a couple of dips; Iodine and Hydrogen Peroxide at least.
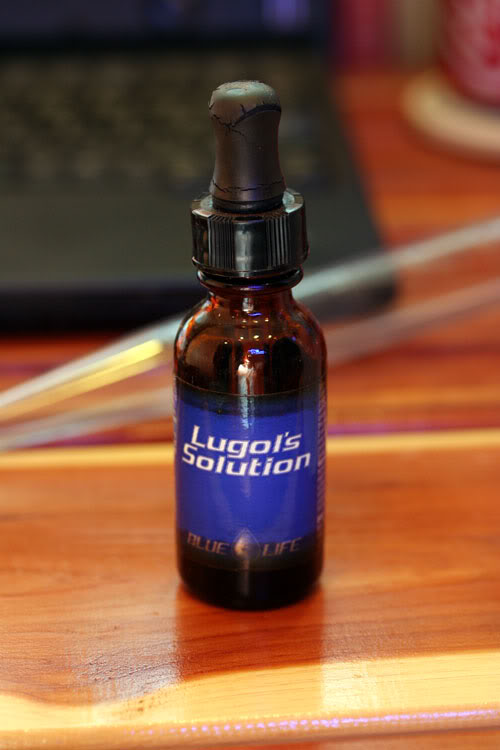
As an initial dip on new polyps, I use Lugal's Iodine almost exclusively;
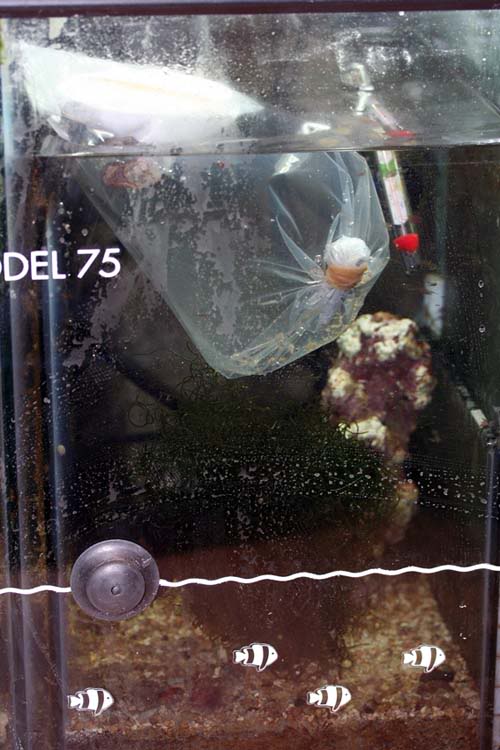
Once the polyps arrive, the first thing I do is float the bag in the sump with the lights out for 10 to 15 minutes in order to temperature acclimate the polyps. Having the lights out insures that the newly arrived polyps having spent the last day or two inside a dark box are not stressed by suddenly being blasted by light.
As they float, I gather up my supplies in preperation for giving them a thorough inspection and dip. A Plastic container, magnifying glass, plastic tweezers, turkey baster, iodine, and a trusty knife are all important.
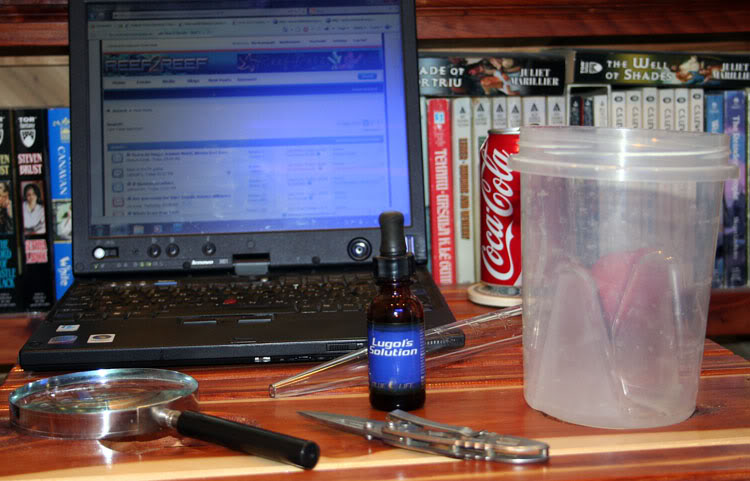
Don't forget the all important beverage and laptop if you have one, as you may be here for awhile!
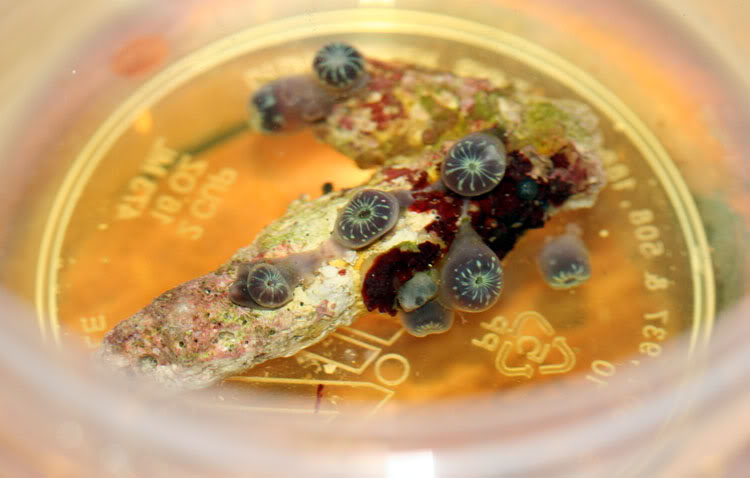
Once the polyps are temperature acclimated, I dip some water from the sump into my plastic container and then remove the polyps from their bag.
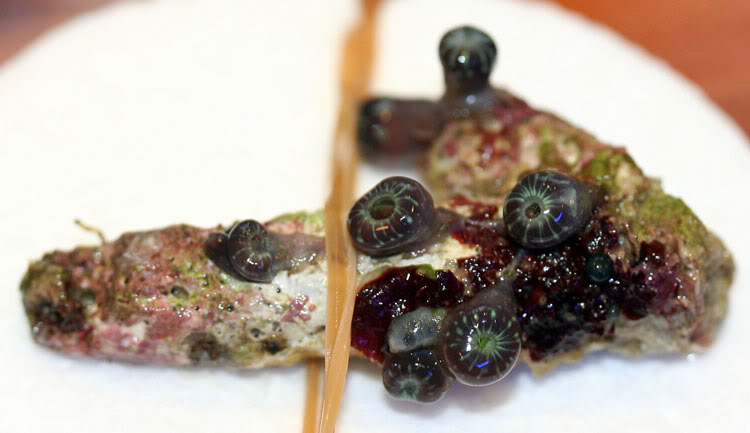
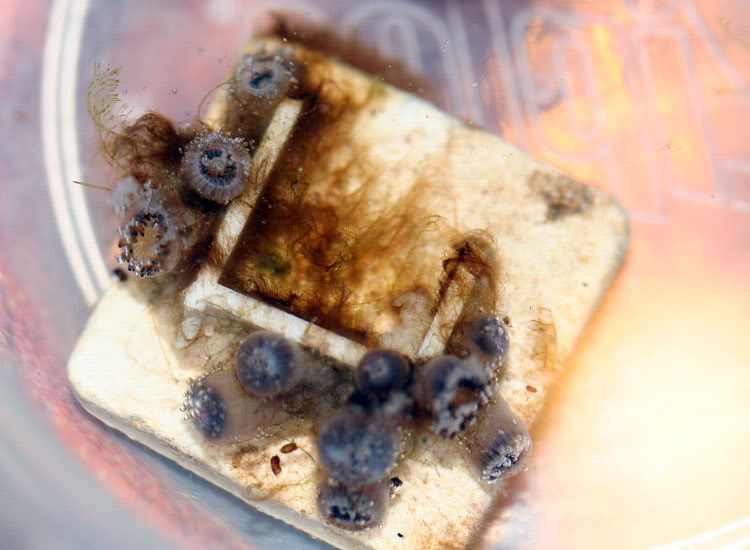
I do a quick examination with the magnifying glass will performing a slow count of thirty. If I see any obvious pests or nuisance algae at this point, I remove it, either by hand or with the plastic tweezers. If necessary I scrap the plug or LR with my knife, or remove an entire section using a pair of side cutters.
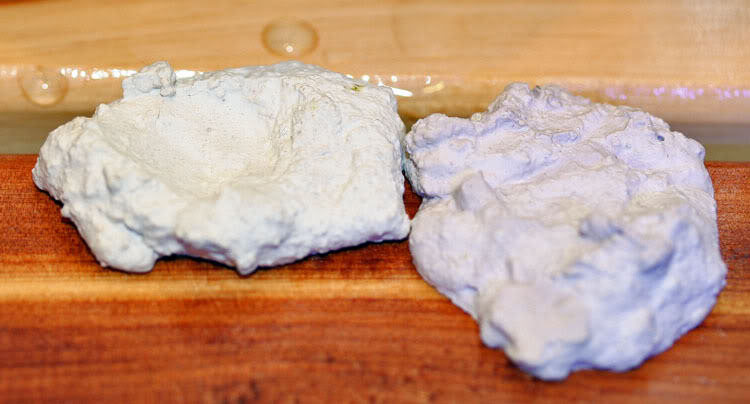
Suspect material like this would be removed by scrapping the LR with my knife;
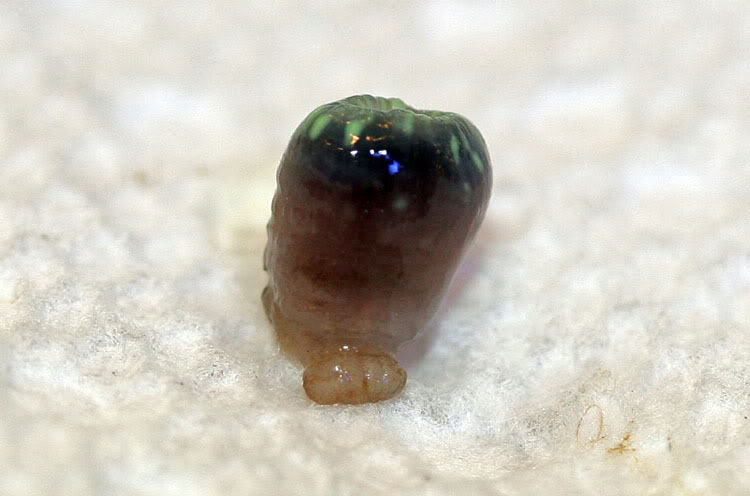
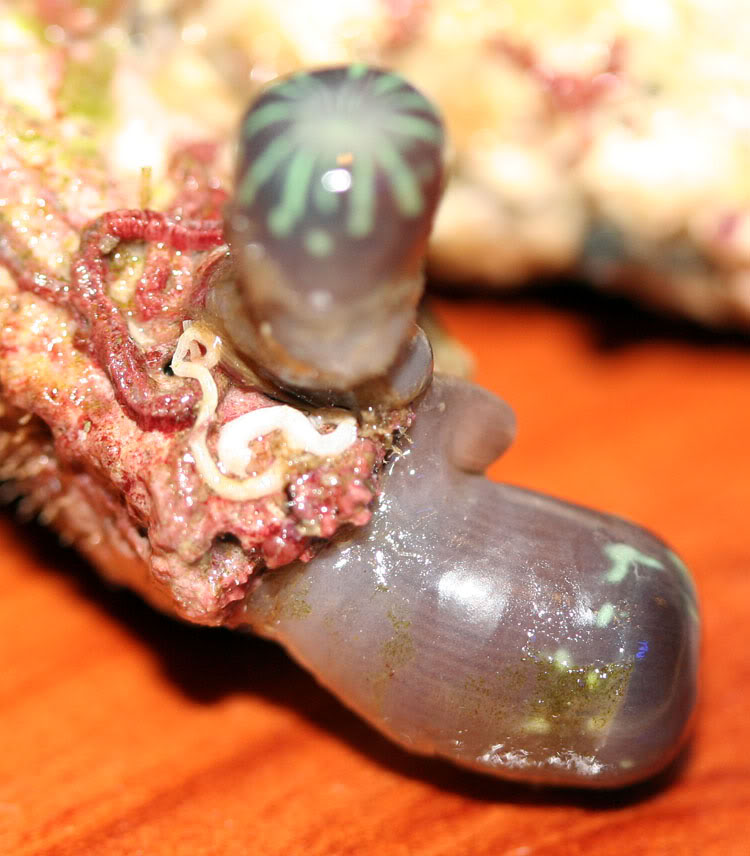
Non pests like this tubeworm would be left, although they don't usually fair well in the iodine dip;
Once the polyps have fully closed up, and I have finished my inspection/removal of obvious pests, I drop them into the container of tank water.

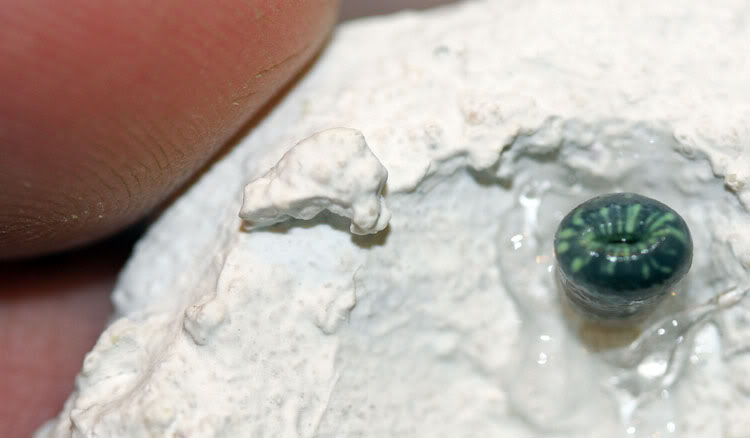
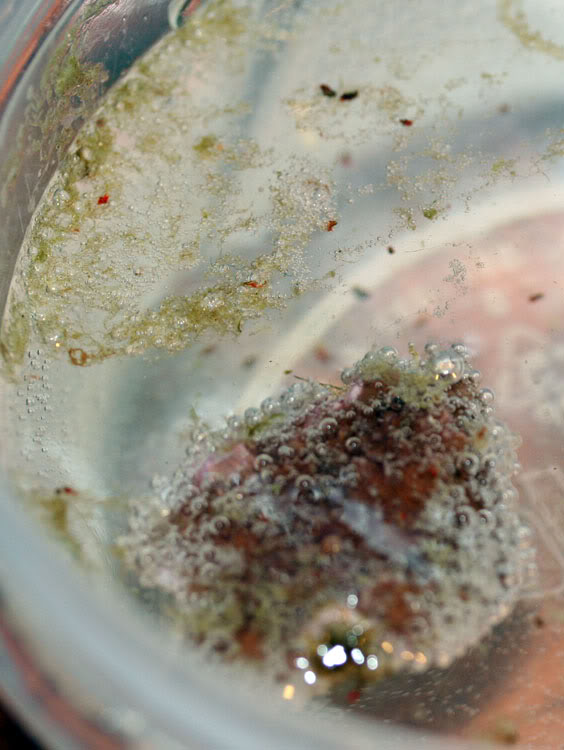
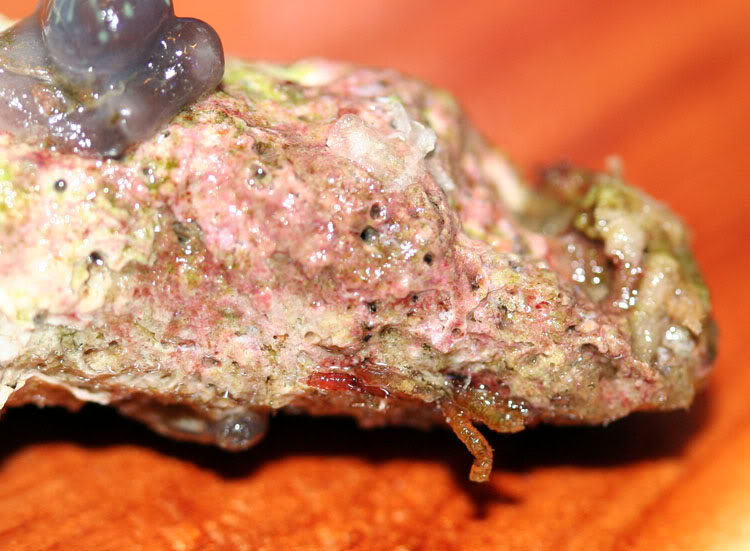
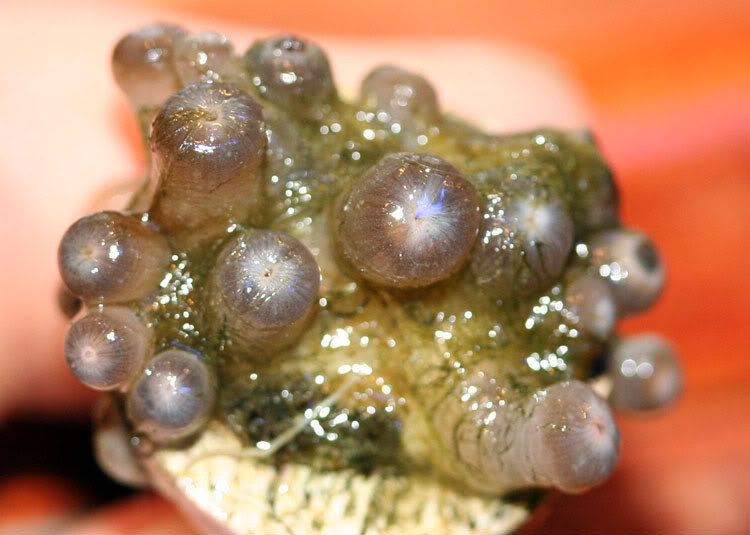
Once they are there, I do a second more thorough inspection with the magnifying glass and remove any additional pests. Nudibrach egg sacks are something I look carefully for at this point. A frag covered in algae like this will take some time to clean up.
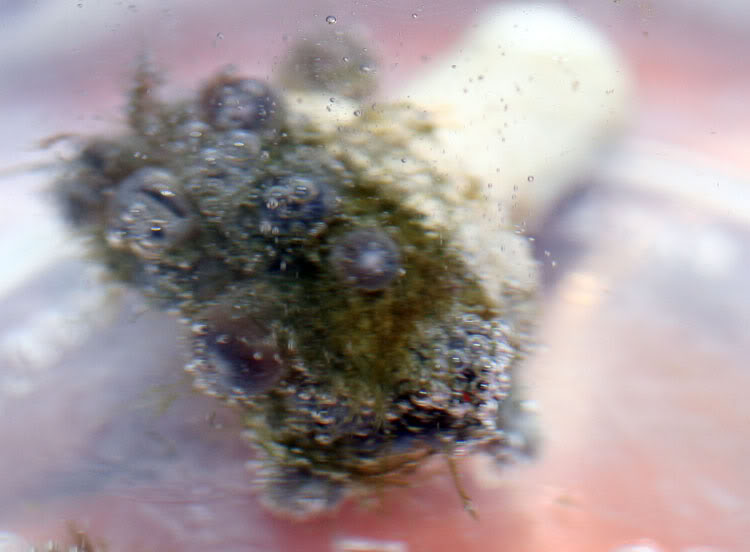
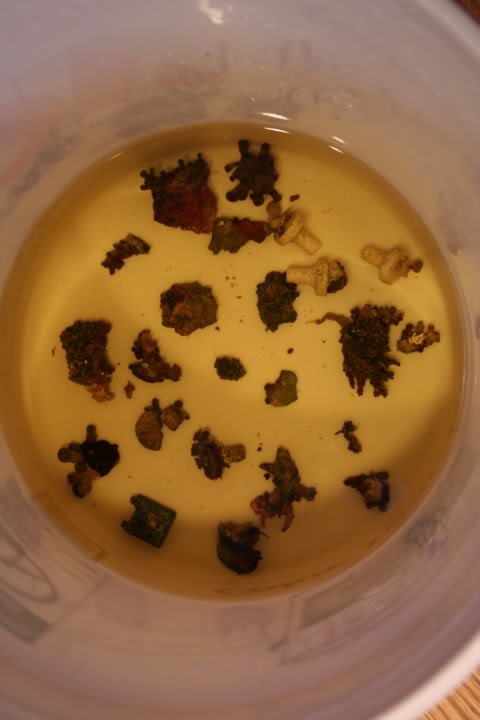
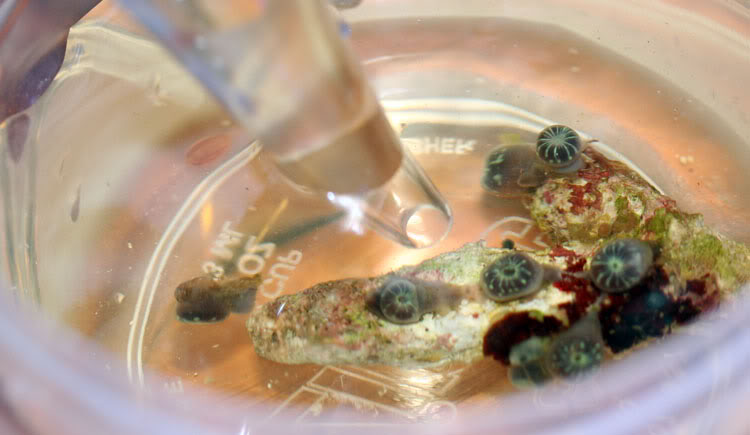
After I finish cleaning the frag, I add iodine to the container directly over the polyps. In this case, with a smaller container (about 2 cups of water), I added 8 drops of iodine.
I then either swish the coral around or use the pipette or turkey baster to squirt the iodine all around the polyps and into the nooks and crannies of the LR. I let them sit in the lugals for 10 to 15 minutes.
After 10 to 15 minutes, remove the polyps from the iodine solution, dip briefly into a clean container of tank water and swish gently to remove the excess iodine. Adding a large number of frags to a tank all at once without rinsing away excess iodine can cause a large spike in iodine concentration within your tank. If I still feel its warrented, they are placed in a quarantine tank, if not, they go into the Display. I usually hold the polyps briefly directly in front of a powerhead once I immerse them into the tank, just to blow off any remaining solution. Then they are always placed on the bottom of the tank in an area of moderate to high flow. In the main tank, I eliminate all lighting for the first 48 hours so the polyps are acclimating only to the water chemistry. After 48 hours, I turn the lights back on for half the normal duration of my light cycle, and finally on the third day, I return to a normal lighting cycle. If the polyps still look stressed after 24 or 48 hours, I will extend that period of reduced lighting.
If the package arrives with loose floating polyps, some additional steps will be required and if the polyps have certain pests or evidence of disease, than additional dipping in other solutions may be required.
If you have the ability to do so, some type of quarantine tank and a vigilant waiting period for anything living is a strongly recommended precaution. If however a QT is not an option for you, there are some other precaution measures you can take to minimize the risk of introducing undesirables into your DT.
The following described precautionary measures are not new, nor are they 100 percent fool proof. They have been collected and put together based on the input of many different reefers over the years, and have been used both by myself and by many different hobbiests on many different frags with great success. I'm sure that you also will find them to be both safe and relatively effective. I use these precautionary measures on all new corals, regardless of whether I will be quarantining or not.
The first thing you will need to do is have a number of supplies and some treatments already on hand. I recommend several different sizes of plastic containers from a smaller 1 cup size up to a five gallon bucket. A magnifying glass, some plastic tweezers, a good knife, a pair of side cutters, a turkey baster or pipette, a portable clock of some type, some tubes of Superglue Gel, and a couple of dips; Iodine and Hydrogen Peroxide at least.
As an initial dip on new polyps, I use Lugal's Iodine almost exclusively;
Once the polyps arrive, the first thing I do is float the bag in the sump with the lights out for 10 to 15 minutes in order to temperature acclimate the polyps. Having the lights out insures that the newly arrived polyps having spent the last day or two inside a dark box are not stressed by suddenly being blasted by light.
As they float, I gather up my supplies in preperation for giving them a thorough inspection and dip. A Plastic container, magnifying glass, plastic tweezers, turkey baster, iodine, and a trusty knife are all important.
Don't forget the all important beverage and laptop if you have one, as you may be here for awhile!
Once the polyps are temperature acclimated, I dip some water from the sump into my plastic container and then remove the polyps from their bag.
I do a quick examination with the magnifying glass will performing a slow count of thirty. If I see any obvious pests or nuisance algae at this point, I remove it, either by hand or with the plastic tweezers. If necessary I scrap the plug or LR with my knife, or remove an entire section using a pair of side cutters.
Suspect material like this would be removed by scrapping the LR with my knife;
Non pests like this tubeworm would be left, although they don't usually fair well in the iodine dip;
Once the polyps have fully closed up, and I have finished my inspection/removal of obvious pests, I drop them into the container of tank water.
Once they are there, I do a second more thorough inspection with the magnifying glass and remove any additional pests. Nudibrach egg sacks are something I look carefully for at this point. A frag covered in algae like this will take some time to clean up.
After I finish cleaning the frag, I add iodine to the container directly over the polyps. In this case, with a smaller container (about 2 cups of water), I added 8 drops of iodine.
I then either swish the coral around or use the pipette or turkey baster to squirt the iodine all around the polyps and into the nooks and crannies of the LR. I let them sit in the lugals for 10 to 15 minutes.
After 10 to 15 minutes, remove the polyps from the iodine solution, dip briefly into a clean container of tank water and swish gently to remove the excess iodine. Adding a large number of frags to a tank all at once without rinsing away excess iodine can cause a large spike in iodine concentration within your tank. If I still feel its warrented, they are placed in a quarantine tank, if not, they go into the Display. I usually hold the polyps briefly directly in front of a powerhead once I immerse them into the tank, just to blow off any remaining solution. Then they are always placed on the bottom of the tank in an area of moderate to high flow. In the main tank, I eliminate all lighting for the first 48 hours so the polyps are acclimating only to the water chemistry. After 48 hours, I turn the lights back on for half the normal duration of my light cycle, and finally on the third day, I return to a normal lighting cycle. If the polyps still look stressed after 24 or 48 hours, I will extend that period of reduced lighting.
If the package arrives with loose floating polyps, some additional steps will be required and if the polyps have certain pests or evidence of disease, than additional dipping in other solutions may be required.
Last edited: