New to the hobby - Build Journal

cdfjr1975

Active Member
View Badges
Joined
Aug 23, 2016
Messages
161
Reaction score
55
Rating - 0%
0   0   0
I currently have a couple month old freshwater tank, and wish I researched more before starting the tank since I found out afterwards I made a lot of mistakes, which I don't want to duplicate when setting up my saltwater tank.

This will be a slow build as I'm not in a rush to get everything purchased and installed right away.

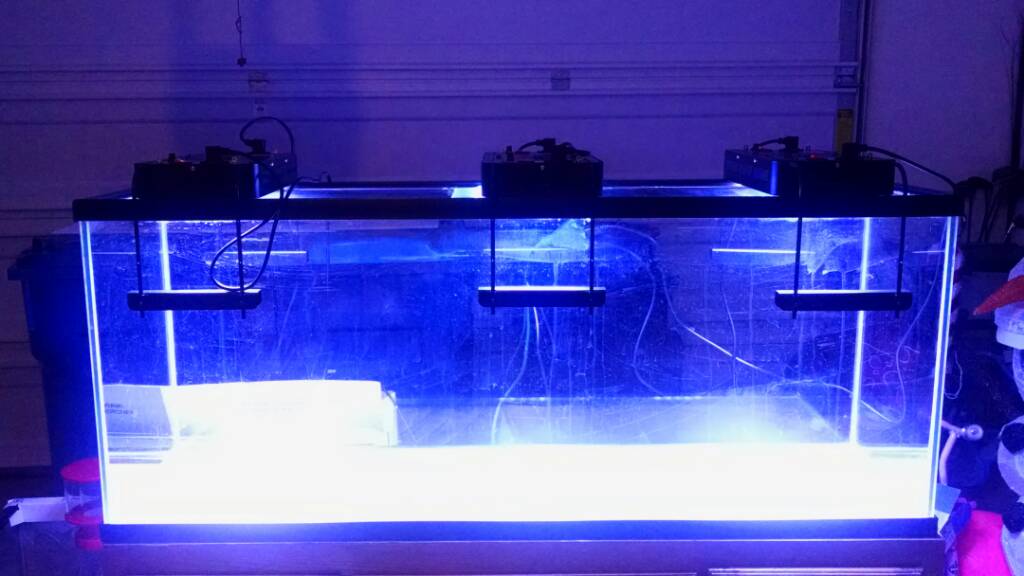
I got a used 100 gallon tank on Craigslist which first needs to be cleaned. The previous owner just downgraded his turtle tank so it recently had water and inhabitants but didn't fill the tank 100 percent full.

IMG_20160906_231023174.jpg


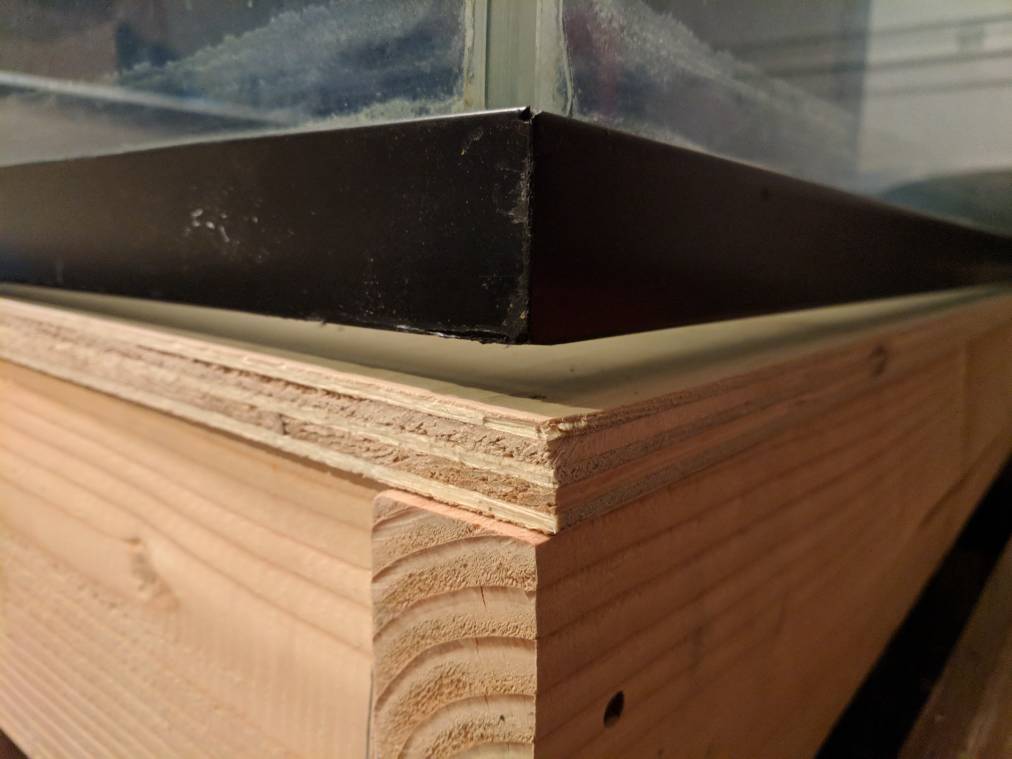
I looked over the sealing and it looks in good condition, no chips, nicks or peeling so I will water test it as a way to soak it for cleaning also. My biggest concern is the top brace silicone looks dirty/stained


IMG_20160906_230918561_HDR.jpg


I'm not sure how will this will turn out. If it doesn't change well how safe is it to remove the old silicone and install new silicone? If I go this route should I also change the tire of brace?

Set up steps to come
Buy dry rock (pukani) and cure while I do other steps since this seems it can take a while.
Drill tank install bean animal in Synergy Reef overflow
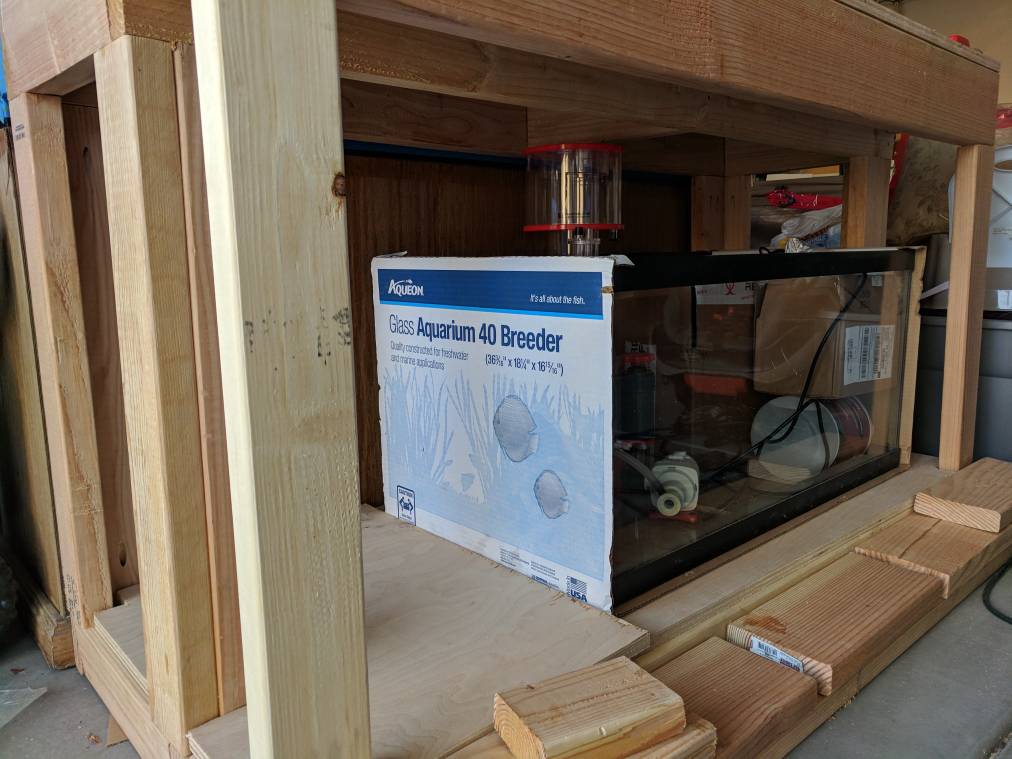
Find 40 gallon tank on Craigslist to build three chamber sump (filter/skimmer, refugium, return)
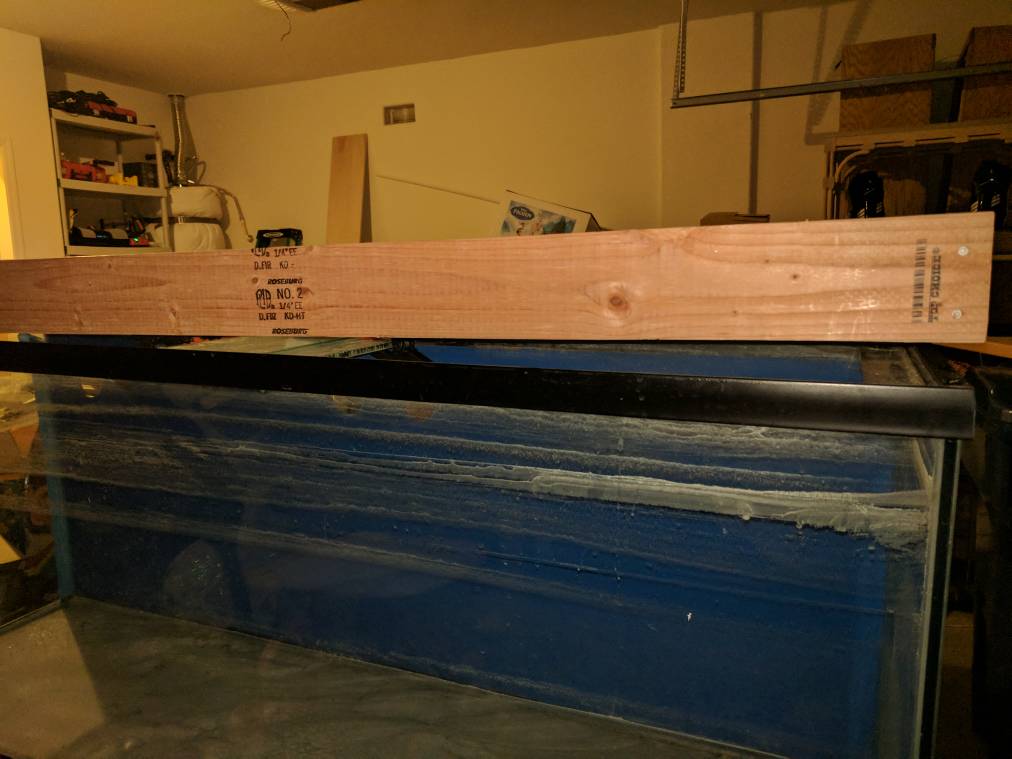
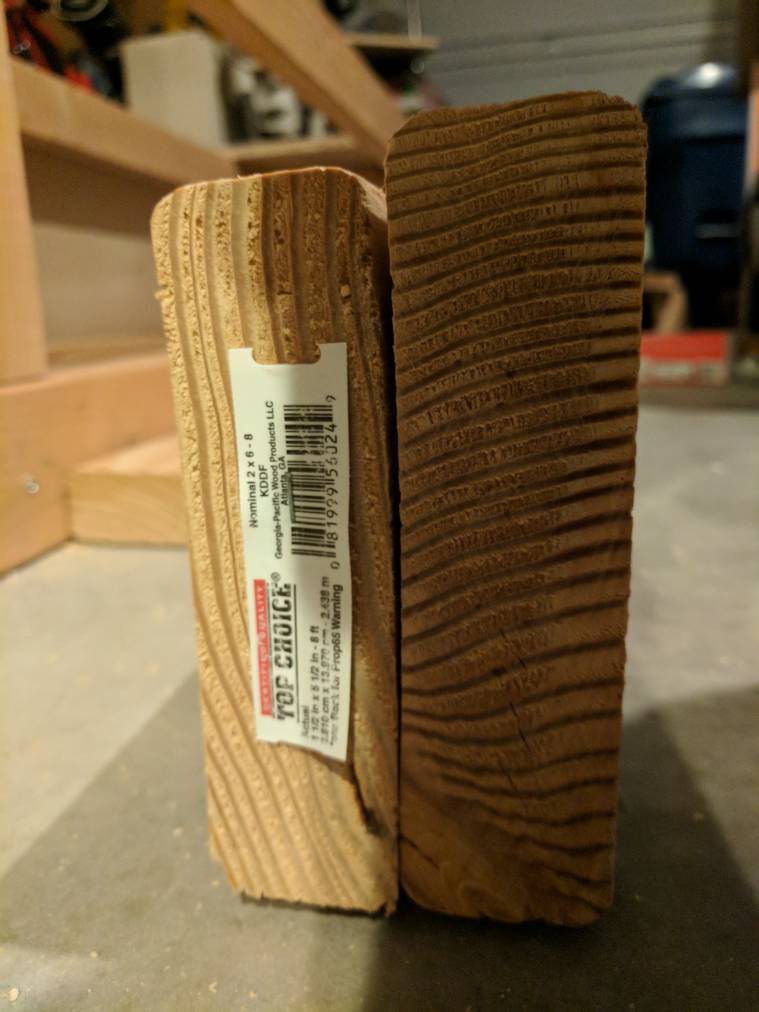
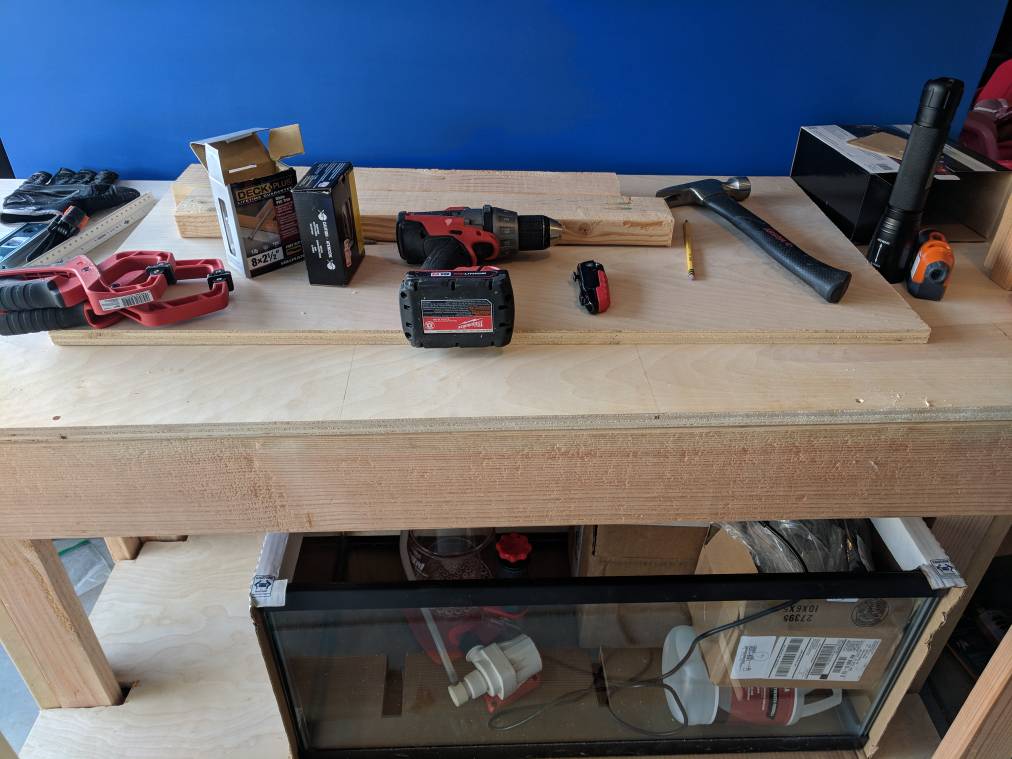
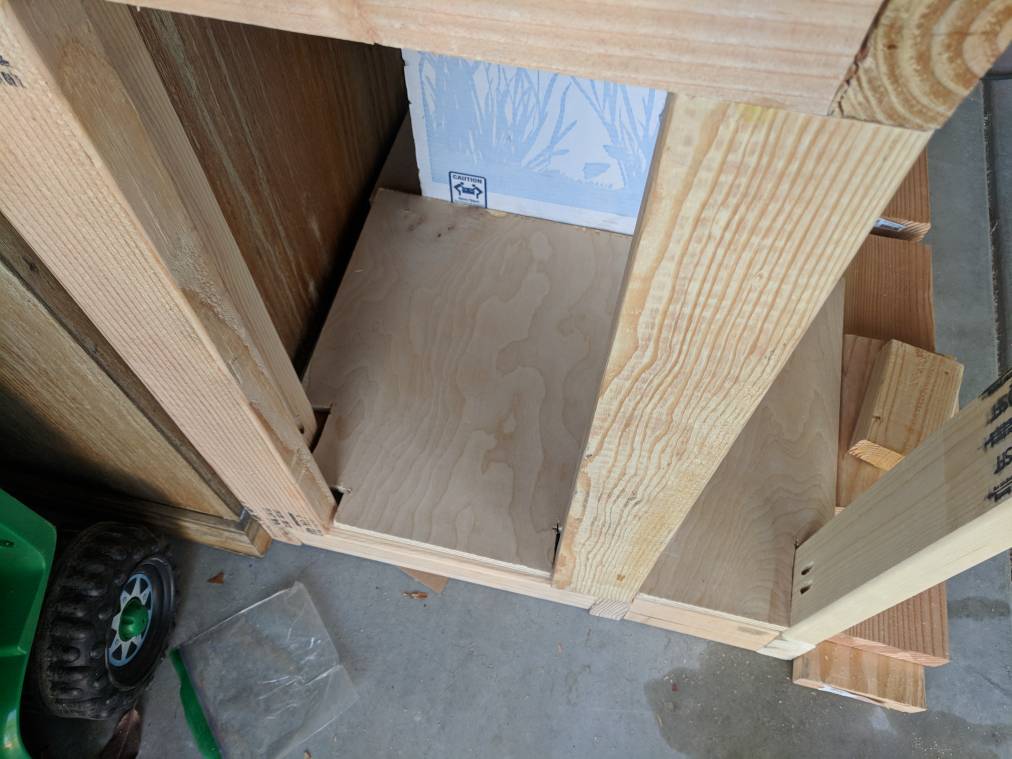
Build stand as the one it came with needs to be replaced not aesthetically pleasing or functional for a salt water tank


Completed tank
Determine live stock
Base lights on stock
Protein skimmer (still researching)
Marine Pure plate in sump to supplement not replace DT rock.
Reef keeper lite plus controller

Any advice is appreciated and if I forgot something please assume I don't know, like I didn't mention cycling the tank without fish so please assume the omission is lack of knowledge.

Thank you in advance and I hope all the reading and research pays off.
 
OP
OP
C

cdfjr1975

Active Member
View Badges
Joined
Aug 23, 2016
Messages
161
Reaction score
55
Rating - 0%
0   0   0
Leak testing has begun. Filled tank about 40% for a few hours and all looked good so I filled it up almost to the top. I put a led flashlight on top just to see how it would look. It is a powerful led but certainly not what aquarium lighting will be but good to know the glass brace allows good light to flow through.

IMG_20160907_223615816.jpg


IMG_20160907_223423670.jpg
 
OP
OP
C

cdfjr1975

Active Member
View Badges
Joined
Aug 23, 2016
Messages
161
Reaction score
55
Rating - 0%
0   0   0
So I have an update (sorry it is slow going but wife had surgery and I've been Mr. mom for the past 6 weeks since she can't walk, let alone drive and we have two kids under 5)

Purchased 40 gallon breeder for sump.

3 - SBReef 16" lights (see image). I will more than likely turn the units long ways but this set up seems o give good coverage.

c9f28590da16b2c0bbc77a982e970323.jpg


Reef Octopus Regal 150 INT

Apex Classic

Synergy Reef Shadow on pre-order

I'm building a kitchen nook and figured I would build stand to match since they are separated by one window.

This is the cross roads. Tank is 60" I have more than 72" in the space I can use between two windows.

I'm thinking build stand for a 180 so I can upgrade eventually since my current tank isn't the best suited for reef considering dimensions 60x16x24 (h).

Currently tank would be center but would leave enough room for ATO in stand although outward appearance would be tank too small for stand.

I'm still deciding on powerheads. Thinking gyre looks good but jabeo being a cheaper alternative should do well considering they can be programmed with the Apex.

Thoughts are still appreciated and more than welcome.
 

Salty1962

Wrasse and SPS Lover
View Badges
Joined
Jan 28, 2015
Messages
8,484
Reaction score
7,741
Location
Charlotte, NC
Rating - 0%
0   0   0
Welcome to R2R! Put a couple of pumps in the tank while your water testing, this will stress the seams and you'll know if you have a problem. I water tested my new tank for a month with allot of circulation in it.

welcom.jpg
 
OP
OP
C

cdfjr1975

Active Member
View Badges
Joined
Aug 23, 2016
Messages
161
Reaction score
55
Rating - 0%
0   0   0
Welcome to R2R! Put a couple of pumps in the tank while your water testing, this will stress the seams and you'll know if you have a problem. I water tested my new tank for a month with allot of circulation in it.

welcom.jpg
Great idea I was going to fill it again anyway so guess now I really need to decide what power heads.
 

Tahoe61

10K Club member
View Badges
Joined
Mar 2, 2012
Messages
13,239
Reaction score
15,695
Location
AZ
Rating - 0%
0   0   0
Welcome to the SW hobby and R2R. :)
 

tj w

Valuable Member
View Badges
Joined
Oct 10, 2015
Messages
2,170
Reaction score
1,283
Rating - 0%
0   0   0
Welcome to R2R. It's really up to you on the power heads. They all have their positives and negatives. Just research them all and pick the one that will best suit your needs. Sometimes the most expensive isn't always the best.
 
OP
OP
C

cdfjr1975

Active Member
View Badges
Joined
Aug 23, 2016
Messages
161
Reaction score
55
Rating - 0%
0   0   0
Good thing the tank is dirty, between saw dust and left over debris from previous owner which I never fully cleaned since I was going to drill it anyway, because I can see the movement of the particles in the peacemaker.

Beginning next round of leak testing.


IMG_20161104_223357722.jpg
 
OP
OP
C

cdfjr1975

Active Member
View Badges
Joined
Aug 23, 2016
Messages
161
Reaction score
55
Rating - 0%
0   0   0
Sorry that is wavemaker not peacemaker. The upper right corner is the pp15 running nice.

Second one is on order.
 
OP
OP
C

cdfjr1975

Active Member
View Badges
Joined
Aug 23, 2016
Messages
161
Reaction score
55
Rating - 0%
0   0   0
I said in the initial post this is a slow build. Sorry for dragging this on so long.

Update:

Tank drilled: synergy reef shadow drilled and one overflow hole drilled. Haven't decided yet on return inside the DT

Ordered pipes, no plan yet but thought having some would jump start ideas

Sump 40 gallon still deciding on baffles. Had extra glass but as I dropped one and saw nice, clean, cubed pieces of glass realized it was tempered, guess it is time to order glass.

Skimmer: reef octopus regal 150
Return: reef octopus Varios6

Looking to build stand that accommodates sump tank with different size, read as larger depth, sump.

Apex controller

3 SBReeef lights

Need:
Stand
Rock
Sand
Live stock

I'm almost there..... Well.... I'm sure I forgot something
 
OP
OP
C

cdfjr1975

Active Member
View Badges
Joined
Aug 23, 2016
Messages
161
Reaction score
55
Rating - 0%
0   0   0
Stand building 101, the corner should not stand like that

Apparently one of the 2x4s are warped. Identified the culprit and now need to get another to replace or will the pressure of the tank level this out?

Second, don't take for granted that all 2x6s are created equal, even if they are from the same stack. One measures 5 1/8 while the other is 5 3/8

Guess while I'm picking up a flat 2x4 I will need to locate another 2x6 which matches one of these.

Guess the idea of framing the stand tonight is out of the question.
8d14fd70f4d2fcd2688bd8adcf49ba1a.jpg
2d532a3c4e0a3e4c6981f27ae4a42c94.jpg
 
OP
OP
C

cdfjr1975

Active Member
View Badges
Joined
Aug 23, 2016
Messages
161
Reaction score
55
Rating - 0%
0   0   0
Stand is built. Did a tick poor job of cutting the base of the stand to match the uprights so I'm going to use a Mulligan, but for pipe fitting and water testing it will do for now.

Really wish I would have went 36" in height instead of 34" it would have made the skimmer easier to take in and out if needed. The collection cup is easy to remove so no issues there.

Sump is wider than DT so I needed the extra space, hence the three sets of uprights. Still deciding on if I should cut a square for the pipes or use hole bits to create holes for all the piping.

Progress....sort of!
148e287d0feb59ac5d29a1134078c6d3.jpg
b0489446c223338169d857e86468d885.jpg
603b1b5a74784f4d6b66beba7e97a395.jpg
 
OP
OP
C

cdfjr1975

Active Member
View Badges
Joined
Aug 23, 2016
Messages
161
Reaction score
55
Rating - 0%
0   0   0
Stand build woes continue. So I put the tank on the stand to mark where the plumbing will go and notice this 3/8 inch gap. Come to find out I have 3 corners at 34 5/8 while the 4th is 35.

Question, shim under the tank, pull up the top ply and shim under there, plane the uprights down to match the other corners, or something else I haven't mentioned?
86b01134027c897dc0393191829881f6.jpg
 

don_chuwish

Smells something fishy
View Badges
Joined
Mar 21, 2012
Messages
3,013
Reaction score
3,386
Location
A better place
Rating - 0%
0   0   0
That's unfortunate. Is nothing glued? If not then pull the screws and start looking for what set it off. One leg cut a little long maybe?
 
OP
OP
C

cdfjr1975

Active Member
View Badges
Joined
Aug 23, 2016
Messages
161
Reaction score
55
Rating - 0%
0   0   0
Looks like poor clamping I let the bottom side slide up between the front and back. I can pull the top off easily. It's glued at all other points so I think some good old fashioned plane work is in my future. Unfortunately I'm obviously not a frequent wood worker so these things happen, so I'm glad I have a place to discuss my oops.
 

Being sticky and staying connected: Have you used any reef-safe glue?

  • I have used reef safe glue.

    Votes: 95 88.0%
  • I haven’t used reef safe glue, but plan to in the future.

    Votes: 6 5.6%
  • I have no interest in using reef safe glue.

    Votes: 4 3.7%
  • Other.

    Votes: 3 2.8%
Back
Top