Novahobbies 110g Build History and Log. So THAT'S where all my money went!

novahobbies

Active Member
View Badges
Joined
Nov 12, 2013
Messages
118
Reaction score
32
Location
Deerfield Beach, FL
Rating - 0%
0   0   0
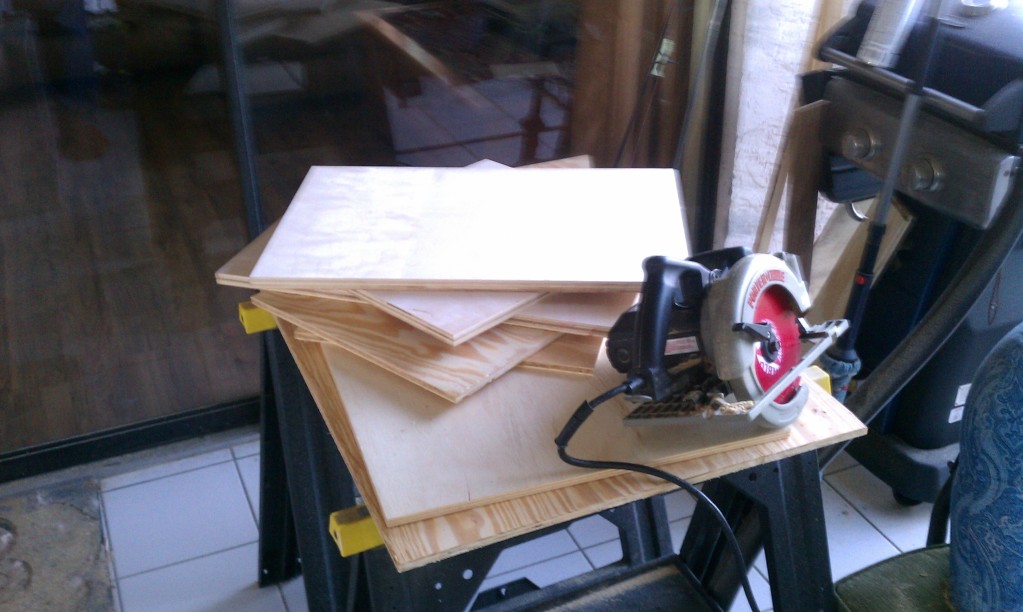
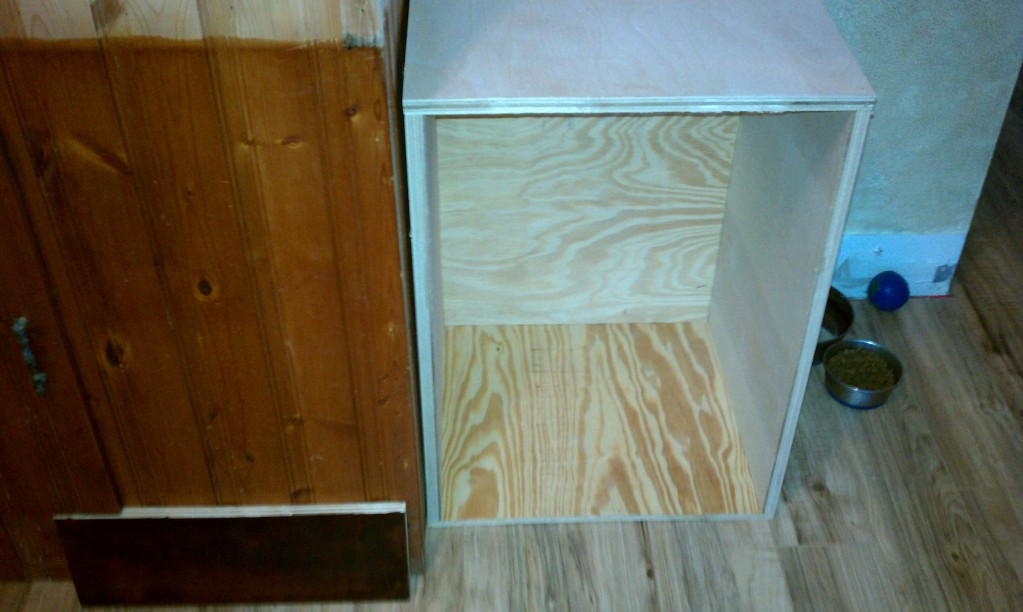
Hey all. I thought I'd introduce myself and start a tank diary as my baby matures. Fair warning and spoiler alert, though.....the tank is built and running, so I'm going to be posting a LOT of old pictures to start with. If you're like me, though, you probably love looking at the construction pics of a tank almost as much as the finished product. Hope you enjoy this hot mess.

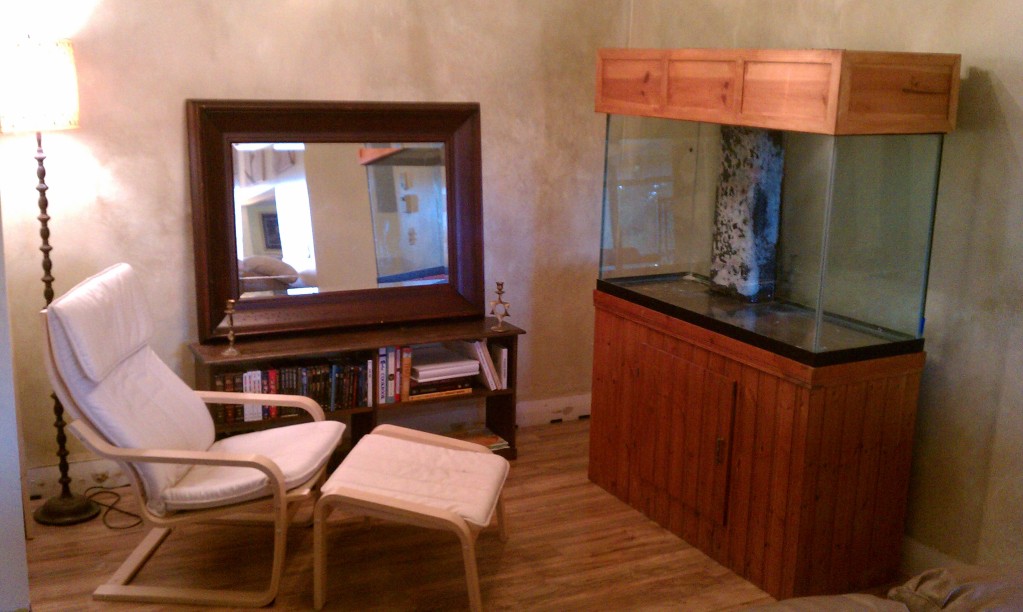
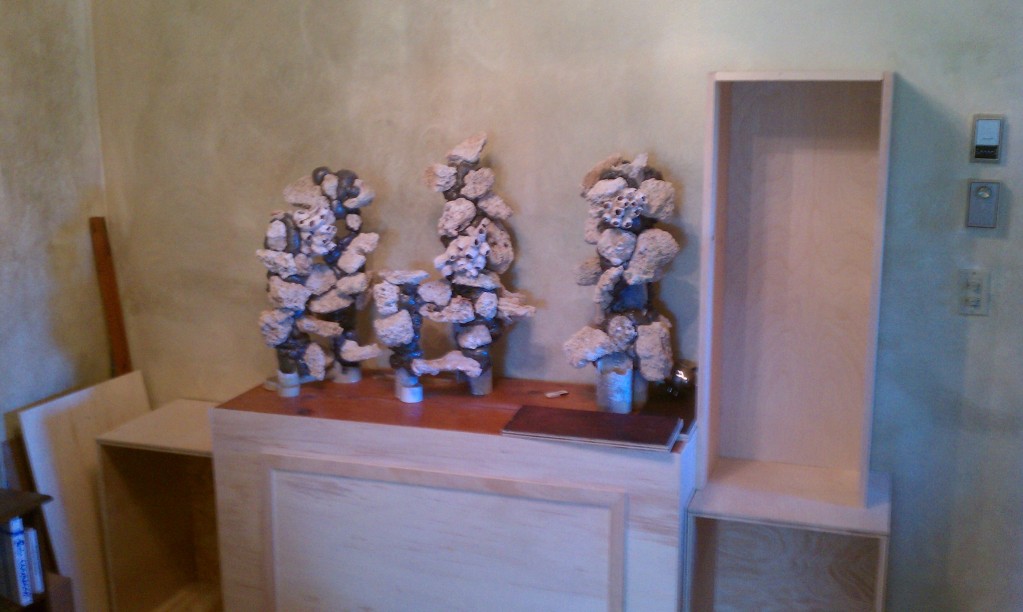
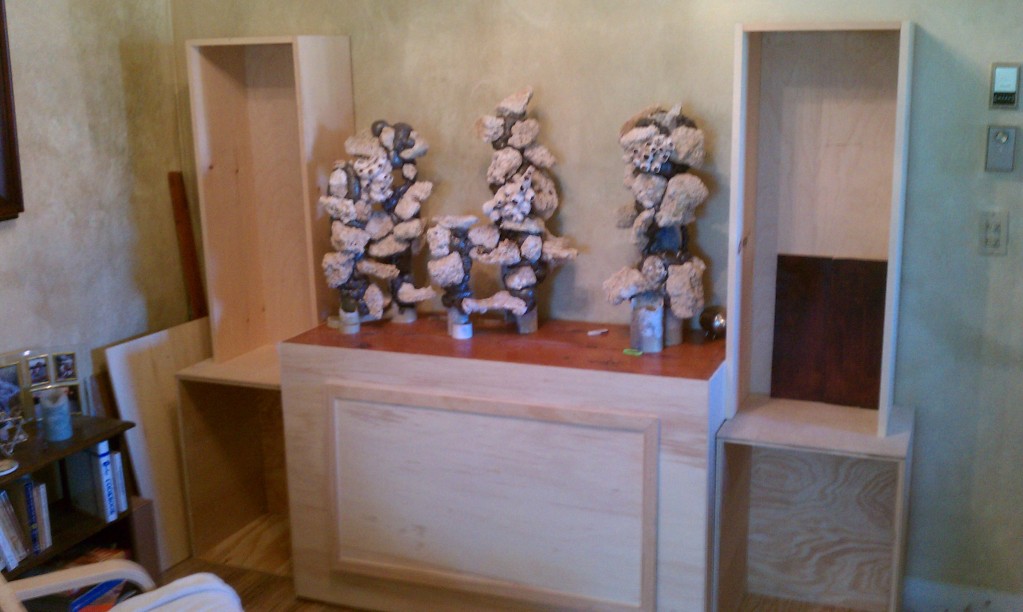
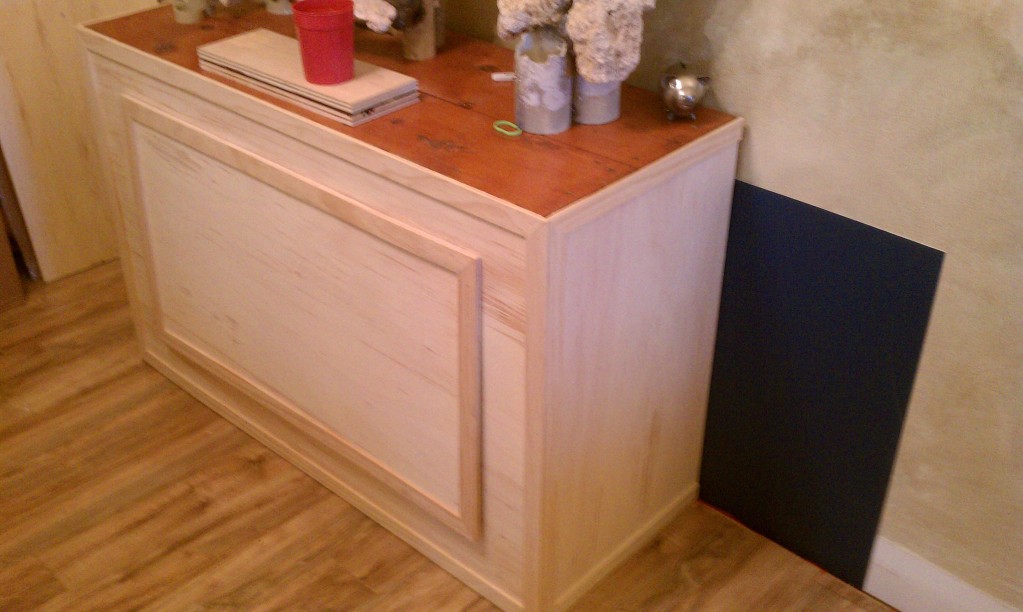
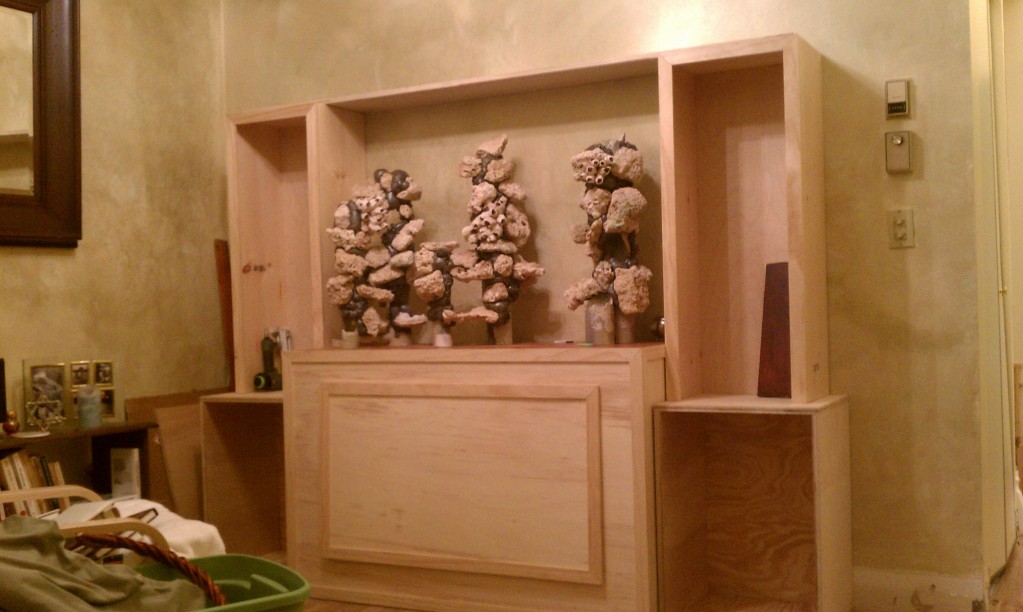
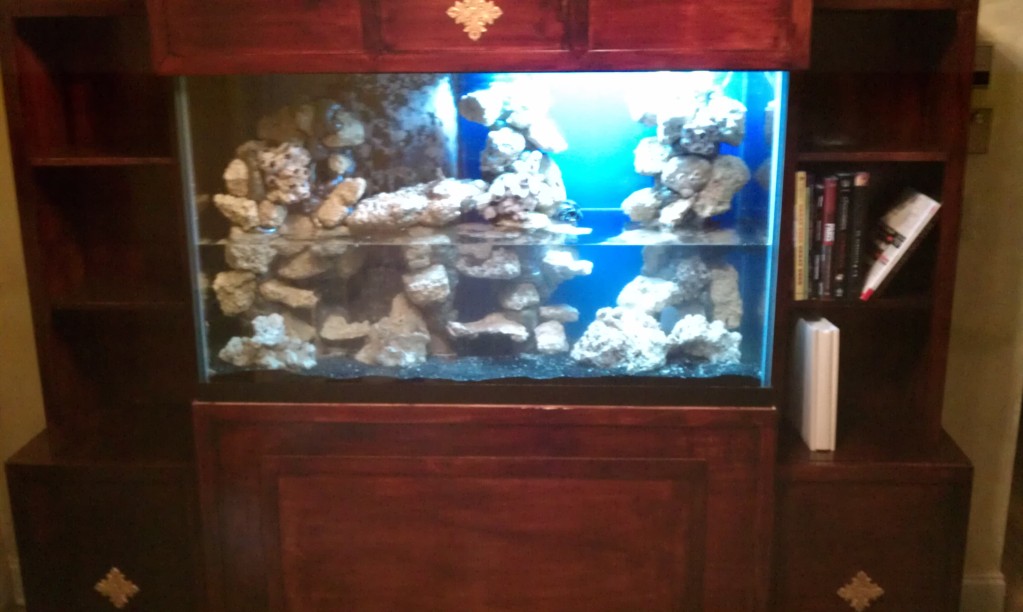
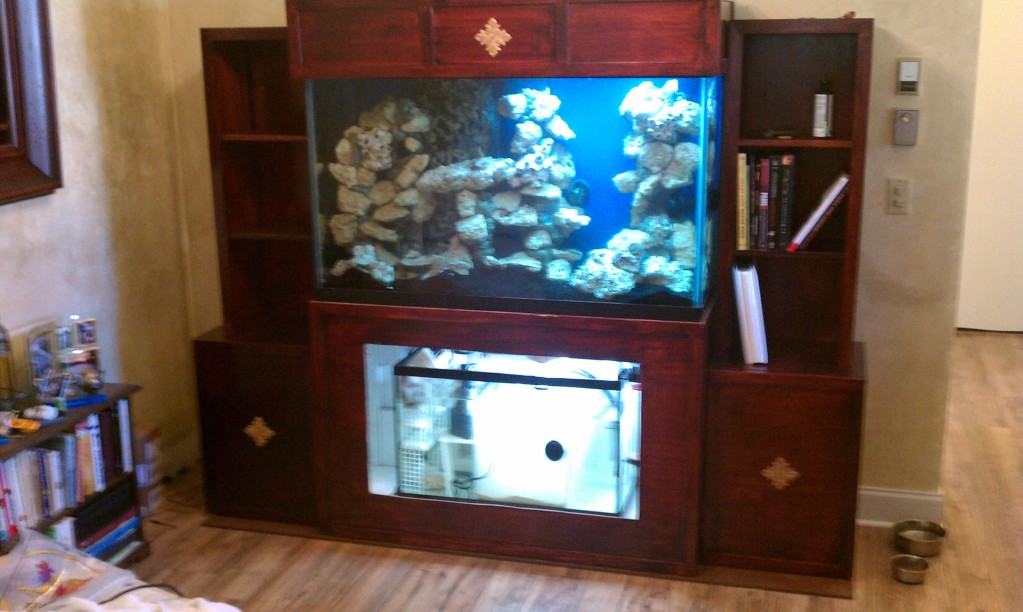
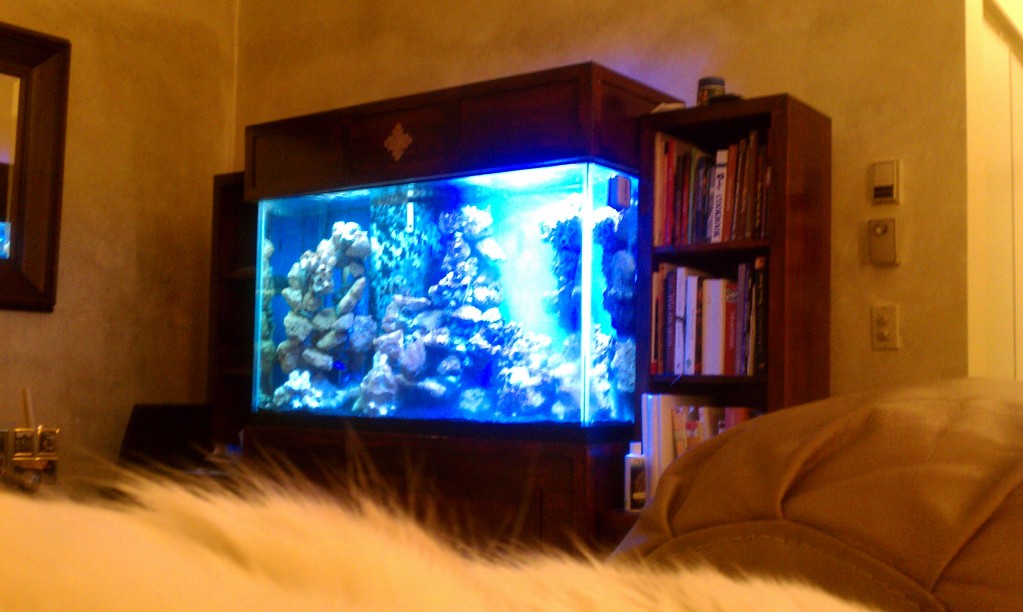
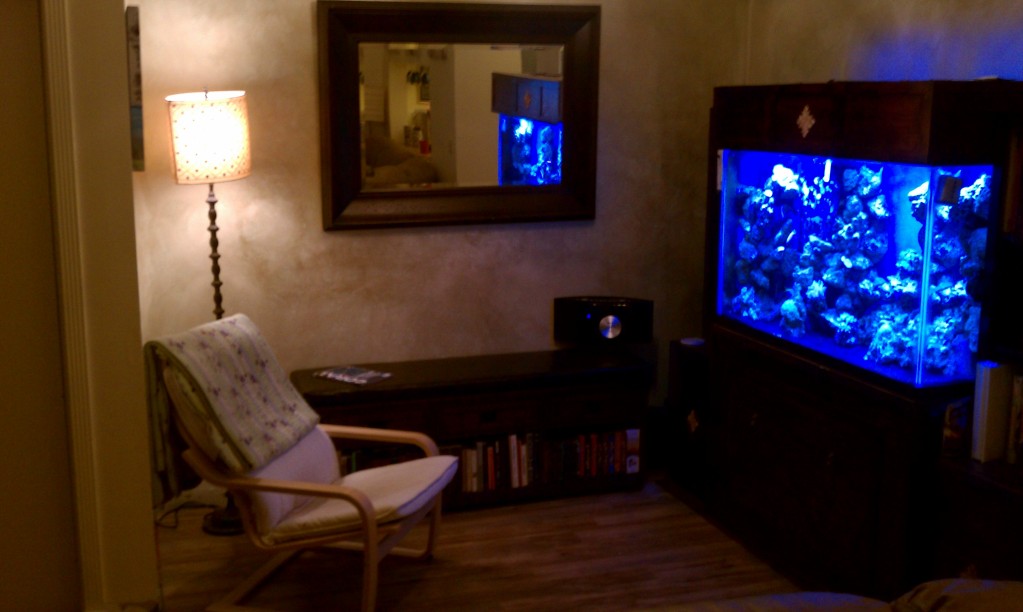
To get you all started, here's a little about me. My name is Richard, I'm a resident of South Florida in the medical field, and I've been into aquariums since....oh, more or less forever. My current main display tank is a 110g tall AGA with a single overflow that I originally bought back in 2008 when I was living in Boca. This tank has had a couple lifetimes mainly due to an extended move that left it dry as a bone for most of 2011 before the new house and aquarium rebuild could happen. When it was finally time to start rebuilding the tank, I thought a couple new additions might be in order. So here's where we begin......
download 071808 093.JPG

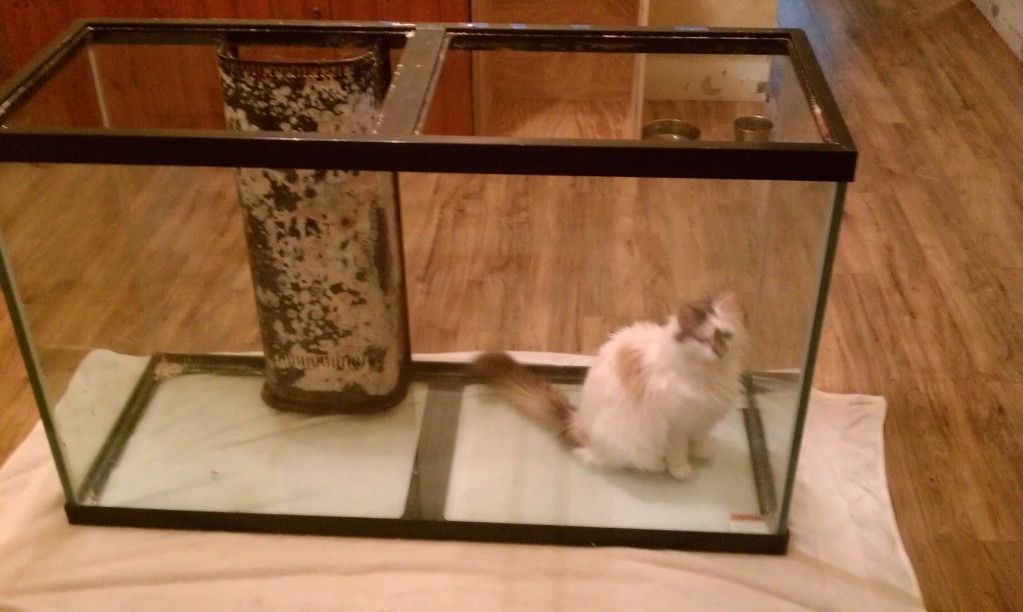
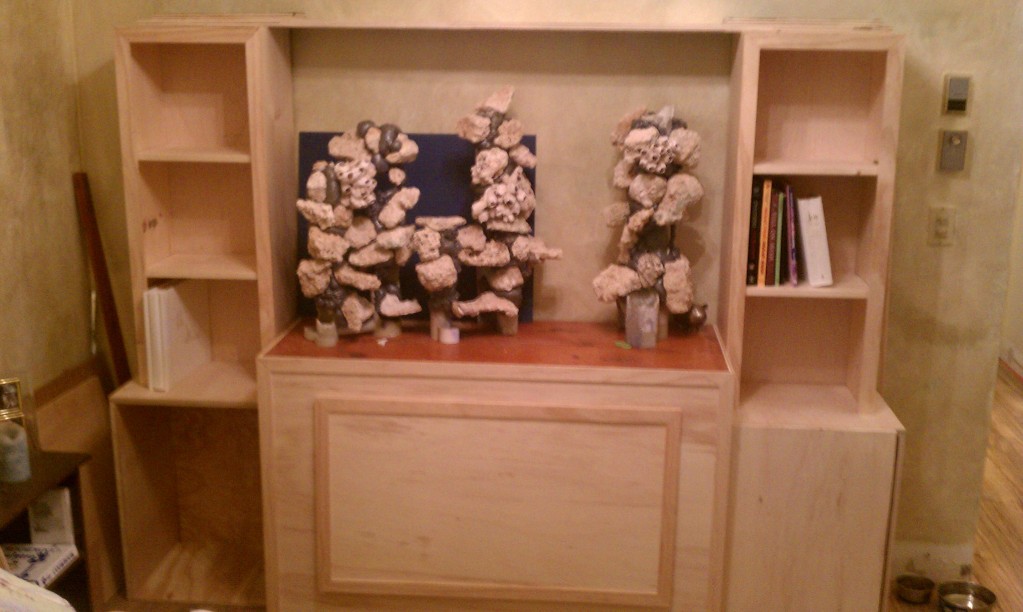
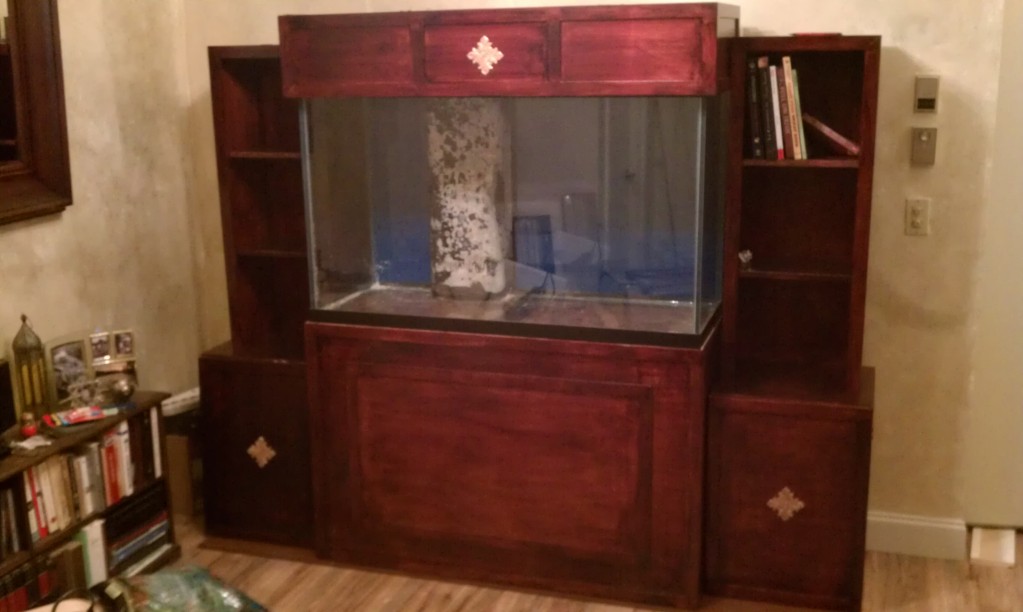
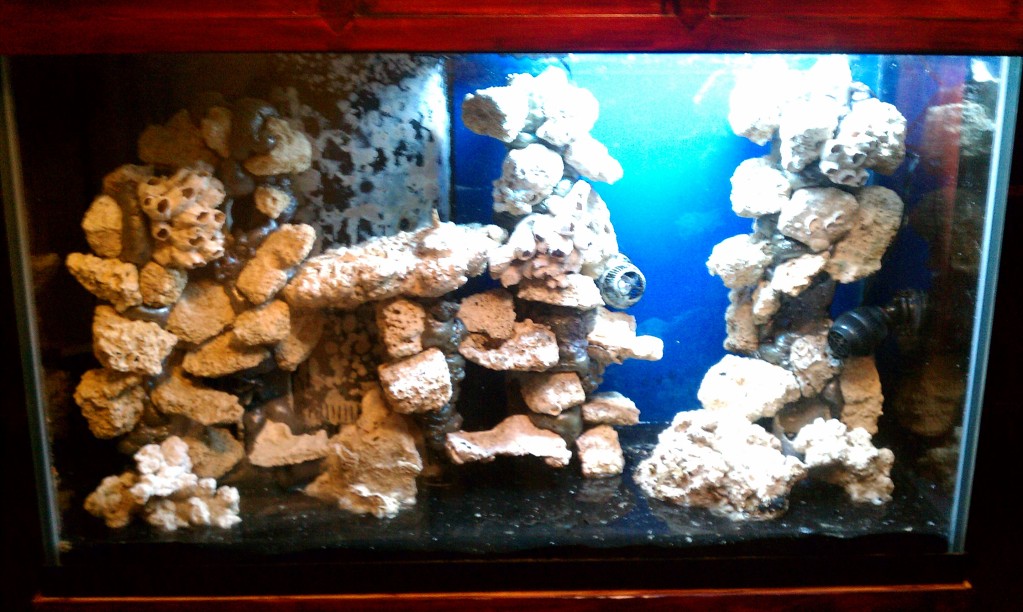
....back in June 2008, when the whole mess got started. My 55g rock and inhabitants were off to the side, waiting with bated breath for their new digs. Which didn't take long....
030.JPG

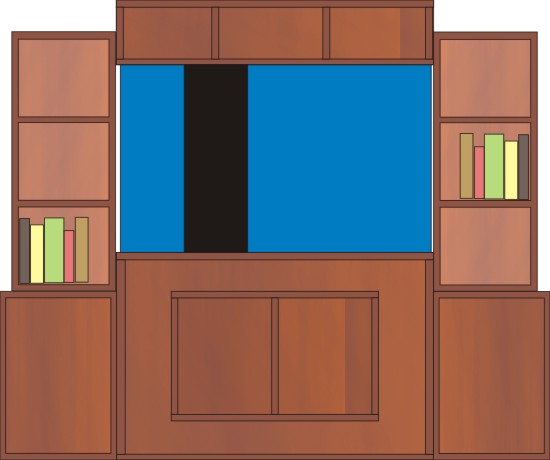
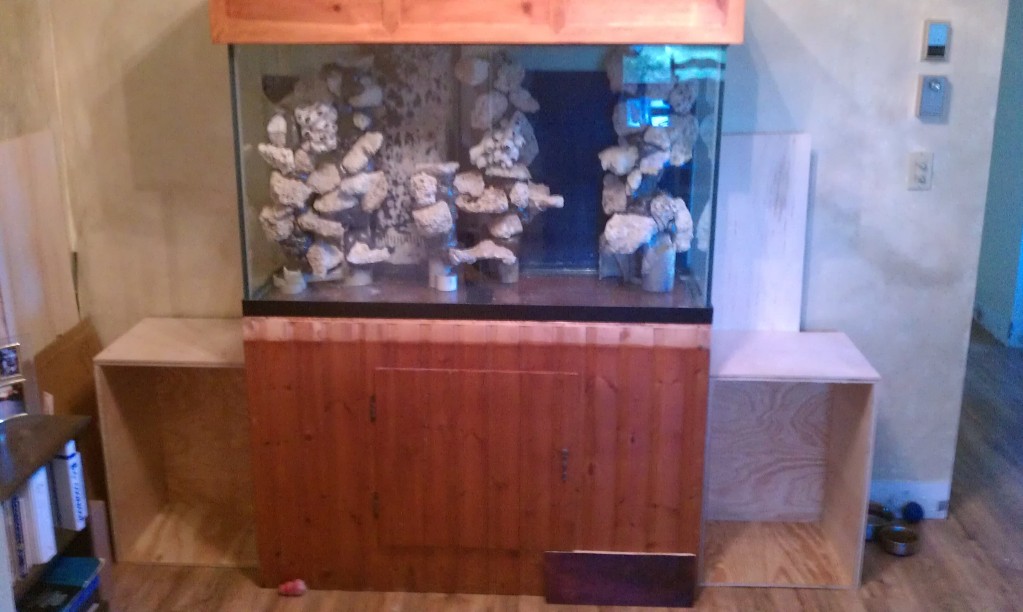
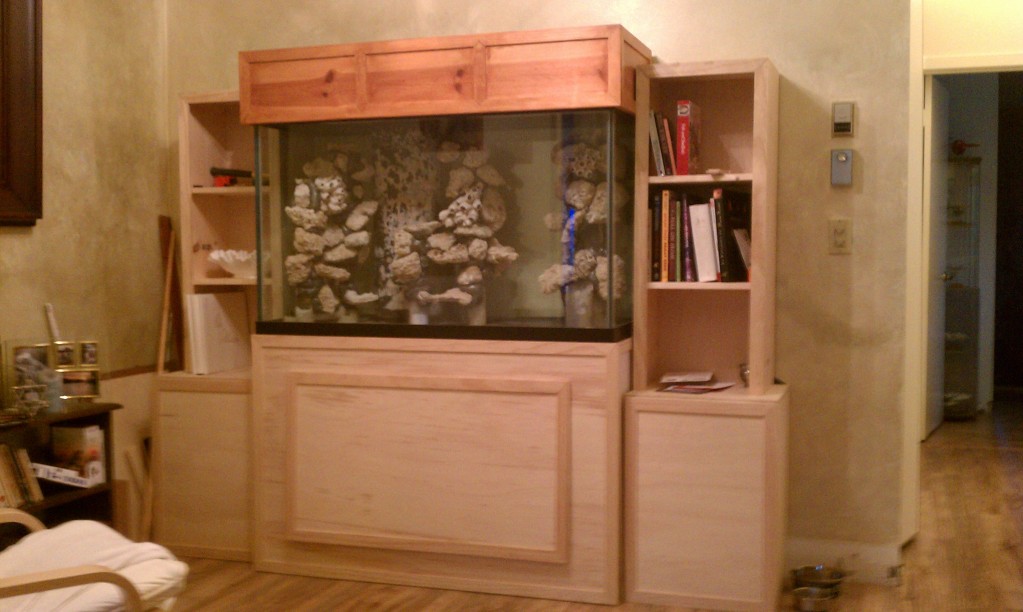
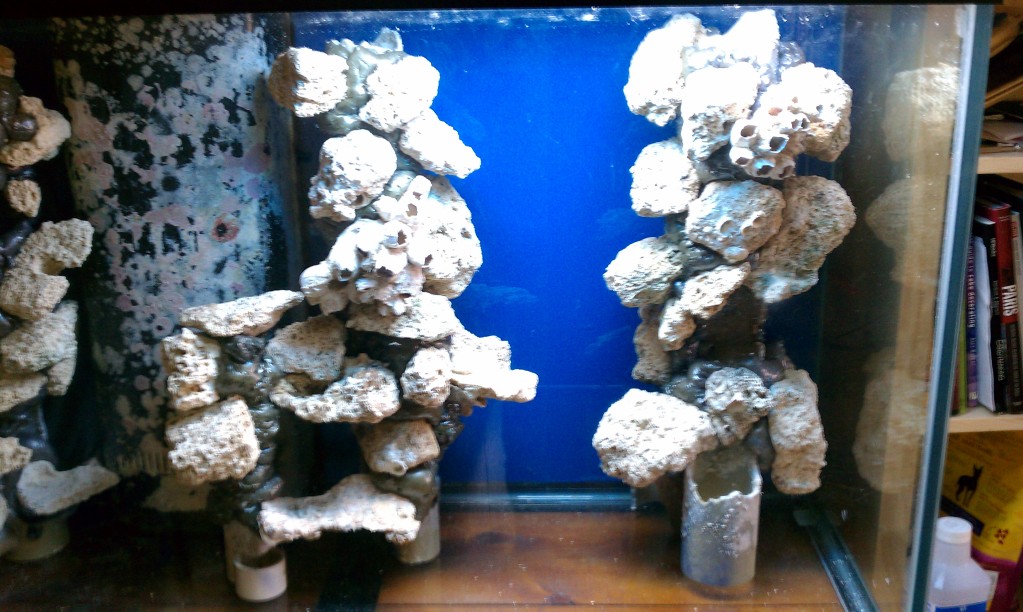
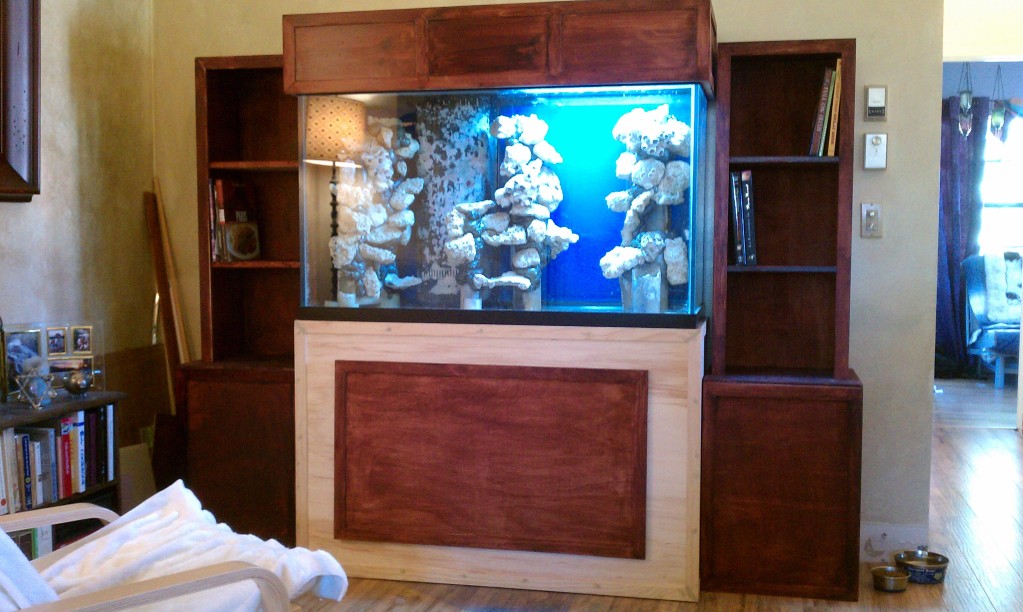
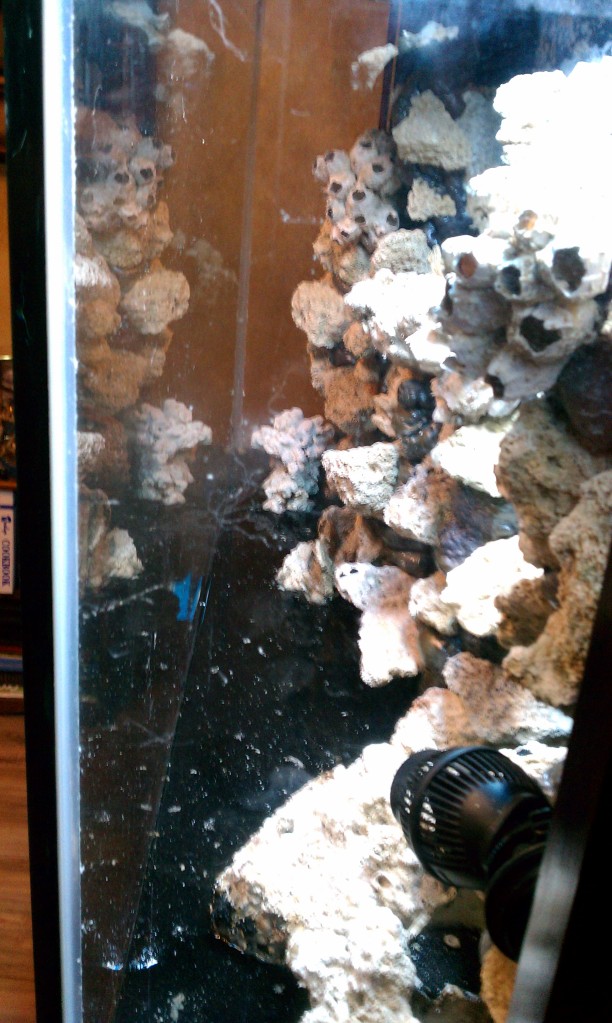
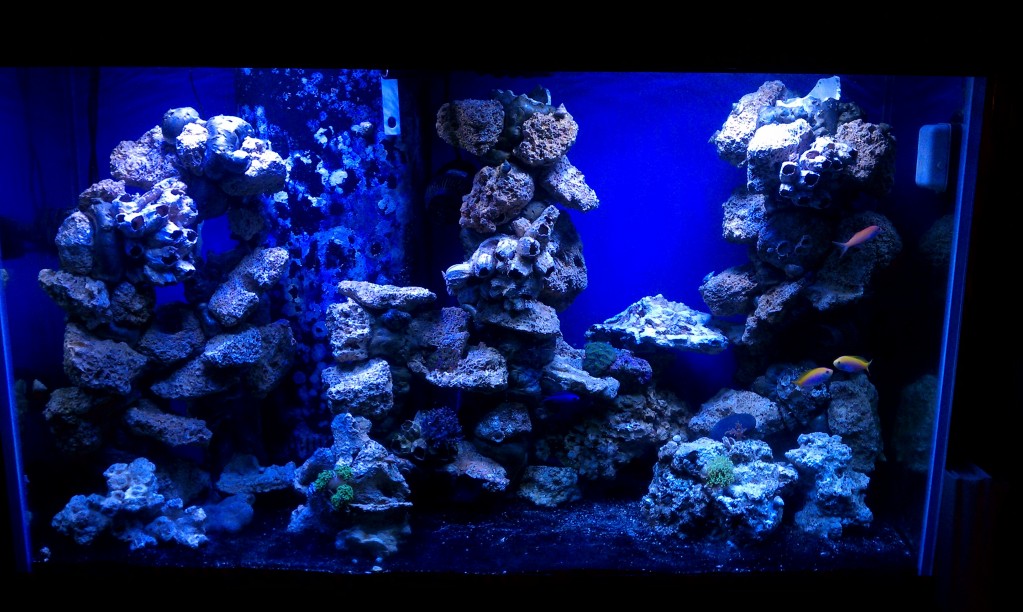
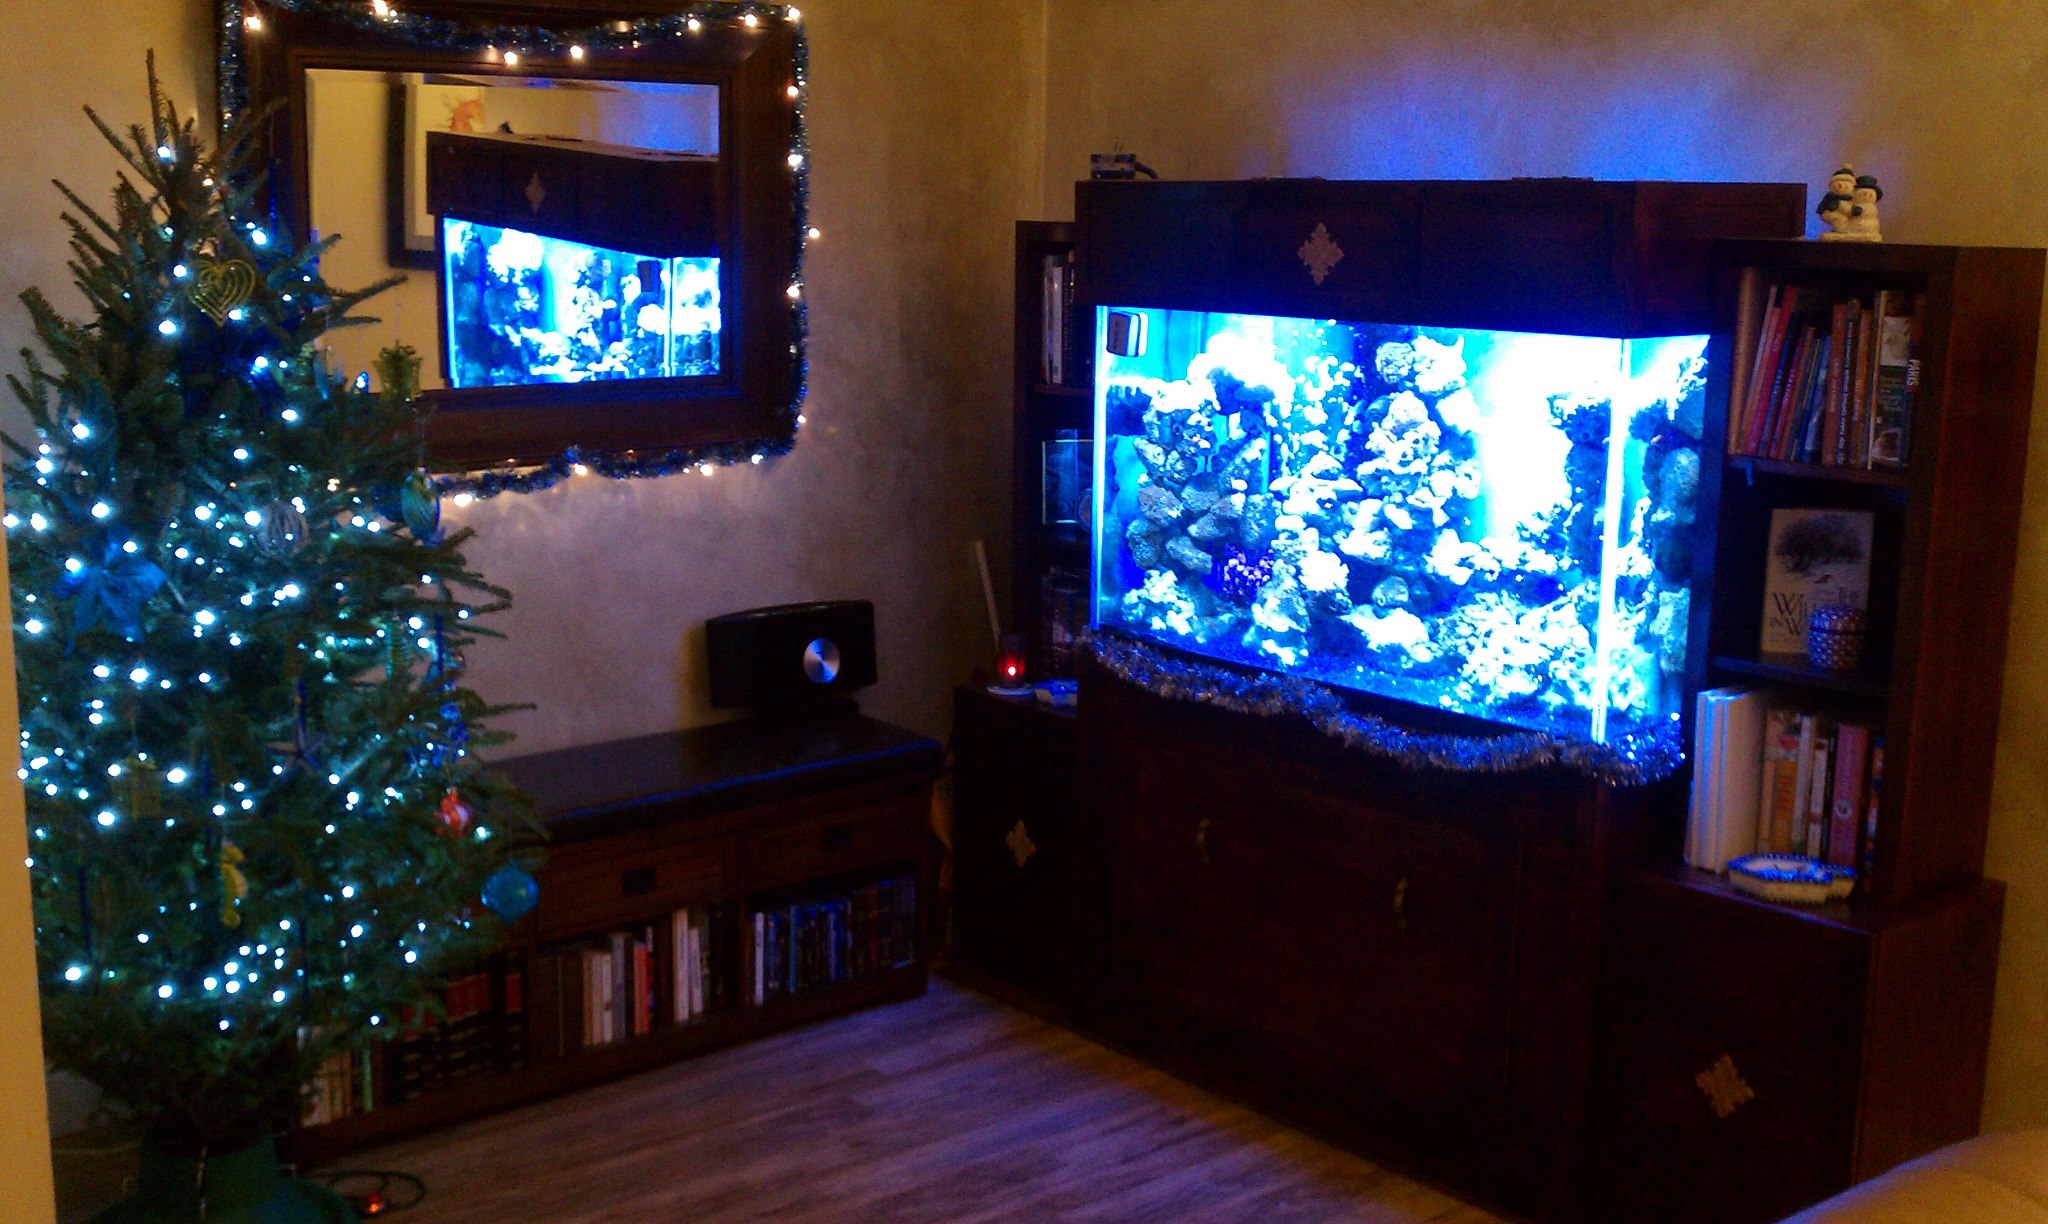
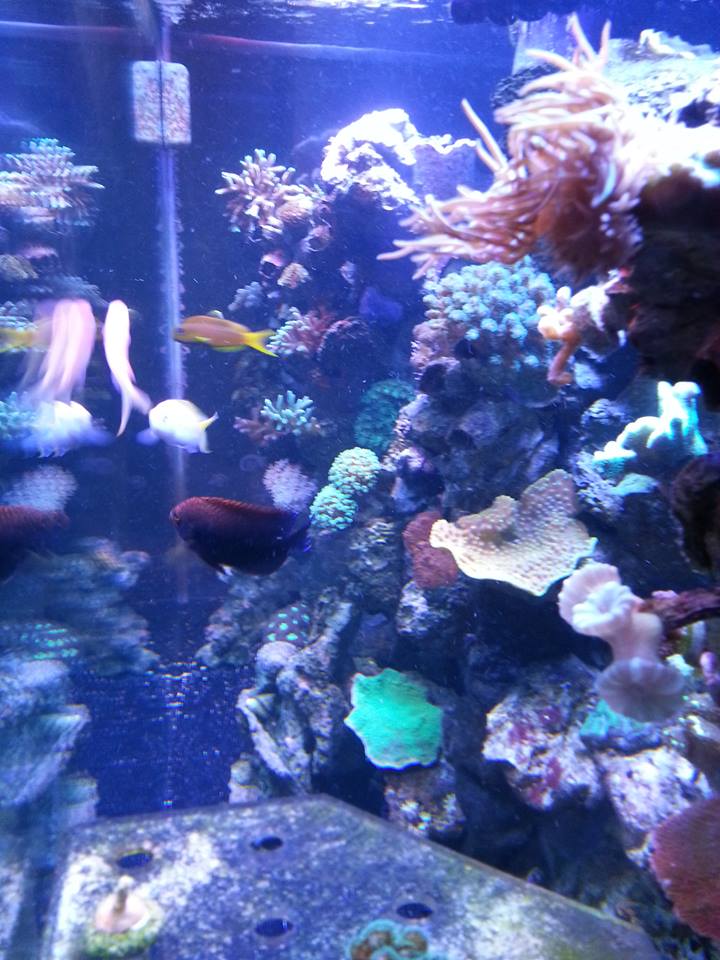
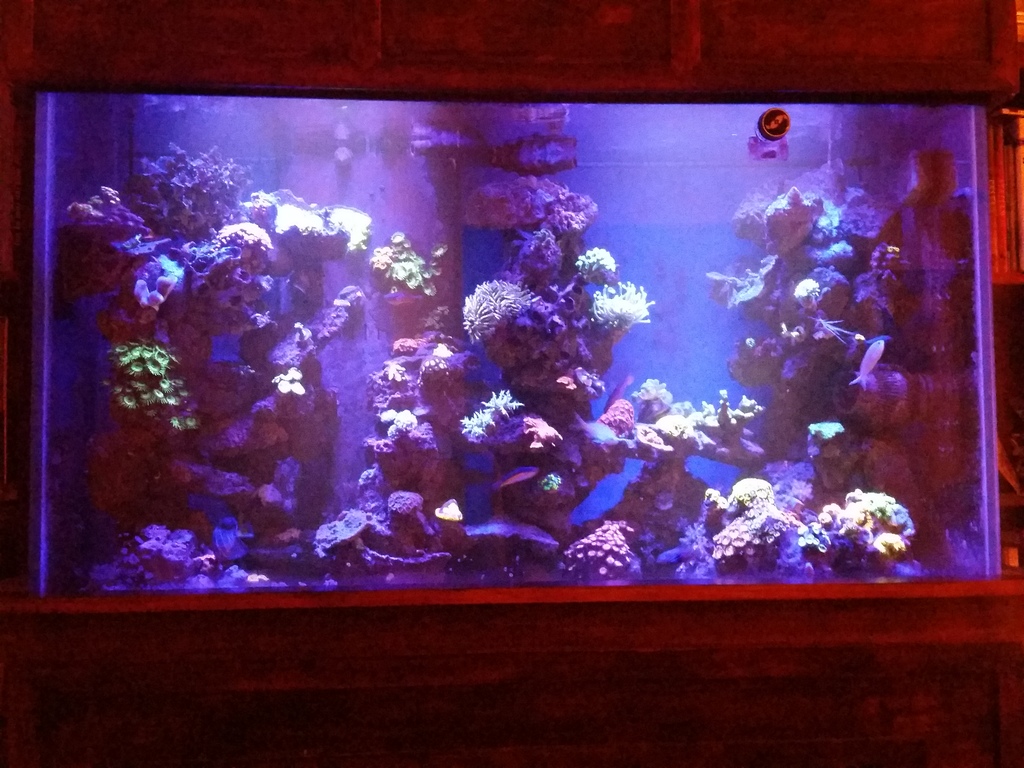
......and here's how the tank matured and looked for most of 2009:
085.JPG

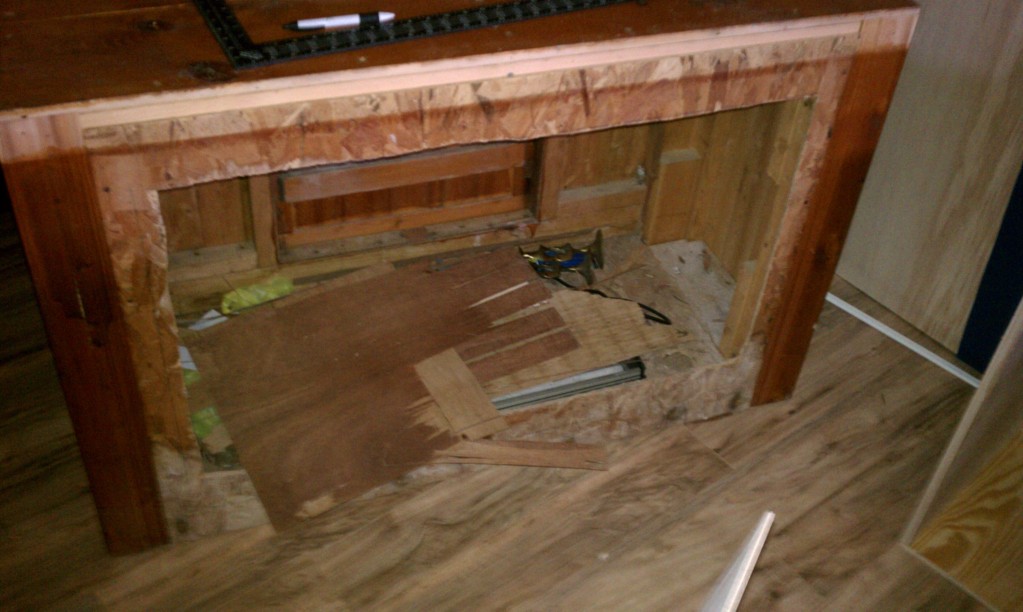
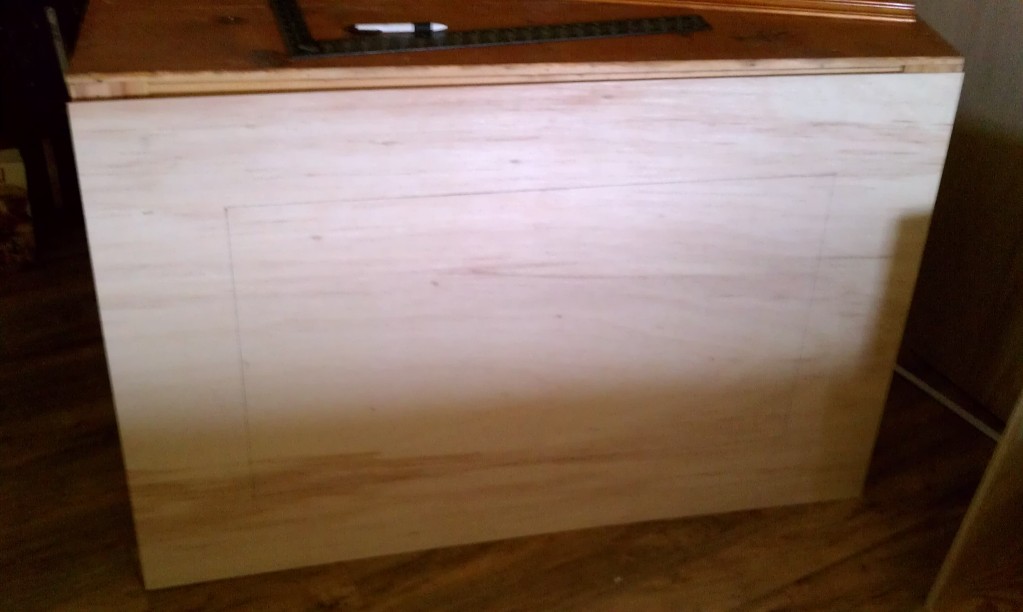
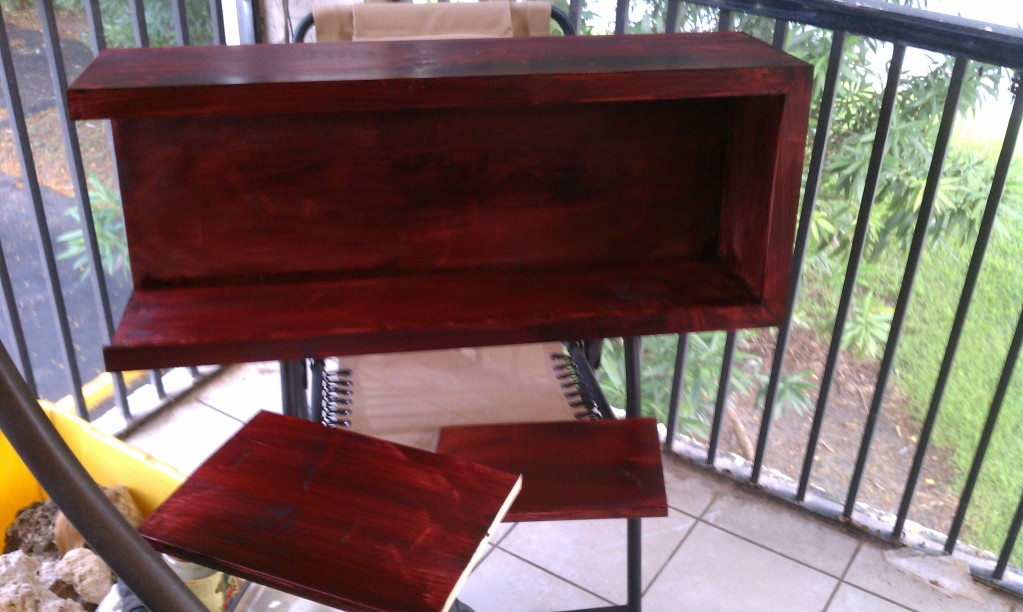
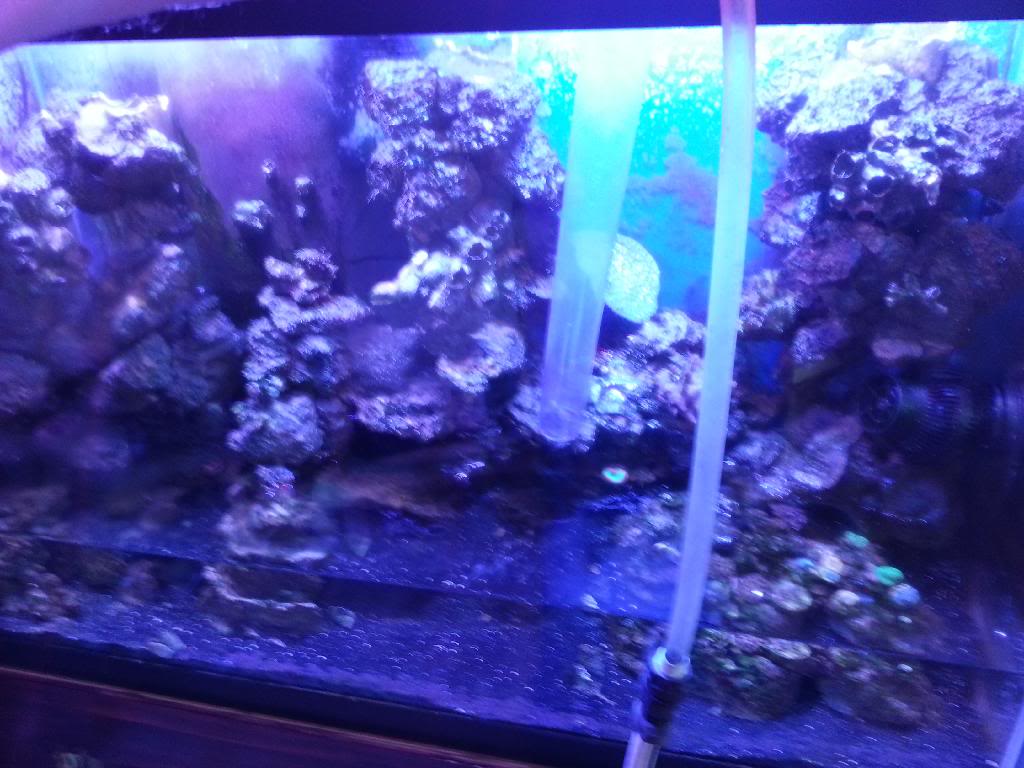
Until the fateful day in Sept of 2010 when I knew it had to be disassembled, sold off, and prepped for a long storage. 'Twas a sad time, I tell you. Tank was drained down, livestock was sold back to the LFS for credit, and the live-frame rockwork was disassembled. Rather than pitch everything, however, I put it in containers to dry out for re-use. I knew this wasn't going to be the last they saw of me and my tank....... ;)
 
OP
OP
novahobbies

novahobbies

Active Member
View Badges
Joined
Nov 12, 2013
Messages
118
Reaction score
32
Location
Deerfield Beach, FL
Rating - 0%
0   0   0
Flash forward to 2011. My house is finally signed, we're moved in.....and the tank sat empty. It's amazing how many 'new homeowner' problems wind up taking precedence over something as simple as setting up an aquarium! New paint had to go on the walls, new flooring had to be put down, and for some reason the Wife INSISTED that the bedroom be finished before I started even thinking about the tank. That woman had her priorities all out of whack I tell you. Nevertheless, every evening I sat at the table, pen in hand, plotting and planning. There were some issues with the last build I wanted to correct. The great thing about tank resets this drastic is that you get to go back and correct your earlier mistakes. I'd fought a neverending battle with certain kinds of algae, I wanted to increase tank flow, and above all I wanted to upgrade lighting so I could keep a better selection of coral. Finally by the end of 2011, the tank made its way out of the Doom Room (our guest room was a very scary storage room for a good long while!) and the basic system was placed on the wall where I wanted it to go. Just the baby steps!
7678a255_IMAG0925.jpeg
 
Last edited:
OP
OP
novahobbies

novahobbies

Active Member
View Badges
Joined
Nov 12, 2013
Messages
118
Reaction score
32
Location
Deerfield Beach, FL
Rating - 0%
0   0   0
Renee, I was indeed! Kept 'em for quite a while. :) None right now, but somehow I suspect that won't last. Bunnee, LMK if you're seeing images now. Photobucket might be misbehavin'.
 
OP
OP
novahobbies

novahobbies

Active Member
View Badges
Joined
Nov 12, 2013
Messages
118
Reaction score
32
Location
Deerfield Beach, FL
Rating - 0%
0   0   0
So, back on track. I knew the tank looked nice in that corner, but there was more I had planned. Here's the result of that aforementioned planning and plotting:
11e72748_aquariumtest.jpeg


In short, I wanted SPACE. The tank is 4 feet long, and I needed more under-tank space than the footprint provided. I wanted an area for an ATO reservoir, and a safe dry spot for most of the electric. Plus, even though I love the base, I'm not a fan of the old panel style finishing and wanted a smoother look, so thre whole thing needed to be re-skinned. Time to get to work.
 
OP
OP
novahobbies

novahobbies

Active Member
View Badges
Joined
Nov 12, 2013
Messages
118
Reaction score
32
Location
Deerfield Beach, FL
Rating - 0%
0   0   0
April 2012, and it's time to get to work.
IMAG1035.jpg


Trim off the old stand, and some new parts in place:
IMAG1040.jpg


Here you can see the rock back in place, just as a test, with both lower cabinet blanks where they'll be set up. Rather than keeping the 'Live-Frame' technique, I used pond foam in between the rocks to hold them in place and so I could sculpt a more natural look and hide the PVC risers. You'll see more of this in a bit.
IMAG1037.jpg


Catfish (I am SO SORRY!) ;-)
IMAG1055.jpg


You can see in the picture above how small the access door for the stand was. I wanted more access, but I didn't want to get rid of the stand because the original furniture was something my father in law built years ago and I wanted to keep that continuity in the family. So......I turned the stand around. The back was unfinished and mostly open. I was also able to open up more space in the stand by removing some false panels inside the walls.
IMAG1056.jpg

Side note: My wife's dad was an overengineer at heart, and the stand is built like a brick sh*thouse. It's as old as I am and I had NO worries about putting this heavy tank on it. Love and miss that man.

Some new skin in the form of 1/8 veneer:
IMAG1057.jpg

IMAG1063.jpg


Side veneer is done, and the new access door is in place. It's held in place by a wooden rail on the bottom and velcro on top (was originally magnets, but the velcro is so much simpler).
IMAG1115.jpg


For those keeping track, by now we were into May 2012. Time to start the bookcases.
 
OP
OP
novahobbies

novahobbies

Active Member
View Badges
Joined
Nov 12, 2013
Messages
118
Reaction score
32
Location
Deerfield Beach, FL
Rating - 0%
0   0   0
Bookcases! Back out on the porch:
IMAG1118.jpg

IMAG1119.jpg


I had a thing about test fitting and photographing EVERY SINGLE part. One down, one to go:
IMAG1120.jpg


And now there are two.
IMAG1122.jpg


The sides got removed, and the trim for the main cabinet is installed. Nothing fancy, just clean and simple!
IMAG1123.jpg


Bookshelf face trim installed, and shelves put into place:
IMAG1125.jpg

IMAG1129.jpg


Really coming together now. We're at the end of May, and the basic construction is done. I put the tank back on with the existing canopy just to see how everything looks.
IMAG1138.jpg


Now on to staining!
 
OP
OP
novahobbies

novahobbies

Active Member
View Badges
Joined
Nov 12, 2013
Messages
118
Reaction score
32
Location
Deerfield Beach, FL
Rating - 0%
0   0   0
So back then, there were a few real-life issues that got in the way before more tank work got done. But here on the forum, let's gloss right past June and the beginning of July and dive right into the pictures again. Suffice it to say, June was spent renovating the now-less-frightening Doom Room and turning it into a guest bedroom and bath. The office got a makeover and a 20g QT tank got added....all good things. :)

SO. July 2012, and here we go. First, a nice blue paint job on the back of the tank. PS: Don't do this inside the house like I did, unless you want to be cleaning up blue overspray from the floors for the rest of the week. o_O
IMAG1254.jpg


Next, some stain. I think you'll see it's pretty evident that I'm a little better at carpentry than I am staining.
IMAG1242.jpg

IMAG1243.jpg


Everything drying in the Florida sunshine:
IMAG1284.jpg


Almost there:
IMAG1258.jpg


IMAG1293.jpg


Boom. A couple coats of clear poly, and she'll be about ready:
IMAG1312.jpg


Oh yeah. Insides getting a white coat treatment:
IMAG1289.jpg

IMAG1358.jpg


And the power outlets were installed in the side cabinets:
IMAG1359.jpg


IMAG1360.jpg
 
OP
OP
novahobbies

novahobbies

Active Member
View Badges
Joined
Nov 12, 2013
Messages
118
Reaction score
32
Location
Deerfield Beach, FL
Rating - 0%
0   0   0
August of 2012, and we're ready to start filling and cycling. Tahitian Black sand came in (BEAUTIFUL but a lot of work to maintain!) and the first of my two Chinese LEDs arrived. I figured it was time to get this party started.
IMAG1362.jpg


Side view: This is the view from my couch every evening:
IMAG1366.jpg


Fill 'er up dude. The tank is a 110 with a 29 gallon sump and holds an even 100 gallons of saltwater in the full system.
IMAG1370.jpg


Let the cycle begin!
IMAG1375.jpg

This was August 7th, 2012. The equipment list at the beginning of the tank timeline here consisted of 2 Koralia 1050's, 2 Koralia 1400's (all of the Evolution pumps which SUCK BTW), a 1000GPH return pump, a Marineland 100 protein skimmer, and a TLF Kalk stirrer plumbed in to my ATO reservoir. Sump lighting is a simple clip-on Home Depot construction lamp with a CF bulb. Display lighting is CCLED...Cheap Chinese LED fixture. At this point one is in the tank and the other is on order.
 
OP
OP
novahobbies

novahobbies

Active Member
View Badges
Joined
Nov 12, 2013
Messages
118
Reaction score
32
Location
Deerfield Beach, FL
Rating - 0%
0   0   0
September of 2012, and the cycle is over. We're going to skip all the pictures of slime algae and diatoms, all those wonderful things that make a cycle great. The view is starting to look like a tank!
IMAG1484.jpg


With the second LED fixture in place and the first new fish out of QT, checking out their new home. September was a good month. :)
IMAG1572.jpg


New bookcase / bench in place. Because we ALL need plenty of room for books, and extra seating around the tank!
IMAG1725.jpg


And here's why I wanted all that space for power outlets. It's a mess but at least it's away from the water!
20130303_215721_zps42dcfa91.jpg


And the ATO cabinet:
20130303_215758_zps691b362b.jpg


Now let me tell you something about this Mainstays Wal-mart wastebasket. DO NOT, under ANY circumstances, use this for your ATO!! What I didn't know at the time was that the plastic this is made of is a resin that DOES leach phosphates into your water. MASSIVE phosphates. This is a photo from September 2012. I replaced the bin in 2013 after a major coral crash because my Phosphates spiked suddenly out of control. Want a small 5-ish gallon ATO container that's safe? Use a 5 gallon bucket from Home Depot or if you get salt in buckets. Those are fine. What you're looking at here is the culprit to some very sad losses less than a year down the road.
 
OP
OP
novahobbies

novahobbies

Active Member
View Badges
Joined
Nov 12, 2013
Messages
118
Reaction score
32
Location
Deerfield Beach, FL
Rating - 0%
0   0   0
We're going to fast forward a lot here. Suffice it to say, fish were slowly QT'd and added thru the rest of 2012. Had some losses in QT of course, but things went fairly normal. Richard Back (Siptang here!) donated some lovely coral frags, and more were purchased along the way. When Christmas / Hanukah 2012 came along, my tank looked like this. :)
b9aa5209_273045_10200199077088060_1962542515_o.jpeg


I'm a big fan of getting small frags and watching them grow out. Even now, most of my coral has been grown from frags. You'll see the current system soon enough, don't worry!
 
OP
OP
novahobbies

novahobbies

Active Member
View Badges
Joined
Nov 12, 2013
Messages
118
Reaction score
32
Location
Deerfield Beach, FL
Rating - 0%
0   0   0
June of 2013. We're sadly getting close to the phosphate crash (but we don't know that yet). However you can see how everything has been growing....
bfef01b1_935440_10201335995070299_155643880_n.jpeg
 
OP
OP
novahobbies

novahobbies

Active Member
View Badges
Joined
Nov 12, 2013
Messages
118
Reaction score
32
Location
Deerfield Beach, FL
Rating - 0%
0   0   0
OK, so we're down to it now. January 2014, I had a sort of "perfect storm" of aquarium failures. First, I brought a monti frag into my system that I didn't look at closely enough. Soon after, I noticed a funny little nudibranch on my glass. Looked curiously like a purple polyp. Huh. Looked EXACTLY the shade of the Purple Monti frag! So I looked at the purple Monti. Odd.....it looks a little faded. Wonder why? All the polyps are out and open...... ;-)
You get the idea. Had a rash of monti-eating nudis tear through my tank, killing off almost all of my red, green, and purple montis. Sadly enough, it was also this exact time when my ATO started leaching phosphates big-time into the water. Boom -- Acros and birdsnests started dropping like flies. Things that I'd had going strong for a year were suddenly RTNing overnight. To make matters worse, because some coral died, I even lost a couple fish in the process. It was a rough week. The only thing that stopped it was a one-two punch of a massive water change (almost the whole tank, 75 gallons IIRC) and a swapout of my ATO bucket.
Thankfully not everything died. But enough that it took a couple months to get back into fighting trim. Here's a shot of the tank, almost drained, in the end of Jan 2014.
20140126_104905_zpsqhelruv4.jpg


Yup. That was rough. However you just can't keep a good tank down, and by February I felt the Phosphate levels had balanced out enough that I could start collecting frags again. So collect I did....and they grew like gangbusters with no phosphate issues to keep them stunted. I won't bother you with the in-between pics, but we'll fast forward 10 months instead.
Here are a few top-down shots from December 2014.
index.php

index.php

index.php
 
Last edited:
OP
OP
novahobbies

novahobbies

Active Member
View Badges
Joined
Nov 12, 2013
Messages
118
Reaction score
32
Location
Deerfield Beach, FL
Rating - 0%
0   0   0
See how fast we're moving? :D
By March of 2015 I was getting bored of the black sand. It's very pretty, but it makes the tank inherently dark, and it's never "black" like when you first get it -- more like a dark grey with a lot of white speckles. Your live rock naturally abrades a little as time goes on, dusting the sandbed with white bits, and the detritus is a constant chore to clean. So here's the last picture of the all-black tank before I swapped out.
20150202_225748_zpsoeonibnn.jpg
 

Being sticky and staying connected: Have you used any reef-safe glue?

  • I have used reef safe glue.

    Votes: 127 88.2%
  • I haven’t used reef safe glue, but plan to in the future.

    Votes: 8 5.6%
  • I have no interest in using reef safe glue.

    Votes: 6 4.2%
  • Other.

    Votes: 3 2.1%
Back
Top