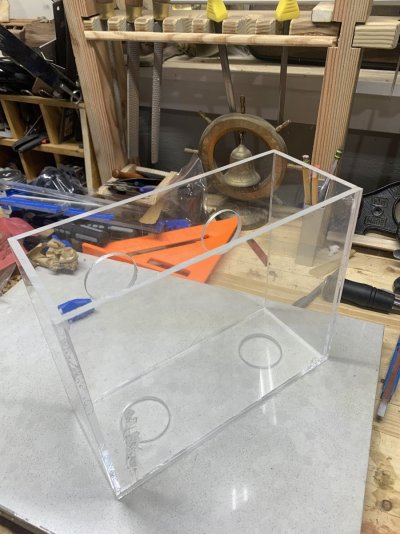
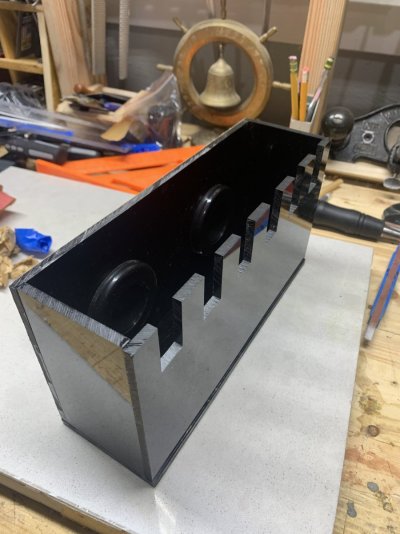
Hi, I'm working on a simple 24x24x12 acrylic tank. This will be my first tank build just to learn the process, which is something I have never done in the hobby. I also do a little bit of furniture making as a hobby and have a pretty well stocked wood shop, which seems like it should make the leap a little easier. My questions are pretty much related to what tools/methods will and won't work with Acrylic that I am used to working with wood.
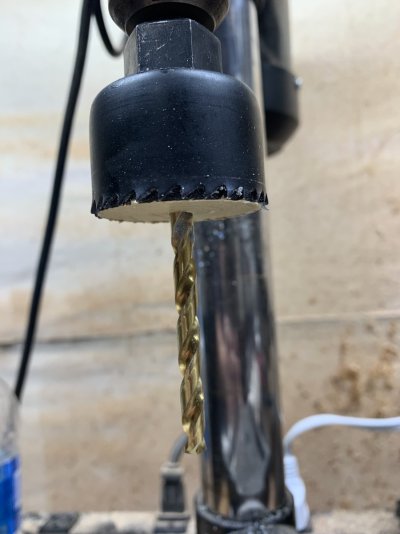
For example: It seems like flush router bits and template bits are commonly used to clean up joints in acrylic tanks. What about round-over bits?
I have also seen some people recommend a higher tpi blade in the table saw when working with acrylic. However, if I was planning to clean up the edges by sanding or using a torch does that even matter? I can make a 12" cut at my miter station easier than at my table saw with a sled too, but wouldn't plan on buying a new blade for that saw.
Any general thoughts on making the transition of working with wood to acrylic would be helpful. Having not done it, I have a feeling my 24x24x12 tank could really quickly become an 18x18x8! For reference, I have all 1/2" acrylic for this build with weld-on 4. Seems like that might be a little overkill on thickness if anything, but mostly curious about cleaning up the edges with a router now (potentially a round-over) and using a saw in the future if the pre-cut sizes aren't perfect (the sheets have been sitting in the box from estreet for about a month and with the record high temps in the northeast, I will probably wait until next weekend to get back into the shop).


")