- Joined
- Oct 3, 2019
- Messages
- 679
- Reaction score
- 695
Some of my previous repairs:

 www.reef2reef.com

 www.reef2reef.com

 www.reef2reef.com
And as always, uncensored, updated and corrected versions of my repair articles are a quick internet search away.
Today we have another Radion XR15 patient. This time it's a G4 pro which doesn't turn on.

You can tell from the outside the light is in a rough shape despite it being fairly new. Salt deposits and corroded screws do not inspire confidence in what's going to be found inside.
From this point it will indeed only get worse.

Notice what looks like green salt accumulation at the perimeter of the lens. Green is not good, it means we have oxidized copper in it which does not just come from nowhere.
But we press on...

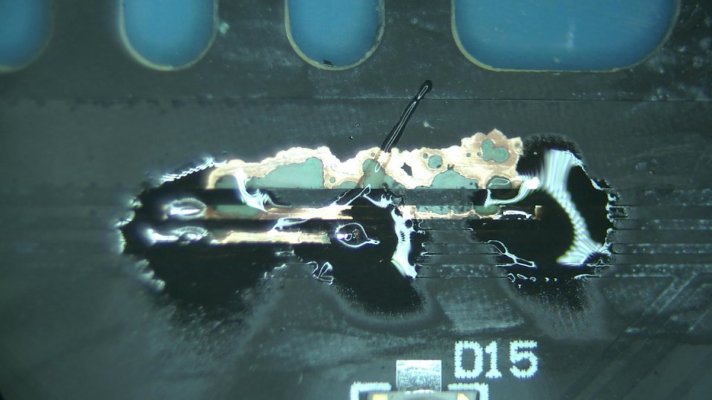
Radion LED modules have printed traces on the surface made of copper. When enough salt creep makes its way onto the surface of the module, it eventually starts eating away the copper. This eventually breaks enough traces and renders the light inoperable.

Time for some close up pictures:
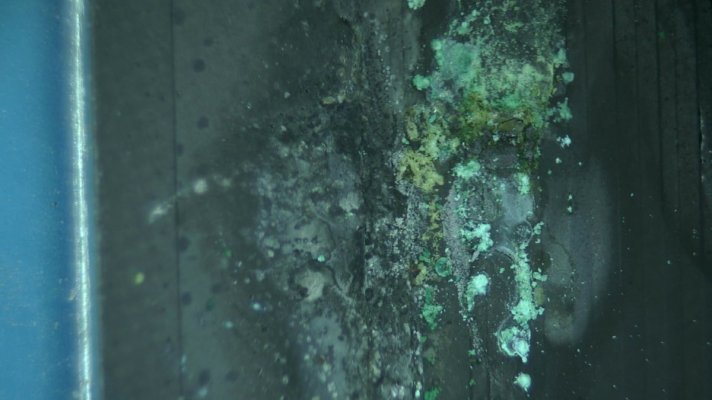
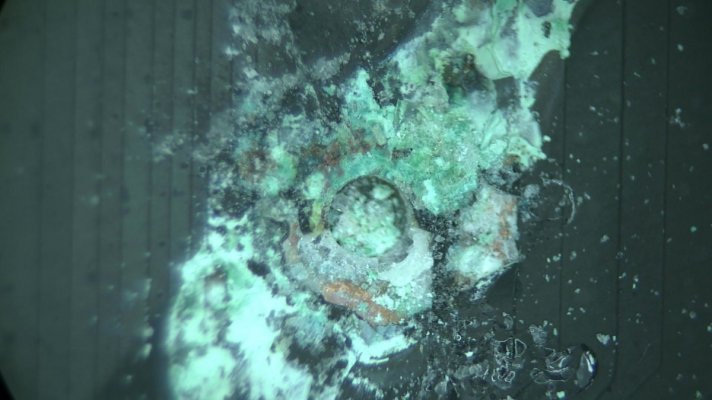
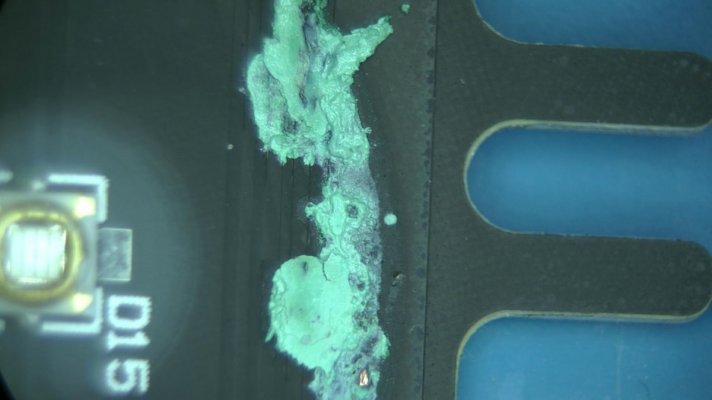
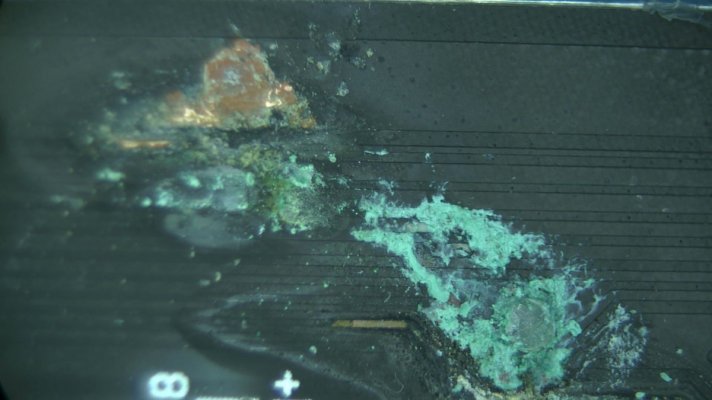
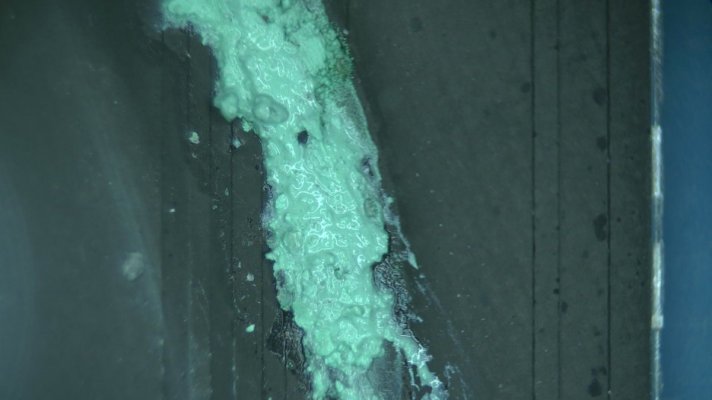
Notice that some of this is still wet and looks like thick paste. This continues to eat away the copper very aggressively unless removed.
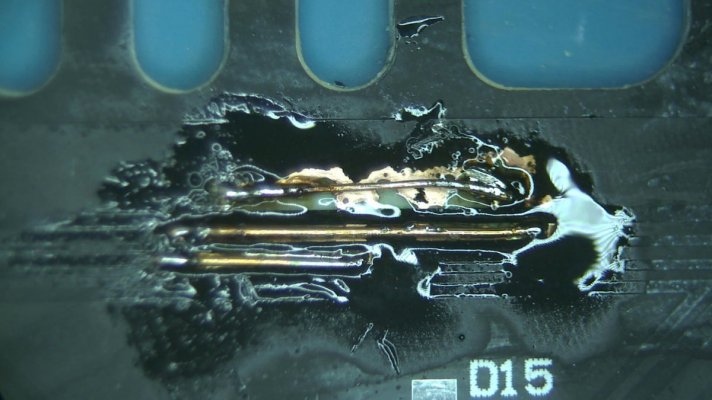
We will clean up everything and expose all damaged traces:
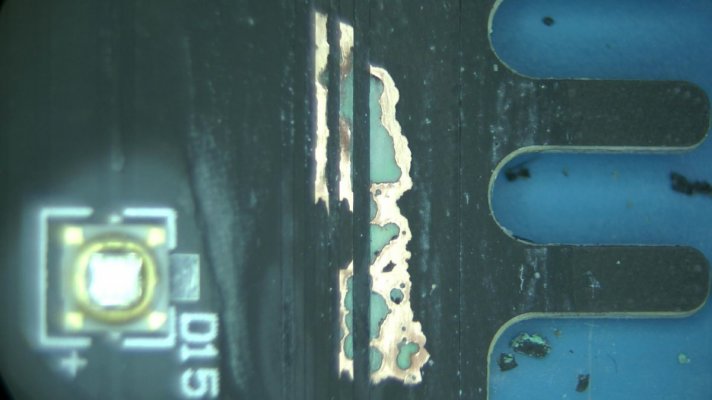
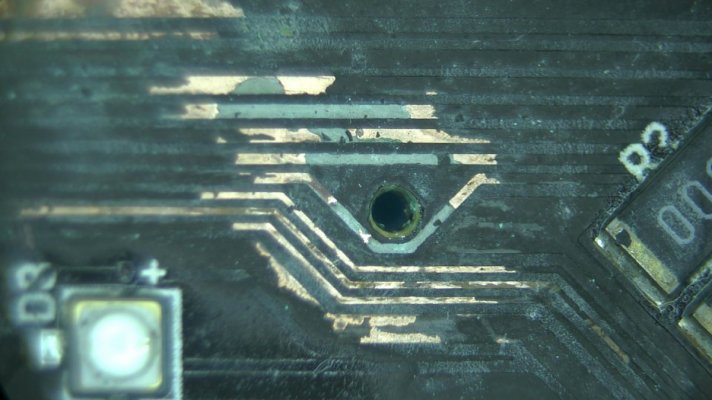
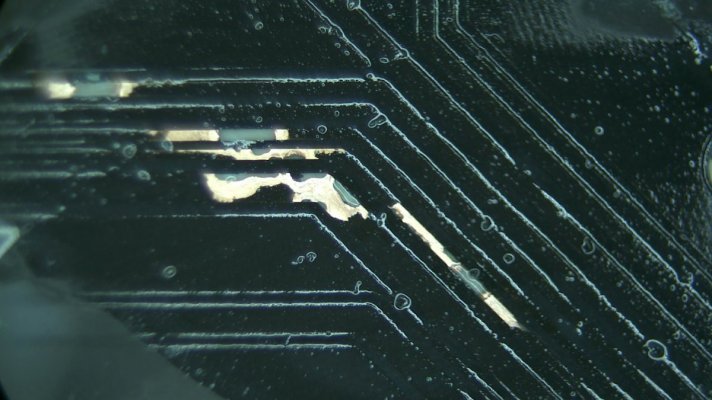
Only now can we assess the damage caused by the oxidation:

Believe it or not, this is quite repairable. We just need to carefully restore each trace. Even a trace that is not fully broken by the corrosion will need to be restored to at least the same level of copper conductivity. The amount of current flowing through each trace is significant.
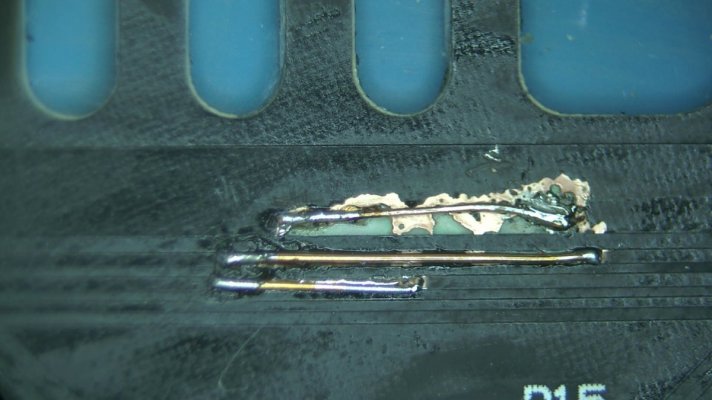
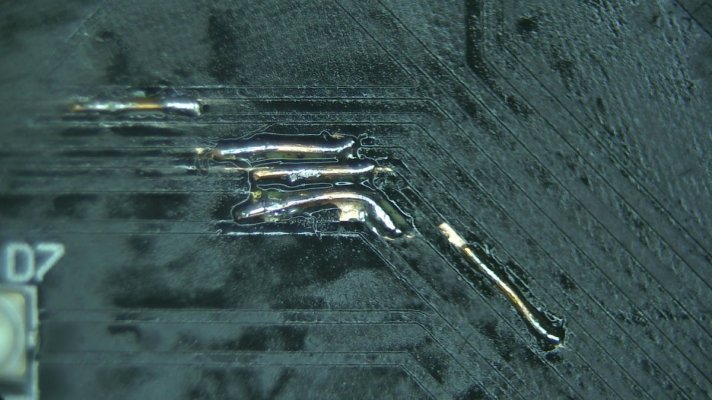
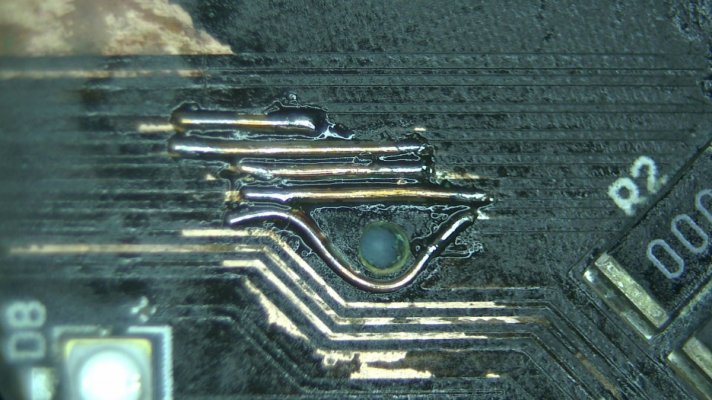
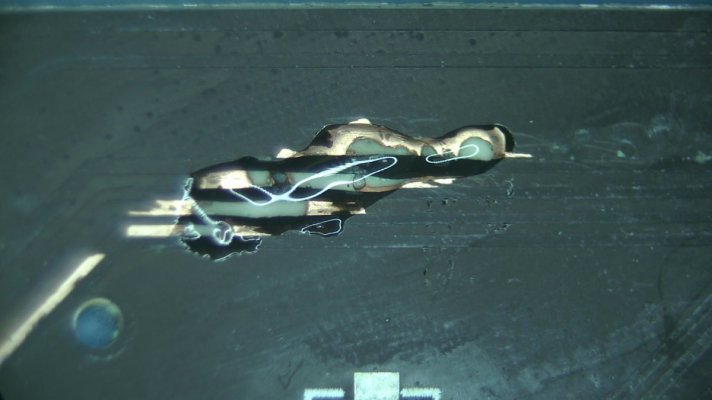
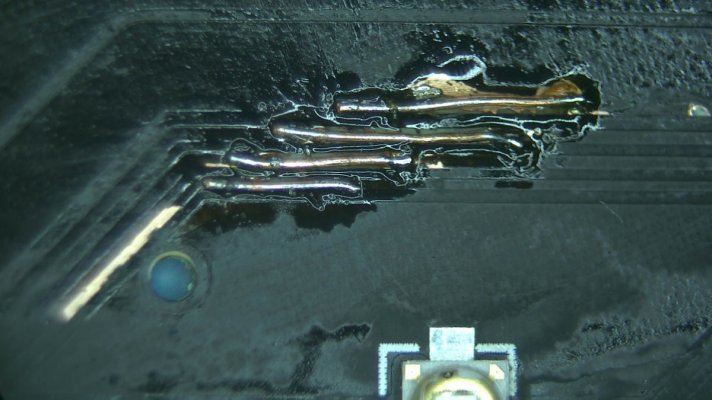
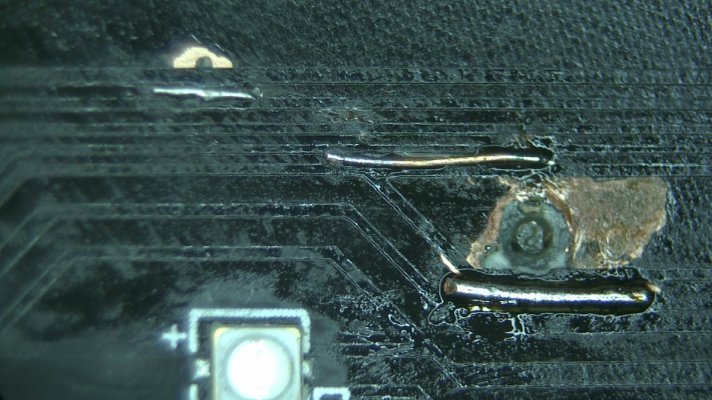
And of course, we can't leave these traces exposed to the salt. A good layer of UV curable mask is applied to insulate everything:
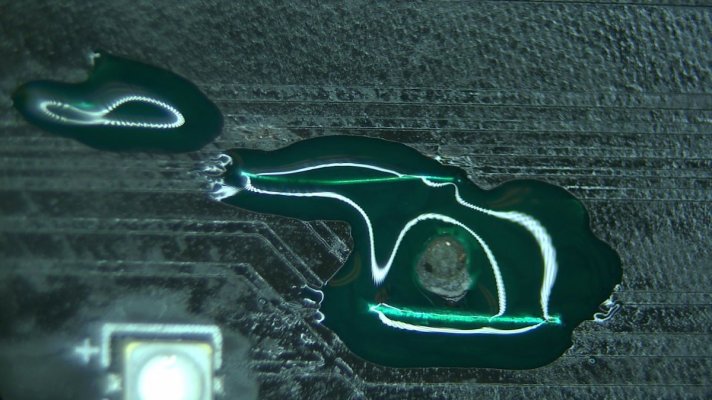
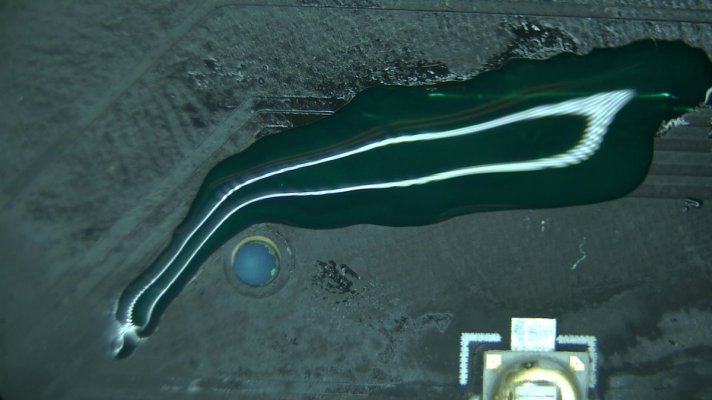
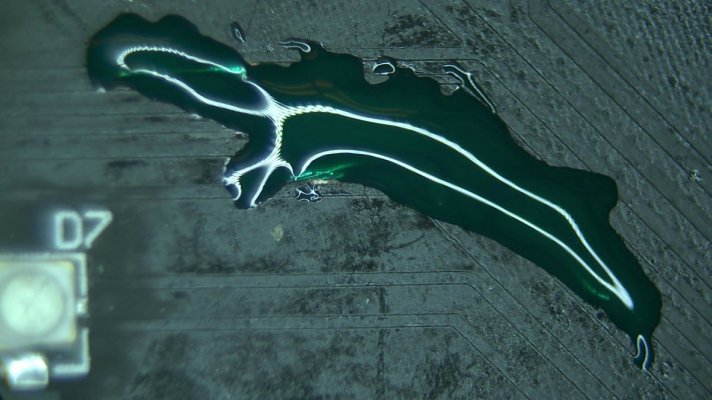
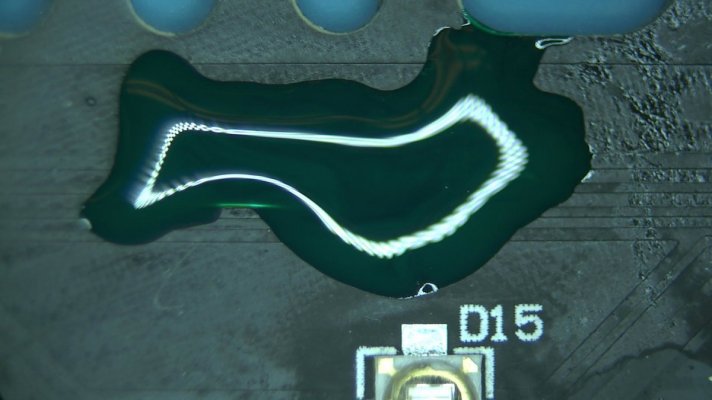
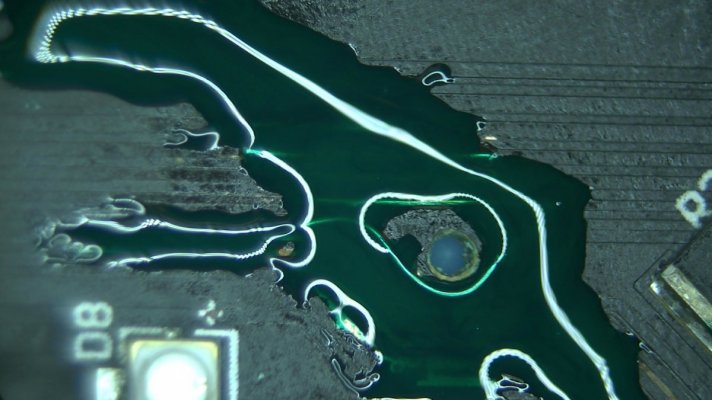

Everything is good to go:

Finally, it's time to remove and replace the thermal paste and test the light.
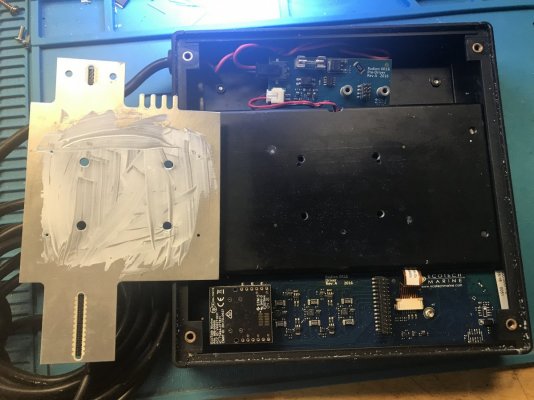
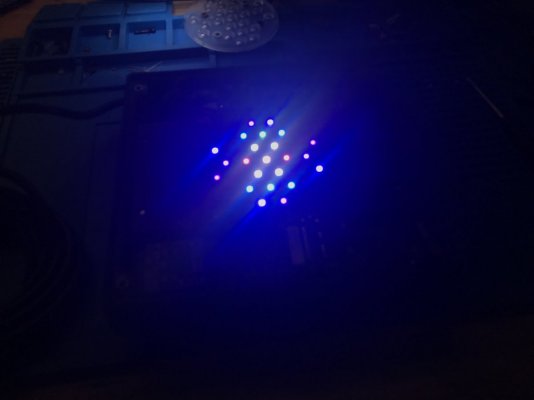
Hey, it looks like we got another one to work after all.

Radion XR30 complete no light repair
My previous electronic equipment repairs Radion XR15: https://www.reef2reef.com/threads/radion-lights-board-level-repair.774331/#post-8197536 A fellow reefer mailed me their Ecotech Radion for repair service as it's long been out of warranty. The unit turns on briefly before shutting down and...
 www.reef2reef.com

Another attempt at fixing Apex EB832
Some of my previous repairs: https://www.reef2reef.com/threads/radion-xr30-complete-no-light-repair.792711/ https://www.reef2reef.com/threads/radion-lights-board-level-repair.774331/ https://www.reef2reef.com/threads/ai-hydra-fan-connector-repair-significant-corrosion.793402/ First off, let me...
 www.reef2reef.com

AI Hydra Fan Connector Repair - Significant Corrosion
My previous electronic equipment repair projects Radion XR15: https://www.reef2reef.com/threads/radion-lights-board-level-repair.774331/ Radion XR30: https://www.reef2reef.com/threads/radion-xr30-complete-no-light-repair.792711/ Imagine a problem with a connector breaking off the board...
 www.reef2reef.com
And as always, uncensored, updated and corrected versions of my repair articles are a quick internet search away.
Today we have another Radion XR15 patient. This time it's a G4 pro which doesn't turn on.
You can tell from the outside the light is in a rough shape despite it being fairly new. Salt deposits and corroded screws do not inspire confidence in what's going to be found inside.
From this point it will indeed only get worse.
Notice what looks like green salt accumulation at the perimeter of the lens. Green is not good, it means we have oxidized copper in it which does not just come from nowhere.
But we press on...
Radion LED modules have printed traces on the surface made of copper. When enough salt creep makes its way onto the surface of the module, it eventually starts eating away the copper. This eventually breaks enough traces and renders the light inoperable.
Time for some close up pictures:


Notice that some of this is still wet and looks like thick paste. This continues to eat away the copper very aggressively unless removed.
We will clean up everything and expose all damaged traces:


Only now can we assess the damage caused by the oxidation:
Believe it or not, this is quite repairable. We just need to carefully restore each trace. Even a trace that is not fully broken by the corrosion will need to be restored to at least the same level of copper conductivity. The amount of current flowing through each trace is significant.


And of course, we can't leave these traces exposed to the salt. A good layer of UV curable mask is applied to insulate everything:


Everything is good to go:
Finally, it's time to remove and replace the thermal paste and test the light.


Hey, it looks like we got another one to work after all.


