Hey Guys,
I'm new to the forum and a "legacy" hobbyist. I shut down my last saltwater aquarium more than 10 years ago in Brazil. But now that I'm leaving in US and with all the pandemic-stress I decided to go back to the Reef world with a nano. I started a Fluval Evo XII with standard configuration about a month ago. Its doing pretty well and I already have two little ocellaris as well as some soft corals.
But as my other hobby is DIY and I'm a IT professional I decided to just blend everything together and bring some automation to the reef!
So, Im leveraging the awesome Open source Reef-Pi by @Ranjib and will be posting the advance of the build here to share and mainly to get your feedbacks and inputs.
Material so far:
Main Controller and Sensors:
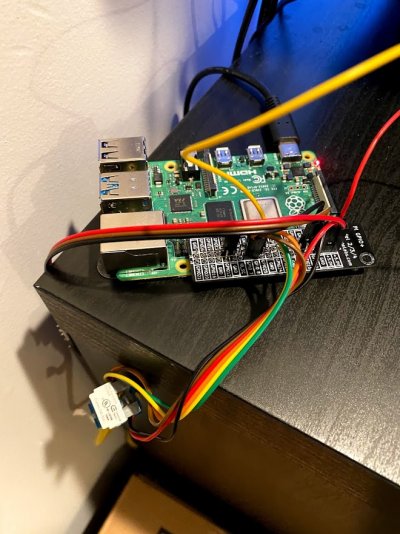
Raspberry PI 4B 2GB RAM (you can use other versions, I just went with the latest one... you know, Im an IT Nerd ) - 35.00 USD from Adafruit https://www.adafruit.com/product/4292
Protoboard and Jumper wires - Less than 10.00 USD on Ebay
Temperature Sensor Kit - 8.99 on Amazon - Strongly recommend this one as it comes with the required resistor so you dont need to solder anything (I hate soldering).
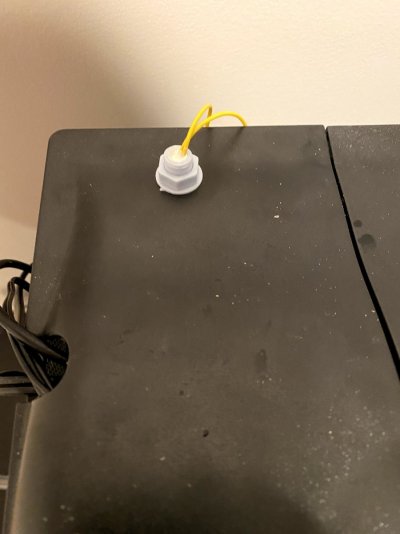
Liquid Level Sensor - 7.99 on Amazon
2x Cat-5 Connector - 4.5 USD on HomeDepot - To build the connection between main board and power box
Power Box
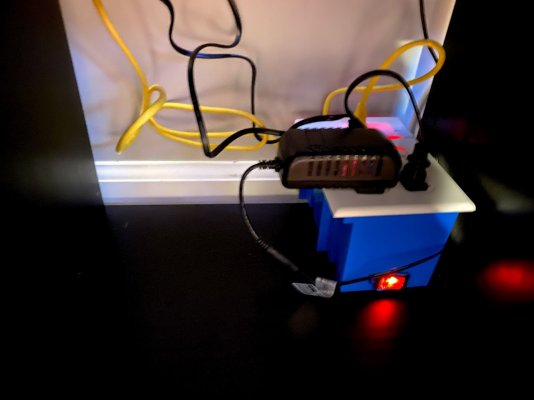
4 Ch 5V Relay board - 5.95 on Ebay - I decided to go with just 4 channel power box as it will be enough for the equipment I have on my Nano.
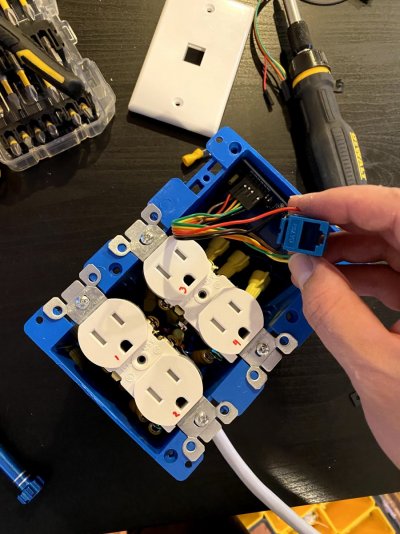
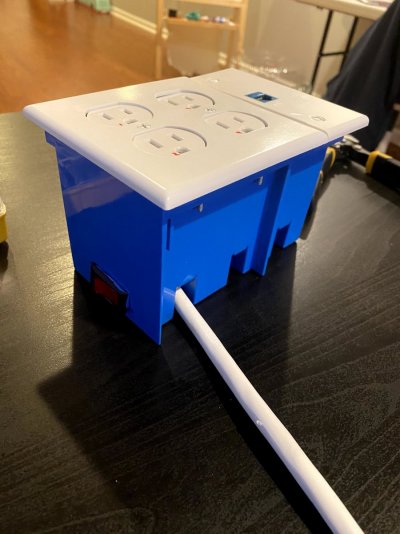
3 Gang Plastic Eletrical Box - about 5.00 on Homedepot - Space for 2 dual outlets and a 3rd slot to accommodate the relay board as well as connections
2x Dual Outlets - About 1.50 on HomeDepot
Cheap Power Strip - Less than 5.00 USD or you can salvage from your garage - To steal the inlet cable and power switch
Wallplates, Electrical connectors - About 10,00 on HomeDepot
And here is how I'm doing so far:
Temperature sensor:

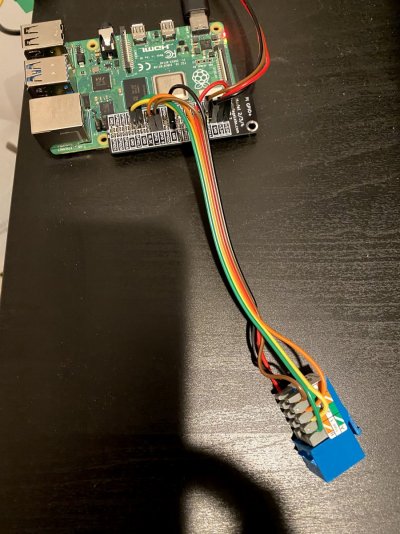
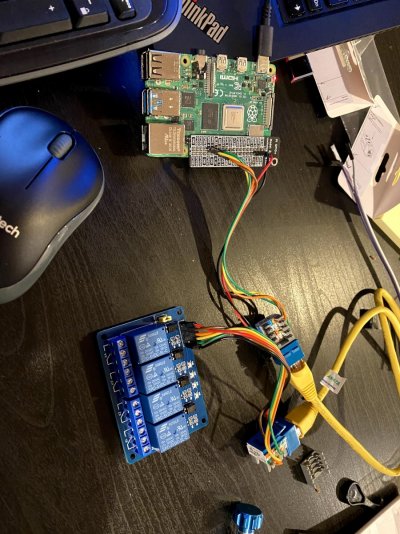
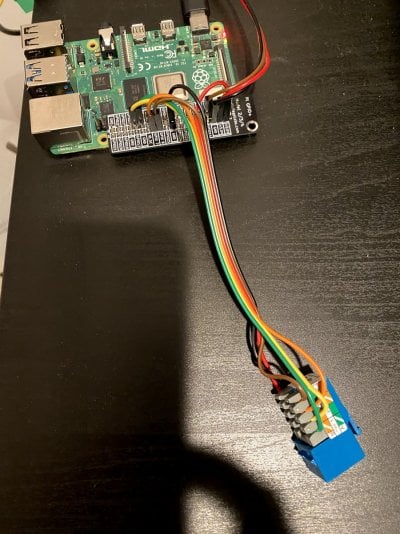
Preparing the Power Box connection:
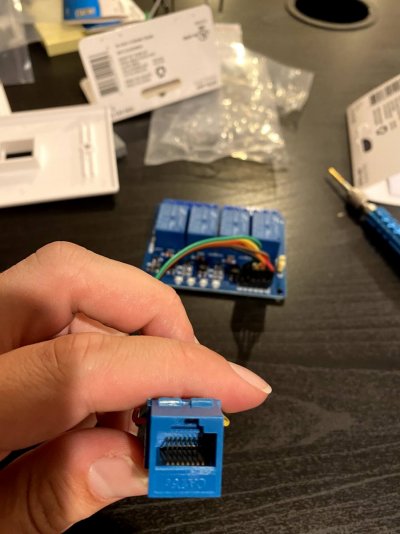
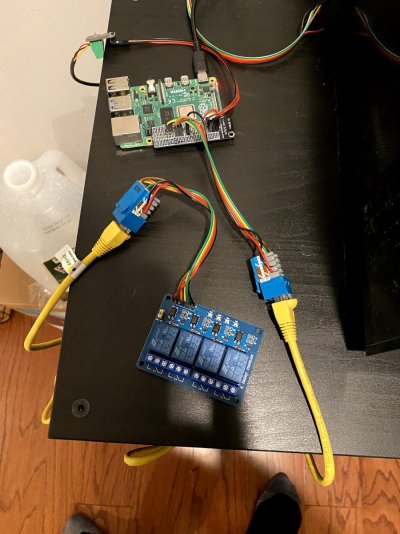
Preparing the Power Box:
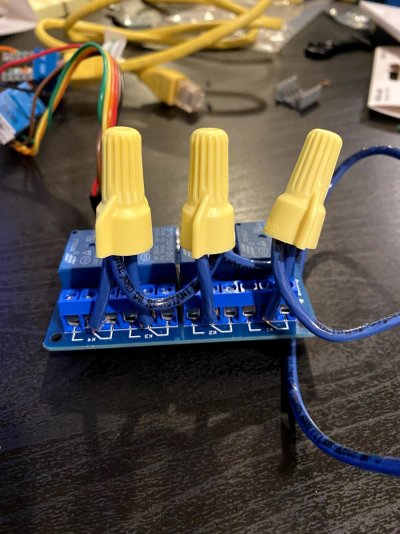
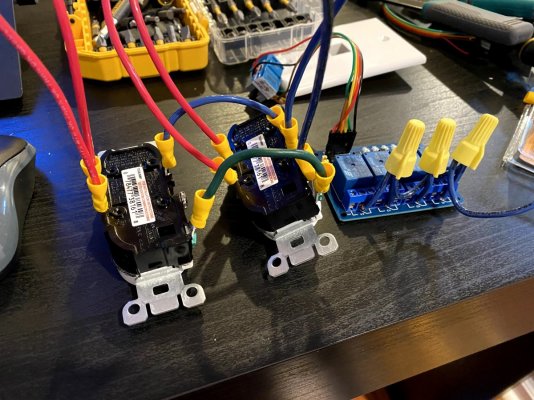
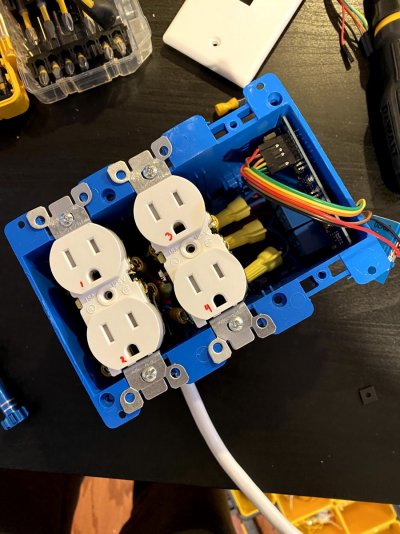
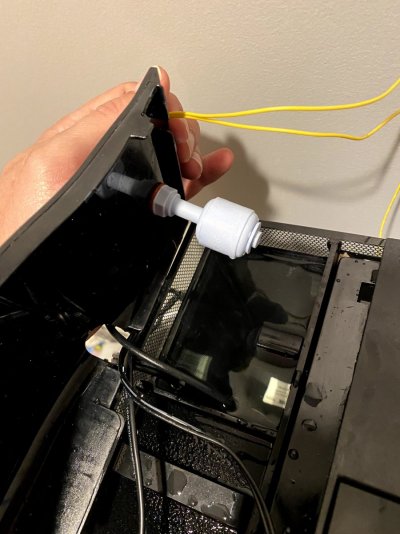
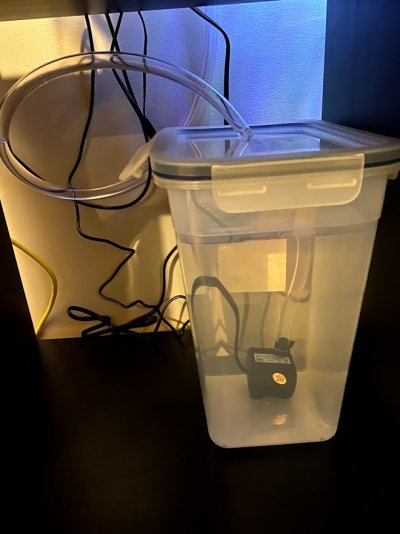
Placing the Level Sensor (ATO):
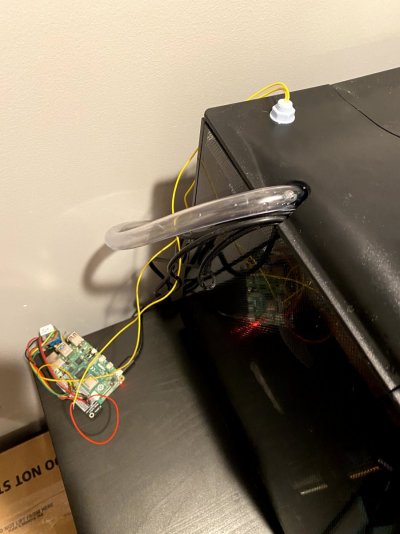
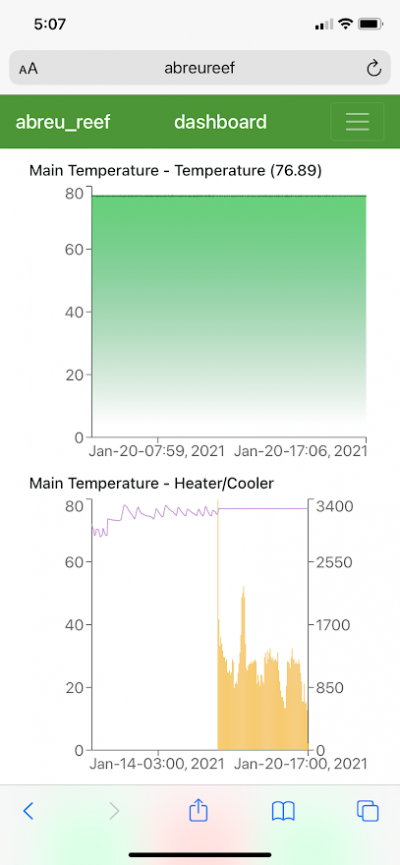
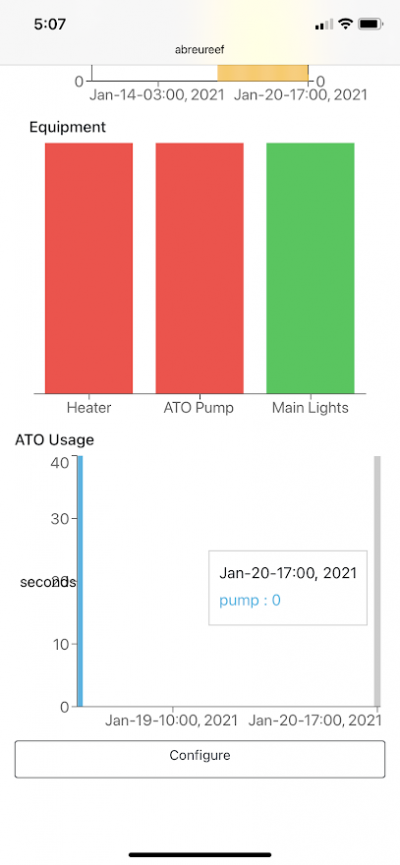
Everything working nice and smooth (I know, I miss the Pi housing too ):
):
Hope you guys like it! Please share your feedbacks or questions! -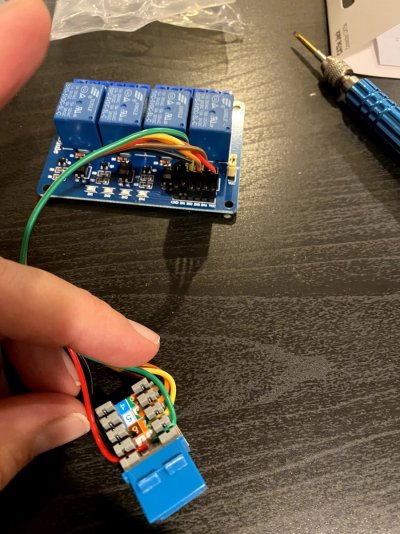
I'm new to the forum and a "legacy" hobbyist. I shut down my last saltwater aquarium more than 10 years ago in Brazil. But now that I'm leaving in US and with all the pandemic-stress I decided to go back to the Reef world with a nano. I started a Fluval Evo XII with standard configuration about a month ago. Its doing pretty well and I already have two little ocellaris as well as some soft corals.
But as my other hobby is DIY and I'm a IT professional I decided to just blend everything together and bring some automation to the reef!
So, Im leveraging the awesome Open source Reef-Pi by @Ranjib and will be posting the advance of the build here to share and mainly to get your feedbacks and inputs.
Material so far:
Main Controller and Sensors:
Raspberry PI 4B 2GB RAM (you can use other versions, I just went with the latest one... you know, Im an IT Nerd ) - 35.00 USD from Adafruit https://www.adafruit.com/product/4292
Protoboard and Jumper wires - Less than 10.00 USD on Ebay
Temperature Sensor Kit - 8.99 on Amazon - Strongly recommend this one as it comes with the required resistor so you dont need to solder anything (I hate soldering).
Liquid Level Sensor - 7.99 on Amazon
2x Cat-5 Connector - 4.5 USD on HomeDepot - To build the connection between main board and power box
Power Box
4 Ch 5V Relay board - 5.95 on Ebay - I decided to go with just 4 channel power box as it will be enough for the equipment I have on my Nano.
3 Gang Plastic Eletrical Box - about 5.00 on Homedepot - Space for 2 dual outlets and a 3rd slot to accommodate the relay board as well as connections
2x Dual Outlets - About 1.50 on HomeDepot
Cheap Power Strip - Less than 5.00 USD or you can salvage from your garage - To steal the inlet cable and power switch
Wallplates, Electrical connectors - About 10,00 on HomeDepot
And here is how I'm doing so far:
Temperature sensor:
Preparing the Power Box connection:


Preparing the Power Box:


Placing the Level Sensor (ATO):


Everything working nice and smooth (I know, I miss the Pi housing too


Hope you guys like it! Please share your feedbacks or questions! -

Last edited:


