Thanks man! Totally appreciate it!

Navigation
Install the app
How to install the app on iOS
Follow along with the video below to see how to install our site as a web app on your home screen.
Note: This feature may not be available in some browsers.
More options
You are using an out of date browser. It may not display this or other websites correctly.
You should upgrade or use an alternative browser.
You should upgrade or use an alternative browser.
Rob's 75g to 180g build
- Large Build
- Thread starter wrassie86
- Start date
- Tagged users None


Harbor freight seemed to be cheapest and local
4 corner clamps
4 long clamps
wire brush set for drill
wire brush
scrapers. I sharpend these with file
orange razor knives. great for cutting side seals
Razor scraper and plenty of blades
razor knife and blades
walmart
painters tape
roll of thin wire. I used for getting plastic trim off
Acetone
600 grit wet sand paper
Silicone of choice
Last edited:
for determining how thick the silicone needed to be or close to factory, I cut a small section of structure seal out from between the side panes and bottom panes and fit zip ties in for me it was these light duty zip ties were perfect fit bought at a ace hardware some people use tooth picks

I will keep adding info here till done except questions.
I used the razor knives and razor/scarpers to cut the inner seals out.
the orange knives are good for cutting out small section for silicone thickness and breaking the side seals. I removed top plastic trim (not easy) i was able to get 1 corner up and used small wire as a saw to cut silicone underneath the trim with out breaking it.
I removed the left small panel first.
then the front panel
then the small right panel while wife held the back panel
then back panel.
since I had not removed the bottom plastic trim yet, I gently and slowly tilted the panels inward to not hurt the bottom trim and break the bottom seal.
Here is a good video link from utube that shows custom aquarium building a tank using the "injection method" there are also alot of other good videos on the utube.
There tanks seem to use a glass dowel to hold the panels in place for silicone.
The most important part is the cleaning of the silicone..... Did i say the most important part is the cleaning of the silicone. all contact edges must be free of silicone. as i learned when you think your done. put on a new razor blade and try again you will likely find more comes off. I started with scrapers then razors then wire brush on drill then wet sand then acetone scrub. the wire brushes for drill are great for the end cleaning. just keep them on the silicone areas as they may scratch the glass
When we assembled the tank since we had only me and my wife it was very important to not move the tank much, 450 pounds of awkwardness. so it was disassembled and reassembled on the stand. I cut and smoothed 3 pieces of 2x4 to the inner dimensions of the bottom plastic trim end middle end and put the plastic trim down around them.. this was so once the tank was completed the trim could just be lifted up to the bottom glass and silicone in place. (pic on 2nd page)
then laid the bottom glass on the 2x4's we put 1 zip tie 3 inches in on each corner as we assembled the tank starting with back glass then right side attaching corner clamps as we went then left side and finally the front glass. then used the long clamps top and bottom sides just snugged.
Now for the bread and butter, some would say this way of doing it leaves room for failure. I don't agree at least not till i see a failure. And tank makers or at least the one above does inner seal at different day than structure seal. But since the silicone is never fully cured before the next move, I think it's fine. so done at own risk.
So with tank assembled and gaps in place we cut the end of the silicone tube and used pliers to smoosh the tip to the tanks gap size. then on the sides we pushed a 1inch length inner seal just inside of the zip ties but not touching the zip ties you want the silicone edges to remain smooth and push enough through in till you see a small amount emerge on the other side of the glass, do not smooth this it should only be a small amount.. do this for every zip tie corner. we also ran 1inch seal for middle of front and back glass. then let sit over night.
the next morning we removed the clamps. tank felt strong for so little silicone. was very surprised. so then we started injecting the inner seal using a mirror in the tank to see the silicone emerging out you will know when it's right this part is very important also. you have the choice the push enough through to make the inner seal as you go or put the inner seal in after. i chose after, removing the zip ties as got i got to them.. once the inner seal was done i used the painters tape to make the lines for the seals then laid the inner seal and let sit for a week.
I know its a quick dirty write up if any questions just ask.
Last edited:

revhtree
Owner Administrator
View Badges
Staff member
Super Moderator
Reef Squad
Partner Member 2024
Excellence Award
RGB
Photo of the Month
Article Contributor
R2R TV Featured
Hospitality Award
Article Administrator
Black Friday Sponsor
Partner Sponsor 2023
Industry Professional
My Aquarium Showcase
- Joined
- May 8, 2006
- Messages
- 47,725
- Reaction score
- 86,764
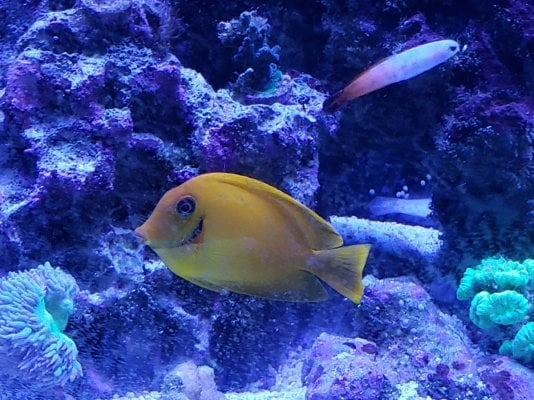
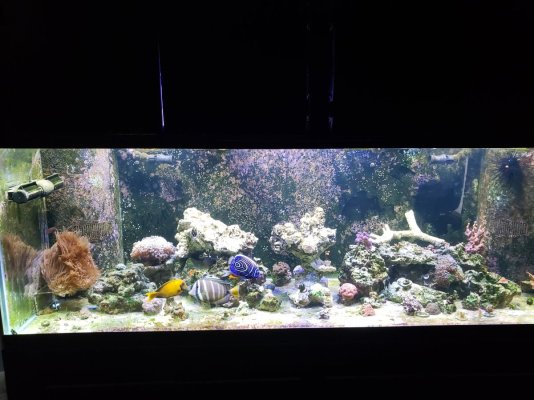
Looking good!Tank is back up running, my acro,s have taken a beating from the tank swaps and 3 have rtn,ed. Atleast for once it was not my favorites.
Photonblue the quick write up is done above if you have any questions just ask, but i suggest you watch a few of the u tube videos with search "aquarium injection method" Its not great job, but not to bad the worst part is making sure all the silicone is removed.

30 days so far and re assembled tank is holding up well. No changes in the silicon I can see. Acros are all starting to bounce back. The only problem I'm finding now is a 2 aptasia those I did not have before and have added nothing new since first setup. hoping my emp angel will take a liking to them, but so far he has been a model citizen.
All part of the game.You've had it rough pal.
I'm glad the tank is holding up.
Bored everything else going with the reef since Aug 1st?
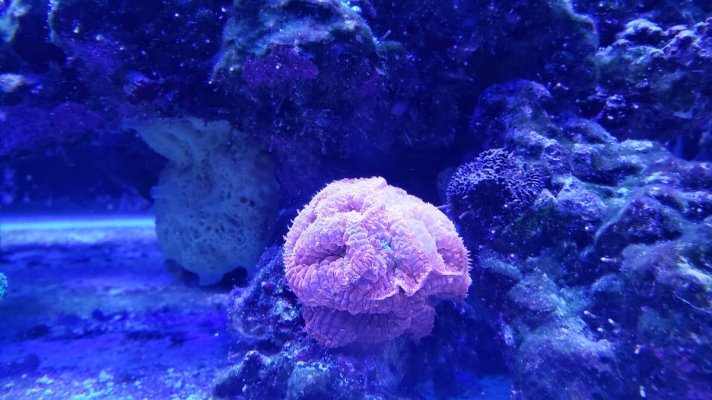
Tanks been on cruise control as far as parameters go. most acro;s are recouping some really taking off. oddly enough been having issues with a couple lps corals that were doing great before the leak now not so much. hoping another month or so the tank will be be back to where it was before the leak.
Funny I've set up set up a lot of tanks over the years and usually I can tell a month or so in if the tank will thrive or not. When setting up this 180g i knew a month in this may have been the best set up yet as far as it thriving and it was. since having to re set up, its not the same tank even though it is as far as inhabitants and rock. thinking maybe the new silicone may have been leaching a little bit, I see the discus guys on you tube talking about getting there fry killed off from new tanks, manly the silicone.

Hard to say really. But after a few losses and a lot of water changes. Things seem to be good again.Wow.
I've never heard of silicone that's cured being a problem.
I really hope everything recovers.
Last edited:


Today my expensive magnet scraper fell apart. The outside felt came unglued and the water side scraper was a bit matted. LFS wanted $100 for a new one just like it. Turn out industrial strength Velcro works extremely well to replace the pads with and cost 11 bucks for way more than I needed. Now to find the old mag float that fell apart a few years ago and fix it also. I believe it came stock with Velcro pads.


Similar threads

- Replies
- 9
- Views
- 271
- Replies
- 4
- Views
- 185
- Replies
- 1
- Views
- 311


