- Joined
- Feb 28, 2017
- Messages
- 1,611
- Reaction score
- 1,044
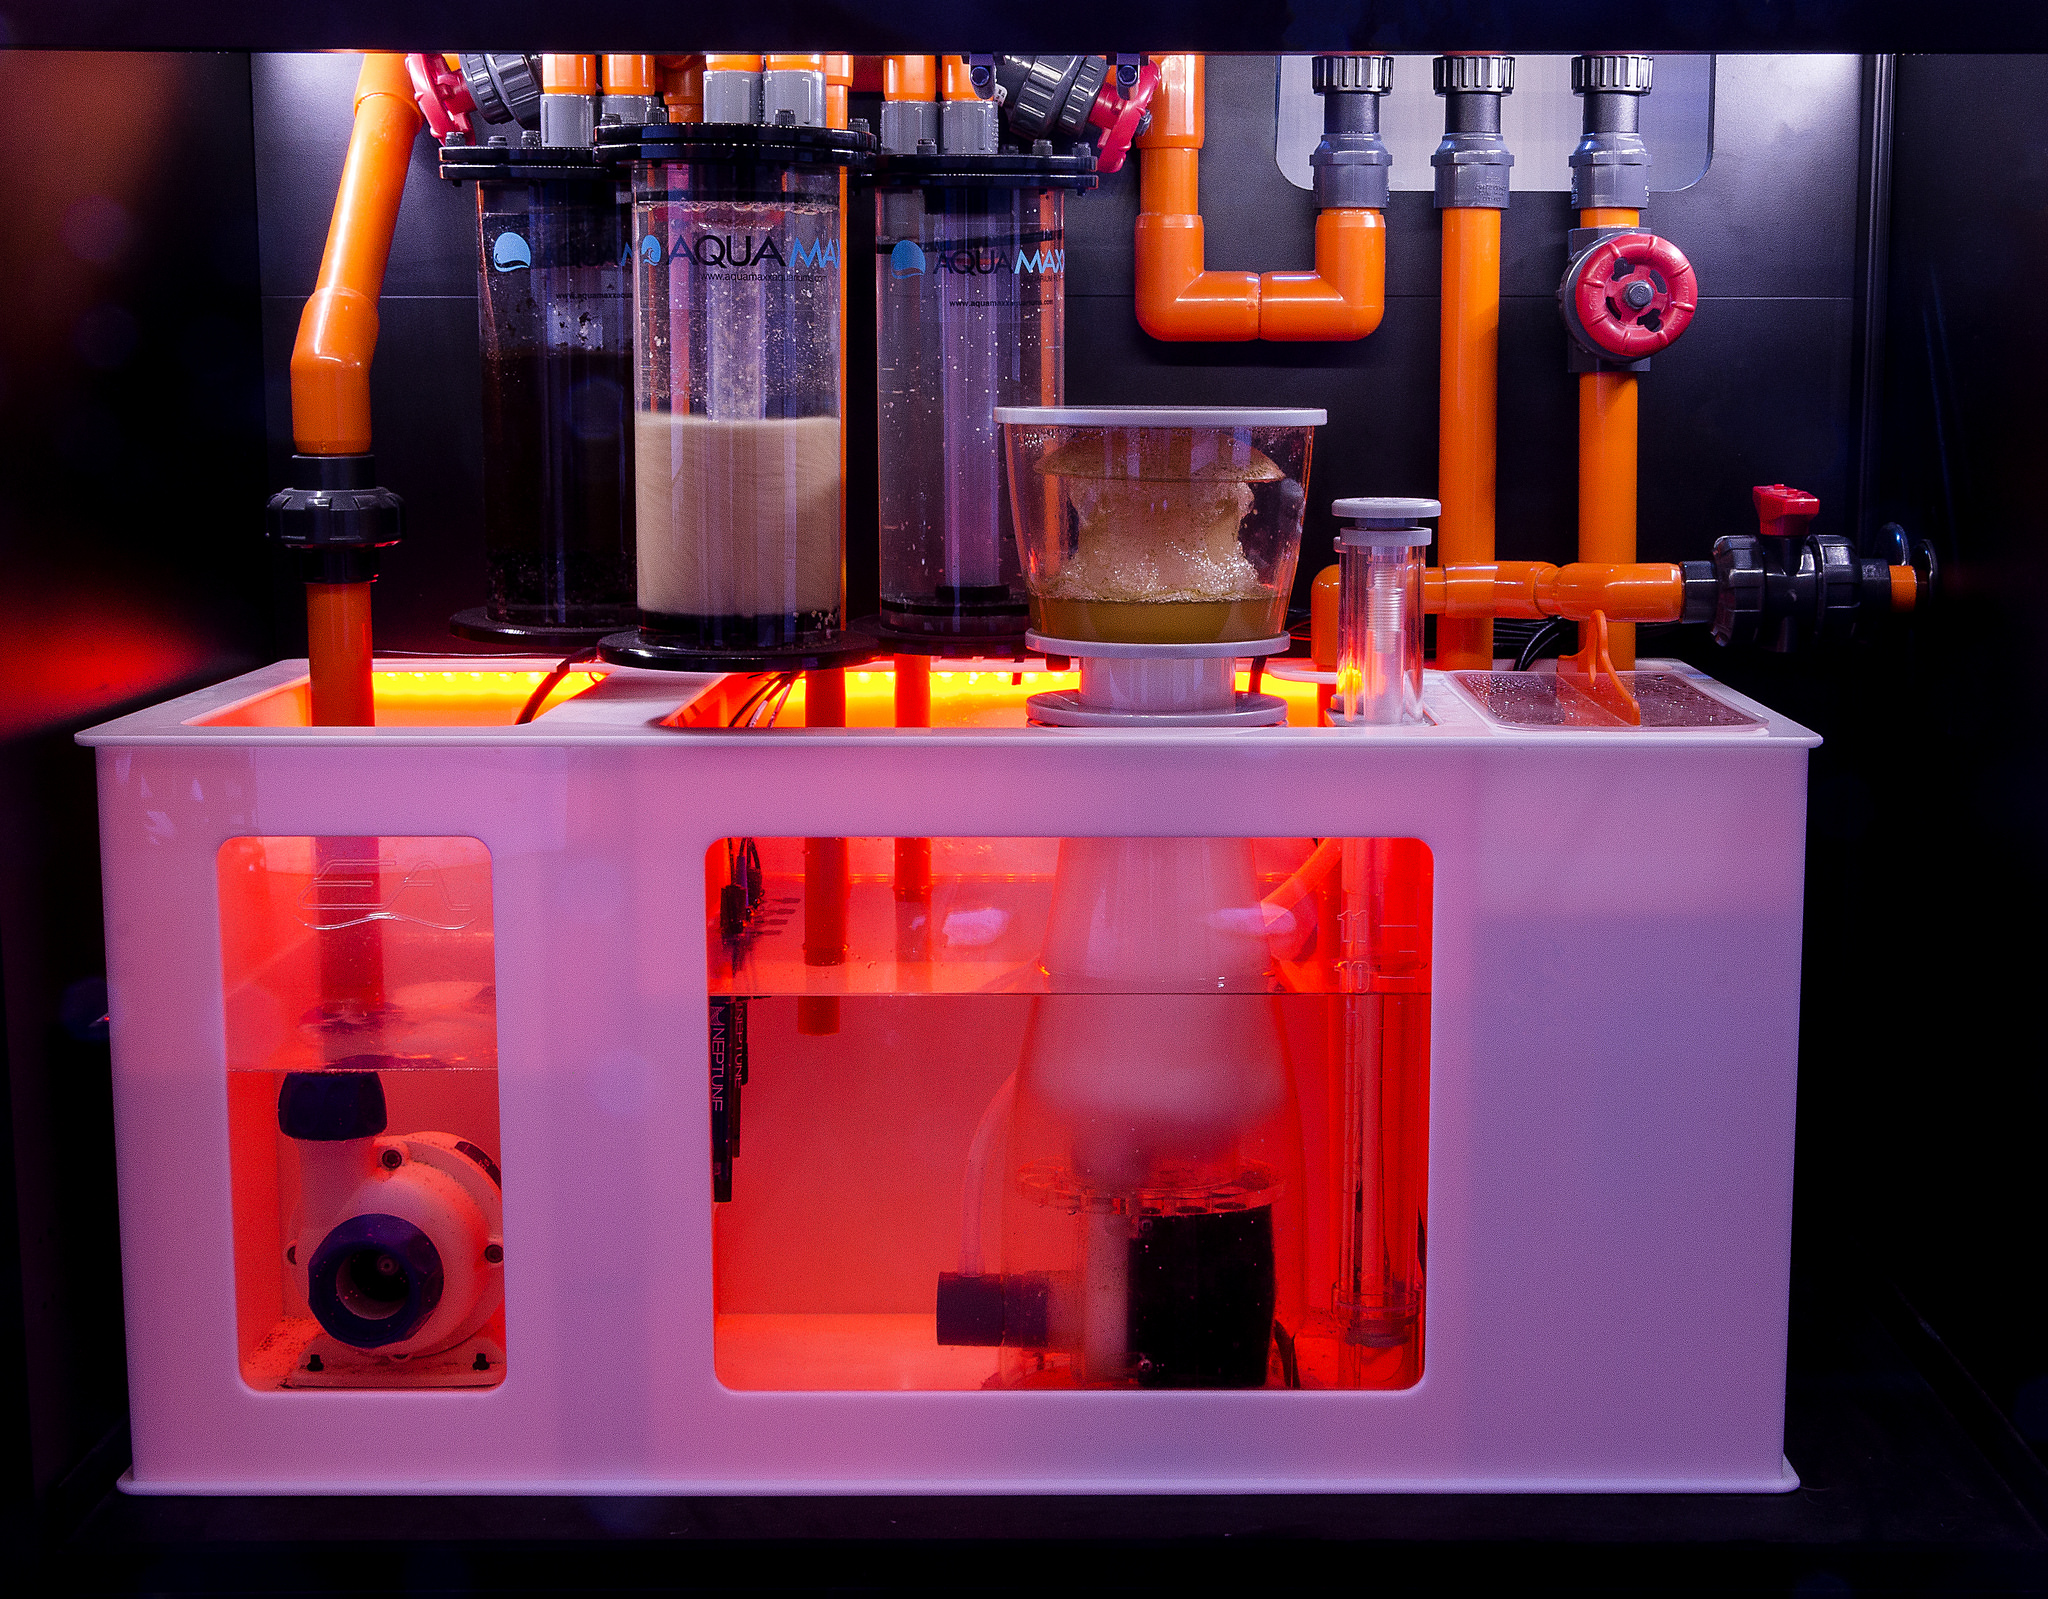
Agreed. I wouldn't want to run the skimmer in this section due to water level fluxtuation. You really want your skimmer in the skimmer chamber.
So I read Nyos manual and the recommended water height is around 8”. I plan to keep the sump water level at 8” anyway. Now @Eight you said “water level fluctuations”. Can you please let me know how water fluctuate in the sump in this particular front section? I see that the water flow from them is front section and then fall into the intended skimmer chamber. How is it any different if there is any fluctuations between the front space vs skimmer space?
I am willing to learn and listen sorry if my question is stupid. I never had a sump before.


 Sump
Sump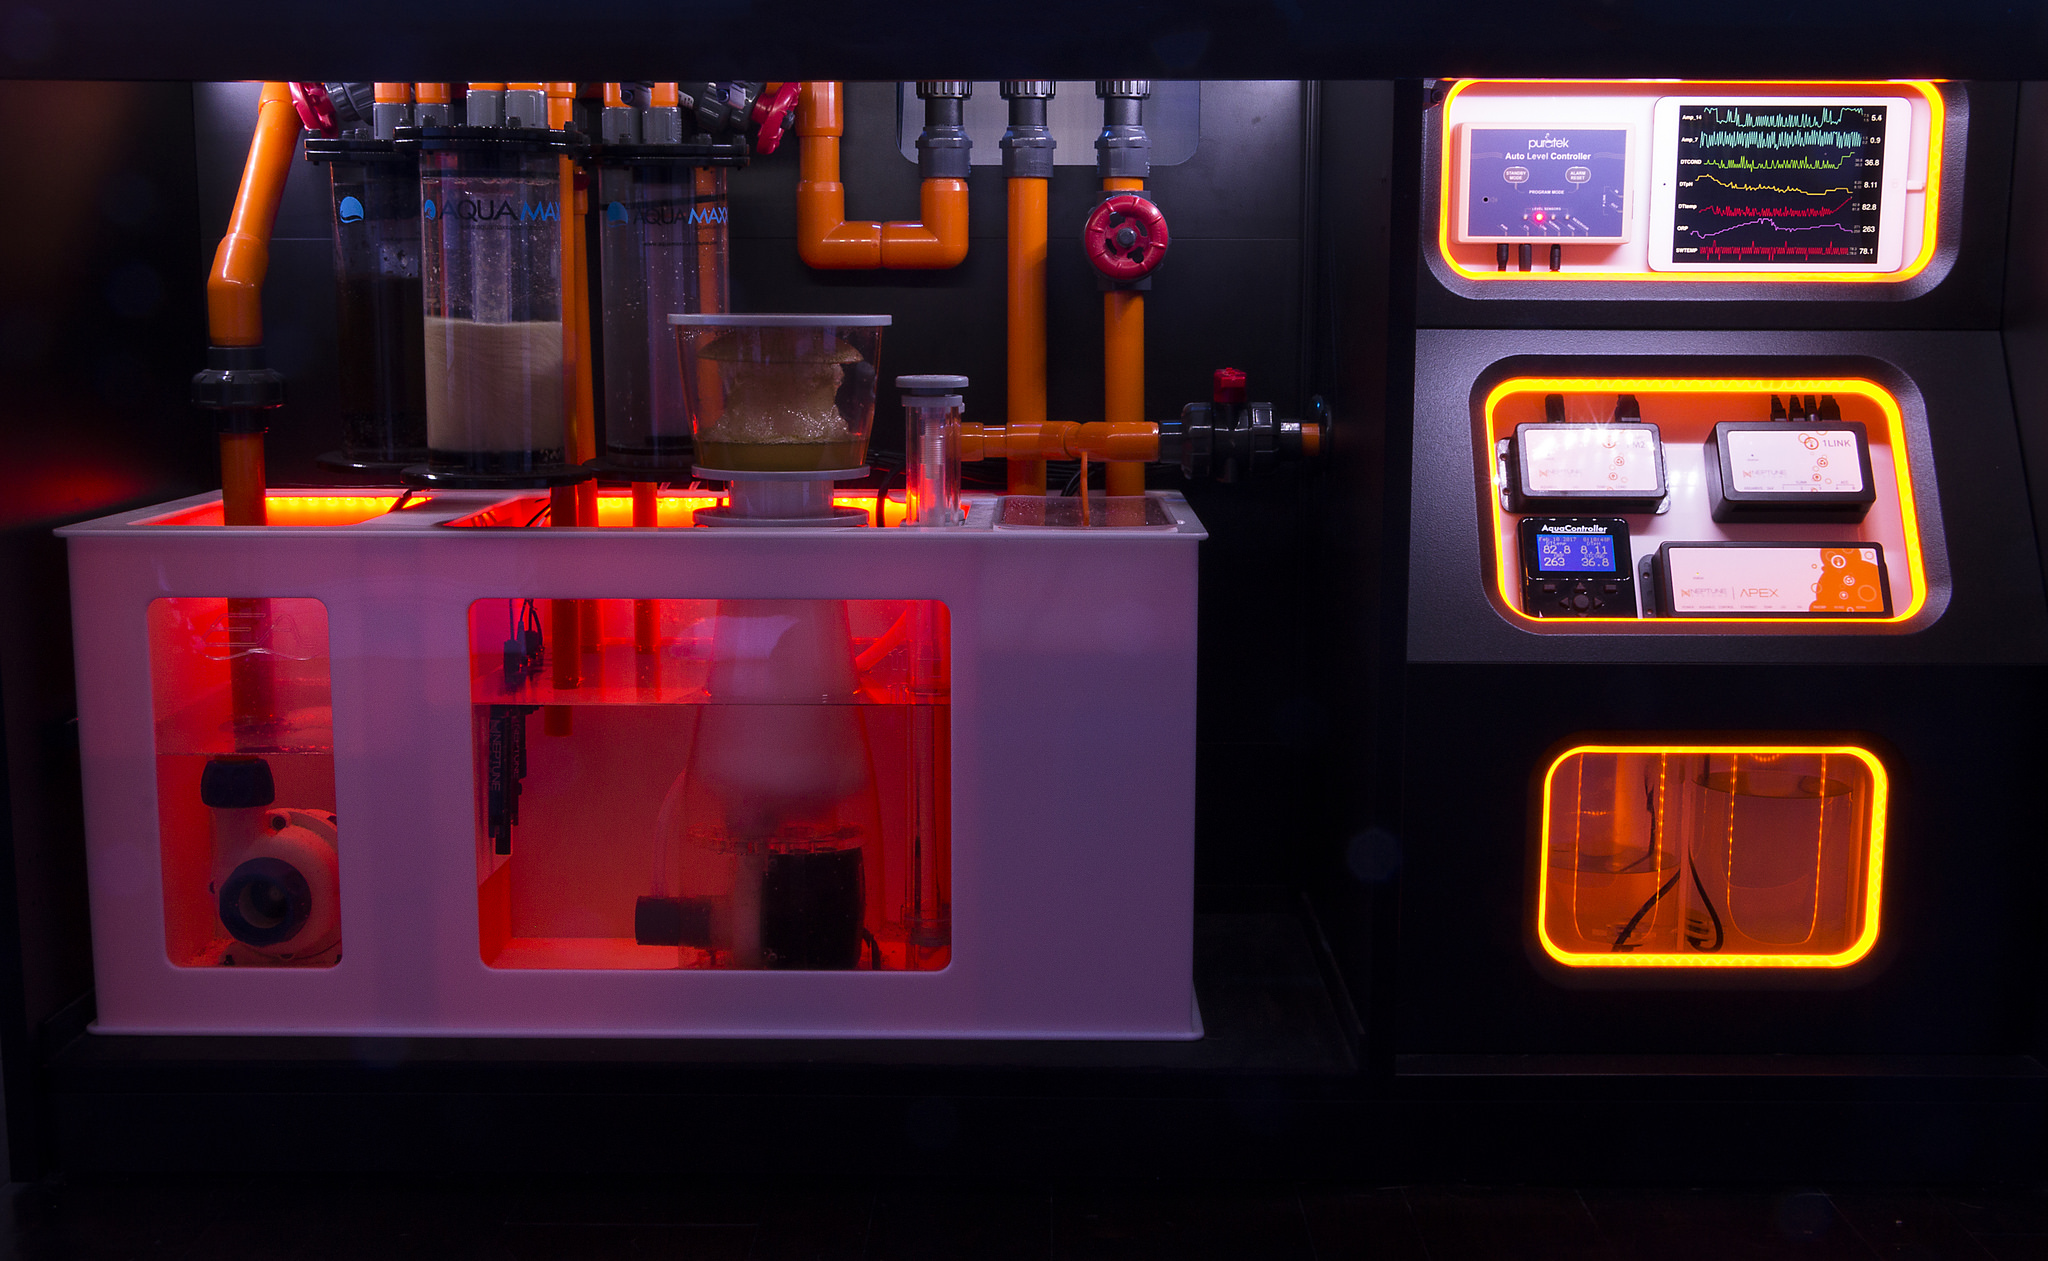 IMG_6030
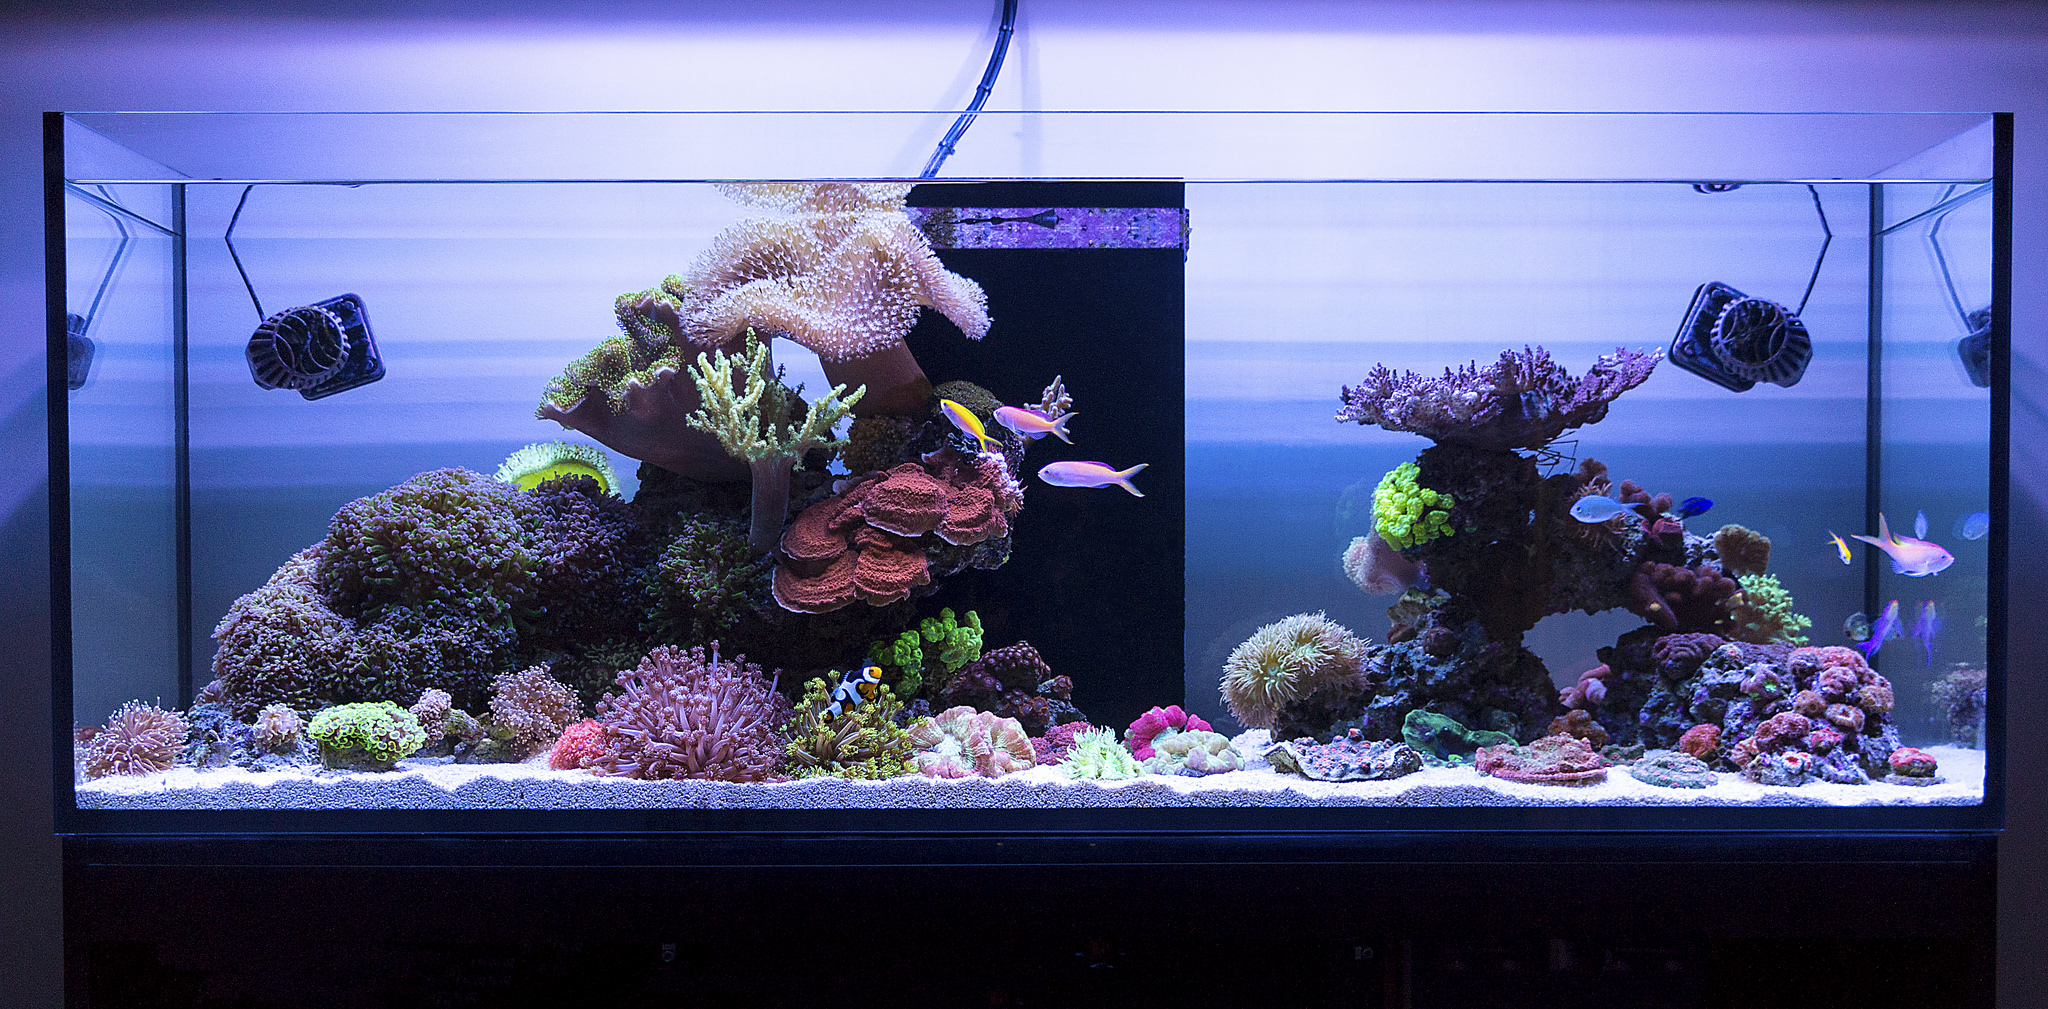 FTS
FTS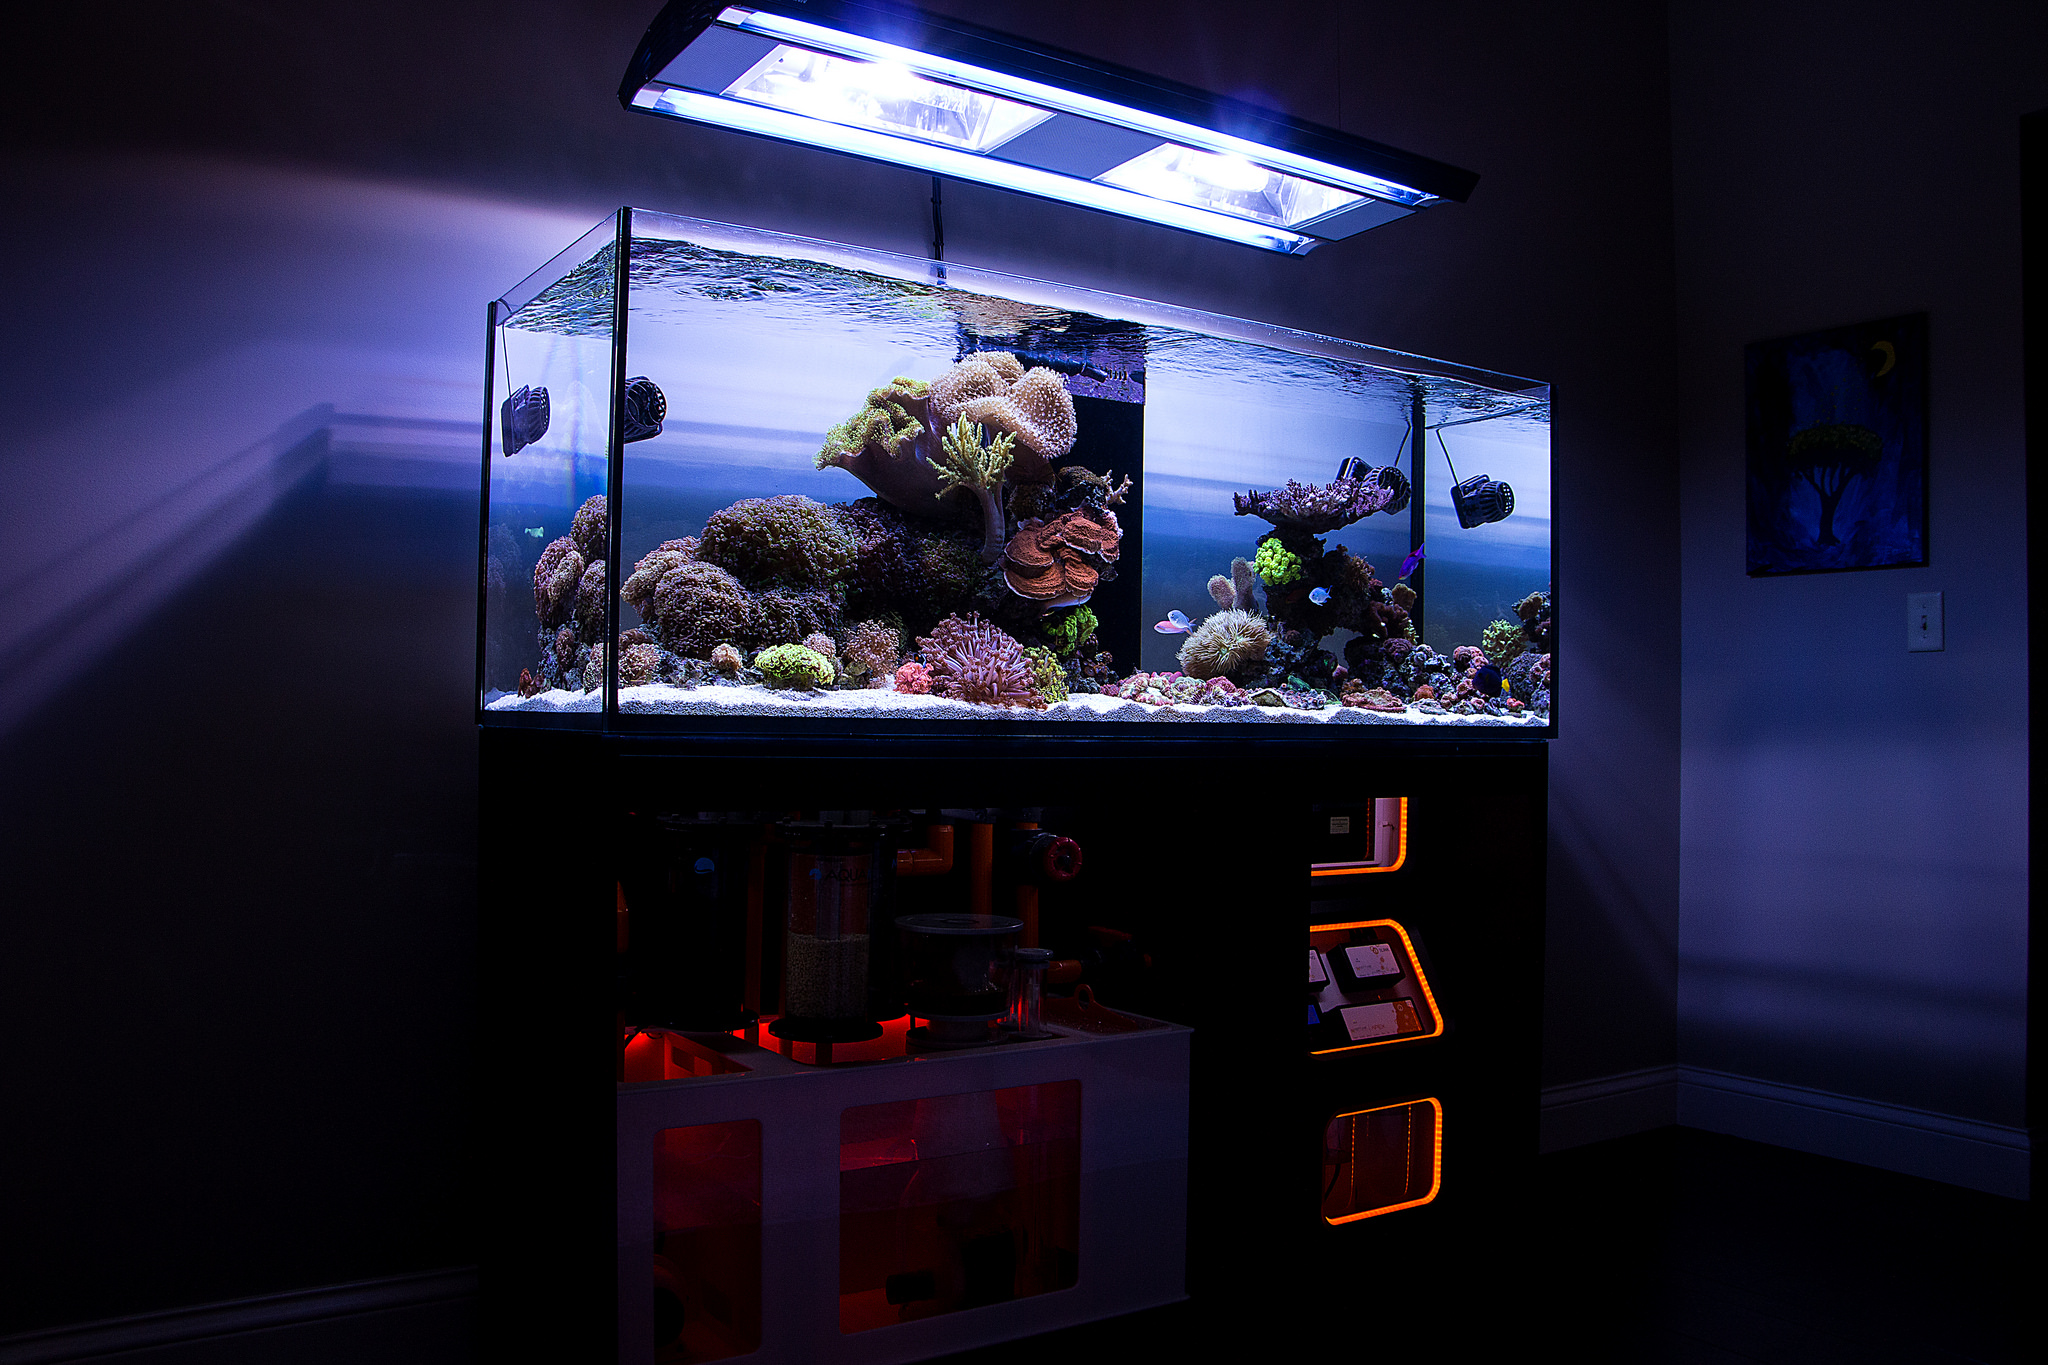 IMG_5293