Sierra_Bravo's "What did I get myself into??" 120g in-wall build thread

Sierra_Bravo

Valuable Member
View Badges
Joined
Jan 29, 2017
Messages
1,896
Reaction score
4,042
Location
San Antonio, TX
Rating - 0%
0   0   0
Brief background: 49 year old native Floridian who moved to San Antonio about four years ago. After so many years in and around South Florida and the Gulf Coast, being more or less land locked left me yearning for the clear water and coral reefs of the Keys. A thought occurred: Bring the reef to me!

I'm new to this hobby. By new I mean I don't have a clue. A long, long time ago I had a 20 gallon freshwater tank that tetra's must of thought was a fish hospice - they basically came to my tank to die. But I've been lurking R2R and others for a while to start gaining the knowledge I'll need to plan this out.

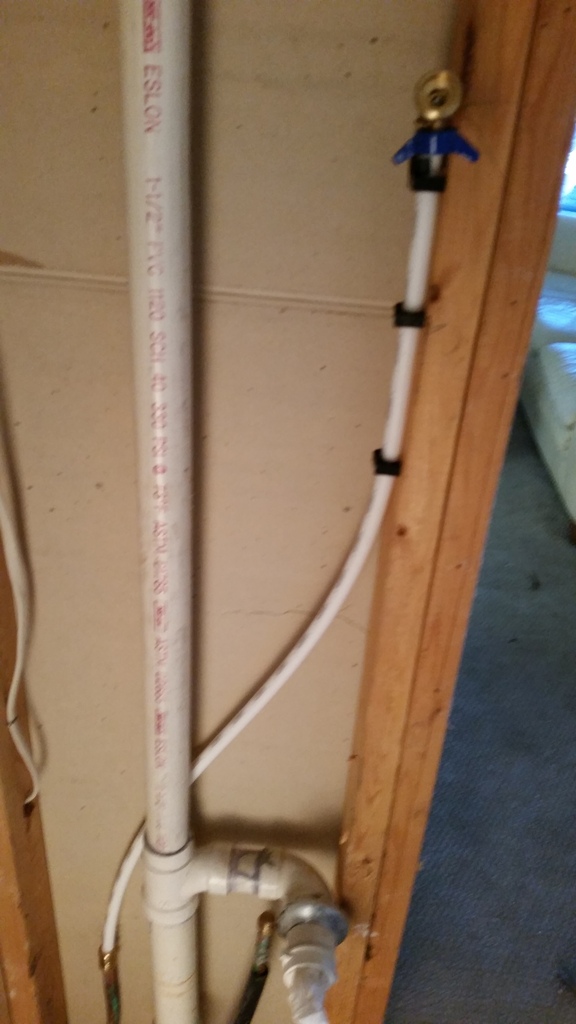
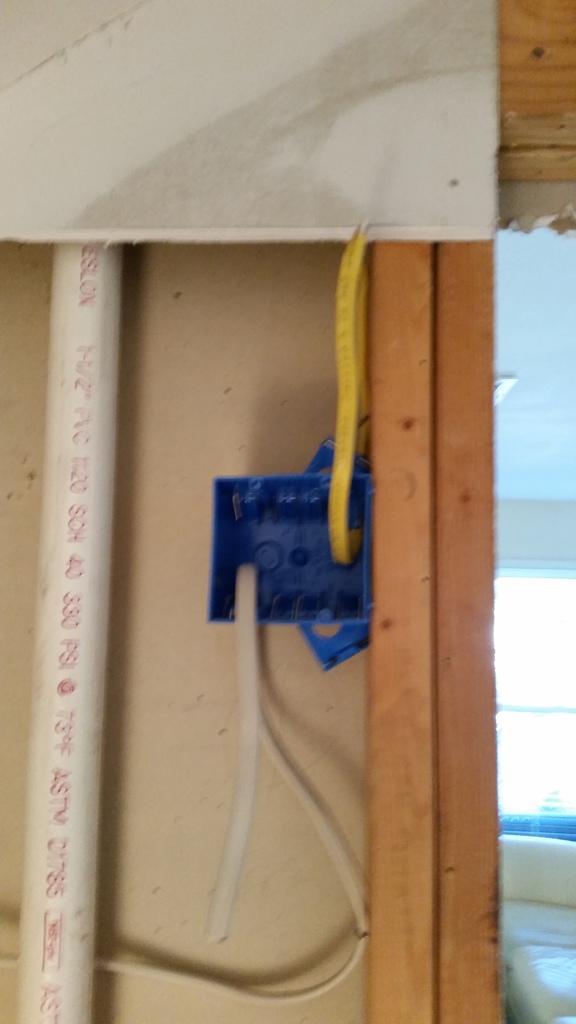
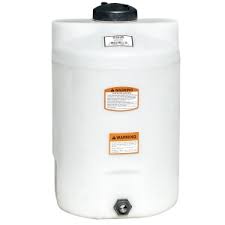
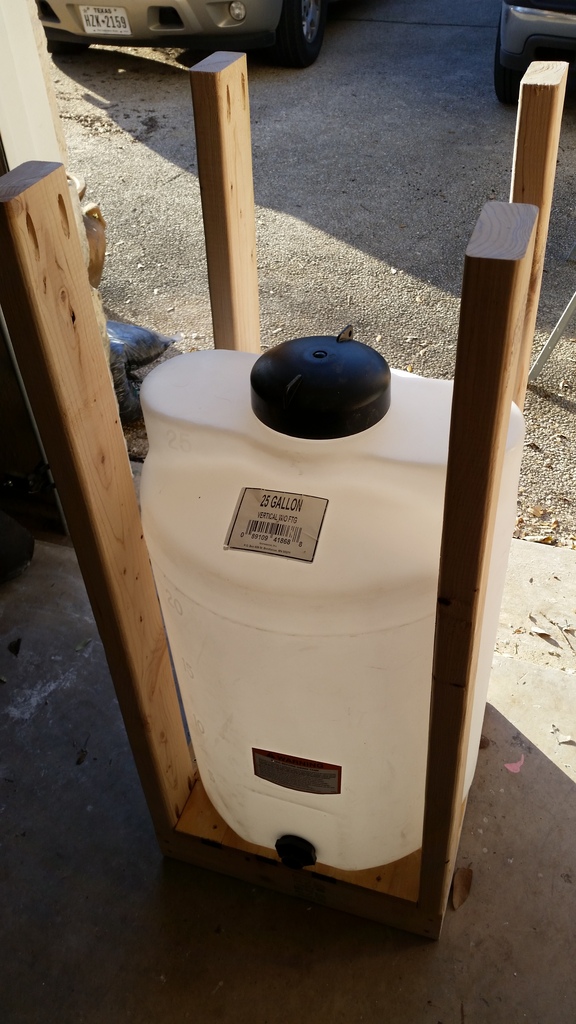
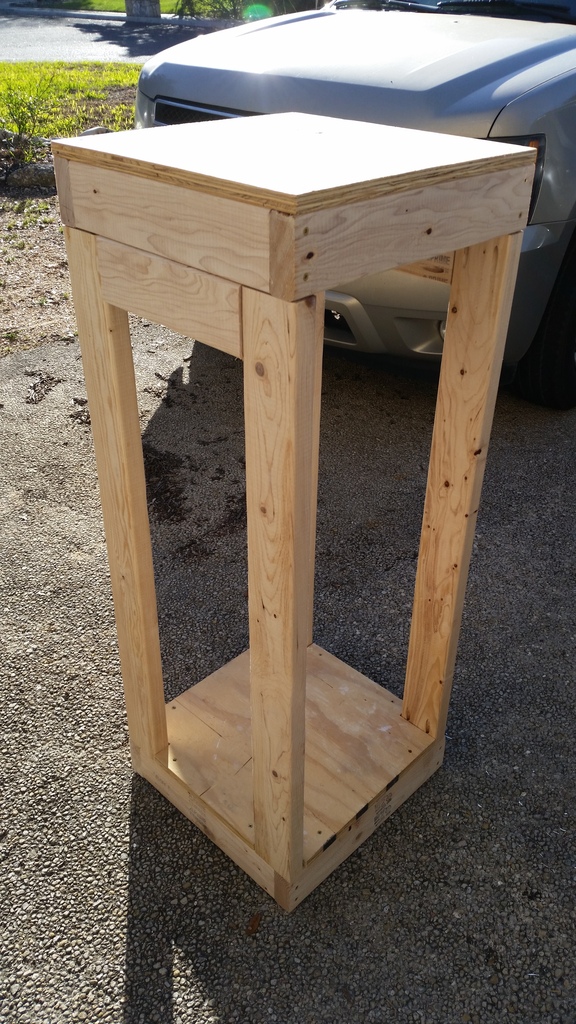
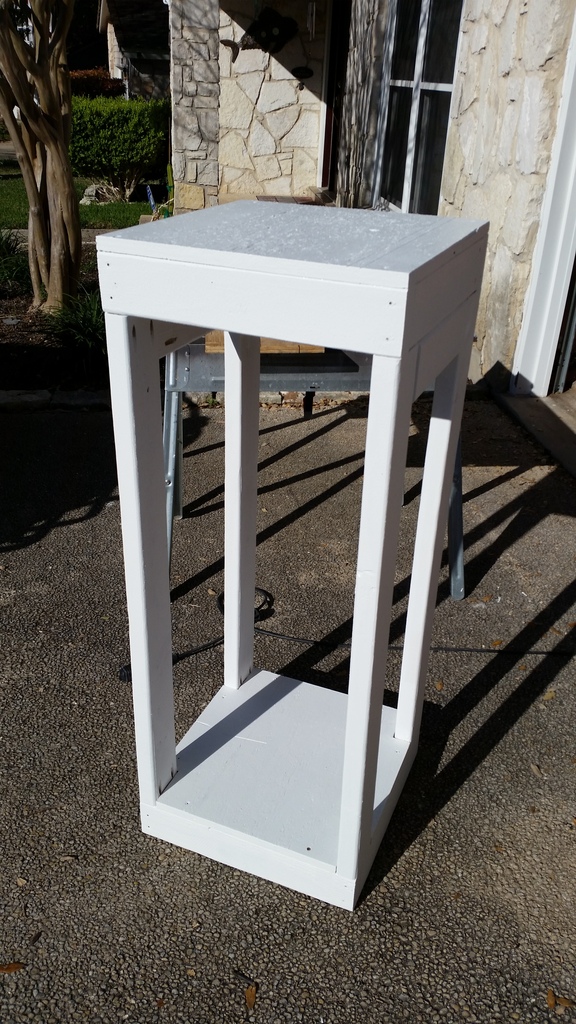
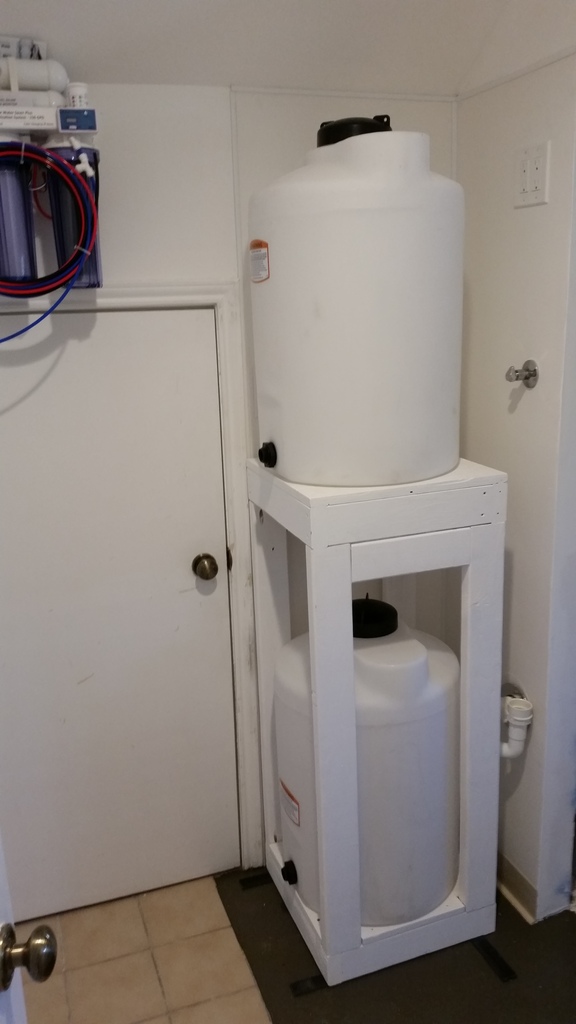
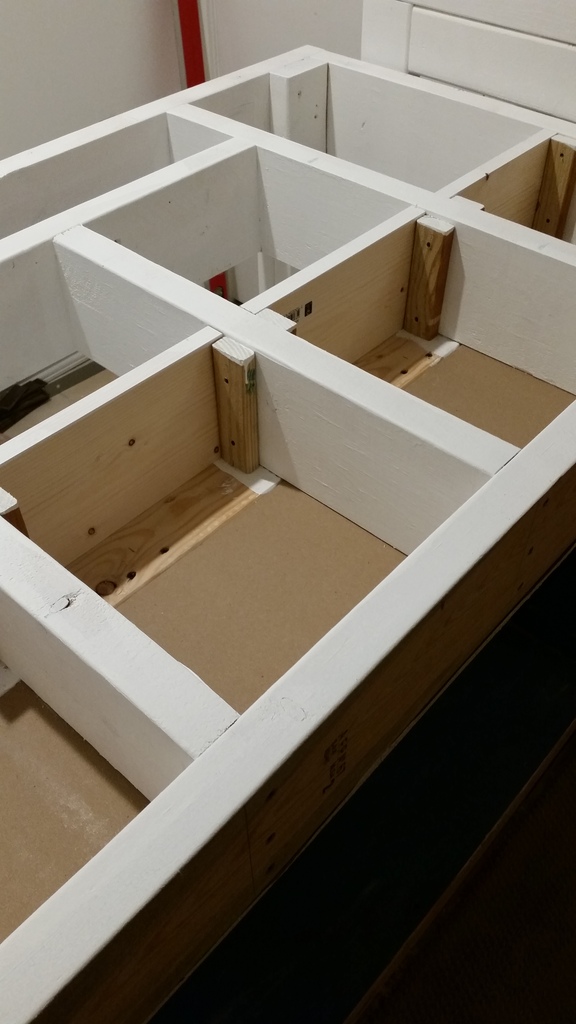
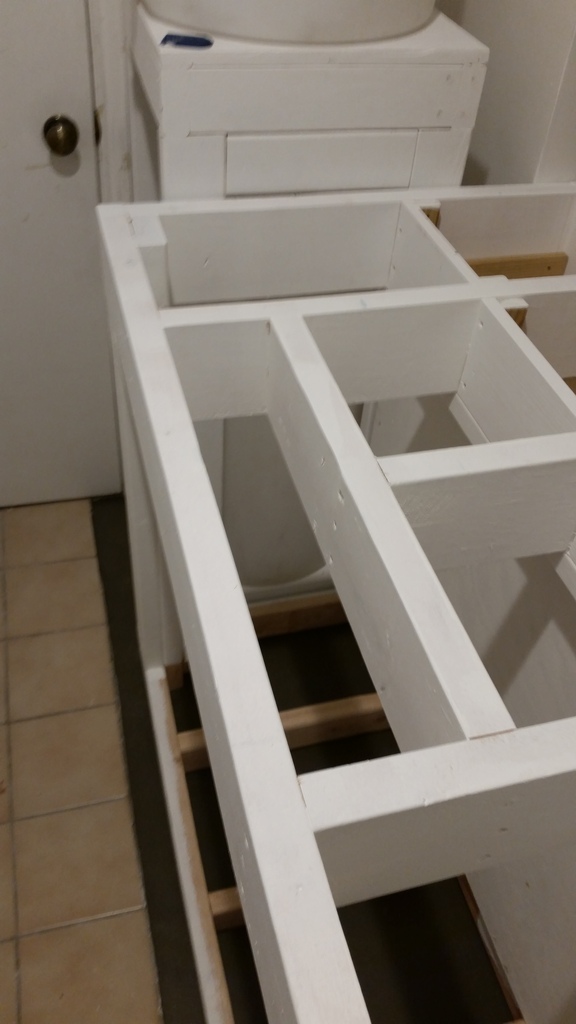
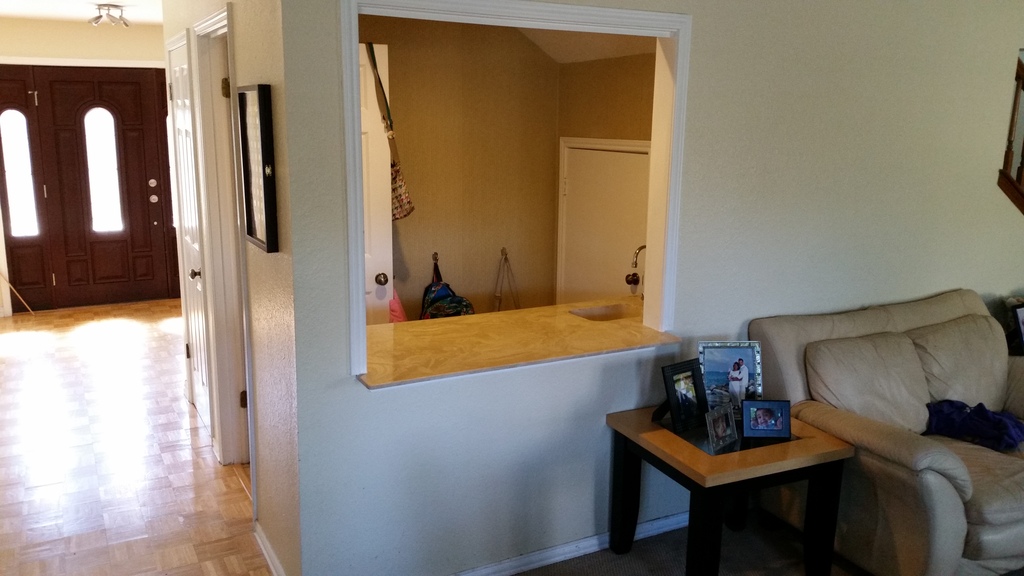
Here's the game plan: We have a wet bar in our house that we never use. It basically is a dumping grounds for the kid's backpacks and books after school. My wife had wanted to convert it to lighted display shelves on the family room side and a closet behind. I suddenly thought to myself that the wet bar has a water supply and a drain - I could do a built in reef tank with a small fish room...what a great way to ease into the hobby as a noob!
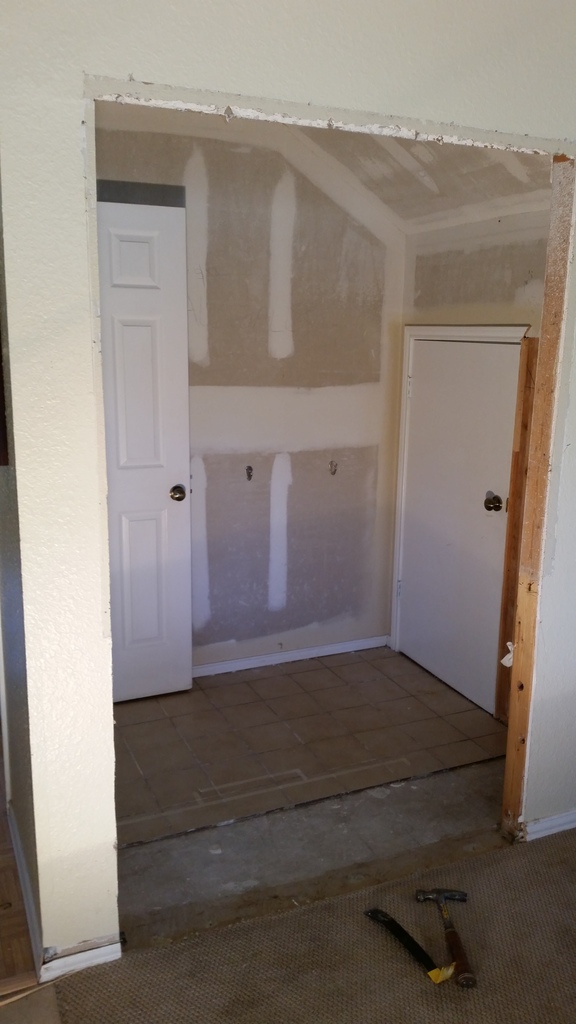
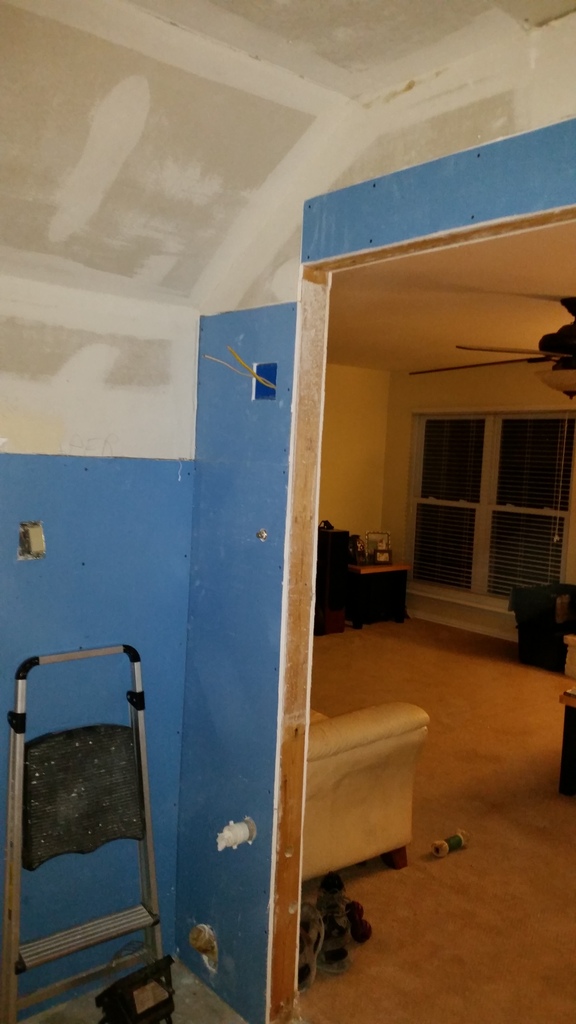
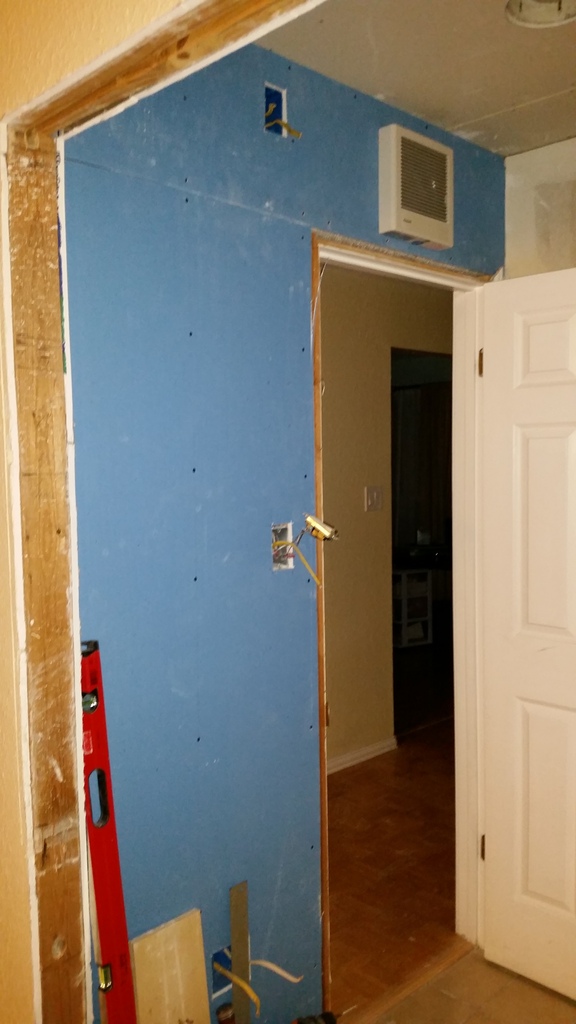
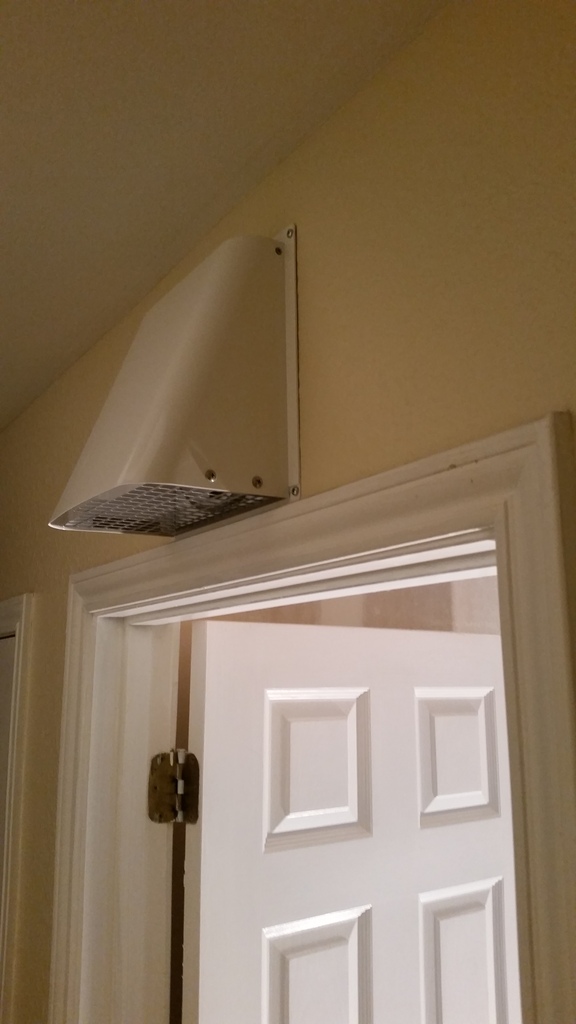
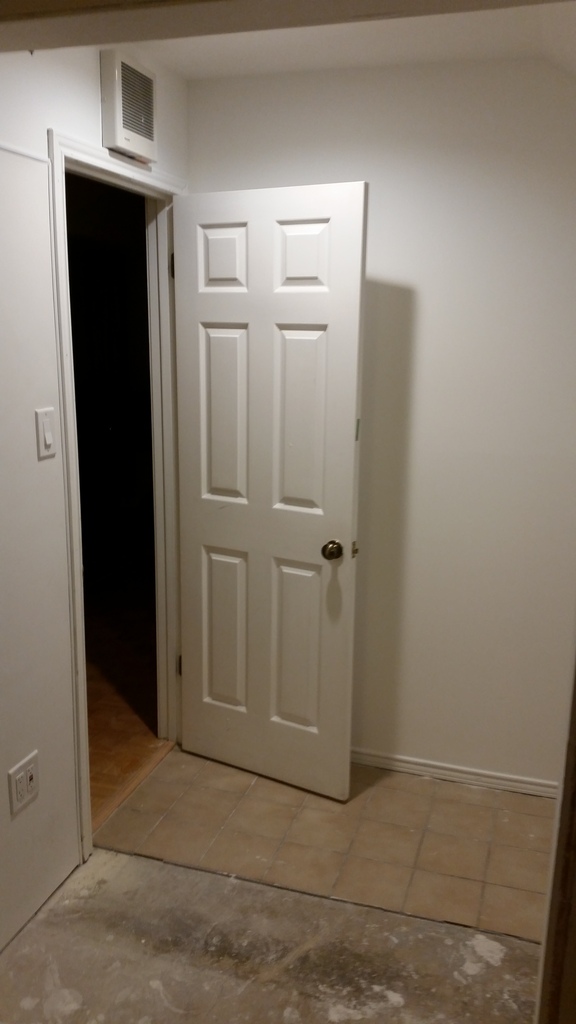
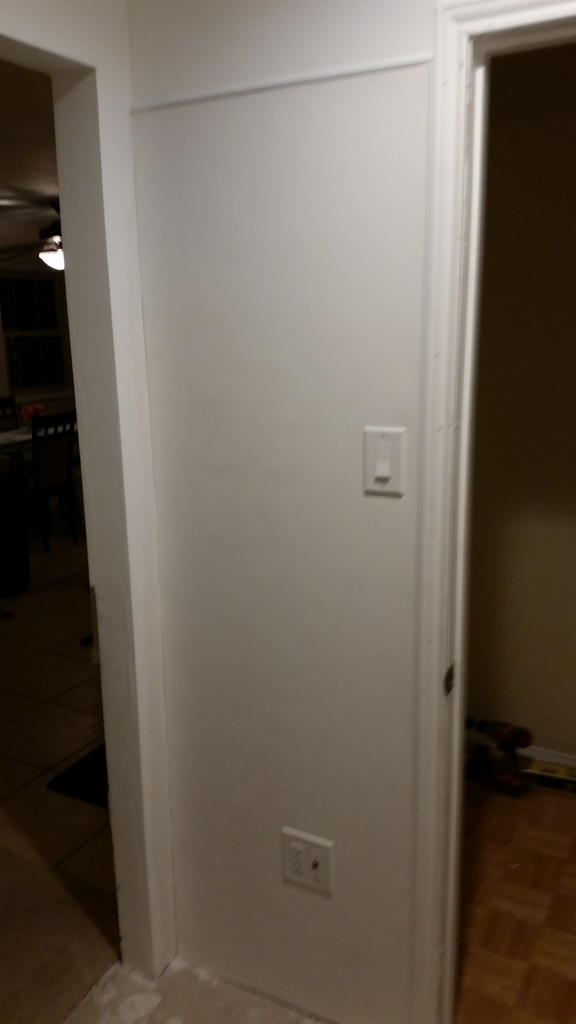
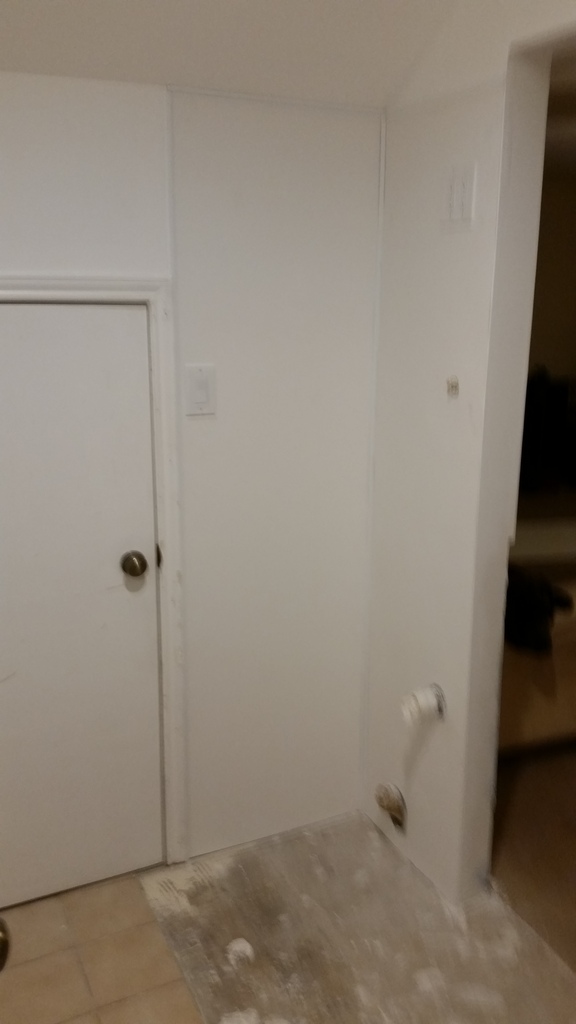
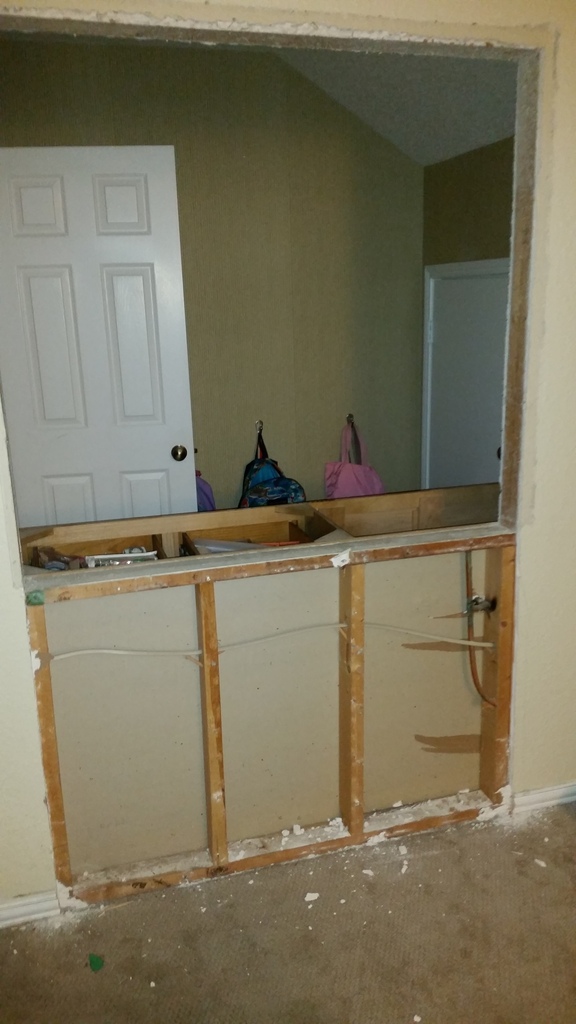
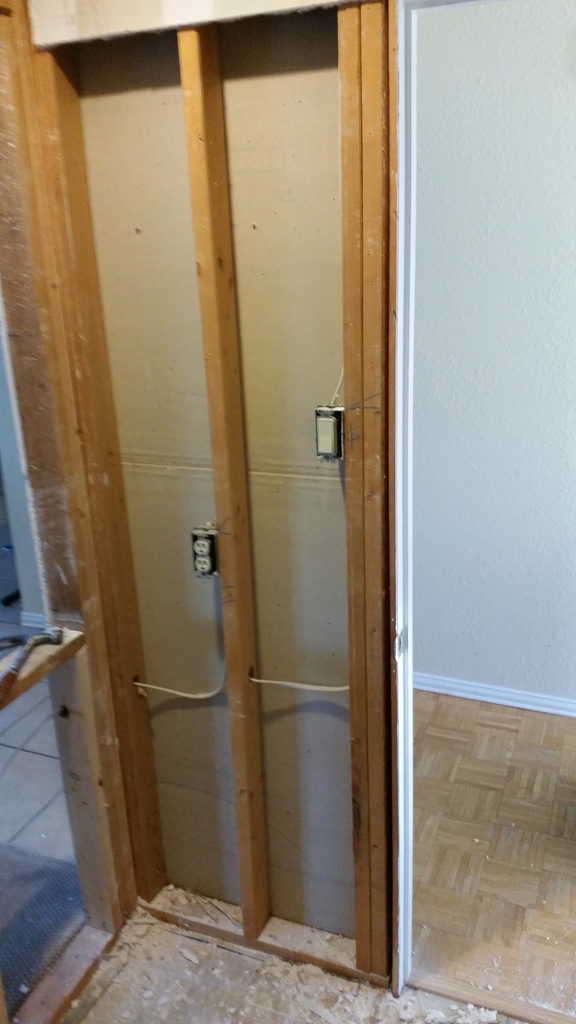
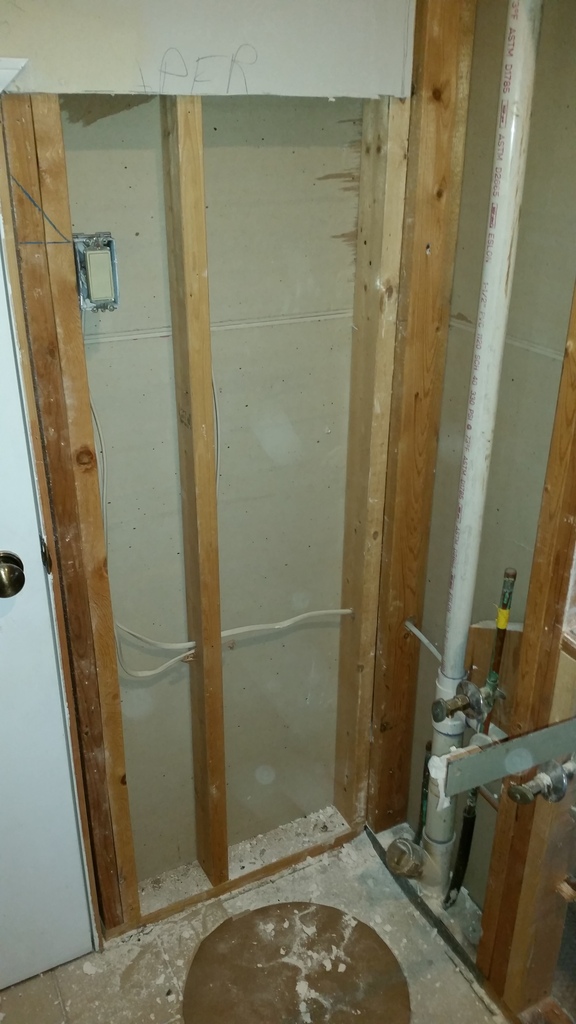
Here's the room:

20170108_120925.jpg

20170108_121007.jpg


Wifey was open to the idea with one condition: She still wanted to put lighted display shelves so I had to incorporate them into the plan.

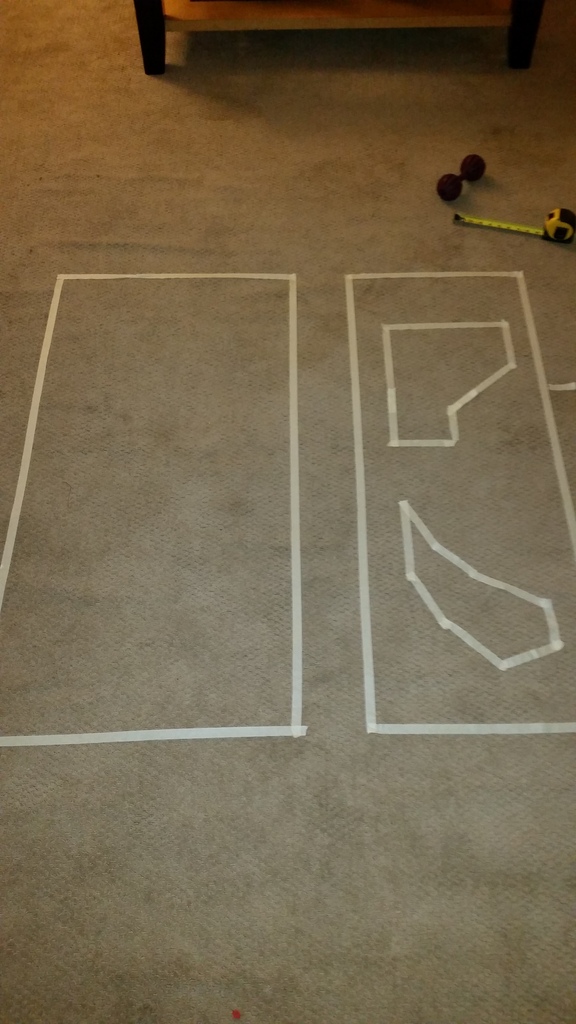
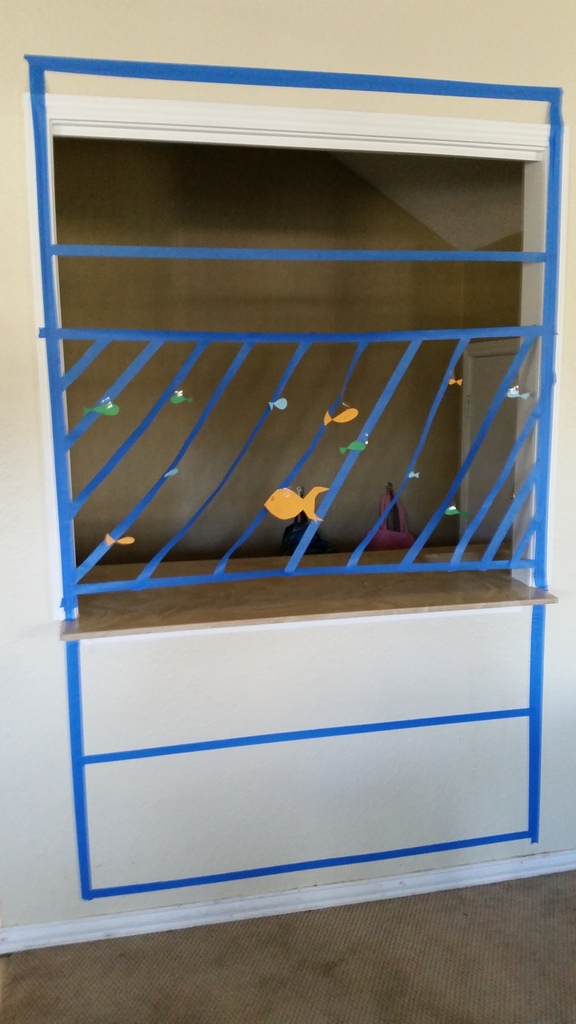
The kids and I did a little blue tape designing complete with fish (don't worry it's not a tang...) to get an idea of what we could do with the space:

20170108_130407.jpg


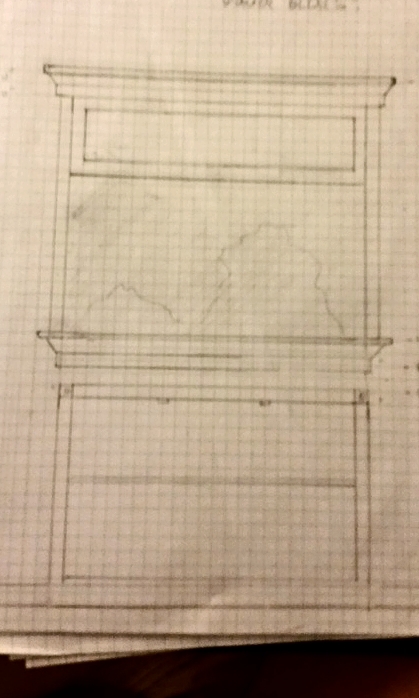
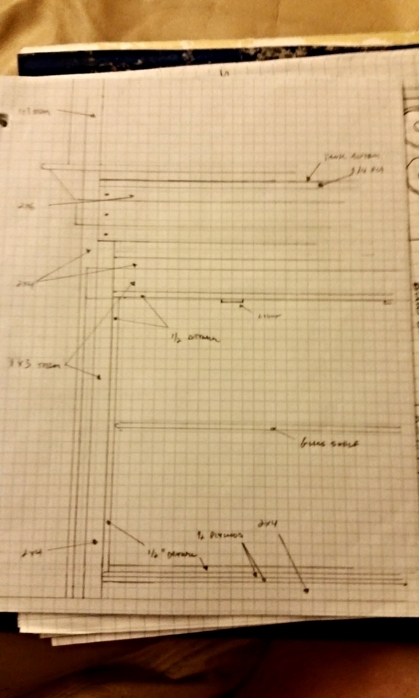
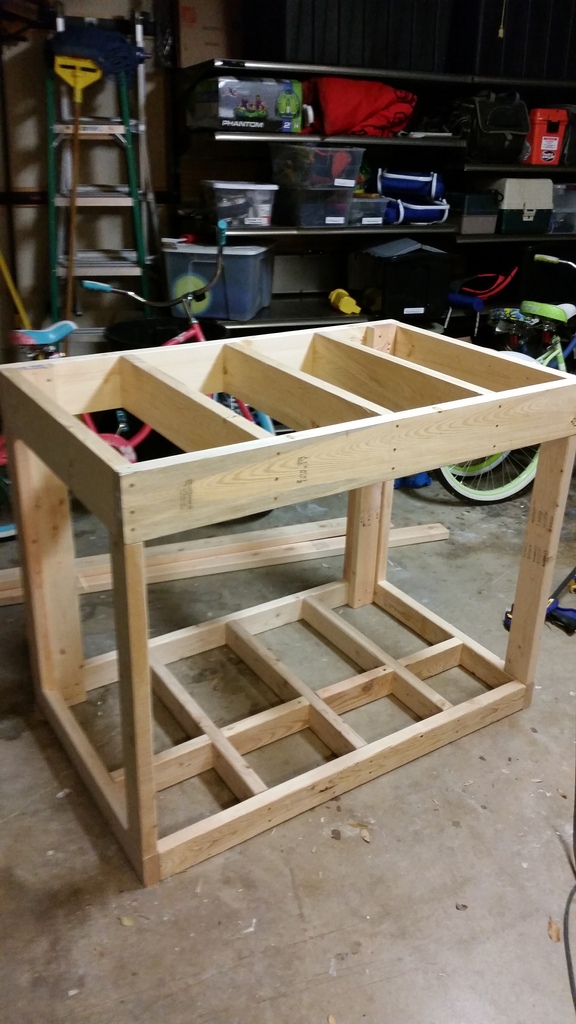
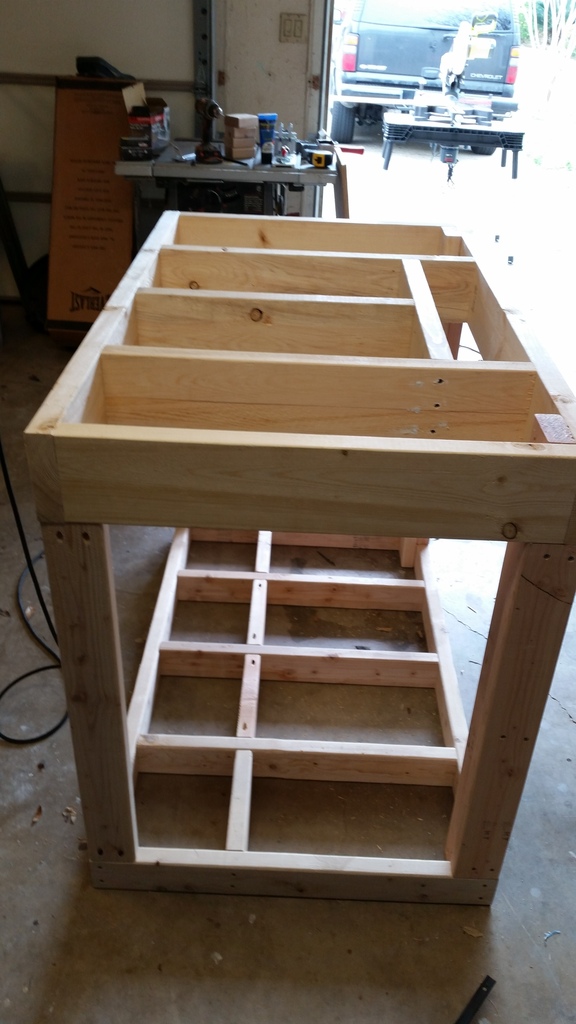
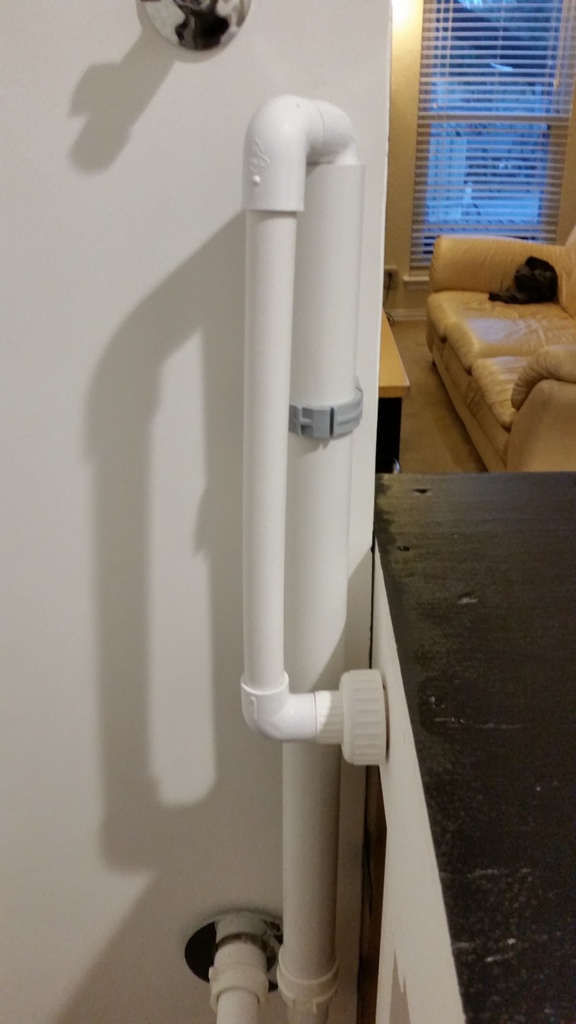
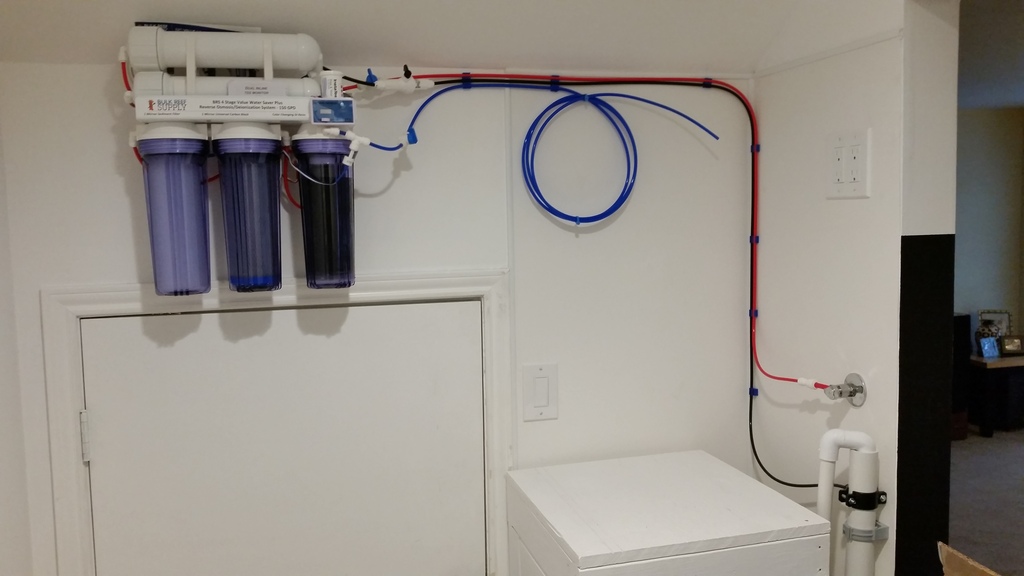
I figured I could do a 90 gallon mixed reef with two display shelves below and one above. I also wanted to build a small salt water mixing station in the room behind As I started putting together a budget one thing became very clear...this crap was NOT going to be cheap! My wife is great: when I mentioned that I thought this was too much money to spend she said "You never spend money on yourself - splurge for a change and do what you want to do". I, of course, immediately replied "Side chick?" but evidently she was just talking about the aquarium.

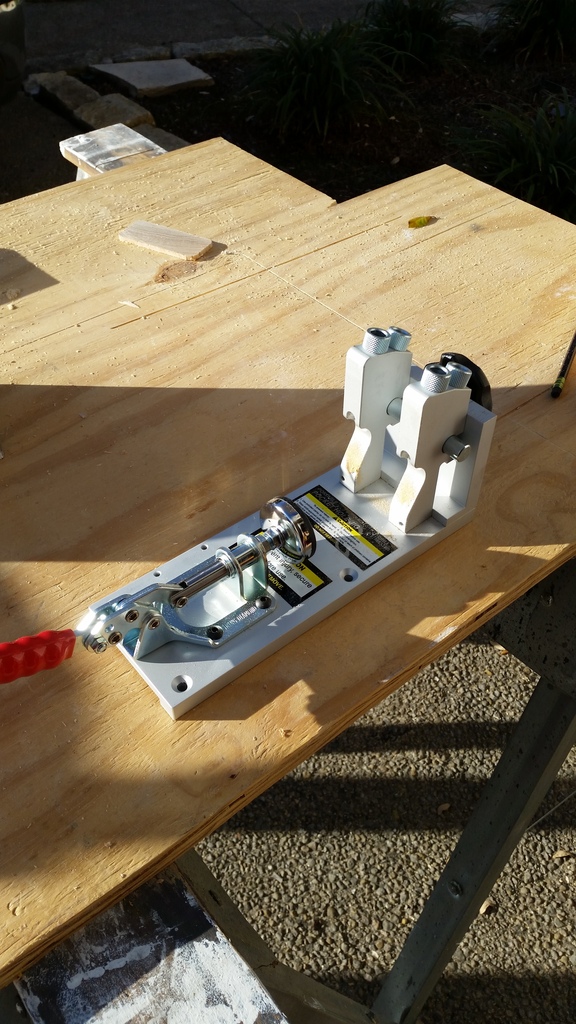
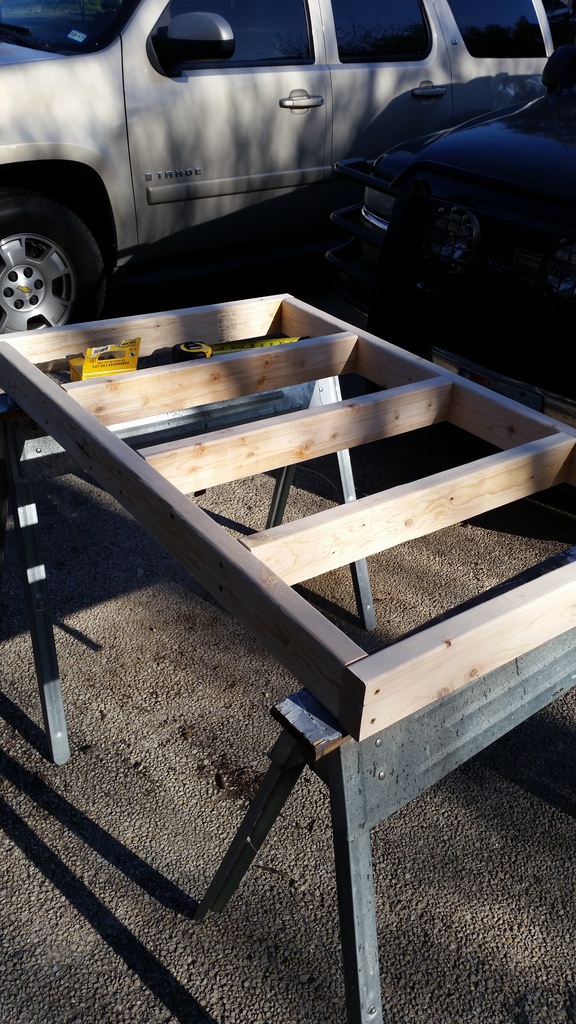
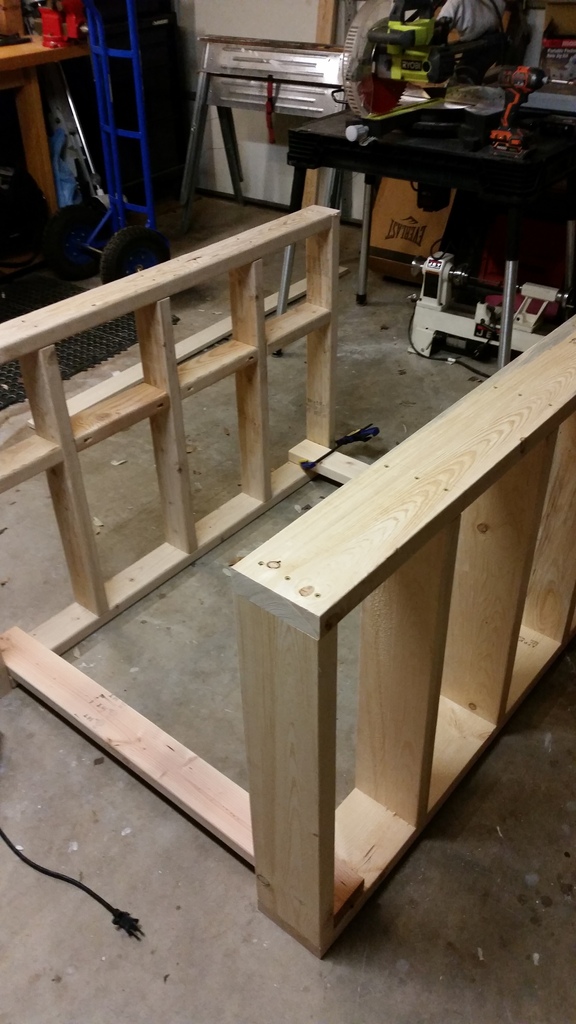
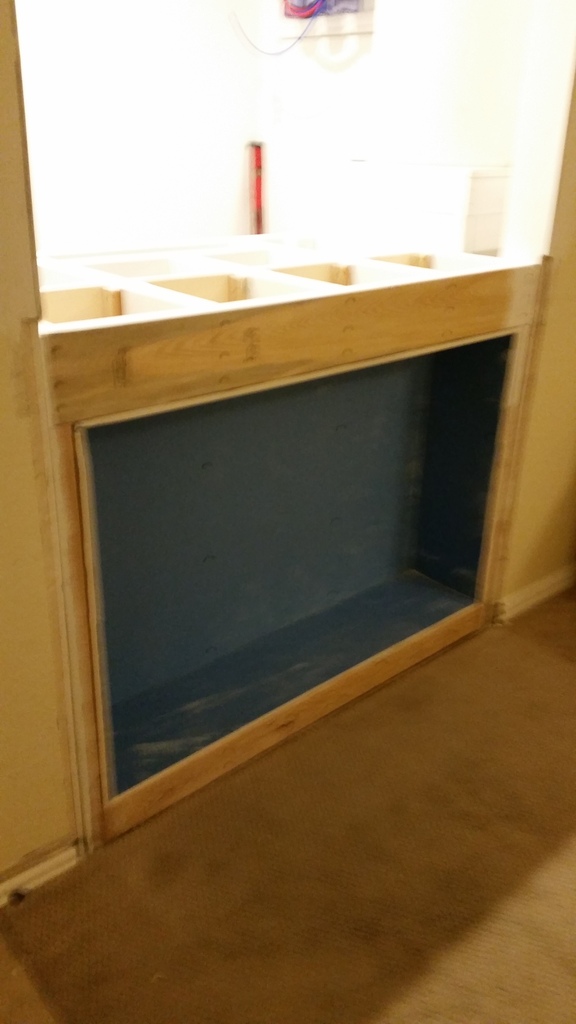
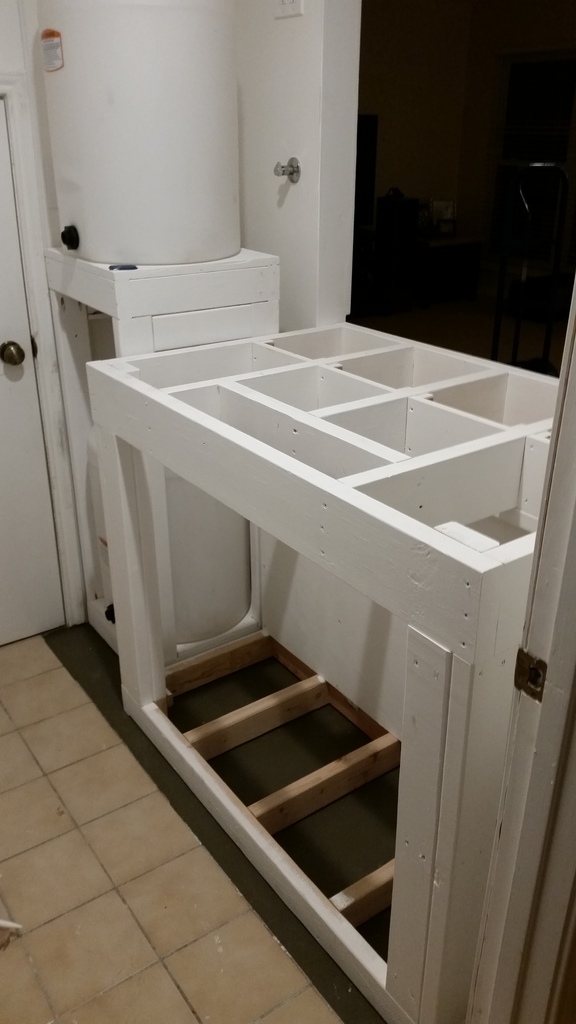
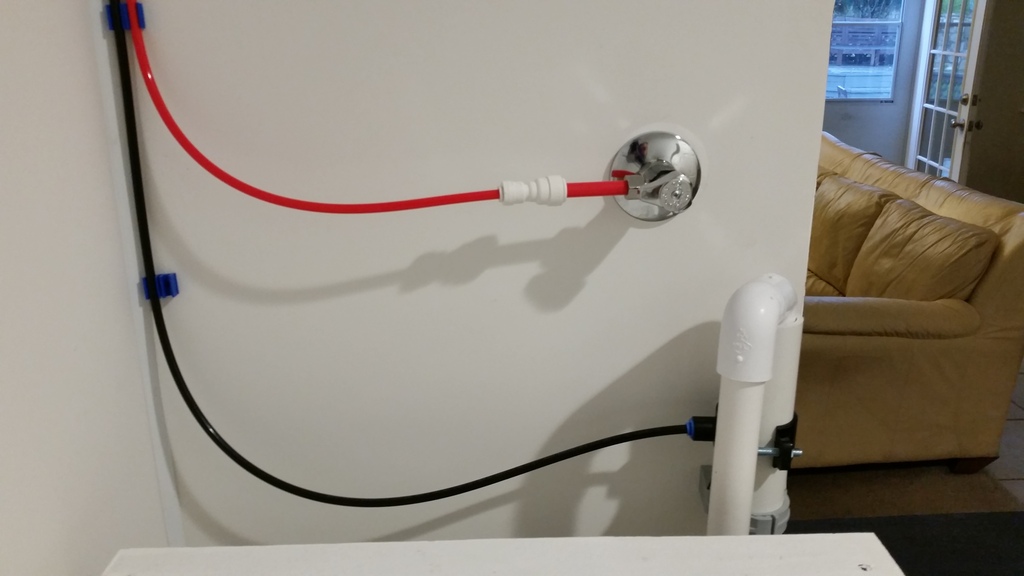
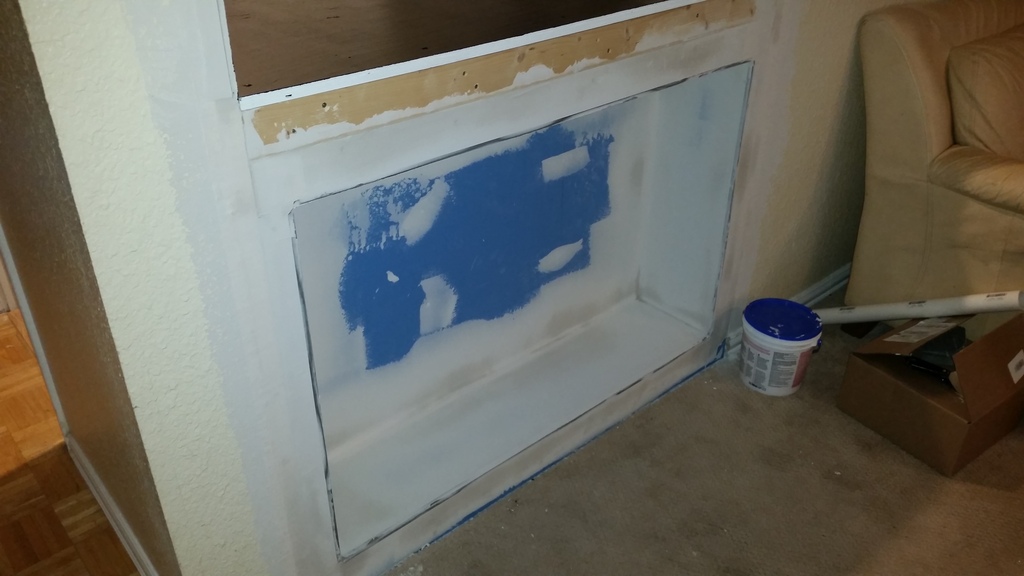
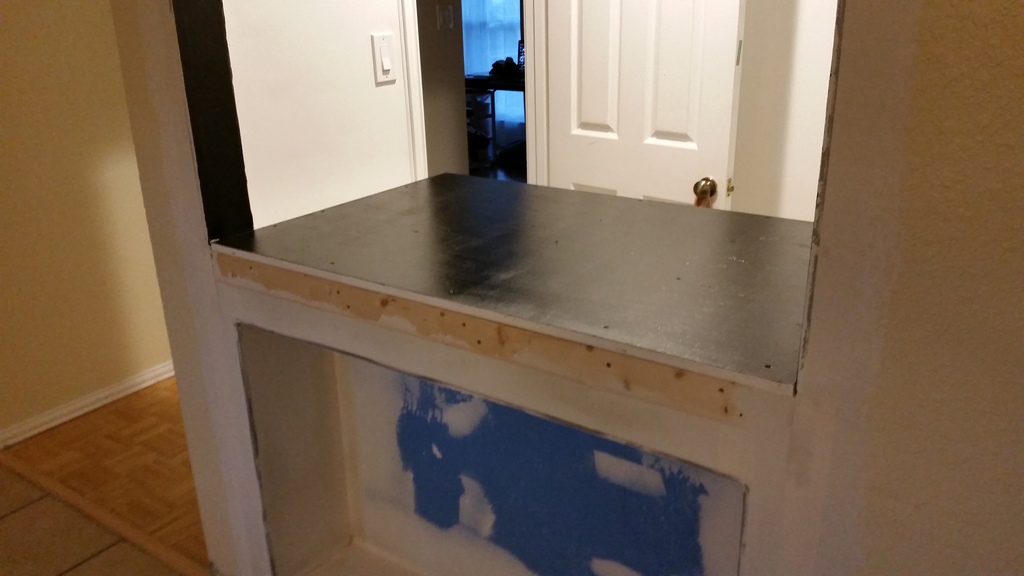
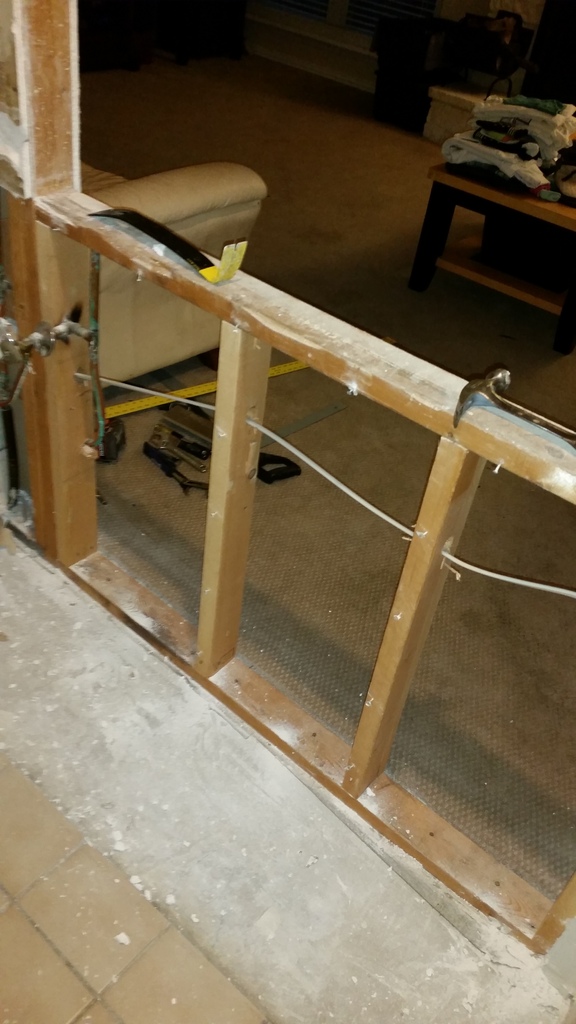
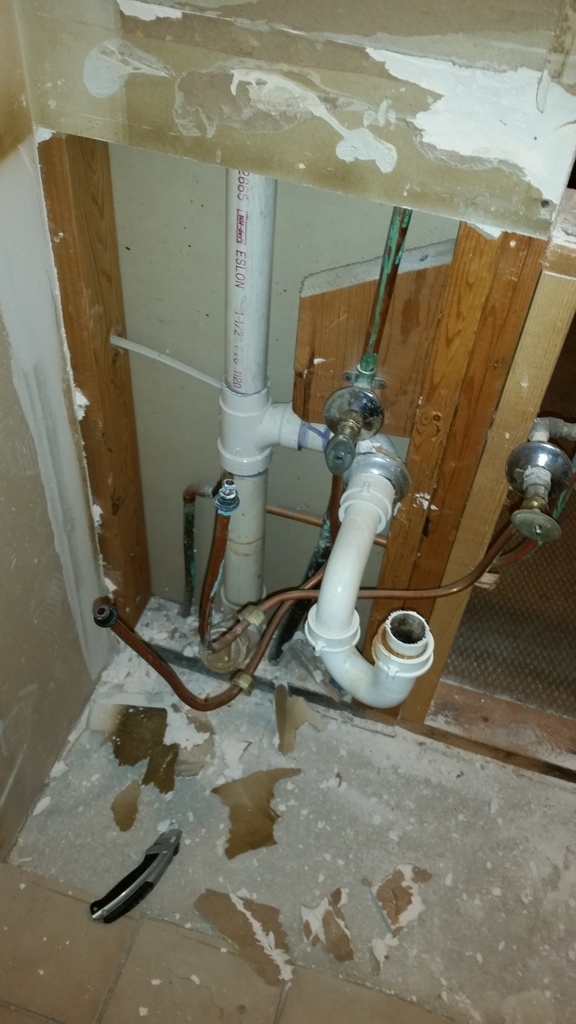
Alright - I had a green light and a bank account...just need planning, time, and sweat. I ripped the countertop and front drywall out the very first day to ensure I wouldn't have a change of heart. I'll be using this thread to document how it all works out. I'm actually a bit further along as I write this so I'll need to catch up the posting over the next few days. Here we go!

20170109_064334.jpg
 

revhtree

Owner Administrator
View Badges
Joined
May 8, 2006
Messages
47,739
Reaction score
86,877
Rating - 100%
1   0   0
Too far to turn back now! HA! Following!
 

Ridem32

Active Member
View Badges
Joined
Jul 10, 2013
Messages
133
Reaction score
49
Location
Mississippi
Rating - 0%
0   0   0
Yes just a standpipe for your drain. Don't forget to you a P trap it should fit in the wall. Nice [emoji106] setup so far
 
OP
OP
Sierra_Bravo

Sierra_Bravo

Valuable Member
View Badges
Joined
Jan 29, 2017
Messages
1,896
Reaction score
4,042
Location
San Antonio, TX
Rating - 0%
0   0   0
The display shelf requirement wifey put on me really made the design difficult. I've decided against putting a display shelf above because A) I think it's going to take away from the tank, and B) there is a support joist running across the top that prevents me from gaining the height I need. As much as I want to do what wifey likes, I like the current structural integrity of my second floor even better. On top of that I need to maintain space above the tank for maintenance and lighting.

I played around and made a few drawings trying to visualize what I'm going for and settled on this:

e8720872-7f09-474f-83fa-8c9b96c03684.jpg
e7527ce1-85b3-4795-9020-44e22e8a6819.jpg


Placing display shelves built into the wall under the tank presents another problem - the depth of the shelves plus the framing for the stand is severely encroaching into the space I have for a sump. Because of this I need 30" total depth for the stand. Well, it seems kinda silly to just do an 18" deep 90 gallon on a 30" deep stand...so before building the first thing I've already managed my first upgrade! Going with a 120 gallon...woo hoo!

I laid out the dimensions of a 90 gallon and 120 gallon side by side on the floor in masking tape and that 6" really makes a big difference in usable space.

20170116_232613.jpg
 
OP
OP
Sierra_Bravo

Sierra_Bravo

Valuable Member
View Badges
Joined
Jan 29, 2017
Messages
1,896
Reaction score
4,042
Location
San Antonio, TX
Rating - 0%
0   0   0
I finished off the demo so everything else is progressing towards the actual build. I started adding electrical boxes and running new wire. I capped off the hot water and moved the cold water up the wall. PEX piping and Sharkbite connectors may very well be the best thing since sliced white bread...

20170122_145606_1.jpg
20170122_145534.jpg
20170122_145538.jpg
 
OP
OP
Sierra_Bravo

Sierra_Bravo

Valuable Member
View Badges
Joined
Jan 29, 2017
Messages
1,896
Reaction score
4,042
Location
San Antonio, TX
Rating - 0%
0   0   0
Continuing to get caught up on progress:

20170126_014410.jpg

20170126_014357.jpg


20170126_004951.jpg


The vent fan is a Panasonic Whisperwall that I'm hooking up to the Duostat control below. It is extremely quiet - you can stand next to it and hardly hear it. This will allow the fan to come on anytime the sensor detects higher temps or humidity levels in the fish room than what I set.

index.jpg


There are two potential issues with this, though: The first is that the exhaust dumps into the adjacent hallway; I don't have a way to vent to the outside from that room. This isn't all bad because my A/C return is positioned in the same hallway and that should help.

The second is that the vent that comes with the Whisperwall is...a little large. I installed it and to be honest it doesn't look too bad, but it is an entrance hall.

20170125_233850.jpg
 

Daniel@R2R

Living the Reef Life
View Badges
Joined
Nov 18, 2012
Messages
37,488
Reaction score
63,900
Location
Fontana, California
Rating - 100%
1   0   0
Great job so far! Following. :)
 
OP
OP
Sierra_Bravo

Sierra_Bravo

Valuable Member
View Badges
Joined
Jan 29, 2017
Messages
1,896
Reaction score
4,042
Location
San Antonio, TX
Rating - 0%
0   0   0
20170212_214607.jpg

20170212_214558.jpg

20170212_214549.jpg


Room painted and added FRP to walls to help protect from moisture.

Installed a GFCI outlet in the first receptacle in line, which protects the remaining receptacles that are downline from it. I thought about changing out the breaker to a GFCI at the panel, but didn't see how that would be any better. Not going to touch the panel if I don't have to. As it is I'm one of those that is still skiddish changing a lightswitch out even though I am 100% sure the main breaker is off.
 
OP
OP
Sierra_Bravo

Sierra_Bravo

Valuable Member
View Badges
Joined
Jan 29, 2017
Messages
1,896
Reaction score
4,042
Location
San Antonio, TX
Rating - 0%
0   0   0
My intention from the beginning was to utilize the wet bar's drain and water supply to create a saltwater mixing station. Reality is that the available space is minimal...there's not even enough room to put a brute can because the diameter is too large. With a 120g tank I felt I needed containers that hold 20 - 25 gallons and were no more than 18" wide. I found these online at National Tank Outlet on sale for $70:

tank.jpg


Here is the stand build:

20170225_081428.jpg

20170225_085025.jpg

20170225_093052.jpg


20170225_083432.jpg


I bought this pocket screw jig at Northern Tool for $20 and it was great. It allowed me to keep the size of the stand the width of the tank. The bracing just under the top level keeps it very solid - no movement at all.

20170225_105312.jpg


Here's the stand in position with the RO/DI set up on the wall. Funny note on that little turn valve on the wall...I'm glad I put the FRP up on the walls because when I installed the valve I had to turn the water off outside at the main. When I went outside to turn the main back on again, the needle on the meter started swinging around like crazy. I just stared at it for a few seconds with a "Huh. I wonder why that's doing that?" look on my face when it dawned on me: "Oh crap! I didn't make sure the valve was in the off position first!

I've had my first flood and I don't even have a tank yet...
 
OP
OP
Sierra_Bravo

Sierra_Bravo

Valuable Member
View Badges
Joined
Jan 29, 2017
Messages
1,896
Reaction score
4,042
Location
San Antonio, TX
Rating - 0%
0   0   0
Built the tank stand;

20170225_163427.jpg

20170225_212423.jpg

20170225_225127.jpg

20170226_110931.jpg

20170226_135924.jpg


In the picture above I am framing the divider between the sump and the required display shelves. This requires the stand to be about 8" deeper than it could have been.

20170226_174815.jpg


20170226_194114.jpg


It friggan fits! Even a blind squirrel finds a nut every once in a while. :)
 
OP
OP
Sierra_Bravo

Sierra_Bravo

Valuable Member
View Badges
Joined
Jan 29, 2017
Messages
1,896
Reaction score
4,042
Location
San Antonio, TX
Rating - 0%
0   0   0
20170226_194131.jpg

20170226_194122.jpg


Top of stand before I put a sheet of 3/4 ply on top.

I know this looks heavily compartmentalized, but there were reasons. The 1x6 panels are removable. This is because the shelf display side will have two led lights installed at the top and I will eventually need to access them. I also wanted to prevent as much air movement into display shelf area as possible so the lights don't rust and the drywall is protected. I ran a piece of vertical plywood across the back for the same purpose. Everything is caulked and sealed. Because my space is so limited I may need to run some of the plumbing here as well.

Because the depth of the stand is greater than the tank and my overflo will be mounted center back (I'm using a Synergy Reef Shadow) I needed to create an access area that I can eventually run my drains through.

20170226_194359.jpg
 
OP
OP
Sierra_Bravo

Sierra_Bravo

Valuable Member
View Badges
Joined
Jan 29, 2017
Messages
1,896
Reaction score
4,042
Location
San Antonio, TX
Rating - 0%
0   0   0
2ohXCZ7.jpg

BCXjELD.jpg

vl9OGoy.jpg


I installed the standpipe drain, then plumbed the end of the line that will eventually expel the water from my water changes. I also connected the inlet and waste lines for my RO/DI and leak tested it. I bought the 150 GPD version to lower waste. Luckily we have decent pressure here at abut 65psi. I was getting very good flow. The TDS meter only read 6 on the supply line, which seems too good to be true. Once I hook up the fresh water tank and run the system a bit we'll see where it ends up.
 
OP
OP
Sierra_Bravo

Sierra_Bravo

Valuable Member
View Badges
Joined
Jan 29, 2017
Messages
1,896
Reaction score
4,042
Location
San Antonio, TX
Rating - 0%
0   0   0
I started to tape and mud the stand into the wall.

I can tell you right now I would rather take a hammer to my thumb voluntarily than tape and sand drywall. I hate it, I'm no good at it, yet I won't hire anyone else to do it. Go figure.

rBUL6x9.jpg


I also put the 3/4" plywood top in, screwed it down countersinking the heads, then painted over the screws to protect them from any rusting. Painted the top black along with the wall ends that will be covered up by the tank (I'm planning a black background or paint on the tank).

5PIhm7D.jpg


But then these came in:

Wd9weoq.jpg


The dang LED lights for the shelving side. I forgot all about them and really need the top off to drill out the chase under the tank to connect them. I guess I'll be taking the top off again tomorrow.
 

Being sticky and staying connected: Have you used any reef-safe glue?

  • I have used reef safe glue.

    Votes: 99 86.1%
  • I haven’t used reef safe glue, but plan to in the future.

    Votes: 8 7.0%
  • I have no interest in using reef safe glue.

    Votes: 5 4.3%
  • Other.

    Votes: 3 2.6%
Back
Top