Fudsey
Jack of all trades, Master of none ;-)
View Badges
Reef Squad
Excellence Award
Reef Tank 365
Photo of the Month
Hospitality Award
NHFS Member
My Tank Thread
Something to do with not matching the installed emojis....
Follow along with the video below to see how to install our site as a web app on your home screen.
Note: This feature may not be available in some browsers.


")


Originally I was planning only dead rock for this tank. You can see the rock structures I planned out a few pages (and several months) back. I am reconsidering this decision. I was always planning to fly in some small amount of TBS live rock, just to get some diversity for this tank. Now I am thinking of going more in the direction of live rock and sand. I remember my first tank back in the late 80's, early 90's and it was 100% live rock. Mind you I could not keep anything alive back then, but the organisms that grew out of that live rock were mesmerizing. If I knew then, what I know now, I would have had a pretty amazing little tank.
After a couple of years, I gave up trying to keep anything in the tank, but I kept the tank running, the original 6500K MH lights were left on a daily cycle, the pumps and heaters going. I would top up the water level with RODI daily, or whenever the pump sucked air and made a heck of a racket. When I finally shutdown the tank, when I was moving apartments, it had been running for a total of 5 years, the last 3 years on auto pilot and neglected. I was completely shocked at what I found. The tank had a complete functioning ecosystem still. There were snails, sponges, micro serpent stars, anemones (aptasia actually) and all sorts of things living. The coralline algae obscured pretty much 100% of each pane, and the pane closest to the window had coralline 1/4" thick. When the tank dried out, this section flaked off in huge sheets. I remember feeling completely dejected when the last of the water drained out and all these creatures where scrambling about in the bottom of the tank and I had no idea that they were there.
So now I am leaning towards flying in 500 lbs of live rock split between TBS and GulfLiveRock and 500 lbs of live sand, again split between the 2 vendors.
I would have to wait and see what shape and sizes of pieces arrive to do an actual scape, but the live sand can go in both the bottom of the tank (the starboard is only to prevent rock on glass) and for the sandbed portion of the media filter.
It would be really cool to see what life comes along for the ride.
Dennis
I'm thinking the exact same thing regarding live rock/sand... I just wish there was some way that we could import Australian Live Rock like they have over at Cairns Marine to get something less dense with more porosity... I've been met with crickets or a negative by pretty much everyone I've asked that question to. I just don't like the aquacultured, mined from the ground stuff, plus I've started to read here and there that it starts to crumble after awhile...
Fantastic!
I suppose in 172 posts it already says whether this will be a reef tank, or a FOWLR, but may I ask? (Based on the lighting I’m assuming “reef.”)


I hear you about the aquacultured rock. The BRS Reef Saver that I bought, and the Marco that I bought after, are all very crumbly. I guess being buried for a few million years makes you brittle
I have a few hundred pounds of old school real live rock in my frag tank and sump. Unfortunately it is infested with vermitid snails. A bit of catch 22. I don't want to nuke the rock and start over, essentially turning it into dry rock, but getting rid of the snails is tedious. I may just wait until I have the 500 G cycled and running using cultured LR and then I could bleach and cook the old school rock little by little and bring it into the 500 G system to be seeded by the cultured rock and live sand.
Still far away from being at the point where I need worry about that.
Dennis
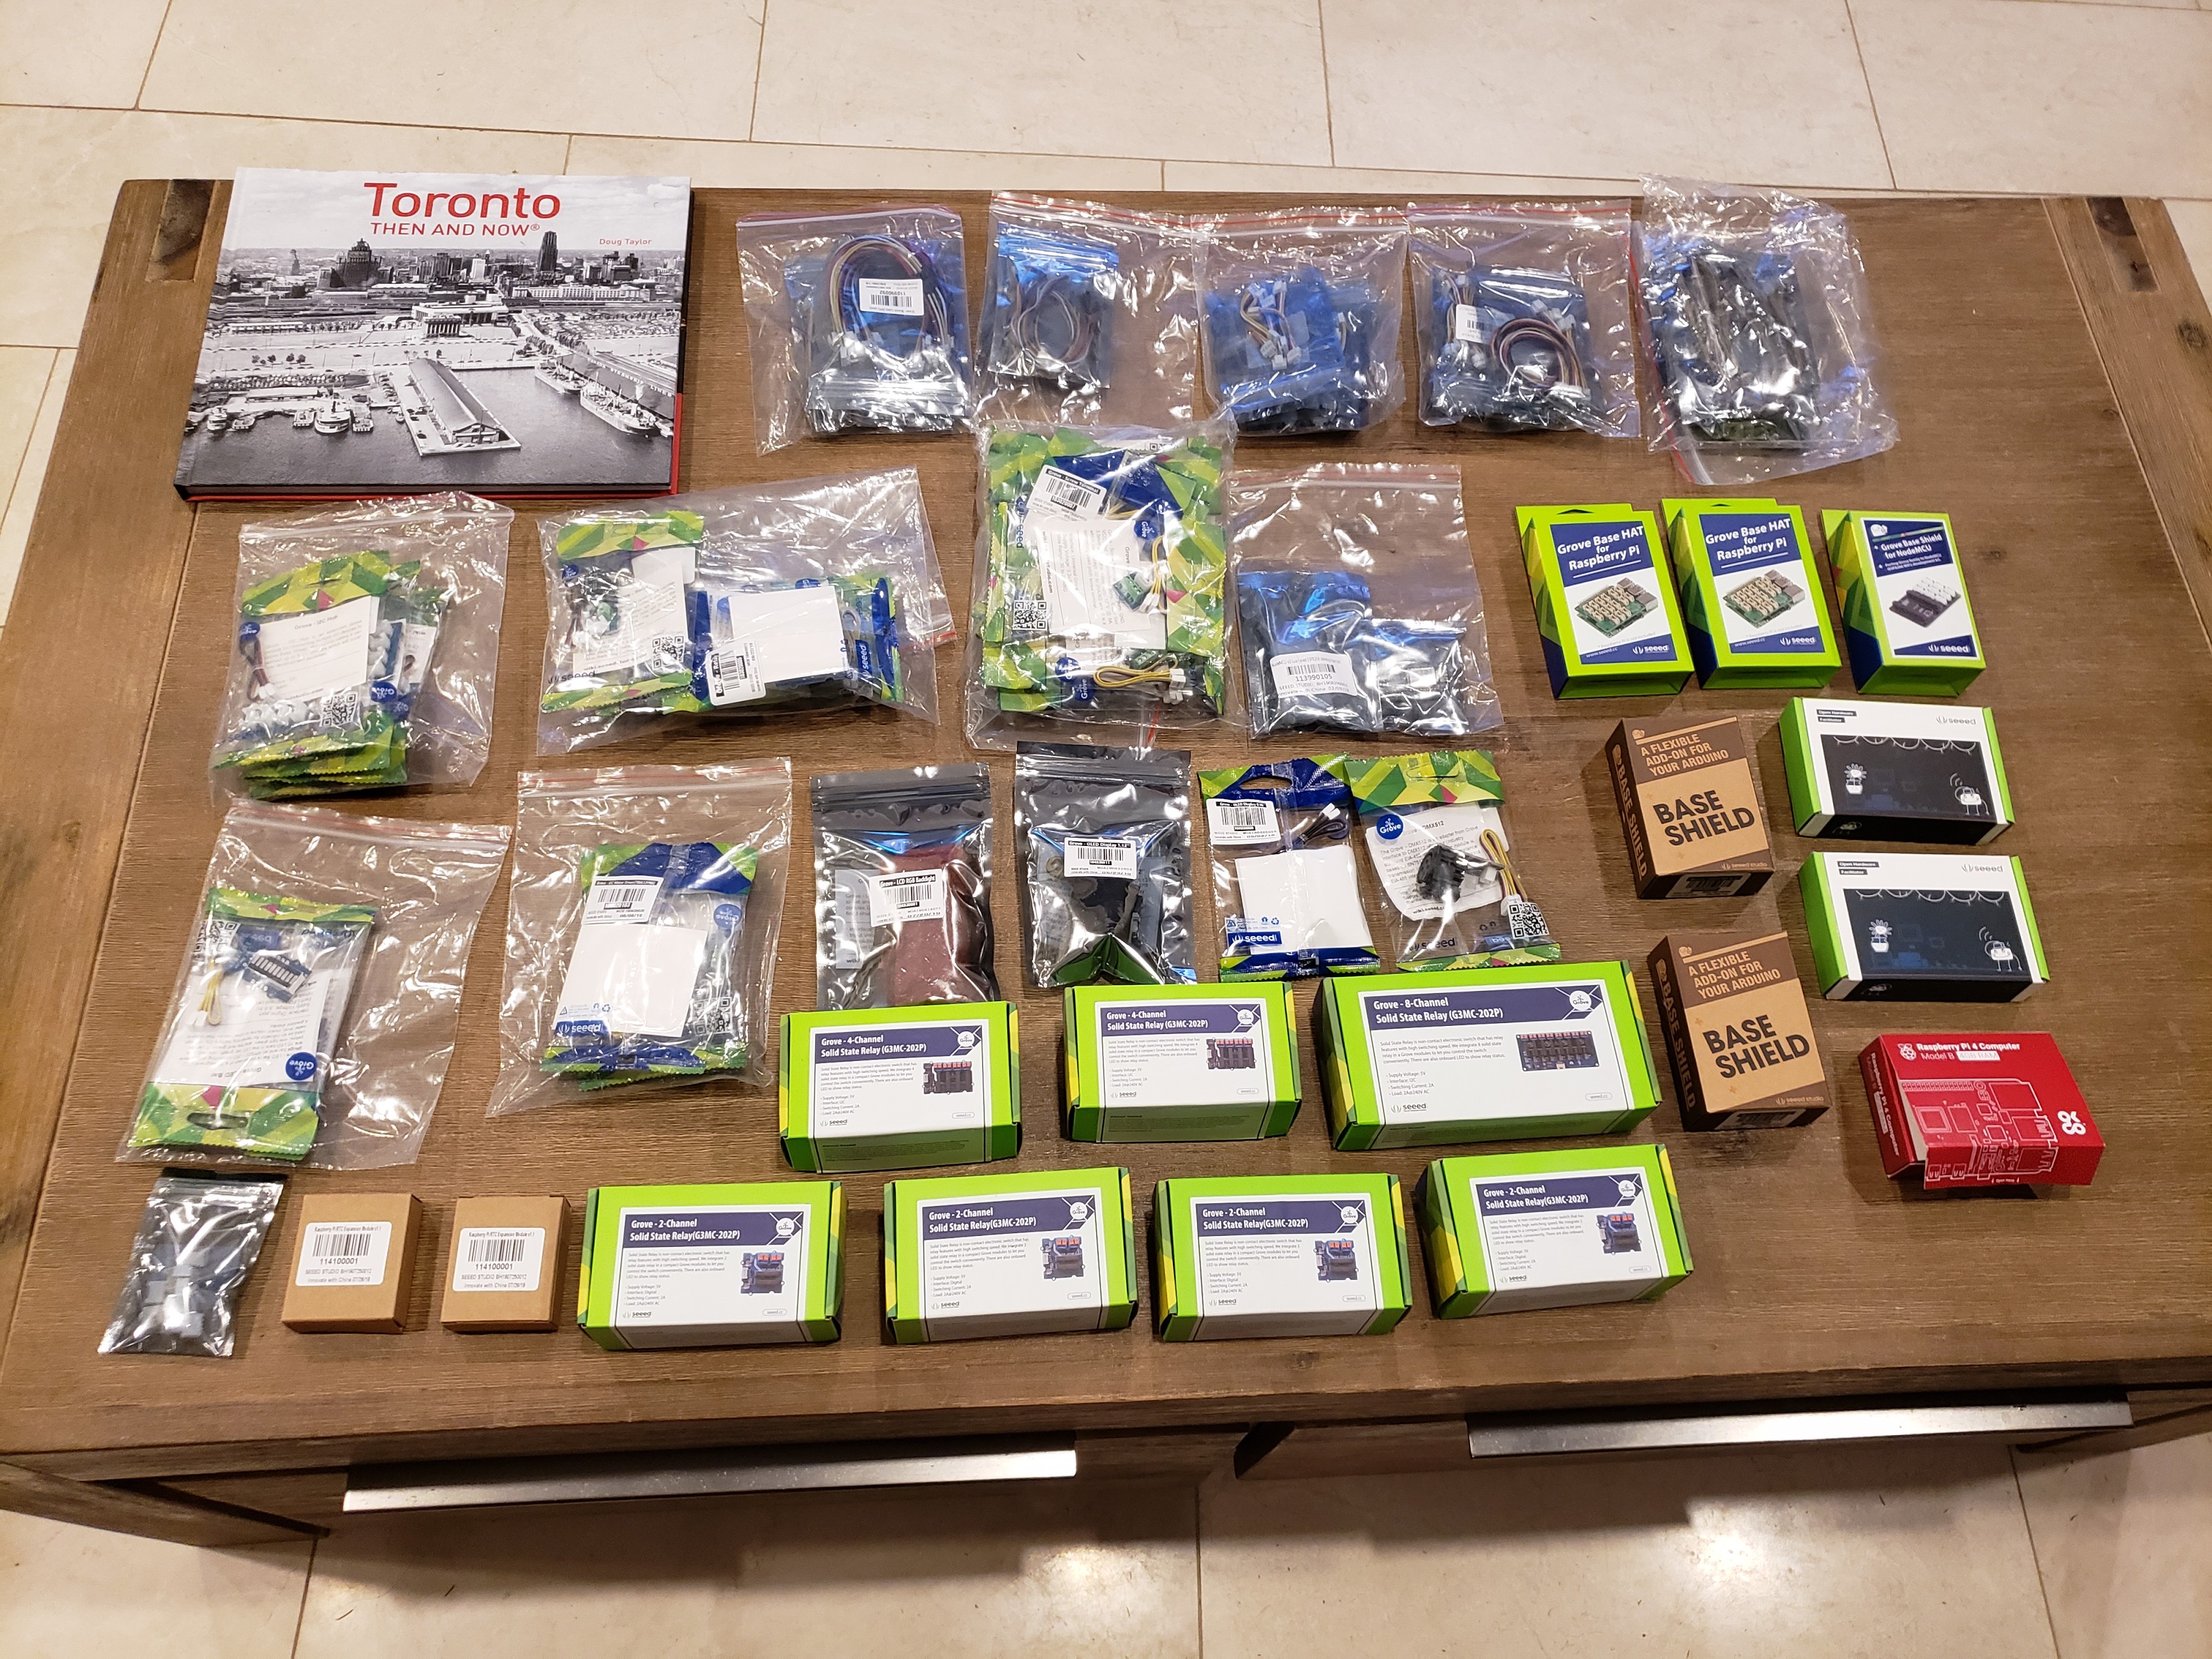
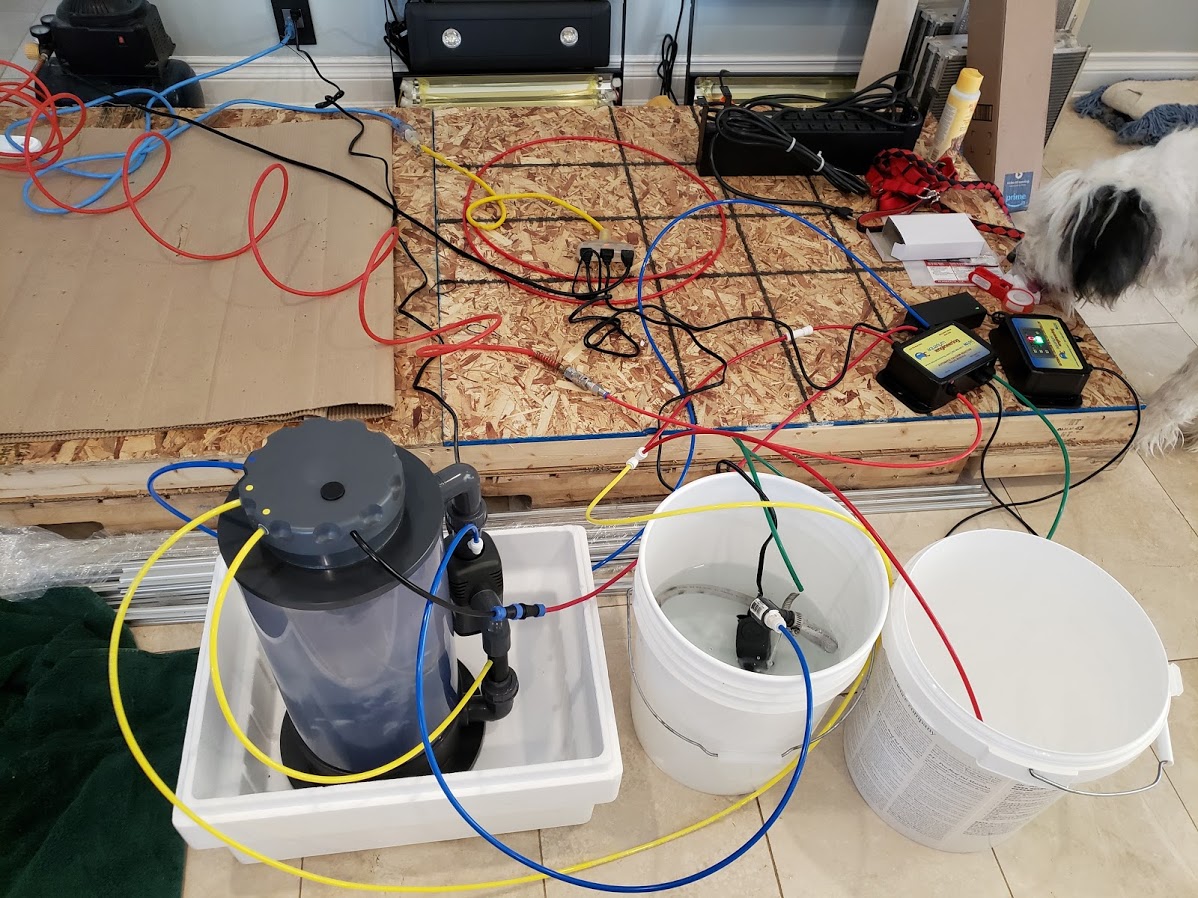
Haha. Just breaking in my ACR today. Had some minor leaks to sort first but running now. I’ll see you on one of the other aquarium engineering threads.A couple of new things. I received my A.C.R CalRx that I ordered for this tank.
Here it is undergoing a leak test. This reactor should be able to handle any amount of supplementation that this tank will require.
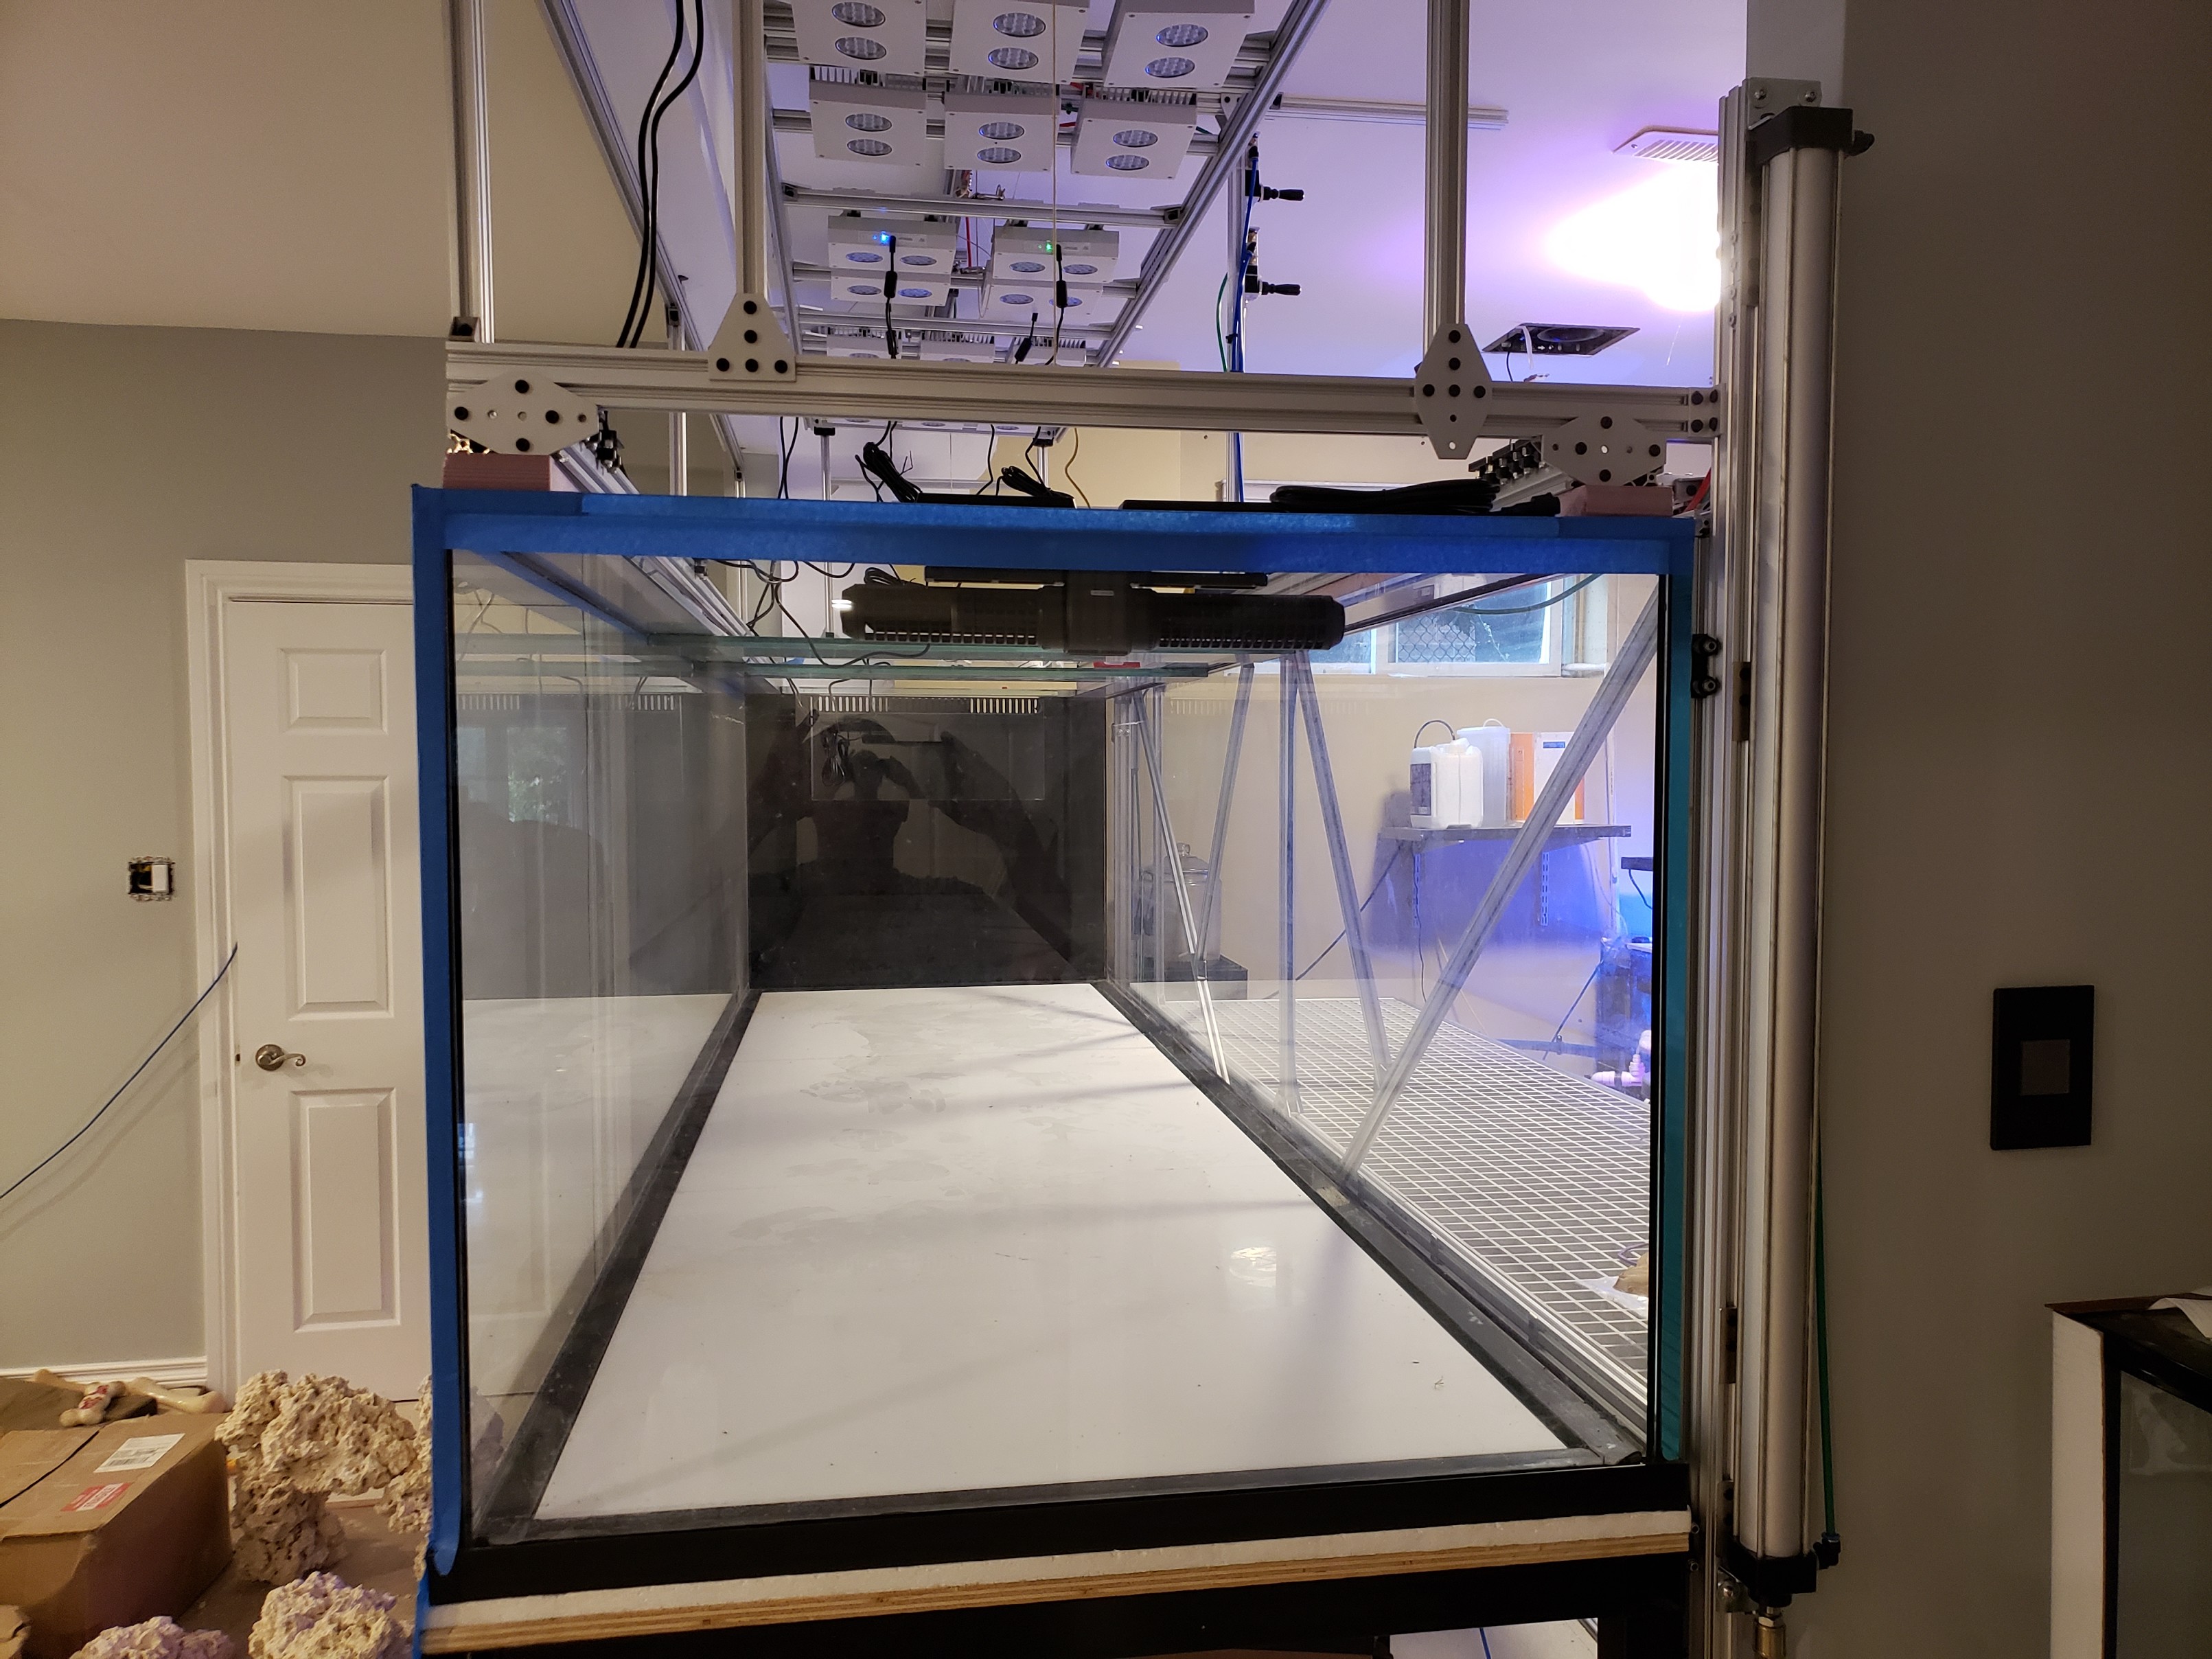
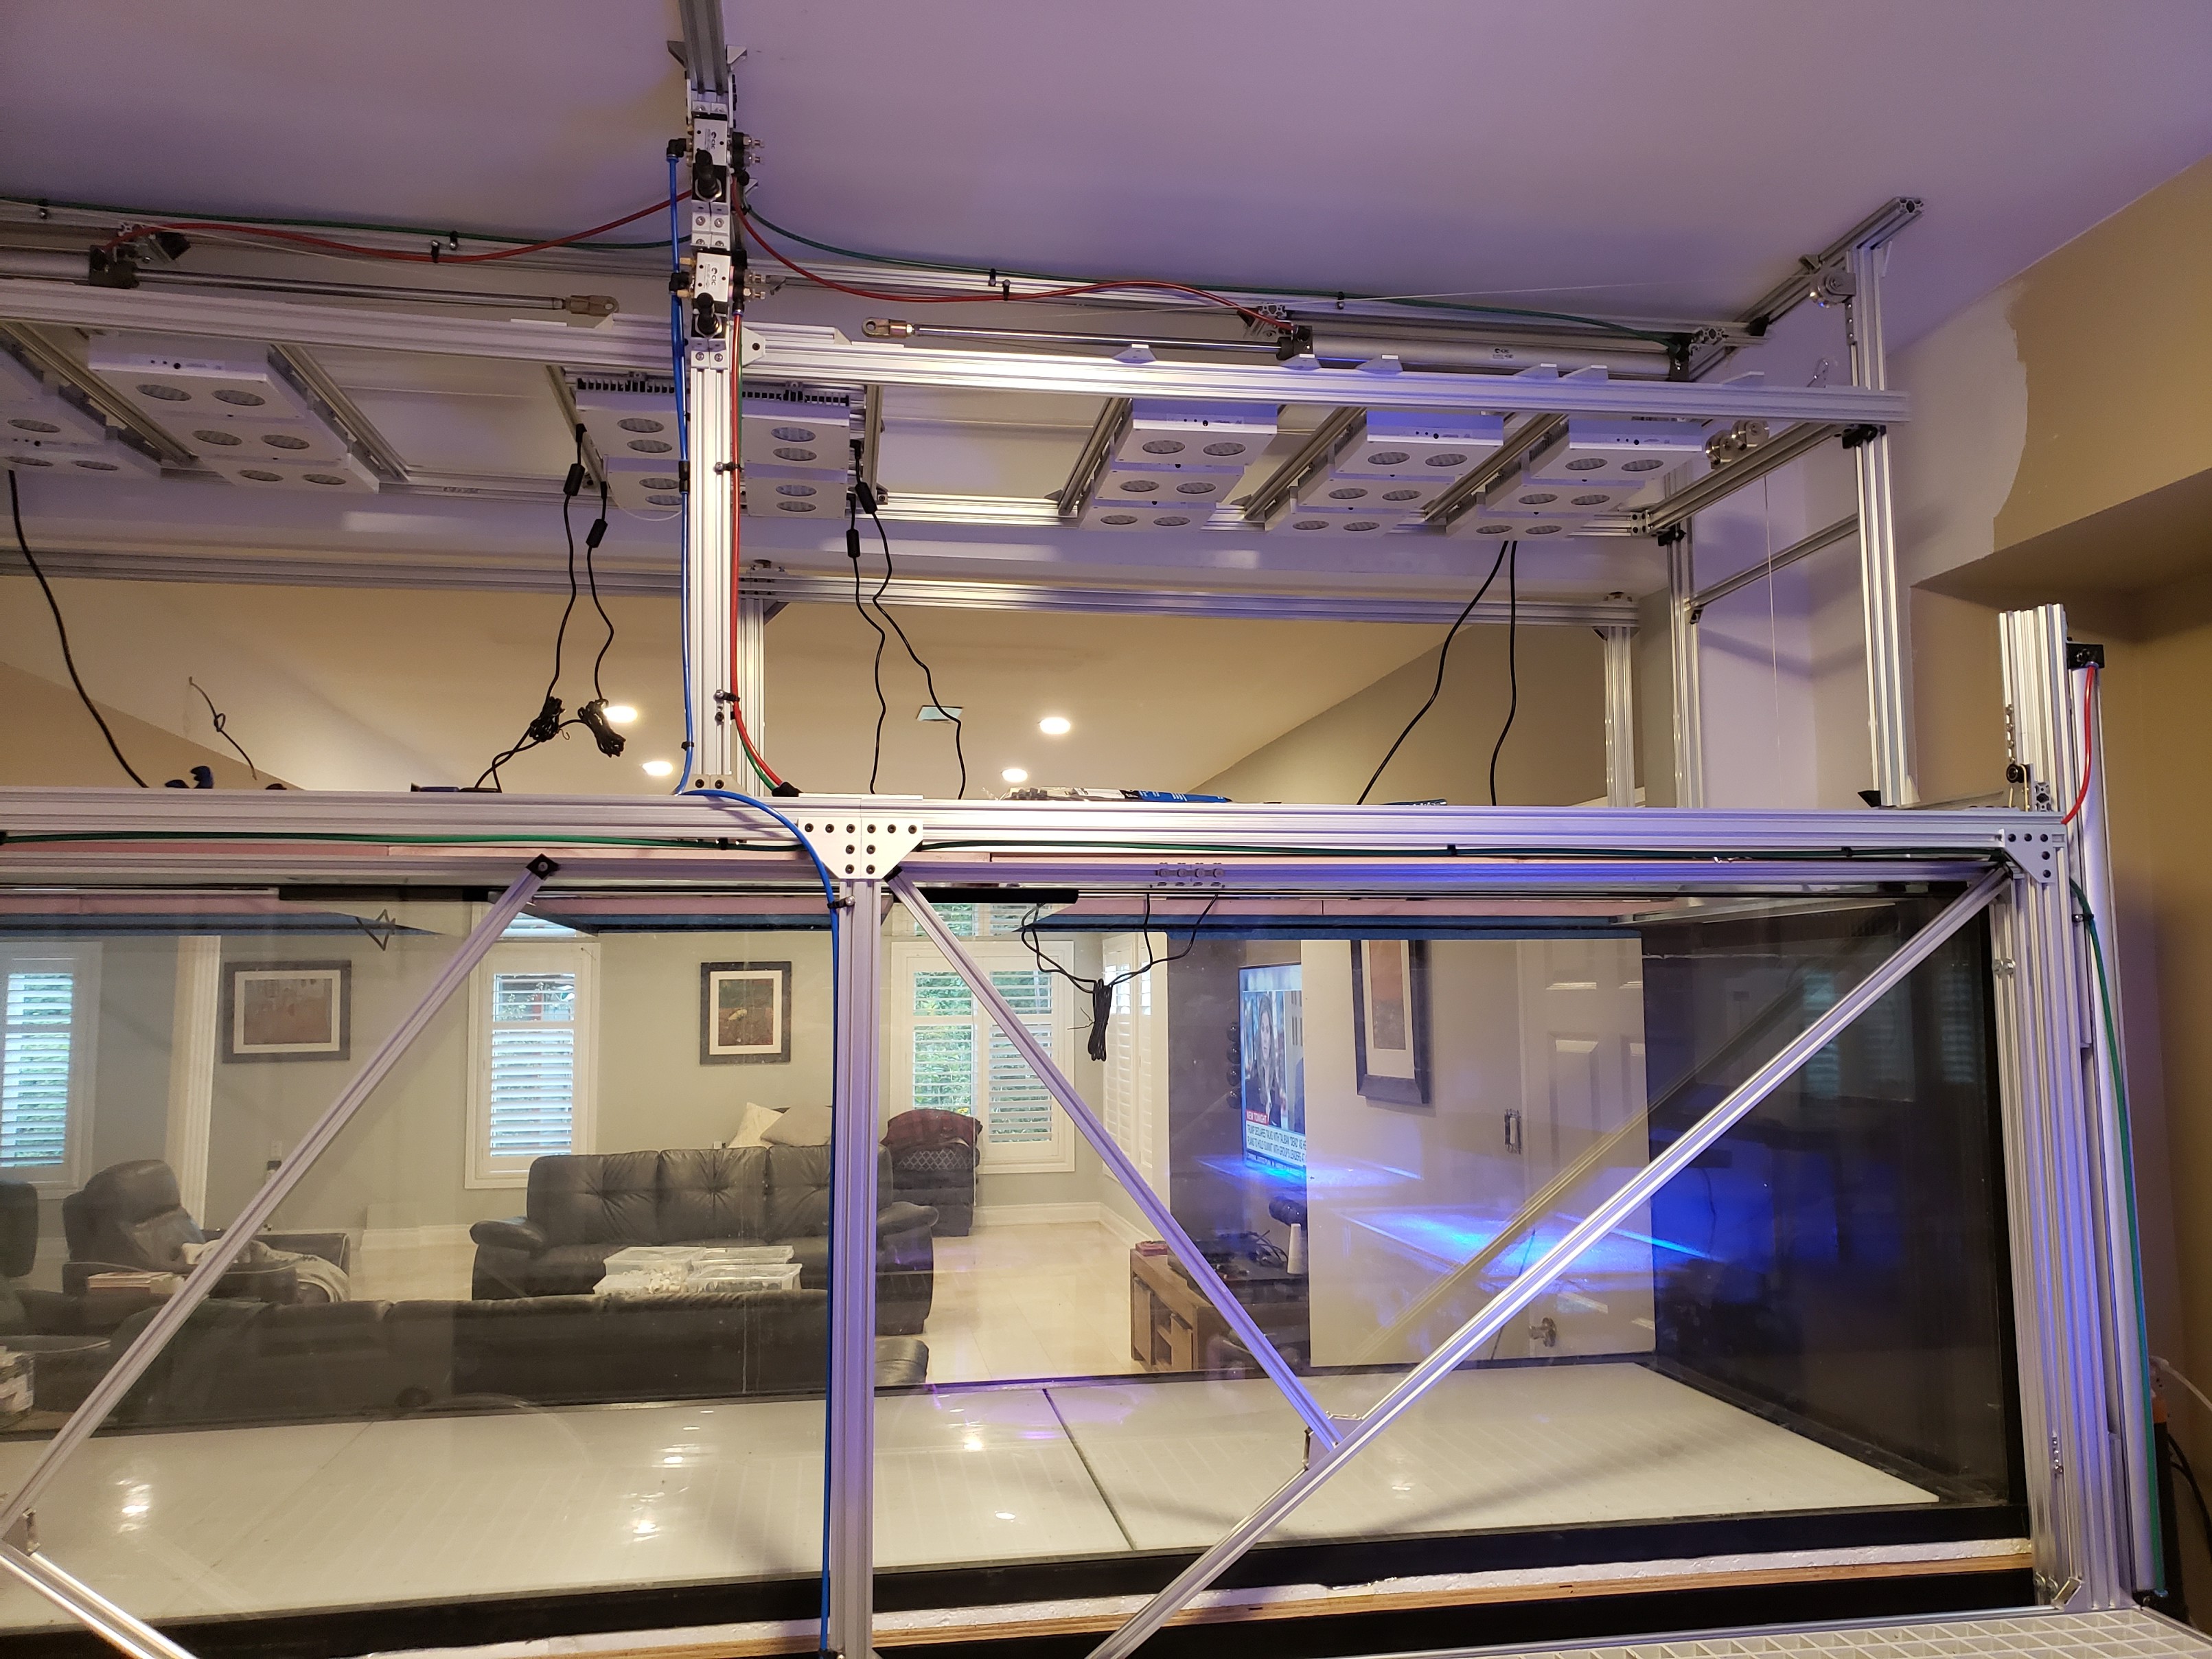
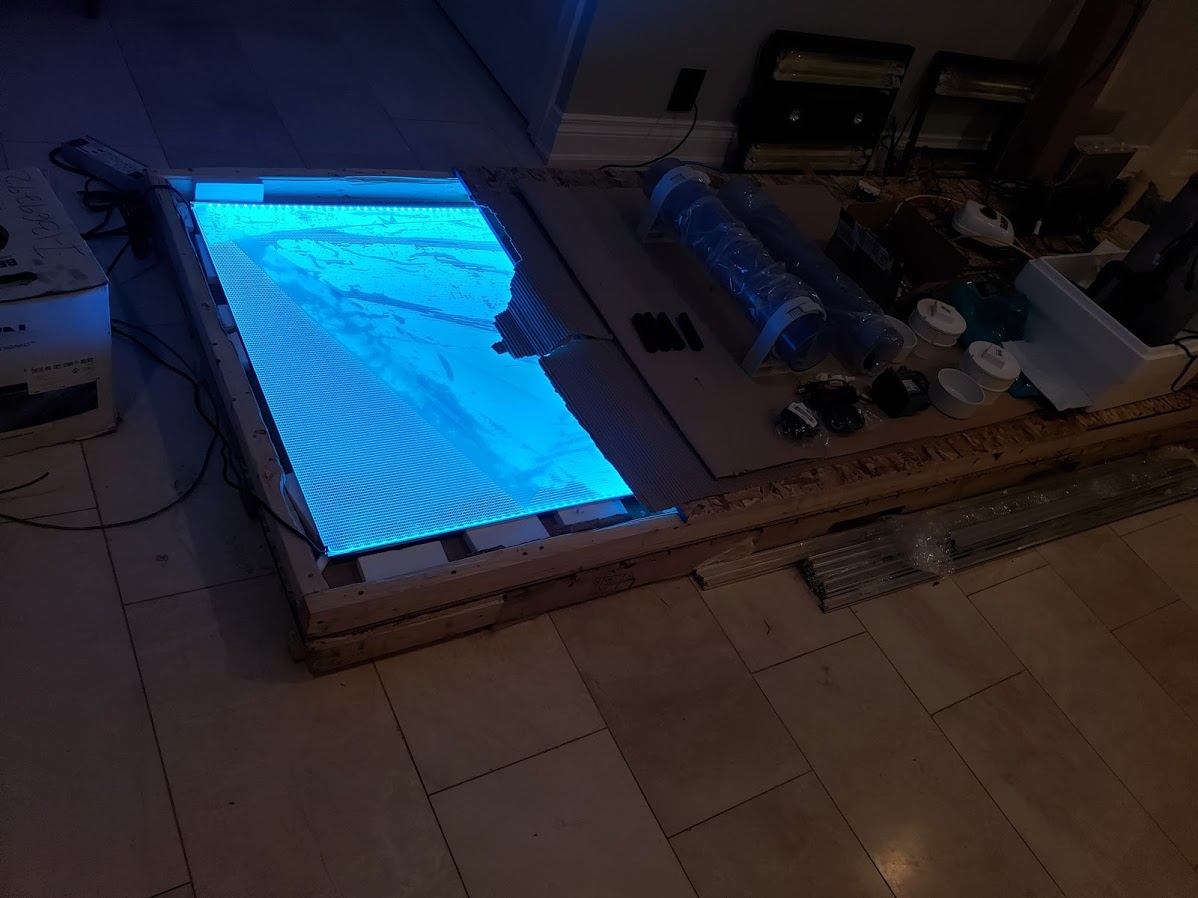
I also got around to playing with the light panel that will (hopefully) live up to the name of the tank. The panel is 10' x 3' DLC Lumisheet and will cover the entire back of the tank. The top and bottom edges are lit with RGB LEDs and the panel uses a DMX decoder.
In this photo I peel back a bit of the protective film and hookup the end sections of LEDs.
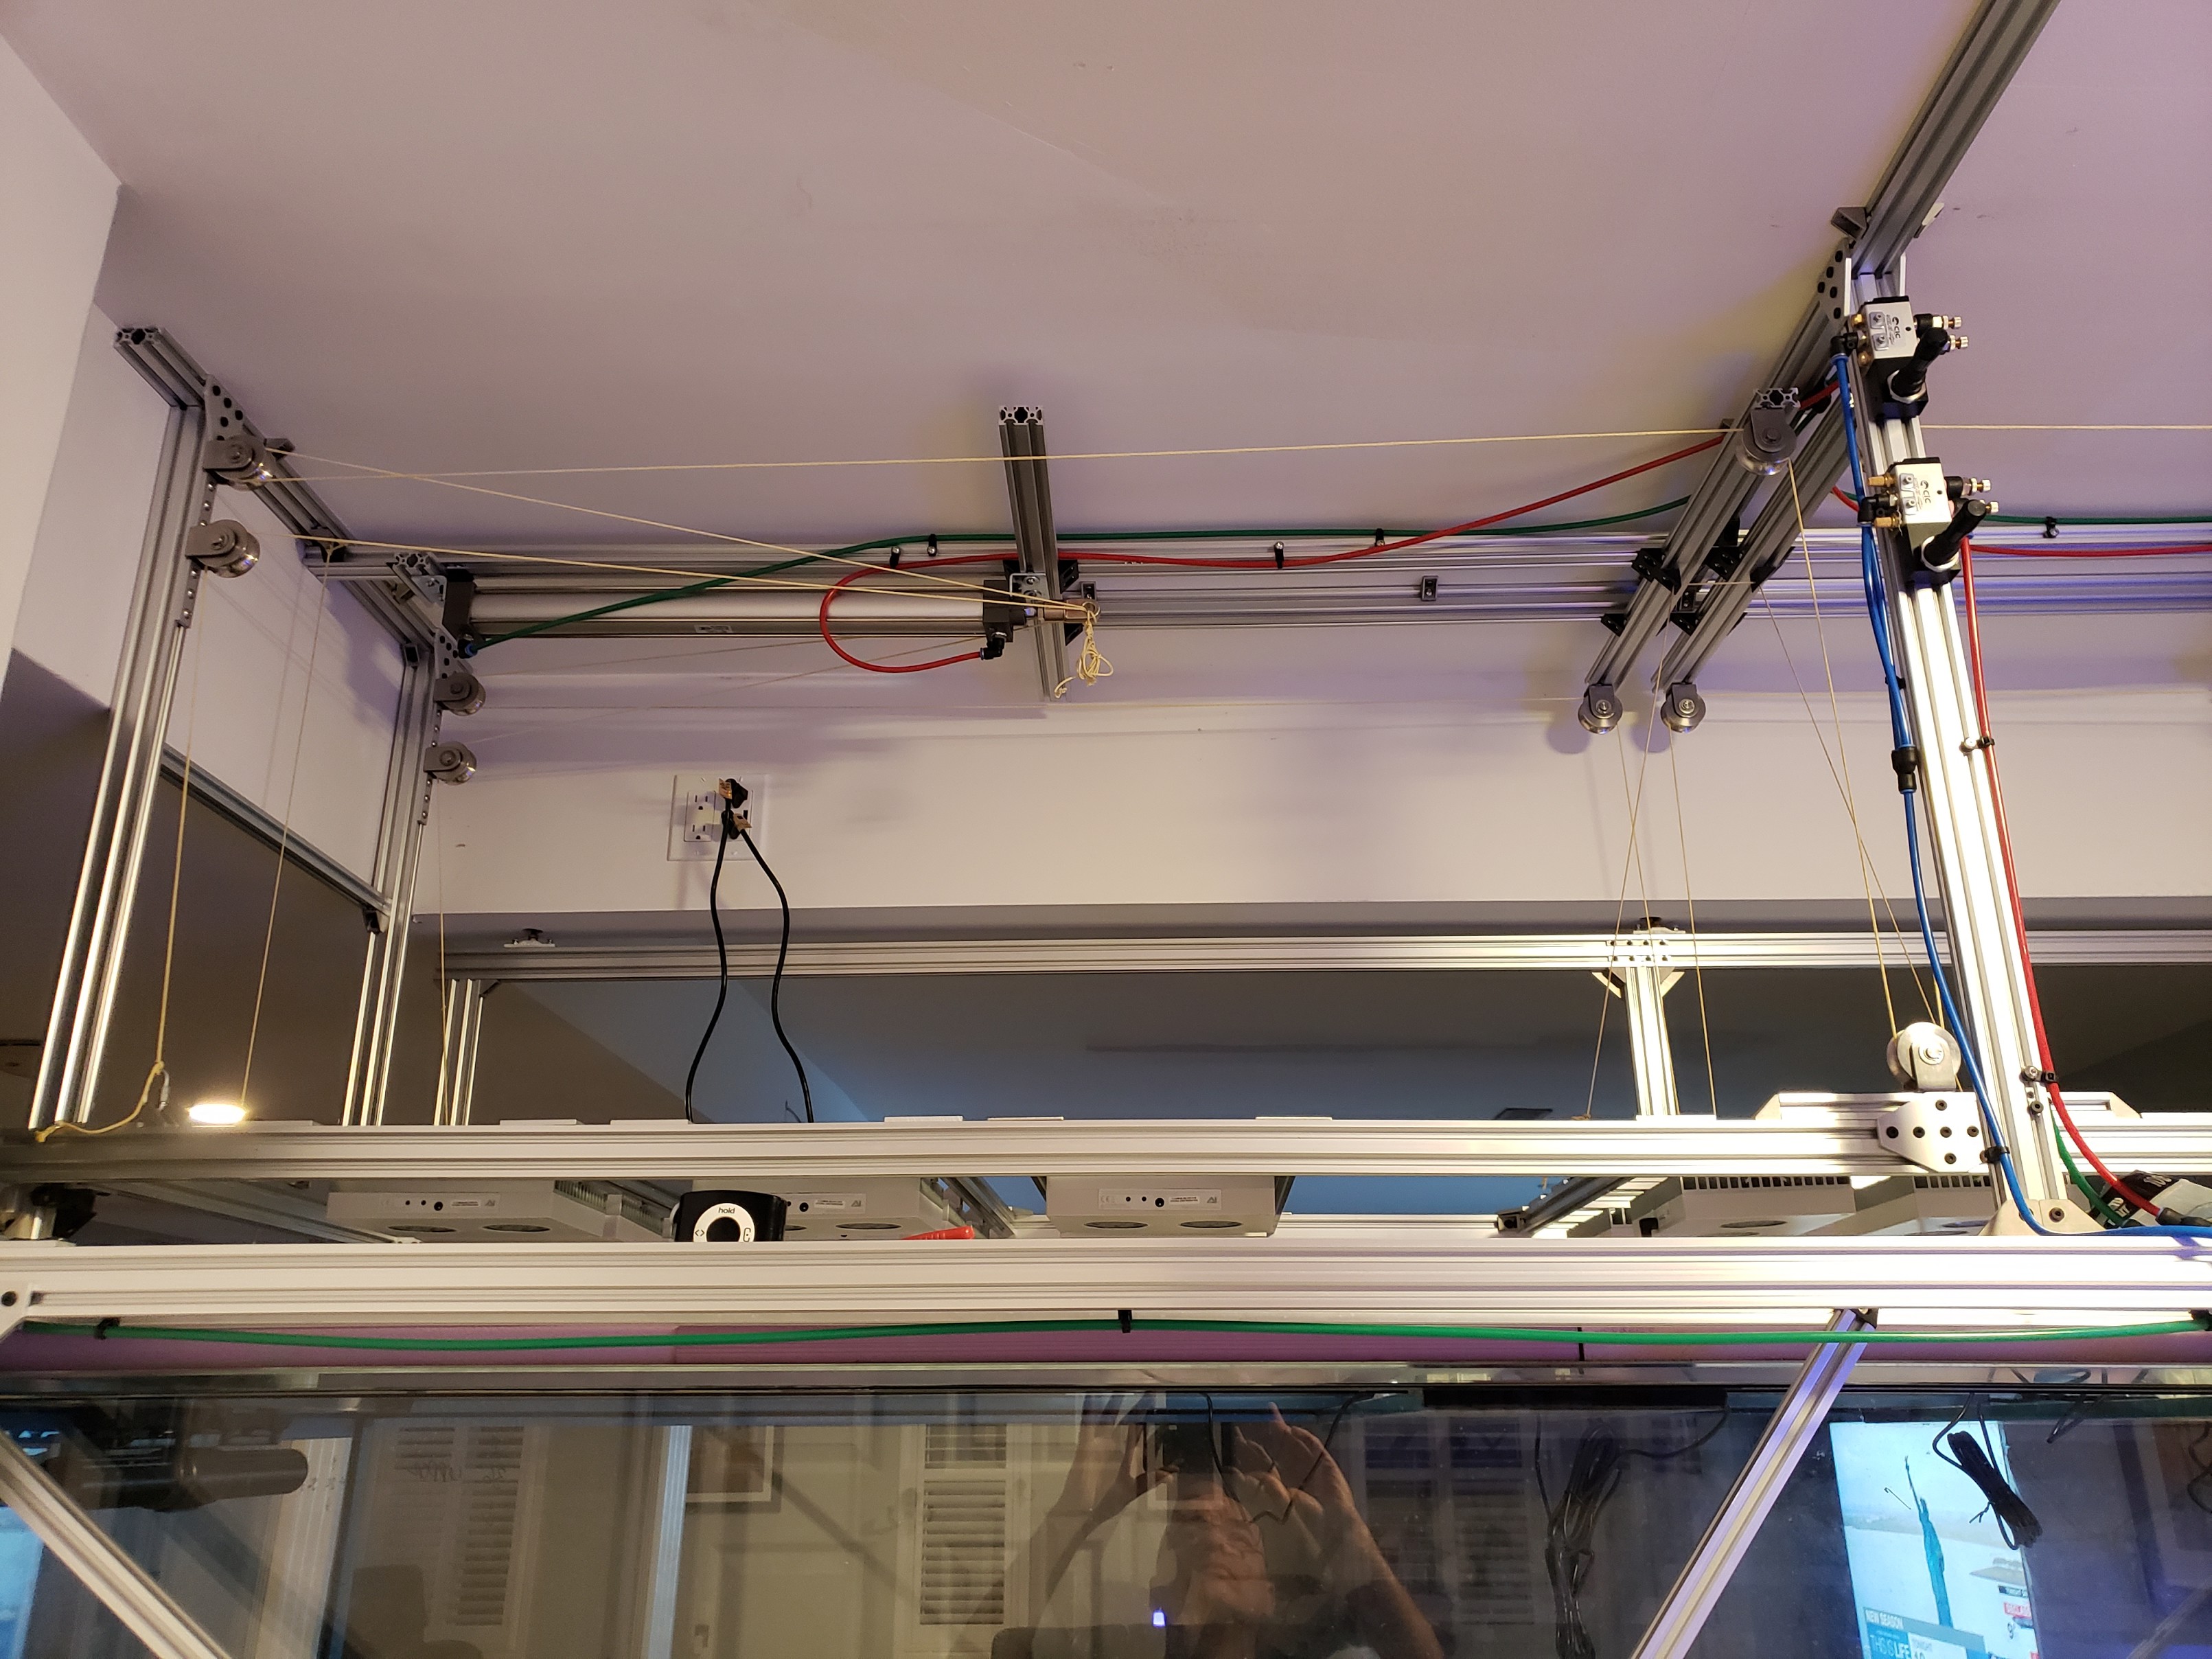
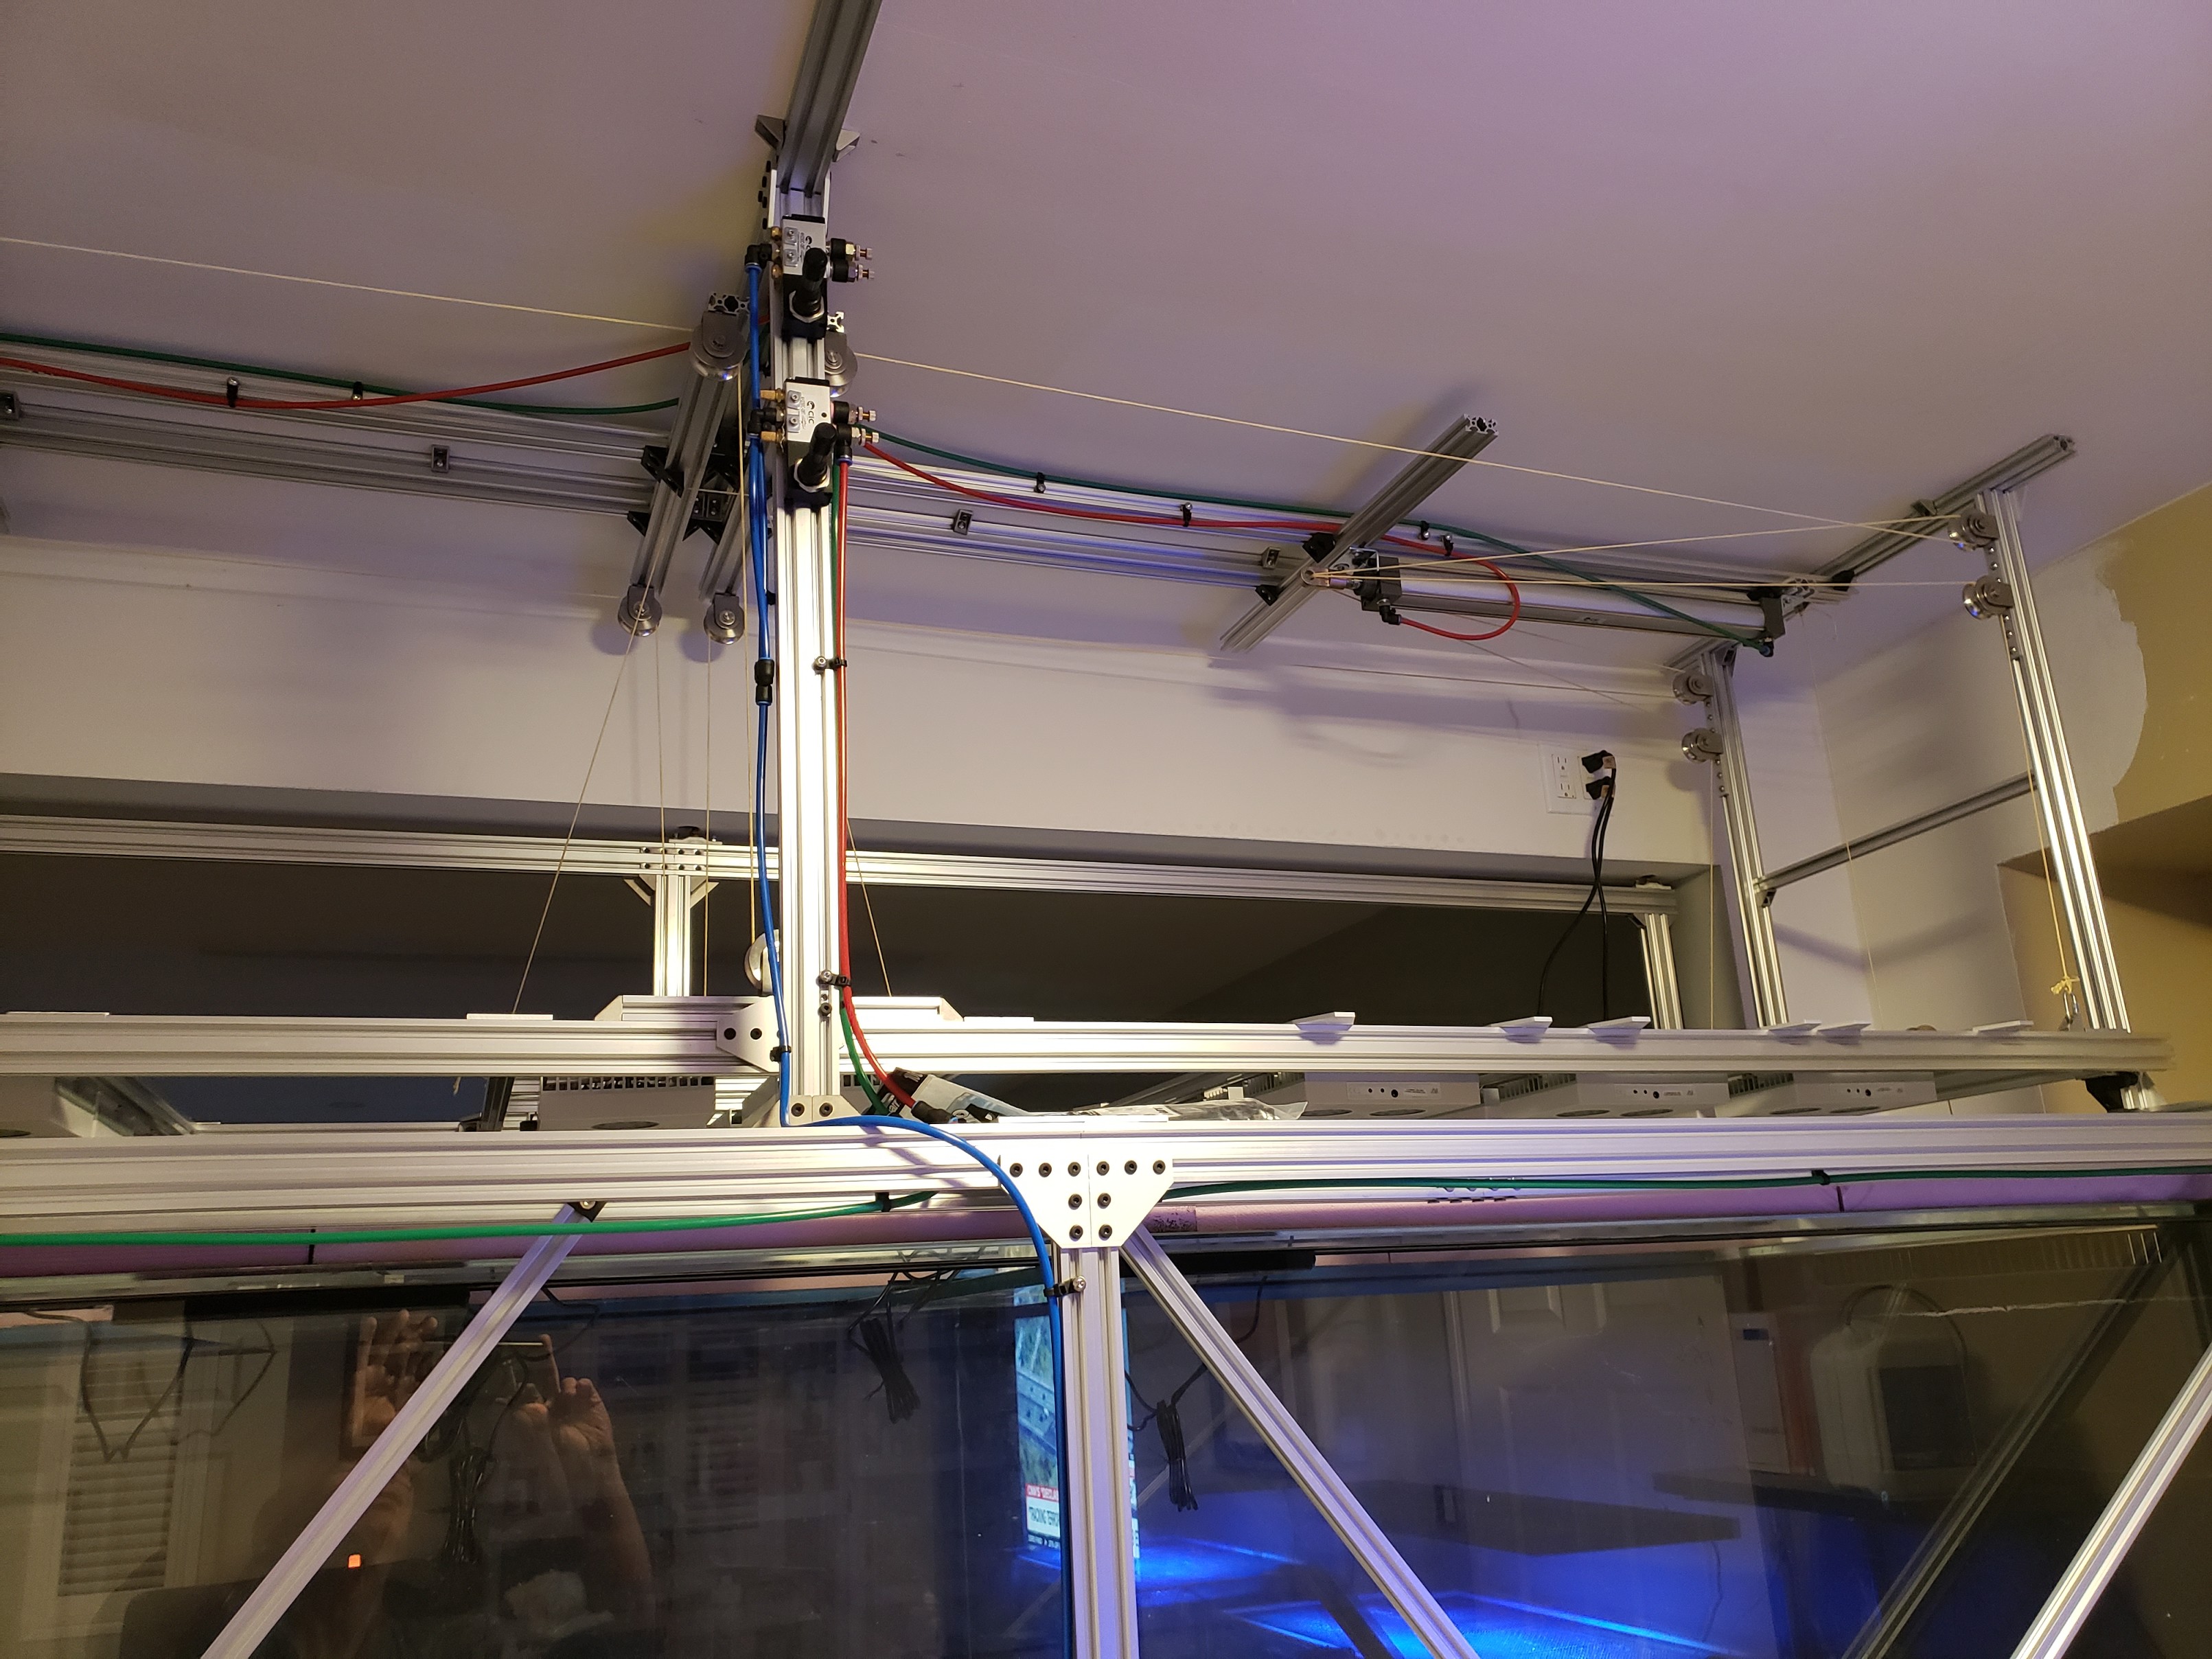
I was going to wait to show the panel in place on the sliding pneumatic frame, but at the rate the build is going I figured I might as well show it now. I am not sure if the edge lit LEDs in the light panel will be able to overcome the 22 x HD26 lights, but if it proves to be insufficient, I will add more LED sources to the frame edges.
Dennis


